Beginner’s Guide to Lacquer Furniture Paint
Hey there, fabulous friend! If you’re curious about lacquer paint, what it is, where to find it, and how to use it to get that flawless, showroom-worthy finish, then this post is your new best friend! Whether you’re updating a set of old chairs or dreaming of a glossy modern table, I’ll walk you through the nitty-gritty details, from chemistry to application, product picks to pro tips, and how to keep your lacquer looking fresh for years. Ready to turn heads with your finishing skills? Let’s dive deep into lacquer paint to see if it is the perfect furniture finish for you!
THIS POST CONTAINS AFFILIATE LINKS TO PRODUCTS THAT I HAVE OR WOULD USE.
AS AN AMAZON ASSOCIATE, I EARN FROM QUALIFYING PURCHASES AT NO COST TO YOU.
YOU CAN SEE MY FULL DISCLOSURE HERE.
What is Lacquer Paint?
Okay, let’s nerd out on chemistry a bit because knowing what you’re working with makes you a finish pro! Lacquer paint is a fast-drying, solvent-based paint made by suspending pigments in a clear lacquer binder (usually nitrocellulose or acrylic resin dissolved in strong solvents like toluene or acetone).
- The pigments give you vibrant color and opacity.
- The lacquer binder creates that signature smooth, high-gloss surface.
- Unlike typical latex or oil paints, lacquer paint dries by solvent evaporation, so it hardens fast and builds a thin but incredibly durable film.
- The chemical makeup is often nitrocellulose or acrylic lacquer combined with pigments, so it’s basically a “painted lacquer finish.”
Because lacquer paint dries fast and produces ultra-smooth, glass-like finishes, it’s prized for furniture, cabinetry, and even musical instruments.
A Peek Into Lacquer Paint Furniture Finish History
Lacquer paint, much like it’s cousin clear lacquer finish, has a history dating back to the 5000 BCE. Here’s an easy chart to show the evolution of lacquer paint from its beginning through today:
| Era & Region | Innovation |
|---|---|
| ~5000–3000 BCE – Neolithic China | Earliest red-pigmented lacquer found on wooden bowls using iron oxide (red ochre) mixed into urushi sap. |
| ~9,000 years ago – Early Jōmon Japan | Red and black urushi coatings applied to combs and vessels using cinnabar, iron oxide, or soot. |
| Shang Dynasty (c.1600–1046 BCE) | Red and black urushi coatings were applied to combs and vessels using cinnabar, iron oxide, or soot. |
| Han Dynasty (206 BCE–220 CE) | Development of multi-layer carved lacquer (tihong), using colored layers for dramatic reveals. |
| Medieval Japan (Heian–Edo) | Fully elaborated maki-e techniques, pigmented lacquer with gold inlay for rich, layered storytelling in art. |
| 1850s–1900s – Celluloid & Early Lacquer Chemistry | Artistic lacquerware with varied pigments, including cinnabar (red) and carbon black. |
| Early 1920s – DuPont Nitrocellulose Lacquer | Industrial-scale sprayed lacquer with pigments; fast-drying and durable, first widely used on cars and furniture. |
| 1950s–1970s – Acrylic Lacquers & Modern Pigment Use | Evolution of acrylic lacquer chemistry, enabling vibrant, metallic automotive finishes and stronger furniture coatings. |
Here’s some lacquer paint trivia to wow your friends and family at your next game night:
- Nitrocellulose lacquer paint (the modern version of lacquer) was developed in the 1920s and quickly gained popularity in the automotive and furniture industries due to its rapid drying and high-gloss finish.
- It replaced older, slower-drying oil-based paints in many factories for streamlined production.
- The classic “50s diner look”, bright, glossy colored surfaces, was often achieved with lacquer paint.
- Today, lacquer paints have evolved, and there are water-based lacquers too, but solvent-based lacquers remain beloved for that unbeatable smoothness.
Where and Why to Use Lacquer Paint
Let’s chat pros and cons with a handy table to see if lacquer paint is your dream finish:
| Where It Shines | What’s to Love | What’s Not to Love |
|---|---|---|
| Furniture pieces needing a glossy, durable colored finish | Ultra-fast drying (minutes!) | Strong fumes—needs ventilation |
| Cabinets and trim | Smooth, glass-like, professional look | Requires spray equipment or skilled brushing |
| Vintage and retro-style pieces | Excellent color depth and clarity | Less forgiving of application errors |
| Small to medium interior projects | Dries quickly, allowing multiple coats fast | Dries quickly, allowing multiple coats to be applied fast |
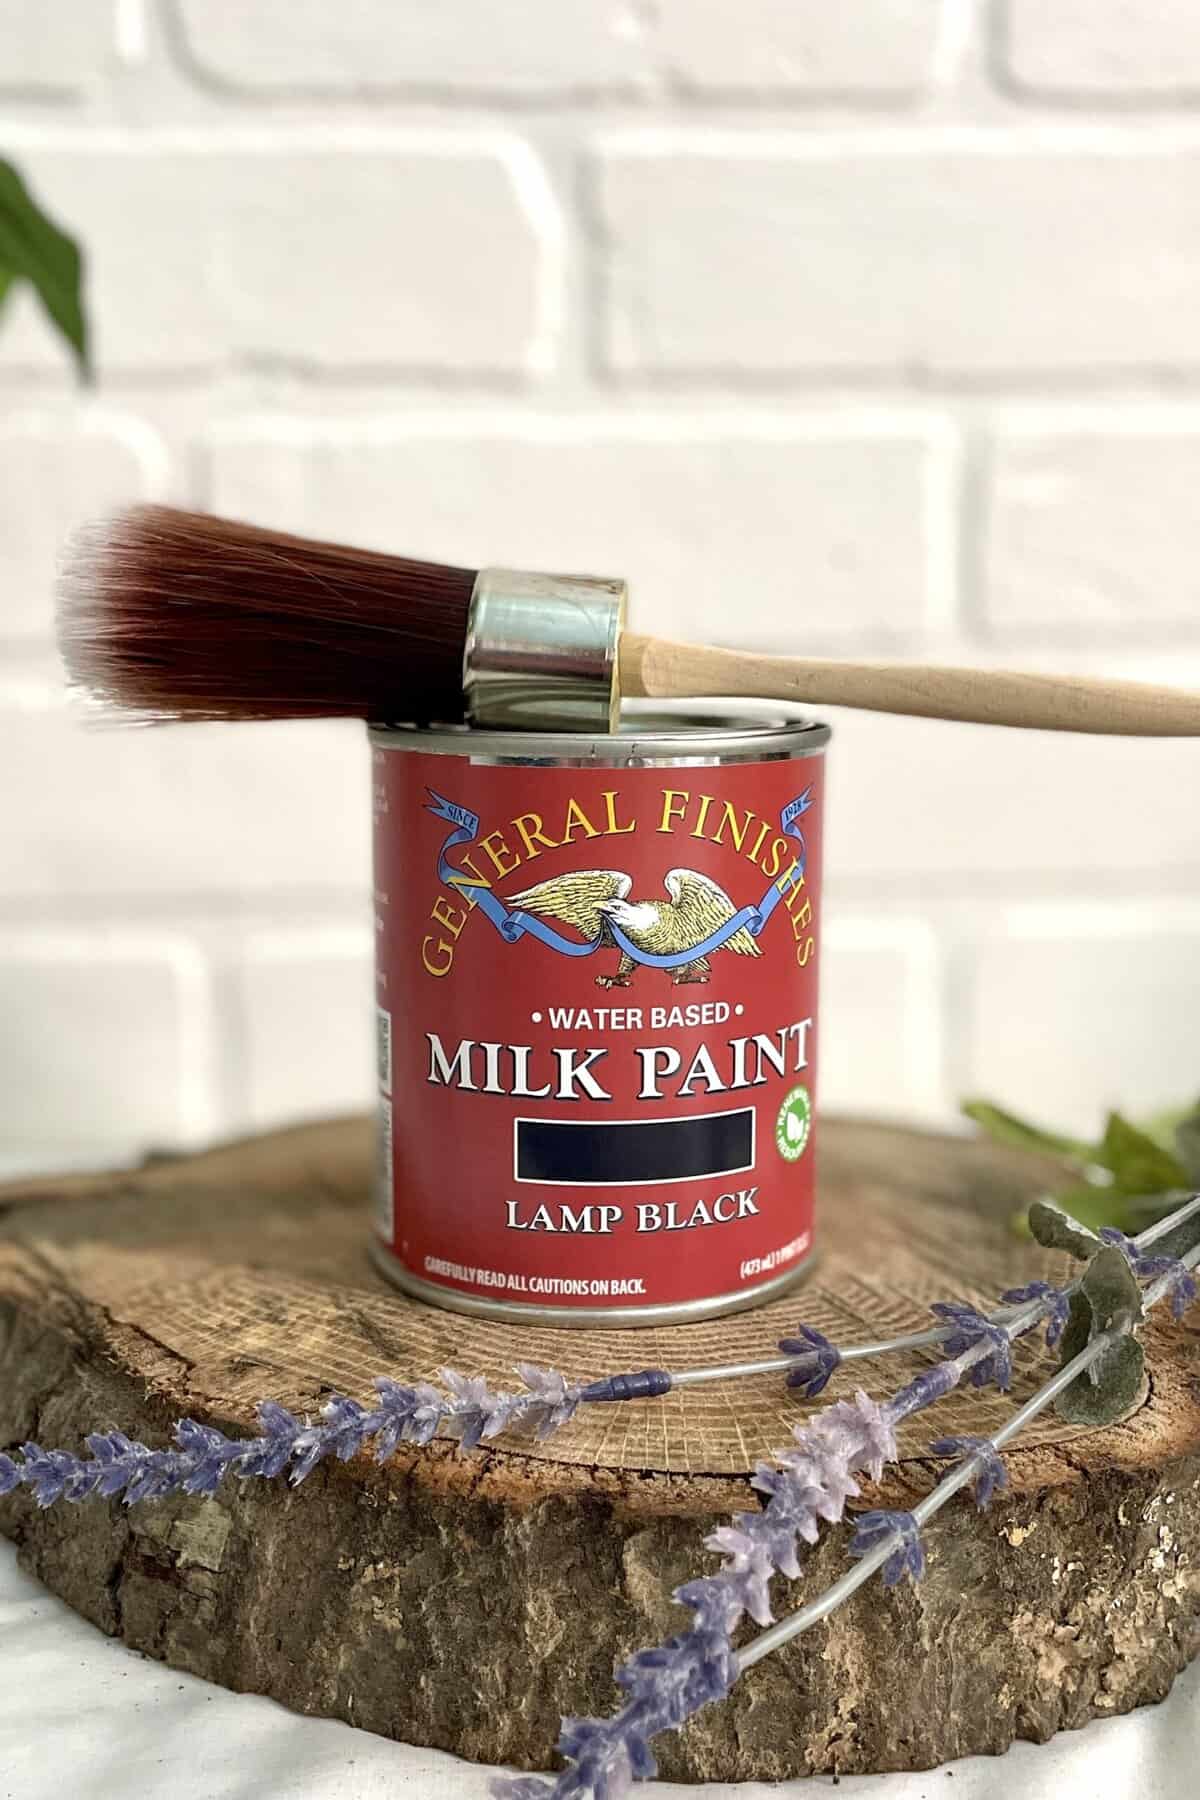
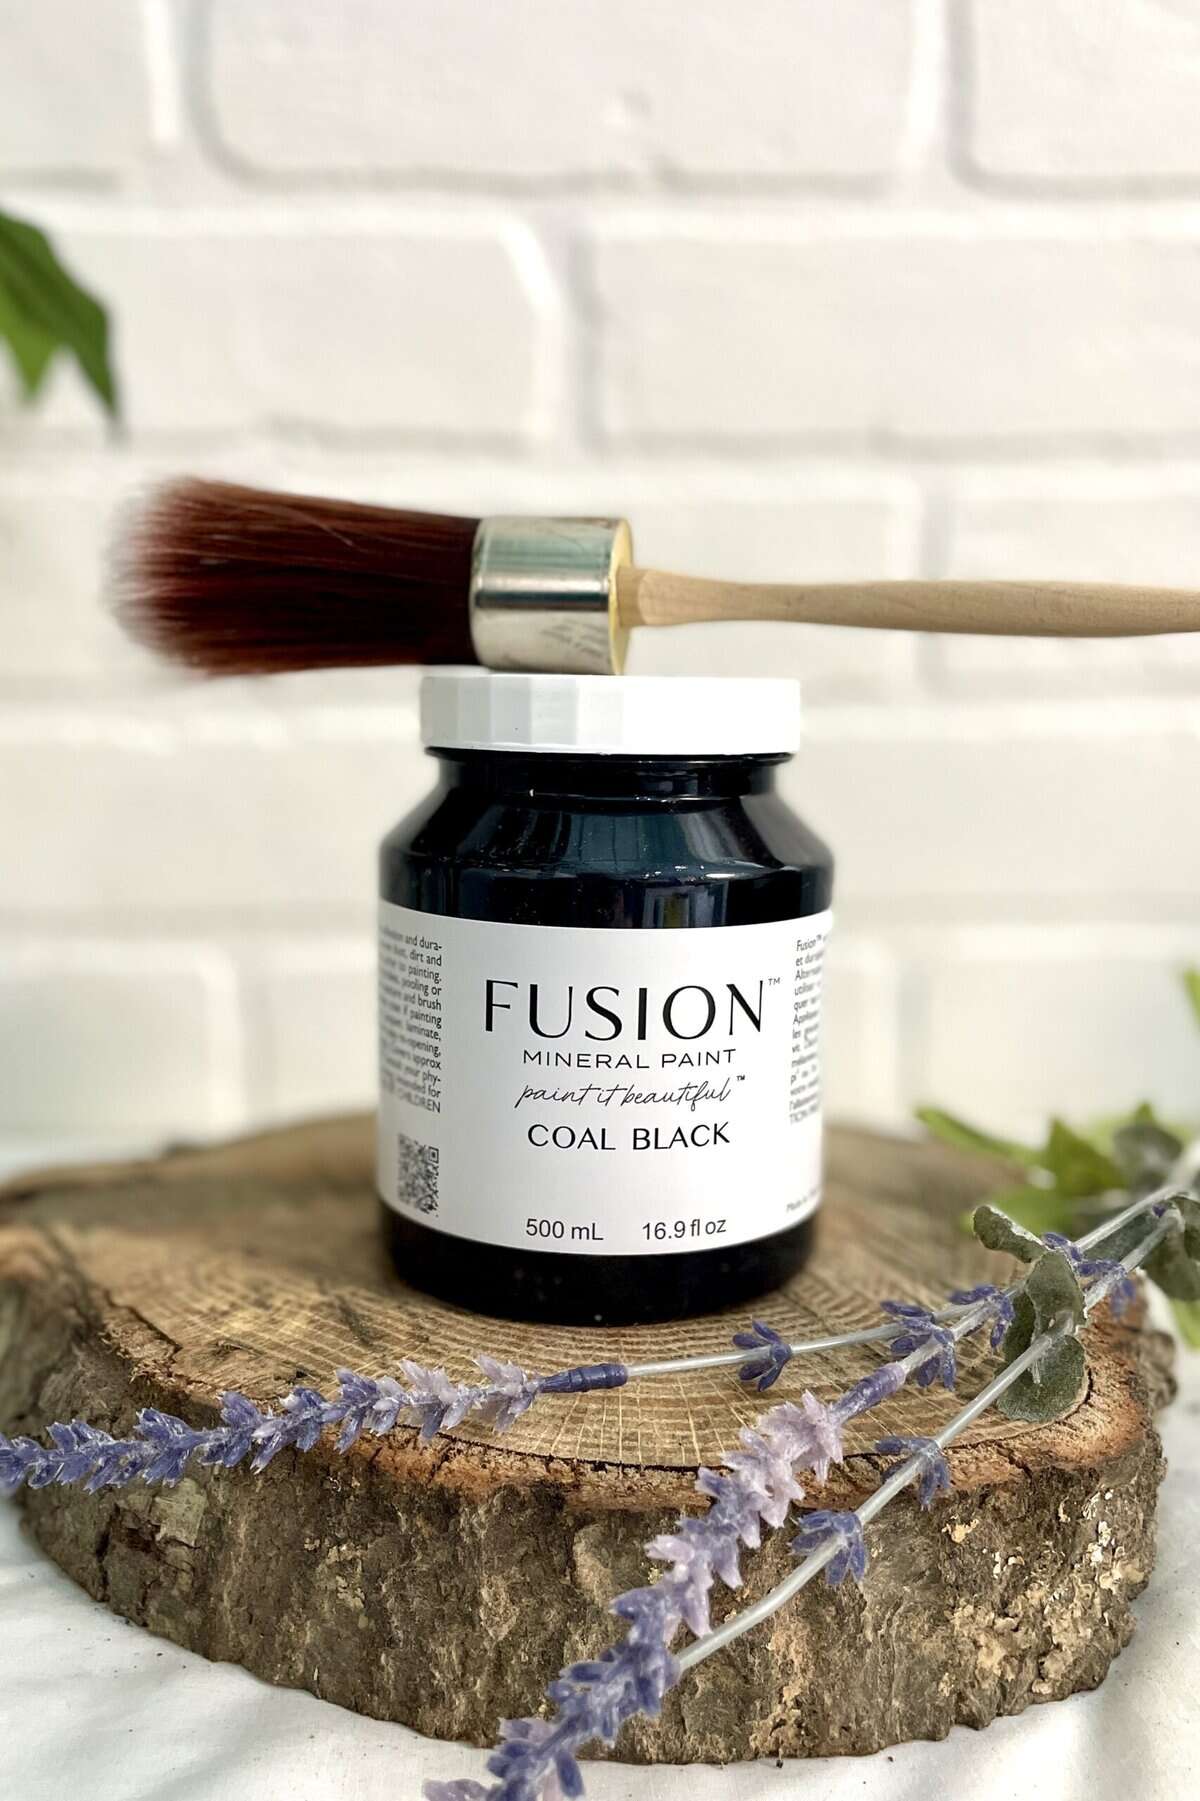
Which Lacquer Paint is Right for You?
Are you loving all the benefits of lacquer paint? Here are three lacquer paint options from beginner-friendly to pro level:
| Experience Level | Product Name | Pros | Cons | Best For |
|---|---|---|---|---|
| Beginner | Rust-Oleum Specialty Lacquer Spray Paint (Gloss) | Easy aerosol spray application, less equipment needed | Limited durability, limited colors/availability | Small, light use furniture |
| Creatively Confident | Mohawk Colored Lacquer (VersaLac Pigmented Lacquer) | Can be tinted to custom colors by authorized dealers, professional durability and clarity | Spray application only (HVLP or conventional)authorized dealers | Fantastic for furniture |
| Pro | ML Campbell MagnaLac Pigmented Lacquer | Tintable to nearly any color, high-build, ultra-durable | Requires professional spray equipment and safety protocols | Small, light-use furniture |
As you can see, Rustoleum is the only true nitrocellulose lacquer paint available to consumers, and it comes with some serious color and functionality limitations (I need how many cans to finish this dining room table?!?!)
Lacquer Paint Reality Check
Unfortunately for us, pigmented true nitrocellulose lacquer paint is a niche but professional-grade category, and most true lacquer paints:
- Require spraying (either HVLP or airless/compressor systems).
- Require special ventilation, PPE, and spray skills.
- Are often available only through professional suppliers (e.g., Sherwin-Williams, ML Campbell, or Mohawk).
- Typically come in custom tintable bases or pre-toned “toner” products, not wide color palettes off the shelf.
So, where does that leave you, my friend? The one craving that super glossy look with a shine so smooth that you can fix your hair in the reflection? If your heart is set on having that rich, gloss finish, but you aren’t ready to devote your entire garage and kids’ college fund to setting up a professional paint booth, then a better approach may be to use a hybrid lacquer paint.
What is a Hybrid Lacquer Paint?
Hybrid Lacquer paints mimic the appearance and fast-drying behavior of nitrocellulose lacquer, but aren’t true nitrocellulose. These hybrids are often easier for DIYers to use safely, require less equipment, and still give that coveted high-gloss, smooth-as-glass finish.
You heard that right, my dear! You can have your cake and eat it, too!
And because we’re pals, I’ve researched to find all the best hybrid lacquer paints, just for you! To make this hybrid lacquer paint list, the paint has to meet the following criteria:
- Lacquer-like finish (smooth, glossy, leveling, hard)
- Quick drying time
- Hard and durable enough for furniture
- Beginner or intermediate-friendly (unless clearly marked otherwise)
- Transparent ingredients or MSDS info available
- Still in production and available in the U.S.
Lacquer-Like Paints (Not Nitrocellulose, but oh, so close!)
| Brand & Product | Finish Type | Application Method | Gloss & Appearance | Notes |
|---|---|---|---|---|
| Amy Howard at Home Luxe Lacquer | Acrylic-based lacquer paint (waterborne) | Brush or spray | High-gloss, glassy finish | Water-based alternative that mimics lacquer look with easy cleanup and safer indoor use. MSDS confirms it’s not NC. |
| Sherwin-Williams Kem Aqua Plus | Waterborne acrylic lacquer | Spray only (HVLP recommended) | Hard, glossy professional finish | Technically a water-reducible acrylic resin. Great durability, but requires spray setup. Often used by pros in cabinetry. |
| Benjamin Moore Advance High Gloss | Waterborne alkyd enamel | Brush, roller, or spray | Mirror-like gloss, levels well | Slow to fully cure (16–30 days), but levels beautifully and gives a lacquer-like effect. Not quick-drying like NC. |
| General Finishes Enduro Clear Poly + Pigments | Urethane-acrylic blend (tinted) | Spray only | Glossy, professional finish | Great for pigmented color applications. Tougher than nitro lacquer but mimics its sleek finish. Needs compressor setup. |
| Behr Alkyd Semi-Gloss Enamel | Alkyd hybrid (waterborne) | Brush or spray | Smooth, semi-gloss finish | Not a lacquer, but dries faster than oil, levels well, and has hard enamel-like results. Great entry point. |
For those of us who are uninitiated into the world of alphabet soup acronyms:
NC: Nitrocellulose
MSDS: Material Safety Data Sheet (MSDS) (sometimes also referred to as a Safety Data Sheet (SDS)) is a standardized document that contains details such as: chemical properties, potential health and environmental hazards, recommended protective measures, as well as safety precautions for proper storage, handling, and transportation of a product and its chemicals.
Which Hybrid Lacquer Paint is Right for You?
Let’s take a closer look at those options and which ones are right for you based on your skill level and equipment setup. As a reminder, to make this final cut list, the paint must have:
- Performance that mimics true lacquer
- A satisfying, smooth finish
- Beginner to advanced DIY usability
- Products that meet our standards: high-quality, durable, available, and beginner-approved (or clearly labeled for advanced users)
Beginners
You’re just getting started but want a brushable, self-leveling paint with a rich finish.
Recommended Product:
Benjamin Moore Advance (High Gloss or Satin)
- Base: Waterborne alkyd
- Finish: Glossy or satin (choose your sheen!)
- Why We Recommend It:
- Brushable with a long open time and excellent leveling
- Hard, furniture-quality finish after full cure (21–30 days)
- Soap-and-water cleanup
- Very forgiving for first-timers
✅ Available at most paint retailers
✅ Water-based, low-VOC compared to oil-based options
⚠ Requires a proper cure time for full hardness
Creatively Confident DIYers
You’ve done a few projects and want that next-level finish with a bit more control or spray ability.
Recommended Product:
Amy Howard One Step Paint + Luxe Lacquer Topcoat (Spray)
- Base: Acrylic basecoat + nitrocellulose-style aerosol topcoat
- Finish: Professional, high-gloss lacquer effect
- Why We Recommend It:
- One Step Paint gives beautiful base coverage (chalk-style)
- Luxe Lacquer Spray mimics nitrocellulose gloss with less risk
- Spray topcoat levels beautifully and dries quickly
✅ No sanding or priming needed for many surfaces
✅ The topcoat gives a lacquered look with DIY ease
⚠ Spray technique requires ventilation and masking off
For Pro-Level DIYers / Advanced Refinishers
You’re ready to spray, understand dry times, and want that true lacquer look—without the full nitrocellulose danger.
Recommended Product:
Sherwin-Williams Kem Aqua Plus
- Base: Water-reducible acrylic lacquer
- Finish: Ultra-smooth, factory-level lacquer appearance
- Why We Recommend It:
- Spray-only formula dries fast and builds beautifully
- Waterborne formulation is safer than nitrocellulose but still delivers pro results
- Designed for cabinetry and furniture refinishing
✅ Available at Sherwin-Williams commercial stores
✅ Easier cleanup than solvent-based lacquers
⚠ Requires HVLP or airless sprayer and proper ventilation
⚠ Professional-grade product: not suitable for brushing
Top 3 Hybrid Lacquer Paints Roundup
| Skill Level | Paint | Base | Finish | Application | Clean-up |
|---|---|---|---|---|---|
| Beginner | Benjamin Moore Advance | Waterborne Alkyd | Gloss or Satin | Brush or Spray | Soap & Water |
| Creatively Confident | Amy Howard One Step + Luxe Lacquer | Acrylic + Aerosol | High Gloss | Brush + Spray | Soap & Water / Light Solvent |
| Advanced / Pro | Sherwin-Williams Kem Aqua Plus | Waterborne Acrylic | Ultra Smooth | Spray Only | Water |
Now that we have your paint options sorted out, how about if we finally get to painting!
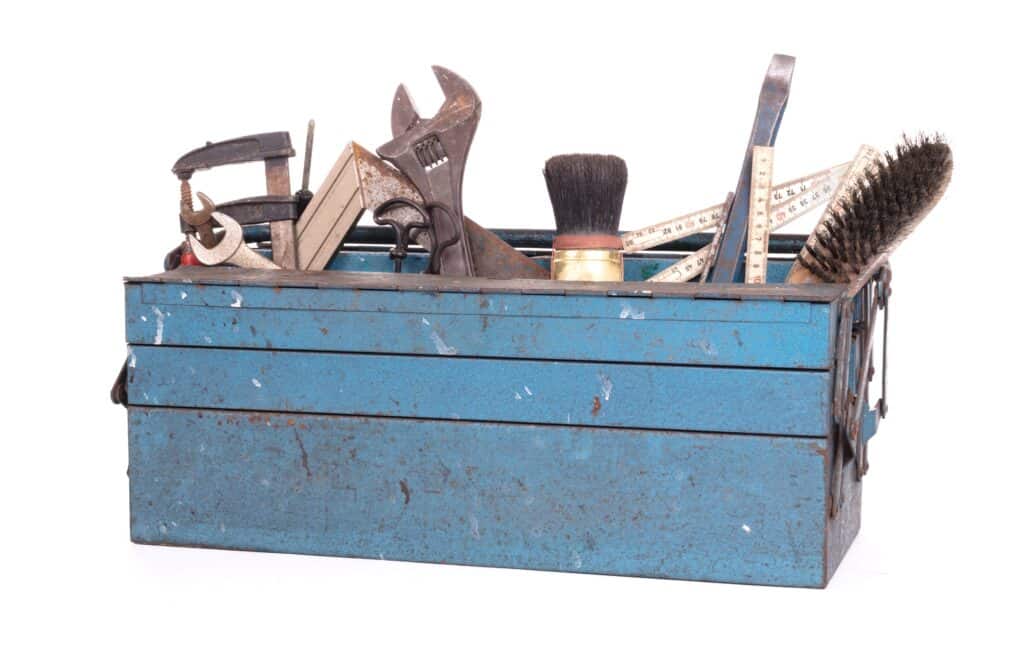
What’s in Your Lacquer Paint Toolkit?
Tools
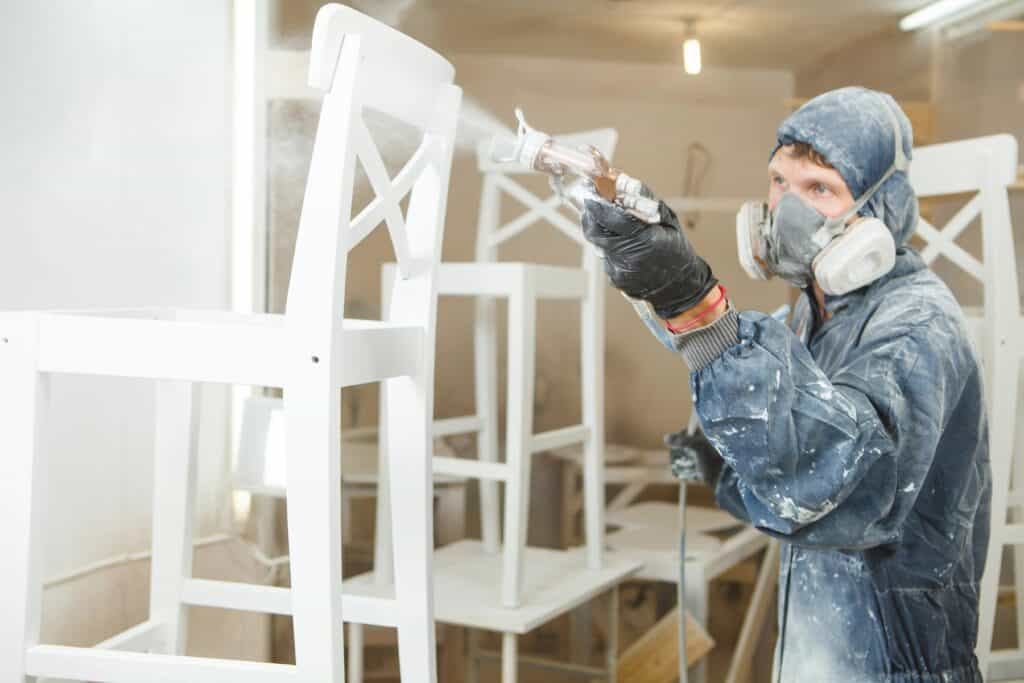
- Respirator mask rated for organic vapors (a must!)
- Spray gun or spray cans (for the smoothest finish)
- Clean brushes or foam applicators for wipe-on or brushing
- Well-ventilated spray booth or workspace
Materials
- Lacquer paint of your choice
- Fine sanding pads (320-400 grit)
- Tack cloths for dust removal
- Lacquer thinner (for cleanup and thinning)
Pro Tips: Before You Begin
- Lacquer paint dries fast—work in thin coats for best results!
- Never spray or brush in a dusty or humid environment to avoid defects.
- If brushing, choose high-quality, fine synthetic brushes designed for lacquer (or the hybrid paint formula you chose).
- Always wear a respirator and keep your work area well-ventilated.
- Test on scrap wood before committing to your piece.
- Avoid spraying near open flames or sparks—lacquer is highly flammable!
How to Apply Lacquer Paint to Furniture
- Prep your surface: Sand smooth, vacuum, and wipe clean until it’s dust-free.
- Thin your lacquer paint if needed (check product instructions).
- Apply thin, even coats with a spray gun or wipe/brush technique.
- Allow 10-20 minutes dry time between coats.
- Lightly sand between coats with fine sandpaper to remove any dust nibs.
- Apply 3-5 coats for optimal coverage and durability.
- Allow full cure for at least 24-48 hours before heavy use.
Lacquer Paint Application Best Practices
| Factor | Details |
|---|---|
| Ideal temperature | 65°F to 80°F (18°C to 27°C) |
| Ideal humidity | 40% to 60% |
| Dry time per coat | 10 to 20 minutes |
| Cure time | 24 to 48 hours |
| Number of coats | 3 to 5 |
When and How to Refresh a Lacquer Paint Finish
Refreshing a lacquer finish is perfect when the surface is still smooth, free of deep scratches, and the sheen is just looking a little dull. To give your finish back its shine, just follow these easy steps:
- Clean the surface — Wipe down with a soft cloth dampened in a solution of distilled water and a drop of mild soap.
- Lightly buff — Use a very fine abrasive pad (like 0000 steel wool or a non-scratch synthetic pad) with a little paste wax or mineral oil to gently revive the sheen.
- Polish — Apply a thin layer of furniture polish formulated for lacquer, then buff with a clean, lint-free cloth.
Pro tip: If you see white rings, cloudy patches, or sticky spots, that means the finish has degraded in those areas and refreshing alone won’t be enough.
Refinishing Lacquer Paint Furniture Finish
Refinishing is a great choice when the lacquer is deeply scratched, worn, chipped, or discolored but still well-adhered to the wood. Follow these steps to refinish your lacquer paint finish:
- Clean thoroughly — Remove all dirt, oils, and wax with a lacquer-safe cleaner.
- Level the surface — Lightly sand with 320–400 grit sandpaper just enough to scuff the surface, not remove it. This gives the new lacquer something to grip.
- Repair damage — Fill chips or deep scratches with lacquer stick or burn-in resin.
- Apply new lacquer — Spray thin, even coats of lacquer (or brush on a brushable formula), allowing proper drying time between coats.
- Rub out the finish — After curing, gently polish with fine abrasives to your desired sheen.
Pro tip: Lacquer melts into itself which means you don’t need to strip off every layer to create a seamless repair. (Whew!)
Removing Lacquer Paint Furniture Finish
Sometimes the lacquer is too far gone, blistered, flaking, or yellowed beyond repair, and removal is the best path. Or, perhaps you’re ready for a new finish. Either way, these steps will get you where you need to be:
Chemical removal:
- Use a lacquer thinner or a commercial finish remover specifically labeled for lacquer.
- Work in a well-ventilated space, wearing gloves and eye protection.
- Apply with a brush, allow the finish to soften, then gently scrape with a plastic scraper.
Non-chemical removal:
- Sanding with a random orbital sander (starting at 150–180 grit) can remove lacquer, but be careful not to sand through veneer.
- A cabinet scraper can be used for precise hand removal on flat surfaces.
Pro tip: Lacquer thinner can also reflow old lacquer, which is handy for repairing small areas without full removal.
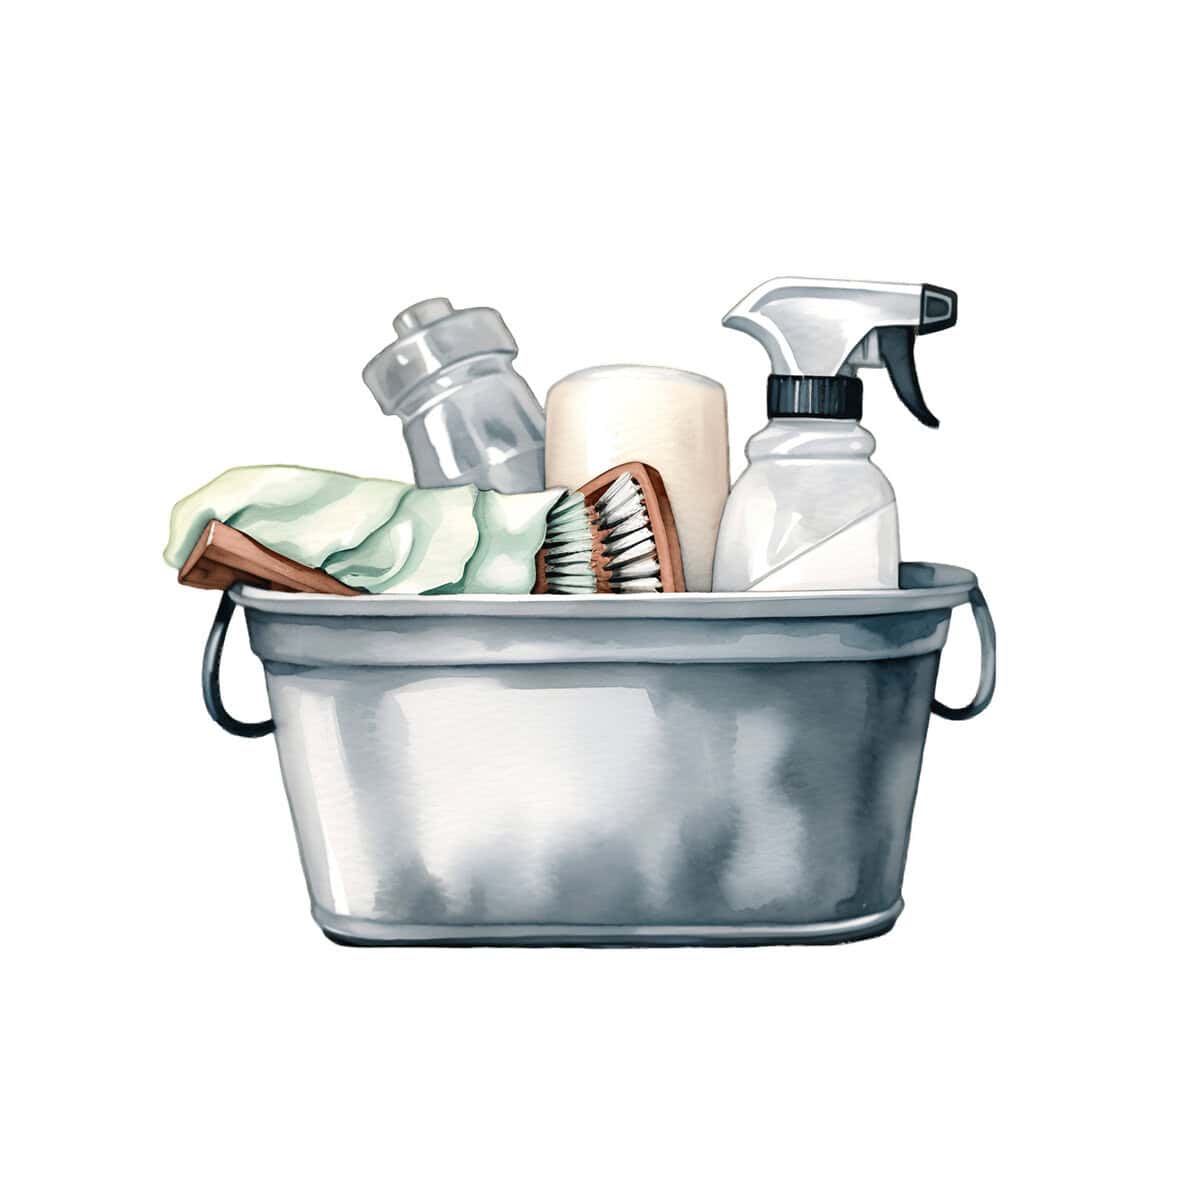
Caring for Your Lacquer Paint Finish: Cleaning and Polishing the Right Way
Keeping your lacquer-painted furniture looking fresh and beautiful is easier than you think—with the right tools and products that protect the finish and preserve your options for future refinishing.
General Cleaning: Gentle Dusting
- Use a soft, dry microfiber cloth or vacuum cleaner to gently remove dust and prevent buildup.
- Avoid anything abrasive or wet unless you’re performing a deeper clean.
Deeper Cleaning: Orvus WA Paste
For routine cleaning beyond dusting, use Orvus WA Paste—a mild, pH-balanced, non-toxic cleaner trusted by conservators and professionals alike.
- Dilute about 1 teaspoon of Orvus WA Paste in 1 quart of distilled water.
- Dampen a soft cloth with this solution, wring it out well, and gently wipe the furniture surface.
- Rinse the cloth frequently and finish by wiping with a clean, damp cloth dipped in distilled water to remove any residue.
- Let the furniture air dry or gently buff with a dry microfiber cloth.
Spot Cleaning and Heavy Dirt: Naphtha
- For stubborn grime, use naphtha applied sparingly with a lint-free cloth.
- It evaporates quickly, won’t leave residue, and is safe for cured lacquer finishes.
- Always test a hidden spot first.
What NOT to Use: Dish Soap and Silicone-Based Polishes
- Dish soap is not pH-balanced for furniture and can cause dulling or damage over time.
- Silicone-based polishes (like Pledge) leave invisible films that interfere with refinishing and cause adhesion problems later.
Polishing: Renaissance Micro-crystalline Wax
When your lacquer finish needs a shine boost, use a micro-crystalline wax polish designed for fine furniture finishes. Conservators widely recommend wheat starch microcrystalline wax polishes, such as Renaissance Micro-crystalline Wax Polish, for their safety and gentleness on lacquer finishes. Follow this routine to keep your furniture glossy and future refinishing or repairs trouble-free:
- Apply sparingly—no more than once or twice a year—and buff gently to avoid buildup.
- This wax is safe for lacquer, silicone-free, and won’t complicate future repairs or refinishing.
Suggested Lacquer Paint Finish Cleaning Routine:
| Task | Recommended Product | Frequency |
|---|---|---|
| General cleaning | Distilled water + Orvus WA soap | Weekly or as needed |
| Deeper spot cleaning | Naphtha | As needed |
| Light polishing | Renaissance Micro-crystalline wax paste | Once per year (max) |
| Deep refresh (if needed) | Same Renaissance Micro-crystalline wax with gentle buffing | Shared with polish step |
Common Lacquer Paint Furniture Finish Mistakes (And How to Fix Them)
We’ve all been there, wondering why our finished project doesn’t look as amazing as the social media images suggest it should. Here are the most common issues, their causes, and how to fix (or avoid) them:
| Mistake | Cause | Fix |
|---|---|---|
| Orange peel texture | Dust nibs in the finish | Thin coats; adjust spray technique |
| Blushing (cloudy finish) | High humidity or trapped moisture | Sand and reapply in dry conditions |
| Runs and sags | Over-application | Sand smooth; apply thinner coats |
| Peeling or cracking | Poor prep or incompatible layers | Strip and refinish properly |
| Dust nibs in finish | Dusty environment | Spray too thick or the wrong spray distance |
Lacquer Paint FAQs
Q: Can lacquer paint be brushed?
A: Yes, technically, but spraying gives the best, smoothest finish.
Q: How long does lacquer paint take to dry?
A: It dries to the touch in 10-20 minutes and cures fully within 24-48 hours.
Q: Is lacquer paint safe indoors?
A: It’s safe if you use proper ventilation and a respirator during application.
Q: Can lacquer paint be used outdoors?
A: Nope. UV exposure causes yellowing and degradation (the surface becomes brittle and begins to break down).
Q: How to store leftover lacquer paint?
A: Store in tightly sealed metal cans away from heat or sparks. (True lacquer paint is flammable!)
Why Choose Lacquer Paint as a Furniture Finish?
If you’re dreaming of a silky-smooth, high-gloss finish that turns heads, lacquer paint might just be your perfect match. Whether you’re going for a retro glam vibe or a sleek modern statement, lacquer delivers a rich depth and glassy sheen that other paints just can’t replicate.
It dries lightning-fast, builds beautifully in thin layers, and creates a durable surface that stands up to daily wear, especially if you’re using the right product for your skill level. With both true and hybrid lacquer options available, you can achieve that coveted polished look with confidence, no matter where you are on your DIY journey!
| If You Want… | Go With… |
|---|---|
| The real deal, pro-level gloss, and ultra-quick drying | ✅ True Nitrocellulose Lacquer Paint (for advanced users only!) |
| A safe, brush-friendly option that looks luxe and levels well | ✅ Lacquer-Like Hybrid Paint (like Amy Howard Luxe Lacquer or Advance High Gloss) |
| A spray option without needing a spray booth or respirator | ✅ Acrylic lacquer sprays or waterborne lacquers (like Montana Gold or Kem Aqua) |
If you’re second guessing whether Lacquer may be the right finish for you, no worries! There are lots of other options out there, from chalk paint to enamel, we can help you find the perfect finish for your project.
Thank you so much for stopping by! I hope this information helps you with your next project. Drop a comment below and let me know if you have any questions or tips from your adventures with lacquer paint!
Until next time, have a beautiful and blessed day!

Don’t forget to sign up so you hear all about the next misadventure!