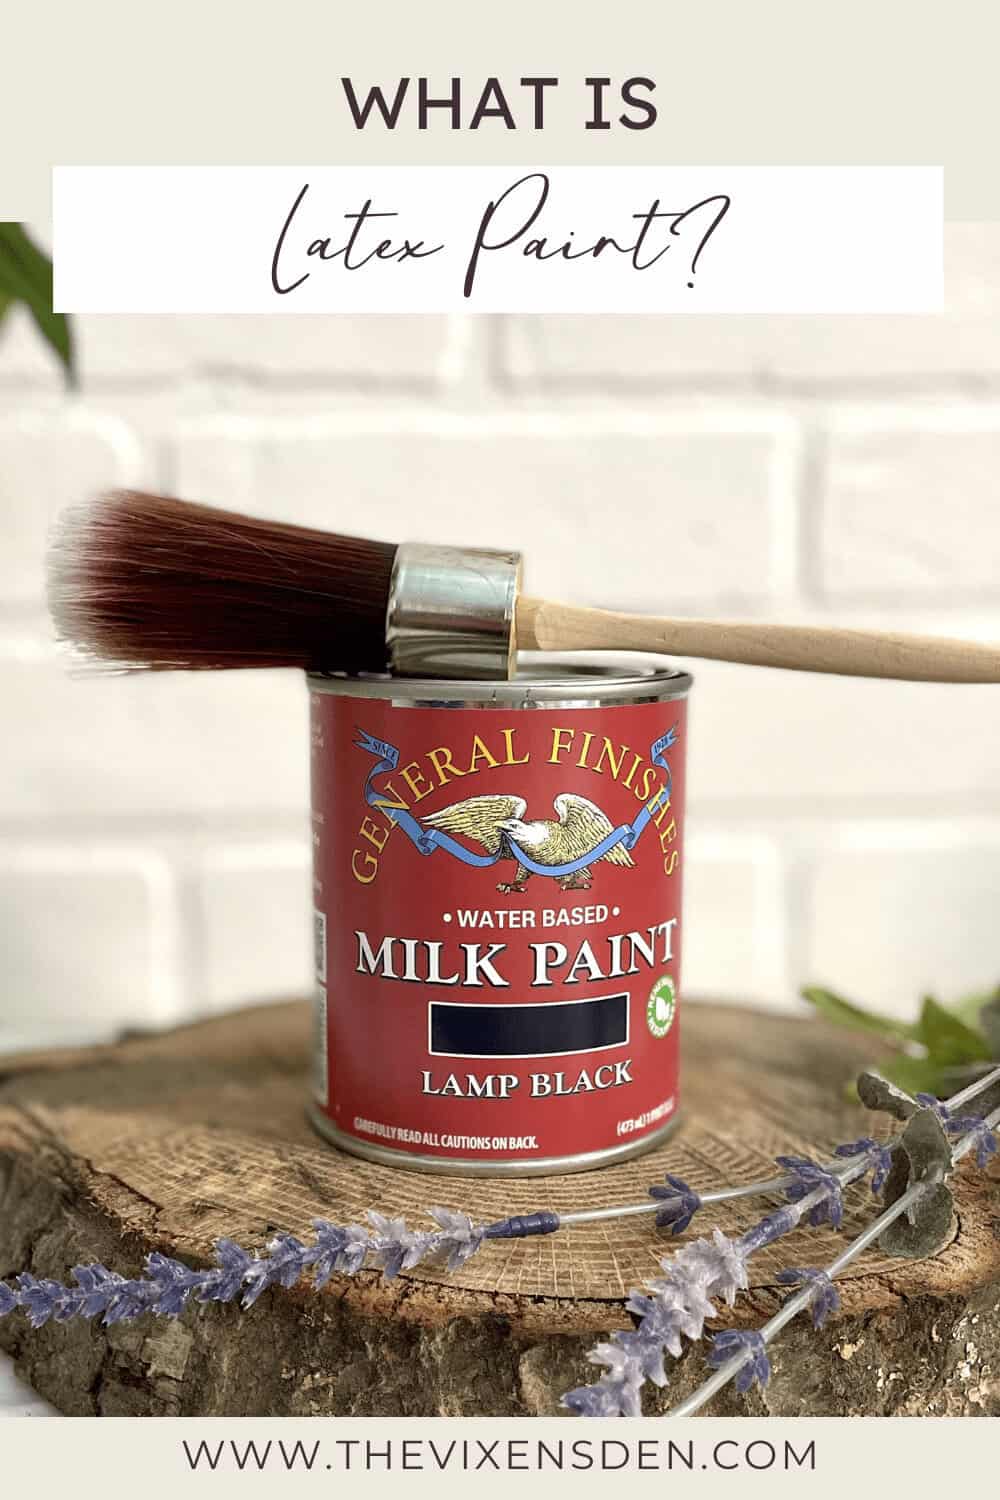
Beginner’s Guide to Latex Furniture Paint
Picture this: you’ve just rescued a sad little dresser from the curb. It’s got good bones, a few battle scars, and just enough sass to earn a spot in your home… but the finish? Let’s just say it’s seen better decades. You could go with chalk paint (hello, farmhouse), or oil-based (hello, smelly garage exile), but you’re craving something different, something colorful, durable, and just a smidge more modern. Enter latex paint, the quiet overachiever of the furniture world.
In this guide, we’ll chat about what latex paint actually is (and why your leftover wall paint definitely isn’t the right choice), take a peek at its history, weigh the pros and cons, help you pick the exact right product for your skill level, and walk step-by-step through application, maintenance, and the occasional “oops” moment. By the time we’re done, you’ll be latex-literate, confidence-primed, and ready to refinish like a pro!
THIS POST CONTAINS AFFILIATE LINKS TO PRODUCTS THAT I HAVE OR WOULD USE.
AS AN AMAZON ASSOCIATE, I EARN FROM QUALIFYING PURCHASES AT NO COST TO YOU.
YOU CAN SEE MY FULL DISCLOSURE HERE.
What is Latex Paint?
Latex paint, in its true form, is a water-based paint with an acrylic or vinyl-acrylic binder. The “latex” part? That’s a marketing throwback. There’s no actual rubber latex in today’s formulas (unless you’re digging into industrial coatings, which is another rabbit hole entirely).
Here’s the nerdy breakdown:
- Binder: The acrylic resin particles that form the paint film when water evaporates. This is where your durability, adhesion, and flexibility live.
- Pigment: Tiny mineral or synthetic color particles that give your paint its hue and opacity.
- Solvent: Water – making it lower-odor, easy to clean, and generally safer for indoor work than oil-based paints.
- Additives: Leveling agents, thickeners, mildew inhibitors…essentially the seasoning blend that tweaks performance.
Why it matters for furniture: Furniture surfaces need a coating that can handle physical wear, cleaning, and shifts in temperature/humidity. That’s where higher-quality 100% acrylic latex (or furniture-specific hybrid latex) steps up, and why “leftover wall paint” usually flunks the test.
Latex Wall Paint vs. Latex Furniture Paint: The Chemistry Deep Dive
You really can’t turn around without running into one post or another where someone swears that latex wall paint is just fine for painting furniture. So, is there a difference between the lovely Alabaster paint covering your walls and that fancy-priced can of boutique latex paint?
Both are waterborne paints, but their formulations are tailored to very different surfaces and uses. The differences are mostly in binder/resin type, pigment load, additives, solids-to-solvents ratios, and durability enhancers. Whew! That’s a lot. Let’s break these all down to see what they mean:
Binders / Resins
Binders and resins are the film-forming components that hold the pigment particles together and provide adhesion to the substrate. Common resins include:
- Acrylic: Offers excellent durability and color retention.
- Vinyl-Acrylic: Provides flexibility and ease of application.
- Styrene-Acrylic: Combines the benefits of styrene and acrylic for specific performance characteristics.
Here’s how wall latex paint and furniture latex paint binders and resins stack up:
- Wall Latex Paint:
- Mostly acrylic or vinyl-acrylic emulsion.
- Prioritizes adhesion to porous drywall or plaster.
- Designed to be flexible so minor wall movement or settling doesn’t cause cracking.
- Usually, lower resin solids make for easy roll or brush application over large areas.
- Furniture Latex Paint:
- Typically, 100% acrylic or a higher-quality acrylic blend.
- Includes more resin solids → harder, more durable film.
- Enhanced adhesion to smooth, non-porous surfaces like MDF, previously painted wood, or sealed furniture.
- Often formulated to resist scuffs, abrasion, and repeated cleaning.
⚡ Takeaway: Wall paints are softer and more flexible; furniture paints cure harder for durability. Using wall paint on furniture can result in denting, chipping, or easy wear.
Pigments and Color Load
Pigments are the magical particles that provide color and opacity. The primary pigment in most paints is titanium dioxide (TiO₂), known for its high refractive index and brightness. Other pigments may include:
- Iron Oxide: Used for earthy tones.
- Carbon Black: Provides black color.
Here is the pigment comparison between latex wall and furniture paints:
- Wall Paint:
- Optimized for coverage over large surfaces.
- Pigments may be lower quality or lower opacity to keep costs down and maintain spreadability.
- May fade faster with repeated cleaning or sunlight exposure.
- Furniture Paint:
- Richer pigment load → higher opacity and better color retention on small, high-touch surfaces.
- Often includes lightfast pigments to prevent yellowing or fading over time.
Additives
Additives are the secret sauces that enhance specific properties of the paint, such as:
- Thickeners: Control the viscosity (thickness) of the paint.
- Surfactants: Aid in the dispersion (how it spreads out) and stability of the paint.
- Mildew Inhibitors: Prevent fungal growth.
- Anti-Skinning Agents: Prevent the formation of a skin on the paint surface during storage.
Although all latex paints have additives, there are distinct differences between the types of additives used for wall vs furniture latex paint:
- Wall Paint:
- Flow agents for smooth rolling and leveling on vertical walls.
- Mildew inhibitors for damp indoor walls.
- Low-cost fillers and thickeners to cover wall imperfections.
- Furniture Paint:
- Anti-scratch or polymer additives for surface durability.
- Flow and leveling agents that minimize brush marks on flat or decorative surfaces.
- Some include built-in adhesion promoters for previously sealed or slick furniture surfaces.
Solids Content
Solids are the binders/resins, pigments, and additives, aside from the solvents, that make up a blend of paint. So, the “volume solids” percentage tells you how much of the paint film actually stays behind once the water/solvents evaporate.
Why Solids Matter
- Higher Solids % = Thicker, Stronger Film
More solids mean more protective binder and pigment left behind. Furniture paints are engineered with higher solids, so each coat builds more film strength, durability, and coverage. - Lower Solids % = Thinner Film
Many wall paints are designed with lower solids. That’s fine for walls (they don’t take a beating), but it means you may need multiple coats for furniture and still end up with a thinner, weaker film.
This is a good overview of the difference between the two:
- Wall Paint:
- Lower solids (~30–40%) → easier to spread thinly over walls.
- Dry film is relatively thin, which works on walls but can wear quickly on horizontal or high-touch furniture surfaces.
- Furniture Paint:
- Higher solids (~50–60% or more) → thicker, more durable dry film.
- Enables smoother finish, fewer coats, and resistance to dings, scuffs, and cleaning.
Typical Solids by Volume (Ranges)
| Paint Type | Typical Solids by Volume | What That Means in Practice |
|---|---|---|
| Latex Wall Paint (Interior) | ~30–35% | Thinner dry film, designed for vertical surfaces that don’t get handled or scrubbed aggressively. May require 2–3+ coats for full coverage. |
| High-Quality Wall Paint (Premium) | ~35–40% | Better coverage and scrubbability for walls, but still not engineered for abrasion resistance. |
| Latex Furniture Paint | ~40–50% | Thicker, denser dry film with more binder and pigment. Provides better adhesion to multiple surfaces, resists scuffs/scratches, and stands up to cleaning. |
| Professional/Industrial Acrylic Enamels | 45–55% | Very high solids for maximum durability. Often self-leveling with excellent hardness. Used in cabinetry and commercial furniture. |
Drying & Curing
Again, drying and curing time are completely related to the type and quantities of solids found in the paint mixtures. More solvents = faster evaporation = faster dry times, but there is a cost:
- Wall Paint:
- Dries fast to touch but remains softer for a longer cure period.
- Can remain sensitive to abrasion for weeks.
- Furniture Paint:
- Dries relatively fast to touch but cures harder, often within 1–2 weeks for light use, and fully cured around 2–4 weeks, depending on the brand and environmental conditions.
- Resists chipping, even under repeated cleaning, better than wall paint.
Odor and VOCs
Odor and VOCs are also directly related to the types and amounts of solvents required to keep the solids active (liquid). In general, paints that have higher durability also have higher VOCs and greater odor:
- Wall Paint:
- Often formulated with lower VOCs for indoor air quality.
- Odor-friendly for large rooms, but may have trade-offs in durability.
- Furniture Paint:
- Also low-VOC options exist, but some higher-performance furniture paints may have slightly higher VOCs for enhanced hardness or leveling.
- Designed for small areas, so VOC impact is more localized and manageable.
Chemical Composition Comparison: Latex Wall Paint vs. Latex Furniture Paint
| Component | Latex Wall Paint | Latex Furniture Paint |
|---|---|---|
| Binder/Resin | Typically, vinyl-acrylic or styrene-acrylic emulsions. These provide flexibility suited for walls. | Primarily 100% acrylic emulsions, offering a harder, more durable finish suitable for high-touch surfaces. |
| Pigments | Contains titanium dioxide (TiO₂) for opacity and calcium carbonate as a filler, approximately 25–30% by weight. | Higher concentration of titanium dioxide, ranging from 30% to 50% by weight, for better coverage and color retention. |
| Additives | Includes surfactants for dispersion, thickeners for viscosity, and mildew inhibitors. | Enhanced with anti-scratch agents, flow and leveling agents, and adhesion promoters. |
| Solids Content | Lower solids content (~30–40%), leading to a thinner film. | Higher solids content (~50–60%), resulting in a thicker, more durable film. |
| Drying Time | Dries quickly to touch but remains soft for longer periods. | Dries to touch within hours and cures to a hard finish within 2–4 weeks. |
| Durability | Designed for vertical surfaces; may not withstand abrasion or frequent cleaning. | Engineered to resist scuffs, scratches, and cleaning, making it suitable for furniture. |
Key Implications for Furniture Flippers
- Durability Risk: Wall paint is much softer → easy chipping, denting, and scuffing on tabletops, chairs, and dressers.
- Finish Feel: Wall paint can feel “thin” or chalky, even with multiple coats. Furniture paint feels more solid and protective.
- Cleanability: Wall paint doesn’t usually tolerate repeated wet cleaning. A furniture surface demands something that can withstand wiping, spills, and grease.
- Adhesion: Wall paint may not stick reliably to prefinished or sealed furniture without sanding or priming.
✅ Bottom line: Wall paint can work for decorative, low-use furniture or when cost is a priority, but it is not designed for the demands of functional furniture. True furniture latex paints are engineered for the durability, smooth finish, and cleanability furniture needs.
A Peek Into Latex Paint History
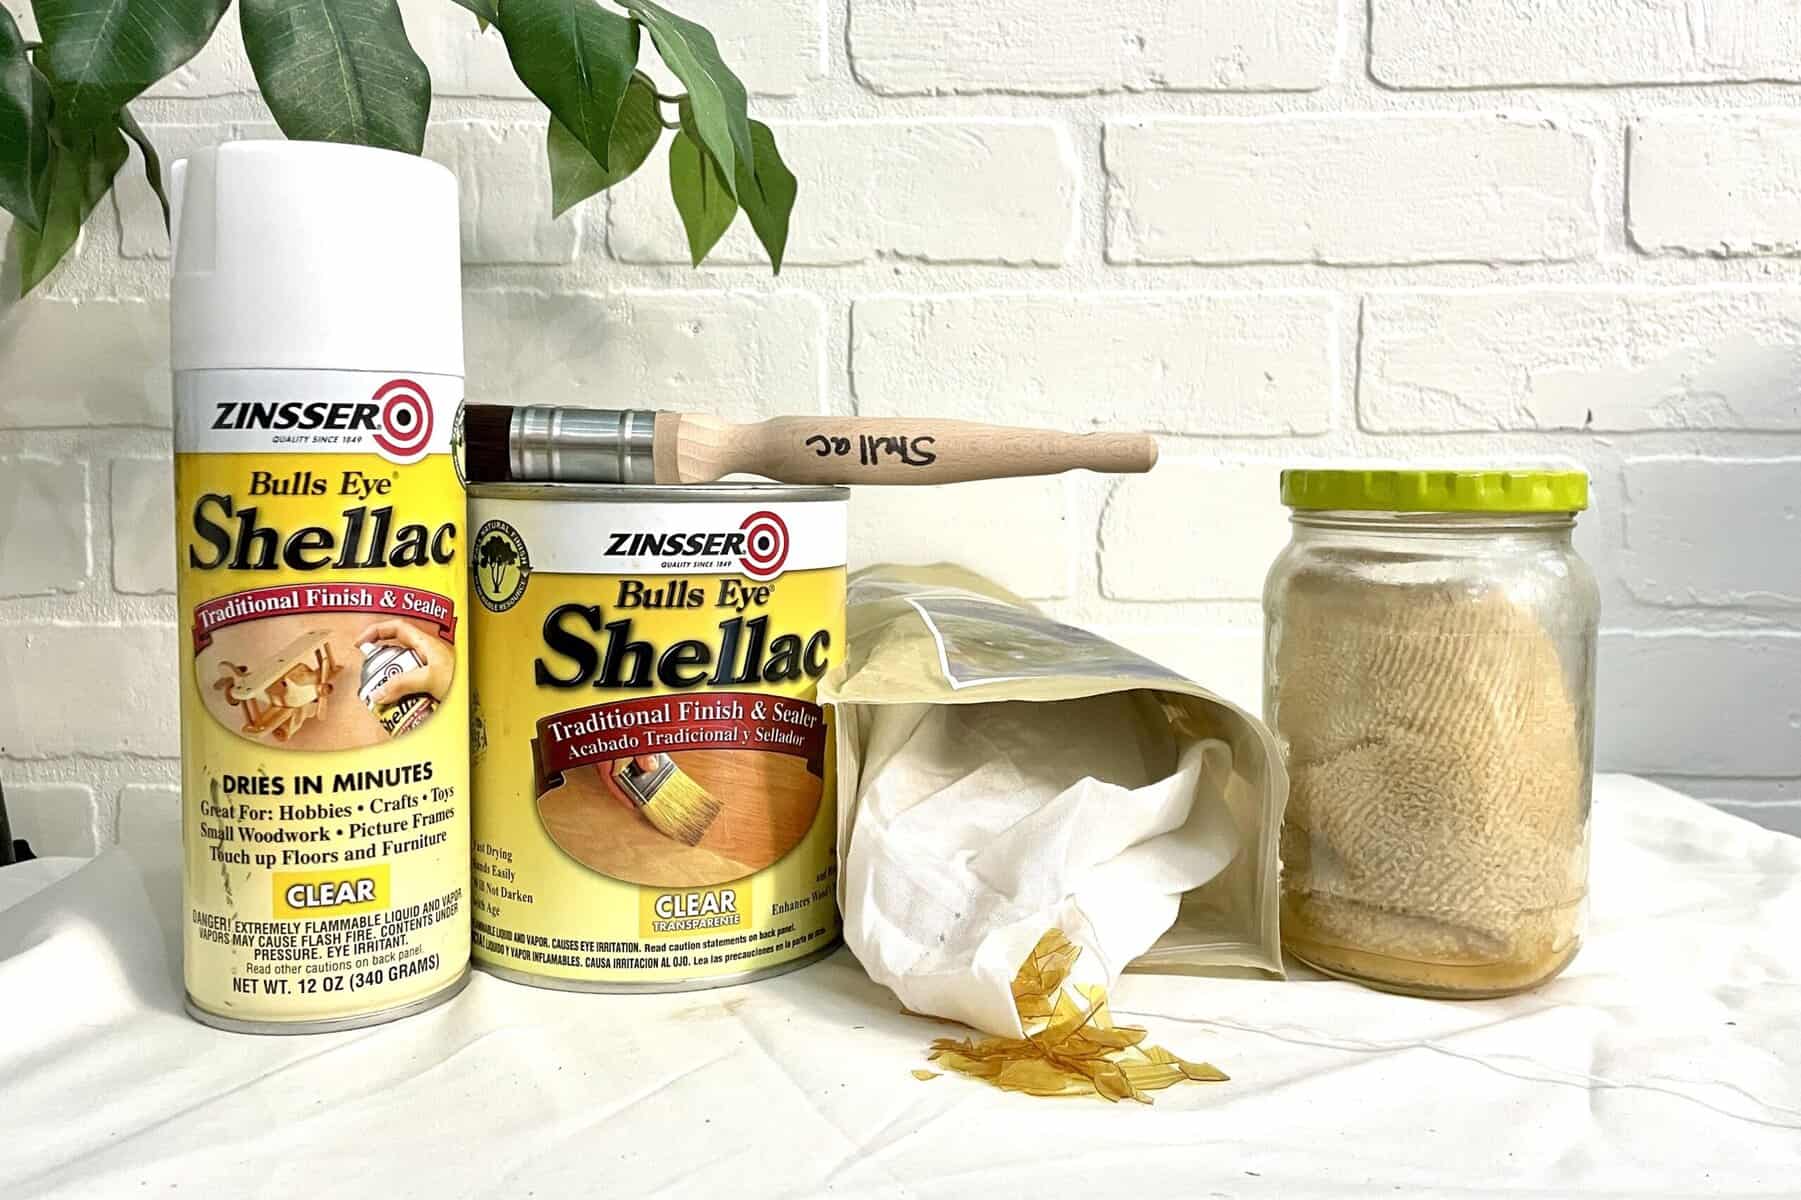
Did you know that, much like shellac and true lacquer, true latex is a plant-based material?
The Original Latex: Rubber From Trees
Natural rubber latex is a sap found in the rubber tree. It’s been used by the Indigenous peoples in the Amazon basin long before Europeans arrived. They used it to waterproof shoes and make balls for games. When Christopher Columbus and Charles-Marie de La Condamine (1736–1744 expedition) encountered rubber, they brought samples back to Europe. Scientists experimented with it, fascinated by its elastic properties.
From Rubber to Coatings
Charles Goodyear’s vulcanization process (1839) stabilized rubber by heating it with sulfur. This made rubber more durable and opened the door to wider industrial uses, including early coatings and adhesives. In the early 1800s, chemists tried dissolving natural rubber latex in solvents like turpentine or benzene to make waterproof coatings. These weren’t “latex paints” yet, but they were the first experiments in rubber-based coatings.
The Big Shift: Synthetic Latex
By the early 20th century, natural latex was expensive and limited. Chemists began creating synthetic latexes; emulsions of polymers (styrene, butadiene, vinyl acetate) dispersed in water. Otto Röhm (yes, of Röhm & Haas, later a major paint chemical supplier) did pioneering work in the 1910s–1920s on acrylic resins and emulsions. These synthetic latexes could be engineered for different properties (flexibility, adhesion, hardness) and were far more predictable than tapping rubber trees.
The First True “Latex Paints”
In 1933, the German chemical company IG Farben introduced the first commercial emulsion paint based on polyvinyl acetate (PVA). This was the first “true” latex paint in the modern sense. After World War II, PVA and acrylic emulsion paints spread quickly in the U.S. and Europe because they were easier to clean up with water, less toxic than oil-based paints, and more environmentally friendly.
The “Latex Paints” of Today
The real breakthrough was in 1941, when Sherwin-Williams introduced the first commercially successful waterborne latex house paint. By this point in history, the paint industry borrowed the word “latex” to describe any waterborne polymer emulsion, even though there’s no natural rubber latex in it anymore. That’s why we still call them “latex paints,” even though they’re really acrylic or vinyl emulsions in water.
Fun trivia for your next DIY chat:
- Furniture refinishing wasn’t the original target market. That shift came as DIYers figured out that acrylic latex could mimic the smoothness of oil without the stink or slow dry.
- The “latex” label originally meant natural latex rubber in early formulas. True latex is long gone from today’s paint formulas, but the name stuck.
- The first consumer-grade acrylic latex paints were marketed as time-savers for busy homemakers in post-war America (color + convenience was the pitch).
Where and Why to Use Latex Furniture Paint
| Where It Shines | What’s to Love | What’s Not to Love |
|---|---|---|
| Indoor furniture, cabinets, and shelving | Low odor, water cleanup, good adhesion with proper prep | Softer film than oil, the latex paint finish may dent under heavy abuse |
| Light-use tables and desks | Wide color availability, affordable, beginner-friendly | May need a topcoat for extra protection |
| Children’s furniture and play items | Safer than solvent-based coatings, low-VOC | Not as scratch-resistant as a catalyzed finish |
| Decorative or accent pieces | Smooth application, self-leveling in premium grades | Longer cure time than chalk paint |
Which Latex Furniture Paint is Right for You?
When we went hunting for the best of the best latex paints, we weren’t just swiping color chips and calling it a day. Oh no. We rolled up our sleeves and ran down every research rabbit hole possible. We looked at what’s inside (hello, solids and pigment power!), how easily they apply, and whether they can handle the everyday chaos of real life. Because no matter how many coasters are available, there will still be scuffs, spills, and that one chair everyone seems to drag across the floor.
While there are lots of amazing paints out there, only the champs that delivered style, smooth sailing, and stamina made the cut, so your furniture makeover is as fabulous as it is fearless.
| Skill Level | Product | Pros | Cons |
|---|---|---|---|
| Beginner | Behr Cabinet & Trim Enamel (100% Acrylic Latex) | Widely available, easy to apply, self-leveling, budget-friendly | Needs topcoat for heavy-use surfaces |
| Creatively Confident | General Finishes Milk Paint (Acrylic Latex) | Furniture-specific formula, excellent adhesion, brush-mark-free finish, forgiving of minor prep | Pricey per quart, limited in some retail locations |
| Pro | Benjamin Moore Advance (Hybrid Latex) | Oil-like durability, professional-level smoothness, self-leveling, great for spraying or brushing | Long cure time, sensitive to over-brushing |
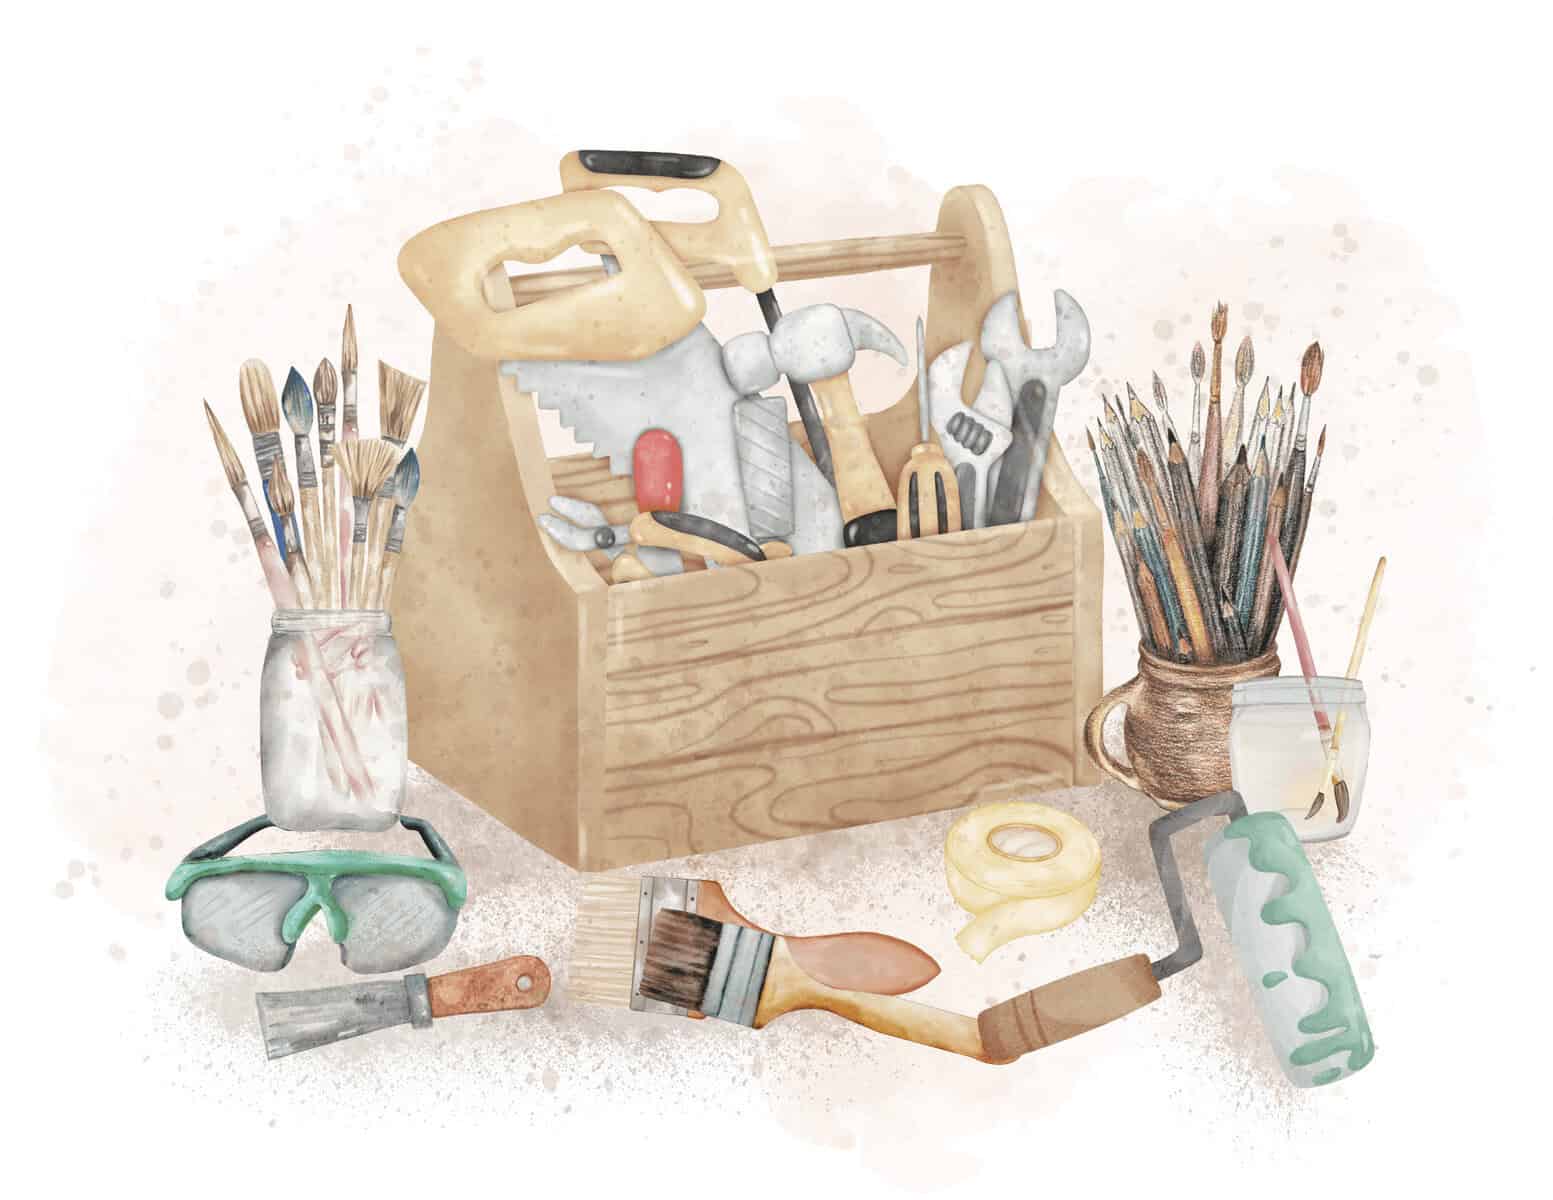
What’s in the Finishing Toolkit
Tools
- Vacuum and microfiber cloth to remove dust
- Stir sticks
- Painters pail
- Optional: painters pail liner
- High-quality synthetic bristle brush or foam roller for smooth application
- Drop cloth
- Nitrile gloves
- Goggles
- Ventilation
- Optional: mini-spray gun for large surfaces
Materials
- Sandpaper (120, 180, and 220 grits)
- Deglosser or TSP substitute for cleaning
- Painter’s tape
- Primer compatible with latex (bonding primer for slick surfaces)
- Your chosen latex paint
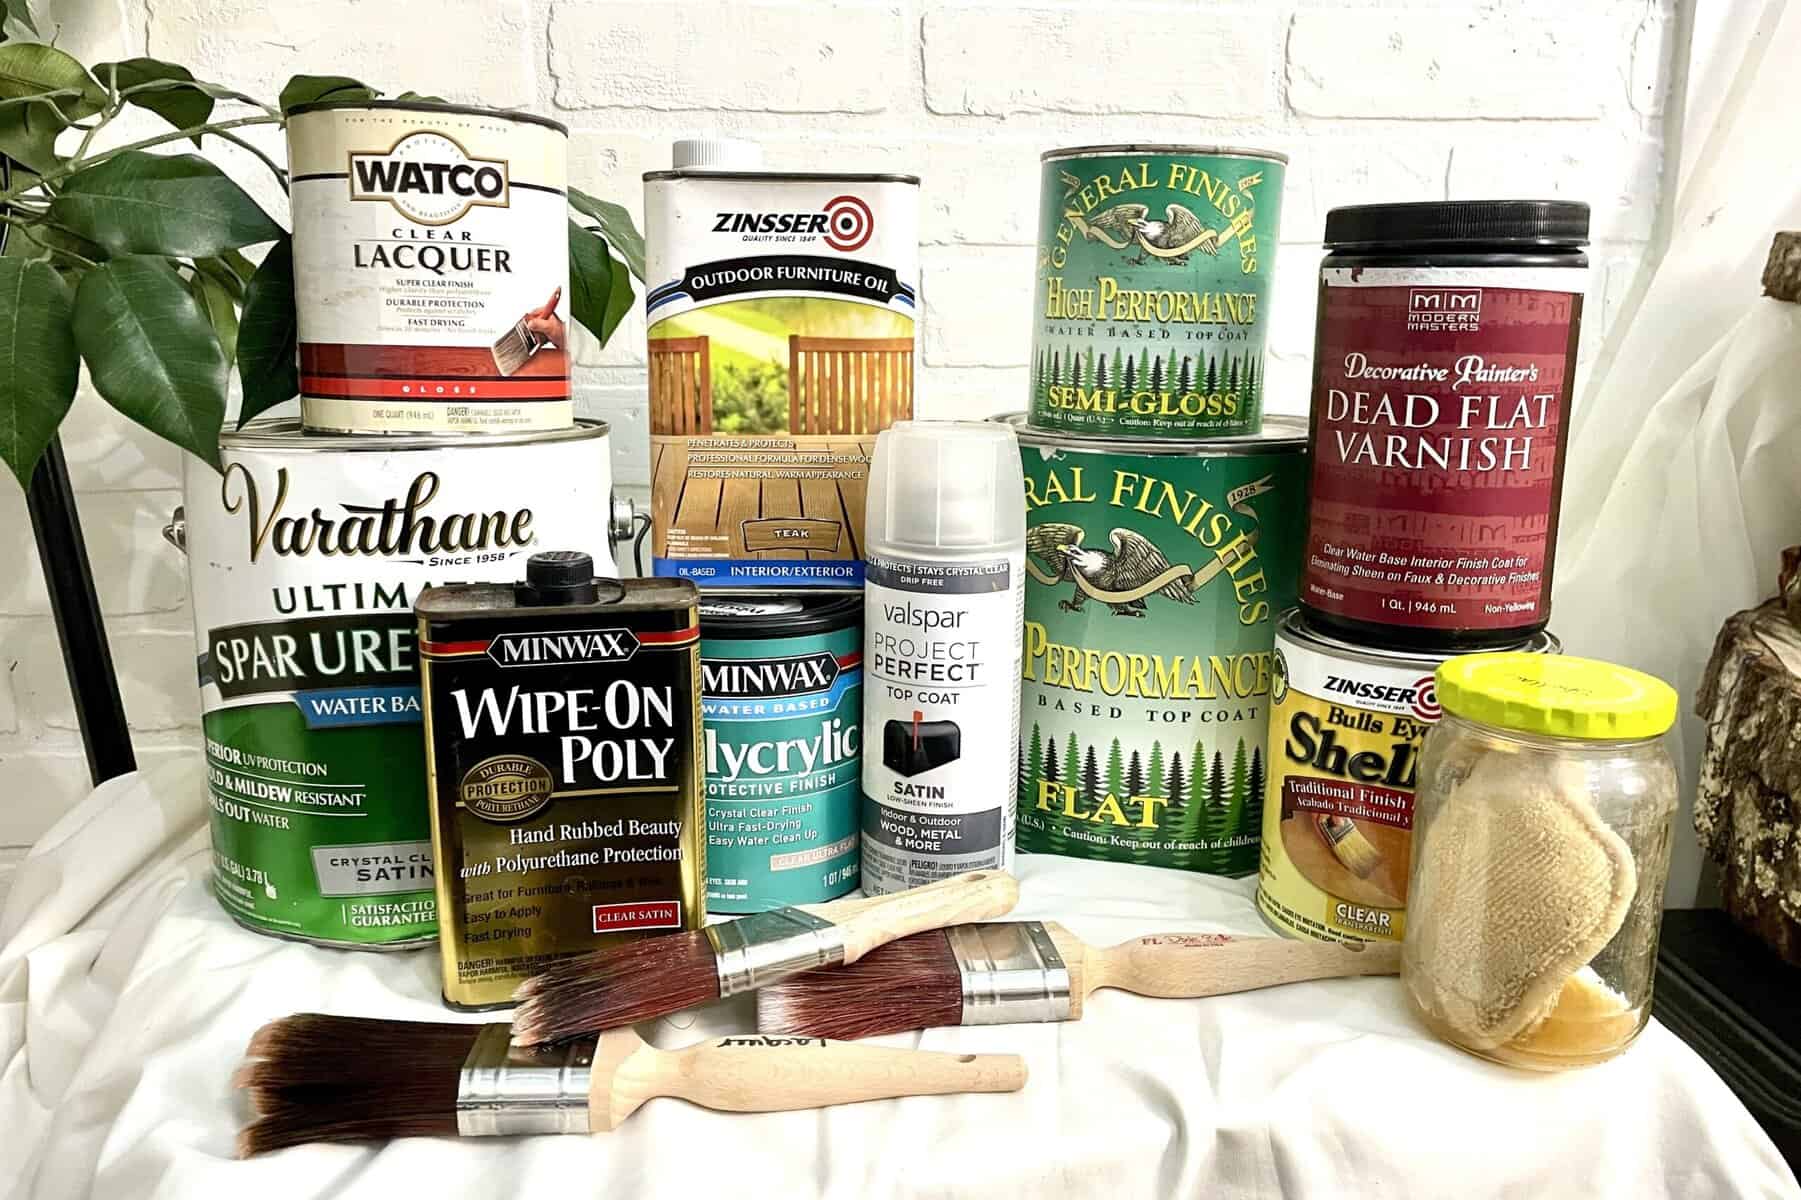
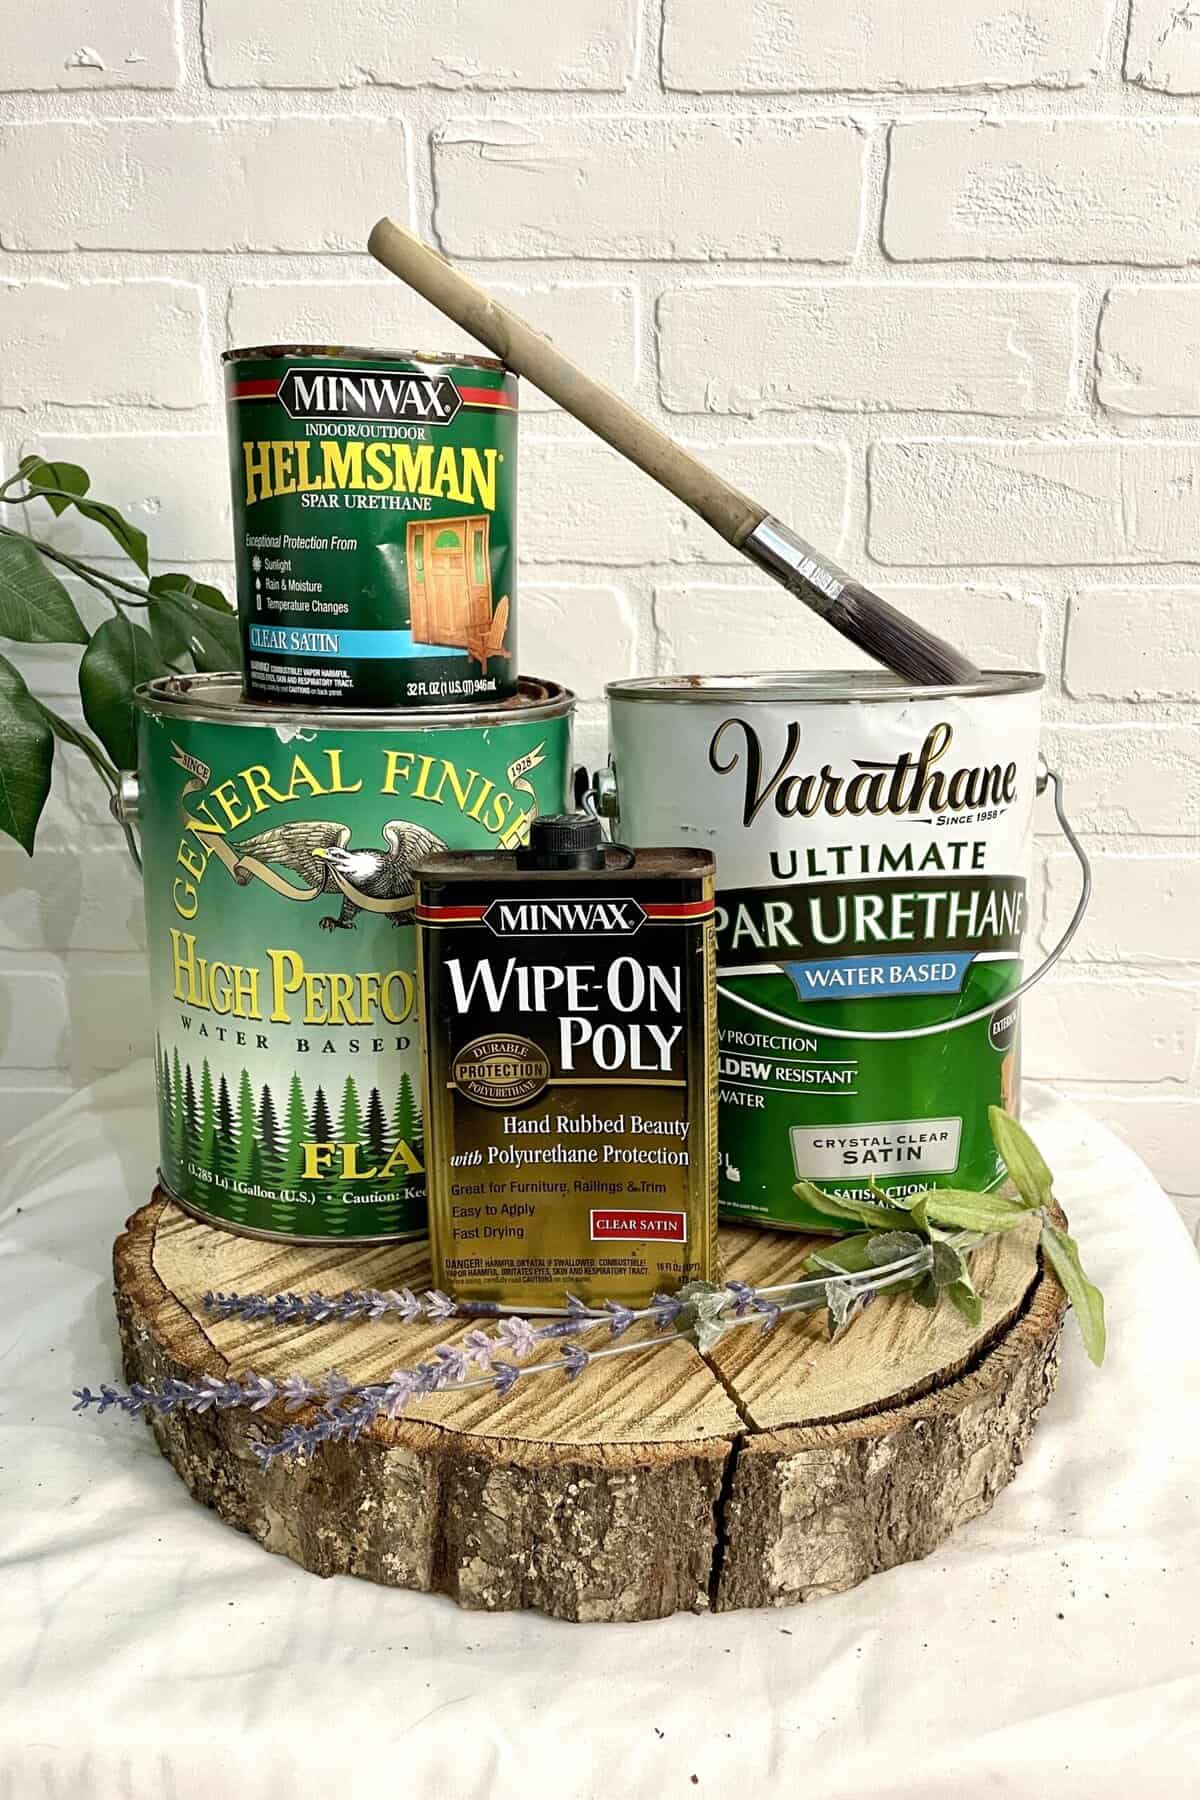
- Optional: Water-based polyurethane or Polycrylic for topcoating high-wear pieces
Pro Tips: Before You Begin
- Thin coats win → heavy coats trap water, extending cure time and risking surface wrinkling.
- Wall paint ≠ furniture paint → even if it’s acrylic latex, wall paint formulas often lack the hardness you need.
- Don’t skip primer → unless the label explicitly says it’s self-priming for furniture (and even then, test first).
- Mind the weather → humidity over 70% or temps below 50°F can ruin drying and curing.
- Protect your work → a durable topcoat (polycrylic for light colors, water-based polyurethane for darks).
Step-by-Step Latex Furniture Paint Application Guide for Beginners
1. Choose Your Paint Partner Wisely
- Why: Not all latex paints are created equal. Some are meant for walls, others for trim, and only the right few behave beautifully on furniture.
- Pick: Start with our Beginner Best of the Best – Behr Premium Plus Interior Latex. It’s forgiving, easy to find, and won’t overwhelm you on your first rodeo.
2. Don Your PPE
- Why: Even though latex paints are generally lower VOC than oil-based paints, they can still make you sick or cause an allergic reaction, and it’s super easy to splash paint in your eye.
- Bare Minimum: If you’re going full rebel, at least crack the windows for ventilation. You may be able to make it to the sink to flush paint from your eyes, but not if you’re passed out on the floor.
3. Prep Like a Pro (Even If You’re Not One…Yet)
- Clean: Wipe your piece with a mixture of water and TSP. Furniture loves a good bath, and this beauty rinse has the added benefit of removing grease, grime, and glossiness from the previous finish.
- Scuff Sand: A quick rub with 220-grit sandpaper. This gives the surface a little “tooth” so paint sticks instead of skating around like socks on hardwood.
- Dust Off: Vacuum, then wipe clean with a slightly damp microfiber cloth. No crumbly bits left behind! Dust is the enemy of smooth finishes.
Pro-Tip: If your furniture has an old glossy finish, don’t skip this step. Latex hates slippery surfaces.
4. Prime (Your Furniture and Yourself)
- When: If the wood is dark, stained, or likely to bleed tannins (looking at you, mahogany and cherry), use a stain-blocking primer first.
- Why: Latex is a champ at covering color, but it can’t fight through oily bleeds or deep reds that resurface like a bad ex.
5. Tools of the Trade (a.k.a. Shopping Justification)
- Brush: A high-quality synthetic brush (nylon/polyester blend). Smooth bristles = fewer streaks. (We’re talking bunny-fur soft, here! Pick the perfect one here.)
- Roller: A smooth foam roller for wide flat areas, like tabletops and dresser fronts.
- Optional Sidekick: Small detail brush for edges, carvings, or those sneaky inside corners.
6. Think Thin, Don’t Slather
- Apply Thin Coats: Dip just the tip of your brush into the paint, wipe drips against the edge of the paint container, swipe the paint along the surface of the furniture, and then feather it out. You want a graceful glide with the slightest drag against the bristles as you feather out the edges.
- Watch for Drips: Latex has a sneaky way of sagging if you overload. Catch them early, while they’re wet, and feather them out.
Pro Tip: Good lighting is your friend here! Casting light from different angles (think, phone flashlight) can help you spot those sneaky sags and drips that show up long after you’ve moved on to painting the next section.
7. The Waiting Game (aka, Walk Away, My Friend)
- Dry Time: Latex feels dry in 1–2 hours, but resist the urge to recoat too soon. Wait at least 4 hours between coats.
- Why: Rushing leads to peeling or gummy spots. Go make cookies or binge a show. You’ve earned the break.
8. Second (or Third) Date
- Apply Again: Most pieces need 2–3 coats for full, even coverage.
- Don’t Panic: The first coat often looks patchy and weird. Embrace the messy middle and trust the process. The magic happens in layers.
9. Optional: Topcoat or Skip It?
- Skip It: Occasional tables and decorative pieces that won’t see heavy hands-on daily use can get by without a topcoat. Latex already cures into a protective, durable film.
- Topcoat It: Heavily loved pieces (like desks, kitchen chairs, or end tables) benefit from a little help staying gorgeous under fire: Seal with a water-based polycrylic for extra armor.
10. Cure Time = Patience Challenge
- Touch Dry: A couple of hours.
- Usable: Within a few days.
- Fully Cured: About 30 days. Yes, a whole month. Don’t stack books or put heavy décor back too soon, or you’ll leave forever tattoos in your finish.
Application Best Practices
- Ideal temperature: 60–80°F
- Ideal humidity: 40–60%
- Dry time between coats: 4–6 hours (check label)
- Full cure time: 21–30 days (hybrids like Advance can take longer)
- Number of coats: 2–3 for solid coverage and durability
When & How to Refresh Latex-Painted Furniture
Refreshing latex-painted furniture is like giving your favorite jeans a new hem: not a full rebuild, just a smart little tune-up so they keep looking sharp.
1: Spot the Signs That a Refresh Is Needed
Latex paint is tough, but not invincible. Here’s when your furniture starts raising its little white flag:
- Scuffs & scratches → Surface-level dings that distract from the finish.
- Shiny-to-dull patches → Areas where the protective coat has worn thin from use.
- Color fade → Especially near windows or under lamps where UV rays do their thing.
- Chips or peeling → If you see edges curling up or full chips missing, it’s time.
- Sticky finish (especially on tabletops) → That’s a sign the topcoat has worn down and oils, grime, or cleaners are getting into the paint layer.
Pro Tip: If it’s structural damage (like broken joints or deep gouges), this is beyond a refresh; you’re looking at a repair plus refinish.
2: Gather Your Trusted Tools
No gimmicks—just what works. Here’s your refresh toolkit:
- Cleaner: Distilled water + a TSP or Krud Kutter (our heavy-duty duo).
- Sanding sponge: Medium/fine grit (220 is your sweet spot).
- Touch-up paint: Your original latex (Benjamin Moore Advance, Sherwin-Williams Emerald Urethane, or Behr Premium Plus, depending on what you used).
- Small angled brush: High-quality, synthetic bristles (Purdy or Wooster are keepers).
- Topcoat: General Finishes High Performance (water-based poly) or Varathane Water-Based Polyurethane for furniture durability.
- Lint-free cloths + tack cloth for dust patrol.
3: Clean Before You Dream
- Wipe the surface with your TSP or Krud Kutter-water mix.
- Rinse with distilled water.
- Let dry completely.
This removes oils and grit that would block fresh paint or poly from bonding.
4: Smooth the Scuffs
- Lightly sand only the problem areas with your sanding sponge.
- Feather out the edges of chips so they blend into the surrounding paint.
- Wipe down with a tack cloth.
Pro Tip: Think, buffing your nails. You’re smoothing, not stripping.
5: Touch Up the Paint
- Stir (don’t shake!) your paint to avoid bubbles.
- Use your angled brush for precision.
- Apply a thin, even coat just where it’s needed.
- Let dry as per manufacturer’s directions (usually 4–6 hours).
- If coverage still looks uneven, add a second thin coat.
Pro tip: Feather the edges into the old paint so the touch-up blends seamlessly.
6: Seal the Deal
Once touch-ups are fully dried:
- Apply one to two thin coats of your chosen topcoat with a high-quality brush or foam applicator.
- Sand lightly with a fine sponge (320 grit) between coats for glassy smoothness.
- Let it cure for at least 24 hours before regular use (longer for tabletops, at least a week).
Pro Tip: Keep up with weekly cleaning to prevent dust and grime from grinding into the surface. Refresh the topcoat every 2–3 years for high-use furniture (like tables and desks).
Big Picture Takeaway: Refreshing your latex-painted furniture isn’t about stripping everything back. It’s a targeted rescue mission for those battle-worn spots. When you keep up with these small tune-ups, your furniture won’t need a dramatic rescue later. It’ll just keep glowing right alongside you.
When It’s Time for a Full Latex Paint Refinish: A Step-by-Step Guide
1: Spot the Clues That Say “Refinish Me!”
Your furniture will quietly (or not-so-quietly) let you know when a refresh won’t cut it. Signs include:
- Peeling or cracking paint → the finish looks like it’s shedding a snake skin.
- Deep gouges or water rings → scratches or stains that cut through layers.
- Sticky or tacky finish → sometimes old latex doesn’t cure properly anymore.
- Multiple mystery layers → if a piece has been repainted a few too many times, the buildup starts looking lumpy.
- Warped or failing substrate → swollen particleboard, loose veneer, or rotten wood peeking through.
If two or more of these are happening, you can safely say: “We’re going all in.”
2: Assemble the Refinish Kit
You don’t need a pro’s workshop, just the right lineup:
- Protective gear: gloves, goggles, mask (because dust and stripper fumes = no joke).
- Drop cloths & painter’s pyramids: keep the workspace clean and the furniture off the ground.
- Gel stripper (Zar or Jesco): fast and effective.
- Plastic scraper: for gentle stripping without gouging wood.
- Mineral spirits (odorless, Klean Strip Green) to clean residue.
- Sanding gear: orbital sander with 120, 180, and 220-grit discs + sanding sponge (for finishing).
- Wood filler (Timbermate or DAP Plastic Wood): for chips and dings.
- Primer (Zinsser BIN shellac-based or Zinsser 123 water-based): depending on finish goals.
- Preferred latex paint: Benjamin Moore Advance (hybrid) or Sherwin-Williams Emerald Urethane (hybrid) for pros, or Sherwin-Williams Captivate for beginners.
- Topcoat (if needed): General Finishes High Performance Poly for extra durability.
3: Strip the Old Finish (Breakup Time)
- Apply a thick coat of stripper with a chip brush.
- Wait 15-20 minutes (This is the perfect time to grab a cup of coffee!)
- Scrape gently with a plastic scraper, working with the grain.
- Pro Tip: An old coffee can or small cardboard box is perfect for scraping residue off into!
- If the finish is not removing easily, reapply stripper and wait 10 more minutes. Repeat.
- Reapply stripper in stubborn areas. Patience pays off.
- Wipe down with mineral spirits to neutralize the surface. Let it dry overnight.
Pro Tip: A lot of so-called “pros” will recommend just sanding the finish off. While that might seem quicker, it’s also a great way to grind dirt, paint, and other contaminants into the grain of the wood, which can cause adhesion problems down the road. And that’s just one of a whole post-worth of problems that sanding can cause. Skip the quick and easy path that leads to long-term heartbreak. In this case, slow and steady wins the race.
4: Sand to a Smooth Base
- Start with 120-grit to remove residue and level the surface.
- Move to 180-grit for smoothing.
- Finish with 220-grit for a silky, paint-ready surface.
- Hand-sand tricky corners with a sponge. No furniture residue left behind.
5: Repair Like a Pro
- Fill holes, gouges, and dents with wood filler.
- Let it dry fully, then sand flush.
- Check edges and corners for hidden gouges. These areas love to betray an otherwise perfect finish.
6: Prime for Success
- Use shellac-based primer (BIN) if stains or tannins might bleed through.
- Use water-based primer (Zinsser 123) for a smoother latex-on-latex recoat.
- Lightly sand with 220-grit after priming to knock down raised fibers.
7: Apply Fresh Paint
- Stir (don’t shake) the paint to avoid bubbles.
- Use a high-quality synthetic brush (Purdy Nylox) or a foam roller.
- Apply thin coats. Two to three is usually perfect.
- Lightly sand between coats with 320-grit for a flawless, pro look.
8: Add Topcoat (Optional but Smart)
If your piece will face daily use (like a dresser or table), a topcoat seals the deal.
- Brush or spray General Finishes High Performance Poly in satin or semi-gloss.
- Apply two thin coats, sanding lightly between.
9: Cure & Celebrate
- Let the piece cure at least 7 days before heavy use (yes, that means no plopping a potted plant on it right away).
- Move it back into its spotlight, style it up, and maybe even give it a little pat for enduring the makeover.
Removing Latex Paint
Sometimes the paint job has seen too much (chipping, deep gouges, wrong color, layered disasters). Let’s strip it down and start fresh.
1: Assess the Battlefield
- Wax finish? Remove first with mineral spirits + rag.
- Poly topcoat? You’ll need to sand or chemically strip—it’s a stubborn shield.
- Unsure? This post will help you identify the enemy and craft your strategy!
2: Choose Your Removal Method
- Paste chemical stripper (like Zar or Jasco): Apply thick, let sit, then scrape.
- Heat gun: Effective but risky, keep moving to avoid scorching.
- Sanding: Not recommended due to the potential for damage..
3: Strip the Paint
- Scrape off softened paint with a plastic scraper.
- Reapply stripper as needed until you see raw wood.
4: Sand for Smoothness
- Start at 120-grit, then move up to 180 or 220-grit for a smooth, ready-to-refinish surface.
5: Neutralize & Clean
- If you used a chemical stripper, follow the instructions to neutralize residue.
- Let dry thoroughly.
6: Celebrate the Bare Wood Moment
- It’s like unwrapping a surprise! You never quite know what’s underneath until it’s free again.
7: Decide the Next Chapter
- Will it be a new latex paint shade? Or maybe something bold like milk paint, chalk paint, or even natural oil? (We love options!)
Caring for Your Latex Paint Furniture Finish
Keeping your furniture clean is like washing your hands during flu season, the first and easiest line of defense. To keep your latex-painted surfaces glowing, here’s a step-by-step cleaning guide, whether your finish is “pure” latex or armored with a poly topcoat:
Before You Touch that Spray Bottle
- Confirm the paint is cured. Remember, dry time is not the same as cure time. Read the guidelines on the paint can. If in doubt, 30 days is a great rule of thumb. Wait at least that long before cleaning beyond a gentle dry dusting.
- Dry dust first. Use a clean microfiber to remove grit that could scratch during wet cleaning.
Gentle Routine Clean
- Mix your solution. In a small bucket, combine distilled warm water with a few drops of Orvus WA cleaner.
- Spot test. Dab a hidden corner, then check for color transfer or softening.
- Wipe lightly. Dampen (don’t soak) a microfiber cloth, wring well, and wipe with minimal pressure. Follow with a second cloth dampened in distilled water to remove soap residue; then towel dry. (Avoid letting cleaner dry on the surface.)
When Life Gets Messy
- Grease or kitchen haze: Step up to a slightly stronger dish-soap mix (or a mild, grease-cutting detergent), then rinse thoroughly with distilled water.
- Mildew (rare indoors but possible in damp areas): Treat the painted surface only after spot-testing with a 3:1 water:bleach solution, scrub gently with a soft brush, then rinse thoroughly and dry. Ventilate well.
Hard No’s (To Protect the Film)
- Skip abrasives, scouring pads, and melamine “eraser” sponges on furniture-grade painted surfaces—these are micro-abrasive and can dull or burnish the sheen. Use soft microfiber or cotton flannel cloths instead.
- Avoid ammoniated or strong-solvent cleaners; they can damage the paint film or leave residues that complicate any future touch-ups.
Step-by-Step: Cleaning Latex Paint + Water-Based Poly Topcoat
(Think General Finishes High Performance, Minwax Polycrylic, Varathane Water-Based Poly, etc.)
Before You Wet Clean
- Let the topcoat fully cure. Typical guidance for water-based polys is about 21 days before routine cleaning; some products allow light use sooner, but reserve washing until fully cured.
- Dry dust first. Same reason as above/ Remove grit to prevent micro-scratches.
Routine clean (manufacturer-recommended)
- Start with plain, distilled water. Wipe with a barely damp microfiber.
- Take it up a notch. For deeper cleaning, mix distilled water with a drop of Orvus WA detergent added to your damp cloth. Immediately follow with a wipe of plain distilled water and dry.
- What not to use on water-based polys:
- No oil soaps or silicone polishes—they leave residues and can cause adhesion problems later.
- No ammonia/strong alkaline cleaners—they can haze or dull the acrylic/urethane film.
Stubborn spots
- Sticky spills or rings: Soften with a warm, soapy microfiber cloth laid on the spot for a minute, then wipe, rinse, and dry. A diluted mix of dish detergent is acceptable for clear topcoats. Re-treat rather than scrubbing hard. (The goal is dwell time, not abrasion.)
- Skip melamine “erasers,” scouring powders, and abrasive pads – they can burnish or cut the sheen on clear coats.
Red flags while cleaning (both categories)
- Color on your cloth, a soft/draggy feel, or rapid dulling = stop, rinse with distilled water, let the surface rest, then reassess. These are signs the film isn’t fully cured or the cleaner is too aggressive.
| Task | When to Do It | Paint (Latex + Topcoats) | Why It Matters |
|---|---|---|---|
| Dusting | Weekly (or as needed) | Use a soft, dry microfiber cloth. (Avoid feather dusters as they can scratch.) | Prevents buildup of grit that can abrade the painted or clear-coated surface. |
| Light Cleaning | Every 2–4 weeks | Wipe gently with a microfiber cloth dampened with distilled water, then dry. | Safe, neutral option that won’t stress latex or clear coats. |
| Deep Cleaning | Every 3–6 months | Mix a pea-sized amount of Orvus WA Paste in 1 quart of distilled water. Wipe, rinse with distilled water, and dry. | Removes oils and grime with a pH-neutral solution trusted in conservation. |
| Heavier Cleaning | As needed (when grime persists) | Mix 1–2 drops of Dawn dish soap in 1 quart of distilled water. Wipe, rinse thoroughly with distilled water, and dry. | Breaks down oily residues safely without harming latex finishes. |
| Last Resort | Rare, only for stubborn residues on clearcoat Pro Tip: Avoid using on bare latex paint | Dilute white distilled vinegar (1 part vinegar:4 parts distilled water). Wipe, rinse immediately with distilled water, and dry. | Mild acid cuts through mineral deposits or sticky residues, but frequent use can dull finishes. |
| Avoid | Always | Do not use ammonia cleaners, bleach, abrasive pads, strong solvents,or silicone/oil polishes. | These can soften, cloud, or strip latex paint and clear coats. |
Don’t forget the easiest protection of all:
- Use those coasters! Coasters, placemats, and felt pads protect against scratches and water rings.
- Wipe those spills! Avoid prolonged exposure to standing water
- Keep it chill! Avoid exposure to extreme heat (aka, your table top is not an ironing board).

Common Latex Furniture Paint Mistakes (And How to Fix Them)
| Mistake | Why It Happens | Fix |
|---|---|---|
| Peeling | Poor prep or skipped primer | Sand, prime, and recoat |
| Brush marks | Over-brushing or using the wrong brush | Use quality synthetic brushes, work in one direction |
| Sticky finish after weeks | Heavy coats or high humidity | Sand lightly, allow more time to cure |
| Fading color | Low-quality paint or UV exposure | Use higher-grade paint, topcoat with UV protectant |
FAQs
Q: Can I skip primer with latex paint?
A: Only if the paint is self-priming and your surface is dull, clean, and in good shape. For glossy or damaged surfaces, always prime. It doesn’t matter what the latest TikTok sensation or “DIY painting hacks expert” says. ALWAYS PRIME.
Q: Is latex paint safe for baby furniture?
A: Once fully cured, water-based latex paints are considered non-toxic, but always choose low or zero-VOC formulas just to be safe.
Q: Do I need to topcoat latex paint?
A: Not always. For decorative or low-use pieces, it’s optional. For tabletops, kids’ furniture, or kitchen cabinets, it’s a smart move.
The Final Wrap-Up: Is Latex Furniture Paint Right for You?
Latex Paint is a Good Choice if:
- Your piece is low- to medium-traffic (e.g., accent tables, dressers, bookshelves).
- You want smooth, brush-stroke-free coverage. Latex levels nicely when applied with a high-quality brush or sprayer.
- You prefer a wide range of colors and finishes. Latex comes in matte, satin, semi-gloss, and gloss.
- You’re working indoors. Water-based = low odor, quick cleanup, and beginner-friendly.
- You plan to seal with a protective topcoat. Latex + polycrylic = a winning team for durability.
Latex Paint might NOT be the best choice if:
- The piece will get heavy daily use. (Think dining tables, kitchen chairs, or desktops—opt for alkyd, acrylic enamel, or professional furniture paints here.)
- You’re refinishing heirloom wood you want to highlight. Oils, stains, or varnishes showcase grain better.
- You need ultra-hard, scrub-proof durability. Specialty acrylic furniture paints or 2-part finishes outperform latex.
- The surface is slick or glossy. Without proper sanding + primer, latex struggles to stick.
Latex paint may not have the instant “grab” of chalk paint or the rock-hard durability (and more VOC-filled) alkyds, but what it does have is versatility, color freedom, and a durability sweet spot that makes it perfect for countless furniture projects. Pair latex with the perfect polyurethane clear coat, and you just might have the perfect combination for your busy home!
Whether you’re just dipping your brush into refinishing for the first time, stretching your creative wings, or chasing pro-level perfection, there’s a latex (or hybrid) paint that will have your back…and your bookshelf, chair, dresser, or whatever else you’ve got waiting in the wings.
So, grab your brush, pick your paint, and let’s turn that “before” into the “after” that you’ve been dreaming of!
Thank you so much for stopping by! I hope this information helps you with your next project. Drop a comment below and let me know if you have any questions or tips from your adventures with latex paint!
Until next time, have a beautiful and blessed day!

Don’t forget to sign up so you hear all about the next misadventure!