Beginner’s Guide to Non-Drying Oils for Wood Finishing
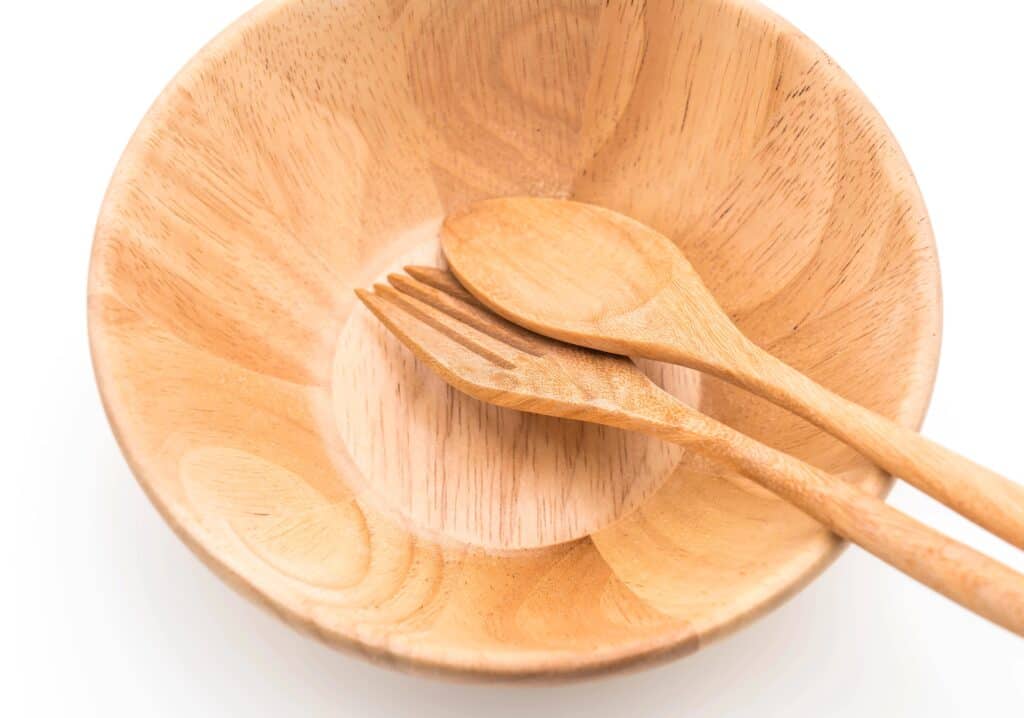
If you’ve ever admired the soft sheen of a wooden salad bowl or marveled at how smooth a wooden toy feels, chances are good you’ve seen non-drying oils in action! These gentle, easy-to-find oils are a go-to for many DIYers and furniture lovers who want to preserve wood’s natural character without the glossy slickness of a hard-drying topcoat.
In this beginner-friendly guide, you’ll learn exactly what non-drying oils are, how they work, when (and when not) to use them, and how to apply and care for them like a pro. Whether you’re restoring a keepsake or finishing your very first cutting board, this post will help you choose wisely and finish beautifully!
THIS POST CONTAINS AFFILIATE LINKS TO PRODUCTS. IF YOU PURCHASE PRODUCTS THROUGH THESE LINKS, THEN I MAY RECEIVE A SMALL COMMISSION AT NO COST TO YOU.
I ONLY RECOMMEND PRODUCTS THAT I USE AND/OR HAVE RESEARCHED AND WOULD USE.
What is a Non-Drying Oil Finish?
Let’s nerd out for a second! A non-drying oil is a type of oil that does not harden or polymerize into a solid film when exposed to air. Chemically speaking, these oils are low in polyunsaturated fatty acids like linoleic and linolenic acid. Instead, they’re rich in monounsaturated fats (like oleic acid) and saturated fats, which gives them a long shelf life—but also means they stay soft and greasy on the wood surface.
Because they don’t cure, non-drying oils don’t offer much surface protection, but they do deeply penetrate the wood grain, enhancing color and keeping it supple. Think of them more as moisturizers for wood rather than impermeable armor.
What Chemically Defines a Non-Drying Oil
| Chemical Characteristic | Typical Range | Why It Matters |
|---|---|---|
| Iodine Value | Less than 100 | The iodine value measures how many double bonds (unsaturated sites) are in the oil. Fewer double bonds = less reactivity with oxygen = no polymerization. |
| Polyunsaturated Fatty Acids | Usually less than 40% | These fatty acids (like linoleic and linolenic acid) are responsible for oxidative crosslinking. Non-drying oils have too little to trigger hardening. |
| Monounsaturated Fatty Acids | High—often 60–80% | These oils (like oleic acid in olive oil) resist oxidation, staying soft and supple. Great for conditioning, but not protective. |
| Saturated Fatty Acids | Moderate to high (varies by oil type) | These fats are stable and non-reactive, contributing to the long shelf life of non-drying oils. |
| Polymerization Behavior | Does not form a solid film | The oil stays liquid or slightly tacky on the surface and must be reapplied regularly. No hard, protective coating is formed over time. |
| Typical Use Case | Conditioning, not sealing | Non-drying oils are best for nourishing wood (like cutting boards and toys), not for protection against wear, water, or abrasion. |
They may not polymerize, but they do penetrate. Non-drying oils absorb deeply into wood fibers without creating a seal. That makes them ideal for keeping wood from drying out, but you’ll need to reapply regularly (as in, monthly or even weekly!)
Common non-drying oils include:
| Oil | Common Use | Pros | Cons | Typical Iodine Value |
|---|---|---|---|---|
| Mineral Oil (USP-grade) | Cutting boards, utensils, toys | Food-safe, odorless, long shelf life, inexpensive | Offers no water resistance; needs frequent reapplication | 0–10 |
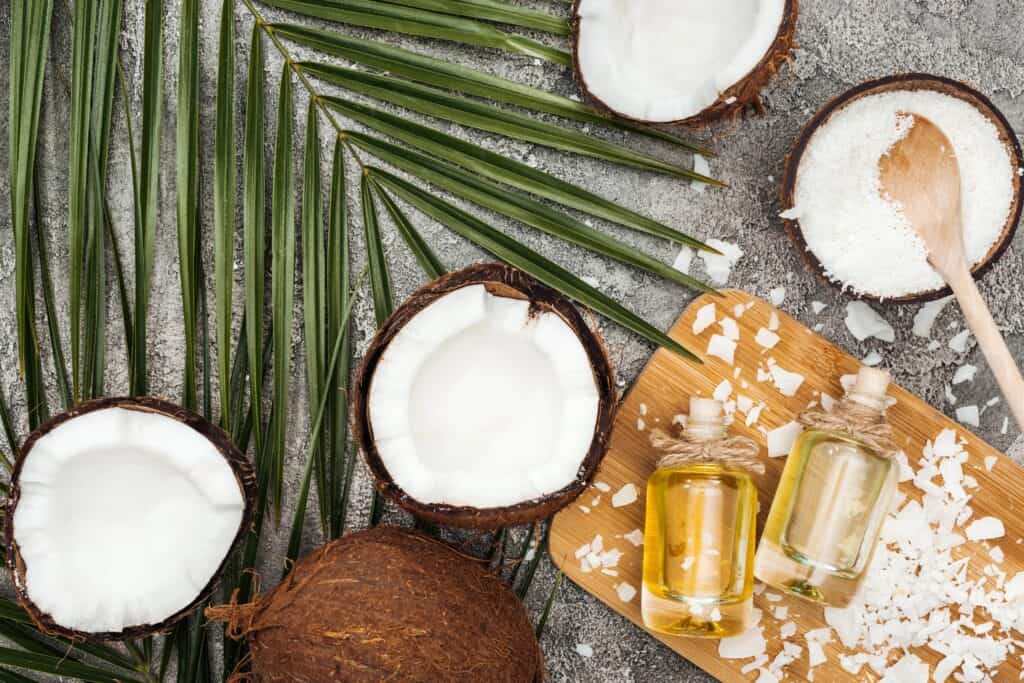
| Olive Oil (Extra Virgin) | Traditional wood conditioning | Rich grain enhancement, widely available, natural scent | Can go rancid; sticky if overapplied | ~75–95 |
| Coconut Oil (Fractionated) | Wood utensils, decorative items | Resists rancidity, smooth feel, light scent | Limited availability in pure form; low protection | ~10–15 (fractionated) |
| Baby Oil (Mineral Oil + fragrance) | Toy finish (rarely, with caution) | Smooth, similar to mineral oil | Added fragrance is not ideal for food-contact use and can discolor wood | ~0–10 |
| Vegetable Oils (soy, corn, canola) | Folk methods, temporary furniture care | Readily available; mild conditioning | High risk of rancidity and uneven absorption | ~100–130 (borderline) |
| Animal Fats (lard, tallow) | Historical use (museum conservation) | Traditionally used in tool care | High spoilage risk; attracts pests; not used in modern fine woodworking | ~40–70 |
Pro Tip: Some oils like canola or soybean oil may occasionally be used in traditional or emergency settings, but they straddle the line between non-drying and semi-drying—so they’re usually not recommended unless blended or stabilized.
A Peek Into the History of Non-Drying Oil Finishes
Non-drying oils have been used for centuries—long before synthetic finishes came onto the scene. Ancient Egyptians preserved wood tools and statues with animal fats and plant oils. In traditional Japanese woodworking, raw oils like camellia oil were favored for tools and cabinetry.
Fun Facts:
- The FDA has recognized USP-grade mineral oil as food-safe since the early 1900s!
- Olive oil was once the preferred conditioner for ancient Roman furniture.
- Coconut oil became a finishing staple in tropical climates, thanks to its antimicrobial properties.
Where and Why to Use Non-Drying Oils as Wood Finishes
Non-drying oils are best used where softness, food safety, and frequent reapplication are welcome. They’re not the best choice for high-traffic, high-moisture, or outdoor furniture.
| Where It Shines | What’s to Love | What’s Not to Love |
|---|---|---|
| Cutting boards & butcher blocks | Food-safe and easy to apply | Needs frequent reapplication |
| Wooden utensils and toys | Non-toxic and gentle on your skin | Attracts dust and fingerprints |
| Antique or rustic wood with character | Enhances natural grain and color | Offers no water or scratch resistance |
| Beginner projects with low wear | Budget-friendly and beginner-safe | Can become sticky or rancid if overapplied or misused |
Which Product is Right for You?
From super easy to daringly DIY, here are curated recommendations to fit the bill for all of your non-drying oil finish needs!
Beginner: Thirteen Chefs Food Grade Mineral Oil
- Pros: Inexpensive, food-safe, odorless, long shelf life
- Cons: Zero protection, needs regular reapplication
Creatively Confident: Fractionated Coconut Oil
- Pros: Resistant to rancidity, natural look, light scent
- Cons: Not ideal for water-prone areas
Pro: Canco Wood Conditioner
- Pros: Food-safe, shelf-stable, zero risk of rancidity, adds a rich buffable sheen, feels luxurious on tactile pieces
- Cons: Still offers soft protection only
Daringly DIY: Custom Wood Conditioner: Fractionated Coconut Oil + Carnauba Wax Flakes (3:1 Blend)
- Feeling bold, my friend? Create your own unique wood finish! With just a bit of melted carnauba wax stirred into silky-smooth fractionated coconut oil, you’ll create a finish that feels high-end and handmade. Perfect for custom projects like heirloom cutting boards or lovingly crafted children’s toys.
- Pros: Food-safe, shelf-stable, zero risk of rancidity, adds a rich buffable sheen, feels luxurious on tactile pieces
- Cons: Requires DIY prep and still only provides soft protection

What’s in the Toolbox?
To apply non-drying oils, you will need these items:
Tools
- Lint-free cloths or rags (100% cotton preferred)
- Small container for pouring oil
- Gloves (optional, but nice!)
- A clean, dry surface
Materials
- Non-drying oil of your choice
- 120 grit sandpaper
- Paper towels or absorbent rags for wiping off excess
Pro Tips: Before You Begin
Even though non-drying oils are just about the easiest finish to apply, it’s still possible to make mistakes. Here are some tips to help make your project a success:
- Don’t overdo it! Less is more—too much oil leads to sticky surfaces.
- Know your oil. Only use USP-grade mineral oil or food-safe oils on items that touch food.
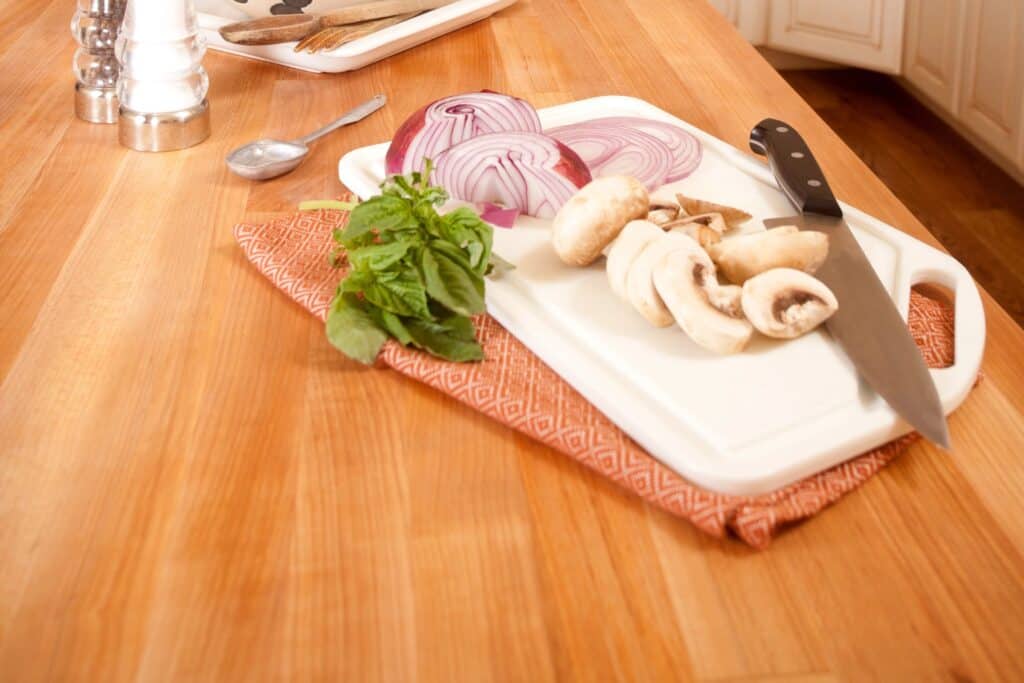
- Prep counts. Make sure your wood is sanded smooth and dust-free before applying.
- Ventilation helps. While these oils aren’t toxic, good airflow helps them absorb better.
How to Apply Non-Drying Oils
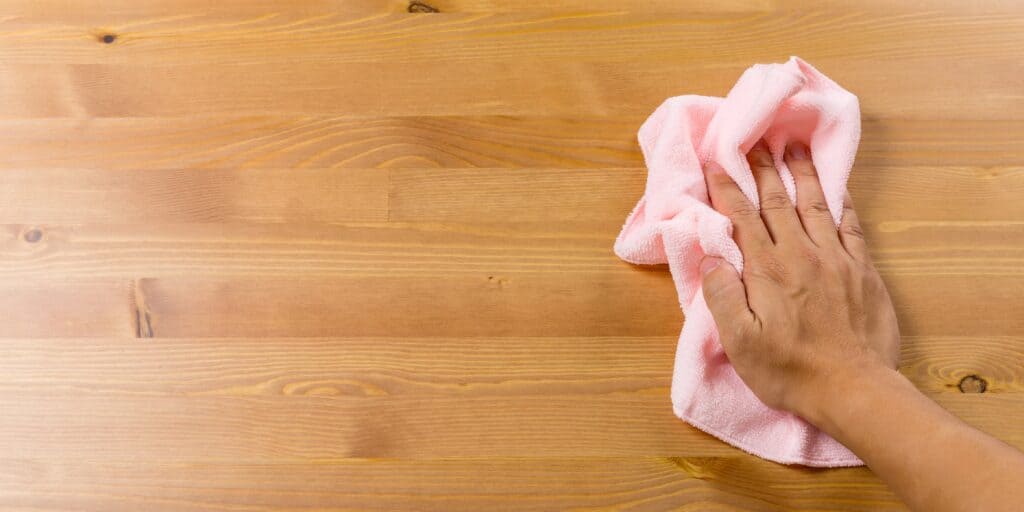
- Clean and dry your wood thoroughly.
- Lightly sand to remove any raised areas and ensure the wood is ready to receive the oil.
- Pour a small amount of oil onto a lint-free cloth.
- Rub it into the wood in the direction of the grain.
- Let the oil soak for 15–30 minutes.
- Wipe away any excess with a dry cloth.
- Repeat every few weeks—or whenever the wood looks dry!
Application Best Practices
- Ideal temperature: 60–75°F
- Ideal humidity: Below 60%
- Dry time: 30 minutes to several hours (depending on oil)
- Cure time: Does not cure
- Coats: Apply as needed—this is a maintenance finish, not a build-up finish
Bonus tips:
- Pair with natural waxes to improve water resistance and sheen.
- Always clean wood thoroughly before applying any oil. Sand smooth and remove dust.
- Apply oil in a warm, dry environment to aid absorption.
- Buff well after application to avoid tackiness.
- Reapply regularly—non-drying oils wear off faster than curing finishes.
When and How to Refresh Non-Drying Oil Finishes
Signs it’s time to reapply:
- Wood looks dull or feels dry
- Color has faded
- Surface absorbs water immediately
Quick refresh:
- Wipe with a damp cloth
- Let dry
- Reapply one light coat of oil and wipe off excess
If the finish is sticky or blotchy then it has passed the refresh stage and requires refinishing.
Refinishing Non-Drying Oil Finishes
Since non-drying oils don’t form a film, refinishing is fairly easy:
- Clean and dry the surface
- Re-sand if needed
- Apply fresh oil
No messy stripping or deep sanding necessary—just clean, sand, and re-oil!
Removing Non-Drying Oil Finishes
Did you identify a non-drying oil finish and decide it is time to switch finishes? Follow these easy steps to prep the wood for its next adventure!
- Wash with mild soap and water (for food-safe items)
- Wipe with mineral spirits
- Sand the surface to remove residual oil
Then you can apply a new finish—just make sure the surface is clean and dry.
Common Non-Drying Oil Finish Mistakes (And How to Fix Them)
| Mistake | How to Fix It |
| Sticky or tacky surface | Wipe off excess; buff with dry cloth |
| Oil smells bad | It’s gone rancid—remove and reapply with fresh oil |
| Uneven absorption | Sand lightly and reapply evenly |
| Water spots or stains | Light sanding, dry thoroughly, reapply oil |
| Finish attracts dust | Wipe clean with dry cloth; consider a different oil |
Caring for Your Non-Drying Oil Finishes
While these finishes are easy to apply, they require a bit more TLC and maintenance than the more bullet-proof finishes. Follow these steps to keep the wood surface glowing:
- Reapply oil monthly or as needed
- Avoid soaking or dishwashers for food-related items
- Store oiled items in dry, ventilated spaces
FAQs About Non-Drying Oils for Wood Finishing
Q: Can I use olive oil to finish a cutting board?
A: It’s best not to. While olive oil is easy to find and initially makes wood look great, it eventually goes rancid. This can cause unpleasant smells and may attract mold or bacteria. Instead, opt for USP-grade mineral oil or fractionated coconut oil, which are shelf-stable and food-safe.
Q: What’s the difference between drying, semi-drying, and non-drying oils?
A: Drying oils (like linseed or tung oil) undergo oxidation and harden into a solid film, offering long-term protection. Semi-drying oils absorb deeper into the wood and eventually form a soft film that provides some protection. Non-drying oils stay liquid or soft and must be reapplied regularly. They’re great for showcasing the wood grain but don’t offer much protection from water or abrasion.
Q: How often should I reapply non-drying oils?
A: For high-use items like cutting boards or wooden utensils, apply:
- Once a week for the first month
- Then once a month or as needed when the wood looks dry or faded
For decorative pieces, every few months should do the trick.
Q: Is mineral oil safe for wood toys or furniture for babies?
A: Yes—if it’s USP or food-grade mineral oil. It’s widely recommended by pediatricians and woodworkers for conditioning wooden teethers, rattles, and toys. Just be sure to avoid scented versions (like baby oil), which may contain additives that discolor the wood.
Q: Can I mix mineral oil with beeswax for better protection?
A: Absolutely! This combo is often used as a homemade wood conditioner. Melt beeswax gently and blend with mineral oil (typically 1 part wax to 4 parts oil). Let it cool, and then rub it onto the wood for a lovely, soft finish that offers a bit more water resistance.
Q: Can I put polyurethane or another film finish over non-drying oil?
A: Not without removing it first. Non-drying oils prevent proper adhesion. Always clean, sand, and degrease the surface before applying a film finish.
The Final Wrap: Why Choose Non-Drying Oils?
Non-drying oils are the worn-in t-shirts of the wood finishing world—soft, gentle, and totally low-stress! While they’re not cut out for every job, they absolutely shine when used in the right setting. Whether you’re crafting handmade toys, caring for a cherished cutting board, or experimenting with your very first DIY finish, these oils are a forgiving and affordable way to bring out wood’s natural warmth.
Just remember, use them where they work best, reapply often, and don’t expect them to act like a hard finish. Finally, when in doubt, reach for food-grade mineral oil. Your wood will thank you!
Thank you so much for stopping by! I hope this information helps you with your next project. Drop a comment below and let me know if you have any questions or tips from your adventures with non-drying oils!
Until next time, have a beautiful and blessed day!

Don’t forget to sign up so you hear all about the next misadventure! Until then, you may also like this Magazine Rack makeover or this Dresser upcycle.