Beginner’s Guide to Acrylic Furniture Paint
Hey friend! If you’ve ever stared at a tired dresser, a scuffed side table, or a sad little nightstand and thought, “I bet I could make that beautiful!”, then you’re in the right place.
Today, we’re diving into acrylic paint as a furniture finish. think of this as me pulling up a stool beside you in the workshop, coffee in hand, and chatting through every step, trick, and nuance so you can create something gorgeous without the “oops” moments. By the end of this, you’ll know what acrylic paint actually is, why it’s a top choice for furniture, how to apply it like a pro, and even how to care for your masterpiece for years to come.
THIS POST CONTAINS AFFILIATE LINKS TO PRODUCTS THAT I HAVE OR WOULD USE.
AS AN AMAZON ASSOCIATE, I EARN FROM QUALIFYING PURCHASES AT NO COST TO YOU.
YOU CAN SEE MY FULL DISCLOSURE HERE.
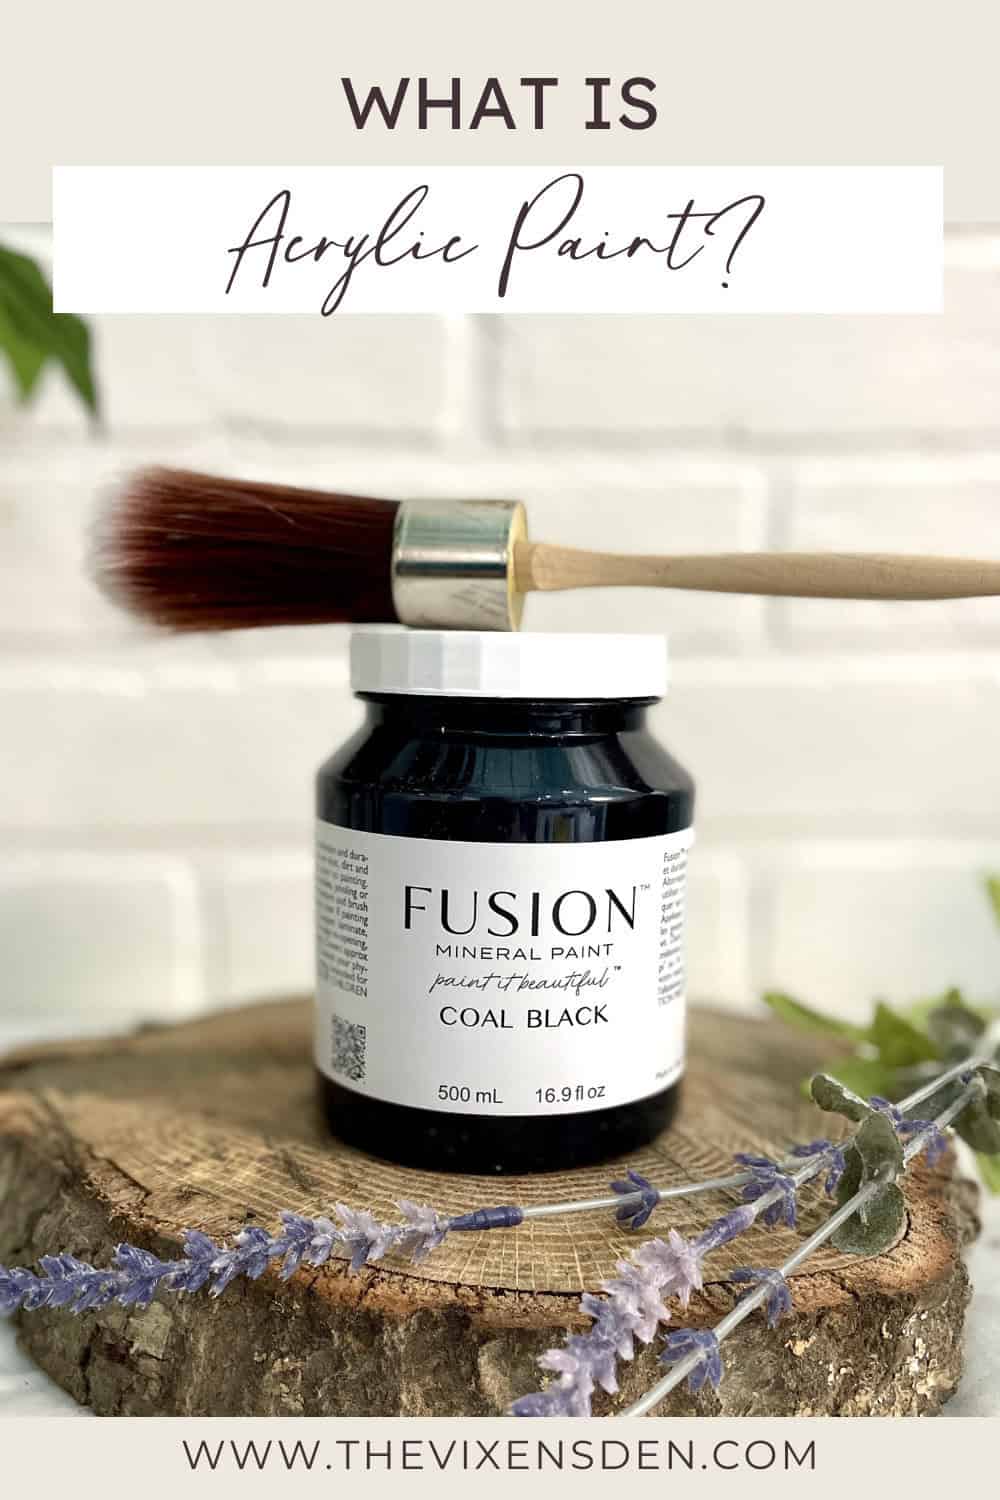
What is Acrylic Paint?
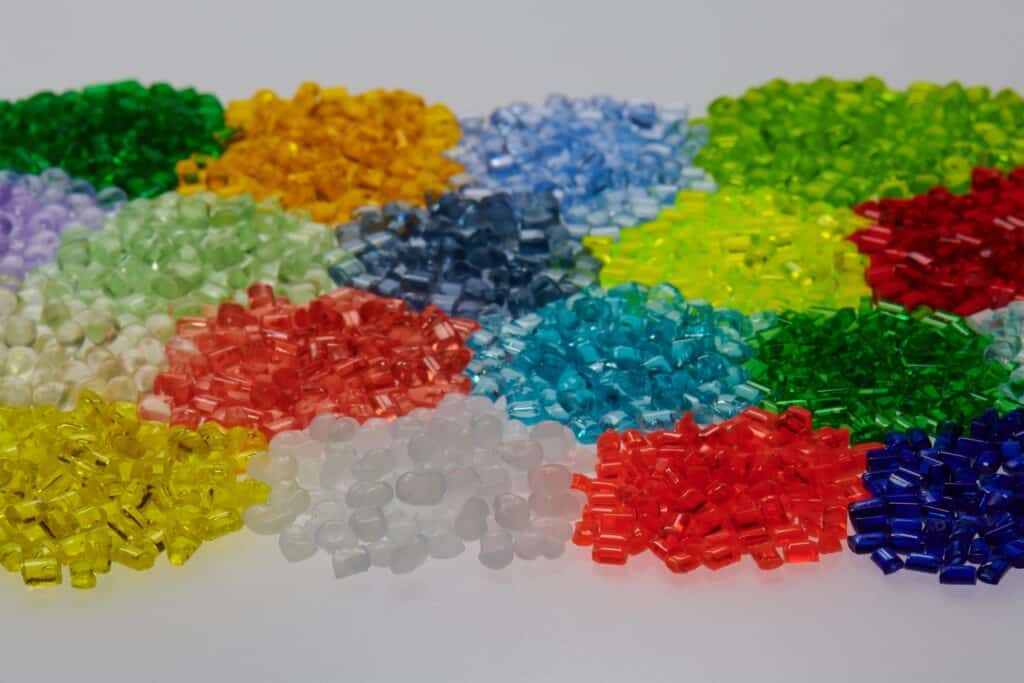
Let’s nerd out for a second. Acrylic paint is a water-based paint with a 100% acrylic polymer binder—and yes, that binder is the superhero of the formula. It’s what gives the paint flexibility, adhesion, durability, and long-lasting color. Basically, the binder is the paint’s DNA; change it, and you change the paint’s personality entirely.
Acrylics are prized because they dry quickly, stick to almost anything with proper prep, and don’t yellow over time like some oils can. Add pigments for color, a little filler for consistency if it’s chalk-style, and voilà—you’ve got a versatile paint ready to tackle furniture from dressers to side tables.
You may be thinking, “Hold the phone! Did I hear you correctly?? First Mineral Paint and now Chalk Paint is acrylic paint??” Yes, my friend, it is true, and the reason that I started this journey into researching paint finishes and what makes a paint what it is. The binder is what identifies the true nature of the paint, not the packaging. Let’s see how acrylic paint got to where it is today!
A Deep Dive Into Acrylic Paint History
It’s story time! Ready for a behind the scenes look into how acrylic paint came to be?
Imagine this: It’s the early 1930s in Germany, and a curious chemist named Otto Röhm is poking around in his lab, tinkering with something called PMMA (polymethyl methacrylate). And just like that, clear, lightweight plastic was born! However, you might recognize it best by its trademark names, Plexiglass (Germany) and later Lucite (USA). This new lighter-than-glass and crystal-clear material made its way from Otto’s lab and into airplane windshields, submarine periscopes, decorative panels, and even “synthetic glass” jewelry!
Although too rigid for paint in this form, German chemical company BASF soon discovered that microscopic variations of these acrylic polymers (like methyl methacrylate and related monomers) could be suspended in water to create a tough, flexible film, all without needing turpentine or other harsh solvents. This process was called “resin dispersion”. These coatings began showing up as waterproofing for fabrics and paper, as well as durable, quick drying paints for cars and houses. These paints quickly replaced slower drying, cracking, yellowing, oil-based paints.
Resin dispersion and PMMA were siblings in the same chemical family but lived different lives in the 1930s: PMMA was the flashy, rigid “glass substitute,” while resin dispersions were the workhorse binders and coatings quietly protecting and sealing surfaces. Both were widely used in WWII.
A dozen years later, two paint-hustling cousins, Leonard Bocour and Sam Golden, ran Bocour Artist Colors from a tiny Manhattan shop soaked in oil-paint fumes. Somewhere between conversations with artists like de Kooning and Rothko, they started experimenting. By around 1947, they had cooked up Magna paint, the world’s first solvent-based artist-grade acrylic. Suddenly there was paint that popped with color, dried quick, was cheaper to make than oils, and more vivid than watercolors. Abstract Expressionists like Morris Louis adopted it for their work.
It wasn’t until the early 1950s that water-based acrylics were born when polymer chemists in the U.S. and Mexico, most notably at the Rohm and Haas Company, perfected water-based acrylic emulsions, making them safer, easier to clean, and more adaptable for artists. Brands like Liquitex were among the first to package these new paints for fine art use.

By the 1960s, big-name artists like Andy Warhol and David Hockney were embracing acrylics for their speed, versatility, and punchy colors, qualities perfectly suited for the bold, modern look of the era. Since then, acrylic paint has become the go-to for everyone from kindergarten classrooms to fine art galleries, steadily evolving with new formulations, finishes, and hybrid blends. (Which serves as a good reminder that painting furniture is truly an artistic endeavor!)
Threads of the Journey: Why It All Matters to Your Furniture Finish
- Industrial origin → made acrylic durable and versatile – from cars to crayons, and yes, your furniture.
- Art world adoption → painters loved acrylic for its boldness and speed – traits perfect for DIY refinishing, too.
- Solvent-based roots → turned into water-based marvels, making painting spaces less toxic.
- Quick-drying flexibility → means less waiting around, more layering, more creative flow (and fewer smudges on the new finish).
Acrylic paint has a fascinating, if fairly recent history. Seeing how quickly it spread from an industrial innovation to an every day product found in every home is kind of mind blowing! Now, let’s figure out if acrylic paint is the right product for you and your furniture art.
Where and Why to Use Acrylic Paint
As we’ve discussed (a lot) acrylic paint is flexible, which makes it great for furniture that gets moderate to heavy use, and its water-based formula makes it safer to use indoors. But it isn’t magic; you still need to seal or topcoat for high-traffic pieces.
Here’s a quick table to help you see where acrylics shine and what’s to watch out for:
| Where it Shines | What’s to Love | What’s Not to Love |
|---|---|---|
| Dressers, chairs, side tables | Quick-drying, strong adhesion, vibrant color | Needs prep; may show brush strokes if applied thickly |
| Decorative pieces | Low odor, water cleanup, beginner-friendly | Matte chalk finishes need wax/sealer for durability |
| Cabinets & trim | Durable with topcoat; smooth finish achievable | Some hybrid acrylics require more skill and ventilation |
Which Product is Right for You
With so many paints out there and so much confusing marketing, choosing the right paint can feel like picking a wand in a magical shop. The paints that made this recommendation list were chosen because they meet the following criteria:
- Durability
- Ease of use
- Availability (primarily in the North American market)
- Safety
- Furniture suitability
Let’s see which one is the best paint for your project and skill level:
True Acrylics (100% Acrylic Binder)
| Skill Level | Brand & Product | Pros | Cons |
|---|---|---|---|
| Beginner | Fusion Mineral Paint | Very durable and self-sealing, low odor, minimal prep | Slightly pricier than craft paints |
| Creatively Confident | FolkArt Home Decor Chalk Acrylics | Matte chalky finish, easy to use, low odor | Needs waxing or sealing, can streak if applied thickly |
| Pro | Behr Premium Plus Interior | Affordable, widely available, good color retention | Requires primer/topcoat for heavy-use furniture |
Hybrid Acrylics (Acrylic-Alkyd Blends)
| Skill Level | Brand & Product | Pros | Cons |
|---|---|---|---|
| Beginner | No beginner-level hybrid | N/A | N/A |
| Creatively Confident | Benjamin Moore Advance | Professional-grade finish, self-leveling, durable | Requires sanding and priming, moderate odor |
| Pro | Sherwin-Williams ProClassic | Commercial-grade durability, smooth finish, self-leveling | Needs expert prep and ventilation, and moderate odor |
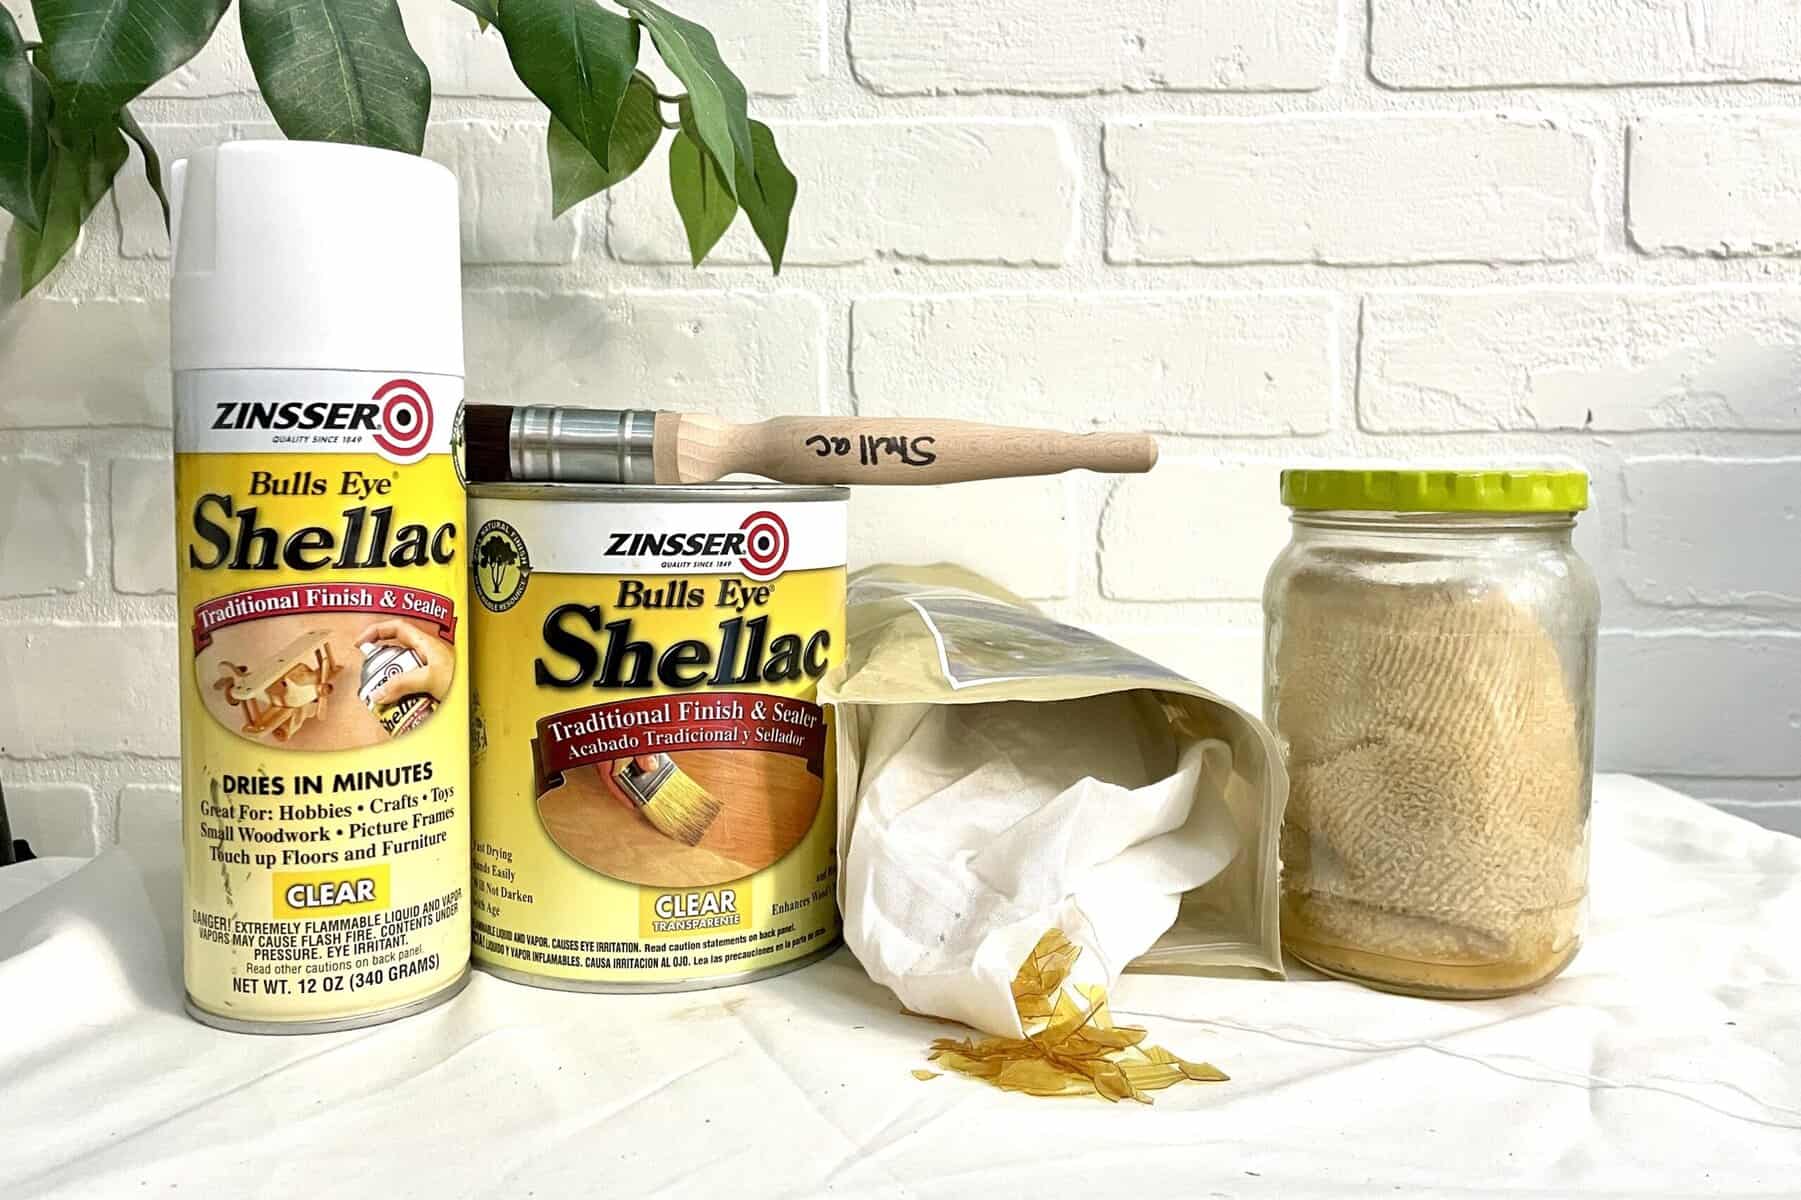
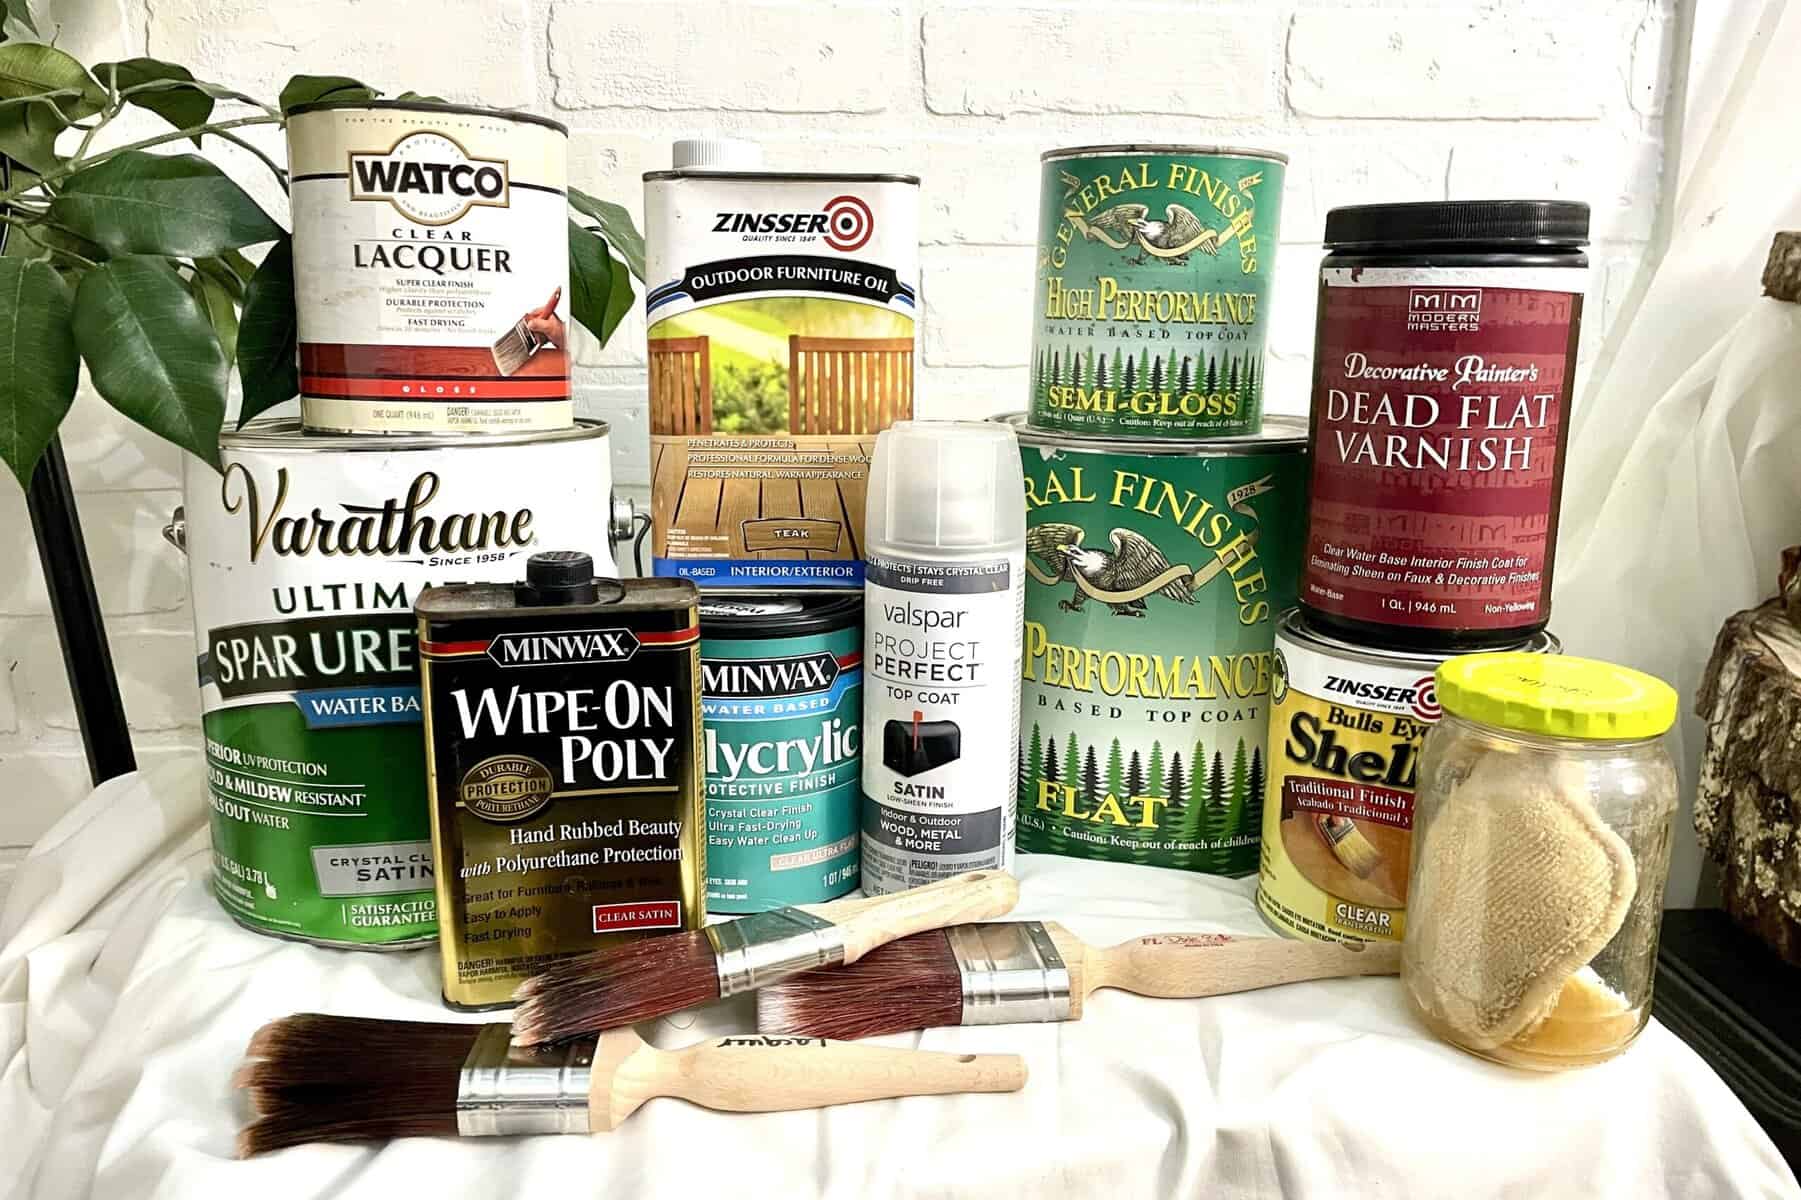
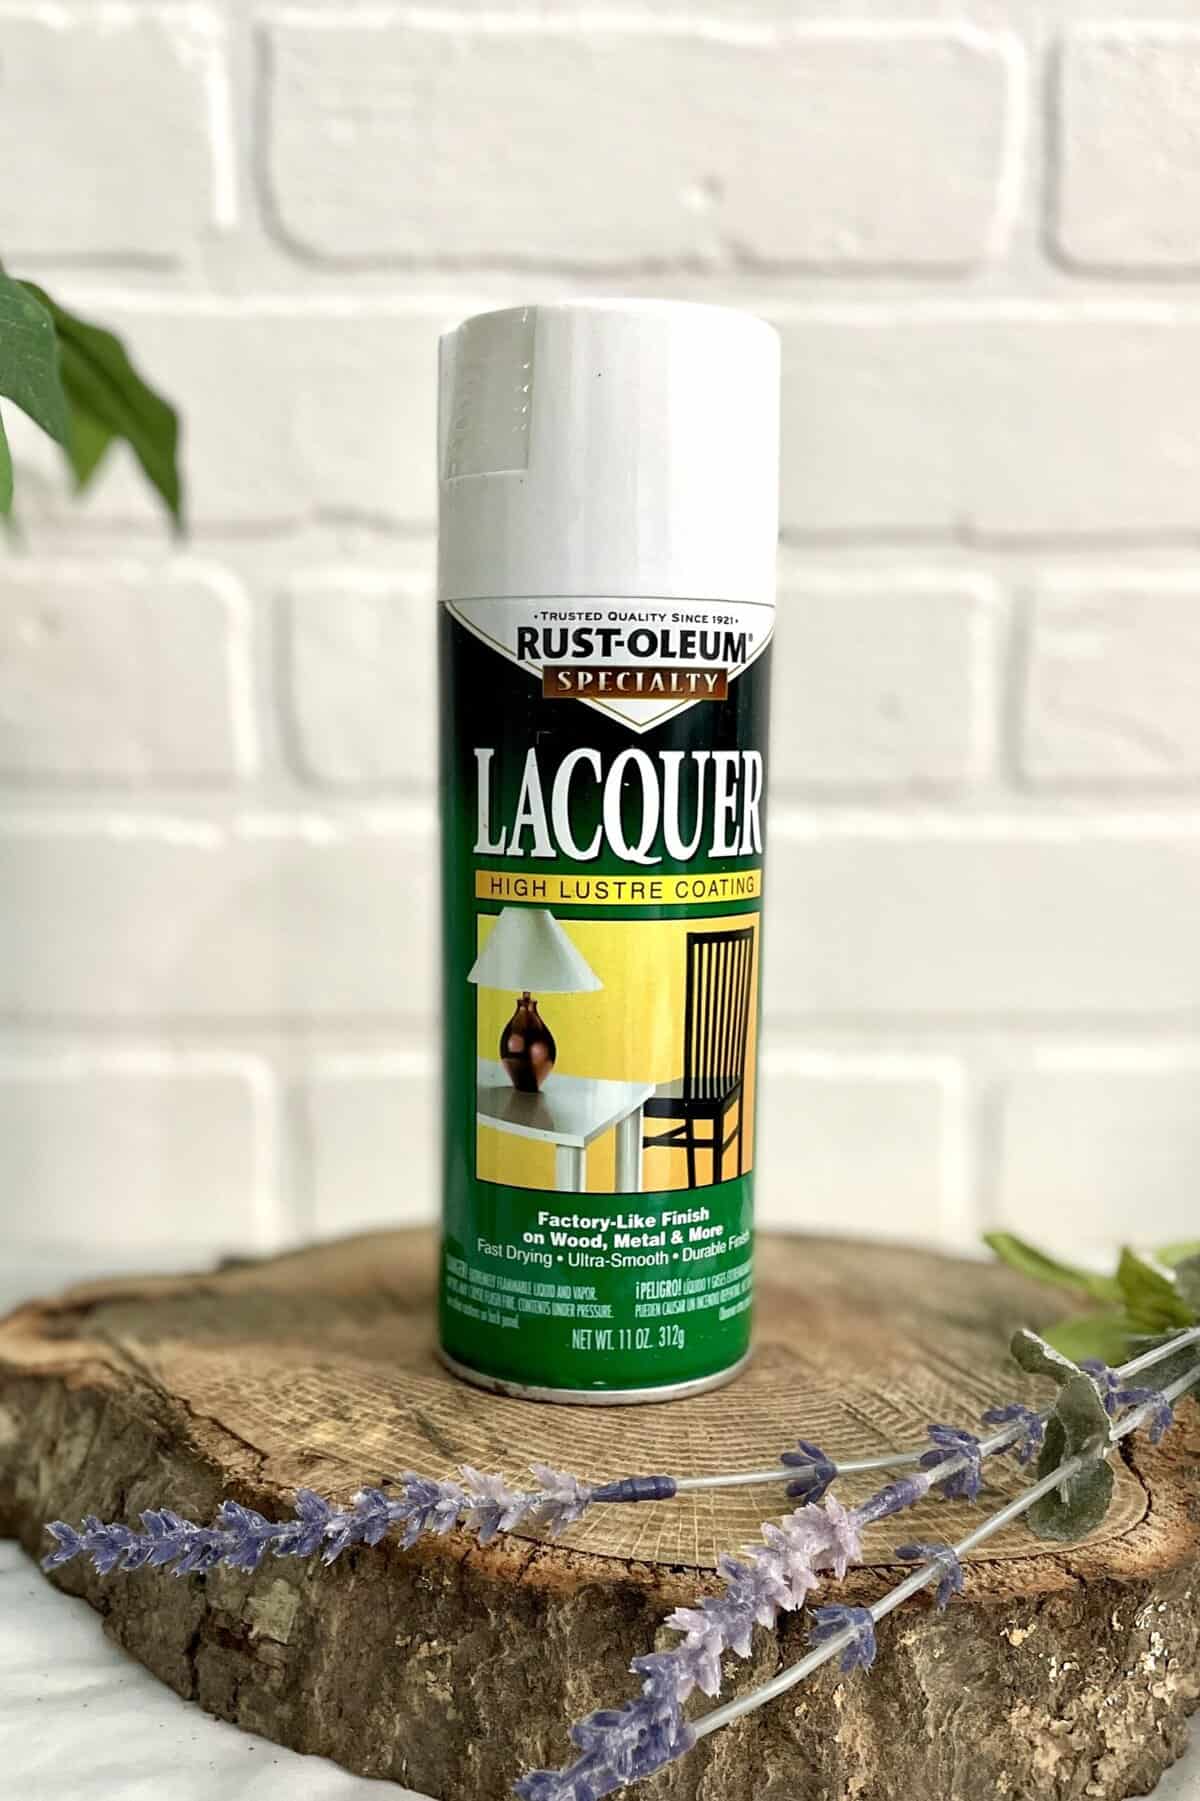
Clear Coats for Acrylic Painted Furniture
Let’s assume that you are leaning towards one of the True Acrylic paints. As you can see, for pieces that will receive heavy wear, a topcoat is definitely recommended. Yes, I know that this flies in the face of all the marketing out there, claiming all of the one-coat, no-prep paint wonders, but bear with me for a moment.
If you love painting furniture and you’re okay with having to touch it up (or completely repaint) occasionally, then skip this part and move to the application process. For the rest of you, who like to do the job once and ensure your piece of furniture is protected for the long haul, this section is for you.
Choosing a topcoat is almost as intimidating as choosing the right paint, but I’ve got you covered! Here are the best topcoats for acrylic paints, based on durability for the type of furniture, with all of the pros and cons baked in:
Recommended Acrylic Paint Clear Coats
| Topcoat | Why Use It | Best Brands | Pros | Cons | Best For |
|---|---|---|---|---|---|
| Water-Based Polyurethane | Durable, non-yellowing, scratch-resistant | General Finishes High Performance Topcoat, Varathane Water-Based Polyurethane | Strong protection, clear finish, beginner-friendly | Longer curing time compared to wax | High-traffic furniture: desks, chairs, dining tables |
| Polycrylic | Very clear, won’t amber, easy to apply | Minwax Polycrylic | Excellent clarity, good beginner-friendly durability | Softer than polyurethane; less resistant to heavy wear | Light-colored furniture, decorative pieces, accent tables |
| Furniture Wax | Soft, satin look with subtle protection | Minwax, Butcher’s Bowling Alley Wax, Staples Furniture Wax | Adds smooth finish, easy to reapply, enhances color depth | Low durability, needs frequent refreshing | Accent pieces, dressers, side tables, low-use surfaces |
Want to know more? Click the links in the table to learn why each of these products made the final cut!
Key Notes for Clear Coating Acrylic Paint:
- Stick to clear or neutral waxes; tinted waxes can alter color or stain acrylic finishes.
- Wax is best for low-traffic or decorative furniture. For high-use surfaces, combine with a protective water-based poly or polycrylic.
- Always test in a hidden spot before full application to ensure compatibility.
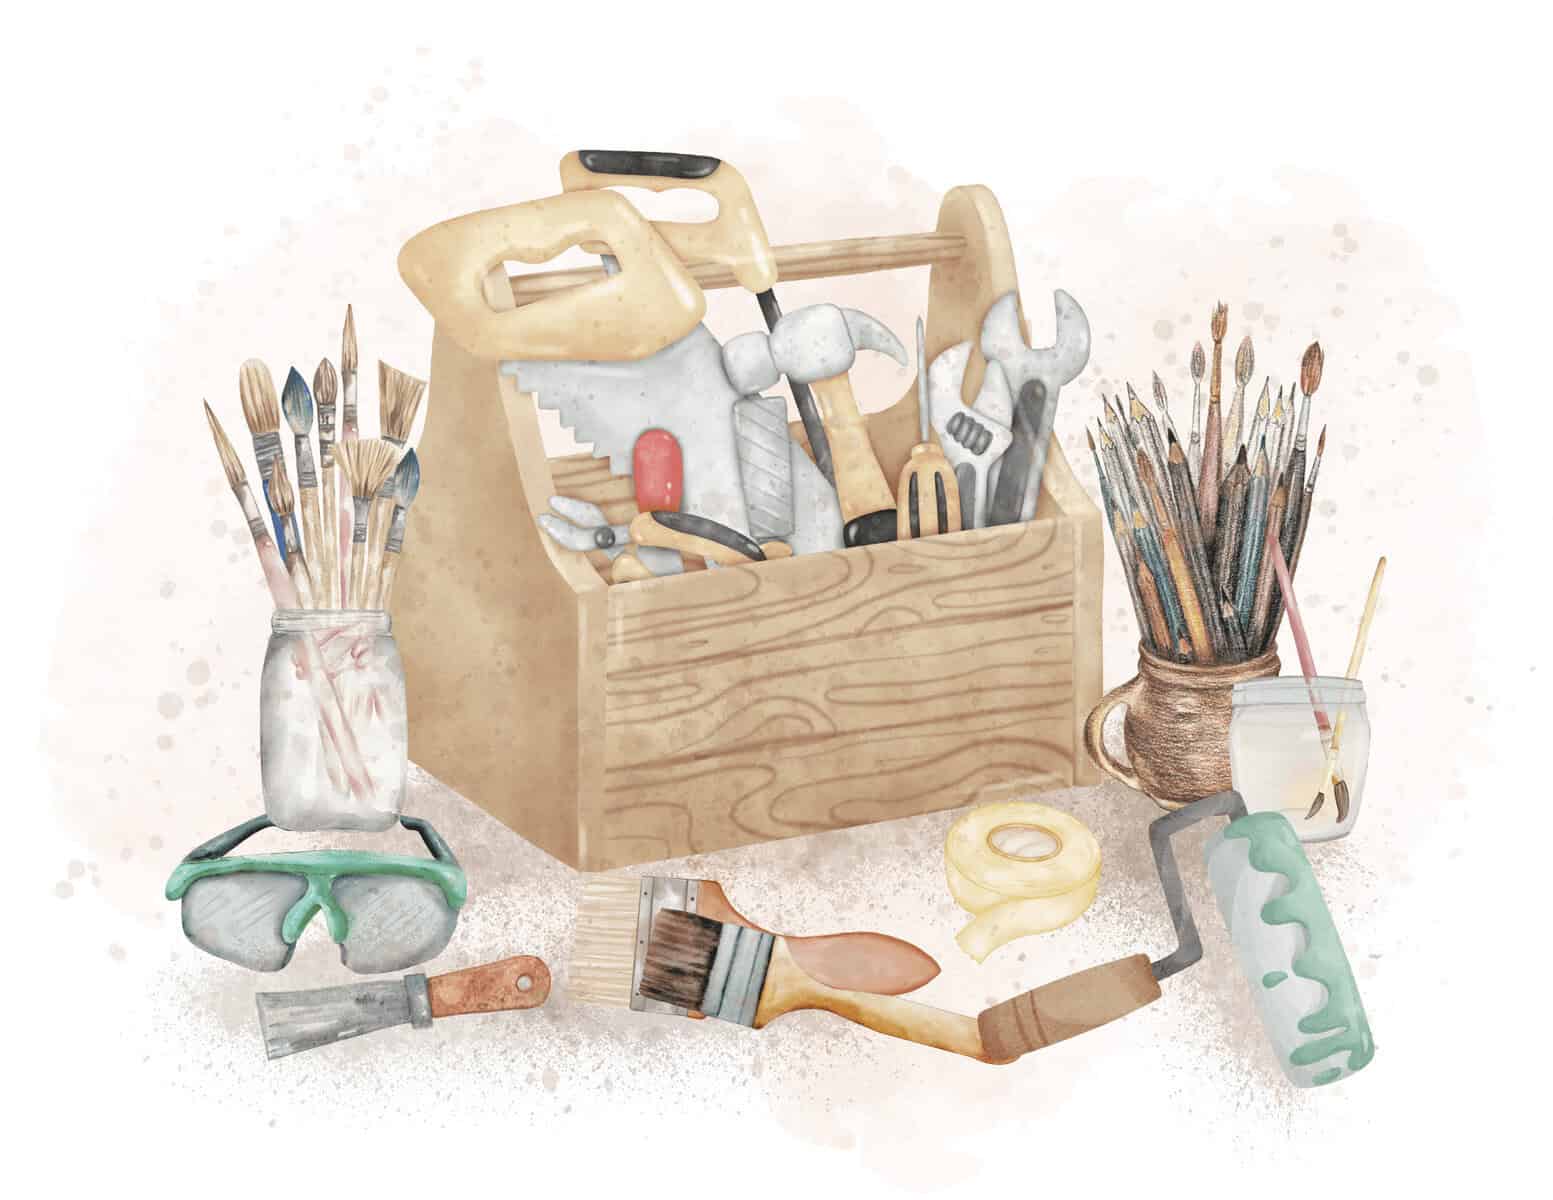
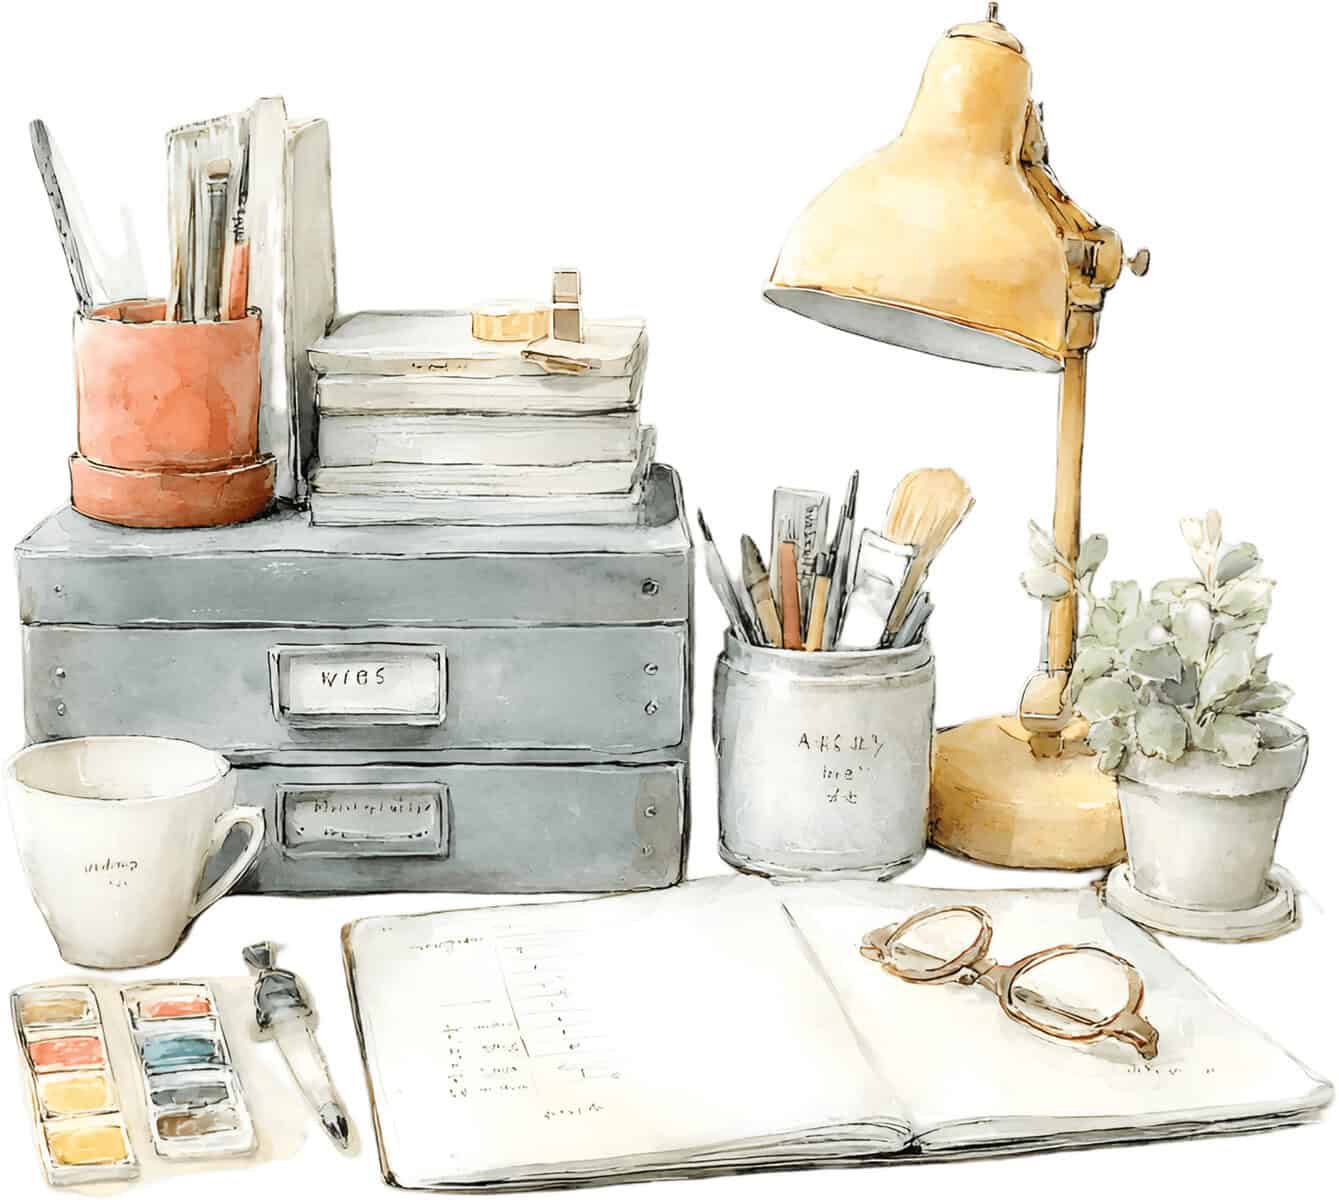
What’s in the Finishing Toolkit
Before you start swirling that brush like a master, make sure you’ve got these items on hand:
Tools
- Vacuum to remove dust
- Stir sticks
- Painters pail
- Optional: painters pail liner
- Brushes: synthetic bristle or foam roller for smooth acrylic application
- Nitrile gloves
- Goggles
- Ventilation
- Optional: roller or mini-spray gun for large surfaces
Materials
- Fine-grit sandpaper (220–320)
- Tack cloth or microfiber cloth with distilled water to remove dust
- Painter’s tape for edges
- Sealer or wax for protection
Pro Tips: Before You Begin
- Thin chalk-style acrylics if you want a smoother finish; don’t overbrush.
- Always clean and sand surfaces lightly for adhesion.
- Avoid painting in extreme humidity or temperatures—ideally 65–75°F and 40–50% humidity.
- Don’t skimp on primer for bare or previously varnished wood.
How to Apply Acrylic Paint Like a Pro
1. Assess the Existing Surface
- Test the finish:
- Purpose: This tells you whether the existing finish is compatible or needs extra prep.
- Lightly sand a small hidden area and apply a tiny dab of your acrylic paint.
- Wait for it to dry fully (24 hours) and see if it adheres without peeling or bubbling.
- Know the type of existing finish:
- Glossy lacquer, polyurethane, or varnish → usually need light sanding and cleaning.
- Previously painted surfaces → may need deglossing or light scuff sanding.
- Raw wood → clean and sand for smooth adhesion.
Feeling a little uncertain? If you need extra help identifying the existing finish, this post has you covered!
2. Remove Contaminants
- Heavy-duty cleaning: Removes oils, silicone, wax, or polish residues.
- Purpose: Even tiny residues can prevent proper adhesion, causing peeling or chipping.
- Recommended cleaning process:
- Use heavy-duty cleaning solution TSP (trisodium phosphate) diluted per manufacturer instructions.
- Rinse thoroughly with distilled water to remove any leftover TSP.
- Dry completely before sanding or painting.
3. Prepare the Surface Mechanically
- Light sanding: Use 220–320 grit sandpaper or a sanding sponge.
- Purpose:
- Creates a “tooth” for the acrylic paint to grip.
- Smooths out glossy surfaces, scratches, or uneven areas.
- Purpose:
- Remove dust: Wipe down with a microfiber cloth or tack cloth.
Pro Tip: Always sand after cleaning, never before. Residual grease or silicone will gum up your sandpaper, seal into the sanded surface, and prevent adhesion.
4. Optional Priming
- Purpose: Primer ensures maximum adhesion, reduces color bleed, and creates a uniform base, especially helpful on tricky surfaces (laminates, glossy finishes, or previously dark paint).
- Use a bonding primer formulated for acrylic paints: we recommend Zinsser Bulls Eye 1-2-3 Water-Based Primer.
- Give the primer time to dry before before moving on to the painting step.
5. Gather Your Toolkit
- Painters pail and stir sticks.
- Brushes: Synthetic bristle or foam brushes for smooth acrylic application.
- Paint: Your chosen acrylic paint.
- Topcoat: Water-based polyurethane, polycrylic, or furniture wax (see chart).
- Sandpaper: 220-320 grit for smoothing between coats.
- Soft microfiber cloths for cleaning and dust removal.
6. Apply the Paint
- Decant paint (just the amount you think you’ll need) into the painters pail
- Pro Tip: This step avoids contaminating the rest of the paint during the painting process.
- Stir paint gently to avoid bubbles.
- Apply thin, even coats with smooth, consistent strokes.
- Thin paint if necessary to achieve a workable consistency.
- Maintain a wet edge to avoid lap marks.
- Let each coat dry fully before applying the next (usually 2–4 hours, depending on brand and temperature).
- Lightly sand between coats if the surface feels rough or raised. (Raising the grain on raw wood is normal for the first coat. Sand lightly until the surface feels smooth.)
- Top coat with preferred sealant.
- Allow to cure before regular use.
Pro Tip: Multiple thin coats usually give better coverage and adhere better than one or two thick coats.
Application Best Practices
| Factor | Guideline |
|---|---|
| Temperature | 65–75°F |
| Humidity | 40–50% |
| Dry Time per Coat | 2–4 hours |
| Cure Time | 7–14 days for full hardness |
| Number of Coats | 2–3 for most furniture; 3+ for high-traffic surfaces |
When and How to Refresh an Acrylic Paint Finish
When the film is intact but just tired-looking, you can restore life without removing layers.
Quick Test:
Gently rub a hidden spot with a soft cloth and Orvus WA soap solution. If the shine returns and the surface feels smooth, the film is still healthy — a good sign for refreshing.
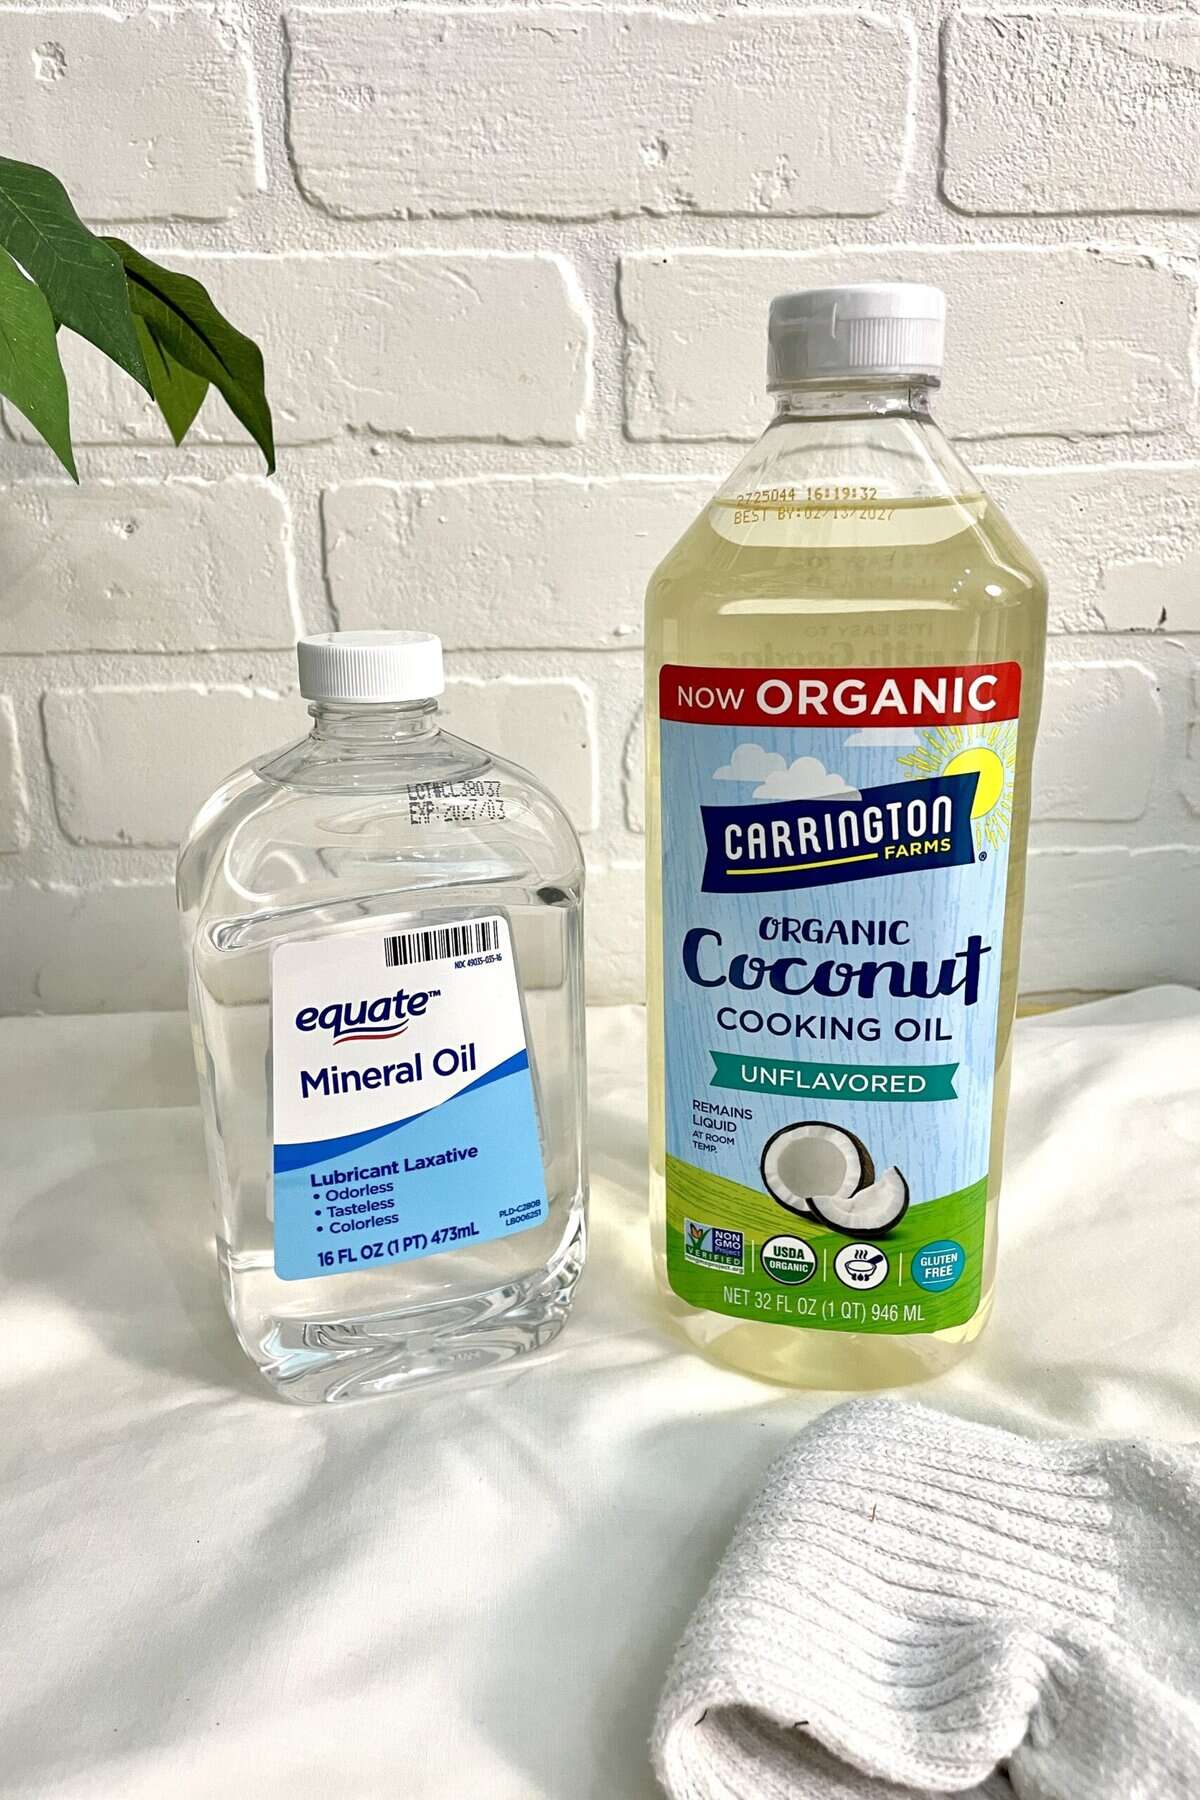
- Clean: Use a soft cloth and Orvus WA soap solution mixed with distilled water. Do not use ammonia or harsh abrasives, as acrylic paints are chemically sensitive to strong solvents.
- De-Gunk: For sticky residue, try a diluted mixture of Krud Kutte on a cotton flannel or microfiber cloth, but test in a hidden spot first.
- Polish: Apply a water-based furniture polish or acrylic-safe spray, buffing with a microfiber cloth.
- Protect: Add felt pads under décor and coasters for drinks.
💡 Time investment: About 30 minutes for a small table — minimal mess, instant reward.
Refinishing
If the finish is worn but not failing, you can renew it without total removal.
Quick Test:
Gently rub a hidden spot with a soft cloth and Orvus WA soap solution. If you see white spots or deep scratches that cleaning can’t touch, refinishing may be in order.
- Clean: Use a soft cloth and a Orvus WA soap solution mixed with distilled water. Do not use ammonia or harsh abrasives as acrylic paints are chemically sensitive to strong solvents. Remove any sticky residue, with a tiny dab of mineral spirits on a cotton flannel or microfiber cloth.
- Light Sand: Use 320–400 grit sandpaper or a fine synthetic pad to gently scuff the surface. The goal is to give the next coat “tooth,” not to sand through the finish.
- Dust Off: Remove all sanding residue with a vacuum + tack cloth.
- Apply a New Coat: Use a matching water-based acrylic clear coat product. Apply thin, even strokes with a high-quality synthetic brush or foam roller.
- Dry & Cure: Follow manufacturer’s drying time – often 1–2 hours between coats. Two thin coats are better than one thick.
- Buff (Optional): Once cured, buff lightly with a polishing pad for extra sheen.
💡 Time investment: A weekend project — longer drying time, but far less work than stripping.
Complete Acrylic Furniture Paint Removal
For cracked, yellowed, or flaking finishes.
Quick Test:
Gently rub a hidden spot with a soft cloth and Orvus WA soap solution. If the finish is brittle or comes off with light scraping, it’s time for a full strip.
- Protect Yourself: Don’t skip the gloves, goggles, or ventilation: even though acrylic paints are water-based, removal will require chemical strippers for stubborn areas and result in scraping and sanding dust.
- Choose a Removal Method:
- Here’s a guide to removing finishes using chemical strippers (my preferred method). Acrylic-based paints are tough, so it may take a couple rounds.
- It is possible to scrape and sand off the finish, but it’s also easy to create gouges or oversand and lose edges or details, so again I recommend a chemical stripper for beginners.
- Apply Remover: Work in small sections, following label instructions.
- Scrape Gently: Use a plastic scraper to lift softened finish.
- Neutralize & Rinse: If the remover requires it, use distilled water or manufacturer-recommended neutralizer to remove any residue.
- Sand Smooth: Finish with 120 to 220 grit sanding to prep bare wood.
- Dust Off: Remove all sanding residue with a vacuum + tack cloth.
- Apply your new finish!
💡 Time investment: Multiple days. More labor, but results can be dramatic.
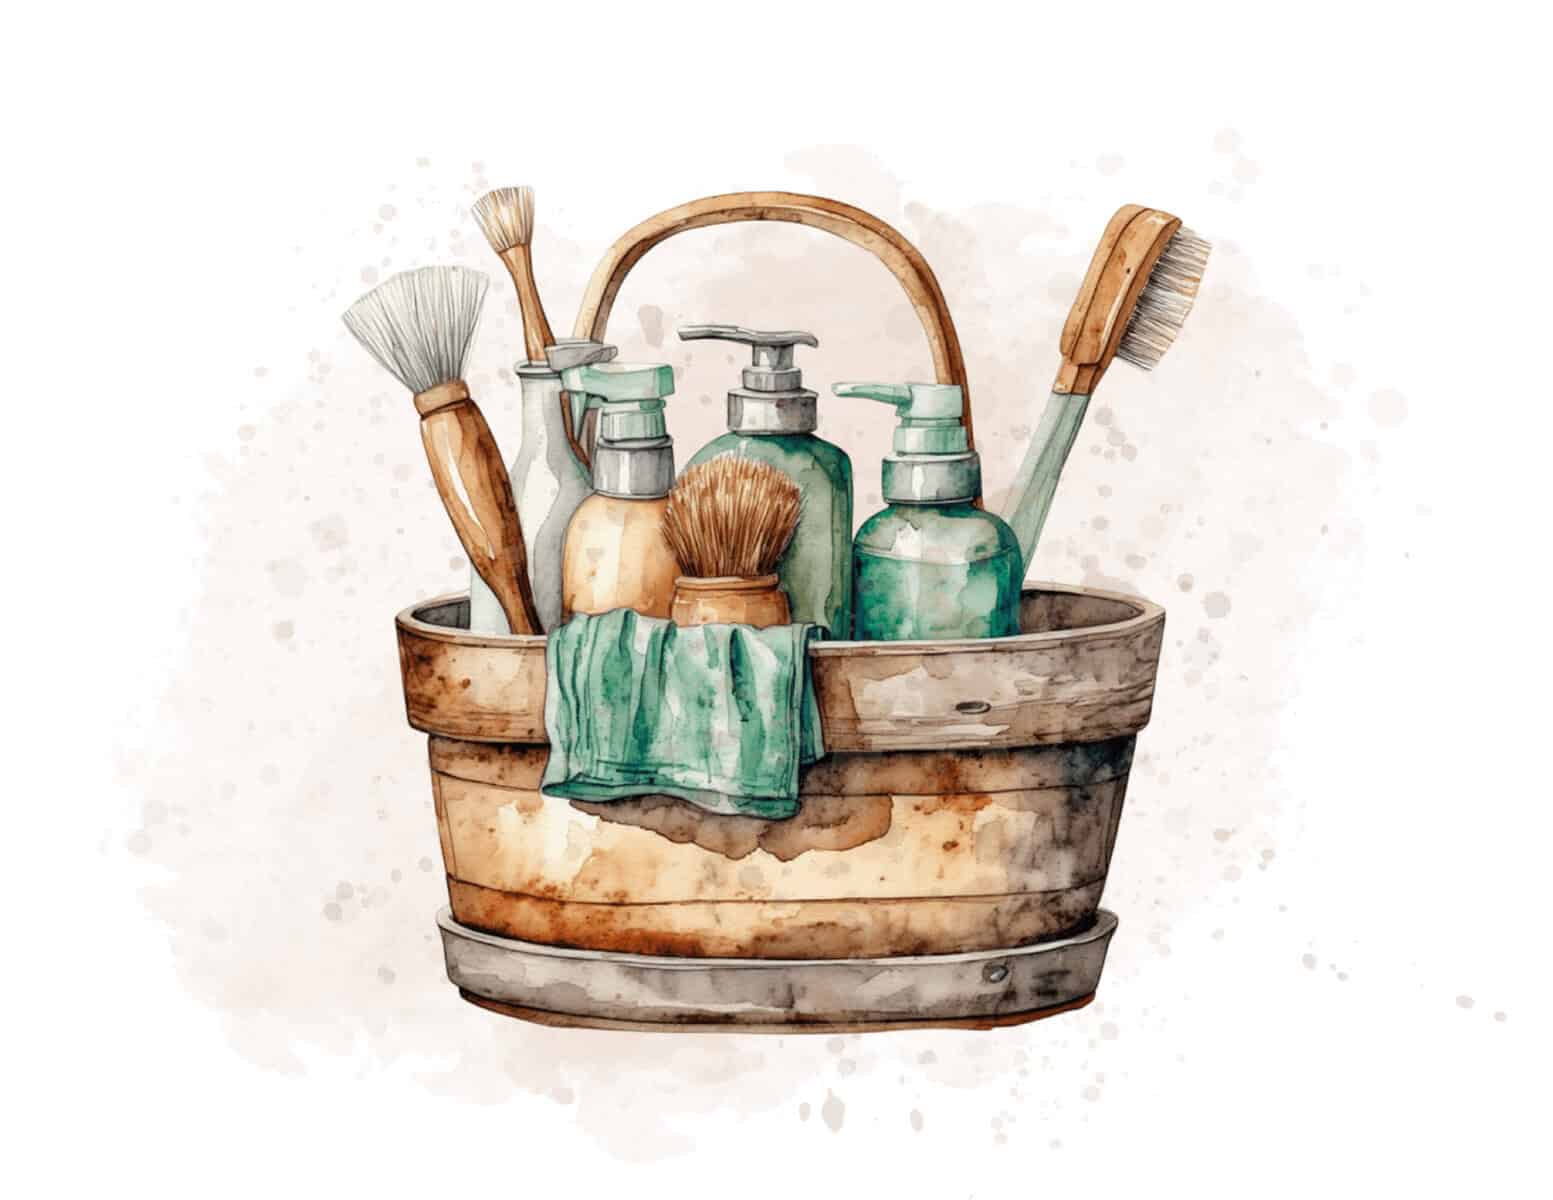
Caring for Your Acrylic Paint Furniture Finish
Keeping your acrylic-painted furniture looking fresh and fabulous is easier than you think. With just a few simple steps, you can protect your hard work and enjoy your colorful creations for years to come!
Cleaning and Protection:
- Clean gently with a soft cotton flannel or microfiber cloth and mixture of Orvus WA with distilled water. Avoid ammonia-based cleaners as they can dull the finish.
- Use coasters, placemats, and felt pads to protect against scratches and water rings.
- Avoid prolonged exposure to standing water or extreme heat.
- For high-traffic pieces, consider a light protective topcoat after 30 days of curing.
Pro Tip: If you do get a small scratch, you can often touch it up with a tiny dab of the same color paint.
| Task | When to Do It | How to Do It | Why It Matters |
|---|---|---|---|
| Dusting | Weekly (or as needed) | Use a soft microfiber cloth; gently wipe surfaces. | Prevents buildup that can dull the finish and cause micro-scratches. |
| Light Cleaning | Every 2–4 weeks | Dampen a cloth with distilled water only; wipe gently, then dry. | Safe for routine upkeep without stressing the acrylic surface. |
| Deep Cleaning | Every 3–6 months | Mix a pea-sized amount of Orvus WA Paste into 1 quart of distilled water. Wipe with a soft cloth, rinse with distilled water, then dry. | Removes oils and grime while staying pH-neutral and non-damaging. |
| Spot Treatment | As needed | For scuffs, use a soft damp cloth. If needed, apply diluted Orvus WA, then rinse and dry. | Treats marks gently without introducing abrasives or harsh solvents. |
| Heavier Cleaning | As needed (when grime persists) | Mix 1–2 drops of Dawn dish soap in 1 quart of distilled water. Wipe, rinse thoroughly with distilled water, and dry. | Breaks down oily residues safely without harming acrylic coatings. |
| Last Resort | Rare, only for stubborn residues, preferably for paint protected by clearcoat | Dilute white distilled vinegar (1 part vinegar:4 parts distilled water). Wipe, rinse immediately with distilled water, and dry. | Mild acid cuts through mineral deposits or sticky residues, but frequent use can dull finishes. |
| Avoid | Always | No silicone-based or oil-based polishes, ammonia cleaners, vinegar (unless it’s a last resort), bleach, or abrasives. | These can break down acrylic, cloud the finish, or cause peeling. |
Common Acrylic Paint Mistakes (And How to Fix Them)
Even the most careful DIYers hit a few bumps along the way. Here’s a roundup of the most common acrylic paint slip-ups and exactly how to turn them around without losing your sparkle!
| Mistake | How to Fix |
|---|---|
| Thick brush strokes | Sand lightly and apply thin, even coats |
| Uneven color or streaking | Apply additional coats, allow full drying |
| Dull finish after drying | Add a thin topcoat or polish with furniture wax |
| Peeling or flaking | Strip, sand, prime, repaint |
| Sticky/tacky surface | Thoroughly mix paint prior to application, allow to cure longer in proper temperature/humidity conditions |
| Using on high-moisture areas | Seal with polyurethane or wax |
FAQs
Got questions? You’re not alone! Here’s a handy list of the top things beginners wonder about when painting furniture with acrylics, answered clearly, so you can paint with confidence!
Q: Can I paint over any existing paint with acrylic?
A: Mostly yes, but always test a hidden spot first. Glossy or slick surfaces should be lightly sanded or deglossed to ensure adhesion. For tricky surfaces, a bonding primer can help.
Q: Can I use regular acrylic craft paint for furniture?
A: You can, but it’s not ideal for durability. True furniture acrylics or hybrids hold up better for daily use.
Q: Do I always need a topcoat?
A: It depends on how the piece will be used and how much you like touching up scrapes and dings. Fusion Mineral Paint usually doesn’t require one. Chalk paints and Behr need sealing for high-traffic surfaces.
Q: How long before I can use the furniture?
A: Typically 7–14 days for full cure, though light use can begin after a few days.
Q: Will acrylic paint yellow over time?
A: No — one of the perks of acrylic is that it’s color-stable and non-yellowing, unlike oil-based paints.
Q: Can I use acrylic paint outdoors?
A: Standard interior acrylic paint is not recommended for exterior use, as UV and moisture can degrade the paint. Use an exterior-grade acrylic or outdoor-specific topcoat if needed.
Q: Can I mix acrylic paint colors?
A: Absolutely! Acrylic paints blend easily, letting you create custom shades. Always mix thoroughly for consistent color.
Q: Do I need a topcoat on every piece?
A: For low-traffic decorative pieces, wax alone can suffice. For high-use furniture, a water-based poly or polycrylic is strongly recommended for durability.
Q: How do I fix mistakes or drips?
A: Wait until the paint is fully dry, lightly sand the area, clean off dust, and repaint with a thin coat.
Q: How do I store leftover acrylic paint?
A: Seal the container tightly, store in a cool, dry place, and stir well before the next use. Acrylic paint can last months if properly stored.
The Final Wrap-Up: Is Acrylic Paint Right for You?
Alright my friend, you’ve now got the inside scoop on acrylic paint for furniture, from chemistry nerd-outs to topcoats, waxes, and care. Let’s put it all together so you can decide if this finish fits your project and personality.
Why acrylic paint might be perfect for you:
- Beginner-friendly: It’s forgiving, water-based, and easy to clean up with just distilled water and soap.
- Color freedom: Vibrant hues, endless creativity, and layering possibilities.
- Quick drying: You can apply multiple coats in a day and see results fast.
- Flexible finish options: Add a water-based polyurethane, polycrylic, or wax for the exact sheen and durability you want.
Things to consider before committing:
- Surface prep is key: Even though acrylic is forgiving, polished, greasy or glossy surfaces need cleaning and scuffing for adhesion.
- Durability depends on protection: High-traffic pieces will need a poly or polycrylic topcoat; wax alone is best for low-use decorative items.
- Not chemical-proof: Avoid solvents like alcohol, acetone, or mineral spirits as they can damage the finish.
Your decision map:
- If you want a fun, colorful, beginner-friendly project → Acrylic paint is a fantastic choice.
- If you’re refinishing high-traffic furniture → Use acrylic paint plus a protective water-based poly or polycrylic.
- If you want soft, boutique-style finishes → Wax over acrylic paint gives that velvety charm with low-maintenance use.
And there you have it, my friend! Acrylic paint is a versatile, approachable, and durable finish that can transform your furniture from “meh” to magical. Whether you’re a first-timer dipping your brush into Fusion, a creatively confident soul exploring chalky vibes, or a pro chasing that flawless Sherwin-Williams finish, there’s a paint, and a method, perfect for you.
So grab that brush, pick your perfect shade, and let your furniture shine. Your space is about to get a whole lot happier!
Thank you so much for stopping by! I hope this guide helps you feel inspired and empowered for your next project. Drop a comment below if you have any questions, or share your own tips and tricks from your adventures with acrylic furniture paint!
Until next time, have a beautiful and blessed day!

Don’t forget to sign up so you hear all about the next misadventure!