Beginner’s Guide to Alkyd Furniture Paint
Hey there, fabulous furniture fanatics! If you’re looking for a furniture finish that combines the rich, smooth look of oil paint with the convenience of modern formulas, alkyd paint is about to become your new best friend. This post will walk you through the nuts and bolts of alkyd paint, what it is, why it rocks for furniture, how to apply it like a pro, and even how to keep your beautiful pieces looking fresh for years. By the time you finish reading, you’ll be totally ready to bring that glossy, durable charm to your next refinishing project. Let’s get started!
THIS POST CONTAINS AFFILIATE LINKS TO PRODUCTS THAT I HAVE OR WOULD USE.
AS AN AMAZON ASSOCIATE, I EARN FROM QUALIFYING PURCHASES AT NO COST TO YOU.
YOU CAN SEE MY FULL DISCLOSURE HERE.
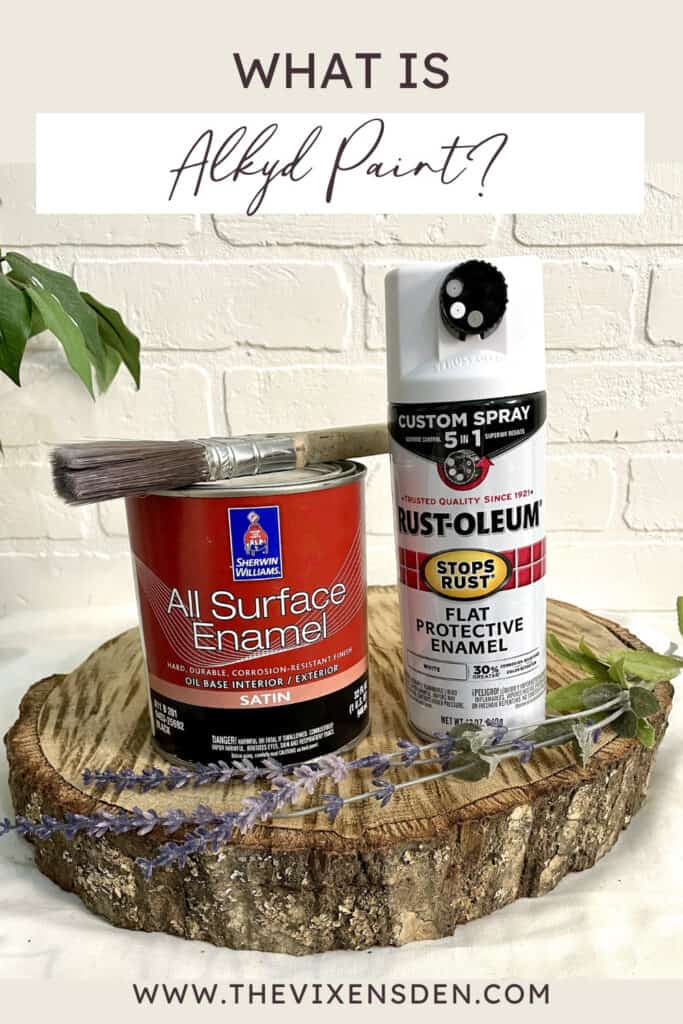
What Is Alkyd Paint?
Alright, let’s nerd out just a little (I promise it’s fun)! Alkyd paint is a type of paint where the binder, the stuff that holds pigment particles together and sticks the paint to your furniture, is an alkyd resin.
Alkyd resins are chemically modified polyester resins made by reacting polyols (think: alcohol compounds) with dibasic acids or anhydrides and then incorporating fatty acids or oils. That oil component is what makes alkyds “feel” like traditional oil paints, but the lab-engineered polyester part speeds up the dry time and improves hardness.
Bottom line: alkyd paint is basically synthetic oil paint with superpowers. You get the strong, durable finish of oils without having to wait weeks for your dresser to stop feeling tacky. Say hello to (almost) instant gratification in a paint can!
Why That Matters for Your Furniture
- Faster Dry Time: Traditional oils can take days…or weeks…between coats. Alkyds? We’re talking hours. That means more momentum and less downtime in your project flow.
- Durability: Once cured, alkyds form a hard shell that can handle knocks, scrapes, and the daily life of a coffee table or a kitchen chair.
- Smooth Finish: Thanks to their chemistry, alkyds level out beautifully, reducing brush strokes (a beginner’s biggest fear).
- Sheen Retention: They don’t dull down as quickly as latex paints, so your furniture stays glossy or satin-smooth, depending on your choice.
But Wait, What’s with “Enamel” in the Name?
Here’s where it gets extra confusing in the paint aisle! You’ll often see alkyd paints labeled as enamels. That doesn’t mean they contain actual enamel (normally found fused to metal or in dental products). In paint language, “enamel” is just a marketing term for hard-drying, durable paints with a smooth finish. Many modern “enamels” are actually waterborne alkyd hybrids, so when you see names like “Alkyd Enamel,” “Urethane Alkyd,” or “Water-Based Alkyd Enamel” it all traces back to this same alkyd resin backbone.
A Quick Chemistry Compare (for the paint nerd in all of us):
- Latex/Acrylic Paint: Binder is acrylic or vinyl polymers suspended in water. Great for walls, not always tough enough for furniture.
- Traditional Oil Paint: Binder is natural drying oils (like linseed). Gorgeous depth, but painfully long dry times.
- Alkyd Paint: Binder is modified polyester + fatty acids. Synthetic but with an “oil-like” backbone. Faster, harder, smoother.
💡Pro Tip: If you can’t find the binder info on the back of the can, don’t worry. Paint companies keep a handy cheat sheet called an SDS (Safety Data Sheet) on their websites. Think of it as the paint’s “ingredient list.” A quick peek there will tell you exactly what’s swirling around inside, so you’ll know if you’re working with a true alkyd, a hybrid, or something else entirely.
A Peek Into Alkyd Paint History
Alkyd paint strutted onto the scene in the 1920s, right when the world was craving something tougher and faster than traditional oils. Fun fact: “alkyd” comes from “alcohol” and “acid”, the two key building blocks of the resin. By blending natural oils with newly engineered polyester resins, chemists created a paint that dried quicker, hardened better, and stood up to scuffs in a way that linseed oil alone just couldn’t.
And here’s where it gets juicy: alkyds didn’t replace oil paints; they evolved from them. If you’ve already peeked at my post on oil paints, you’ll remember that oils gave furniture its legendary depth and glow… but also came with snail-paced dry times and finicky application. Alkyd resins were the next chapter in that story, engineered to keep the strength and smoothness of oils while trimming down the wait time.
Think of it this way: if oil paint was the classic slow-cooked Sunday roast, alkyd paint is your Instant Pot version, still hearty and satisfying, but ready before you’ve finished folding the laundry.
Alkyd paint trivia for your next family game night:
- Alkyd paints became especially popular in the mid-20th century for industrial and residential use because they’re hardy and weather-resistant.
- Famous furniture makers and painters in the 1940s-1960s loved alkyds for their glossy finish that could mimic lacquer but was easier to maintain.
Where and Why to Use Alkyd Paint
Alkyd paint is an absolute superstar for furniture that needs a durable, smooth, and glossy finish. But, like any tool in your refinishing toolkit, it has its quirks. Here’s a quick cheat sheet table to guide you:
| Where It Shines | What’s to Love | What’s Not to Love |
|---|---|---|
| High-traffic furniture (tables, dressers, chairs) | Durable, resistant to chipping and scratching | Strong odor during application and drying |
| Surfaces requiring smooth, enamel-like finish | Self-leveling for minimal brush strokes; beautiful gloss | Longer cure times compared to water-based paints |
| Furniture that will be cleaned often | Excellent adhesion and chemical resistance | Requires solvents like mineral spirits for cleanup (although water-based options are available) |
| Projects needing tough protection | Great leveling and flow; holds color vibrancy well | Not very eco-friendly due to VOCs (volatile organic compounds) |
Which Alkyd Paint Product is Right for You?
No worries if you’re still wondering which product to grab! I’ve handpicked three options for you based on your comfort level and project goals:
| DIY Skill Level | Best Paint Recommendation | Why It’s the Best Fit |
|---|---|---|
| Beginner | Benjamin Moore Advance (Waterborne Alkyd) | • Easy-to-apply, furniture-grade finish with self-leveling properties• Soap-and-water cleanup• Low VOC and moderate odor• Durable enough for high-touch furniture• Great balance of professional look and beginner-friendly handling |
| Creatively Confident | Sherwin-Williams ProClassic Water-Based Alkyd Enamel | • Smooth, self-leveling finish for furniture and cabinets• Waterborne alkyd = easier cleanup, lower VOC• Excellent durability for frequent-use surfaces• Flexible application: brush, roll, or spray• Perfect upgrade from beginner level without full solvent-based commitment |
| Pro | Sherwin-Williams ProClassic Solvent-Based Alkyd | • Traditional oil-based alkyd with maximum durability• Hard, glossy, professional-quality finish• Ideal for custom, high-end furniture projects• Requires skill, proper ventilation, and mineral spirits for cleanup• Classic enamel flow and leveling for top-tier finishes |
Pro Tip: Sherwin-Williams’ Water-Based ProClassic line doesn’t offer a deep base (so if you’re dreaming of a moody navy or black makeover, you’re out of luck). In that case, reach for Emerald Urethane. It’s a fantastic alternative for those richer colors!
Now that you have your perfect alkyd paint selected, let’s get it ready to shine!
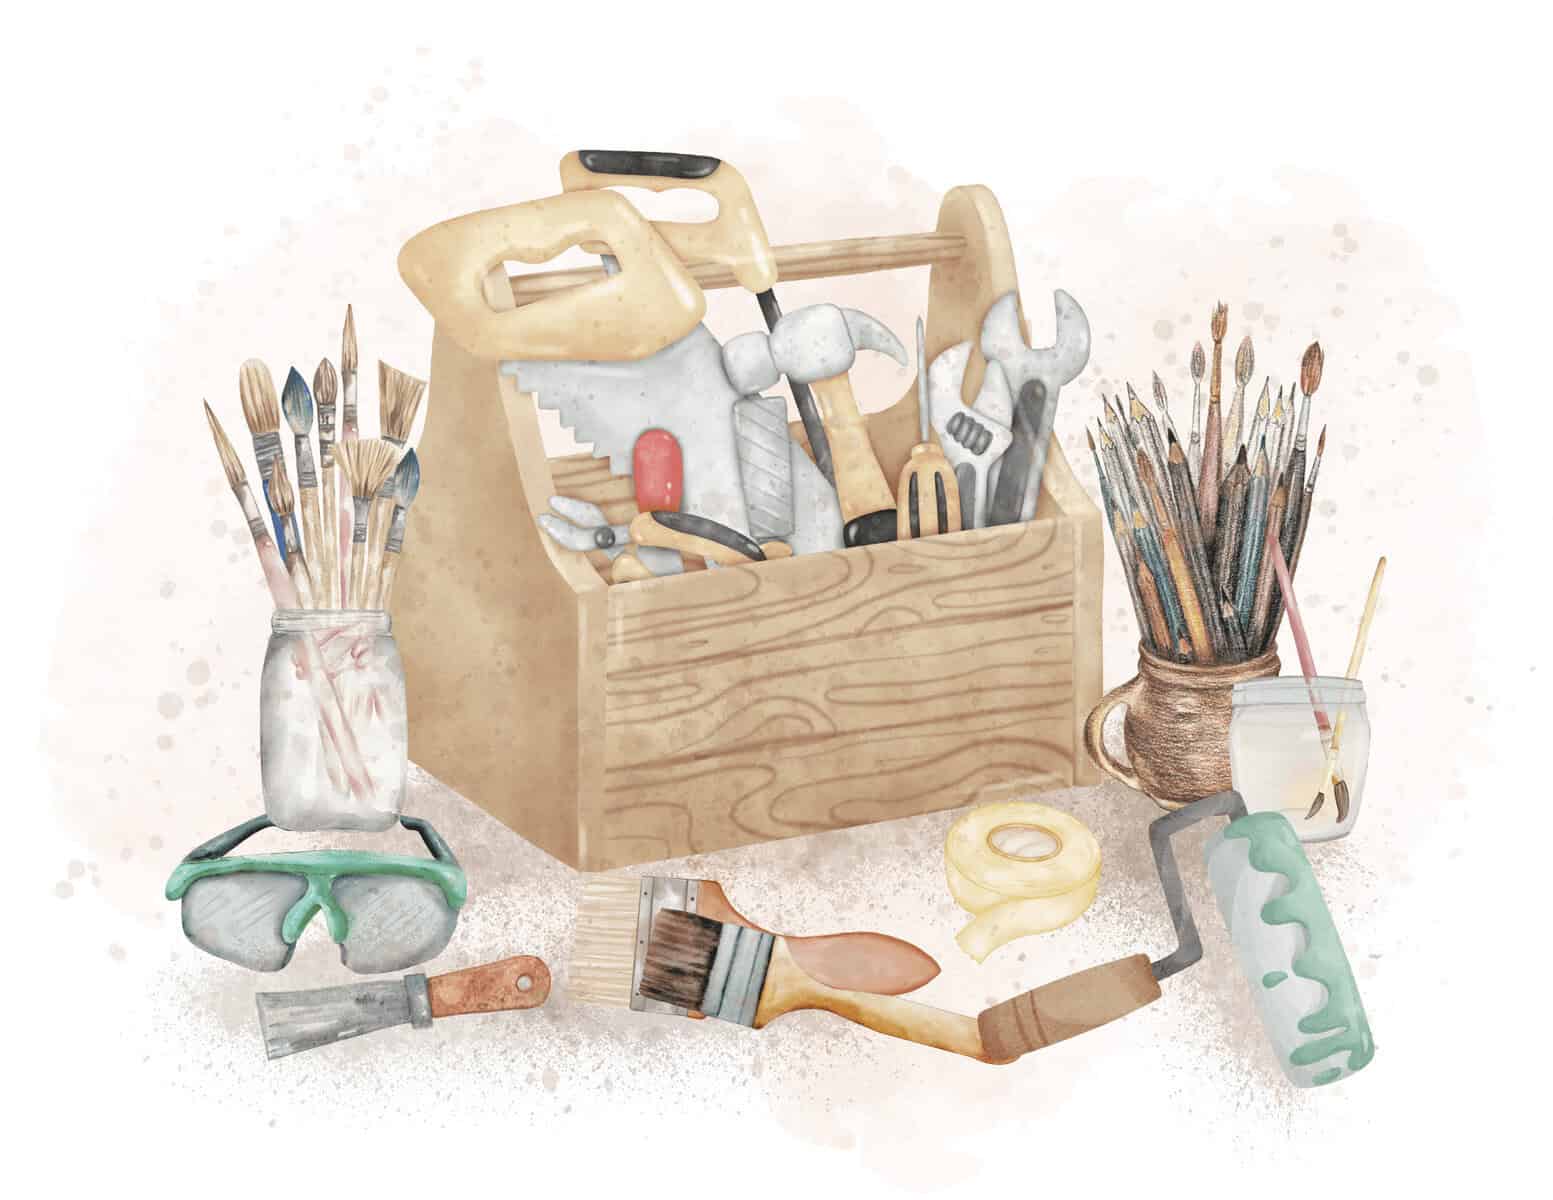
What’s in the Finishing Toolkit?
Ready to get your hands dirty? Here’s what you’ll need:
Tools
- High-quality synthetic bristle paint brush (avoid natural bristle for alkyds)
- Vacuum cleaner with soft-bristle brush attachment
- Stir sticks
- Drop cloths
- Respirator mask (to avoid VOC inhalation)
- Good ventilation (open windows or use fans)
Materials
- Krud Kutter Original
- Green Scotch-Brite pad
- Alkyd paint of your choice (see above!)
- Sandpaper (120, 220, and 320 grit)
- Tack cloth or lint-free cloth
- Mineral spirits or paint thinner (for cleaning brushes and thinning if needed)
- Painters tape
- Distilled water
Pro Tips: Before You Begin
Before you pop that lid and dive in with your shiny new alkyd paint, let’s set the stage for success. A little prep here makes the difference between a finish that sings and one that chips at the first bump.
1. Clean before you sand.
Even if your piece looks clean, oils, waxes, and years of furniture polish can sneakily sabotage adhesion. Start with Krud Kutter Original to remove all that buildup.
- Spray directly onto the surface.
- Allow it to sit for a couple of minutes.
- Gently scrub with a green Scotch-Brite pad.
- Wipe off with a damp rag.
- Rinse thoroughly with distilled water.
- Let the piece dry thoroughly before sanding or stripping.
2. Test what you’re working with.
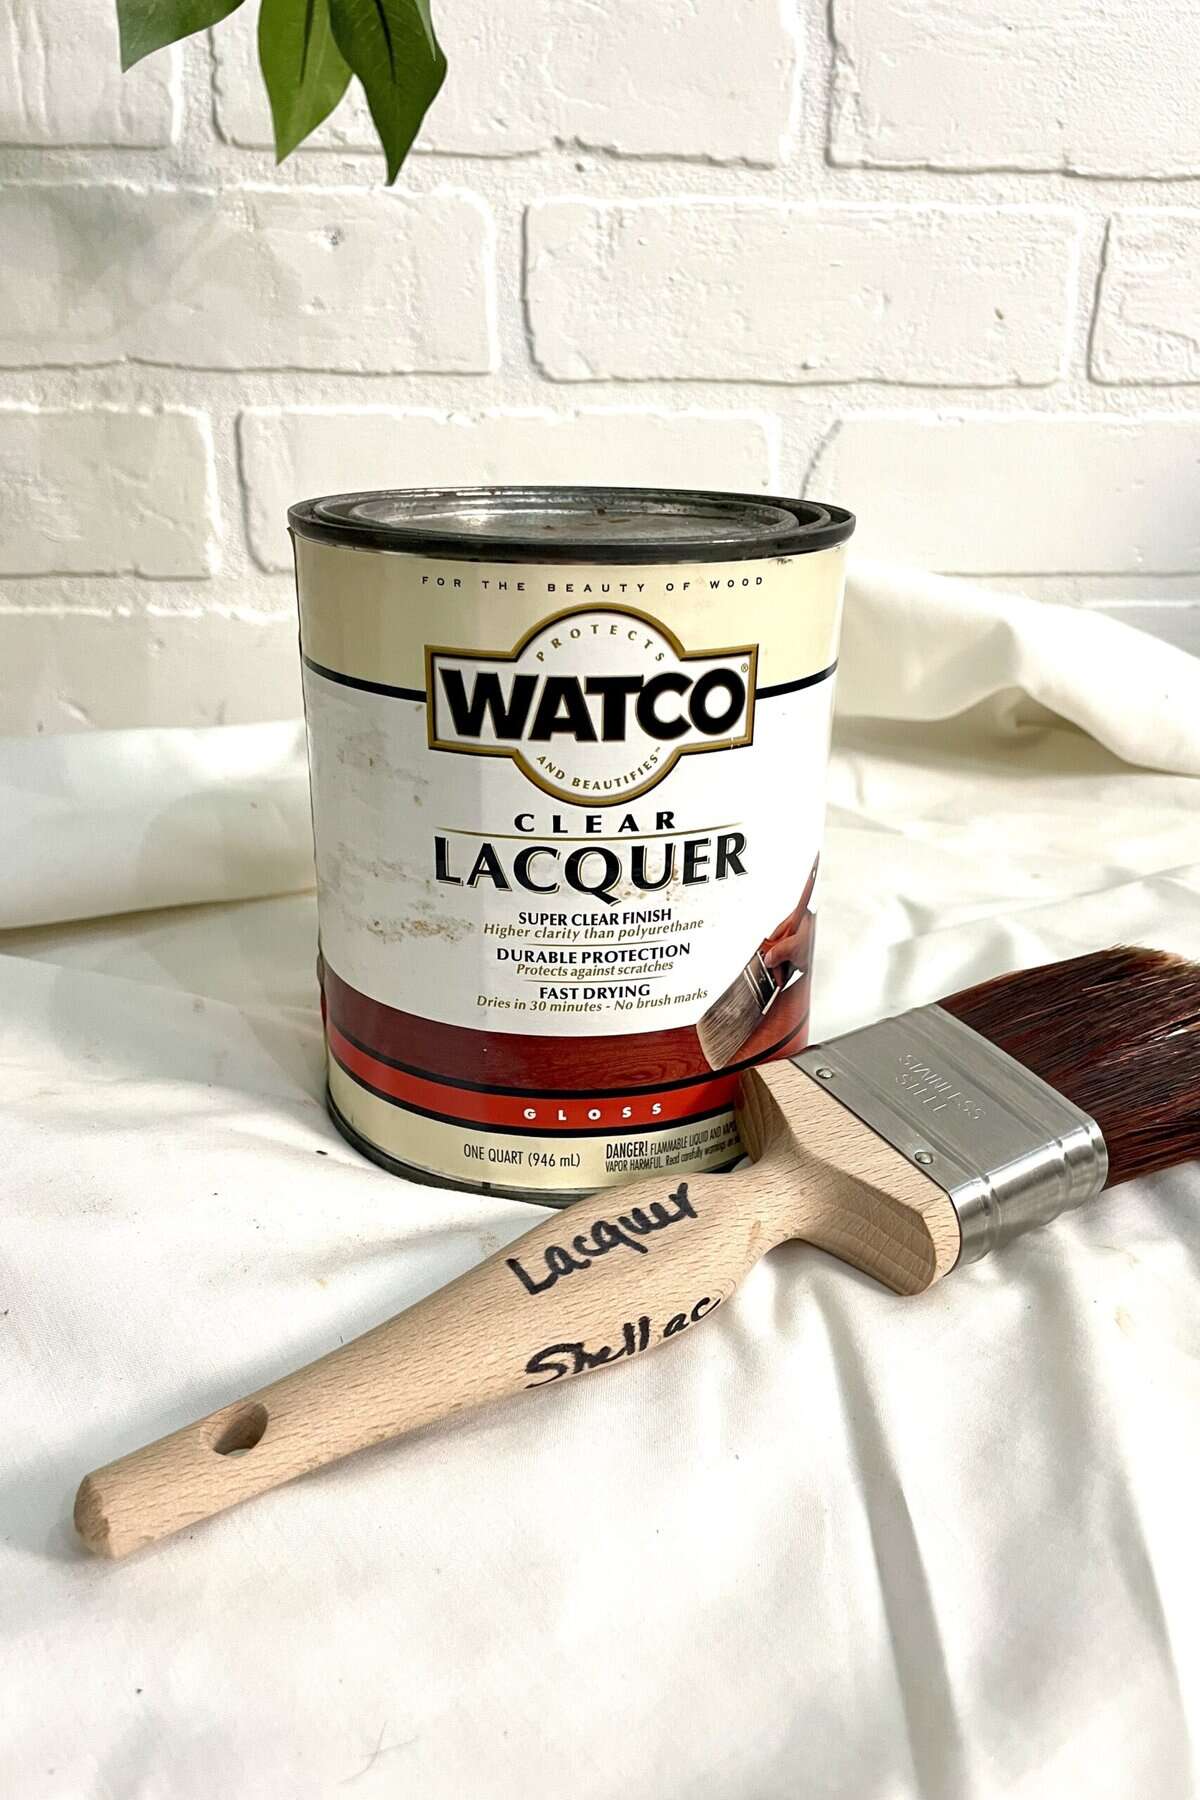
Not sure what’s on your piece now? Rub a little denatured alcohol on an inconspicuous spot:
- If it softens or wipes off → that’s shellac.
- If lacquer thinner does the trick → lacquer.
- If neither budges it → likely a cured varnish, poly, or paint.
Why this matters: Some slick, glossy finishes (like high-gloss lacquer or factory laminates) can make alkyds throw up their hands and say, “Nope.” In those cases, a bonding primer is your best friend.
3. Know the “no-go” finishes.
Alkyd paints don’t like to stick directly to:
- Waxed surfaces (yep, even that “furniture polish” build-up counts).
- High-gloss, unsanded varnish or poly.
- Melamine or laminate without scuff sanding + bonding primer.
4. Sand smart, not hard.
After cleaning, give your surface a gentle “scuff” sanding (120-180 grit works well) to create tiny “tooth marks” for the paint to grab. Vacuum away dust with a soft bristle nozzle attachment, then wipe sparkly clean with a tack cloth.
How to Apply Alkyd Paint: Step-by-Step
Alright, friend! Brushes ready? Let’s do this together! Alkyd paint isn’t scary once you know the rhythm. Follow these steps, and your furniture will look like it walked out of a boutique showroom.
Step 1: Prep Like a Pro
- Clean thoroughly: Grease, wax, or polish residues will kill adhesion. Use Krud Kutter Original Cleaner/Degreaser with a green Scotch-Brite pad, then rinse with distilled water.
- Sand lightly: 120-180 grit creates just enough “tooth” for the paint to grab. Don’t skip this even if the surface looks smooth.
- Dust it off: Vacuum and tack cloth your piece until it’s spotless. Dust is the enemy of a silky finish.
Step 2: Prime (If Needed)
Alkyd paints love a stable base. If your furniture has bare wood, tannin-rich woods (like oak or mahogany), or a glossy old finish, start with a primer.
- Bare/tannin woods: Use an oil-based or shellac-based stain-blocking primer.
- Glossy/laminate surfaces: A bonding primer is your secret weapon.
- Already painted, sound surfaces: Light sanding + direct paint may be enough.
Step 3: Stir, Don’t Shake
Sounds small, but it matters. Stir alkyds gently with a paint stick to blend pigments and resins evenly. Shaking traps bubbles, and bubbles = bumps in your beautiful finish.
Step 4: Choose Your Weapon
- Brush: Use a high-quality synthetic brush for alkyds. (Remember, if it’s bunny fur-soft then it’s a winner!)
- Roller: For water-based alkyds on large, flat areas, a foam roller can speed things up, but stick with a synthetic brush for edges, corners, and detailed pieces.
- Sprayer: For pros or adventurous DIYers, spraying alkyds gives the ultimate factory-like finish.
💡 Pro Tip: If you’re spraying or brushing in warm weather, extend open time with a paint conditioner (like Floetrol for water-based alkyds or Penetrol for solvent-based). It keeps the paint workable longer and helps eliminate brush strokes.
Step 5: Apply Thin, Even Coats
- Load, don’t overload: Dip your brush about a third of the way into the paint. No dunking!
- Lay it on, then level: Work in sections, brushing in long strokes with the grain. Alkyds level beautifully if you don’t overwork them.
- Resist the urge to re-brush: Once it starts tacking up, leave it alone. Fussing creates ridges.
Step 6: Respect the Dry Time
- Water-based alkyds: Touch dry in 1-2 hours; recoat in 4-6.
- Solvent-based alkyds: Much longer, often 8-16 hours between coats.
Always check the label for your specific brand and environmental conditions (temperature, humidity).
Step 7: Build It Up
Most furniture projects need 2-3 coats for full coverage and durability. Lightly sand (220 grit) between coats for extra smoothness, then wipe clean before recoating.
Step 8: Cure Before Use
This is where patience pays off!
- Dry ≠ cured. Alkyds feel dry to the touch within hours but need 7 to 30 days (depending on product and conditions) to fully harden.
- During cure time, treat your piece gently. No stacking heavy books, dragging décor, or slamming cabinet doors.
Application Best Practices
| Factor | Details |
|---|---|
| Ideal Temperature | 65°F to 85°F (18°C to 29°C) |
| Ideal Humidity | 40% to 70% humidity |
| Dry Time Between Coats | 4-6 or 8-16 hours (recoat time) |
| Cure Time | 7 to 30 days for full hardness |
| Number of Coats | 2 to 3 coats recommended |
When and How to Refresh Your Alkyd Paint Finish
So, your furniture is looking gorgeous, but over time even the toughest alkyd finish can start to show a little wear. The good news? Refreshing it doesn’t have to be scary or messy. Here’s how to do it like a pro (without losing your mind).
Signs Your Finish Needs a Refresh
Keep an eye out for these telltale clues:
- Dull or uneven sheen: Your piece has lost that smooth, polished look.
- Light scratches or scuffs: Normal wear and tear from daily life.
- Fading or minor color shifts: Especially on pieces in sunlight or heavy-use areas.
- Sticky or tacky spots: Sometimes old residues or humidity can leave little sticky areas.
💡 Pro Tip: If the paint is peeling, flaking, or chipping, that’s a bigger job. You’ll need to strip and refinish rather than just refresh.
Quick Refresh Without Starting Over
- Clean the Surface
- Wipe with a gentle degreaser (Krud Kutter Original is our go-to) and distilled water.
- Remove dust, dirt, or any build-up. This helps new paint stick evenly.
- Lightly Sand
- Use 220-320 grit sandpaper or a light Scotch-Brite pad to scuff the surface.
- You’re not sanding back to raw wood, just giving the new coat something to grab onto.
- Wipe clean with a tack cloth.
- Recoat
- Apply 1 thin coat of alkyd paint (brush or foam roller for water-based alkyds).
- Let it dry according to the label. Most finishes will need 4-6 hours between coats if using water-based alkyd, longer for solvent-based.
- Optional Second Coat
- For high-traffic furniture or areas that really show wear, a second thin coat can give extra durability.
✨ Friendly Reminder: Refreshing is like touching up a favorite outfit. You’re not starting from scratch, you’re keeping it looking fabulous for years to come.
Refinishing Alkyd Paint
Sometimes, refreshing isn’t enough, and your piece needs a full refinishing session. Don’t worry, this is just giving your furniture a brand-new life!
Step 1: Assess the Surface
- Look for peeling, flaking, or deep scratches.
- Check for stains, water damage, or uneven spots.
Step 2: Strip the Old Finish (if needed)
- Use a reliable chemical stripper (our go-tos are ZAR Paint & Varnish Remover or Jasco Premium Paint & Epoxy Remover).
- Apply according to the label and work in a well-ventilated space.
- Gently remove softened paint with a plastic scraper. I tend to avoid metal tools that can easily gouge wood during this process.
Step 3: Prep for Repainting
- Clean thoroughly with Krud Kutter Original, rinse, and dry thoroughly.
- Sand smooth, starting with medium grit and finishing with 180-220 grit.
- Wipe with a tack cloth to remove all dust.
Step 4: Prime (if needed)
- Bare wood, tannin-heavy species, or glossy finishes benefit from a primer.
- Apply thin, even coats and let dry according to the label.
Step 5: Repaint with Alkyd
- Follow our “How to Apply” steps: thin coats, synthetic brush, light sanding between coats.
Step 6: Cure and Enjoy
- Admire your beautifully refreshed furniture, now ready for years of use!
- Allow full cure time (7-30 days, depending on product).
Removing Alkyd Paint
Sometimes, you just need a clean slate. Whether it’s time for a color change or a major repair. Here’s the beginner-friendly guide:
Step 1: Protect Yourself and Your Workspace
- Ventilate the area.
- Wear gloves and safety glasses.
- Cover floors and surrounding surfaces with drop cloths.
Step 2: Choose the Right Stripper
- Our go-tos are ZAR Paint & Varnish Remover or Jasco Premium Paint & Epoxy Remover
- For stubborn solvent-based alkyds, a stronger commercial stripper such as TotalBoat TotalStrip may be needed (follow the label carefully).
💡Pro Tip: Chemical stripping is the safest method for removing these ultra-strong finishes that may include crystalline dust which can cause lung damage if exposed to over a very long period of time.
Step 3: Apply and Wait
- Apply a thick, even layer of stripper.
- Let it sit for the recommended time. Paint will start to bubble and lift.
Step 4: Remove the Paint
- Use a plastic scraper to gently lift loosened paint.
- For corners and details, use a soft-bristled brush or a wooden stick.
Step 5: Clean and Prep
- After stripping, wash the surface with Krud Kutter.
- Sand lightly to remove any remaining residue.
- Rinse with distilled water.
- Wipe dry. Your piece is now ready for it’s makeover!
✨ Friendly Reminder: Stripping can feel scary, but think of it as peeling back layers to reveal the beauty underneath. Patience pays off. Follow each step, and your furniture will thank you with a flawless finish.
The Ultimate Alkyd Paint Cleaning Guide: Keep Your Furniture Gleaming
Hey friend! Your freshly painted furniture deserves a little TLC to stay fabulous. With the right approach and trusted products, cleaning your alkyd finish doesn’t have to feel like a chore, it can actually be kind of fun. Let’s walk through it step by step.
Step 1: Daily or Light Cleaning
Goal: Dust and light surface dirt removal without harming your finish.
What You’ll Need:
- Soft, lint-free cloth (microfiber or cotton flannel works beautifully)
- Distilled water
- Optional: a drop or two of Orvus WA for extra cleaning oomph
How to Do It:
- Dampen your cloth lightly with distilled water.
- Add one or two drops of Orvus WA if the surface needs a tiny boost.
- 💡 Pro Tip: Before trying any cleaner, even Orvus WA, test it in a hidden area first. Just a quick swipe to make sure everything stays shiny and happy, prevents big “oops” moments.
- Wipe gently along the grain. Think of it as giving your furniture a gentle massage.
- Dry immediately with a clean cloth.
💡 Pro Tip: Avoid soaking the surface. Alkyds are durable, but prolonged water contact can dull the finish over time.
Step 2: Tackling Stubborn Spots
Goal: Lift fingerprints, light grease, or sticky spills without stressing your finish.
What You’ll Need:
- Orvus WA solution (1 teaspoon per quart of warm distilled water)
- Soft microfiber or cotton flannel cloth
How to Do It:
- Dip your cloth in the solution and wring it out well; no drips allowed!
- Gently wipe the problem area, letting the solution do the heavy lifting.
- Rinse with a clean cloth dampened with distilled water.
- Dry immediately to avoid streaks or water rings.
💡 Pro Tip: Work in small sections to keep the finish looking even, especially on vertical surfaces.
Step 3: Monthly or Deep Cleaning
Goal: Remove accumulated dust, light polish residue, or grime that dulls the paint over time.
What You’ll Need:
- Orvus WA solution
- Soft-bristled brush for carved details
How to Do It:
- Lightly dampen a soft microfiber or flannel cloth with the solution.
- Wipe flat surfaces gently, following the grain.
- Use a soft brush for details, edges, and crevices.
- Rinse with distilled water and wipe dry.
💡 Pro Tip: Never use harsh detergents, ammonia, or abrasive pads. Your alkyd finish will thank you with a smooth, glossy look.
Step 4: Extra Longevity Tips
- Coasters, placemats, and felt pads are your friends. They prevent scratches and water rings.
- Dust frequently. Dust particles are tiny abrasives that can dull your finish.
- Keep your furniture out of direct, intense sunlight for long stretches. As durable as alkyd paint is, UV can fade it over time.
✨ Helpful Hint: Treat cleaning like a mini pampering session for your furniture. With Orvus WA, distilled water, and a soft cloth, you’re helping your piece stay vibrant, smooth, and ready to dazzle guests (or just make you smile every day).
Common Alkyd Paint Mistakes (And How to Fix Them)
| Mistake | Cause | Fix |
|---|---|---|
| Brush marks or streaks | Applying thick coats; poor brush choice | Use a high-quality synthetic brush; apply thinner coats; sand between coats |
| Tackiness after drying | High humidity; insufficient dry time | Increase ventilation; wait longer; avoid applying coats too thick |
| Cracking or peeling | Surface not prepped properly; too many thick coats | Apply chemical stripper to remove; properly prep surface before repainting |
| Yellowing over time | Low-quality alkyd or exposure to UV | Choose high-quality products with UV inhibitors; minimize direct sunlight exposure |
| Strong odor discomfort | Poor ventilation | Work in a ventilated area; wear a respirator mask |
FAQs
Q: Is alkyd paint better than water-based paint for furniture?
A: Alkyd offers a tougher, smoother finish that’s more durable but has longer dry times and stronger odors. Water-based dries faster and cleans up easily, but may not be as hard-wearing.
Q: Can I use a roller instead of a brush with alkyd paint?
A: It’s possible, but not recommended for furniture because rollers can leave texture. A synthetic bristle brush or foam brush works best.
Q: How long before I can use my alkyd-painted furniture?
A: It’s safe to use gently after 24 hours, but full curing for maximum hardness takes about 7 days.
Q: Can I thin alkyd paint?
A: Yes! Use mineral spirits to thin slightly if needed for smoother application.
Q: How do I dispose of alkyd paint and solvents safely?
A: Follow local hazardous waste guidelines. Never pour solvents or leftover paint down drains.
Final Wrap Up: Is Alkyd Furniture Paint Right for You?
Well, friend, we’ve journeyed through the world of alkyd paint together, from the chemistry nerd-outs to the brush strokes, from prep to refresh, and all the little pro tips in between. By now, you’re ready to tackle your first alkyd-painted piece with confidence!
So, is alkyd paint the right choice for your furniture? Let’s break it down:
You’ll love alkyd paint if:
- You want a durable, long-lasting finish that can handle daily life, pets, and the occasional coffee spill.
- You enjoy smooth, self-leveling paint that gives a professional look—even if you’re a beginner.
- You like the flexibility of water-based or solvent-based options to match your skill level and project needs.
You might want to pause if:
- You prefer ultra-quick cleanup with just water and are intimidated by solvents (though water-based alkyds ease this concern).
- You’re after a super fast cure for a piece you need to use tomorrow (alkyds are quick-drying, but full cure takes patience).
Our Friendly Verdict:
Alkyd paint strikes a perfect balance between durability and ease of use. With the right prep, trusted brushes, and a little love, your furniture can go from “meh” to masterpiece, and stay that way for years.
✨ Friendly Reminder: Choosing alkyd paint isn’t just about the chemistry. It’s about how you want your furniture to perform and feel. If you want smooth, resilient, and gorgeous results that stand the test of time, alkyd is your new best friend.
So grab your synthetic brush, your favorite color, and let’s make some magic happen! Your furniture, and your inner DIY superstar, will thank you.
Thank you so much for stopping by! I hope this information helps you with your next project. Drop a comment below and let me know if you have any questions or tips from your adventures with alkyd paint! Happy refinishing, and keep making treasures!
Until next time, have a beautiful and blessed day!

Don’t forget to sign up so you hear all about the next misadventure!