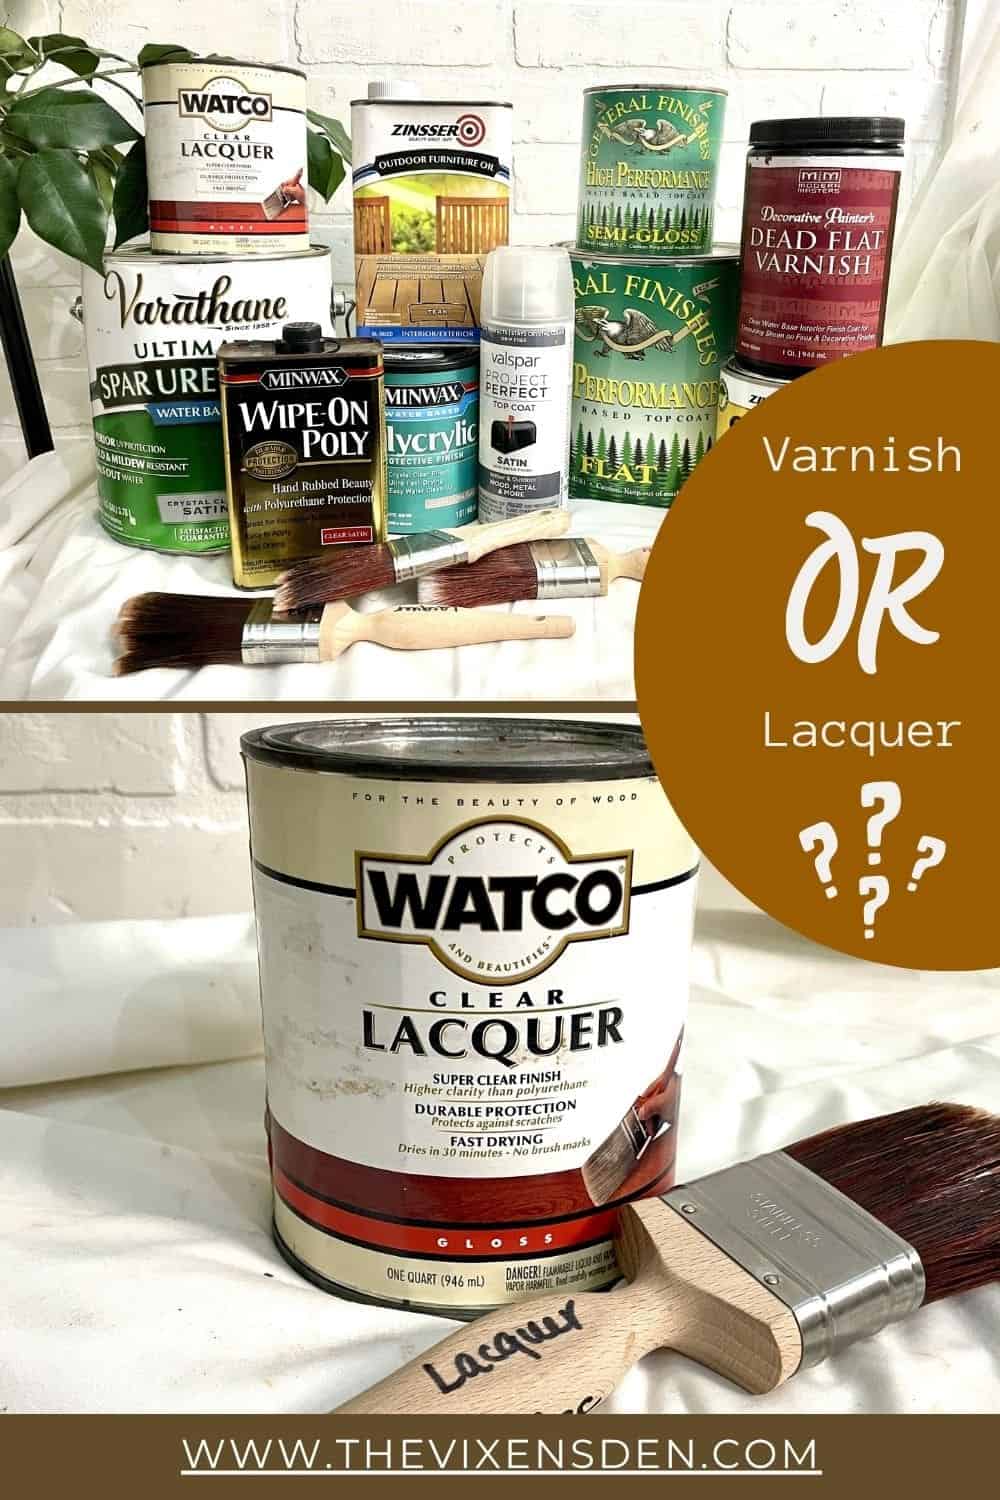
Polyurethane Furniture Finish: Your Beginner’s Guide to a Tough, Beautiful Shine
Have you ever wished your hard work on a refinished piece could stay gorgeous even after daily bumps, spills, and scratches? Enter polyurethane – the superhero of protective finishes! This post is your friendly, step-by-step guide to understanding what polyurethane is, why it’s such a trusted favorite, and how you can apply it like a pro. By the end, you’ll know how to choose the right product, apply it confidently, refresh and repair when needed, and keep your wood furniture sparkling for years to come.
Let’s dive in!
THIS POST CONTAINS AFFILIATE LINKS TO PRODUCTS THAT I HAVE OR WOULD USE.
AS AN AMAZON ASSOCIATE, I EARN FROM QUALIFYING PURCHASES AT NO COST TO YOU.
YOU CAN SEE MY FULL DISCLOSURE HERE.
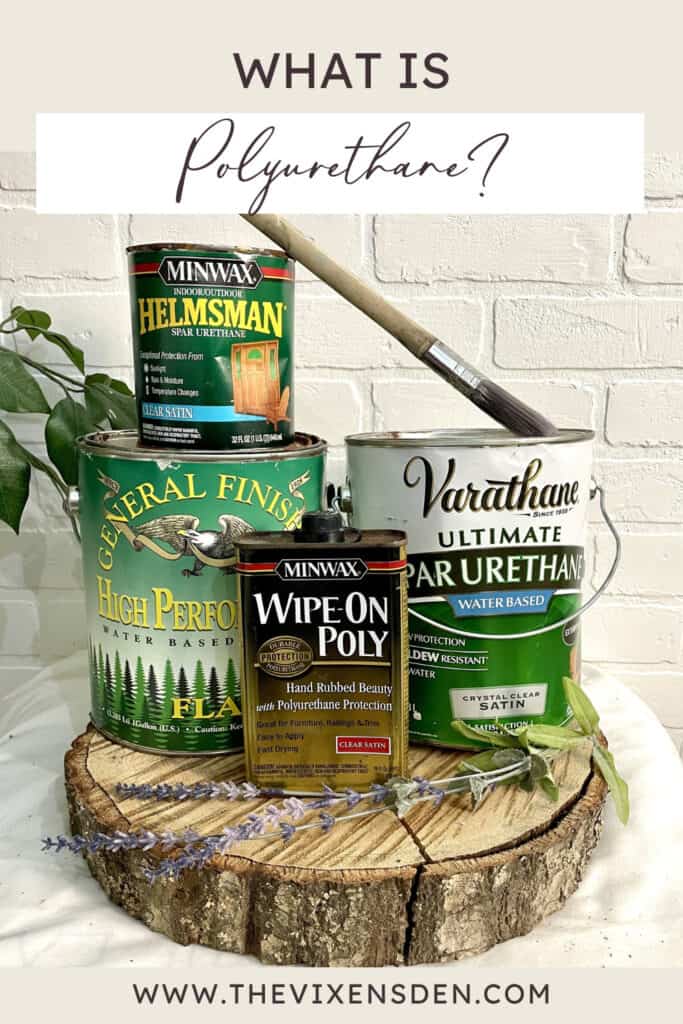
What Is Polyurethane?
Polyurethane is a synthetic resin finish that creates a hard, protective film on wood surfaces. In simple terms, it’s a type of plastic formed by the chemical reaction between polyols (alcohol-based molecules) and isocyanates (a reactive compound). When these two meet, they form a polymer chain that dries into a rock-solid layer over your wood.
There are two main types:
- Oil-Based Polyurethane: Warm amber glow, longer dry time, very tough.
- Water-Based Polyurethane: Crystal-clear, faster drying, lower odor.
Both come in a range of sheens, from satin to glossy, so you can choose the exact look you want.
Fun Fact: Polyurethane doesn’t just sit on your wood like wax or oil. It forms a film. That’s why it’s so durable!
A Peek Into Polyurethane History
Polyurethane was born in the 1930s thanks to German chemist Dr. Otto Bayer (no relation to Bayer aspirin!). It quickly moved from wartime applications into everyday products like coatings, foams, and adhesives. By the 1950s, polyurethane wood finishes hit the market, giving homeowners and craftsmen a sturdier, longer-lasting option than shellac or varnish.
Trivia Treats:
- Polyurethane is technically a plastic. When you brush it on, you’re coating wood with a thin layer of polymer armor.
- It’s used far beyond furniture: think car bumpers, shoe soles, foam cushions, and even surfboards!
- Unlike shellac, polyurethane doesn’t dissolve back into itself when recoated. Once cured, it’s there for the long haul.
Where and Why to Use Polyurethane
Polyurethane shines brightest where durability is non-negotiable. Here’s a handy table to break it down:
| Where It Shines | What’s to Love | What’s Not to Love |
|---|---|---|
| Dining tables & kitchen surfaces | Resists heat, water, and stains | Oil-based versions can amber over time |
| Floors & high-traffic furniture | Extremely durable & long-lasting | Requires sanding between coats |
| Dressers, desks, bookshelves | Customizable sheen: satin to glossy | Multiple coats are needed for the best protection |
| Light-colored woods (maple, birch) | Water-based stays clear—no yellowing | Multiple coats are needed for best protection |
Polyurethane is a powerhouse finish, but like every superhero, it has its kryptonite. Before we dive into choosing the best product for your project, let’s pause for a quick compatibility check. After all, the last thing you want is to lovingly brush on a flawless coat of poly, only to watch it peel or wrinkle because of what’s underneath.
Compatibility Check: With Which Products Does Polyurethane Play Nicely?
Polyurethane Plays Well With:
- Stain (oil- or water-based): This is the classic combo. Just be sure the stain is fully dry before applying poly (oil stain can take 24-48 hours).
- Oil-based paint: Once completely cured (which can take 7-10 days), polyurethane bonds well and adds durability.
- Acrylic & latex paint: Water-based polyurethane is usually the safer choice here to prevent yellowing. Oil-based poly can amber over light colors.
- Shellac (dewaxed only): Poly adheres beautifully to dewaxed shellac, which is often used as a sealer.
Polyurethane Struggles or Fails Over:
- Waxed finishes: Poly will not stick to wax. The wax has to be fully removed before application.
- Wax-containing shellac: Some shellacs (like Zinsser’s original orange can) contain wax. Polyurethane will peel right off. Always use dewaxed shellac as a barrier.
- Chalk paint & milk paint (unsealed): Poly tends to soak in unevenly and can look blotchy. A sealing primer or wax removal is often needed before applying poly.
- Oily finishes (like linseed or Danish oil): Oil creates adhesion problems if not cured for weeks. Even then, poly may wrinkle or peel. If you want that look, choose an oil/urethane blend instead.
Pro Tips for Success:
- When in doubt, test! Always do a small sample patch on an inconspicuous area before committing.
- Sand first. A light scuff sand before applying poly over another finish gives the new layer “tooth” to grab onto.
- Barrier coat trick. If you’re unsure about adhesion, a thin layer of dewaxed shellac often acts as a universal bonding coat before poly.
Now that you know where polyurethane plays nicely and where it throws a tantrum, you’re ready for the fun part: picking the product that’s going to make your project shine! Let’s look at the best options for beginners, the creatively confident, and the pros.
Which Product Is Right for You?
Not all polyurethanes are created equal! Here are three favorites for different skill levels:
| Skill Level | Product | Pros | Cons |
|---|---|---|---|
| Beginner | Varathane Water-Based Ultimate Polyurethane | Low odor, easy cleanup, dries quickly, stays clear | Requires more coats for max protection |
| Creatively Confident | Minwax Fast-Drying Oil-Based Polyurethane | Rich amber tone, excellent durability | Strong odor, longer dry time, mineral spirits cleanup |
| Pro Level | General Finishes High Performance Water-Based Topcoat | Self-levels beautifully, professional-grade durability, resists yellowing | Higher cost, best with sprayer for perfection |
✨ Fun fact: General Finishes was actually one of the early brands to perfect consumer-grade water-based polyurethane in the U.S. (back when many woodworkers thought water-based couldn’t possibly hold up). Their High Performance line has won multiple awards in the woodworking world for being one of the most durable water-based polys available.
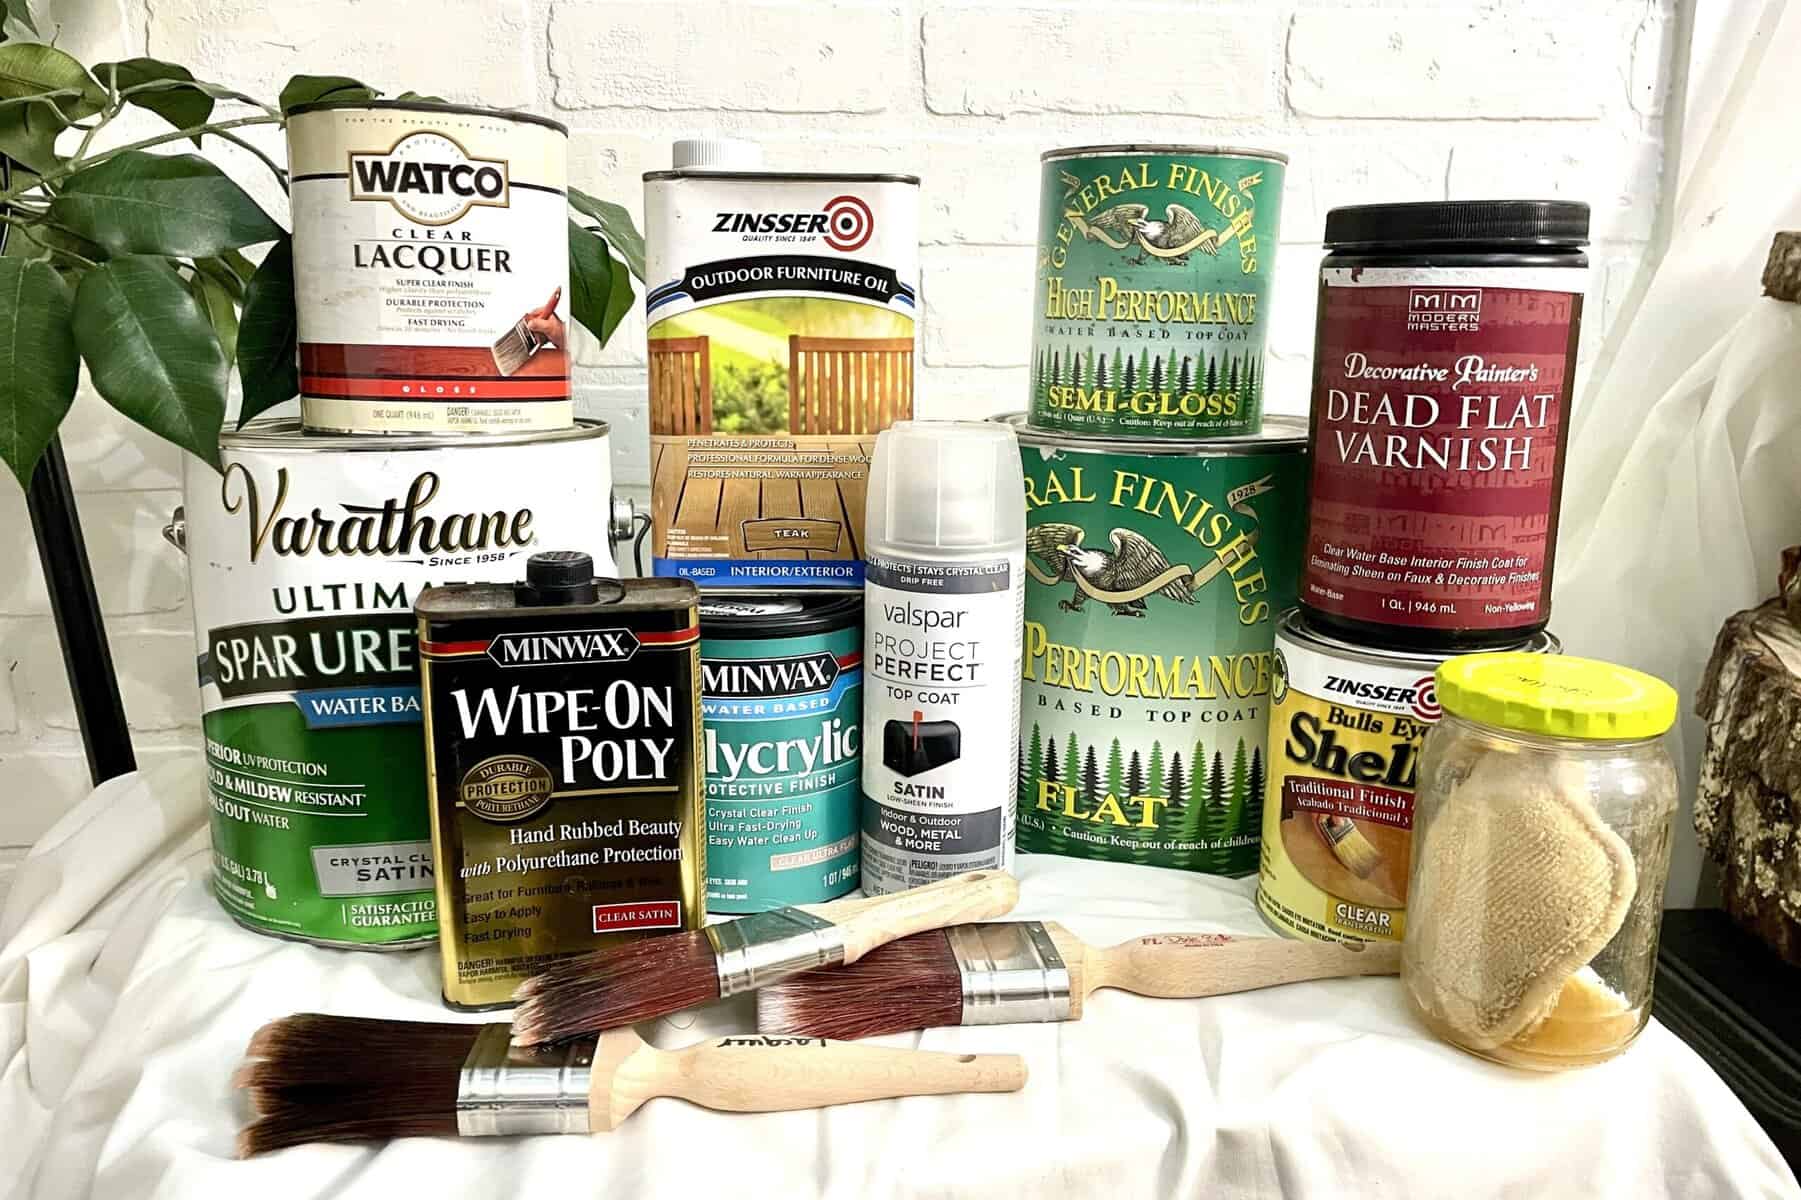
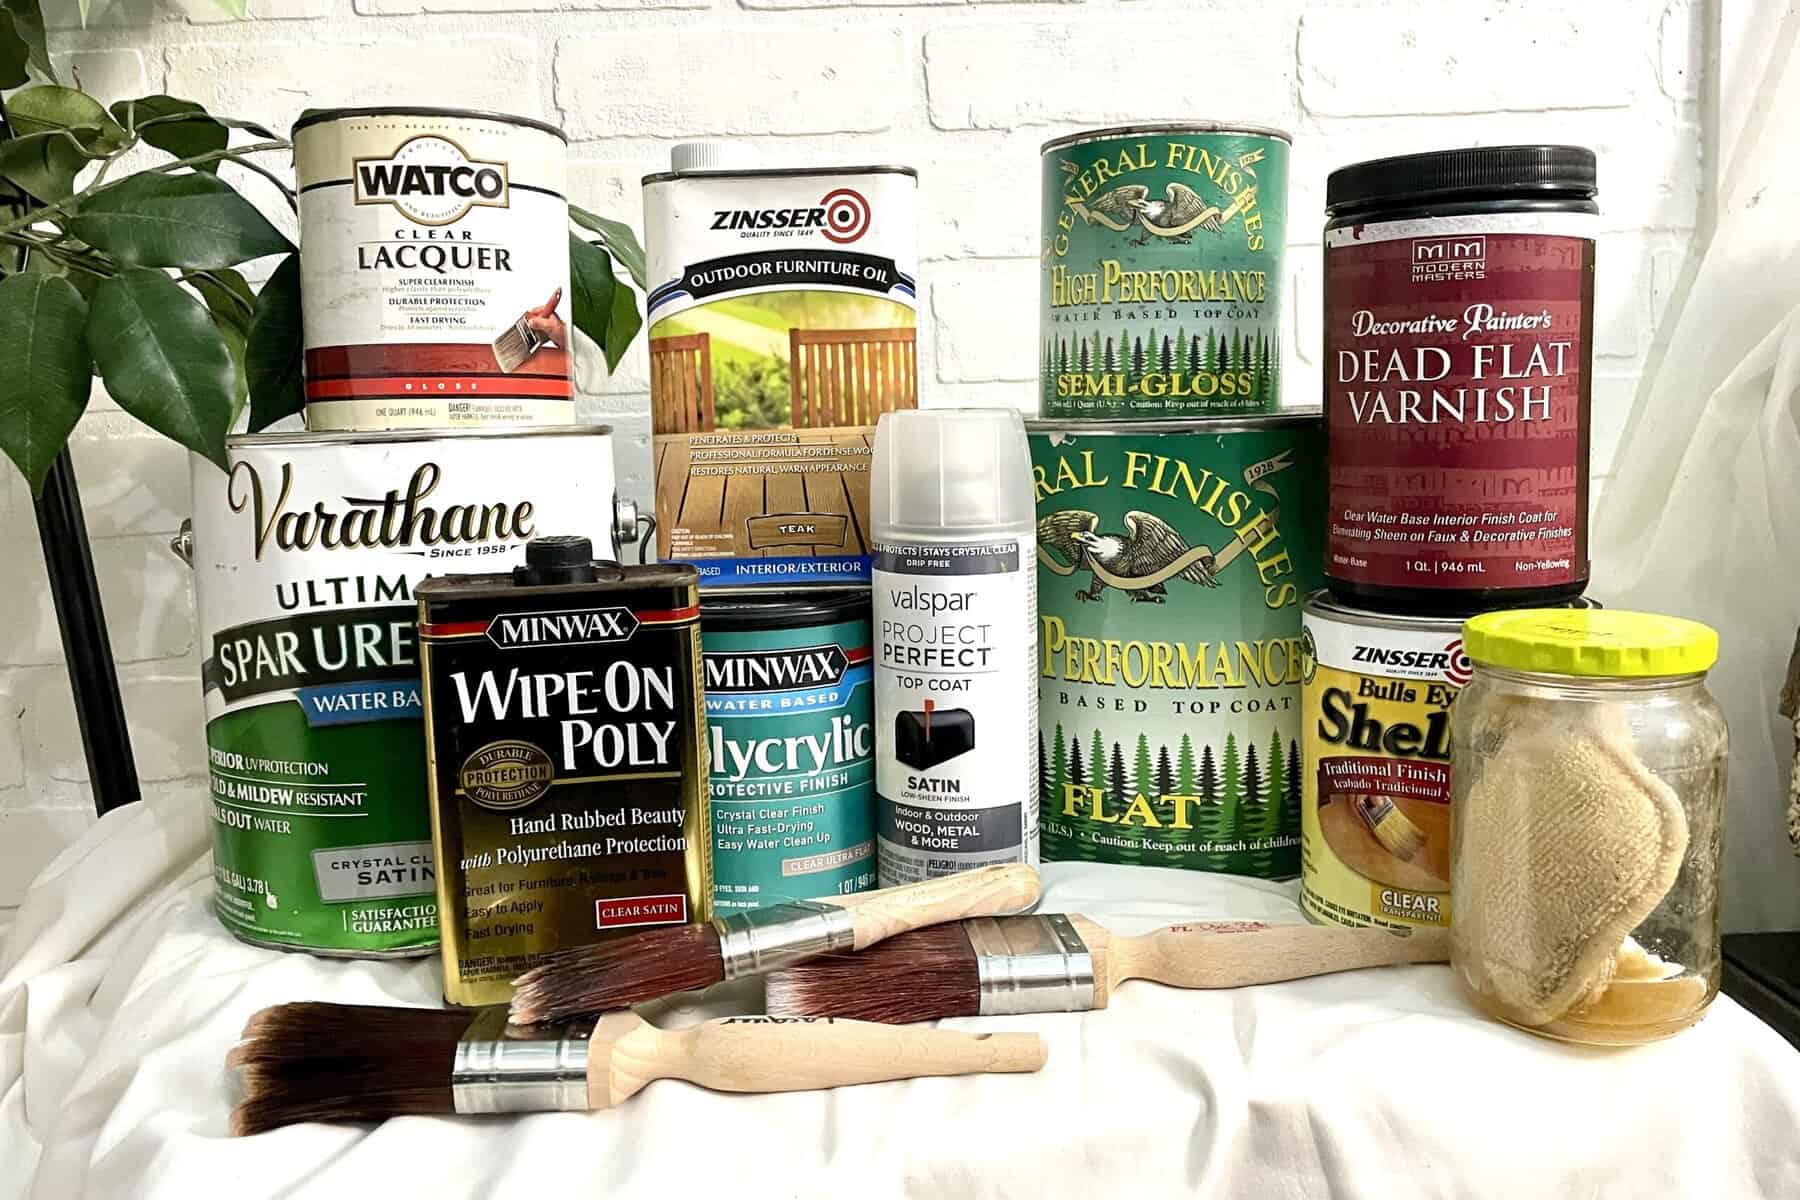
What’s in the Finishing Toolkit
Tools
- Brushes: synthetic for water-based, natural bristle for oil-based
- Foam brushes or lint-free cloths (for wipe-on application)
- Stir sticks (don’t shake – bubbles are the enemy!)
- Drop cloth and painter’s tape
- Nitrile gloves and a respirator (especially with oil-based)
- Ventilation
- Clean workspace
- Vacuum with soft brush attachment
Materials
- Polyurethane (water- or oil-based, your choice!)
- Fine-grit sandpaper (220–320 grit)
- Tack cloth
- Mineral spirits (oil-based cleanup) or water (water-based cleanup)
Pro Tips: Before You Begin
Before you even dip your brush into that can, let’s pause for a few quick but powerful reminders. These are the things I’ve learned over decades of brushing, wiping, and sanding, and the exact things that trip up most beginners.
Choose the right formula for your project. Oil-based is warmer and tougher but slower to dry; water-based is faster, clearer, and easier to clean up. Pick the one that fits your timeline and your wood color.
Prep is everything. Polyurethane is crystal clear, which means it will highlight scratches, dust, or leftover finish. Sand evenly, vacuum well, and wipe with a tack cloth before that first coat.
Mind your environment. Ideal workspace conditions are around 65–75°F with 40–70% humidity. Too cold, and the finish won’t level. Too humid, and you risk that cloudy, milky look.
Ventilation is your friend. Oil-based polyurethane gives off strong fumes, so crack those windows and wear a respirator. Even water-based benefits from fresh airflow.
Always stir, never shake. Shaking traps tiny air bubbles in the finish that dry into little bumps. Stir gently with a clean stick until it looks smooth.
Decant, don’t dip. Pour a little polyurethane into a clean container instead of dipping straight from the can. This keeps dust and debris out of the main batch.
Thin, even coats win the race. Beginners often try to “make it look finished” on coat one. Don’t! Poly builds beauty through layers. Multiple thin coats are far tougher and prettier than one gloopy coat.
Sand lightly between coats. This isn’t to remove the finish. It’s just to knock down dust nibs and help the next coat stick. Think of it like smoothing frosting before adding the next layer of cake.
Plan your strokes. Always brush with the grain, and try to maintain a “wet edge” (overlap slightly into the previous stroke before it dries) to avoid lap marks.
Be patient with curing. Just because it’s dry to the touch doesn’t mean it’s cured. Polyurethane can take up to 30 days to fully harden. Use furniture lightly at first and avoid placing heavy objects or dragging across the surface until it’s fully set.
How to Apply Polyurethane
Ready to make your wood furniture gleam with that glassy, protective finish? Here’s the step-by-step roadmap. Follow these directions, and you’ll have a pro-level finish without the frustration.
Step 1: Prep the Surface
- Sand your project smoothly, ending with 220-grit sandpaper.
- Vacuum away every speck of dust (polyurethane will trap anything it touches).
- Wipe with a tack cloth or a lint-free rag slightly dampened with distilled water (for water-based) or mineral spirits (for oil-based).
- Make sure your workspace is clean, dust-free, and at the right temperature/humidity.
Step 2: Stir the Polyurethane
- Gently stir with a clean stir stick. Don’t shake! That creates bubbles.
- If it’s oil-based and feels too thick, you can thin the first coat with up to 10% mineral spirits. (Water-based formulas should be thinned only if recommended by the manufacturer.)
Step 3: Choose Your Tool
Pick the tool that matches your formula and the size of your project:
- Natural bristle brush: Best for oil-based polyurethane.
- Synthetic bristle or foam brush: Best for water-based polyurethane.
- Foam applicator or lint-free cloth: Great for wiping thin coats.
This post will help you find the perfect paintbrush!
Step 4: Apply the First Coat
- Dip just the tips of your brush into the finish—don’t overload it.
- Brush (or wipe) along the grain in smooth, even strokes.
- Keep a “wet edge” by slightly overlapping each stroke before the last one dries.
- Watch out for drips and runs along edges, smooth them out right away.
Step 5: Let It Dry
- Water-based: 2-4 hours.
- Oil-based: 8-24 hours.
Dry times depend on temperature and humidity, so check the label and test with a light touch.
Step 6: Sand Between Coats
- Once fully dry, sand lightly with 320-400 grit sandpaper or a fine sanding pad.
- Vacuum and tack cloth again, dust control is key!
- This step ensures each layer bonds and feels silky smooth.
Step 7: Build Up the Coats
- Apply at least 3 coats for furniture, more for tabletops or high-traffic surfaces.
- Always keep coats thin and even. More thin layers = stronger protection and fewer bubbles.
- Follow the same dry time and sanding process between each coat.
Step 8: The Final Coat
- Apply a slightly thicker final coat for that glassy, protective sheen.
- Don’t sand after the last coat, just let it cure.
Step 9: Cure and Enjoy
- Water-based: Fully cured in about 7 days.
- Oil-based: Fully cured in about 30 days.
- During curing, treat the surface gently. No heavy objects, coasters are a must, and avoid covering with cloths or mats that trap moisture.
Application Best Practices
| Factor | Details |
|---|---|
| Ideal Temperature | 65–75°F (18–24°C) |
| Ideal Humidity | 40% to 70% humidity |
| Dry Time Between Coats | 2–4 hours water-based; 8–12 hours oil-based |
| Cure Time | About 30 days |
| Number of Coats | 3 minimum, 4 for tabletops or heavy-use furniture |
When and How to Refresh the Finish
Even the toughest polyurethane finishes can show signs of wear over time. The good news? You don’t always need to strip and start over. Sometimes a quick refresh is all it takes to bring your furniture back to life. Here’s your complete guide.
Signs Your Polyurethane Needs Refreshing
- Dull or cloudy spots: Light has trouble reflecting; the surface looks tired.
- Scratches and scuffs: Everyday use leaves marks that can be sanded and recoated.
- Sticky or tacky areas: Usually from spills, humidity, or incomplete curing.
- Water spots or rings: Often from coasters or hot objects left on the surface.
Quick Refresh for Minor Wear
If your finish is mostly intact but shows light wear:
- Clean the surface thoroughly with a damp cloth and mild soap, rinse with distilled water, then let dry.
- Lightly scuff-sand the surface using 320-400 grit sandpaper or a fine sanding pad to create a key for the new coat.
- Remove dust completely with a vacuum, tack cloth, or microfiber rag.
- Apply 1–2 thin coats of polyurethane, brushing along the grain.
- Allow proper drying and curing between coats (water-based: 2-4 hours dry, full cure ~7 days; oil-based: 8-24 hours dry, full cure ~30 days).
Refreshing Areas with Moderate Damage
For scratches, small peeling spots, or worn edges:
- Sand only the affected areas lightly.
- Feather the edges into surrounding finish so the new coat blends seamlessly.
- Apply a thin coat of polyurethane to the sanded areas.
- Once dry, lightly sand again if necessary and apply a second coat.
When a Full Refinish is Needed
If the finish is peeling, heavily scratched, yellowed unevenly, or flaking, it’s time to start fresh:
- Strip the old polyurethane using a chemical stripper or sanding.
- Prep and sand the bare wood.
- Apply a fresh polyurethane finish following the full application steps.
Pro Tips for a Smooth Refresh
- Always test a small area first to see how the existing finish reacts to sanding or recoating.
- Thin, even layers are your friend, especially on touch-ups. Thick coats can lead to drips or streaks.
- Maintain a clean, dust-free workspace; even tiny particles can ruin a refresh coat.
- If using water-based polyurethane over an older oil-based finish, consider a barrier coat (like dewaxed shellac) to improve adhesion.
Helpful Hint: A well-cared-for polyurethane finish can last years, but knowing how to refresh it will save your furniture from looking worn too soon, and give you that professional, polished look without the full redo.
When and How to Refinish Polyurethane
Not every ding or dull spot means you need to strip your furniture and start over. Knowing the difference between a surface that can be refreshed and one that truly needs a full refinish will save time, effort, and frustration. Here’s what to look for:
1. Peeling or Flaking Polyurethane
- Large sections of the finish are coming off the wood.
- The edges of peeled areas are lifting, curling, or brittle.
- This indicates poor adhesion, previous damage, or extreme wear—refreshing alone won’t fix it.
2. Deep Scratches or Gouges
- Scratches that penetrate through the polyurethane to the bare wood.
- Gouges or dents that affect the structural surface of the furniture.
- Minor surface scratches can be sanded and recoated, but deep damage requires sanding down and reapplying full coats.
3. Severe Yellowing or Cloudiness
- Oil-based polyurethane can amber naturally, but uneven yellowing or cloudy patches may indicate UV or moisture damage.
- If sanding and refreshing doesn’t even out the color, a full refinish is needed.
4. Sticky, Tacky, or Soft Spots
- Touch feels gummy or tacky even after full drying and curing.
- Often caused by failed curing, spills, or improper prior application.
- These areas won’t properly accept a refresh coat and require stripping first.
5. Cracking or Crazing
- Fine network of cracks across the surface.
- Usually, the result of an overly thick first coat, rapid temperature changes, or incompatible underlying finishes.
- A full refinish is the safest solution to restore both appearance and protection.
6. Uneven Gloss or Wear Patterns
- Patches that are dull, rough, or significantly shinier than surrounding areas.
- While some unevenness can be addressed with spot sanding and refreshing, extensive surface irregularities usually call for sanding the whole piece down and recoating.
Quick Rule of Thumb:
- Minor wear + light scratches + slight dullness → Refresh
- Peeling, cracking, soft spots, deep scratches, uneven yellowing → Full Refinish
Full Polyurethane Refinishing Guide: Step by Step
If your furniture shows peeling, cracking, deep scratches, or uneven yellowing, it’s time to roll up your sleeves and give it a full makeover. Here’s how to do it right:
Step 1: Prepare Your Workspace
- Choose a clean, dust-free area with good ventilation.
- Ideal conditions: 65–75°F and 40–70% humidity.
- Cover floors with drop cloths and keep a fan handy for airflow.
Step 2: Gather Your Tools & Materials
- Polyurethane (water- or oil-based)
- Brushes (synthetic for water-based, natural bristle for oil-based)
- Foam applicators or lint-free cloths
- Sandpaper (120–150 grit for stripping, 220–320 grit for finishing)
- Chemical stripper (Zar, Jasco) if old poly is peeling badly
- Tack cloth or microfiber rags
- Stir sticks, gloves, respirator
- Mineral spirits (for oil-based cleanup) or water (for water-based cleanup)
Step 3: Remove the Old Finish
- Chemical stripping method: Follow manufacturer instructions, apply stripper, let it sit, then scrape gently.
- Sanding method: Use coarse sandpaper (120–150 grit) to remove the majority of the old finish.
- Clean residue thoroughly with mineral spirits (oil-based) or distilled water (water-based).
Step 4: Sand the Bare Wood
- Sand the surface evenly with medium-grit sandpaper (150–180 grit), then finish with fine-grit (220–320 grit).
- Always sand with the grain to avoid scratches.
- Remove dust with a vacuum and tack cloth.
Step 5: Optional Barrier Coat
- If switching between finish types (oil → water or vice versa), apply a thin dewaxed shellac layer.
- This promotes adhesion and prevents peeling.
Step 6: Apply the First Coat of Polyurethane
- Stir gently (do not shake).
- Use the appropriate brush and apply thin, even strokes along the grain.
- Avoid over-brushing or pooling.
Step 7: Dry & Sand Between Coats
- Water-based: 2–4 hours.
- Oil-based: 8–24 hours.
- Lightly sand with 320–400 grit to remove dust nibs and create a smooth surface.
- Wipe clean with a tack cloth.
Step 8: Apply Additional Coats
- Minimum 3 coats for furniture, 4–5 coats for high-traffic surfaces.
- Keep each coat thin and even; thin coats build up a stronger finish than one thick coat.
- Repeat sanding lightly between each coat (except after the final coat).
Step 9: Final Coat & Curing
- Apply your final coat carefully; no sanding afterward.
- Allow the finish to cure fully:
- Water-based: ~7 days for full cure
- Oil-based: ~30 days for full cure
- Treat gently during this period; avoid heavy objects or moisture.
Step 10: Optional Finishing Touches
- Buff lightly with a microfiber cloth for extra shine.
- Apply felt pads or coasters to protect your freshly finished furniture.
✨ Helpful Hint: Take your time at each stage! The biggest difference between “meh” and “wow” finishes is patience: careful sanding, thin coats, and proper curing.
Step-by-Step Guide to Removing Polyurethane Finish
Sometimes you need to start fresh—whether your poly is peeling, yellowed, or you’re changing colors. Removing polyurethane doesn’t have to be scary! Follow these steps to get your furniture back to bare wood safely and efficiently.
Step 1: Assess the Situation
- Identify if the existing polyurethane is oil-based or water-based, as this affects the stripper choice and cleanup method.
Step 2: Gather Your Tools & Safety Gear
- Chemical stripper (our go-tos are Zar or Jasco)
- Plastic scraper or putty knife
- Fine steel wool or green stripper pad
- Mineral spirits (for oil-based poly cleanup) or distilled water (for water-based poly cleanup)
- Sandpaper (120-150 grit for coarse removal, 220-320 grit for smoothing)
- Gloves, safety goggles, respirator, and drop cloths
- Brushes or foam applicators for applying stripper
Step 3: Prepare Your Workspace
- Work in a well-ventilated area or outdoors if possible.
- Lay down a drop cloth to catch drips.
- Wear gloves, goggles, and a respirator to protect yourself from fumes.
Step 4: Apply the Chemical Stripper
- Stir the stripper thoroughly (do not shake).
- Apply a generous, even coat with a brush or foam applicator, following the manufacturer’s instructions.
- Let it sit for the recommended time. The finish will begin to soften and bubble.
Step 5: Remove the Old Polyurethane
- Use a plastic scraper to gently lift the softened finish.
- Work in the direction of the wood grain to avoid gouges.
- For stubborn spots, use fine steel wool or a stripper pad dipped in stripper to scrub lightly.
Step 6: Clean the Surface
- Wipe away residue using mineral spirits (for oil-based poly) or distilled water (for water-based poly).
- Let the wood dry completely.
Step 7: Sand the Bare Wood
- Begin with medium-grit sandpaper (120–150 grit) to remove any leftover finish or rough spots.
- Progress to fine-grit sandpaper (220–320 grit) for a smooth surface ready for new finish.
- Always sand with the grain to avoid scratches.
- Vacuum and wipe with a tack cloth to remove all dust.
Step 8: Optional – Test for Residual Polyurethane
- Lightly rub a damp cloth over the wood: if it beads or doesn’t absorb, there may still be finish left.
- Repeat stripper or sanding as needed.
Step 9: Ready for Refinishing
- Once completely clean and smooth, your wood is ready for a fresh coat of polyurethane or a brand new look!
Friendly Reminders
- Patience pays off: Removing poly takes time, don’t rush or scrape too aggressively.
- Protect yourself: Always use gloves, goggles, and a respirator when handling chemical strippers.
- Work in small sections: This ensures the stripper doesn’t dry out before you scrape it off.
Step-by-Step Guide to Cleaning & Caring for Your Polyurethane Furniture Finish
A well-maintained polyurethane finish can last for years, keeping your furniture looking fresh, shiny, and protected. Here’s how to clean, maintain, and preserve it like a pro, without stress!
Step 1: Dust Regularly
- Use a soft, dry microfiber or cotton flannel cloth.
- Dust at least once a week to prevent grit buildup, which can scratch the surface.
✨ Helpful Hint: Wipe in the direction of the wood grain for best results.
Step 2: Gentle Cleaning for Everyday Grime
- Mix a few drops of Orvus WA soap with distilled water in a spray bottle or bucket.
- Dampen a soft cloth lightly (don’t soak it!) and wipe the surface.
- Immediately dry with a clean microfiber cloth to avoid water spots.
✨ Helpful hint: Avoid harsh detergents, ammonia, or bleach. They can damage the finish.
Step 3: Tackle Sticky Spots & Spills
- For spills or sticky residues, use a damp cloth with a small amount of distilled water or mineral spirits (for oil-based poly).
- Rub gently. Don’t scrub aggressively, or you might dull the finish.
- Dry immediately.
Step 4: Remove Minor Scratches & Scuffs
- Lightly buff with extra-fine steel wool (#0000) or a soft microfiber cloth.
- Follow up with a thin coat of water- or oil-based polyurethane for added protection if needed.
Step 5: Preventative Care
- Coasters and trivets: Always use under drinks, hot dishes, or plants.
- Felt pads: Apply under furniture legs to prevent scratches on both furniture and floors.
- Sunlight exposure: Avoid prolonged direct sunlight to reduce yellowing or fading.
- Humidity control: Keep indoor humidity between 40–60% to prevent wood movement that can crack poly.
Step 6: Deep Cleaning (Occasionally)
- Mix distilled water with a mild wood cleaner recommended for polyurethane surfaces.
- Wipe gently with a soft cloth, following the grain.
- Dry immediately with a microfiber cloth.
- Optional: Apply a thin coat of furniture polish or paste wax specifically designed for poly finishes to restore shine.
Step 7: Regular Inspection
- Check surfaces monthly for dull spots, scratches, or sticky areas.
- Address minor issues with light buffing or an extra coat of poly before they become bigger problems.
Friendly Reminders
- Less is more: Polyurethane finishes don’t need heavy scrubbing. Gentle cleaning is best.
- Protect, don’t cover: Avoid adhesive pads or harsh covers that trap moisture.
- Spot test: Always test cleaners on a small, hidden area first.
| Task | Frequency | Tools & Materials | Tips & Tricks |
|---|---|---|---|
| Dusting | Weekly | Soft microfiber or cotton flannel cloth | Wipe with the grain to prevent scratches. Avoid rough cloths! |
| Light Cleaning (Everyday Grime) | As needed | Distilled water + mild soap (e.g., Orvus WA), soft cloth | Damp, not soaked! Dry immediately with microfiber cloth. |
| Sticky Spots & Spills | Immediately | Distilled water (or mineral spirits for oil-based poly), soft cloth | Rub gently, don’t scrub hard. Dry promptly. |
| Minor Scratches / Scuffs | Monthly or as noticed | Extra-fine steel wool (#0000), microfiber cloth, optional thin poly touch-up | Buff lightly; add thin poly if needed for protection. |
| Preventative Protection | Ongoing | Coasters, trivets, felt pads | Avoid direct heat, moisture, and dragging items across surface. |
| Deep Cleaning | Every 6–12 months | Distilled water + mild wood cleaner, soft cloth | Wipe gently, dry immediately. Optional: thin protective poly layer afterward. |
| Inspection | Monthly | Eyes & hands | Check for dull spots, scratches, sticky areas – refresh or touch up early to avoid bigger repairs. |
| Chemicals to Avoid | Anytime | Ammonia, bleach, abrasive cleaners, harsh detergents, alcohol-based cleaners | Can dull, cloud, or damage poly. Stick to mild soap, water, or approved cleaners. |
✨ Pro Tip: Treat your polyurethane furniture like a gem! Regular, gentle care keeps it looking stunning and protects your investment in both the wood and your hard work.
Common Polyurethane Finish Mistakes (And How to Fix Them)
| Mistake | Fix | Prevention Tip |
|---|---|---|
| Bubbles | Sand lightly & recoat | Stir gently, don’t shake |
| Sticky finish | Wait longer to cure | Keep proper temperature & ventilation |
| Cloudy/milky | Sand & recoat | Avoid high humidity/water contact |
| Uneven sheen | Sand & thin coat | Brush with the grain, maintain wet edge |
| Dust in finish | Sand lightly & recoat | Clean workspace, tack cloth before each coat |
✨Friendly Reminder : Patience is your best friend. Thin coats and proper curing = dreamy finish!
Polyurethane FAQs
Q: Is polyurethane food-safe?
A: Only once fully cured (up to 30 days). Even then, it’s best for non-cutting surfaces.
Q: How do I clean my brush after using polyurethane?
A: Easy peasy! For water-based poly, just wash your brush with warm, soapy water and rinse well. For oil-based poly, use mineral spirits or paint thinner, never water! Always reshape the bristles while wet and let the brush dry flat or hanging so it keeps its shape for the next project.
Q: Can I apply polyurethane over a painted surface?
A: Yes! Just make sure the paint is fully dry and cured (oil-based: 7–10 days; water-based: 24–48 hours) and lightly sanded to give the poly something to grip. Water-based polyurethane is usually the safest choice over light-colored paints to avoid yellowing.
Q: How long should I wait before using furniture after applying polyurethane?
A: Patience pays off! Water-based poly is dry to the touch in 2–4 hours and can handle light use after 24–48 hours, but full cure takes about 7 days. Oil-based poly is touch-dry in 8–24 hours, but it may take up to 30 days to fully cure. During that time, avoid dragging objects or placing heavy items on the surface.
Q: What if my polyurethane gets cloudy or milky?
A: Cloudiness usually comes from high humidity, low temperatures, or brushing too slowly. Don’t panic! Lightly sanding and applying a fresh, thin coat usually fixes it. For stubborn milky spots, a gentle cleaning and full refresh coat will restore that beautiful clarity.
Q: Can I use polyurethane outdoors?
A: You can, but only if you choose a product specifically labeled for exterior use! Indoor formulas aren’t formulated to handle UV rays, moisture, or temperature swings, so stick with exterior-grade poly for patio furniture, doors, or decks.
Q: How many coats do I need?
A: At least 3 for furniture; 4 for tabletops or high-use items.
Q: Can I use a roller?
A: Yes! Foam rollers can work well on flat surfaces, especially tabletops or cabinets. Just keep the coat thin, roll slowly, and always follow up with light brushing along the grain to remove any bubbles or streaks. Rollers aren’t ideal for detailed or carved surfaces, where a brush or cloth gives better control.
Q: Is wiping better than brushing for small projects?
A: For small projects, wipe-on polyurethane can be a dream! Using a lint-free cloth, apply thin, even coats that soak in nicely, especially on intricate details or corners where a brush might leave streaks. It’s faster, reduces bubbles, and often gives a super smooth finish. Just remember: thin layers, patience, and sanding between coats are key.
Q: How do I avoid brush marks?
A: Brush marks happen when the finish starts drying before you’ve smoothed it out. To avoid them: stir (don’t shake) your poly gently, use the right brush for your formula (synthetic for water-based, natural bristle for oil-based), apply thin coats, brush with the grain, maintain a wet edge, and lightly sand between coats. Patience and smooth, deliberate strokes are your friends!
The Final Wrap-Up: Is Polyurethane the Right Finish for You?
Polyurethane is one of the most reliable finishes in the refinishing world. If you’re brand new, a water-based formula is your easiest, friendliest entry point. If you love deep, traditional tones, oil-based is your buddy. And if you’re ready to level up, pro-grade water-based options deliver dazzling results.
No matter your choice, polyurethane gives you confidence that your hard work will last and look beautiful while doing it.
So grab your brush, stir up that can, and let your creativity flow. With a little patience and practice, you’ll be sealing your projects with the confidence of a seasoned pro in no time. Happy finishing!
Thank you so much for stopping by! I hope this information helps you with your next project. Drop a comment below and let me know if you have any questions or tips from your adventures with polyurethane! Happy refinishing, and keep making treasures!
Until next time, have a beautiful and blessed day!

Don’t forget to sign up so you hear all about the next misadventure!