Easy Furniture Finishes Every Beginner Will Love
Feeling a little overwhelmed by all those finish choices? You’re not alone! From glossy polycrylics to buttery waxes and old-school oils, the world of furniture finishes can sound a bit like a chemistry experiment. But don’t worry; this guide will help you find your perfect match with clarity and confidence!
And if you still have questions at the end, The Vixen’s Den Perfect Furniture Finish Quiz will help you find the perfect finish for you, your furniture, level of experience, and lifestyle!
THIS POST CONTAINS AFFILIATE LINKS TO PRODUCTS THAT I HAVE OR WOULD USE.
AS AN AMAZON ASSOCIATE, I EARN FROM QUALIFYING PURCHASES AT NO COST TO YOU.
YOU CAN SEE MY FULL DISCLOSURE HERE.
What Is a Furniture Finish?
A furniture finish is like a protective hug for your hard work. It seals your paint or stain, enhances the wood’s beauty, and shields your piece from life’s little mishaps. I’m looking at you, coffee cups, curious pets, and sticky fingers! Some finishes give off a sleek, modern shine, while others leave a soft, velvety glow. The best part? Some of the easiest ones to use are also the prettiest!
A quick word on “varnish” finishes. The term “varnish” applies to any type of finish that protects wood from damage, so all of the finishes that are included in this guide are technically “varnishes”. If you like to run down rabbit holes, this post is the perfect starting point!
What Makes a Finish Beginner-Friendly?
Beginner-friendly finishes are your best pals when you’re just getting started. They’re easy to apply, forgiving if you make a few oopsies, and don’t require a professional spray booth (or superhuman patience). Look for finishes that are:
- Quick to dry or simple to recoat
- Easy to apply with basic brushes or cloths
- Low in odor and cleanup fuss
- Flexible enough to fix mistakes
If that sounds like your kind of fun, you’re in the right place!
Finish-by-Finish Breakdown
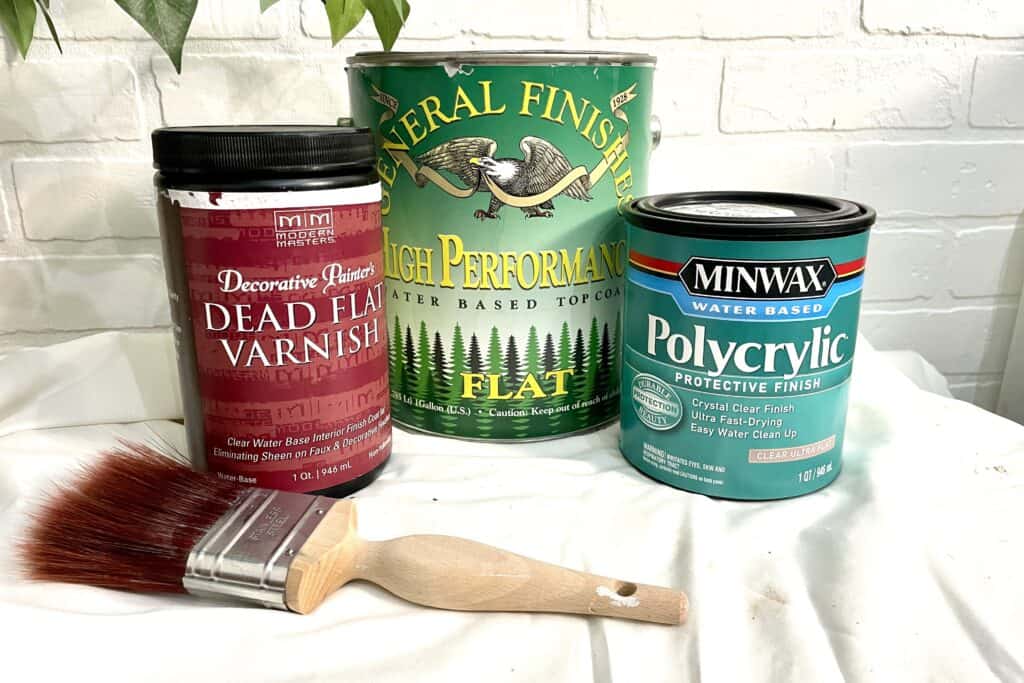
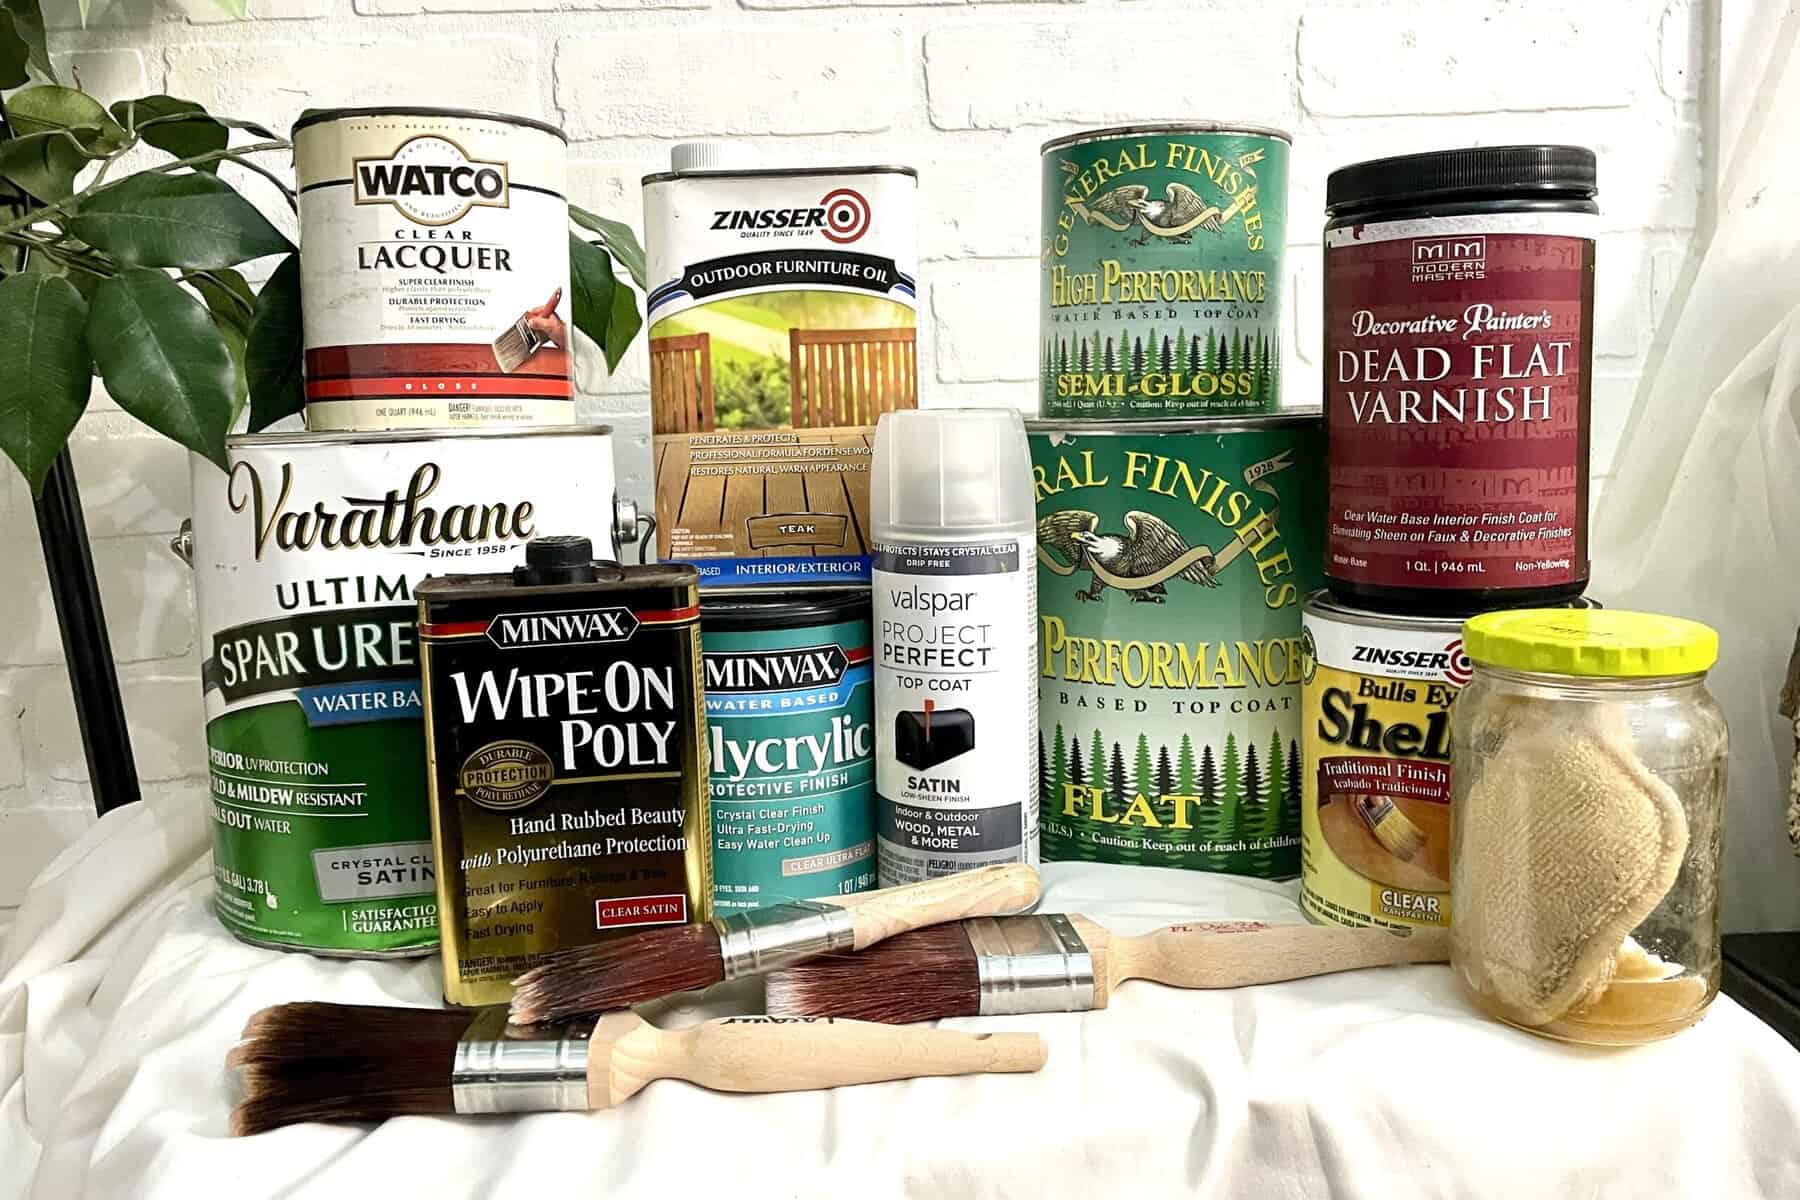
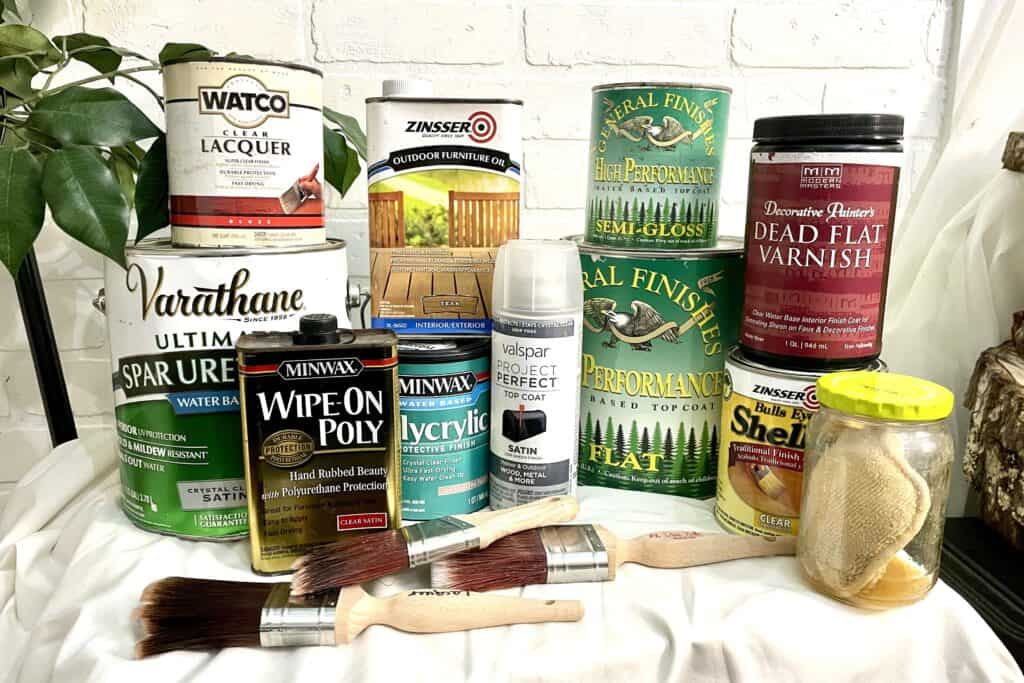
1. Water-Based Acrylic
Best for: Painted furniture and light stains
Why you’ll love it: It dries fast, stays clear, and cleans up easily with water. Perfect for bright, colorful pieces that need a durable topcoat.
Pros: Quick dry time (30 minutes to the touch!), low odor, and won’t yellow over time.
Cons: Can raise wood grain. Light sanding between coats helps. Brush strokes may show if you overwork it.
Pro Tip: Use a synthetic brush, and work quickly in thin, even coats.
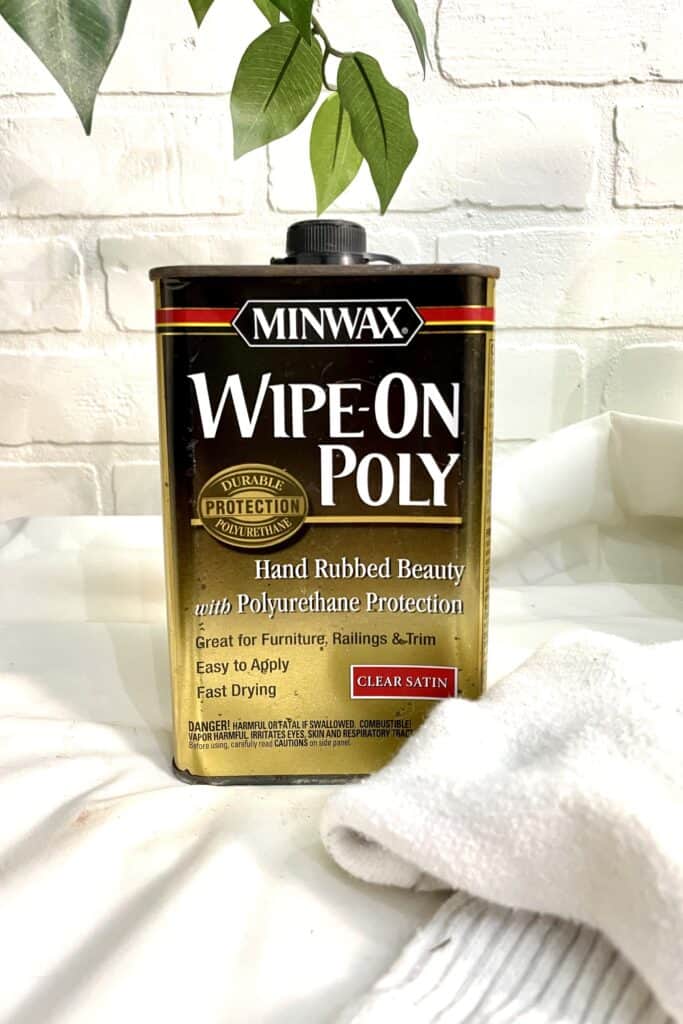
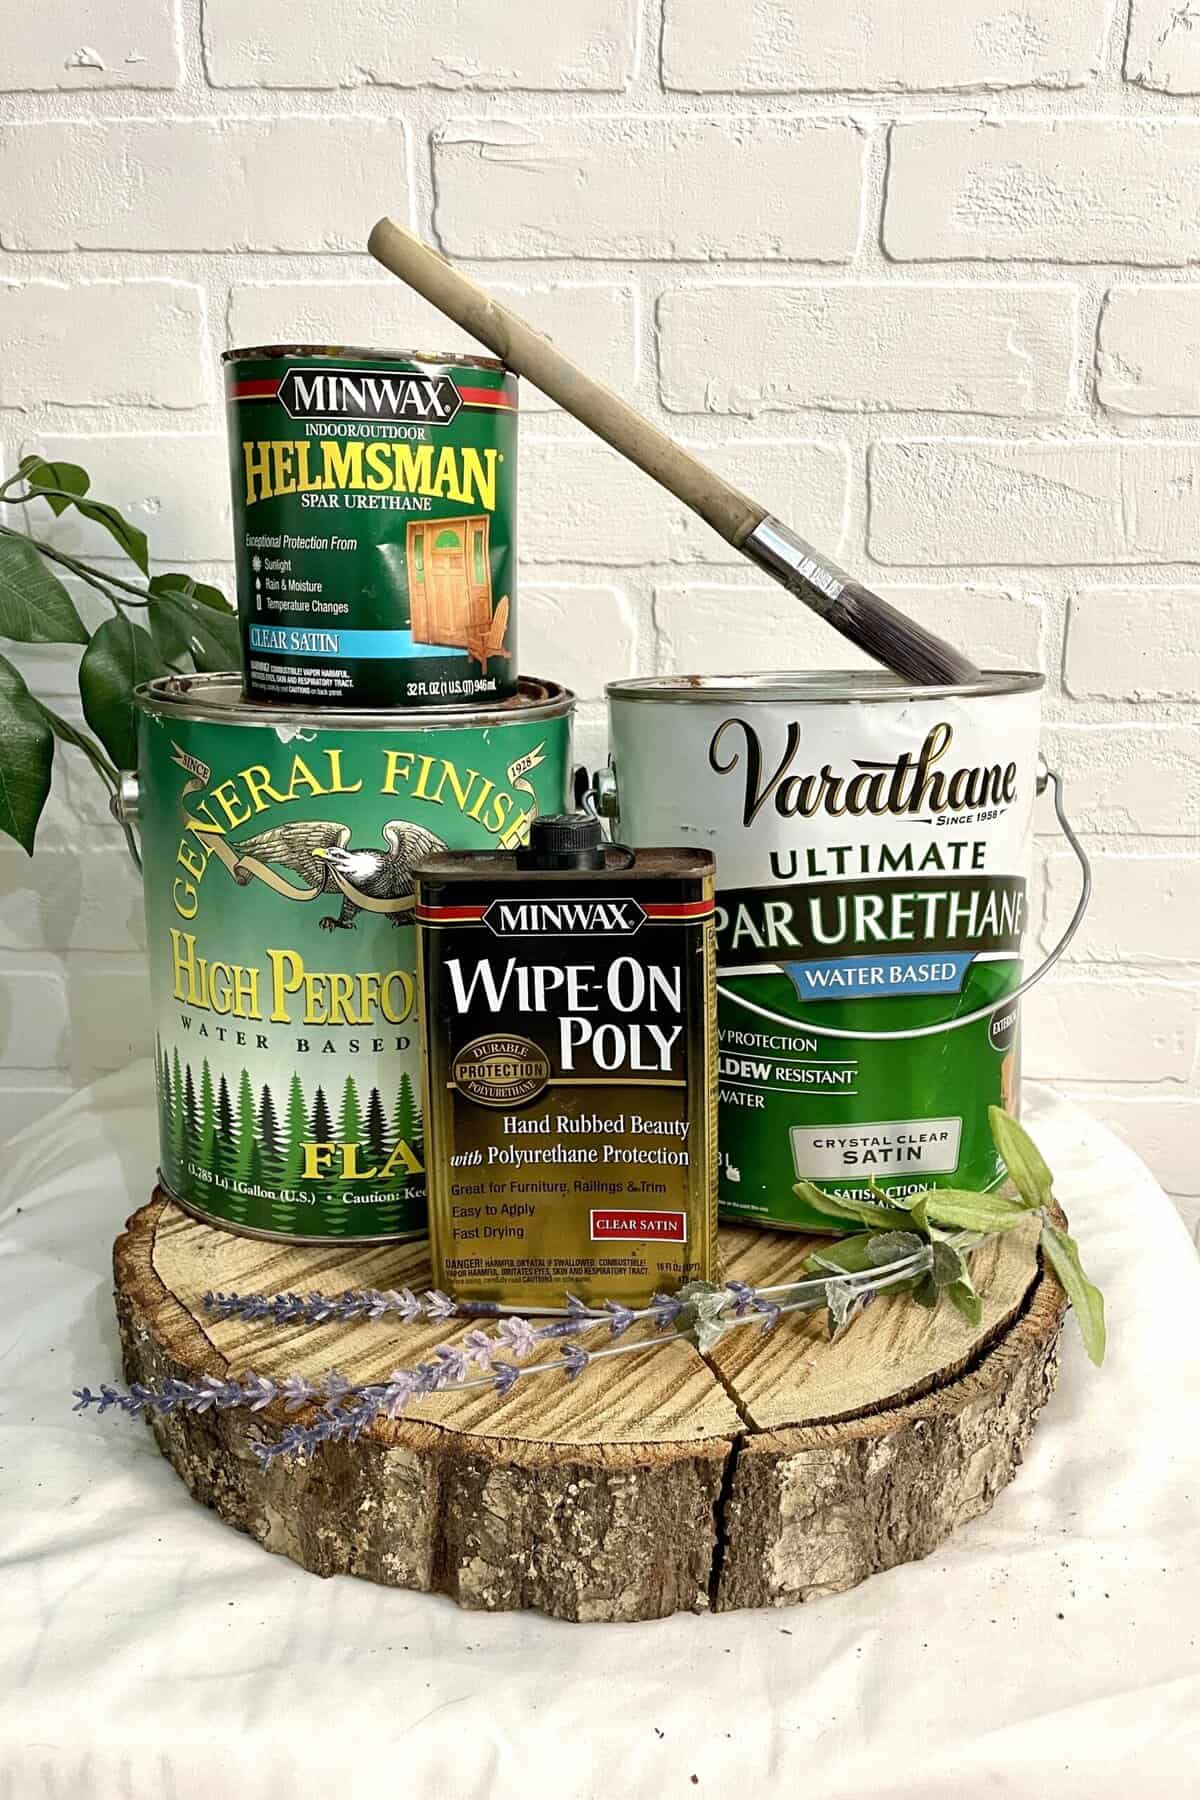
2. Wipe-On Polyurethane
Best for: Stained or raw wood pieces with curves or carvings
Why you’ll love it: This finish practically applies itself! Just wipe it on with a soft cloth, no drips, no brush marks.
Pros: Smooth, durable finish with strong protection against wear and moisture.
Cons: Takes its sweet time curing (2–3 hours between coats, up to 30 days for full cure). Oil-based versions may yellow slightly.
Pro Tip: Go slow and steady with thin coats. Patience = perfection!
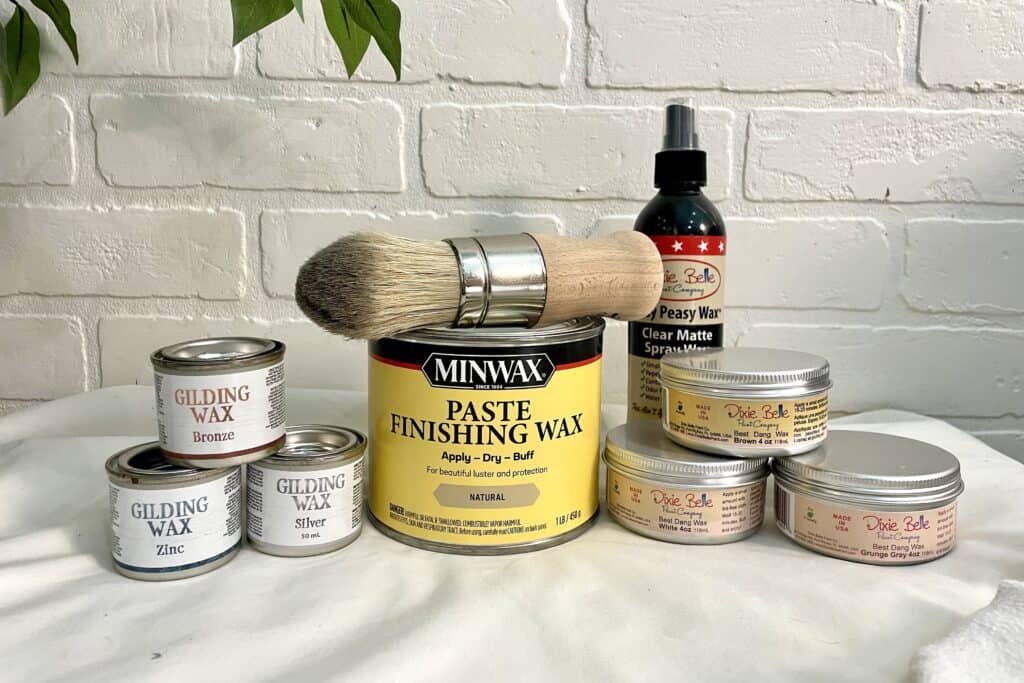
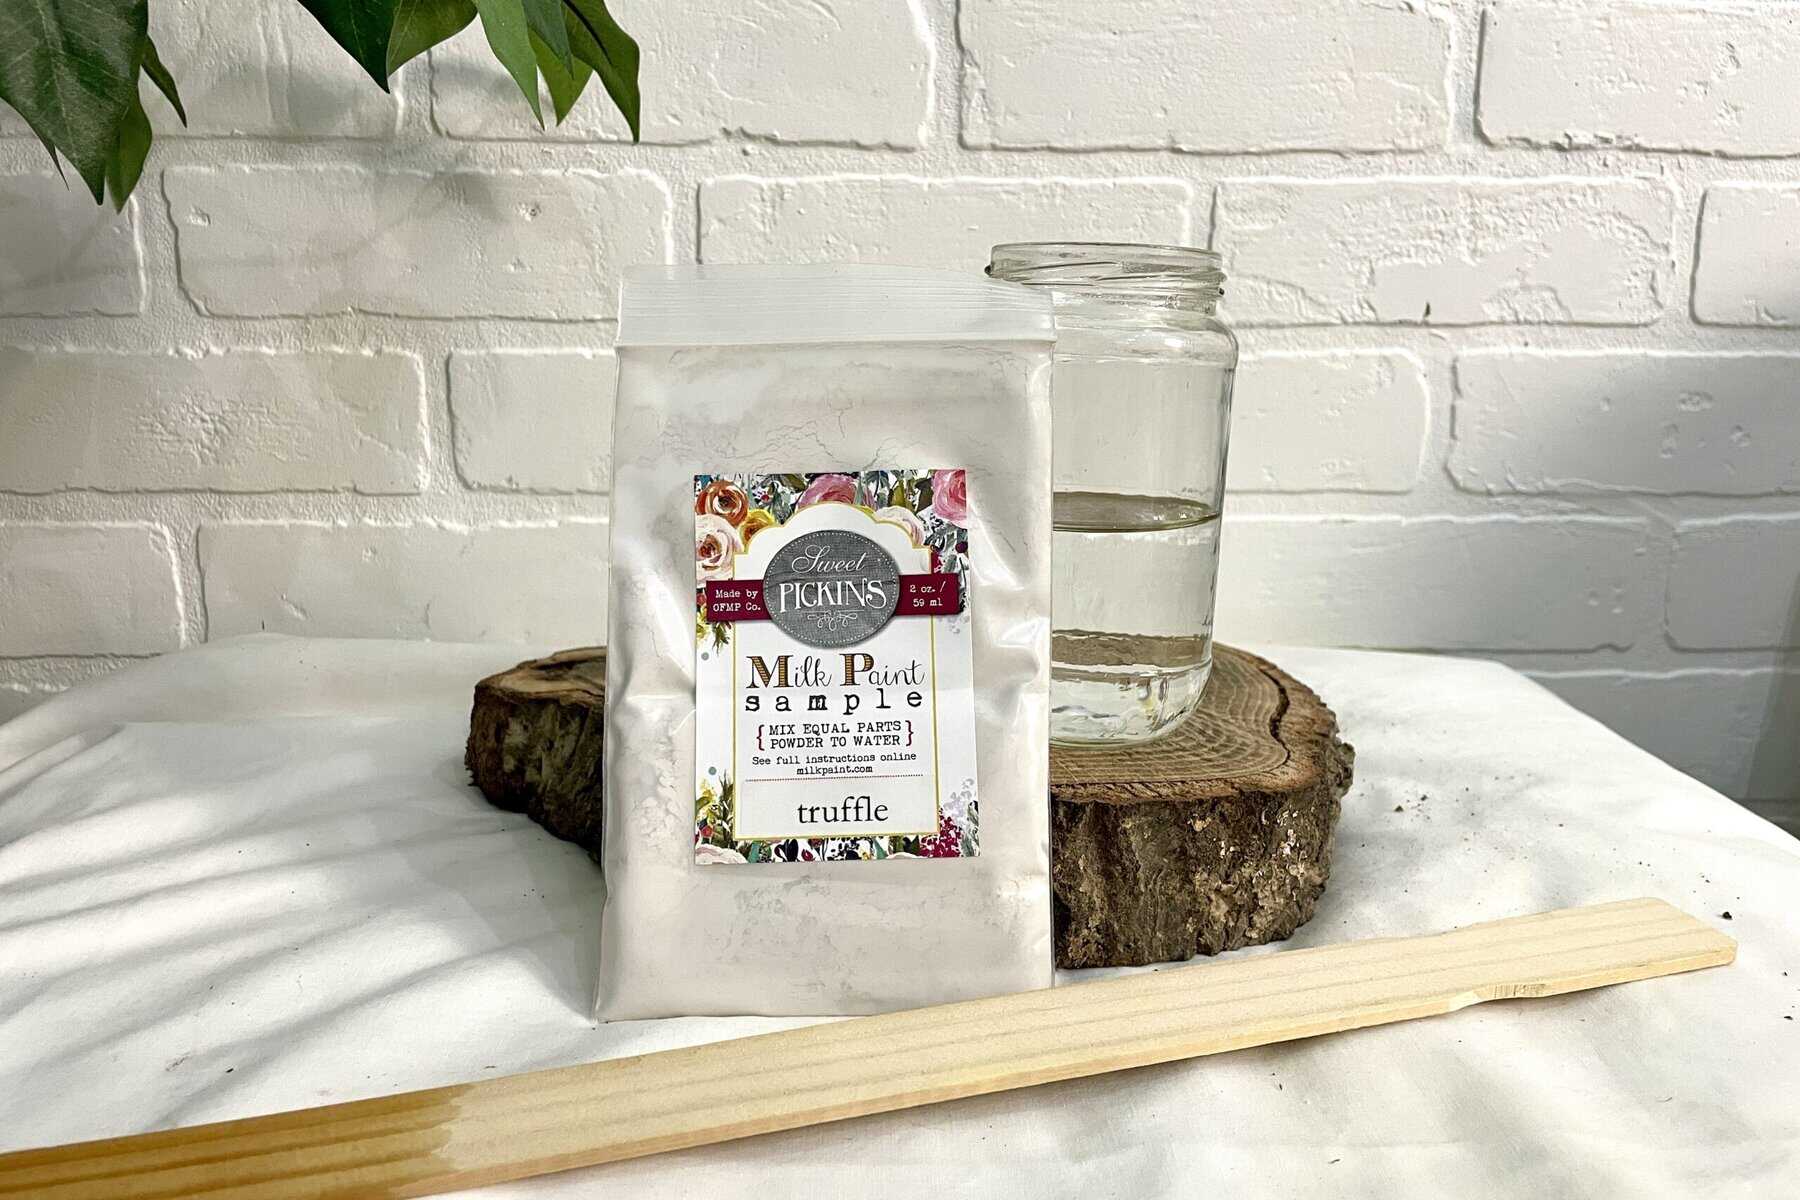
3. Furniture Wax
Best for: Chalk-painted or milk-painted pieces
Why you’ll love it: Wax gives a soft, vintage glow that feels timeless and touchable.
Pros: Low odor, easy to control, and simple to buff to your preferred sheen.
Cons: Needs reapplication every few months, and it’s not water or heat-resistant.
Pro Tip: Apply a little at a time with a brush or cloth, then buff for a silky finish.
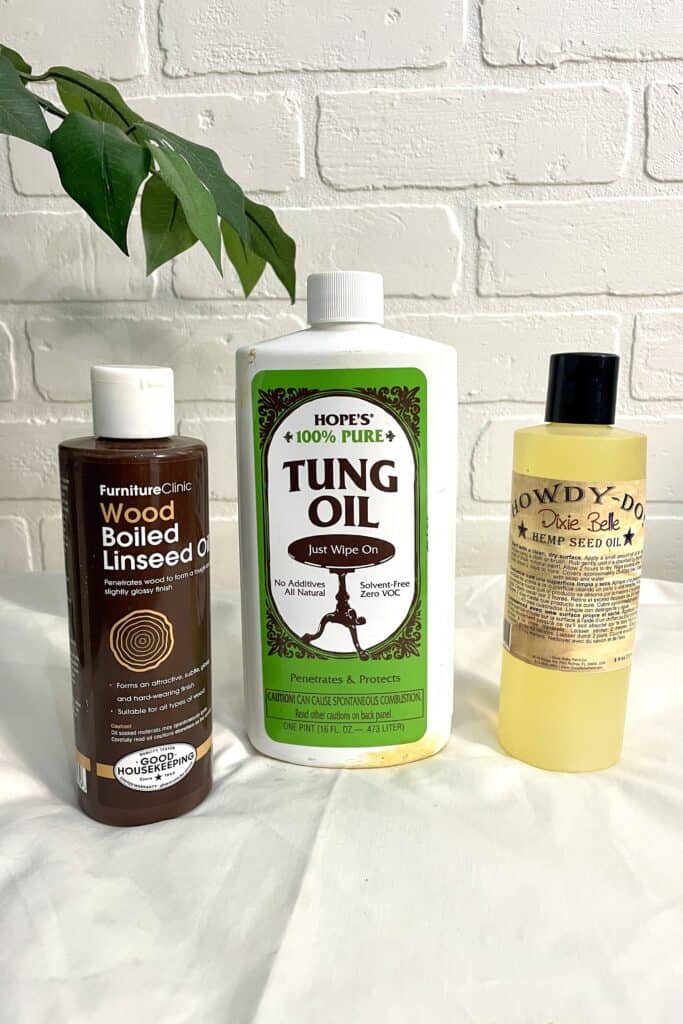
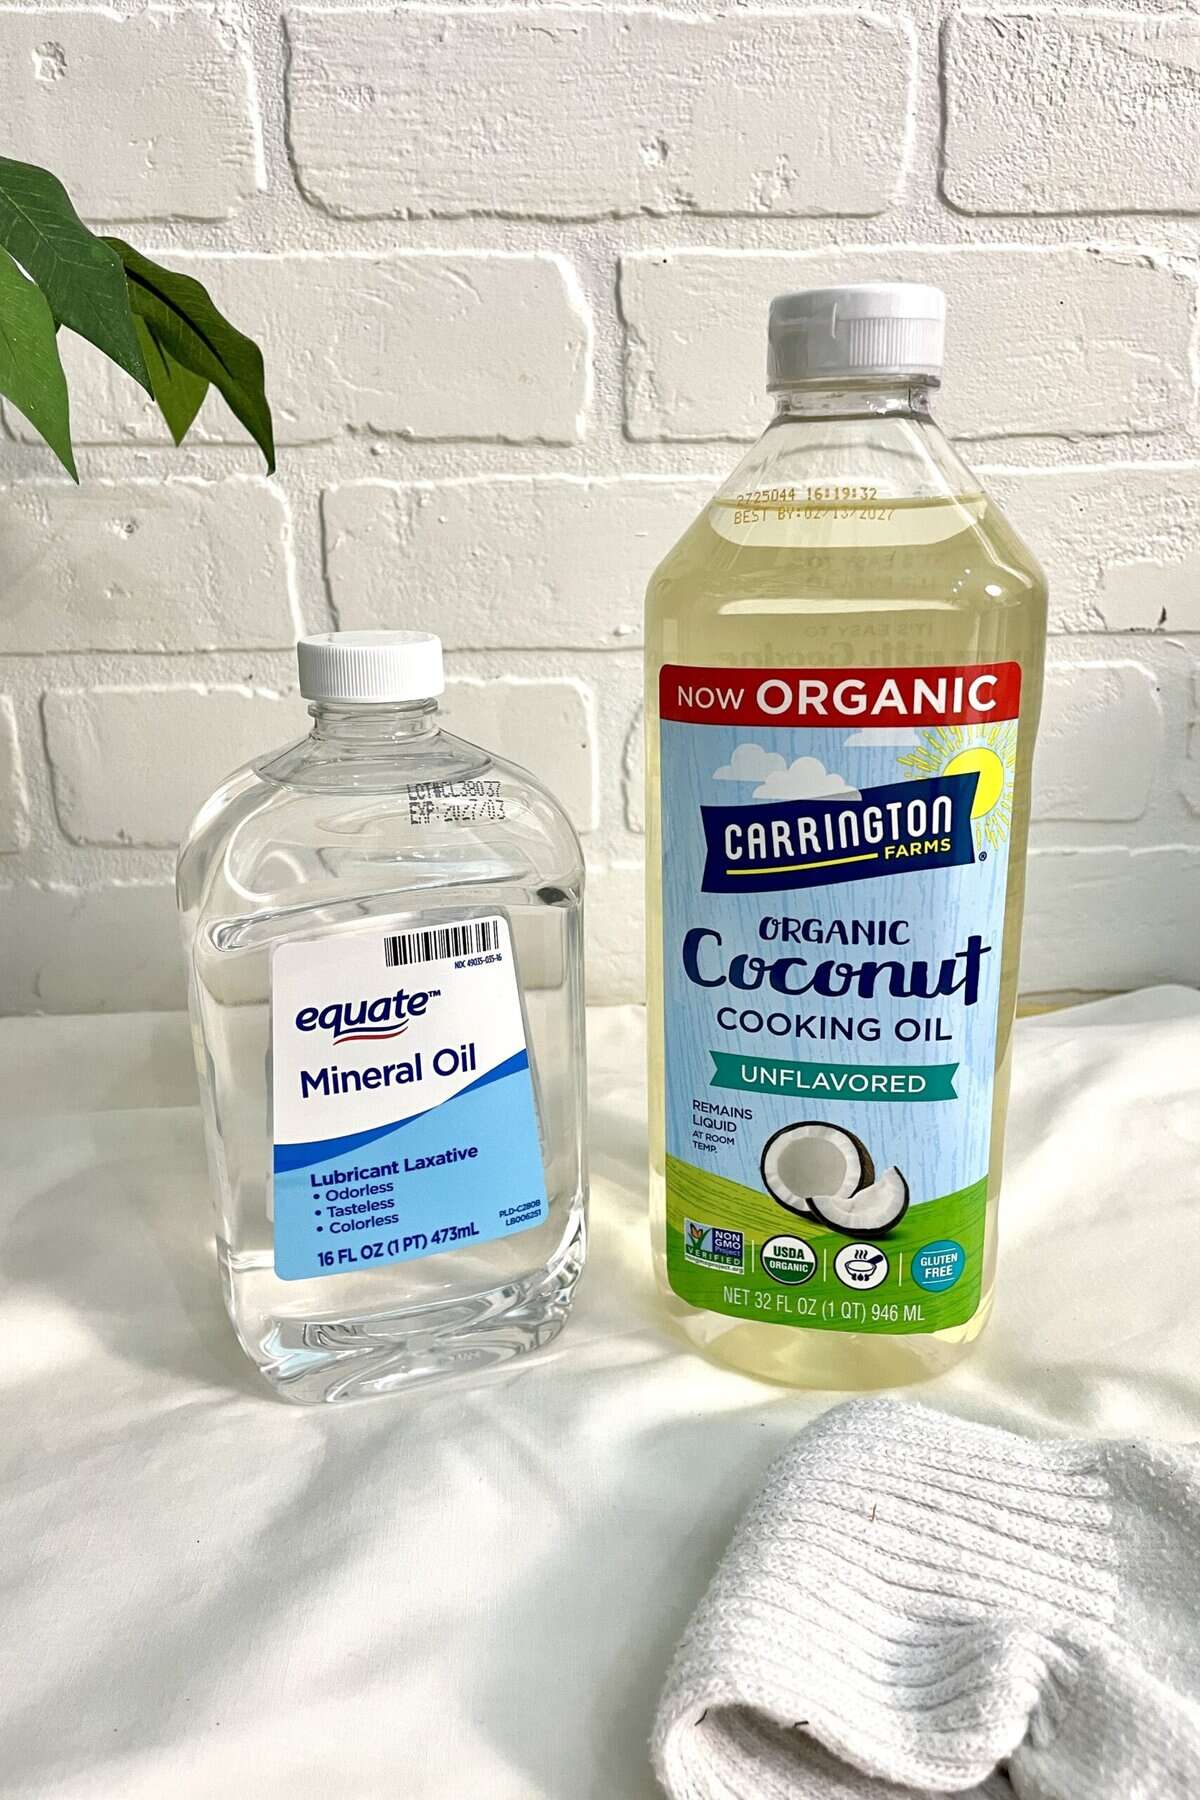
4. Drying Oils (Tung Oil, Boiled Linseed Oil)
Best for: Natural wood or lightly used furniture
Why you’ll love it: These oils soak deep into the grain, enhancing the wood’s natural charm with a gorgeous hand-rubbed finish.
Pros: Non-toxic options available, easy wipe-on method, rich grain enhancement.
Cons: Long dry times (12–24 hours between coats) and multiple coats needed for protection.
Pro Tip: Wipe on, let it soak, then wipe off excess. Easy peasy!
5. Danish Oil
Best for: Bookshelves, softwoods, or pieces you want to look “bare but better”
Why you’ll love it: It’s the best of both worlds: penetrating oil plus a touch of protective varnish.
Pros: Easy to apply, builds a beautiful satin sheen, and enhances natural grain.
Cons: Not as tough as poly; you’ll need a few coats for the best protection.
Pro Tip: Apply generously, wait about 15 minutes, then wipe off. Repeat after 24 hours.
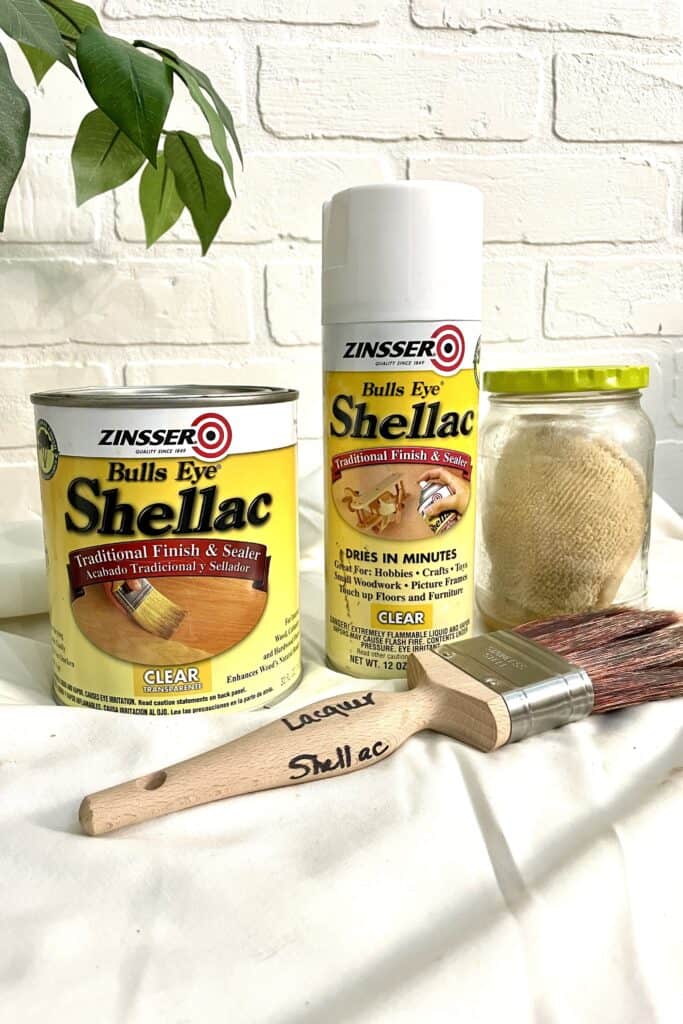
6. Shellac
Best for: Antiques, craft projects, or when you need a quick-drying finish
Why you’ll love it: This classic finish dries in a flash (5–15 minutes!) and gives your piece a warm amber glow.
Pros: Beautiful color, fast drying, and food-safe when fully cured.
Cons: Sensitive to heat, water, and alcohol, so no hot mugs, please!
Pro Tip: Apply thin coats with a brush or pad, and clean tools with alcohol.
Beginner FAQs
How many coats do I need?
Usually 2–3 coats for wax, oils, and wipe-on poly; 3–4 thin coats for polycrylic. When in doubt, thin and steady wins the race!
What’s the difference between drying and curing?
Drying means your finish isn’t sticky anymore. Curing means it’s fully hardened and ready to handle real life. This can take a few days to a few weeks. No shortcuts here!
Can I mix or layer finishes?
Sometimes! Wax goes beautifully over chalk paint, but don’t put it over poly. Always test first.
How do I fix mistakes?
Don’t panic! Let it dry, sand lightly with fine grit (220+), and reapply a thin coat.
Pro Tips for Sparkling Success
- Start small. Practice on a thrift find or scrap wood before tackling your heirloom buffet.
- Avoid humid days. Moisture and finishes are not best friends!
- Keep coats thin and even. Thick layers can lead to drips or cloudiness.
The right finish will not only protect your furniture; it will make it shine. With a little practice and patience, you’ll be confidently transforming dull pieces into dazzling treasures in no time.
Final Wrap-Up
Choosing your first furniture finish doesn’t have to be intimidating. It’s an adventure! Each finish has its own charm and personality, just like you. Want to find out which one matches your style best? Take The Vixen’s Den’s “Find Your Perfect Finish” quiz and discover whether you’re a glossy go-getter, a soft satin dreamer, or a vintage wax romantic!
✨ Head here to take the quiz and let your next refinishing project sparkle from start to finish!
Until next time, have a beautiful and blessed day!