How to Create a Raised Stencil
Do you have a simple piece that is maybe a little too simple? Have you wished you could add some unique details to make it extra special? Keep reading to see how we created a raised stencil from a simple stencil and some Dixie Belle mud, taking these simple planters from “ho-hum” to “wow!”
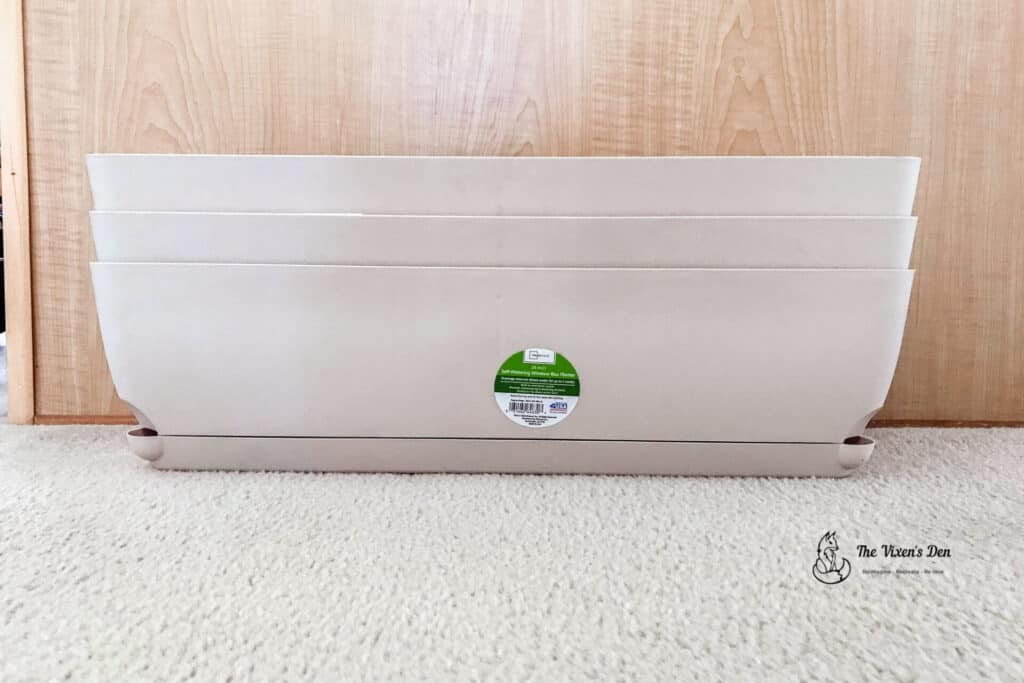
My daughter wanted some special planters to decorate the reception room for her wedding. The theme is “outdoor garden simplicity.” While these simple Walmart planters were lovely, I felt they could use a little something extra to celebrate the occasion. I just so happened to have
Let’s jump into all of the steps to transform these planters into some extra special decor.
THIS POST CONTAINS AFFILIATE LINKS TO PRODUCTS THAT I HAVE OR WOULD USE.
AS AN AMAZON ASSOCIATE, I EARN FROM QUALIFYING PURCHASES AT NO COST TO YOU.
YOU CAN SEE MY FULL DISCLOSURE HERE.
Tools and Materials
Tools
Container for water
Materials
Planter – we used this one
Dixie Belle Gator Hide
Optional: DIY Monogram Transfer
Cleaning and Prepping
Before I could clean the planters, I had to remove all of the stickers. These weren’t too bad, because they were plasticky stickers. Each planter also had a stick on the inside that was holding the planter supports in place. After I removed them, I put the supports in a plastic zipper bag to keep them all together until the project is complete.
Once the stickers were removed, I washed the planters by scrubbing them with a mixture of
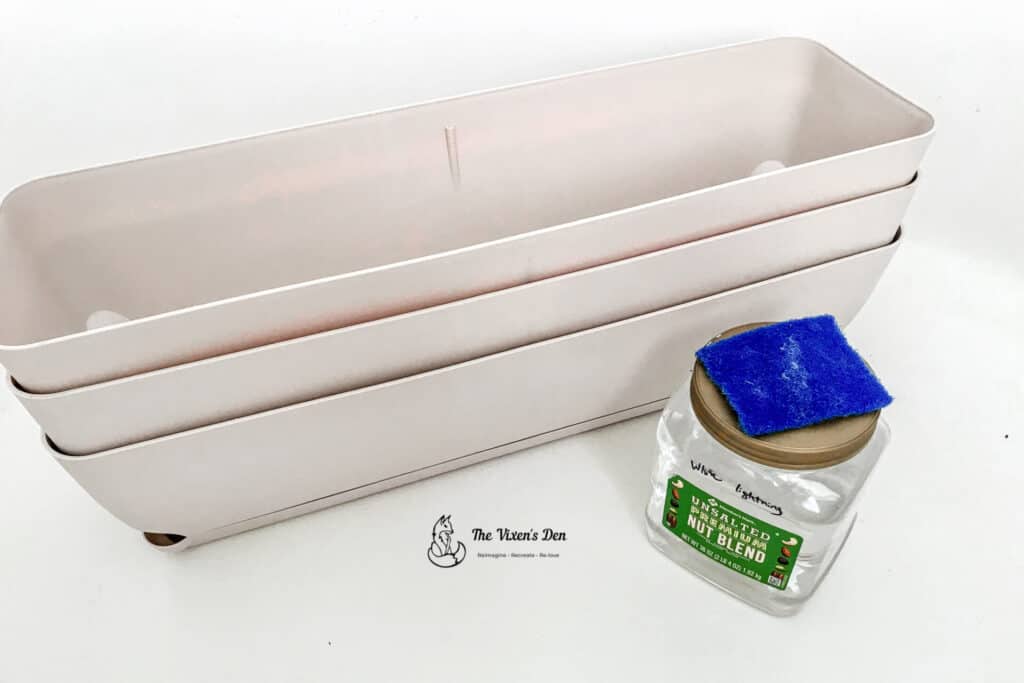
Pro tip: Always clean your projects first.
Adding a Raised Stencil
Placing the Stencil
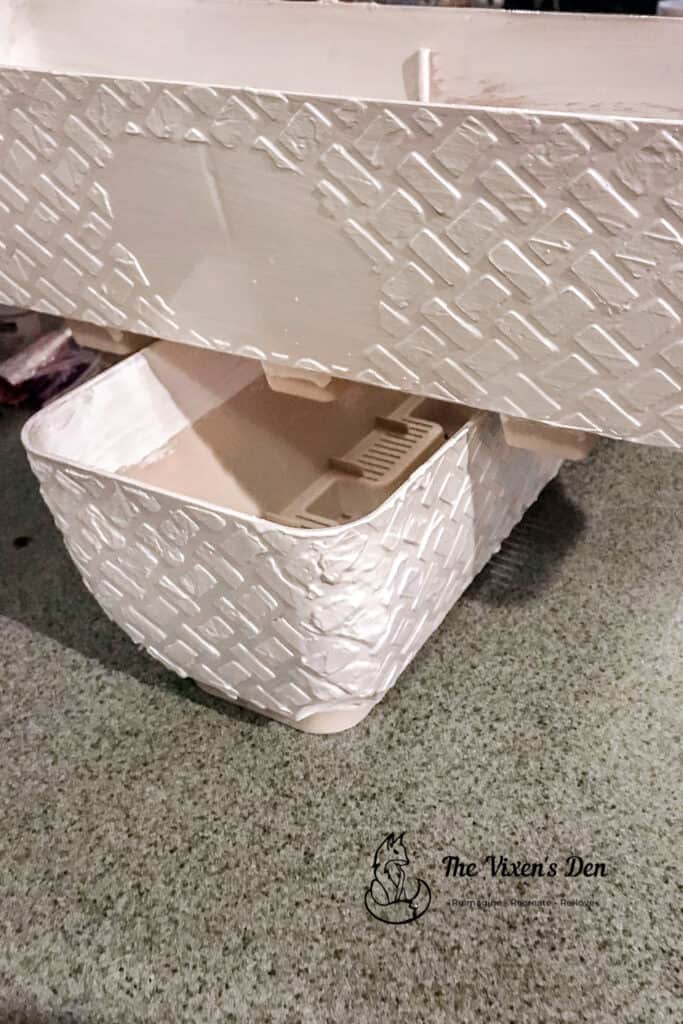
Once the planters were dry, I hopped straight into adding the raised stencil detail. These planters are not very square, so it seemed reasonable to tape them down with painter’s tape. This worked well on the flatter front and back pieces, but I struggled with the corners and sides due to the rounded and tapered shapes.
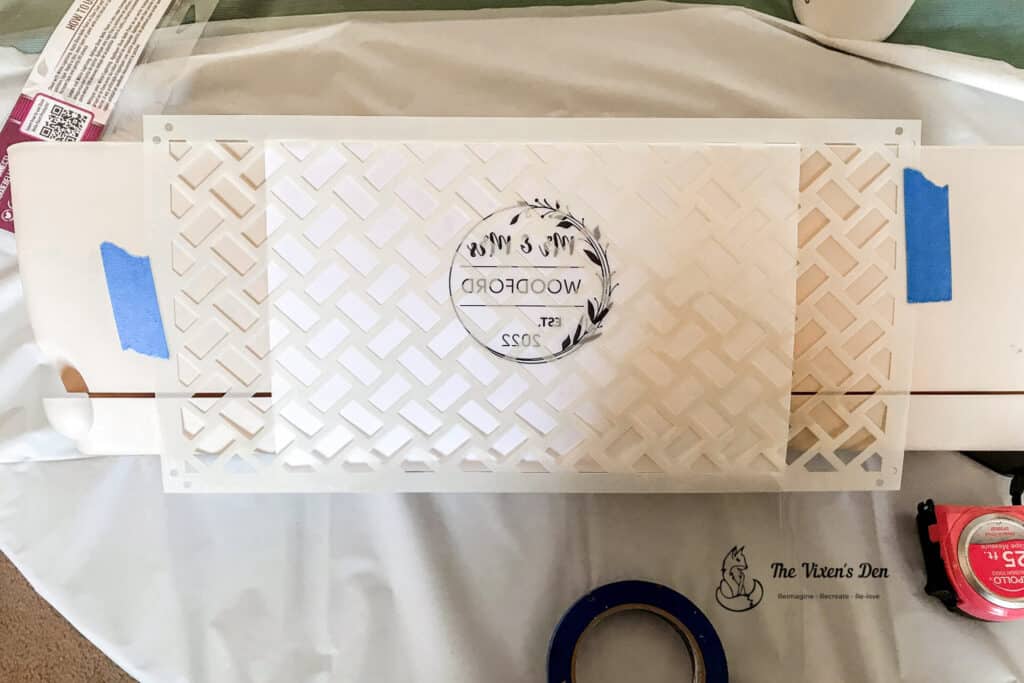
After a few trial and error runs, I discovered that it was actually easier to hold
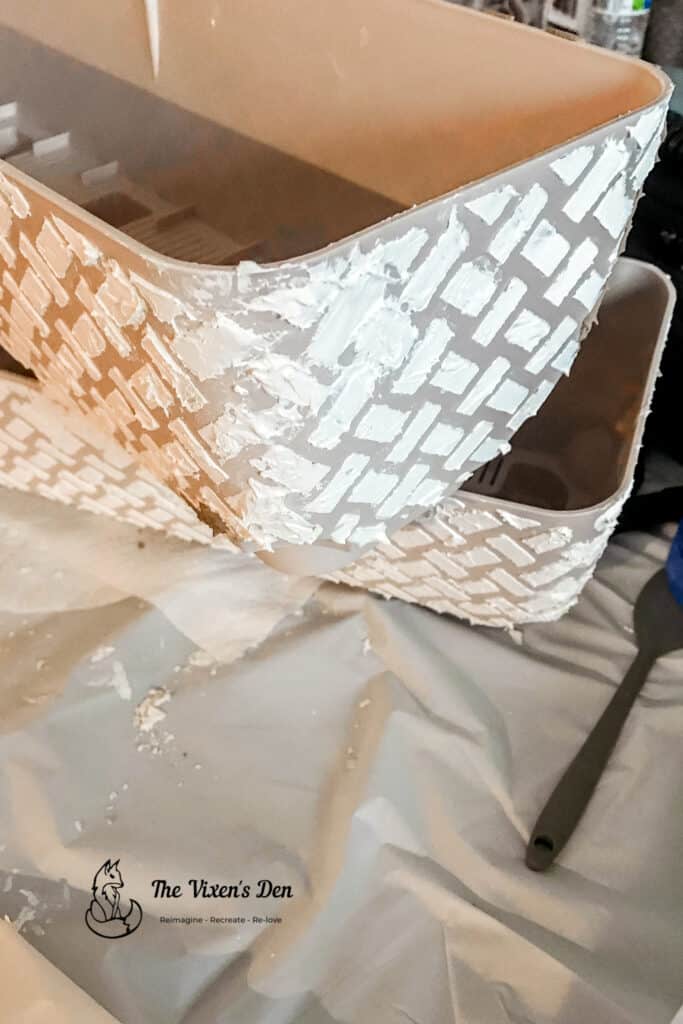
Applying the Dixie Mud
Applying the

It’s a balancing act, so just play with it until you find the right amount of pressure and texture for the effect you’re trying to create.
Smoothing out the Dixie Mud
Before smoothing out the

If you want a crisp but shallow detailed effect, then hold the spatula more perpendicular to the stencil and gently scrape off the excess.
Or, if you prefer a prominent, softer effect then spread the mud as if you were frosting a cake, rather flat against the stencil and just smoothing out the Dixie Mud, spreading it into the crevices.
If you want a really textured effect, then hold the spatula flat and just slap the Dixie Mud into the stencil. This is pretty much what I ended up doing along the curved edges.
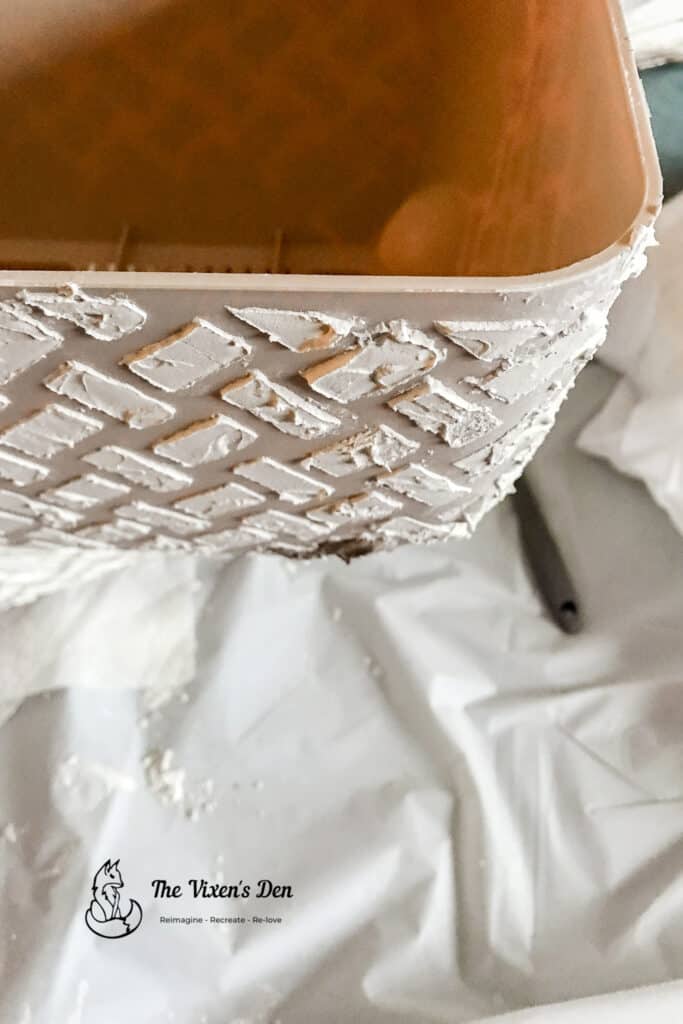
Don’t be overly concerned about the stencil being too rough. It’s more important to fill all of the crevices to pick up the stencil details. The next step is where you smooth everything out and make it get it ready for painting.
Stenciling in Stages
The instructions for the
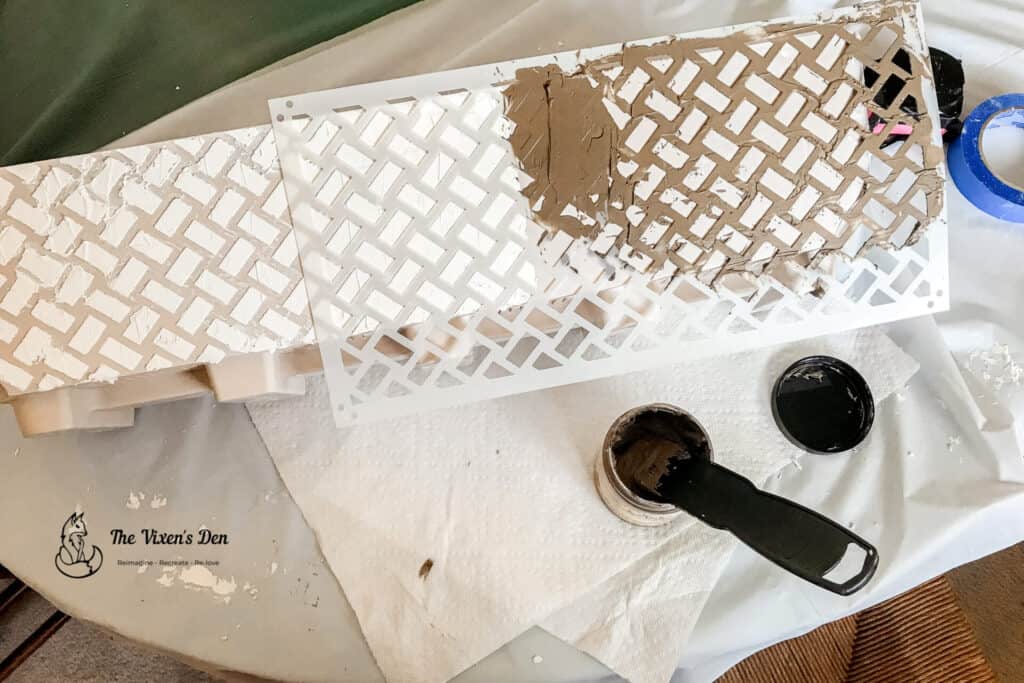
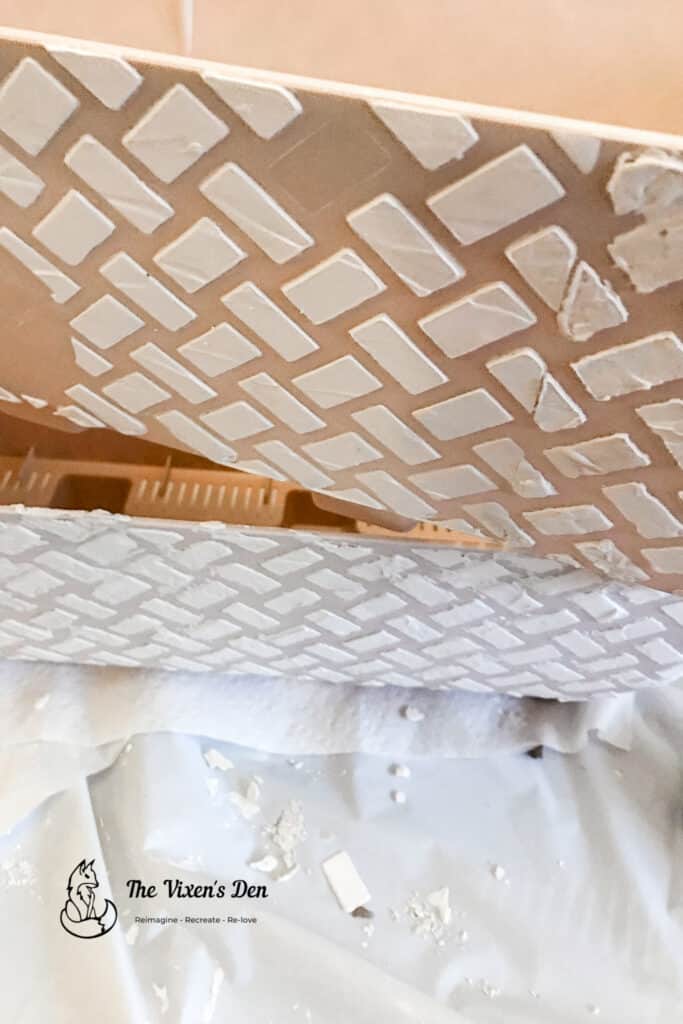
I did have to allow plenty of drying time between stencil stages. Dixie Mud needs overnight or several hours (at a minimum) to dry before you can safely start the next stage of stenciling. In the picture below, you can see where I ran out of white Dixie Mud. Luckily, I had a fresh batch of brown Dixie Mud on hand. (I can’t help but think of vanilla and chocolate frosting when I see it. Mmmmm….frosting!)
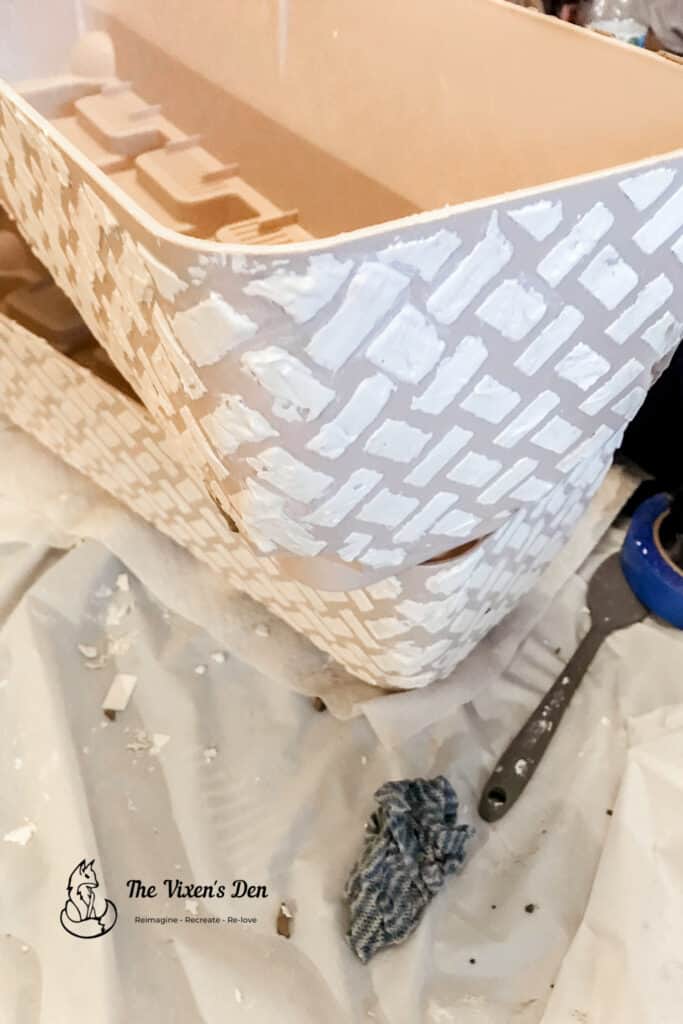
Hindsight is 20/20: One trick that I learned (far later than I care to admit) was that it was much easier to add to the stencil if I simply overlapped the first few rows of stencil bricks over the dried section. This kept the stencil aligned much better, but only really worked if the dried section was properly aligned. I found that worked best along the front and back, but not as well on the sides, due to the tapers.
Refining the Raised Stencil
The objective at this stage is just to clean up the edges, smooth out any errors, and redefine the stencil lines so that the effect is recognizable.
Here is where the container and rag really come into play. I filled a container with water, dabbed a rag in it until it was damp, and began cleaning up the rough patches on the raised stencil. And boy were there a lot of rough patches!
But the beauty of
Pro tip: if a rag and fingers are too large for your stencil, you could also try a cotton swab or a small
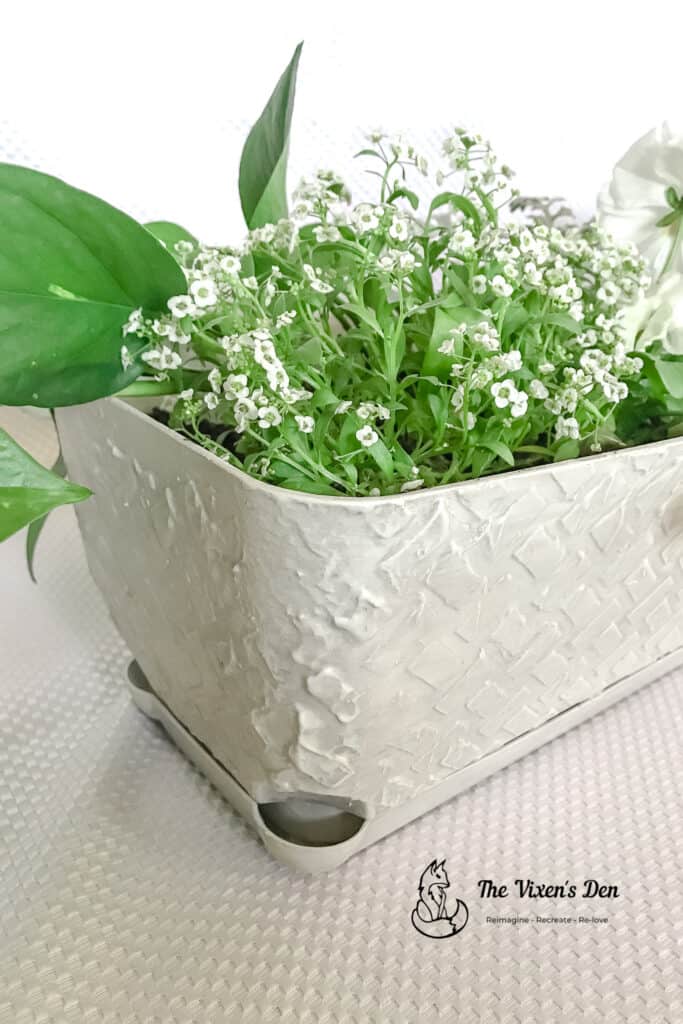
Interestingly enough, for this project, the stencil didn’t come across as basketweave. To our eyes, it looked more like a brick wall, which made it a little easier to create distinct “mortar lines” between the “bricks.” Thankfully, the bride-to-be liked it!
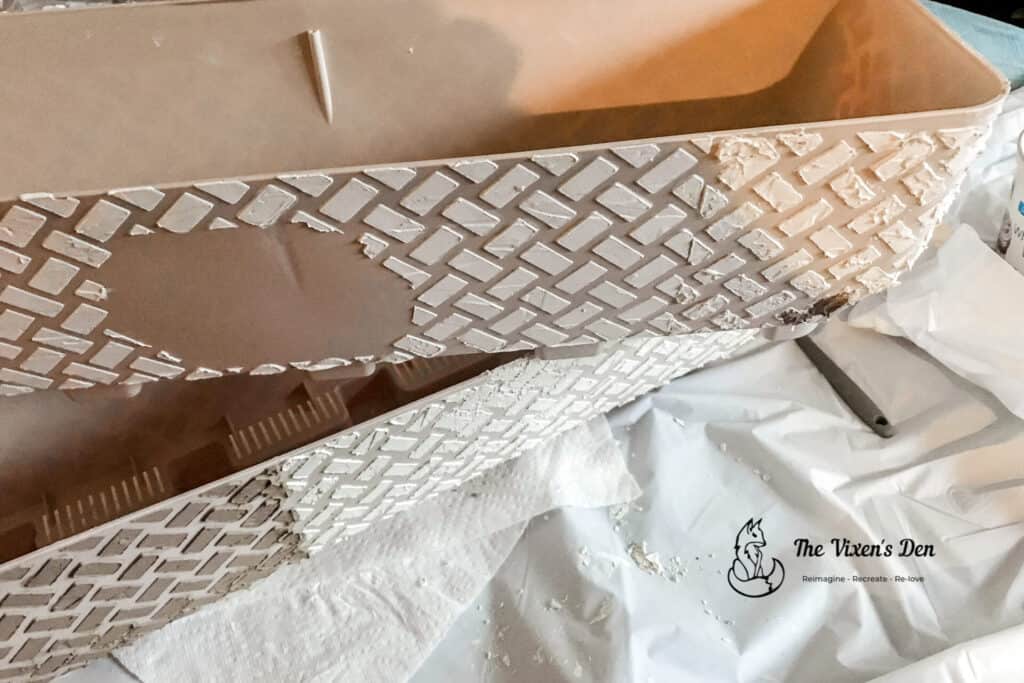

Once all of the rough edges were smoothed out and the “bricks” were clearly defined, it was time for the next step.
Painting the Raised Stencil
Before I started painting the planter, I wanted to make certain that I was giving the project the best foundation possible. This (hopefully) will increase the durability of the stencil and paint. Eventually, this planter will probably live outside, and I want it to be something special that they can enjoy for a while.
With that in mind, I used the
Hindsight is 20/20: As I applied Slick Stick, some of the stenciled bricks actually began popping off of the planter. In the future, I plan to apply Slick Stick first and then apply the raised stencil.
The next day, I applied two coats of
Adding a DIY Transfer
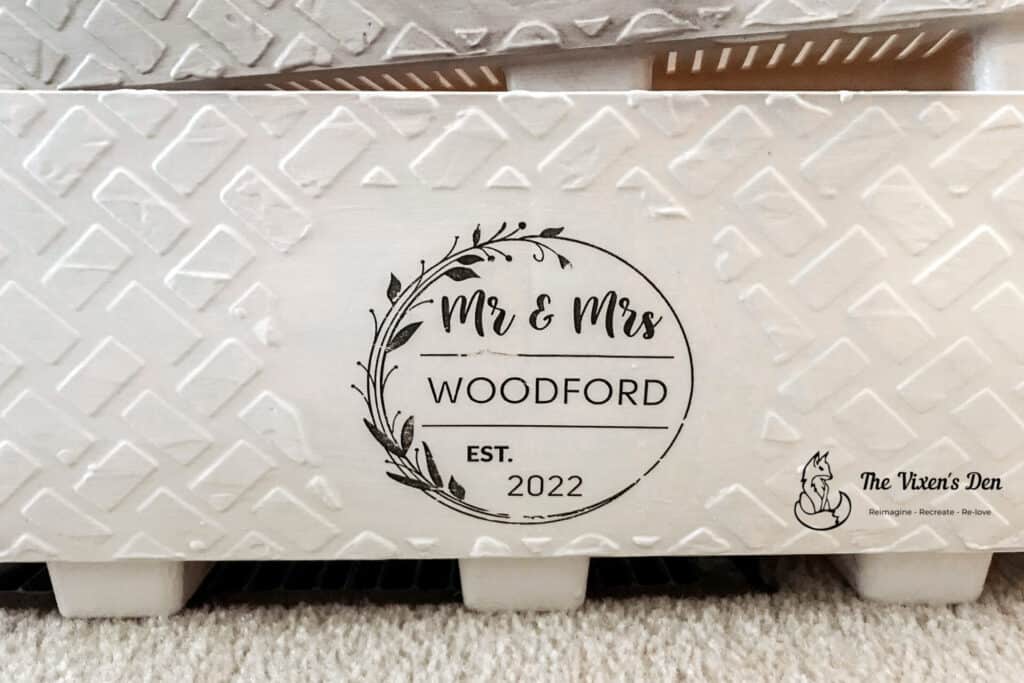
To make this project extra special, I thought it would be nice to add a DIY transfer, celebrating their union. I went to Design Bundles, which is one of my favorite sources for customizable graphics, and downloaded this monogram.
If you would like more detailed information about creating a customized transfer, this post walks you through the steps.
Before applying the transfer, I applied a coat of
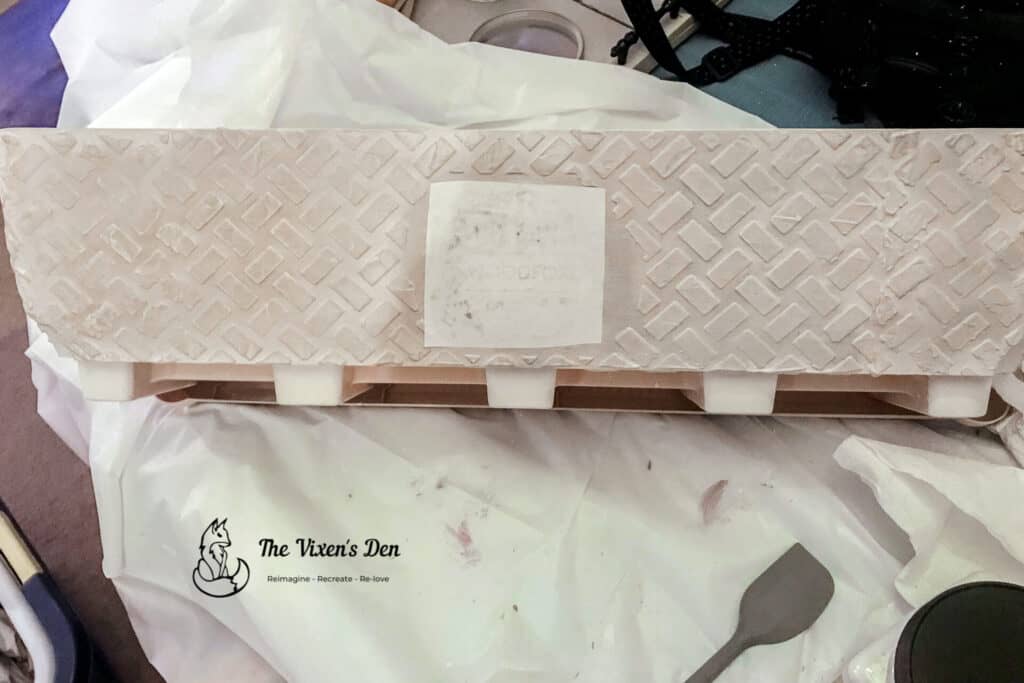
After applying the transfer, I waited several hours and then removed the paper. Then I sealed the transfer with another coat of Clear Coat in Satin.
Pro Tip: I always like to keep a dual-tipped permanent pen on hand, just to tidy up any transfers.
Hindsight is 20/20: Allow the transfer to dry overnight and you will have fewer errors to clean up with the permanent pen.
Adding Waxed Details to the Raised Stencil
Although the white painted planter was pretty, especially with the custom monogram transfer, we felt it needed a little something. One great way to bring out the details of the raised stencil is by waxing them. We chose Dixie Belle Wax in Grunge Gray.
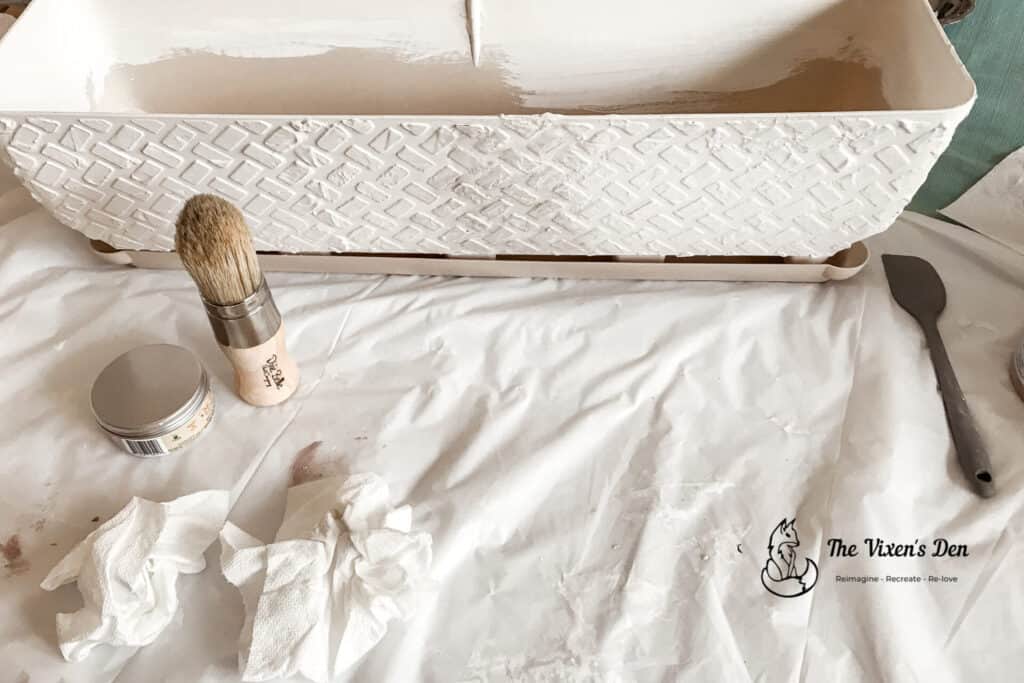
The Petite Brush is perfect to apply wax into all of the little crevices. Just dip the tip into the pot of wax, then dab some wax onto the piece and blend it in using circular motions followed by left to right or up and down brushing strokes. Excess wax can be removed with a dry paper towel, or a wet paper towel if you want to start over.
We went through a few tests before we settled on the final design. The wax has a tendency to pick up the edges of the transfer, even after the paper is brushed away.
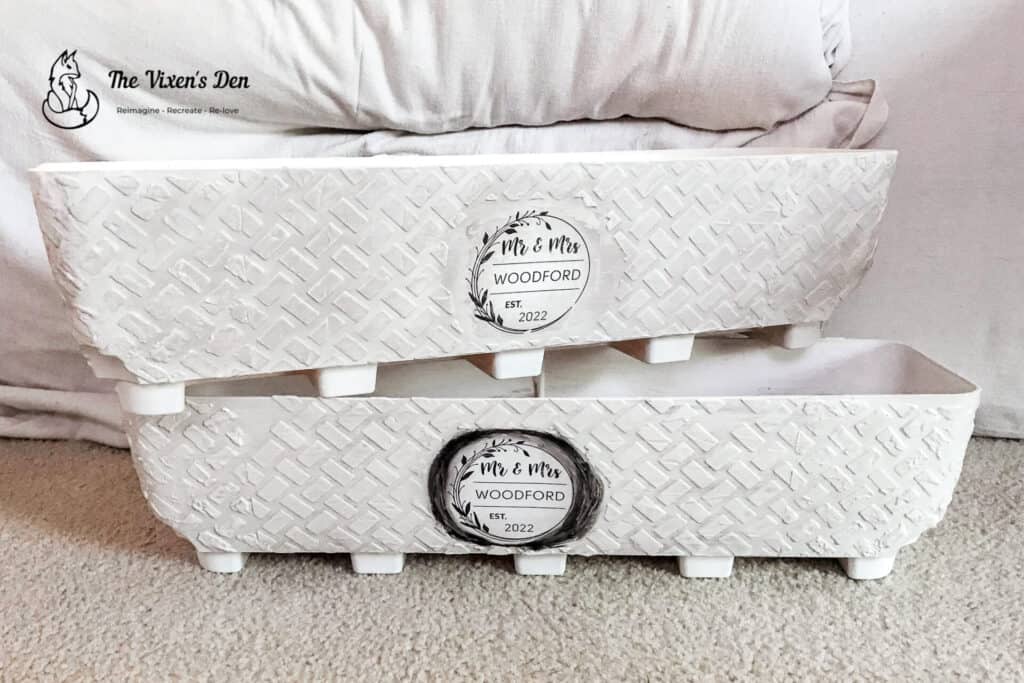
I think a bit of sanding and filling in with the clear coat will help, but it still kept showing upon me for this project. I’d love to hear any suggestions to help overcome this. Please drop them in the comments below!
Sealing the Raised Stencil
Since this planter will probably live outdoors, I chose Gator Hide as the final clear coat. However, if this is an indoor project, then you could easily use any of the Dixie Belle Clear Coats in Gloss, Satin, or Flat. At this stage, the stencil itself was protected behind layers of Slick Stick, Chalk Paint, and Clear Coat, so this last layer is just to protect the details of the transfer and the wax.
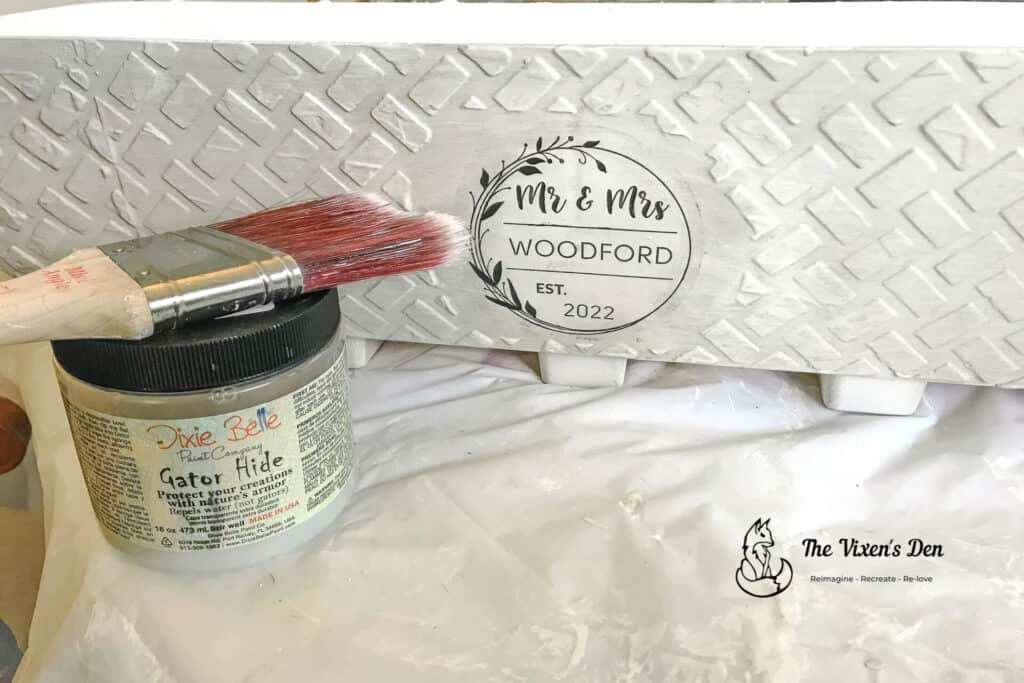
I did some test bends and twists of the planter sides to see if the raised stencil bricks would pop off. I didn’t hear any cracking or popping, so I think they are thoroughly sealed in!
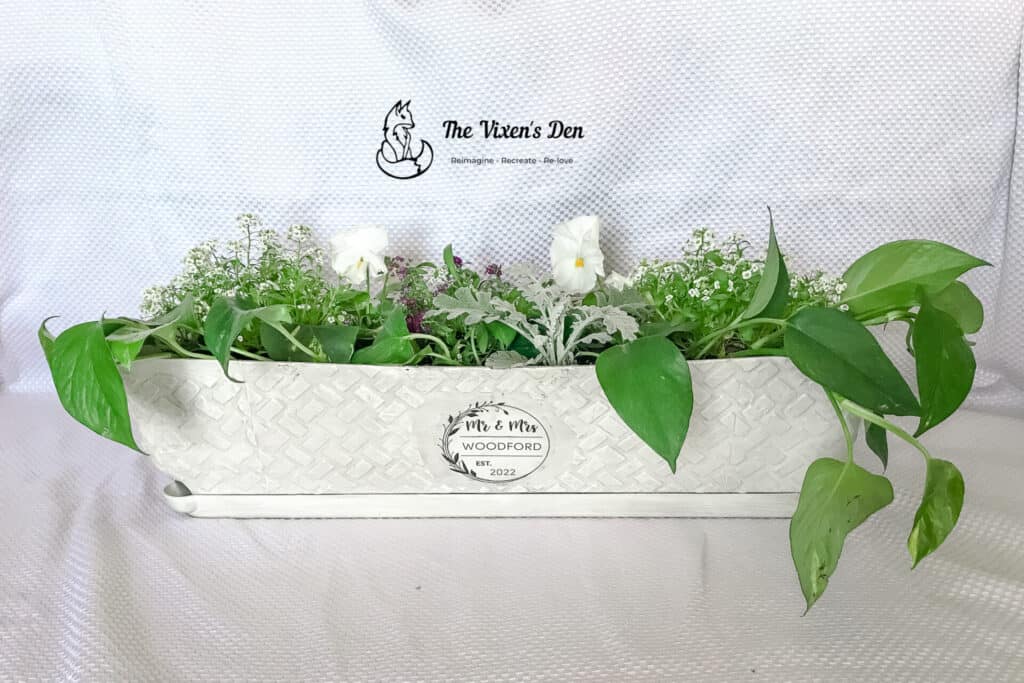
Raised Stencil Planters Reveal and Takeaway
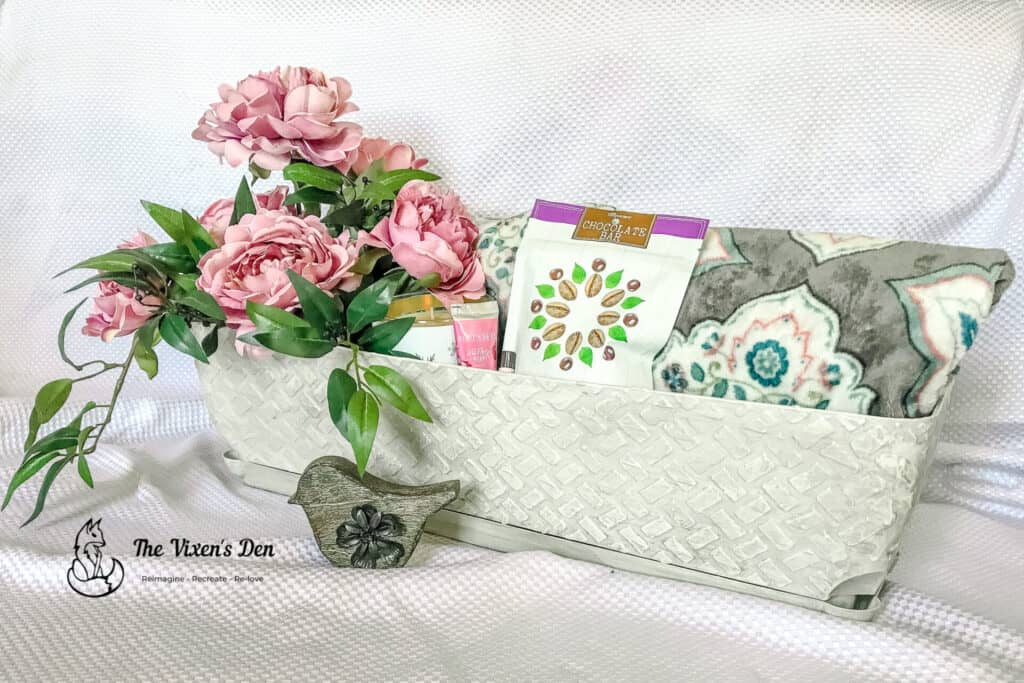
Here’s a before and after of the raised stencil planters. What a transformation! They now have a very unique old-world style feel to them that is perfect for a garden wedding. The custom transfer also helps to make them extra special.
I love the fact that the raised stencil effect is still very flexible under the layers of paint and clear coat. I also love that this is an easy project that anyone can do! The hardest part was waiting for the drying time in between stages. (Miss impatience again.)
Wouldn’t these planters make a lovely Mother’s Day or birthday gift? You could tuck a cozy blanket in with a candle, candy, and some seed packets of sweet-smelling flowers or herbs.
Or, you could plant them full of beautiful spring flowers!
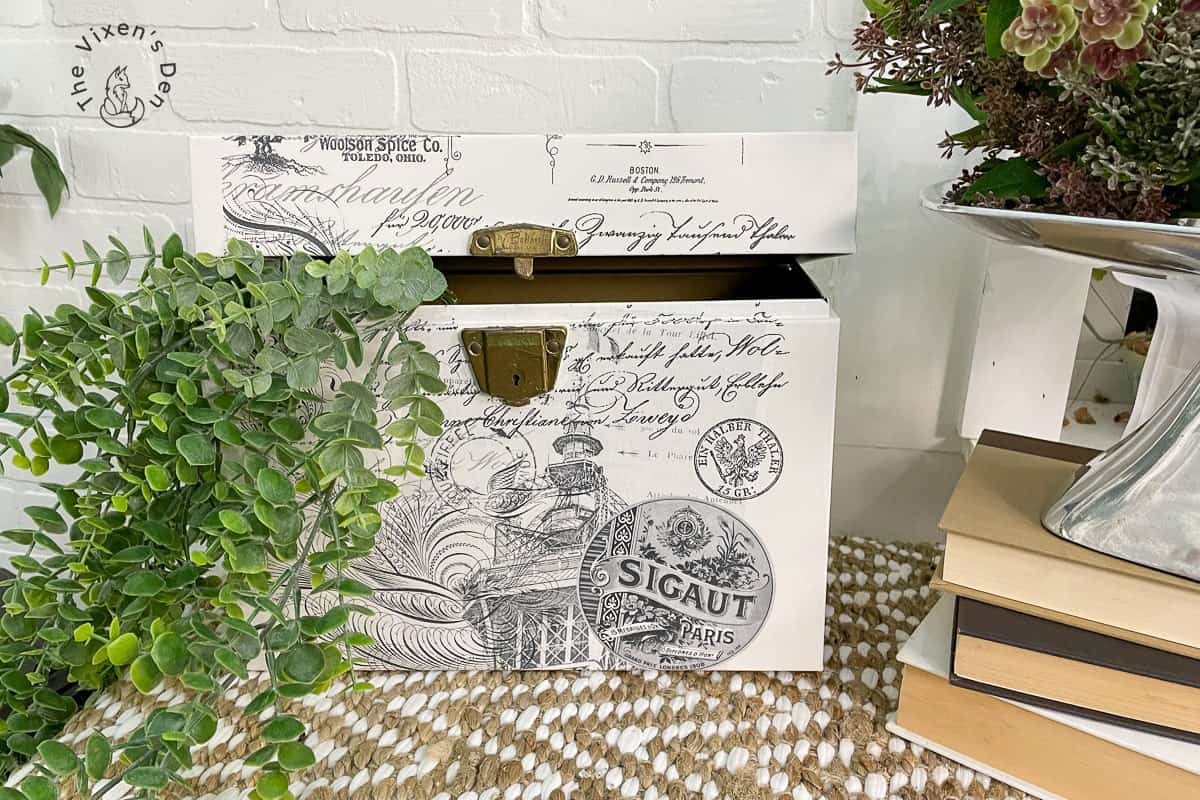
What would you plant in this lovely custom flower pot? Let me know in the comments below. Then sign up to receive an email when the newest misadventures are posted. Until then, you may also enjoy this post about adding a raised stencil to a magazine rack. It has so many possibilities for its future!
Have a beautiful and blessed day!

Thanks for your blog, nice to read. Do not stop.
How lovely, Beck!!
I love the final results! Never heard of raised stencils- glad you are around if I see any projects where I might like that done. :):) tee-hee
The transfer is soooo nice, also. I particularly like the vine embellishment you added to it.
Perhaps there is a baby-design raised stencil that can be used for a baby shower. Then you can fill the vessel with baby gifts.
Although the basket weave would work also.
Thanks for all your crafts!!
Thank you so much, dear! I’m delighted to help you with your projects!