Lacquer vs. Varnish: A Beginner’s Guide to Choosing the Perfect Wood Finish
Welcome back to The Vixen’s Den, where wood gets the royal treatment and DIYers get the boost of confidence they need to create their next masterpiece! If you’re staring down a freshly prepped piece of furniture and wondering whether to reach for lacquer or varnish to give it that final touch of glossy protection, you’ve come to the right place. In this beginner-friendly guide, we’ll take a deep dive into these two popular topcoats—breaking down everything from chemistry and application to pros, cons, and when to choose one over the other. Let’s jump in, paintbrushes first!
THIS POST CONTAINS AFFILIATE LINKS TO PRODUCTS. IF YOU PURCHASE PRODUCTS THROUGH THESE LINKS, THEN I MAY RECEIVE A SMALL COMMISSION AT NO COST TO YOU.
I ONLY RECOMMEND PRODUCTS THAT I USE AND/OR HAVE RESEARCHED AND WOULD USE.
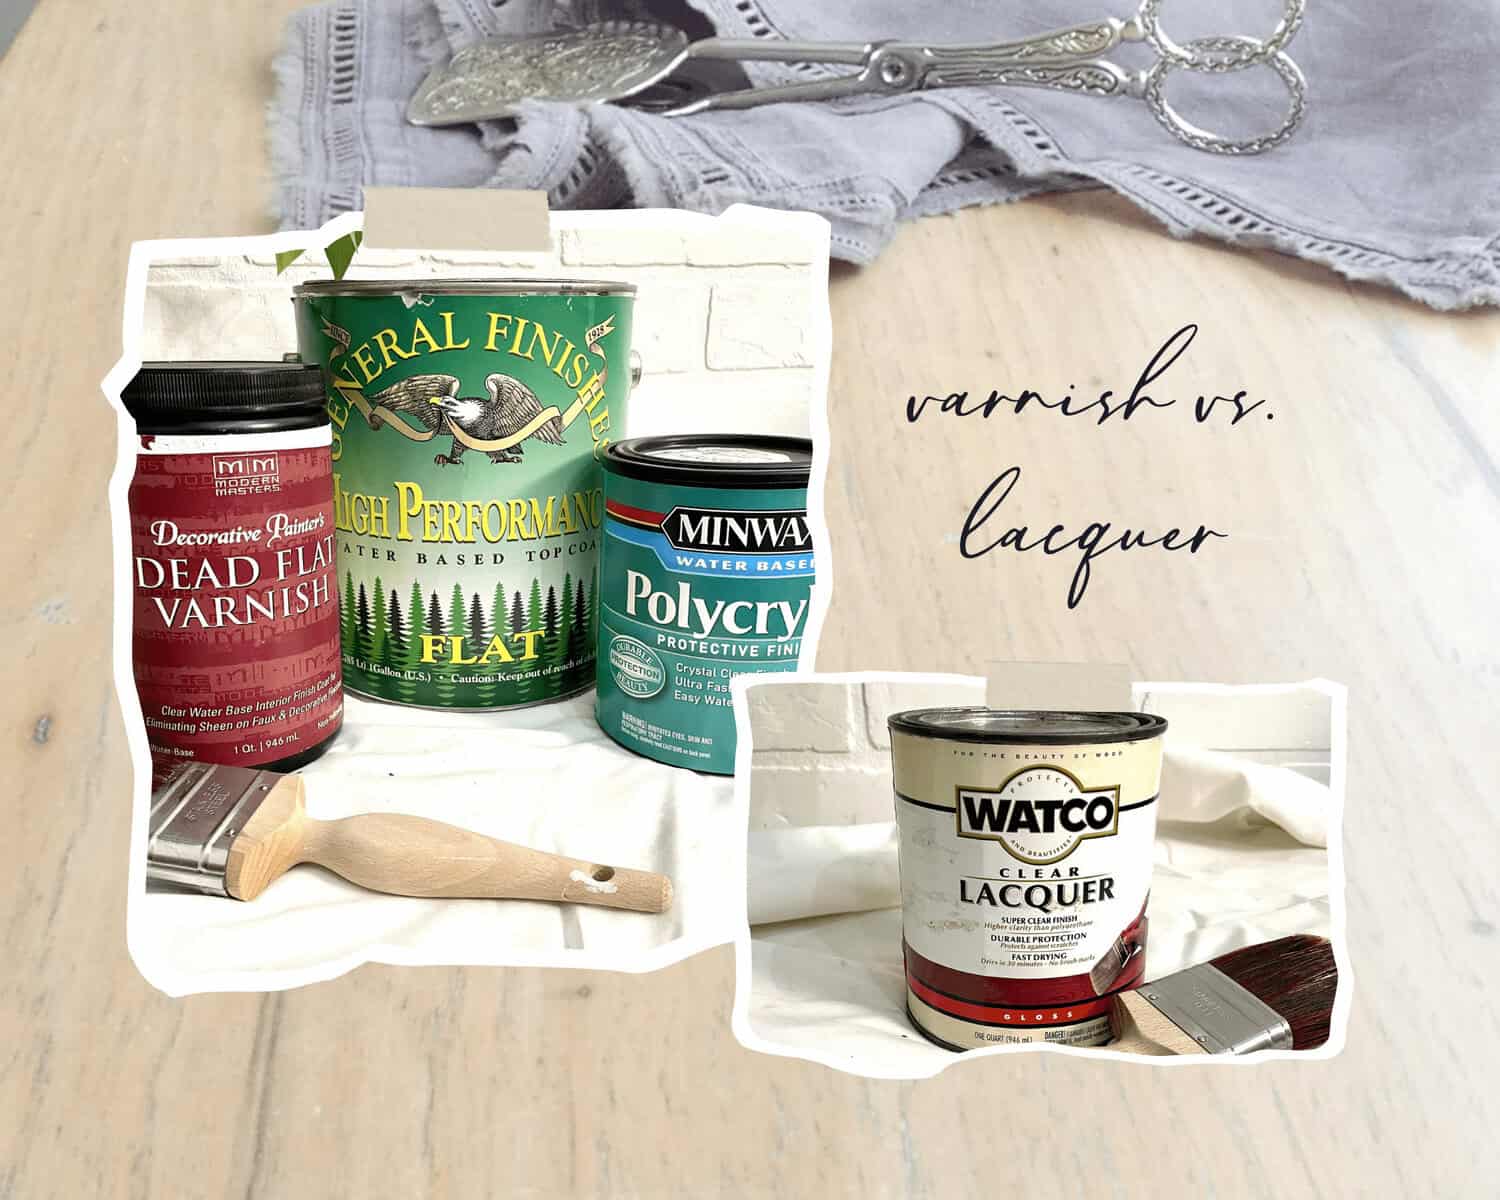
The Basics: What Are Lacquer and Varnish?
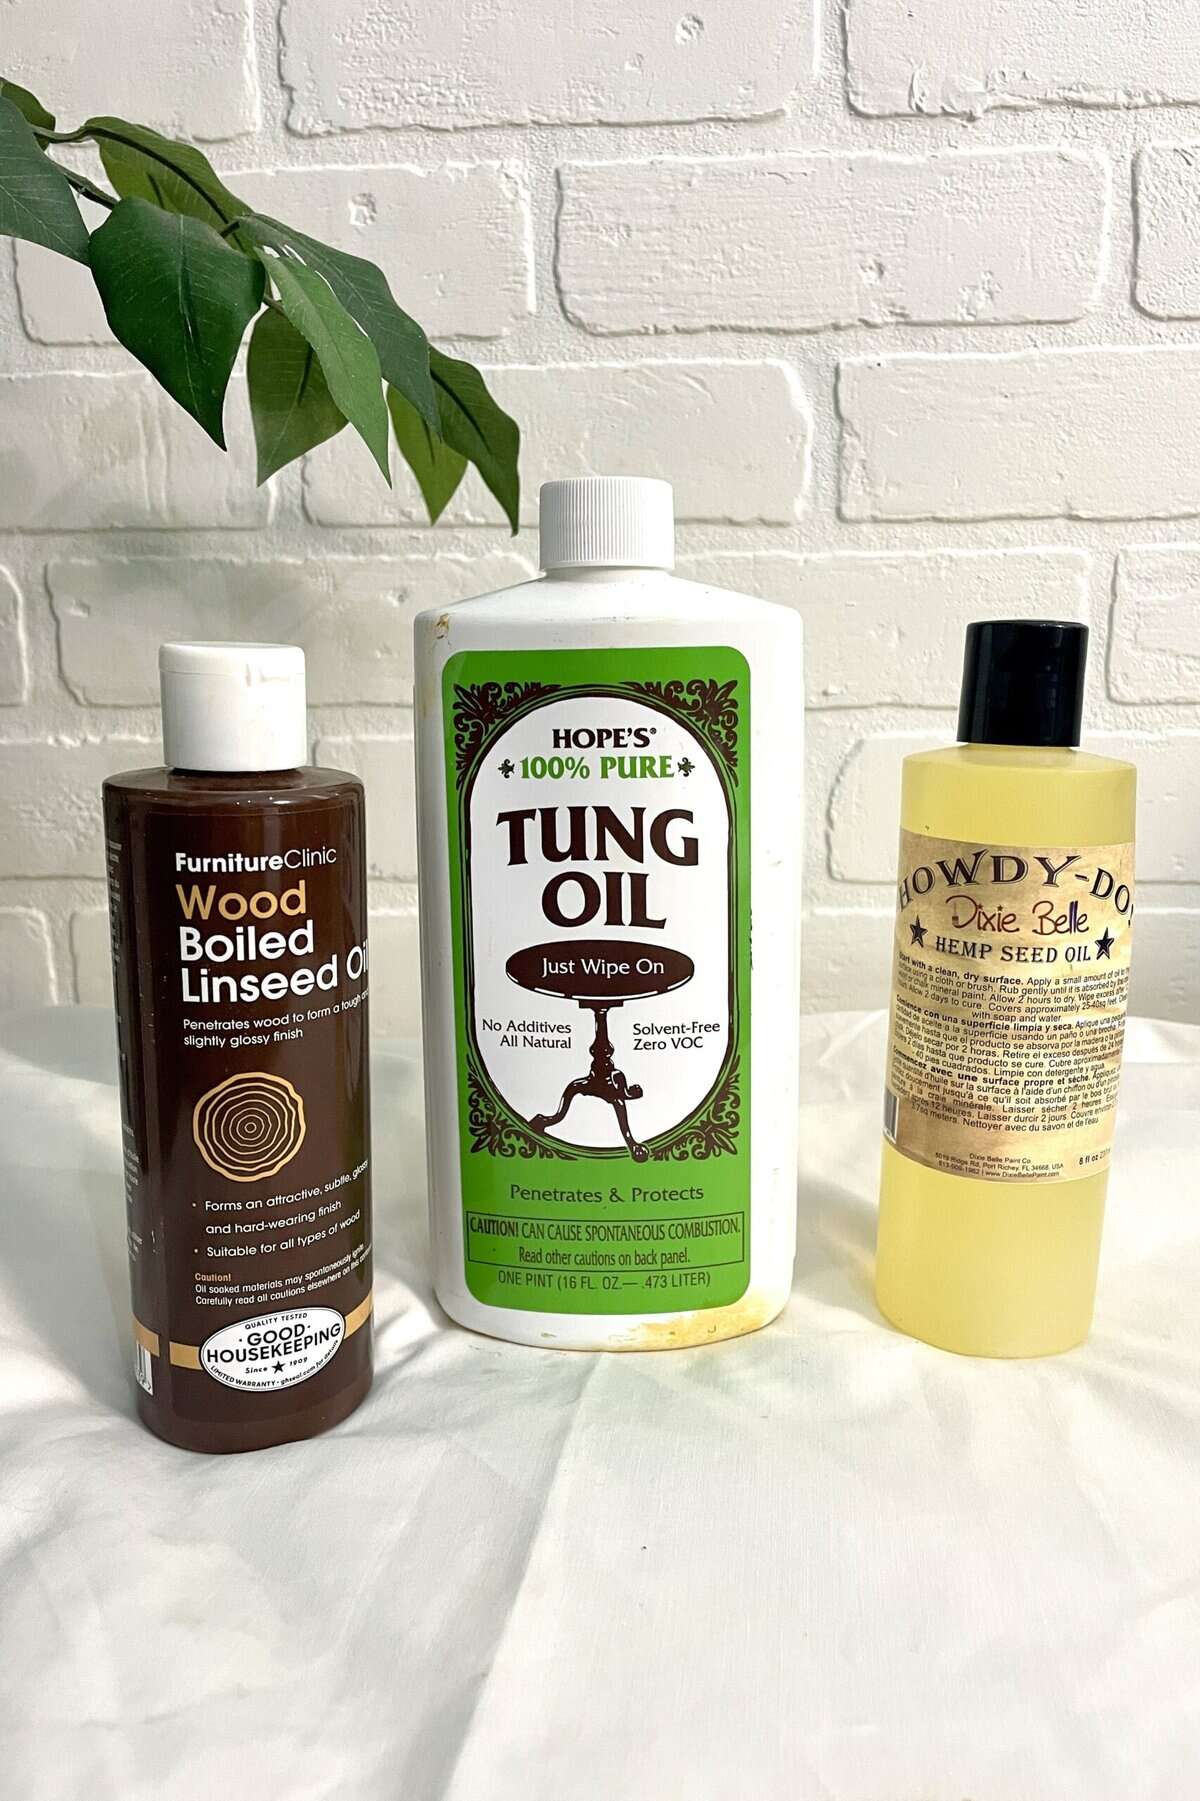
Lacquer is a solvent-based finish made primarily from nitrocellulose (or acrylic resins in modern formulas), combined with fast-evaporating solvents. It forms a hard, protective film by solvent evaporation rather than chemical curing.
Varnish, on the other hand, is typically a blend of drying oils (like tung or linseed oil), synthetic resins (like polyurethane or alkyd), and mineral spirits or other solvents. It cures through a chemical reaction with oxygen.
| Feature | Lacquer | Varnish |
|---|---|---|
| Base | Solvent-based (nitrocellulose or acrylic) | Oil-based with resins (alkyd, polyurethane) |
| Curing Process | Solvent evaporation | Oxidative polymerization (air-curing) |
| Appearance | Smooth, high-gloss to satin | Warm, rich, slightly ambered tone |
| Durability | Medium | High (especially poly varnishes) |
| Touch-up Friendly? | Yes | No (sanding usually required) |
Pros and Cons
Lacquer
Pros:
- Dries incredibly fast (within minutes!)
- Easy to recoat and repair
- Smooth, glass-like finish
- No sanding between coats (usually)
Cons:
- Fumes are intense—needs strong ventilation
- Not as durable for high-use surfaces
- Susceptible to water and heat damage
Varnish
Pros:
- Exceptionally durable and protective
- Great for outdoor or high-traffic furniture
- Water, UV, and heat resistant (especially marine and spar varnishes)
Cons:
- Can be tricky for beginners to apply evenly
- Slow drying time (up to 24 hours per coat)
- Requires sanding between coats
Application Comparison: Step-by-Step
Lacquer Application
Recommended Tools: HVLP sprayer or aerosol spray can
Process:
- Prep the Surface: Sand wood smooth and clean off all dust.
- Ventilation: Ensure proper airflow—lacquer fumes are no joke!
- Apply Thin Coats: Spray in light, even passes about 6–8″ from the surface.
- Recoat Quickly: Wait 15–30 minutes between coats.
- Optional Sanding: Only if a smoother base is needed.
- Final Cure Time: 24–48 hours before light use; longer for full cure.
Best Humidity Range: 40–60% RH
Coats for Maximum Durability: 3–5 thin coats
Varnish Application
Recommended Tools: High-quality natural bristle brush or foam brush
Process:
- Prep the Surface: Sand and clean the wood thoroughly.
- Stir, Don’t Shake: Prevent bubbles in the finish.
- Apply in Long, Even Strokes: Follow the grain.
- Drying Time: 12–24 hours per coat.
- Sand Between Coats: Use 320–400 grit sandpaper.
- Final Cure Time: Up to 30 days for full hardness.
Best Humidity Range: 50–70% RH
Coats for Maximum Durability: 2–3 thick coats
Refinishing Tips & Best Practices
For Lacquer:
- Use lacquer thinner for cleaning tools.
- Keep coats light to avoid runs and blushing.
- If needed, buff the final coat with fine steel wool and polish.
For Varnish:
- Maintain a dust-free environment during drying.
- Don’t rush between coats—let each layer cure fully.
- Use a tack cloth before each coat to remove dust.
Beginner Decision Guide: Which One Should You Use?
| If You Want… | Choose… |
| A fast-drying, easy-to-repair finish | Lacquer |
| Maximum durability for tabletops | Varnish (especially poly) |
| A crystal-clear finish (on light woods) | Acrylic lacquer |
| A warm, slightly amber glow | Oil-based varnish |
| To spray your finish (and have good ventilation) | Lacquer |
| To brush on a traditional finish | Varnish |
FAQs: Lacquer vs. Varnish
Q: What’s the difference between oil-based and water-based varnish?
- A: Water-based varnish is a modern alternative to traditional oil-based formulas. It dries faster (usually in 2–4 hours), has very low odor and VOCs, and leaves a crystal-clear finish that won’t yellow over time. It’s a great choice for light-colored woods or indoor projects where smell and drying time are concerns.
- A: Oil-based varnish, on the other hand, takes longer to dry and cures to a warm, amber tone. It’s typically more durable and better suited for high-traffic furniture or outdoor use.
Want the full scoop on how to choose between them? Visit our Complete Beginner’s Guide to Varnish Finishes for all the juicy (and glossy!) details.
Q: Can I apply lacquer over varnish or vice versa?
A: Nope! The finishes aren’t chemically compatible.
Q: Which finish yellows over time?
A: Oil-based varnishes can amber, while most lacquers stay clear (especially acrylic types).
Q: Can I use these finishes outdoors?
A: Only some types of varnish (like spar varnish or marine varnish) are suited for outdoor use.
Q: Is sanding required between coats?
A: Yes for varnish, usually no for lacquer.
Pro Tips for Flawless Results
- Temperature Matters: Ideal range is 65–75°F for both finishes.
- Thin Coats Win: Whether brushing or spraying, thinner is better.
- Dust Control: Tack cloths and shop vacs are your best friends.
- Test First: Always sample your finish on scrap wood.
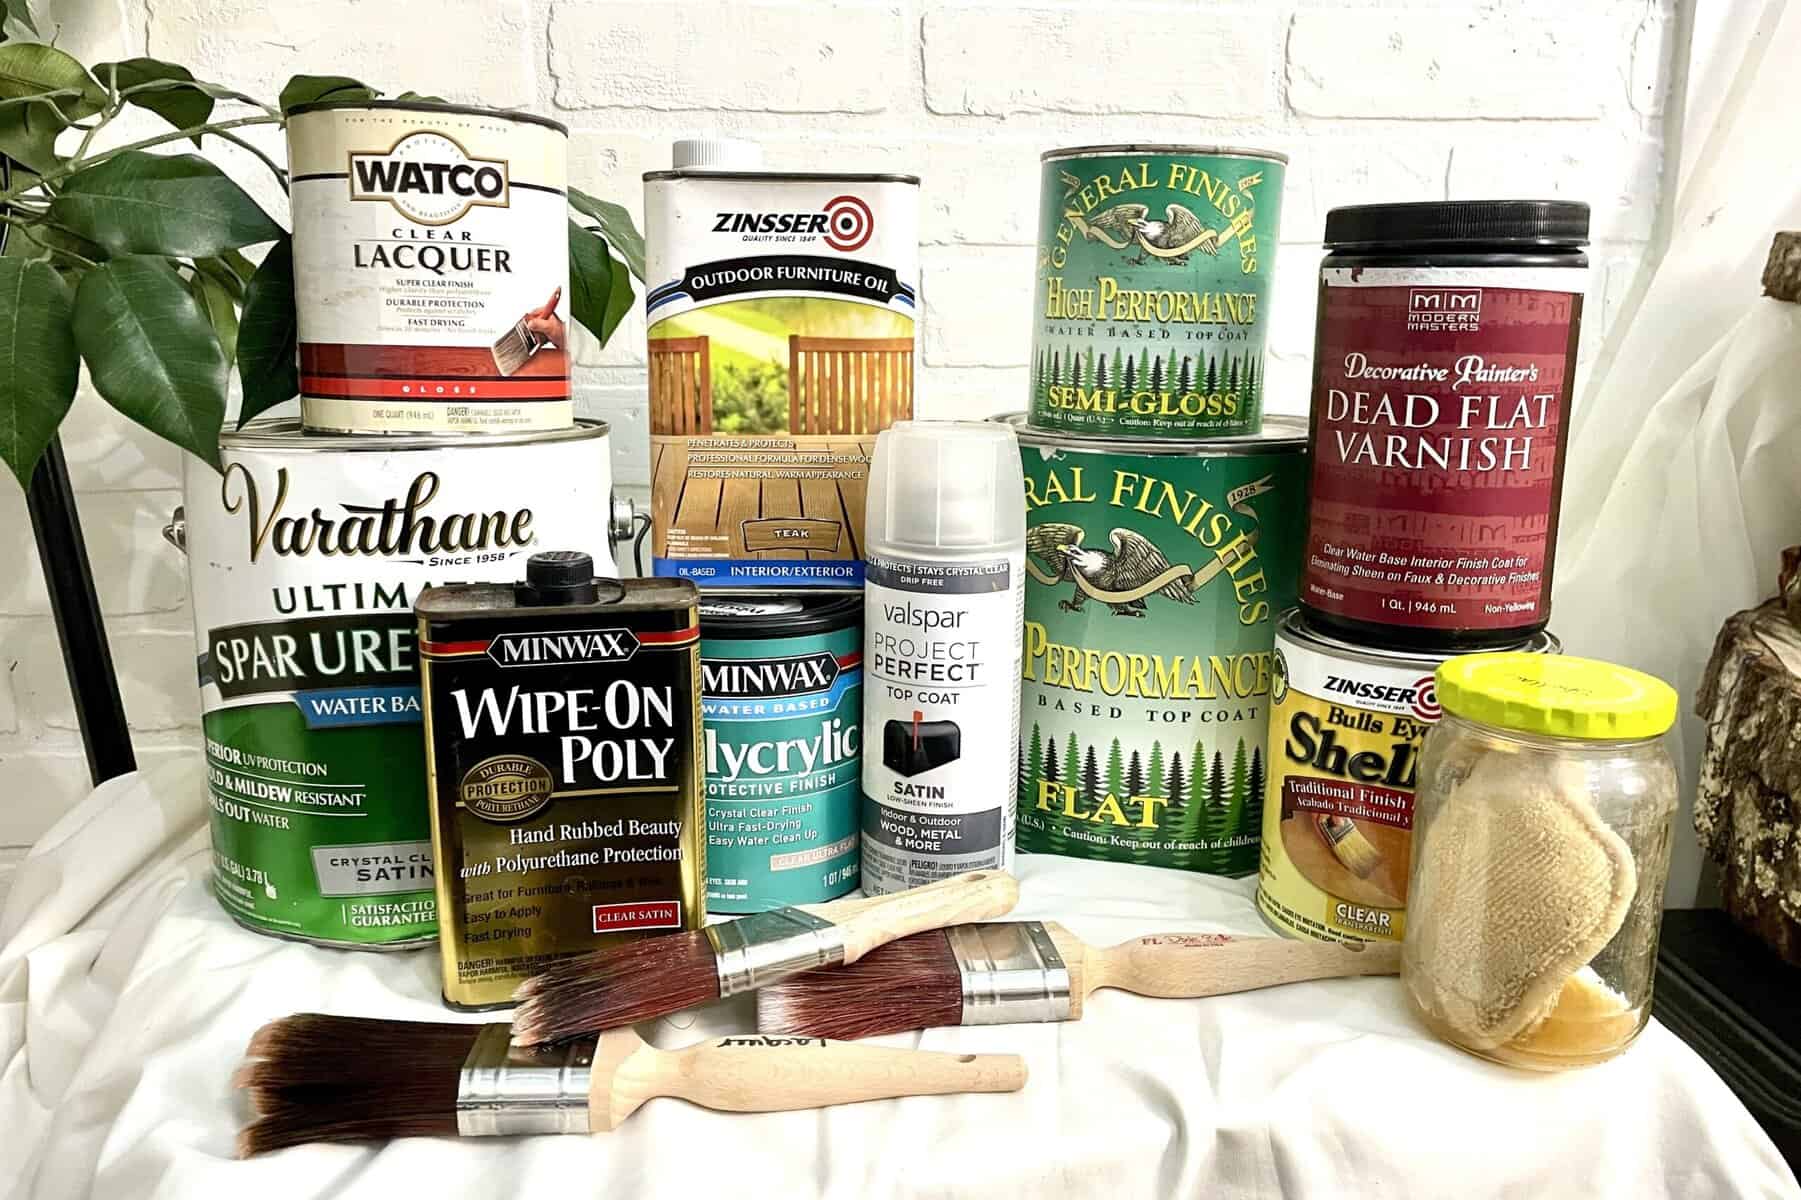
Recommended Beginner-Friendly Brands
Lacquer:
- Mohawk Finishing Products – Easy-to-use aerosol cans and pro-grade lacquers
- Deft Clear Wood Finish – Trusted for indoor furniture, good clarity
Varnish:
- Minwax Fast-Drying Polyurethane – Widely available and beginner-friendly
- General Finishes Arm-R-Seal – Wipe-on formula that’s forgiving and smooth
Pro Tip: Avoid mixing brands between finish types unless verified compatible!
Wrap-Up: You’ve Got This!
Whether you choose the lightning-fast sparkle of lacquer or the rock-solid shield of varnish, your furniture piece is one step closer to fabulous! Remember: every brushstroke is part of your story, and here at The Vixen’s Den, we’re cheering you on every step of the way. Don’t be afraid to experiment, learn, and refinish with flair. Your DIY journey just got a whole lot shinier!
If this guide gave you a little more clarity (and confidence!) to tackle your next project, I’d love to hear about it! Drop a comment below with your favorite finish or tag @TheVixensDen on social media to show off your glossy or gorgeously grained results. And don’t forget to subscribe to the newsletter for more sparkly guides, pro tips, and DIY cheer—delivered fresh to your inbox!
Until next time, have a beautiful and blessed day!