What Is Chalk Paint? Beginner’s Guide to an Effortless Matte Furniture Finish
Pull up a stool, grab your favorite cup of tea or coffee, and let’s talk chalk paint. Whether you’re eyeing that tired dresser in the corner or a quirky thrift-shop side table, by the time you finish this, you’ll understand exactly what chalk paint is, why it works, and how to wield it like a pro, even if it’s your first time.
We’ll cover everything from history and chemistry to product picks, pro tips, application methods, and caring for your finished piece. And yes, there will be sparkles. Figurative sparkles… unless you want literal glitter on your furniture, then I’m game for that too.

THIS POST CONTAINS AFFILIATE LINKS TO PRODUCTS THAT I HAVE OR WOULD USE.
AS AN AMAZON ASSOCIATE, I EARN FROM QUALIFYING PURCHASES AT NO COST TO YOU.
YOU CAN SEE MY FULL DISCLOSURE HERE.
What Is Chalk Paint?
Alright, let’s nerd out a bit! At its core, chalk paint is a matte, ultra-pigmented decorative paint designed to give furniture that soft, velvety, vintage-y vibe without a ton of prep work.
Chemically, it’s mostly calcium carbonate (chalk) or clay mixed with a binder, which is usually acrylic in modern paints. The binder helps the pigment stick and ensures durability. True chalk paints (like Annie Sloan or Debi’s DIY) rely primarily on chalk or clay as the bulking agent, while hybrid chalk paints blend acrylics + chalk additives, giving you smoother application and slightly more durability.
Why care about the chemistry? Because understanding what’s happening on your piece explains why some paints are reworkable, some are better sealed, and some self-level beautifully. It’s science, but fun science!
Chalk vs. Hybrid Chalk Paint: What’s the Difference?
Alright, let’s dive deep here, because knowing what’s under the hood of your paint makes all the difference in how your furniture turns out. Not all “chalk paints” are created equal, and here’s how we sorted the true chalks from the hybrid chalks in our recommendations.
True Chalk Paints
These are the original stars of the chalk-paint world. They are mostly chalk (calcium carbonate) or clay-based, with a binder that’s usually acrylic or natural resin. What that means for you:
- Matte, velvety finish: Soft, chalky texture that’s perfect for distressing or layering.
- Minimal prep: Often sticks directly to wood, metal, or laminate without sanding or priming.
- Reworkable: You can lightly reactivate with water or topcoat, making blending and correction forgiving.
Brands like Annie Sloan, CeCe Caldwell, and Debi’s DIY fall in this category. They are the “classic chalk paint experience”: authentic, matte, and artisanal.
Hybrid Chalk Paints
Now enter the hybrids. Think of them as chalk paint’s high-tech cousin. They mix chalk additives with acrylics or polymer binders, giving you:
- Smoother flow and self-leveling: Great for large surfaces or when you want a less “chalky” texture.
- Extra durability: More resistant to scratching, peeling, or staining.
- Wider color and sheen options: Some hybrids can even give a soft satin look without additional topcoats.
Examples include Behr Chalk Decorative Paint, Jolie Paint, and Fusion Mineral Paint. These paints behave a little differently than true chalks. They’re easier to use in some ways, but you lose a tiny bit of that authentic “chalky” charm.
How We Differentiated Them
Here’s our process for sorting the paints:
- Chemical composition: We looked at what’s actually in the can. If chalk or clay was the main filler, it went in True Chalk. If it relied on acrylic or polymer binders with added chalk, it became Hybrid.
- Application and texture: We tested how the paint flows, levels, and dries. True chalks give that signature matte, slightly porous finish; hybrids are smoother and more uniform.
- Durability and furniture suitability: Hybrids tend to stand up better on high-use surfaces; true chalks are more delicate without a protective topcoat.
- Brand transparency: Only paints that clearly disclosed their formula (or had trustworthy SDS/MSDS sheets) were included in the True or Hybrid categories. No guesswork allowed!
By separating them this way, we can give beginners, creative DIYers, and pros the best paint for their skill level and project type, instead of lumping every “chalky” paint into one category.
A Peek Into the History of Chalk Paint
Fun fact: Chalk paint as we know it today was essentially popularized by Annie Sloan in the 1990s, though artisans have been mixing chalk, pigment, and milk or lime for centuries. Early furniture restorers loved it because it covered imperfections beautifully and dried fast, which is perfect for lazy afternoons in the workshop.
- Chalk paint was the original “no-sanding, no-primer” miracle.
- Vintage chalk and clay paints were non-toxic and naturally matte.
- In France, artisans called it “peinture à la craie,” literally chalk paint, which now circles back to inspire DIYers worldwide.
History + science = a finish with personality. And maybe a French accent.
Where and Why to Use It
Now, let’s break down when chalk paint truly shines and when it might not be your best friend:
| Where It Shines | What’s to Love | What’s Not to Love |
|---|---|---|
| Furniture with uneven surfaces, vintage or distressed pieces | No sanding or priming needed—saves time and effort! | Less durable than traditional paints without sealing |
| Indoor projects: tables, dressers, cabinets, accent furniture | Dries quickly with a smooth, velvety matte finish | Porous finish can attract dirt if left unsealed |
| DIY shabby chic, rustic, or farmhouse styles | Great for layering, distressing, and creative finishes | Not recommended for high-moisture areas like kitchens or bathrooms unless sealed |
| Easy to distress and blend colors | Water-based, low VOC, and easy cleanup | Can be prone to chipping if not protected with wax or topcoat |
Which Chalk Paint Is Right for You?
Choosing the right chalk paint can feel like standing in front of a wall of colors, brushes in hand, wondering which will actually behave the way you want. That’s why we curated three distinct recommendation tables, each carefully selected based on our Paint Recommendation Selection Criteria:
- Durability: Will it stand up to furniture use without peeling, chipping, or fading?
- Ease of Use: Beginner-friendly application, smooth flow, forgiving mistakes.
- Availability: Easy to find online or in stores.
- Safety: Low VOC, safe for indoor use, non-toxic whenever possible.
- Furniture Suitability: Works on wood, laminate, metal, or upcycled pieces with consistent results.
By following these criteria, we filtered out hype, marketing fluff, and “just because it says chalk paint” options to give you a curated list you can actually trust for your project.
True Chalk Paint Recommendations
These paints are 100% chalk- or clay-based, giving you that authentic, matte, velvety finish. We selected them for:
- Minimal prep required
- Excellent adhesion without primers
- Blendability for decorative techniques
- Safety and low VOC
- Boutique-quality finishes that inspire confidence
| DIY Skill Level | Paint Recommendation | Why It’s the Best Fit | Quirks to Consider |
|---|---|---|---|
| Beginner | Annie Sloan Chalk Paint | The original chalk paint: ultra-forgiving, rich pigment, requires little prep, available in boutique retailers. | Limited color range compared to competitors; boutique-only availability may be less convenient. |
| Creatively Confident | CeCe Caldwell’s Paint | 100% natural chalk-clay formula, low odor, ideal for eco-conscious users seeking versatility and blendability. | Shorter open time; can feel different to work with compared to mainstream brands. |
| Pro | Debi’s DIY Paint | Thick, richly pigmented, highly reworkable—perfect for blending, layering, and complex finishes. Demands sealing skill. | Longer dry time; may require more topcoats for durability; learning curve for beginners. |
Hybrid Chalk Paint Recommendations
Hybrid chalk paints mix chalk additives with acrylic or polymer binders, offering:
- Smoother flow and self-leveling properties
- Greater durability and scratch resistance
- Wider color and sheen options
- Moderate prep requirements
| DIY Skill Level | Paint Recommendation | Why It’s the Best Fit | Quirks to Consider |
|---|---|---|---|
| Beginner | Behr Chalk Decorative Paint | Budget-friendly, easy to find at Home Depot, forgiving on application, and tintable in 500+ colors. | Thicker consistency can feel draggy; sealing needed for durability. |
| Creatively Confident | Jolie Paint | Smooth flow, elegant finish, wide range of subtle and saturated colors, perfect for stylish home projects. | Higher price point; requires wax or topcoat to withstand heavy use. |
| Pro | Retique It Ultratique | High-performance hybrid with professional durability, minimal prep, and cabinet-grade finish. | Slight learning curve for blending and layering; best results with proper sealing. |
Best-of-the-Best True and Hybrid Chalk Paint Recommendations
The “Best of the Best” table combines performance, accessibility, and versatility to highlight the most reliable choices for each skill level:
- Exceptional coverage and consistency
- Widely recognized for furniture-grade results
- Blends ease of use with professional durability
- Works across multiple project types
| DIY Skill Level | Paint Recommendation | Why It’s the Best Fit | Quirks to Consider |
|---|---|---|---|
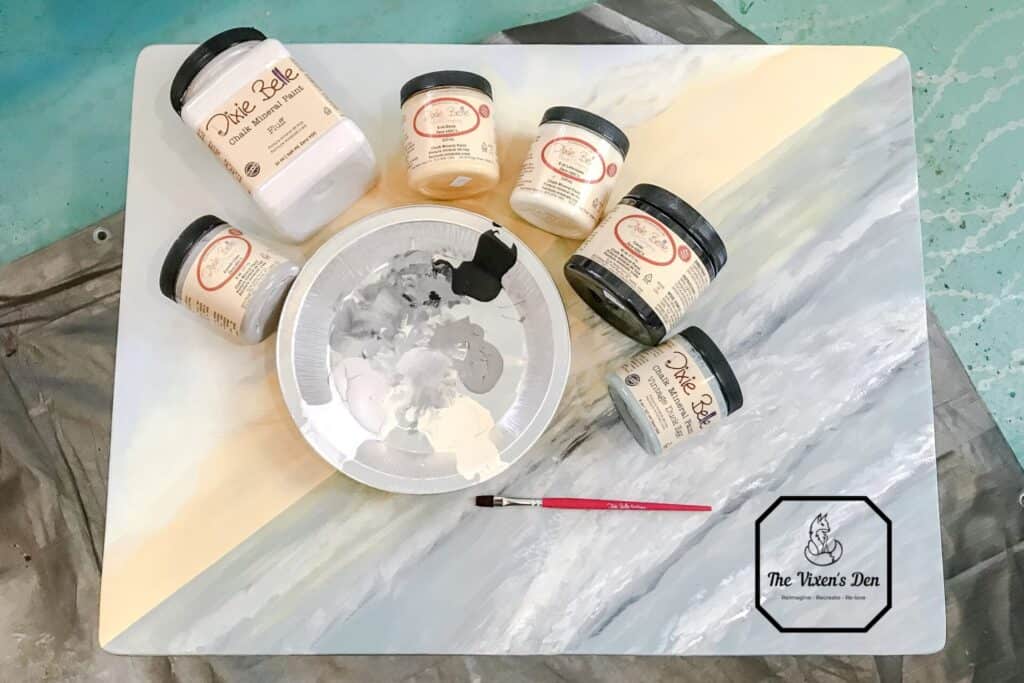
| Beginner | Dixie Belle Chalk Mineral | Creamy, self-leveling, no sanding required, great beginner support, safe for indoor use, and color-rich. | Requires a topcoat or wax for durability; dries fast, so blending large areas takes a bit of practice. |
| Creatively Confident | Jolie Paint | Balanced between artistic flexibility and furniture-grade results, with excellent consistency and color palette. | Premium price point; subtle matte finish means you’ll almost always want to seal for richer depth. |
| Pro | Debi’s DIY Paint | Clay-based, no polymers, deeply pigmented, and reactivatable—favored by advanced finishers for artisan work. | Reactivates with water (great for layering, tricky if you spill); less protective without a strong topcoat. |
Note: Dixie Belle made the Best of the Best for beginners because it’s creamy, self-leveling, reactivates easily with water, has a great matte finish, requires zero sanding, and has incredible color options, but it technically doesn’t fit neatly into True or Hybrid categories because the MSDS is not shared. However, it does act like a chalk paint, so we bent the rules a little for the Best of Best recommendations based on our research and personal experience.
Ultimate Chalk Paint/Chalk-Like Recommendations Summary
| DIY Skill Level | True Chalk Paint | Hybrid Chalk Paint | Best of the Best |
|---|---|---|---|
| Beginner | Annie Sloan | Behr Chalk Decorative | Dixie Belle Chalk Mineral |
| Creatively Confident | CeCe Caldwell | Jolie Paint | Jolie Paint |
| Pro | Debi’s DIY | Retique It Ultratique | Debi’s DIY |
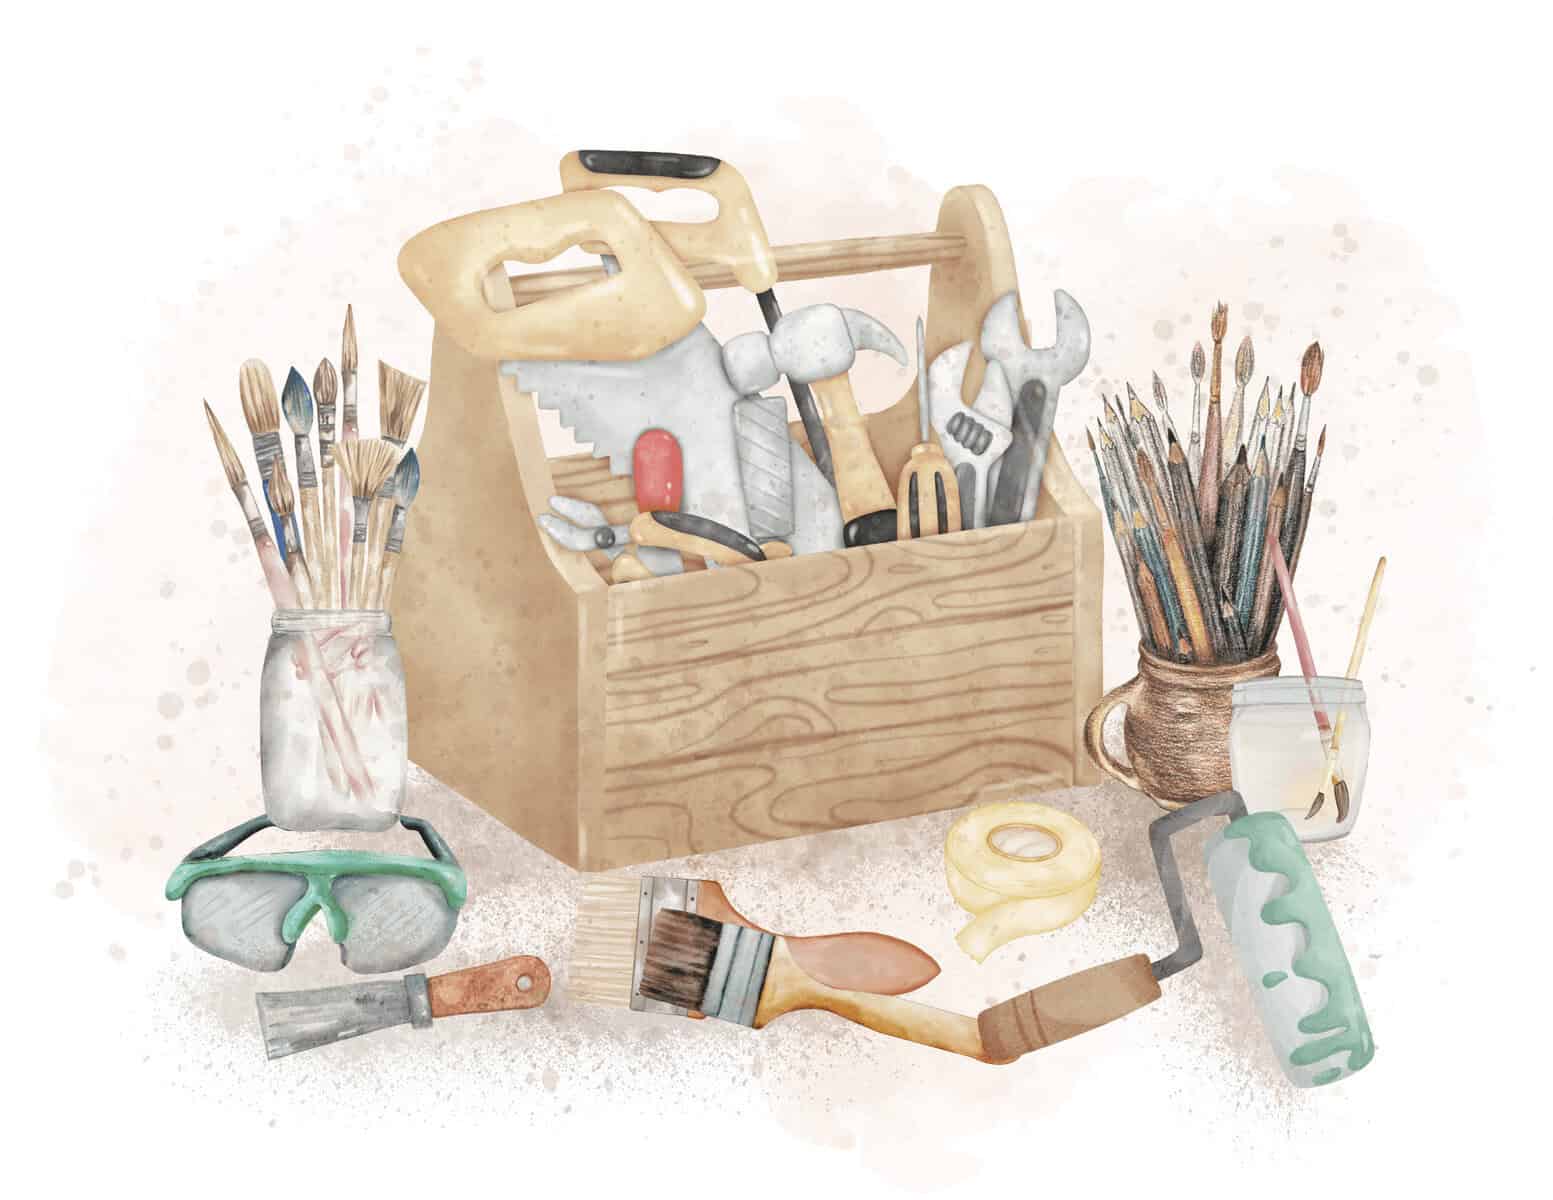
What’s in the Finishing Toolkit?
Get ready to gather your chalk paint team:
Tools
- High-quality synthetic brushes (flat or angled for detail)
- Fine-grit sanding block or sanding sponge (for distressing)
- Soft lint-free cloths (for waxing and buffing)
- Nitrile gloves (optional for wax application)
- Drop cloth or old newspapers (to protect your workspace)
- Goggles
- Ventilation
Materials
- Chalk paint of choice
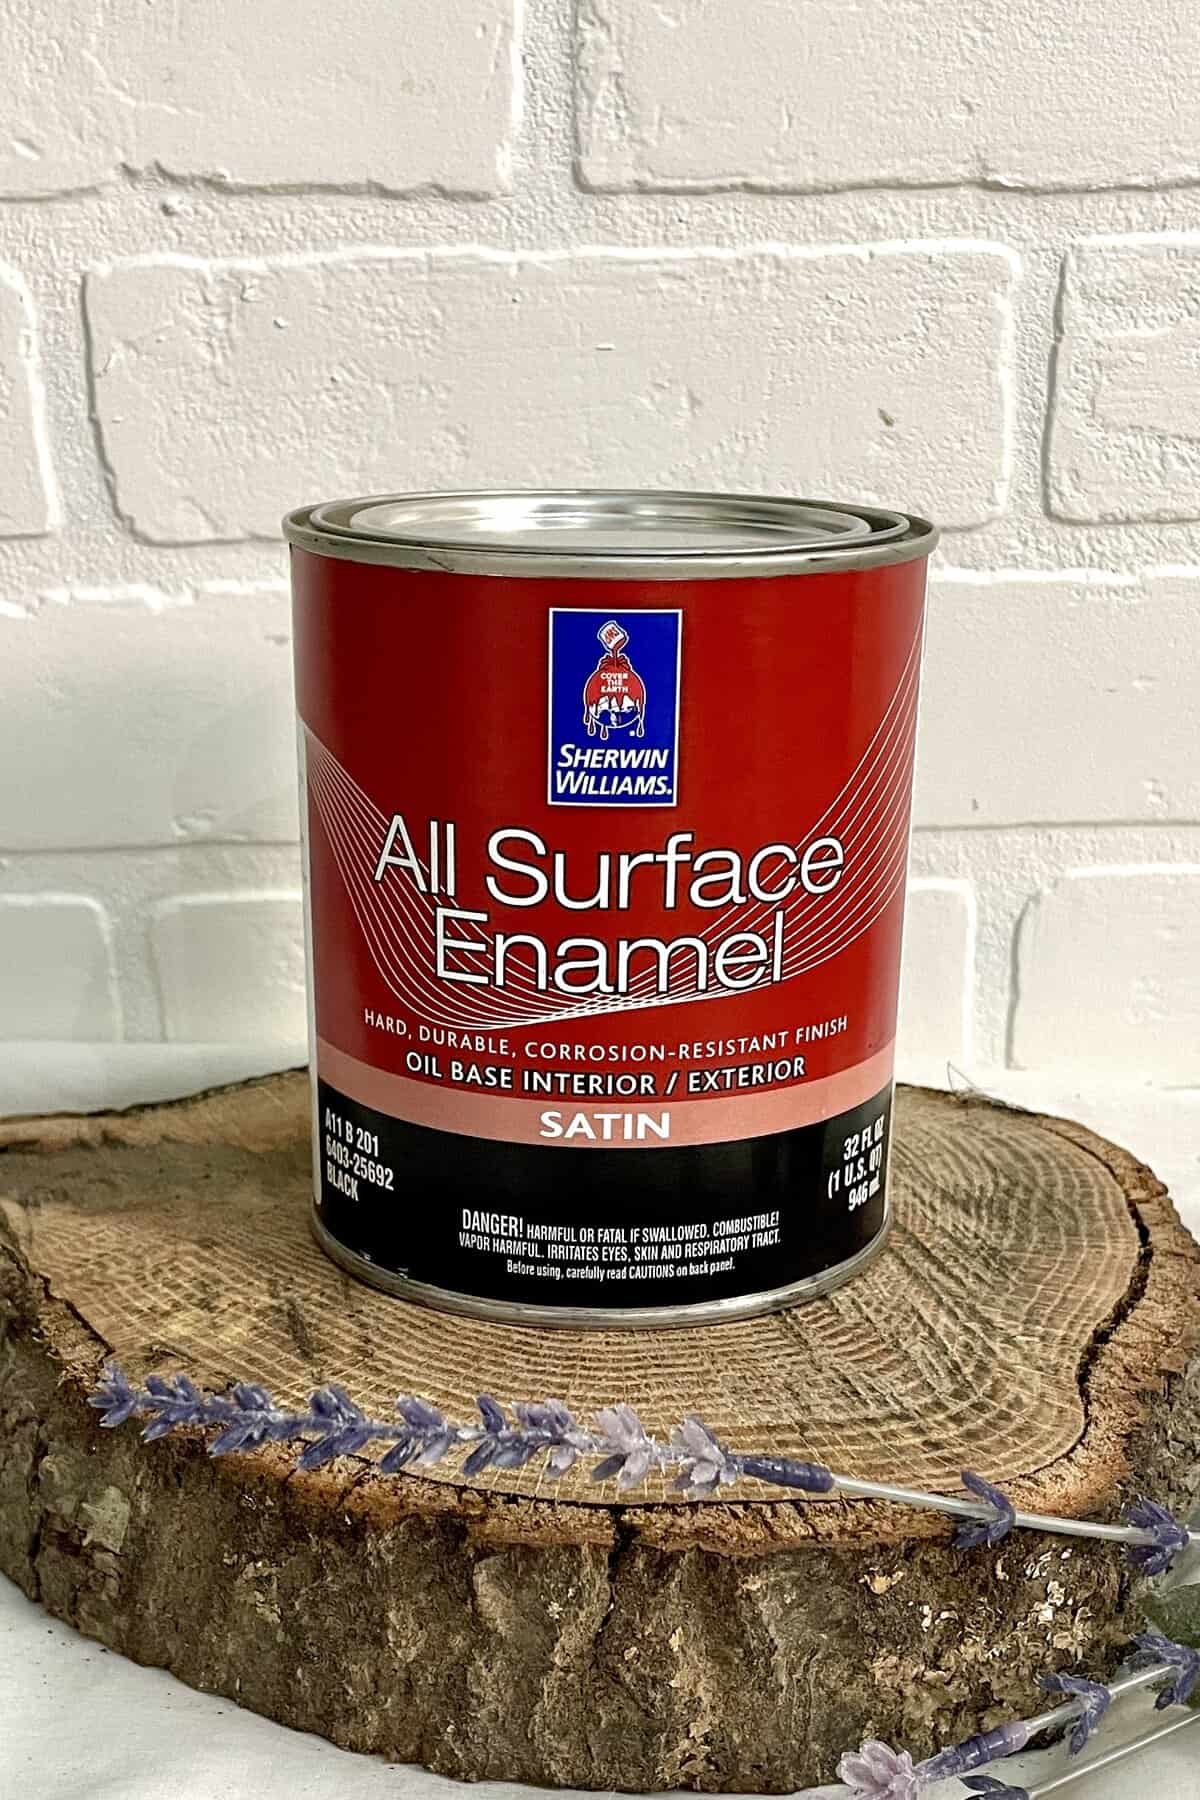
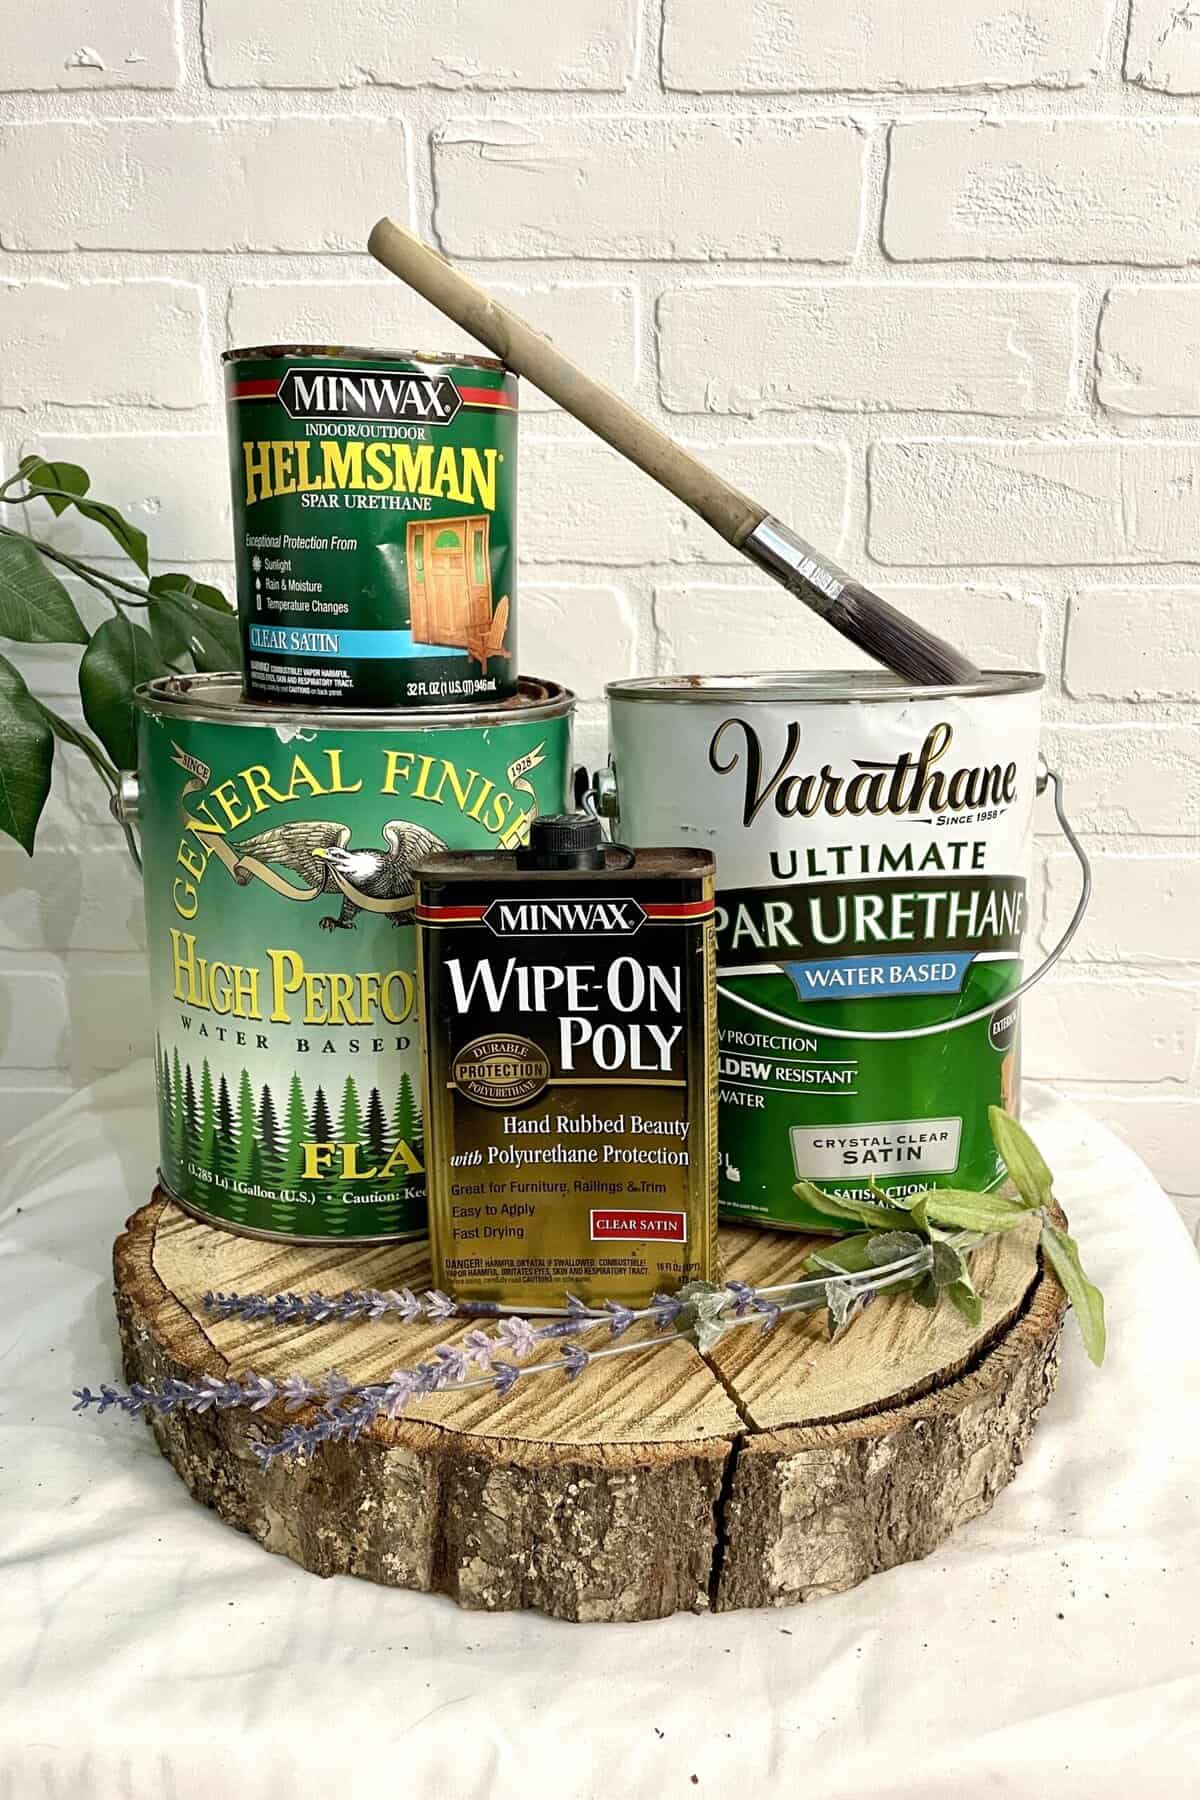
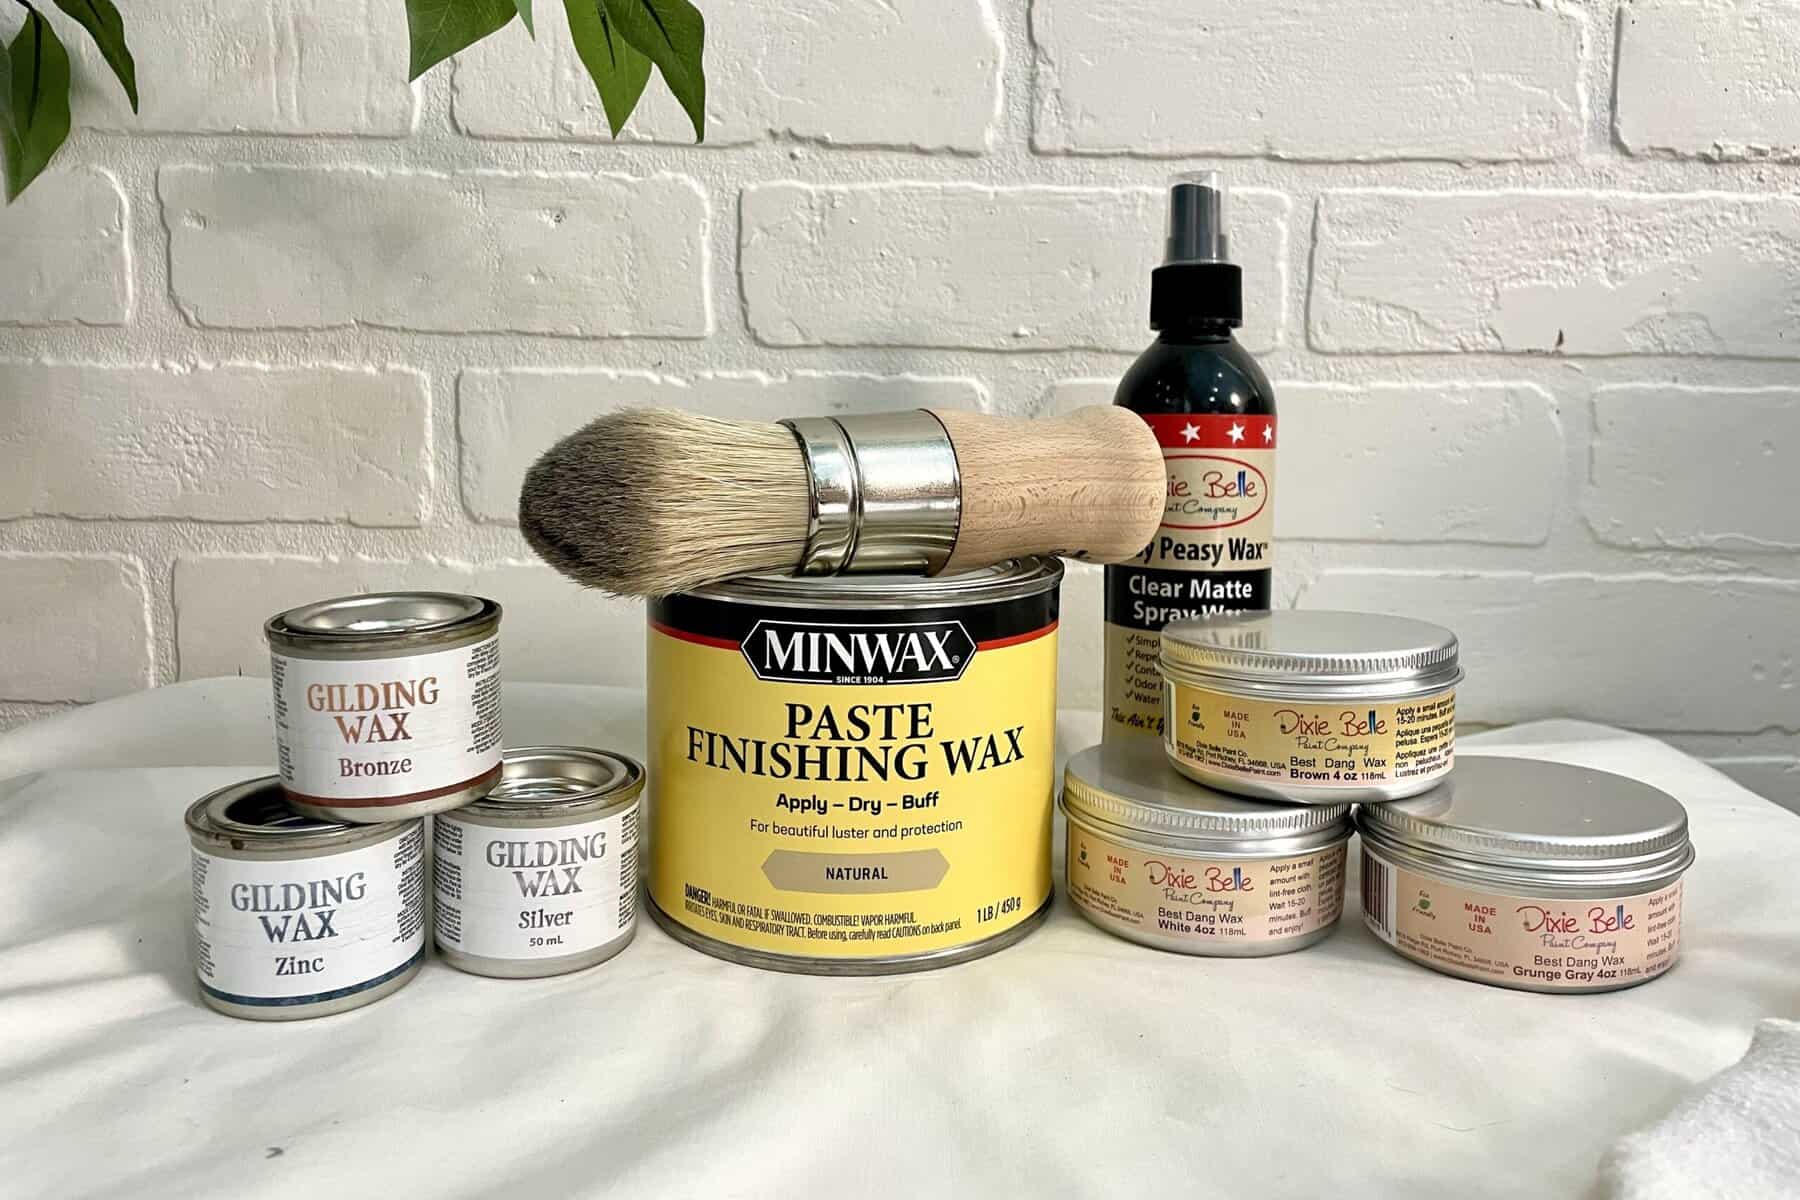
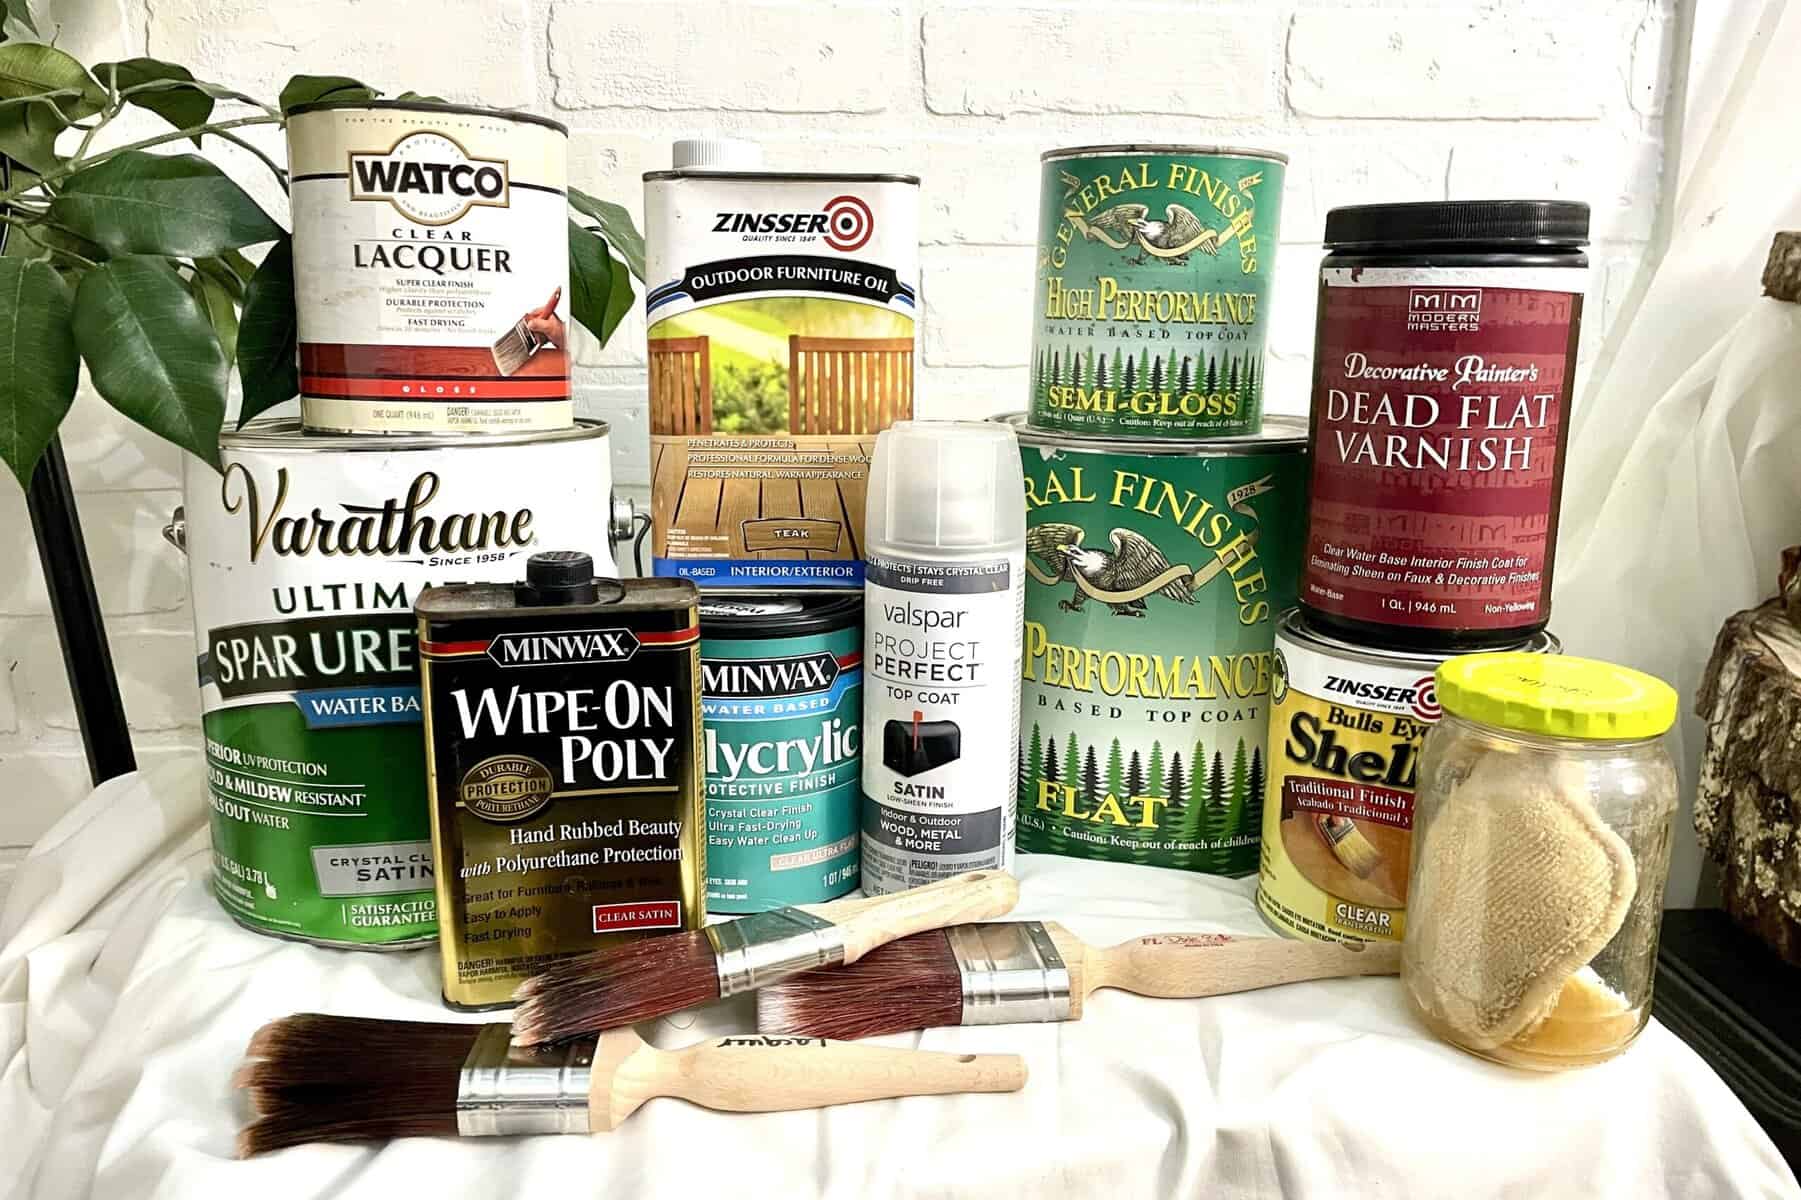
- Clear wax (paste or liquid) or water-based polyurethane topcoat
- Mild soap and water (for surface cleaning)
- Painter’s tape (optional for crisp lines)
Pro Tips: Before You Begin
Before you get those brushes dancing, keep these nuggets in mind:
- No sanding? While most chalk products claim that no sanding or priming is needed, if your surface is glossy or very dirty, a thorough cleaning (rinse well!) and scuff sanding will help adhesion. Even better, brush on a coat of BIN 123 and you will know for a fact that your prep work is complete!
- Test first! Always test your paint on a small hidden area to check adhesion and color.
- Thin coats win! Thick coats can crack or peel, so thin, even coats are the way to go.
- Speaking of thinning… Use distilled water for thinning if needed. Tap water can leave minerals behind.
- Wet, but not too wet. Don’t over-wet your brush; chalk paint is forgiving, but too much water can make it streaky.
- Remember: Chalk paint dries fast. If you see brush strokes forming, gently blend before it sets.
- Wax or seal? Chalk paint needs a protective topcoat—wax gives that classic soft sheen; polyurethane adds durability but changes the sheen.
- Ventilation is key! Always work in a well-ventilated area, especially when waxing.
Pro Tip: While it is common practice to market chalk paints as “no prep needed” the final product will only last as long as it can adhere to the surface of the furniture. Taking a few extra moments to prep can mean the difference between a finish that lasts decades or one that lasts a few months.
How to Apply Chalk Paint: Step by Step
- Remove Hardware: Unless painting the hardware to match the piece is part of the plan, remove it and tuck it away in a container for safekeeping until painting is complete.
- Clean the surface: Remove dust, dirt, grease, or wax from previous finishes using distilled water and a microfiber cloth, or a gentle prep cleaner.
- Light sanding (optional): True chalk paints usually don’t require sanding, but lightly roughing up a glossy surface helps with adhesion. Use fine-grit sandpaper (220 grit).
- Protect your workspace: Lay down drop cloths, tape edges, and wear old clothes. Chalk paint is forgiving, but spills happen.
- Prime (Optional): For bonus points and to ensure a bulletproof finish that you get to enjoy for years, apply a coat of BIN 123 primer to seal the deal!
- Stir, Don’t Shake: Open your chalk paint and gently stir until smooth. Avoid shaking, which can create bubbles and uneven application.
- Test Patch: Always paint a small hidden area first. This lets you see color, coverage, and how the paint behaves on your specific surface.
- Apply the First Coat
- Brush: Use a medium synthetic or natural bristle brush.
- Technique: Paint in long, even strokes, following the grain of the wood if visible. Avoid over-brushing; let the paint flow.
- Thin coats: One thin coat is better than one thick coat. You can always build coverage.
- Dry & Assess: Let dry for about 1 hour.
- Dry time depends on brand, temperature, and humidity, but usually 30–60 minutes between coats.
- Keep the painted surface dust-free while drying.
- Apply Additional Coats
- Most projects need 2–3 coats for full coverage.
- For layering effects, slightly blend wet-on-wet for a soft, artisan look, or let the first coat fully dry before adding the second for solid coverage.
- Distress (Optional): If you want a shabby chic or vintage look, lightly sand edges and raised areas with fine sandpaper after the final coat is dry to reveal a bit of the wood or base layer.
- Seal: Chalk paint is soft and porous, so a topcoat is crucial for furniture. Once fully dry (4-6 hours), apply a clear wax or water-based polyurethane topcoat to protect your masterpiece:
- Wax: Easy to buff, gives a soft sheen, great for light-use pieces.
- Polycrylic or Water-Based Polyurethane: More durable, best for tabletops or high-traffic areas.
- Remove any dust or lint before sealing.
- Buff wax if desired after 24 hours for a soft glow.
- Apply thin, even layers according to manufacturer directions, letting each coat dry completely.
- Wait: Let the piece cure for at least 7 days for maximum durability.
Application Best Practices
- Ideal Temperature: 65–75°F (18–24°C)
- Humidity: 40–60% relative humidity (too high slows drying, too low can cause cracking)
- Dry Time: Touch dry in ~30 minutes; recoat after 1 hour
- Number of Coats: 2 coats of paint + 1-2 coats of protective finish recommended
- Cure Time: Wax cure ~21 days; polyurethane cure ~7 days
When and How to Refresh a Chalk Paint Finish
Even the most lovingly painted pieces will eventually need a little TLC. Chalk paint is beautiful, soft, and forgiving, but it’s also porous and delicate compared to other finishes, which means it shows wear over time, especially on tabletops, dressers, or high-traffic furniture. The good news? Refreshing a chalk paint finish is straightforward if you know what to look for.
Key Signs Your Finish Needs Refreshing
Before diving in, check for these indicators:
- Dull or Faded Areas – Over time, chalk paint can lose its depth or vibrancy, particularly in areas frequently touched or exposed to sunlight.
- Scratches or Nicks – Small abrasions from daily use are normal. These are easy to touch up without stripping the whole piece.
- Worn Top Coat – If you sealed with wax, check for areas that appear dry, streaky, or less glossy than others. With polycrylic or water-based polyurethane, look for tiny cracks, peeling, or cloudy patches.
- Sticky or Dusty Surface – Wax build-up or surface contamination can leave a chalky, uneven texture.
Refreshing According to Top Coat
The method you use to refresh your chalk paint depends heavily on the type of topcoat:
Waxed Finish
- Signs to Refresh: Dry, streaky, or uneven sheen; slight sticky residue in high-touch areas.
- Refresh Method: Lightly clean the surface with distilled water or a gentle prep cleaner. Apply a thin new layer of soft paste wax and buff with a microfiber cloth to restore luster. For deeper scratches, lightly sand with super-fine 400–600 grit sandpaper before re-waxing.
Polycrylic or Water-Based Polyurethane
- Signs to Refresh: Dull areas, slight cracking, peeling, or cloudy spots.
- Refresh Method: For minor wear, gently clean with distilled water or mild cleaner. If the topcoat is intact, you can apply an additional thin coat of polycrylic to restore protection and shine. For larger damage, lightly sand the affected area before recoating. Avoid heavy sanding that removes all layers, unless you’re planning a full refinish.
Combination or Layered Finishes
- Many furniture pieces use chalk paint + wax + polycrylic. Refreshing layered finishes is a balancing act:
- Light wear? Apply a small amount of wax to the top of the poly-coated surface for a soft touch-up.
- Moderate wear? Buff the surface to smooth rough areas, then apply a thin maintenance coat of wax or poly as appropriate.
- Severe wear? You may need to strip the topcoat, touch up the chalk paint, and then reseal for consistent results.
Pro Tips for Refreshing
- Give your furniture time to cure fully before heavy use, especially after adding a new coat of polycrylic or wax.
- Always test in an inconspicuous spot first. Even subtle color changes or sheen differences are easier to manage in a small area.
- Use soft brushes or microfiber cloths as harsh scrubbing can remove pigment.
Refreshing your chalk finish is all about observation, gentle cleaning, and smart touch-ups. With a little attention, your piece can look fresh and vibrant for years…without starting from scratch.
Refinishing
Step 1: Inspect and Assess
- Identify the topcoat: Wax? Polycrylic? Water-based polyurethane? This will guide your approach.
- Check the surface: Look for peeling, chipping, deep scratches, or worn areas.
Step 2: Gentle Cleaning
- Dust and debris removal: Use a soft microfiber cloth or a vacuum with a brush attachment.
- Surface cleaning: For general dirt, a lightly dampened cloth with distilled water works wonders. For stubborn grime, use a gentle furniture prep cleaner safe for chalk paint.
Step 3: Remove or Refresh Topcoat (if needed)
- Waxed surfaces:
- Light wear? Simply apply a new thin layer of wax and buff.
- Deep scratches or build-up? Remove old wax using mineral spirits or a wax remover, then lightly sand with fine-grit sandpaper (400–600).
- Polycrylic / water-based polyurethane:
- Minor wear? Clean and lightly apply an additional thin coat of polycrylic.
- Significant damage (peeling, cracking)? Sand the affected area with fine-grit sandpaper to smooth edges before recoating.
Step 4: Light Sanding (if necessary)
- Smooth out rough spots, scratches, or edges where topcoat may have failed.
- Use 220–320 grit sandpaper for a gentle finish; avoid over-sanding and removing too much pigment.
Step 5: Touch Up the Chalk Paint
- If your underlying paint has scratches or color loss, reapply chalk paint in thin layers.
- Blend carefully with a soft brush or sponge to match surrounding areas.
- Let each coat dry completely (usually 30–60 minutes) before moving on.
Step 6: Reapply Protective Coating
Choose your topcoat based on your furniture’s use and desired look:
- Wax: Soft sheen, ideal for low-traffic pieces. Apply a thin layer, buff with microfiber.
- Polycrylic / water-based polyurethane: More durable, better for tabletops or frequently used furniture. Apply thin, even coats with a high-quality synthetic brush, sanding lightly between coats if recommended.
Pro Tip: Always follow the manufacturer’s instructions for dry and cure times. Most finishes need at least 7 days to fully cure before heavy use.
Step 7: Final Buffing and Inspection
- Buff waxed finishes to a soft glow.
- Check poly-coated finishes for dust nibs or uneven sheen; lightly sand and recoat if needed.
- Ensure all edges and corners are smooth and sealed.
If the original finish is severely damaged, then removing the original finish and starting over is the best option. Otherwise, you could be putting a Band-aid on a problem that will only get bigger.
Removing Chalk Paint
To remove chalk paint:
- Strip off wax with mineral spirits and fine steel wool (Not sure if your finish has a wax seal? Use this guide to find out!):
- Pour a small amount of odorless mineral spirits onto your steel wool pad. You want it damp, not dripping. (This can be a little tricky with steel wool, so I like to keep a bucket nearby to squeeze out into.)
- Working in small sections (1–2 sq ft at a time), rub the surface in the direction of the wood grain to dissolve the wax. You’ll feel it start to break down—it’ll get slick and then dull and the steel wool will begin to drag.
- Use a clean, dry cloth to wipe away the waxy slurry that’s lifting off the surface. You may need to repeat Steps 1–3 a few times depending on how thick the wax layer is.
- Allow the surface to dry for 30–60 minutes. Run your hand across it—if it still feels tacky or slippery, repeat the process. The surface should feel dry and clean, not waxy.
- Once the wax is removed, apply a gel or paste chemical stripper to soften paint and polyurethane (if used to seal.)
- Follow label timing—most need 30 minutes to an hour.
- Remove paint from wood using a plastic scraper.
- Repeat if needed. Multiple layers may need multiple rounds of stripping.
- Neutralize chemical stripper by wiping surface with mineral spirits or water (per product label instructions.)
- If using mild soap and water – rinse well!
Caring for Your Chalk Paint Finish
So, your beautiful chalk-painted treasure has settled into daily life and maybe picked up a little dust, a few fingerprints, or even a splash or two along the way. Don’t worry, cleaning chalk paint is easier than you might think, and with the right approach you can tidy things up without harming that soft, velvety finish. Here is your step-by-step guide to cleaning a chalk paint finish, no matter which protective covering you decided to…or not…use.
Dust First
- Use a soft microfiber cloth or a vacuum with a soft-bristle brush.
- Gently remove loose dust and dirt without rubbing too hard, which can dull or scratch chalk paint.
Light Surface Cleaning
- For general cleaning, lightly dampen a microfiber cloth with distilled water.
- Wipe the furniture gently; do not soak the surface.
- Avoid harsh detergents, bleach, or vinegar, which can damage chalk paint or topcoats.
Dealing with Stubborn Spots
- Polycrylic / Water-Based Polyurethane: Use distilled water with a few drops of mild prep cleaner. Avoid abrasive pads.
- Waxed Finish: Use a soft microfiber cloth with a bit of wax remover or mineral spirits, then reapply a thin wax layer.
- Always test in a hidden area first.
Dry and Buff
- Dry with a clean microfiber cloth.
- For waxed surfaces, buff lightly to restore sheen.
- For poly-coated surfaces, check for streaks or residue and gently wipe again if necessary.
Regular Maintenance
- Dust weekly and wipe lightly monthly.
- Reapply wax every 6–12 months, or touch up polycrylic as needed for high-traffic surfaces.
Chalk Paint Cleaning Guide
| Topcoat Type | Recommended Cleaner | How to Clean | Frequency | Tips & Tricks |
|---|---|---|---|---|
| Wax | Distilled water; mineral spirits (spots) | Lightly damp cloth; gently buff after drying | Weekly dust; wax touch-up 6–12 months | Avoid over-wetting; always reapply thin wax layer after spot cleaning |
| Polycrylic / Water-Based Polyurethane | Distilled water; mild prep cleaner | Damp cloth; wipe gently; dry immediately | Weekly dust; monthly light wipe | Avoid abrasive sponges; do not soak surface |
| Combination (Wax + Poly) | Distilled water; soft cloth | Lightly wipe with damp cloth; buff wax areas | Weekly dust; wax touch-ups as needed | Test small area first; keep finish smooth and even |
Cleaning and care Pro Tips:
- Use coasters and pads to protect from water rings and scratches.
- Dust regularly with a dry, soft cloth.
- Avoid harsh cleaners—use mild soap and water for spills.
- Re-wax every 6-12 months depending on use and wear.
Common Chalk Paint Mistakes (And How to Fix Them)
| Mistake | Cause | How to Fix It |
|---|---|---|
| Paint peeling or chipping | Poor surface prep or no sealing | Lightly sand, repaint, seal properly |
| Uneven coverage or streaks | Thick coats or improper brush | Sand smooth, thin coats, use quality brush |
| Sticky wax finish | Applying too thick wax or poor curing | Buff wax properly; remove excess wax |
| Paint cracking | Drying too fast or thick layers | Thin coats, avoid extreme temps |
| Color fading | Sunlight exposure or no topcoat | Use UV-resistant topcoat, avoid direct sun |
FAQs
Q: Do I need to sand before using chalk paint?
A: Many chalk paint products claim not, but a minimum of cleaning and light sanding is recommended for dirty or glossy surfaces. For a properly prepped project, follow the step by step chalk painting instructions in this guide.
Q: Can I use chalk paint outdoors?
A: Chalk paint isn’t formulated for outdoor use unless sealed with a durable, weatherproof topcoat.
Q: How long does chalk paint last?
A: With proper sealing and care, chalk paint can last for years indoors.
Q: Can I use a roller instead of a brush?
A: Yes, but brushes offer better control and the classic chalk paint texture.
Q: Is waxing mandatory?
A: Yes, waxing or sealing protects the porous chalk paint from damage and dirt.
Final Wrap: Why Choose Chalk Paint?
Chalk paint is a dream for beginners, pros, and creative spirits alike. It’s forgiving, versatile, and just a little magical, transforming tired furniture into a statement piece without endless sanding or priming.
Whether you are aiming for a shabby-chic look or a creative masterpiece, chalk paint gives you the freedom to experiment, layer, distress, and fall in love with the creative process. And with so many gorgeous colors and friendly tools to play with, it’s the perfect gateway into the wonderful world of furniture refinishing.
So pick your skill-level-appropriate brand from our master recommendations, grab your brush, and let’s turn those plain pieces into timeless treasures. This isn’t just paint, it’s your ticket to crafting furniture that tells a story, your story.
And don’t forget to share your chalk paint masterpieces with us. We love seeing your creativity in action!
Thank you so much for stopping by! I hope this information helps you with your next project. Drop a comment below and let me know if you have any questions or tips from your adventures with chalk paint!
Until next time, have a beautiful and blessed day!

Don’t forget to sign up so you hear all about the next misadventure!