Beginner’s Guide to Clay Paint: Soft, Natural, Earthy Furniture Finish for Cozy Homes
Hey there, DIY dreamers and furniture refinishing fans! If you’ve been itching to add a beautifully textured, matte, and vintage-chic look to your furniture projects, clay paint might just become your new best friend. But what exactly is clay paint, why is everyone talking about it, and how do you use it so your finish lasts and looks fabulous? You’re in the right spot! Today, we’re diving deep into the world of clay paint, breaking down the science, history, best uses, and how to make your next project shine with this unique finish. Ready? Let’s get painting!
THIS POST CONTAINS AFFILIATE LINKS TO PRODUCTS THAT I HAVE OR WOULD USE.
AS AN AMAZON ASSOCIATE, I EARN FROM QUALIFYING PURCHASES AT NO COST TO YOU.
YOU CAN SEE MY FULL DISCLOSURE HERE.
What is Clay Paint?
Alright, let’s nerd out a bit! Clay paint is a water-based decorative paint made primarily from natural clays, minerals, and pigments. The base often includes kaolin clay (a fine white clay), calcium carbonate, and sometimes chalk, combined with a binder that’s usually an acrylic or casein (milk protein) resin.
Unlike traditional latex or oil-based paints, clay paint has a matte, powdery finish that feels soft to the touch. It’s breathable, meaning it allows moisture to pass through, which can be a blessing for antique and vintage furniture where you want to avoid trapping moisture inside.
Chemically, the key components work together like this:
- Kaolin clay gives the paint its characteristic chalky texture and matte finish.
- Calcium carbonate adds opacity and helps with adhesion.
- Binders like acrylic or casein hold the pigments and clay together and adhere to the wood.
- Pigments provide the color but without the glossy sheen typical in other paints.
So basically, clay paint is a natural, low-VOC, breathable paint with a velvety finish that invites creativity!
True Clay Paints vs Hybrid Clay Paints
Not all clay paints are created equal. Here is a breakdown of the differences between true and hybrid clay paints:
| Criteria | True Clay Paint | Hybrid Clay‑Chalk Paint |
|---|---|---|
| Primary mineral filler | Clay (e.g. kaolin, porcelain clay) is dominant | Mix of clay and chalk (calcium carbonate), chalk often higher |
| Binder type | Natural or minimal,e.g. VAE/PVA emulsion, no acrylic or oil | Typically contains acrylic, vinyl, casein or oil-based binder |
| VOC level | Very low to zero (often certified) | Low to moderate VOC depending on additives |
| Acrylic/oil presence | Acrylic‑free and oil‑free | Often includes acrylics, oils, or synthetic binders |
| Finish breathability | Highly breathable (promotes moisture vapor transmission) | Variable breathability—often less breathable than pure clay paint |
Based on these guidelines, here are the exhaustive lists of all known and easily accessible chalk and hybrid (or unverified) chalk paints:
True Clay Paints
| Brand / Product | Mineral Filler | Binder Type | VOC | Acrylic Info | Breathability | Finish |
|---|---|---|---|---|---|---|
| Earthborn Claypaint | Clay, chalk, kaolin | VAE emulsion (non-acrylic) | Virtually zero | Acrylic-free | Very high (vapour-permeable) | Ultra-matte, creamy, brush-mark forgiving |
| MudPaint | Clay, natural pigments | Natural clay–water | Zero VOC | Acrylic-free | High | Smooth, matte, self-leveling |
| BioShield Clay Paint | Clay, porcelain clay, chalk | Alcohol ester / PVA | Zero VOC | Acrylic-free | Very high | Matte, porous, soft finish |
| American Paint Company | Clay, chalk, minerals | Alcohol ester + cellulose | Zero VOC | Acrylic-free | Very high | Matte, chalky, customizable with wax |
| Auro Natural Paints | Clay, mineral fillers | Replebin® (plant resin), cellulose | Extremely low | Plastic- and acrylic-free | Very high | Matte, smooth, high-coverage |
| Potter’s Clay Paint | Clay, mineral pigments | Natural mineral binder (unspecified) | Low (assumed) | No acrylics claimed | High (assumed) | Soft matte, artisan appearance |
| Iris Clay Paint | Clay, marble powder | Casein/mineral (inferred) | Low (inferred) | Acrylic-free (inferred) | High (diffusible) | Matte, fine-arts grade |
Hybrid Clay Paints
| Brand / Product | Mineral Filler | Binder Type | VOC | Acrylic Info | Breathability | Finish |
|---|---|---|---|---|---|---|
| Jolie Paint | Clay minerals, calcium carbonate | Acrylic-based hybrid | Low VOC | Contains acrylic | Moderate | Matte, smooth, chalky |
| Country Chic Paint | Clay minerals, talc, chalk | Acrylic-based hybrid | Low VOC | Contains acrylic | Moderate | Matte or distressed, depending on topcoat |
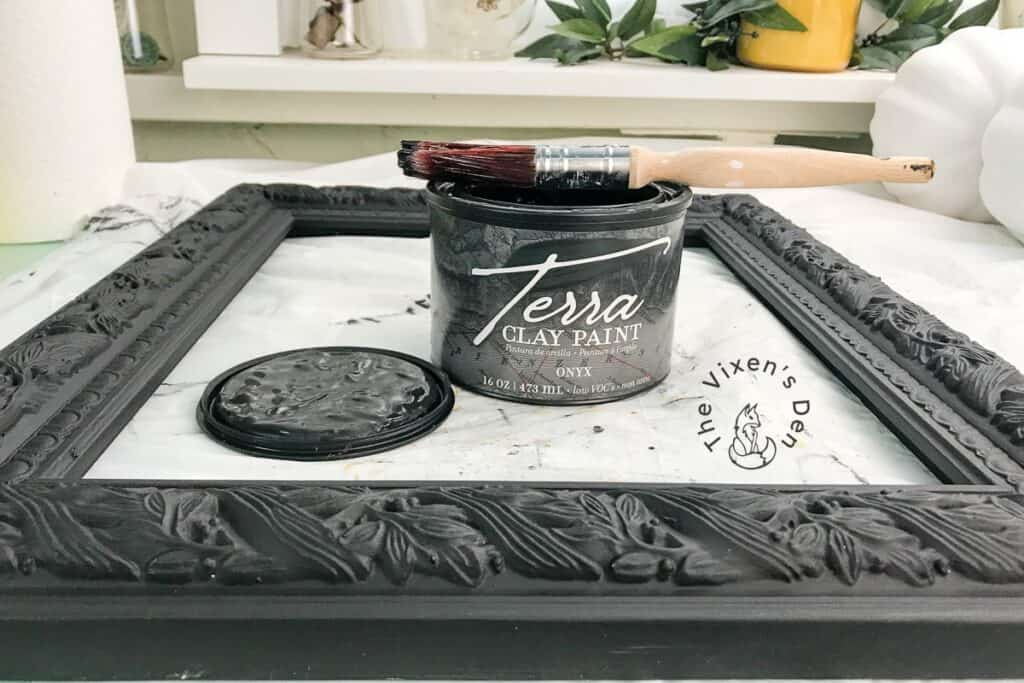
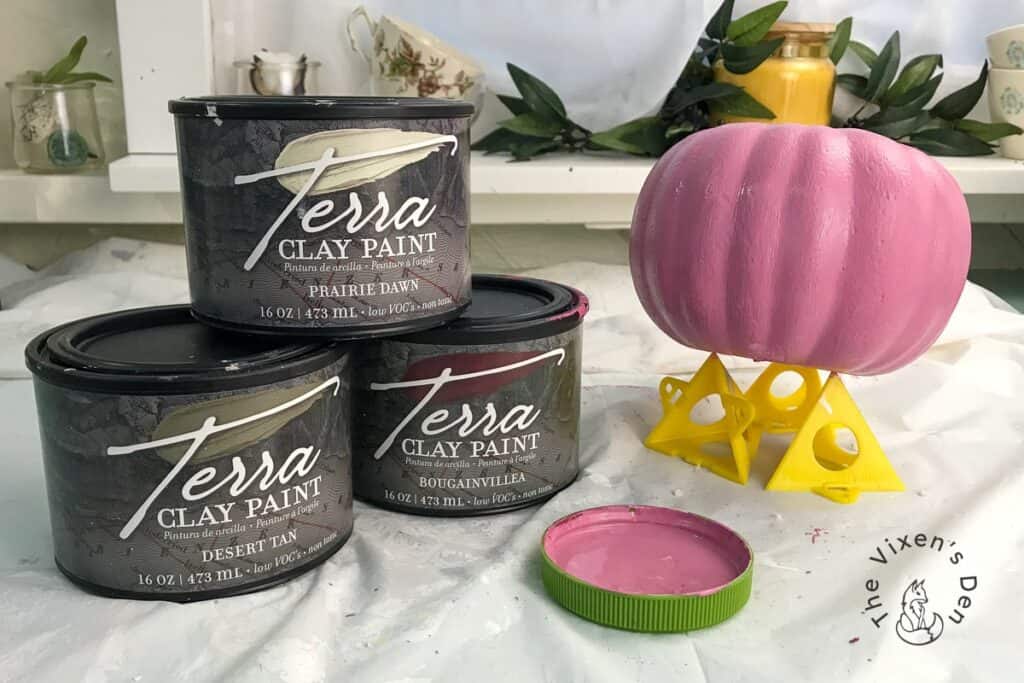
| Dixie Belle Terra Clay | Clay minerals + mineral pigments | Suspected hybrid (proprietary) | Low VOC | Not disclosed – likely contains acrylic | Unknown / likely moderate | Chalky matte, blendable, rewettable |
| L’Essentiel Botanics | Natural clays, pigments | Acrylic and natural resin mix | Low VOC | Contains acrylic | Moderate | Matte, earthy, smooth |
| Fleur Designer’s Paint | Clay minerals, pigments | Acrylic polymer | Low VOC | Contains acrylic | Moderate | Matte, designer-grade finish |
| Debi’s DIY Paint | Clay minerals, chalk | Acrylic-based hybrid | Low VOC | Contains acrylic | Moderate | Matte, rewettable, blendable |
| FolkArt One Decor | Clay minerals, talc | Acrylic-based hybrid | Moderate VOC | Contains acrylic | Low | Matte, decorative finish |
| Rust-Oleum Imagine Clay | Clay minerals, chalk | Acrylic polymer | Moderate VOC | Contains acrylic | Low | Chalky-matte, brush or spray |
Notes on Dixie Belle Terra Clay:
- Marketed as “clay-based,” but the full ingredient list is proprietary.
- Behavior (e.g., reactivation with water) aligns with hybrid chalk/clay-acrylic paints.
- For now, we’re listing it as “Suspected Hybrid” due to a lack of verified binder data.
A Peek Into the History of Clay Paint
Did you know clay paints have been used for centuries? Back in the day, before synthetic paints, artisans mixed natural clays and pigments with binders like egg yolks or milk proteins to create decorative finishes. Clay paints were a common choice in rustic European homes and have recently made a huge comeback because of their eco-friendly nature and vintage vibe.
Fun facts:
- Traditional lime and clay washes were common in medieval times to protect wood and plaster.
- Clay paints can be traced back to ancient Egypt, where natural mineral pigments were combined with clay for wall and furniture finishes.
- The modern “clay paint” trend in furniture started gaining traction in the early 2000s as part of the shabby chic and farmhouse decor resurgence.
So when you’re brushing on that matte layer, you’re joining a long, artful tradition!
Where and Why to Use It
Let’s talk about when clay paint really shines—and when it might not be your best pick. Here’s a handy table to help you weigh the pros and cons:
| Where It Shines | What’s to Love | What’s Not to Love |
|---|---|---|
| Interior furniture: dressers, tables, cabinets | Beautiful matte, velvety finish that looks artisan-made | Less durable than some finishes, prone to chipping or scratching without topcoat |
| Light-use surfaces (e.g., decorative pieces) | Breathable, so it’s great for antiques and vintage restorations | Needs sealing to protect from moisture and stains |
| Eco-conscious projects & upcycling | Non-toxic, low-VOC, and often biodegradable | Usually requires waxing or clear topcoat for durability |
| DIY creative projects with distressing & layering | Great for layering colors and distressing for that farmhouse or shabby chic look | Can be tricky to touch up seamlessly if damaged |
Which Product is Right for You?
Here’s a quick product breakdown based on your experience level and project goals:
Beginner: Dixie Belle Terra Clay Paint
- Pros: Pre-mixed and water-based for easy application, water-reactivated for blending and layering fun, vibrant, earthy color palette, forgiving formula that encourages creativity
- Cons: Must be sealed with Terra Seal or similar to prevent scratches, not ideal for high-traffic surfaces without a topcoat
Creatively Confident: Bioshield Clay Paint
- Pros: Natural, VOC-free, and eco-conscious, gorgeous matte texture with depth, highly breathable—perfect for vintage and antique wood (if not top-coated), mixes beautifully for custom tones and finishes
- Cons: Slightly pricier, finish may require wax or lacquer topcoat
Pro Level: Earthborn Claypaint
- Pros: Professional-grade coverage and smooth, rich finish, no oils or acrylics—ideal for sensitive spaces, excellent opacity and color retention, certified child-safe and eco-friendly
- Cons: Higher price point with limited US distribution—may require online ordering, requires solid prep and consistent technique for best results
What’s in the Finishing Toolkit?
Tools
- Paintbrushes: soft bristle or natural bristle for smooth application
- Clean rags or lint-free cloths (for waxing)
- Drop cloth or newspaper to protect your workspace
Materials
- Clay paint of choice
- Sandpaper (220-320 grit) for prepping and distressing
- Tack cloth to remove dust
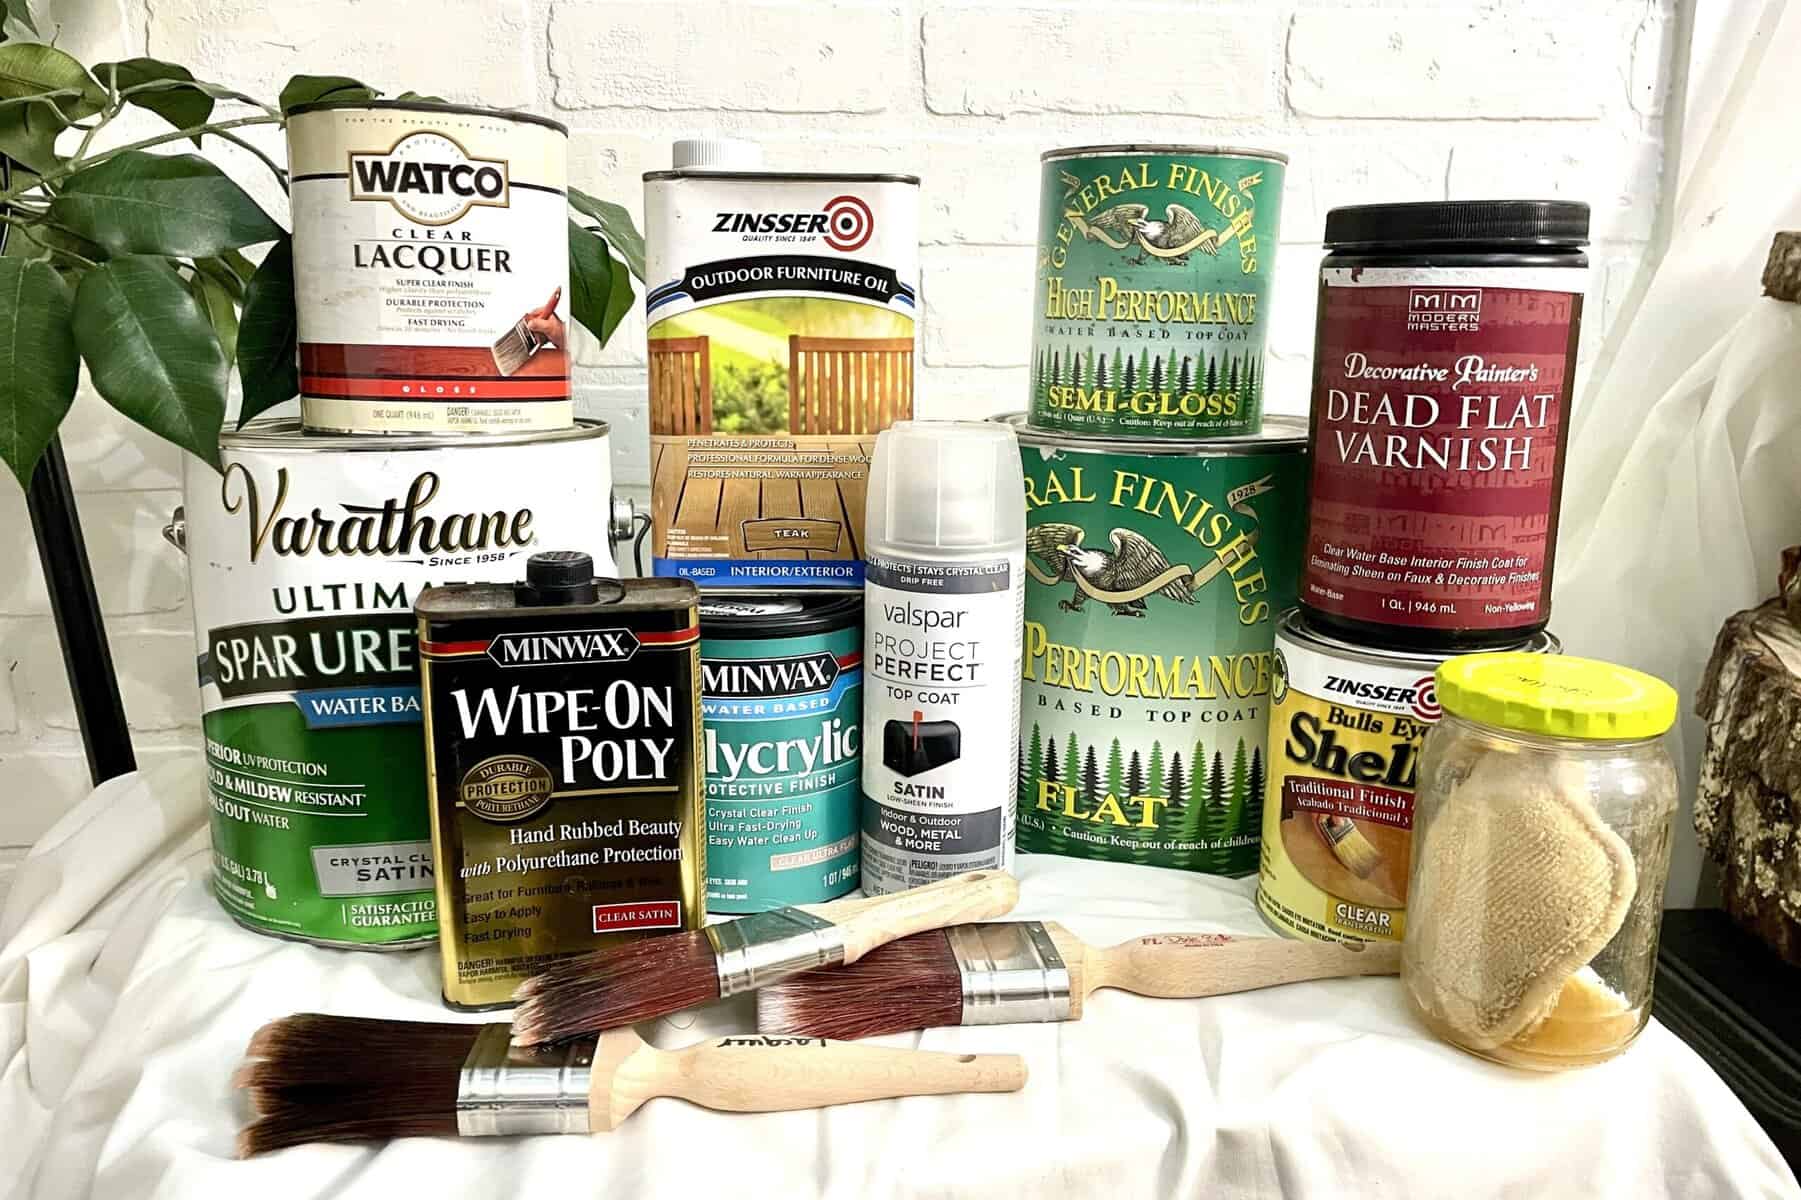
- Wax or clear matte topcoat (for sealing and protection)
- Painter’s tape (for clean edges)
Pro Tips: Before You Begin
Hold up, let’s avoid common pitfalls before you get started!
- Avoid painting in extreme temps: Ideal temperature is between 60-80°F, and humidity should be moderate, not too humid or dry.
- Surface prep is key: Clean your piece thoroughly, remove any grease or dirt, and sand lightly to create a tooth for the paint to grab.
- Test your color: Always do a small test spot, especially on vintage or unfamiliar wood.
- Thin coats win the race: Clay paint is thick and can go on chalky if too heavy.
- Wax or seal: Never skip the sealing step! Clay paint alone isn’t tough enough for furniture.
How to Apply Clay Paint: Step by Step
- Prep your surface (clean, sand, dust off).
- Stir the paint gently (avoid shaking to prevent bubbles).
- Apply a thin, even coat with your brush, following the wood grain.
- Let dry for 1–2 hours.
- Apply a second coat if needed.
- After the paint is fully dry (24 hours), apply wax or matte clear sealer.
Application Best Practices
| Factor | Details |
|---|---|
| Ideal temperature | 60°F to 80°F (15°C to 27°C) |
| Ideal humidity | 40% to 60% |
| Dry time | Touch dry in 1–2 hours |
| Cure time | 7 days for full cure (wax/seal cure time may vary) |
| Number of coats | 2 thin coats are recommended for best coverage and durability |
When and How to Refresh Clay Paint
Signs your clay paint finish needs some love:
- Paint feels chalky or powdery when touched.
- Wax/seal layer wears off, and the surface looks dull or absorbs moisture.
- Minor scratches or scuffs appear.
To refresh:
- Clean gently with a damp cloth.
- Reapply wax or topcoat as needed.
- For small paint chips, do a light sanding, touch up with paint, then reseal.
If the finish is peeling or seriously damaged the you will need to strip the finish (see below) and start over.
Refinishing Clay Paint
To refinish furniture with clay paint:
- Seal with wax or matte topcoat.
- Remove existing topcoat or finish if peeling (use gentle stripper if needed).
- Sand lightly to prep the surface.
- Clean thoroughly.
- Apply clay paint as above.
Removing Clay Paint
Need to remove clay paint?
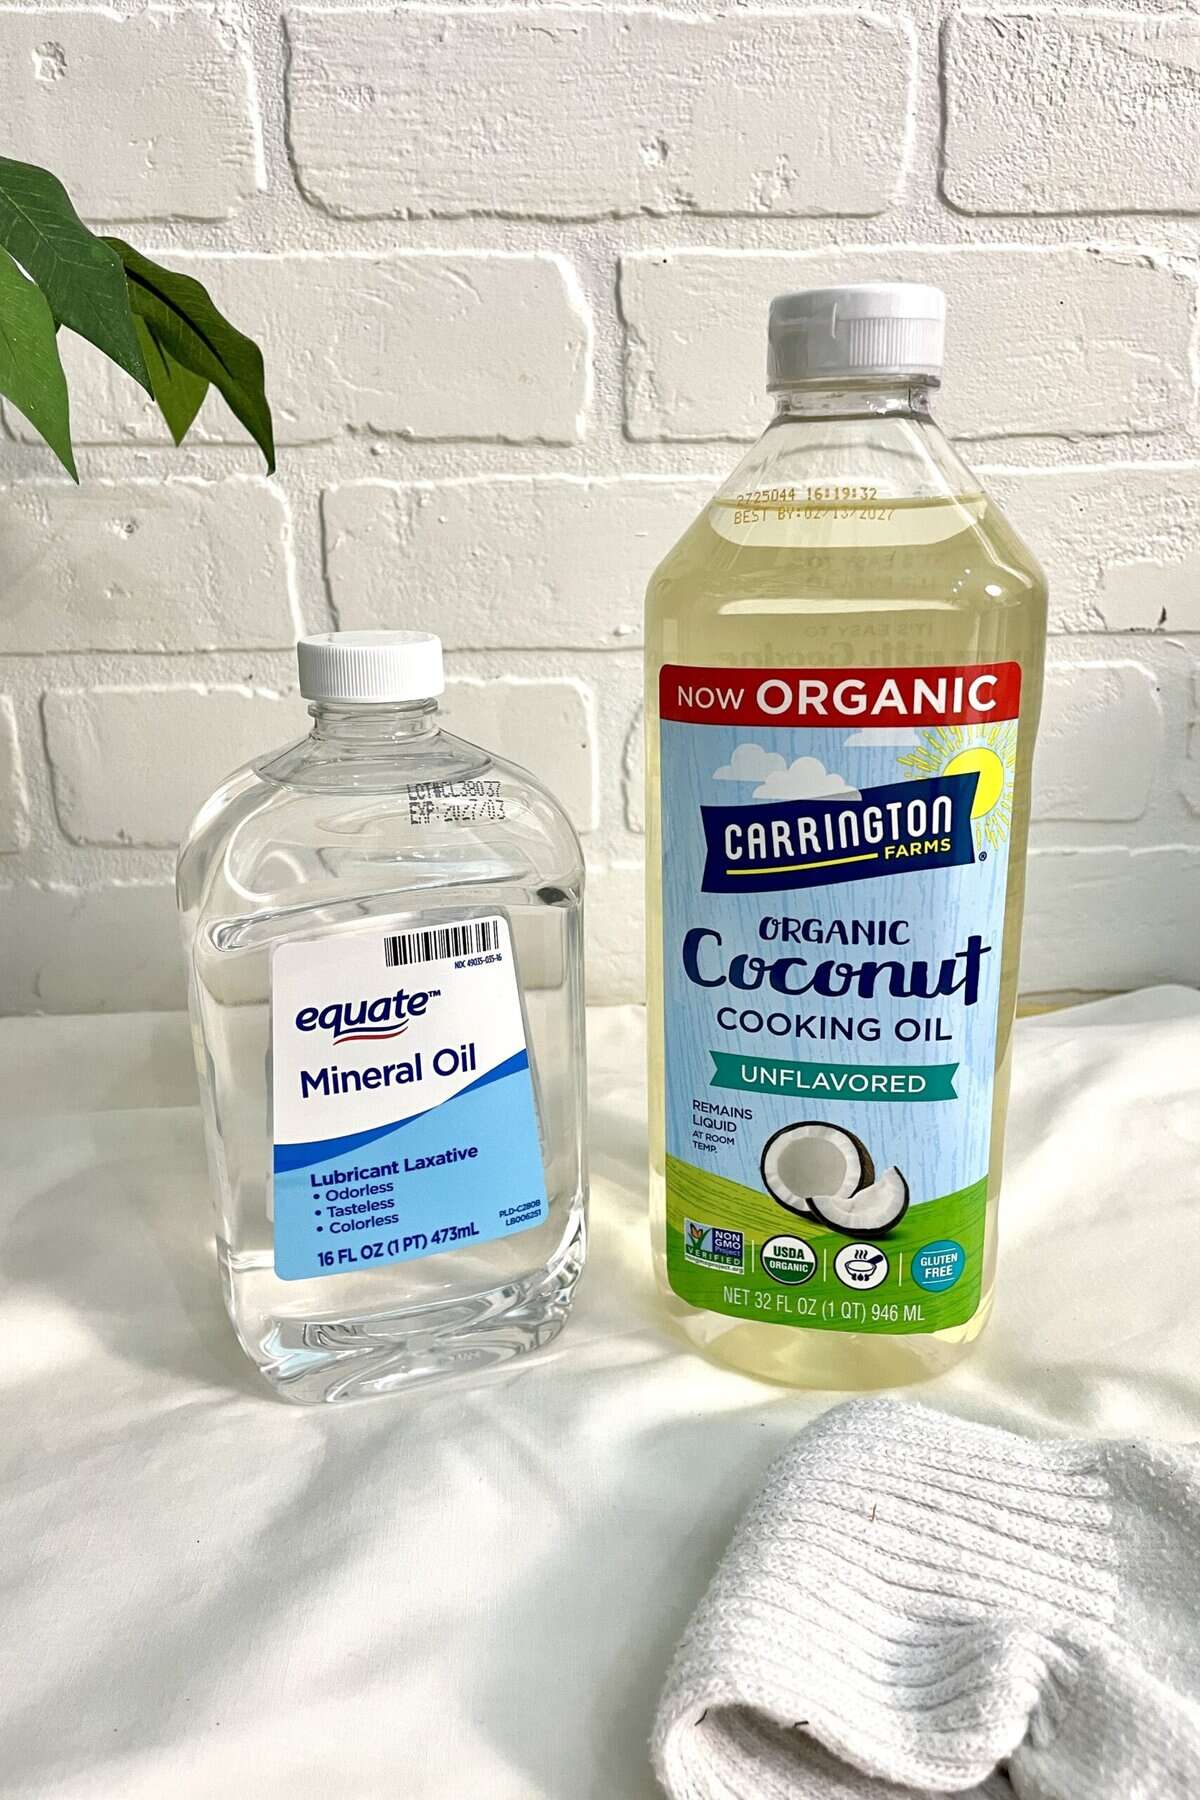
- Strip off wax with mineral spirits and fine steel wool (Not sure if your finish has a wax seal? Use this guide to find out!):
- Pour a small amount of odorless mineral spirits onto your steel wool pad. You want it damp, not dripping. (This can be a little tricky with steel wool, so I like to keep a bucket nearby to squeeze excess into.)
- Working in small sections (1–2 sq ft at a time), rub the surface in the direction of the wood grain to dissolve the wax. You’ll feel it start to break down—it’ll get slick and then dull, and the steel wool will begin to drag.
- Use a clean, dry cloth to wipe away the waxy slurry that’s lifting off the surface. You may need to repeat Steps 1–3 a few times, depending on how thick the wax layer is.
- Allow the surface to dry for 30–60 minutes. Run your hand across it—if it still feels tacky or slippery, repeat the process. The surface should feel dry and clean, not waxy.
- Once the wax is removed, apply a gel or paste chemical stripper to soften paint and polyurethane (if used to seal.)
- I like Zar, but any gel or paste stripper will work
- Follow label timing—most need 30 minutes to an hour.
- Remove paint from wood using a plastic scraper.
- Repeat if needed. Multiple layers may need multiple rounds of stripping.
- Neutralize chemical stripper by wiping surface with mineral spirits or water (per product label instructions).
- If using mild soap and water, rinse well!
Caring for Your Clay Paint Finish
- Use coasters and felt pads to prevent scratches and stains.
- Dust regularly with a soft cloth.
- Clean spills immediately with a damp cloth.
- Avoid harsh chemical cleaners.
- Re-wax or reseal annually for best protection.
Common Clay Paint Mistakes (And How to Fix Them)
| Mistake | How to Fix |
|---|---|
| Applying too thick a coat | Sand lightly, then apply thin, even coats |
| Skipping the wax/seal step | Add a sealing layer immediately to protect your finish |
| Painting on a dirty surface | Sand and clean the surface thoroughly before repainting |
| Ignoring humidity or temp | Wait for ideal weather to paint to avoid drying issues |
| Over-sanding after painting | Be gentle sanding after painting to avoid removing too much color |
FAQs
Q: Can I use clay paint outdoors?
A: Clay paint is best suited for indoor furniture as it’s not very water-resistant. If used outdoors, it must be sealed well and protected from the elements.
Q: Do I have to wax clay paint?
A: Yes! Wax or a clear matte topcoat is essential to protect the finish and add durability.
Q: How long does clay paint last on furniture?
A: With proper sealing and care, clay paint can last several years indoors before needing refreshing.
Q: Can I distress clay paint?
A: Absolutely! Clay paint is great for distressing because it sands easily, revealing layers and creating vintage charm.
Q: Is clay paint safe for kids’ furniture?
A: Most clay paints are non-toxic and low-VOC, making them a good choice for kids’ furniture, but always check the product label.
Final Reveal
If you’re dreaming of a finish that’s forgiving, creative, and full of character, then clay paint is calling your name! With its velvety matte texture, easy layering potential, and eco-friendly ingredients, clay paint gives you room to experiment, make a few oopsies (we’ve all been there!), and still end up with something beautifully unique.
Clay paint is ideal for beginners who want a low-stress finish that’s water-based, reworkable, and doesn’t require toxic fumes or complex prep work. It plays well with distressing, lets you add texture and personality, and builds your confidence one brushstroke at a time. And when sealed properly, it holds up beautifully for furniture that’s meant to be admired and enjoyed.
So go ahead—grab that forgotten side table or that thrifted chair you’ve been saving and give clay paint a try. Your creativity deserves a finish that’s just as expressive, approachable, and authentic as you are. You’ve got this!
Thank you so much for stopping by! I hope this information helps you with your next project. Drop a comment below and let me know if you have any questions or tips from your adventures with clay paint!
Until next time, have a beautiful and blessed day!

Don’t forget to sign up so you hear all about the next misadventure!