Polyurethane vs. Polycrylic: A Beginner’s Guide to Choosing the Right Furniture Finish
So you’ve put in the hard work to strip, sand, stain, or paint that fabulous furniture piece, and now it’s time for the grand finale: the topcoat! But wait… should you use polyurethane or polycrylic? These clear finishes may sound similar, but they each bring their own unique shine to the sealing party. Let’s dive into the details and help you confidently choose the right one for your project!
THIS POST CONTAINS AFFILIATE LINKS TO PRODUCTS. IF YOU PURCHASE PRODUCTS THROUGH THESE LINKS, THEN I MAY RECEIVE A SMALL COMMISSION AT NO COST TO YOU.
I ONLY RECOMMEND PRODUCTS THAT I USE AND/OR HAVE RESEARCHED AND WOULD USE.
Understanding the Basics: What Are Polyurethane and Polycrylic?
Polyurethane:
Polyurethane is a plastic resin that comes in two main types: oil-based and water-based. Both create a durable, protective film over wood surfaces, but their composition and performance vary.
- Oil-Based Polyurethane: Made with petroleum-based solvents, it offers a rich amber hue and superior durability.
- Water-Based Polyurethane: Uses water as a carrier and dries clear, with lower VOCs and faster drying time.
Polycrylic:
Polycrylic is a water-based protective finish made from acrylic resins. It dries crystal clear and is lower in odor and toxicity than its polyurethane cousin.
Polyurethane vs. Polycrylic Comparison Table
| Feature | Oil-Based Polyurethane | Water-Based Polyurethane | Polycrylic |
|---|---|---|---|
| Chemical Base | Petroleum-based solvent | Water | Water + acrylic resin |
| Durability | Excellent (best for high-traffic areas) | Very Good | Good (best for light-duty use) |
| Finish Tone | Warm amber (yellows over time) | Clear to slightly cool | Crystal clear (no yellowing) |
| Odor / VOCs | Strong odor, high VOCs | Low odor, low VOCs | Very low odor/VOCs |
| Ideal Humidity & Temperature | 40%-70% humidity | 40%-70% humidity, 65-85°F | 40%-70% humidity |
| Dry Time (per coat) | 8–24 hours | 2–4 hours | 1–2 hours |
| Typical Number of Coats | 2-4 | 2-3 | 2-3 |
| Cure Time | Up to 30 days | Up to 30 days | Up to 30 days |
| Ease of Use | Moderate | Easy | Easiest |
| Cleanup | Mineral spirits | Soap & water | Soap & water |
| Best Application Tools | Natural bristle or foam brush | Synthetic bristle brush or sprayer | Synthetic brush, foam roller, or sprayer |
| Surface Compatibility | Stained or raw wood | Painted or stained wood | Painted wood, light woods, crafts |
| Sanding Between Coats | Yes, 320 grit | Yes, 320 grit | Yes, |
Application Breakdown: How to Use Each Finish Like a Pro
Recommended Tools:
- Polyurethane (Oil-Based): Natural bristle brush, foam brush, lint-free cloth
- Polyurethane (Water-Based): Synthetic bristle brush, foam brush, high-quality sprayer
- Polycrylic: Synthetic brush, foam roller, sprayer
Application Steps:
- Prep Your Surface: Lightly sand with 220-grit paper and remove dust with a tack cloth.
- Stir, Don’t Shake: Prevent bubbles!
- Apply Thin Coats: Work with the grain and avoid over-brushing.
- Dry Time Between Coats:
- Oil-Based Poly: 8-24 hours
- Water-Based Poly: 2-4 hours
- Polycrylic: 1-2 hours
- Light Sanding: After each coat, lightly sand with 320-grit paper for a silky-smooth finish.
- Repeat: Apply 3-4 coats for water-based and polycrylic; 2-3 coats for oil-based.
Refinishing: Which Is Easiest?
Eventually, even the best finishes need a little TLC. Whether your furniture piece has collected a few too many love marks or it’s simply lost its luster, refinishing gives it a fresh start. But not all finishes are equally forgiving when it comes time to recoat or strip and start over.
Step-by-Step Refinishing Process
- Inspect the Finish
Start by evaluating the surface. If it’s only dull, lightly scratched, or worn in small areas, you can usually skip the heavy lifting. - Clean Thoroughly
Use a soft cloth dampened with distilled water and a mild, wood-safe soap to remove dust, grime, oils, and wax. Let dry completely before moving forward. - Scuff Sand (if the finish is intact)
Lightly sand the surface with 220 to 320 grit sandpaper to help the new coat adhere. Always sand with the grain to avoid visible scratches. - Strip (if the finish is damaged)
If you notice peeling, bubbling, or deep scratches, full removal is necessary. Choose a furniture-safe chemical stripper or sand down to bare wood. Test in an inconspicuous area first. - Reapply the Finish
Apply the new coats as you would for a brand-new finish – thin, even layers with proper drying time and sanding in between.
Refinishing Comparison Table
| Finish | Ease of Refinishing | Why |
|---|---|---|
| Polycrylic | Easiest | Water-based, easy to sand and recoat without full removal unless damaged. |
| Water-Based Polyurethane | Moderate | Can be recoated with care after sanding, but may show streaks or haze if rushed. |
| Oil-Based Polyurethane | Hardest | Tougher to sand evenly; often requires full stripping to correct yellowing, cracking, or damage. |
Beginner insight: If you’re just starting out, then polycrylic is your best friend for practice and problem-solving. It’s easier to remove and reapply, making learning curves less stressful.
Maintenance: Which Finish Is Easier to Love Long-Term?
Let’s be honest—life happens. From coffee spills and sticky fingers to sunny windows and everyday wear, your furniture finish needs to hold up over time. The right topcoat can make all the difference when it comes to long-term beauty and low-stress care.
Maintenance Comparison Table
| Finish | Ongoing Care Needs | Common Issues | How Easy Is It to Fix? |
|---|---|---|---|
| Polycrylic | Low | Light scratches, dulling, edge wear | Very easy to refresh, just scuff sand and recoat |
| Water-Based Polyurethane | Low to Moderate | May cloud if cleaned with harsh chemicals or exposed to high humidity | Usually fixable with light sanding and a fresh coat |
| Oil-Based Polyurethane | Moderate to High | Yellowing over time, scratches from hard use, occasional cracking in extreme conditions | Often needs full sanding or stripping to repair properly |
Best Practices for a Long-Lasting Finish
- Dust regularly using a microfiber cloth to prevent scratching.
- Use coasters and mats to avoid water rings, heat damage, and stains.
- Clean gently with a damp cloth and distilled water or a mild soap—no harsh chemicals needed.
- Protect against wear by adding felt pads under lamps, vases, and furniture legs.
- Let it cure fully (up to 30 days) before heavy use for maximum toughness.
Bottom Line: Which Finish Is the Low-Maintenance Hero?
Polycrylic takes the crown for the easiest maintenance. It’s simple to clean, touch up, and refresh—even if you’re learning as you go.
Oil-Based Polyurethane, while beautifully durable once cured, can become a little high-maintenance when it starts to show age. It’s a fantastic long-term option for experienced refinishers or anyone ready for a bigger challenge.
Polyurethane vs. Polycrylic: FAQs
Q: Can I use polycrylic over oil-based paint?
A: Not recommended. Use only over top of water-based paints and clean, dry wood.
Q: Can I use polyurethane over chalk paint?
A: Yes! Water-based polyurethane works well. Avoid oil-based products due to yellowing.
Q: Can I spray these finishes?
A: Absolutely! Thin if needed and use a quality sprayer.
Q: How do I prevent bubbles?
A: Stir gently, don’t shake, and avoid overworking the finish.
Q: Can I sand between coats with polycrylic?
A: Yes, but very lightly with 320-grit or finer to avoid scratching.
Pro Tips for a Picture-Perfect Finish
- Always test your finish on a scrap piece or hidden area first
- Apply in a dust-free space
- Don’t rush the dry time – curing takes up to 30 days!
- Store your product in a temperature-controlled space to extend shelf life
- Label your brush or roller for each type of finish to avoid cross-contamination
How to Choose Your Finish
| Choose This Finish If… | Polycrylic | Water-Based Polyurethane | Oil-Based Polyurethane |
|---|---|---|---|
| You’re sealing white or pastel-painted furniture | ✅ | ⚠️ (may yellow slightly) | ❌ (will yellow) |
| You’re working indoors with limited ventilation | ✅ | ✅ | ❌ |
| You want the easiest cleanup | ✅ | ✅ | ❌ |
| You’re sealing craft projects or light-duty pieces | ✅ | ✅ | ⚠️ (overkill) |
| You need extra durability for daily-use furniture | ⚠️ | ✅ | ✅✅ |
| You’re sealing a stained wood surface | ❌ | ✅ | ✅ |
| You want fast drying with minimal odor | ✅ | ✅ | ❌ |
| You want a warm, amber-toned finish | ❌ | ❌ | ✅ |
| You’re refinishing a dining table, floor, or high-traffic surface | ❌ | ✅ | ✅✅ |
| You have time and ventilation for longer drying | ❌ | ✅ | ✅✅ |
✅ = Ideal choice
⚠️ = Works, but not best
❌ = Not recommended
✅✅ = Best match for the job
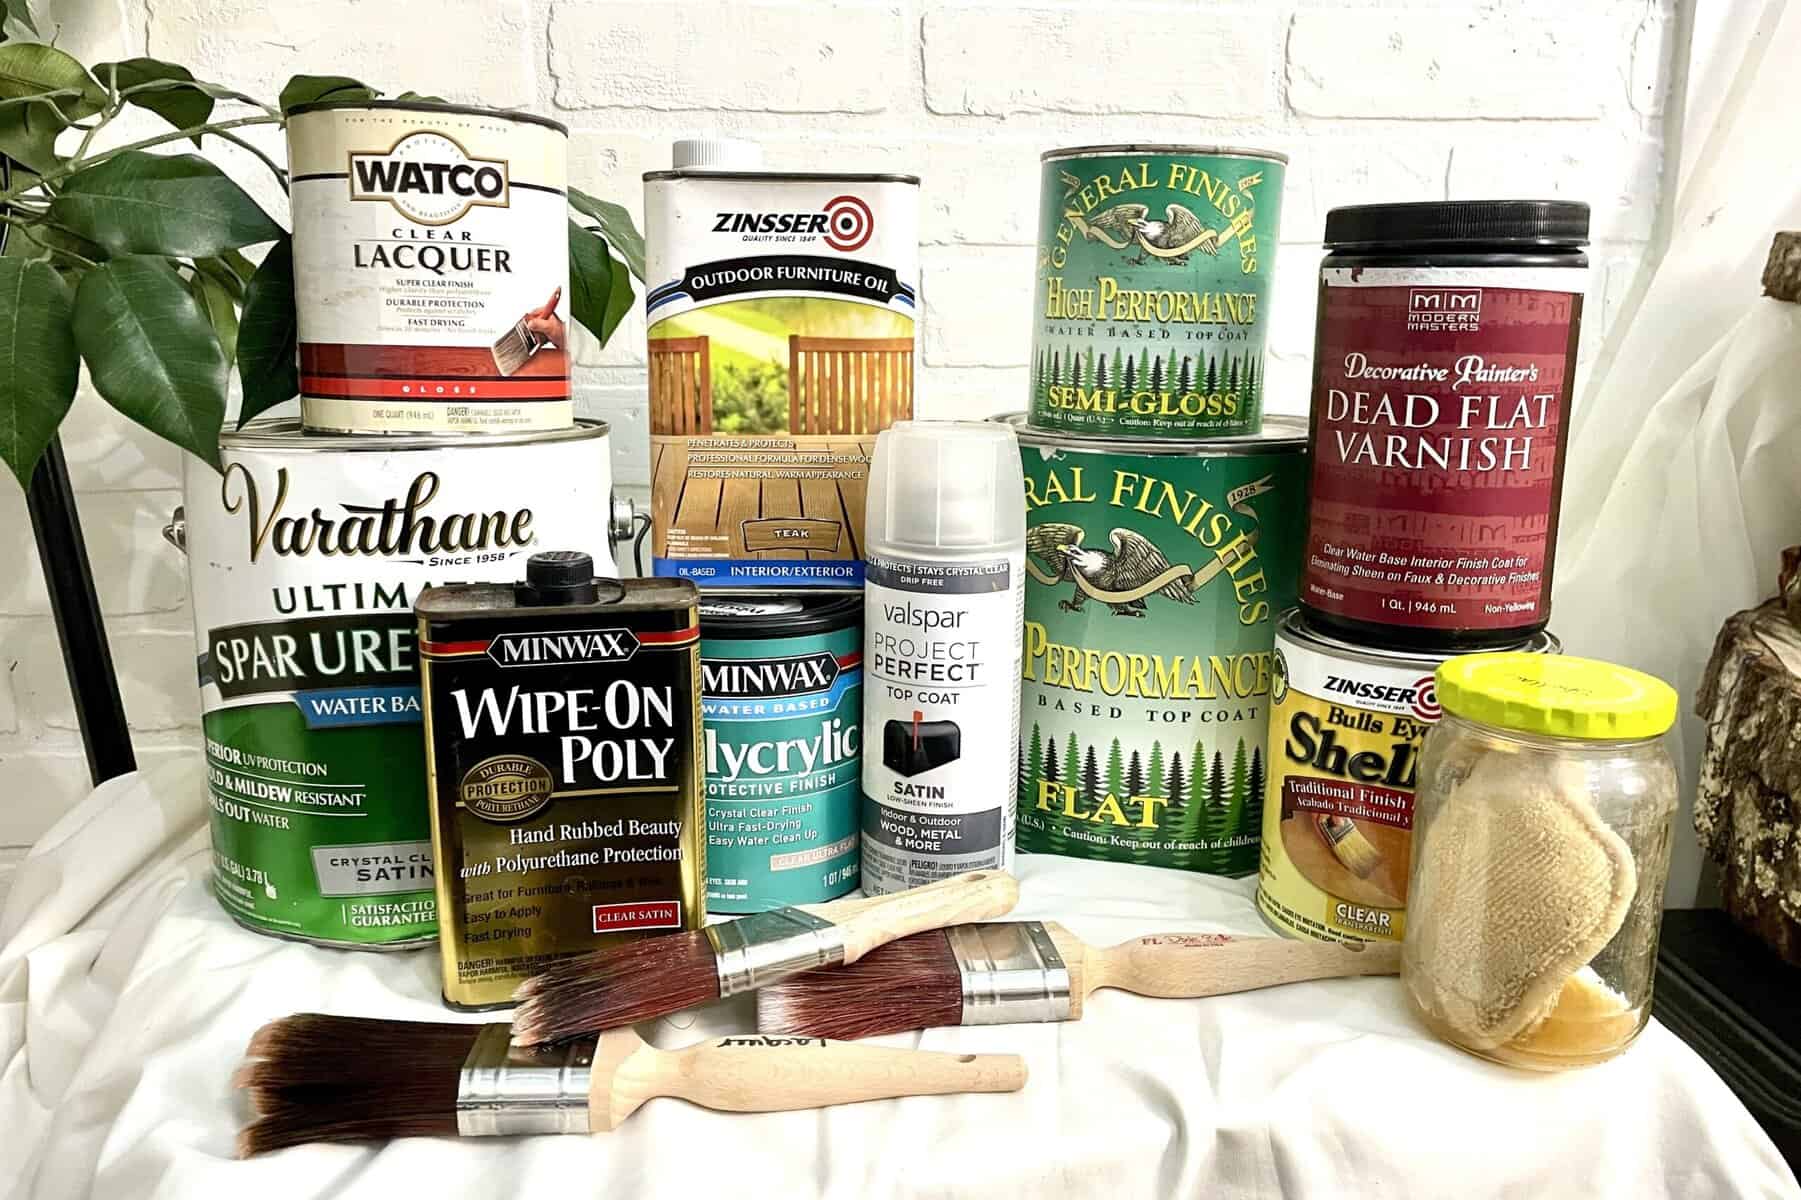
Curated Product Picks Just for You
| DIYer Level | Polycrylic (Clear, Easy Care) | Water‑Based Poly (Clear, Mid Durability) | Oil‑Based Poly (Durable, Warm Finish) |
|---|---|---|---|
| Beginner | Minwax Polycrylic Max – Single‑coat shield, crystal clear, dries in ~1 hr, low odor, easy soap cleanup (youtube.com, minwax.com) | Varathane Water‑Based Polyurethane – Great brush finish, several sheens, fast‑drying, water cleanup | ZAR Oil‑Based Polyurethane – Fast drying (2 hrs), low odor, easy to apply and forgiving for beginners |
| Creatively Confident | Minwax Polycrylic Max (as above) or Minwax Polycrylic (standard) – budget‑friendly, easy to find | Benjamin Moore Stays Clear – professional-grade durability, non‑yellowing, ideal for spraying | General Finishes Arm‑R‑Seal (Oil‑Based) – rock‑hard, durable, well‑known among pros |
| DIY Pro | Minwax Polycrylic Max – reliable and fast even for more detailed work | Benjamin Moore Stays Clear or General Finishes High‑Performance Water‑Based Poly – top-tier coating with excellent durability and finish control | ZAR Oil‑Modified Urethane – hybrid formula; combines water‑cleanup with warm tone and exceptional durability |
Why These Picks Shine
- Minwax Polycrylic Max is a no-fuss waterborne polycrylic that’s user-friendly and perfect for white or pastel finishes—ideal for DIY beginners.
- Varathane Water-Based Polyurethane offers fast drying and minimal brush marks, making it a reliable choice for everyday furniture projects.
- Benjamin Moore Stays Clear delivers professional-level wear and clarity, perfect for larger DIY projects or spray application.
- ZAR Oil-Based Polyurethane is beginner-friendly with quick curing, warm tone, and low odor.
- General Finishes is a trusted pro-grade choice, especially the Arm‑R‑Seal and High‑Performance series, widely recommended by experienced refinishers.
Final Thoughts from The Vixen’s Den
Congratulations! You’ve just unlocked one of the most magical chapters in the furniture refinishing storybook. Choosing between polyurethane and polycrylic might feel like a twisty tale at first, but with the right knowledge and a little practice, you’re well on your way to creating a finish that shines just as brightly as your creative vision. Whether you go bold and amber or crisp and clear, your hard work deserves a topcoat that protects and dazzles.
So grab that brush, step into your creativity, and seal your masterpiece with confidence—because you’ve absolutely got this!
Thank you so much for stopping by! I hope this guide helps you feel inspired and empowered for your next project. Drop a comment below if you have any questions, or share your own tips and tricks from your adventures with polyurethane and polycrylic!
Even better, show off your project and tell us which finish you chose and why. I’d love to celebrate your beautiful transformations with you! Whether you’re sealing a sweet little side table or tackling a bold dining room redo, you’re creating something truly special—and I’m so honored to be a part of your journey. Keep creating, keep experimenting, and as always… stay fabulous, friend!
Until next time, have a beautiful and blessed day!

Thanks for hosting a FABULOUS linky party every week !
Don’t forget to join us over at the Creatively Crafty Linky Party every Wednesday through Sunday
https://creativelybeth.com/creative-crafts-linky-party-2/
Pinned!
Creatively, Beth
Thank you so much, Beth!