Waxing Wood Furniture 101: A Beginner’s Guide to Beautiful Finishes
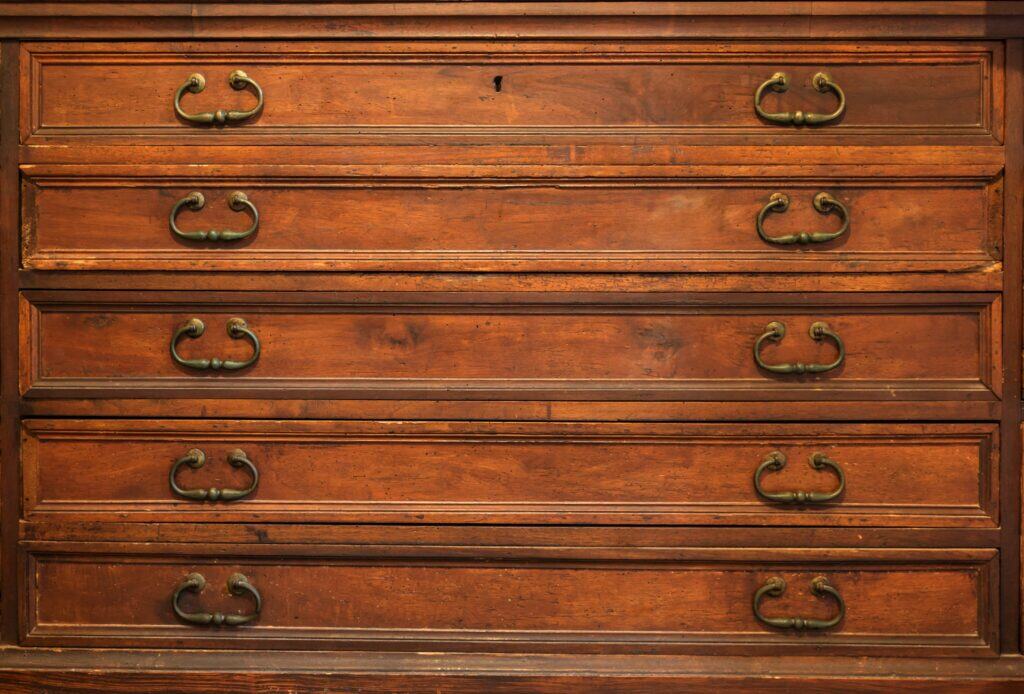
If you’ve ever run your hand across an antique dresser and marveled at its smooth, velvety feel—that’s wax, baby! Wax finishes are some of the most time-honored and beginner-friendly ways to seal wood furniture. In this guide, I’ll walk you through everything you need to know about using wax as a furniture finish: from the nerdy chemistry to the nitty-gritty application, refreshing, and care tips. You’ll learn what wax is, when to use it (and when to skip it), what products to choose, and how to avoid the most common mistakes.
Ready to give your furniture that touchable glow? Let’s dive in!
THIS POST CONTAINS AFFILIATE LINKS TO PRODUCTS. IF YOU PURCHASE PRODUCTS THROUGH THESE LINKS, THEN I MAY RECEIVE A SMALL COMMISSION AT NO COST TO YOU.
I ONLY RECOMMEND PRODUCTS THAT I USE AND/OR HAVE RESEARCHED AND WOULD USE.
What Is Furniture Wax Finish?
At its core, a wax finish is a protective coating made from natural or synthetic waxes dissolved in a solvent to create a spreadable paste or liquid. The most common ingredients include:
- Beeswax – a soft, natural wax produced by honeybees. Adds a warm glow and mild protection.
- Carnauba wax – a much harder, more durable wax harvested from the leaves of the carnauba palm. Often blended with beeswax to add hardness and water resistance.
- Paraffin wax – a petroleum-derived option sometimes used in budget products.
- Solvents – usually mineral spirits or turpentine, used to dissolve the waxes and allow for smooth application.
When applied to wood, the solvent evaporates, leaving behind a thin layer of wax that provides light protection and a beautiful sheen.
A Peek Into the History of Furniture Wax
Before the days of polyurethanes and acrylic sealants, furniture makers and woodworkers turned to natural waxes like beeswax to protect and polish their creations. Over time, carnauba wax (derived from the leaves of the carnauba palm) became a popular addition thanks to its harder, more durable finish. Wax has remained a favorite among antique lovers and DIYers alike for its soft sheen and natural feel.

Fun Facts:
- Wax was used as a wood finish as far back as the 14th century in Europe!
- In the 1700s, French polishers combined wax with shellac to create ultra-lustrous finishes for fine furniture.
- Queen Anne and Chippendale-style furniture often featured hand-rubbed wax finishes for that classic antique feel.
- Carnauba wax was nicknamed the “Queen of Waxes” for its toughness—and today it’s even used in car polishes and cosmetics.
Wax finishes have remained beloved for centuries thanks to their simplicity and the natural beauty they bring out in wood.
Where and Why to Use Wax Furniture Finish
Wax isn’t the most durable finish out there, but it has plenty going for it! Here’s a handy table to help you decide if wax is the right choice for your project:
| Where It Shines | What’s to Love | What’s Not to Love |
|---|---|---|
| Low-traffic furniture (dressers, desks) | Easy to apply and touch up | Not water- or heat-resistant |
| Over chalk paint or milk paint | Creates a soft, velvety sheen | Needs periodic reapplication |
| Antiques and vintage restorations | Enhances grain and adds historical authenticity | Offers minimal protection from scratches |
| Decorative wood accents | Tinted waxes add dimension and character | Not suitable for outdoor use or wet areas |
Types of Wax Finishes
- Clear Paste Wax: Great for preserving the original tone of the wood
- Tinted Wax: Perfect for adding depth or highlighting details
- Liquid Wax: Easier to apply but less protective
For this guide, we will focus on protective paste waxes. Let’s find the right wax for your piece!
Which Product Is Right for You?
Let’s match you with the right wax for your confidence level and project needs:
Beginner: Minwax Paste Finishing Wax
- Pros:
- Widely Available: Easy to find at most hardware stores and big-box retailers.
- Inexpensive: Lower cost than many specialty or boutique waxes.
- Multiple Color Options: “Special Dark” helps tone wood or enhance darker stains.
- Protects Topcoats: Works well as a protective polish over dried polyurethane or shellac.
- Dries Hard: Forms a firm barrier that buffs to a soft satin sheen.
- Cons:
- Odor & VOCs: Strong petroleum scent; ventilation is required during application.
- Not Museum-Grade: Contains paraffin and harsher solvents—less ideal for fine antiques or conservation work.
- Slight Yellowing: The “Natural” version may slightly warm or yellow light-colored finishes over time.
- Requires Prep: Can haze or streak if applied too heavily or not buffed thoroughly.
Creatively Confident: Butcher’s Bowling Alley Wax
- Pros:
- Durable & Hardwearing: Made for high-traffic floors, so it provides a tough, long-lasting finish.
- Excellent Buffability: Leaves a rich, glossy sheen when well buffed.
- Resists Water & Spills: Offers good moisture resistance thanks to its hard wax formula.
- Budget-Friendly: Large tins offer great value for volume.
- Cons:
- Amber Tint: Can slightly darken light-colored or raw woods.
- Strong Odor: Has a more noticeable mineral spirit smell than more refined paste waxes.
- Takes Elbow Grease: Requires thorough buffing to avoid haze or streaks.
- Less Ideal for Fine Furniture: Originally formulated for commercial use. Some refinishers prefer gentler formulas for antiques or delicate finishes.
Pro Level: Staples Crystal Clear Paste Wax
- Pros:
- Crystal Clear Finish: Won’t yellow or alter the tone of light woods, painted surfaces, or decorative finishes.
- Low Odor: Milder scent than many solvent-based waxes.
- Gentle Formula: Safe for delicate finishes and antiques; used by museums and fine restorers.
- High Shine Potential: Buffs to a soft glow or glossy shine, depending on application.
- Cons:
- Less Durable Than Butcher’s: Slightly softer finish, better for protection than high-traffic durability.
- Smaller Container, Higher Price: Pricier per ounce than industrial waxes.
- Limited Availability: Not always stocked in big box stores; sometimes requires ordering online or specialty retailers.
| Product | Color Tint | Odor Level | Buffing Effort | Best For |
|---|---|---|---|---|
| Minwax Paste Wax | Natural / Dark | Strong | Moderate | General DIY & budget furniture |
| Butcher’s Bowling Alley Wax | Amber | Strong | High | Floors & rustic or dark wood |
| Staples Crystal Clear Wax | Clear | Mild | Low to Medium | Antiques, light woods, painted pieces |
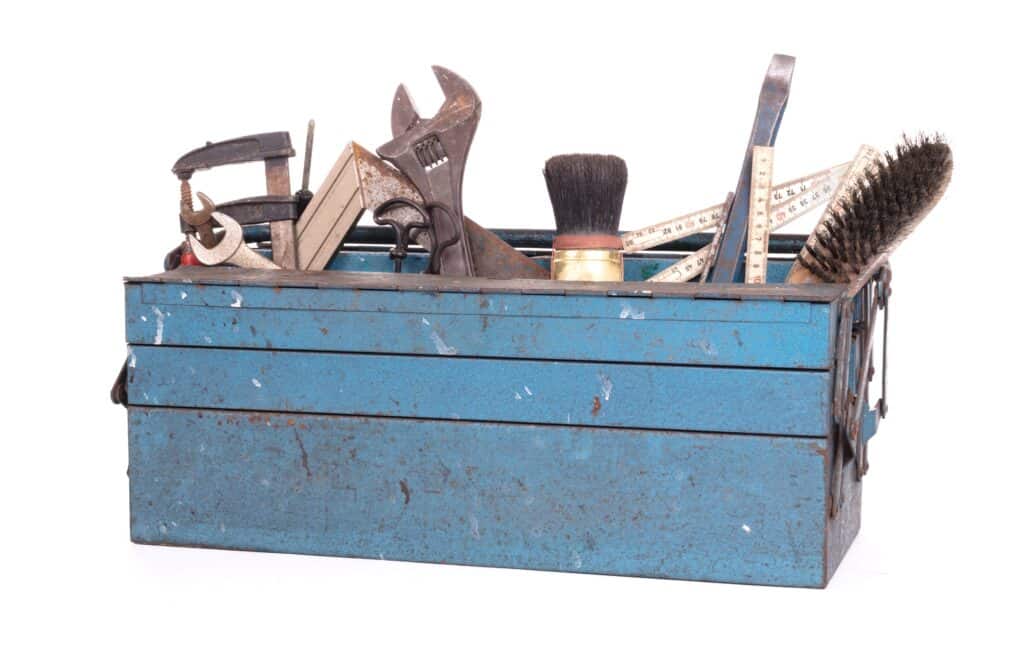
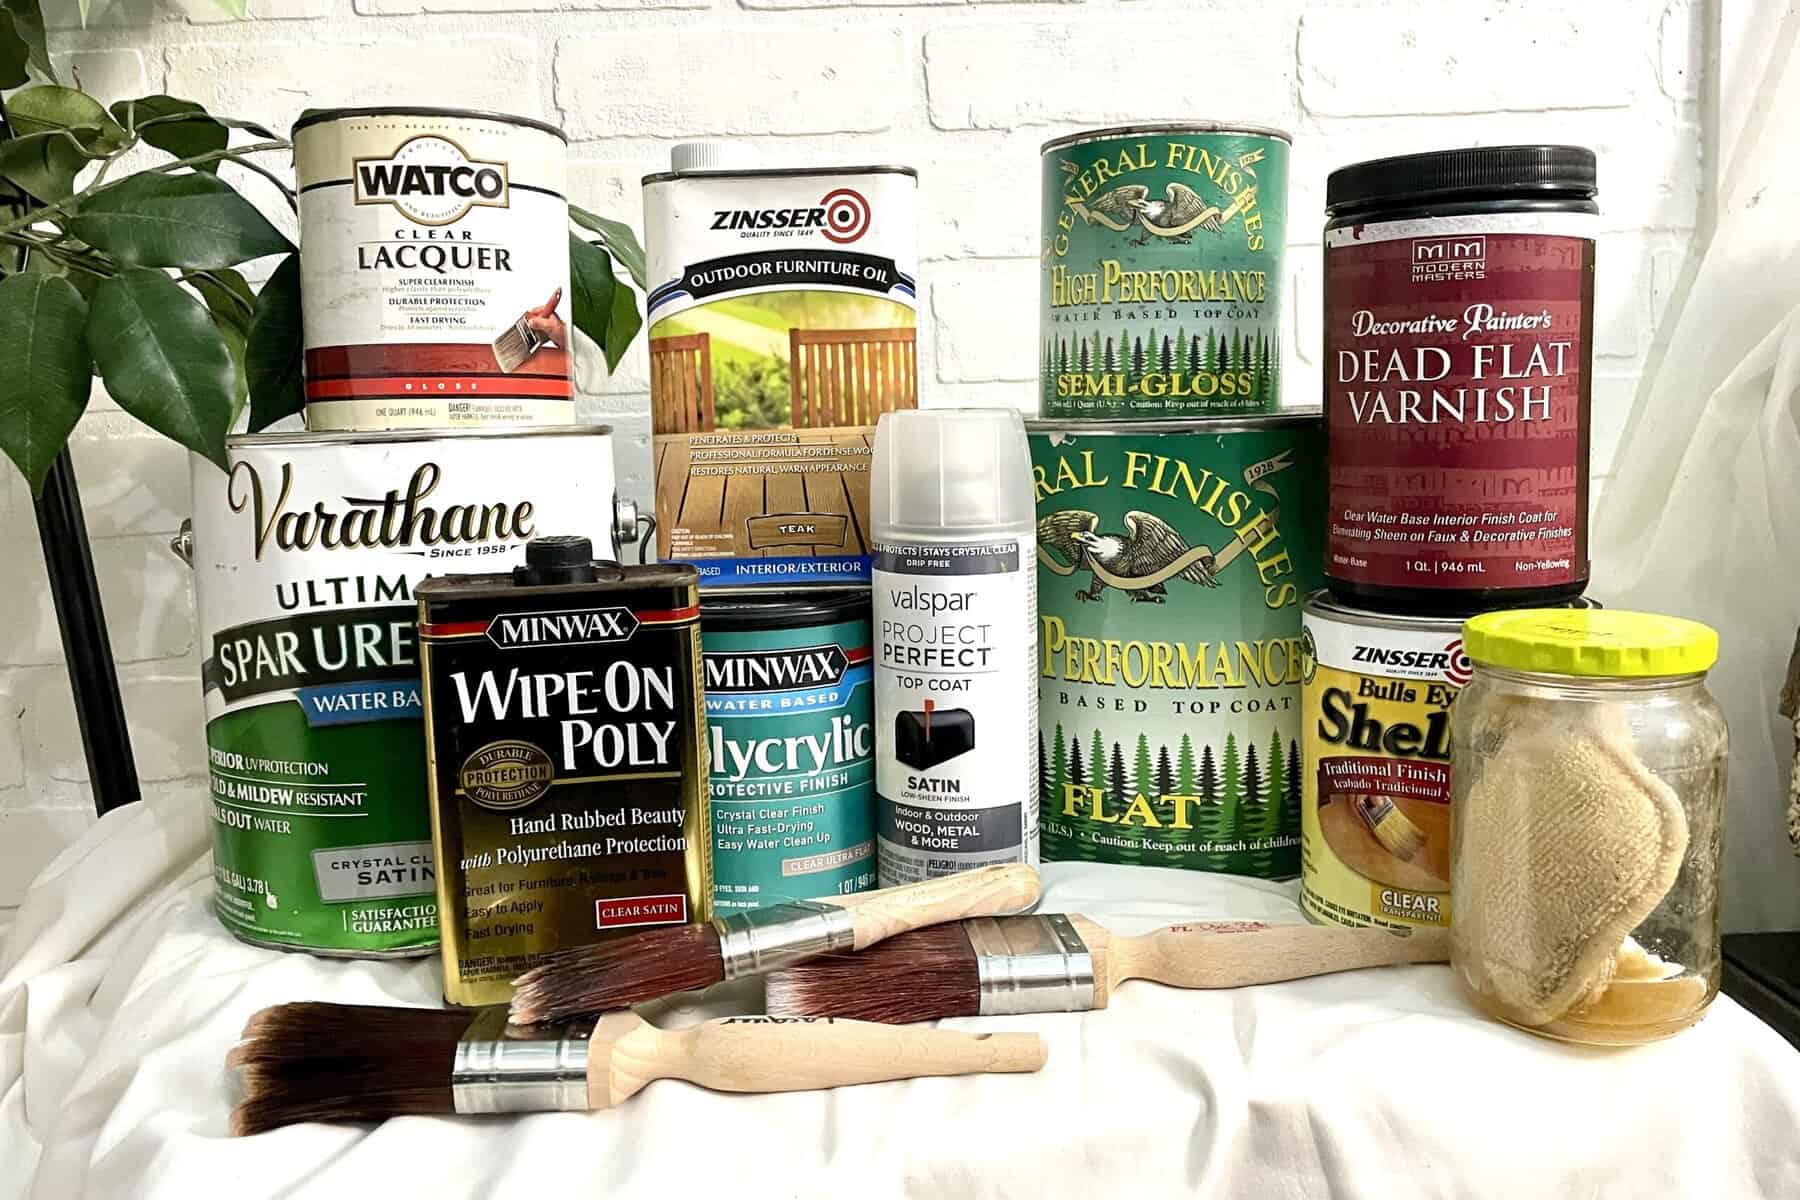
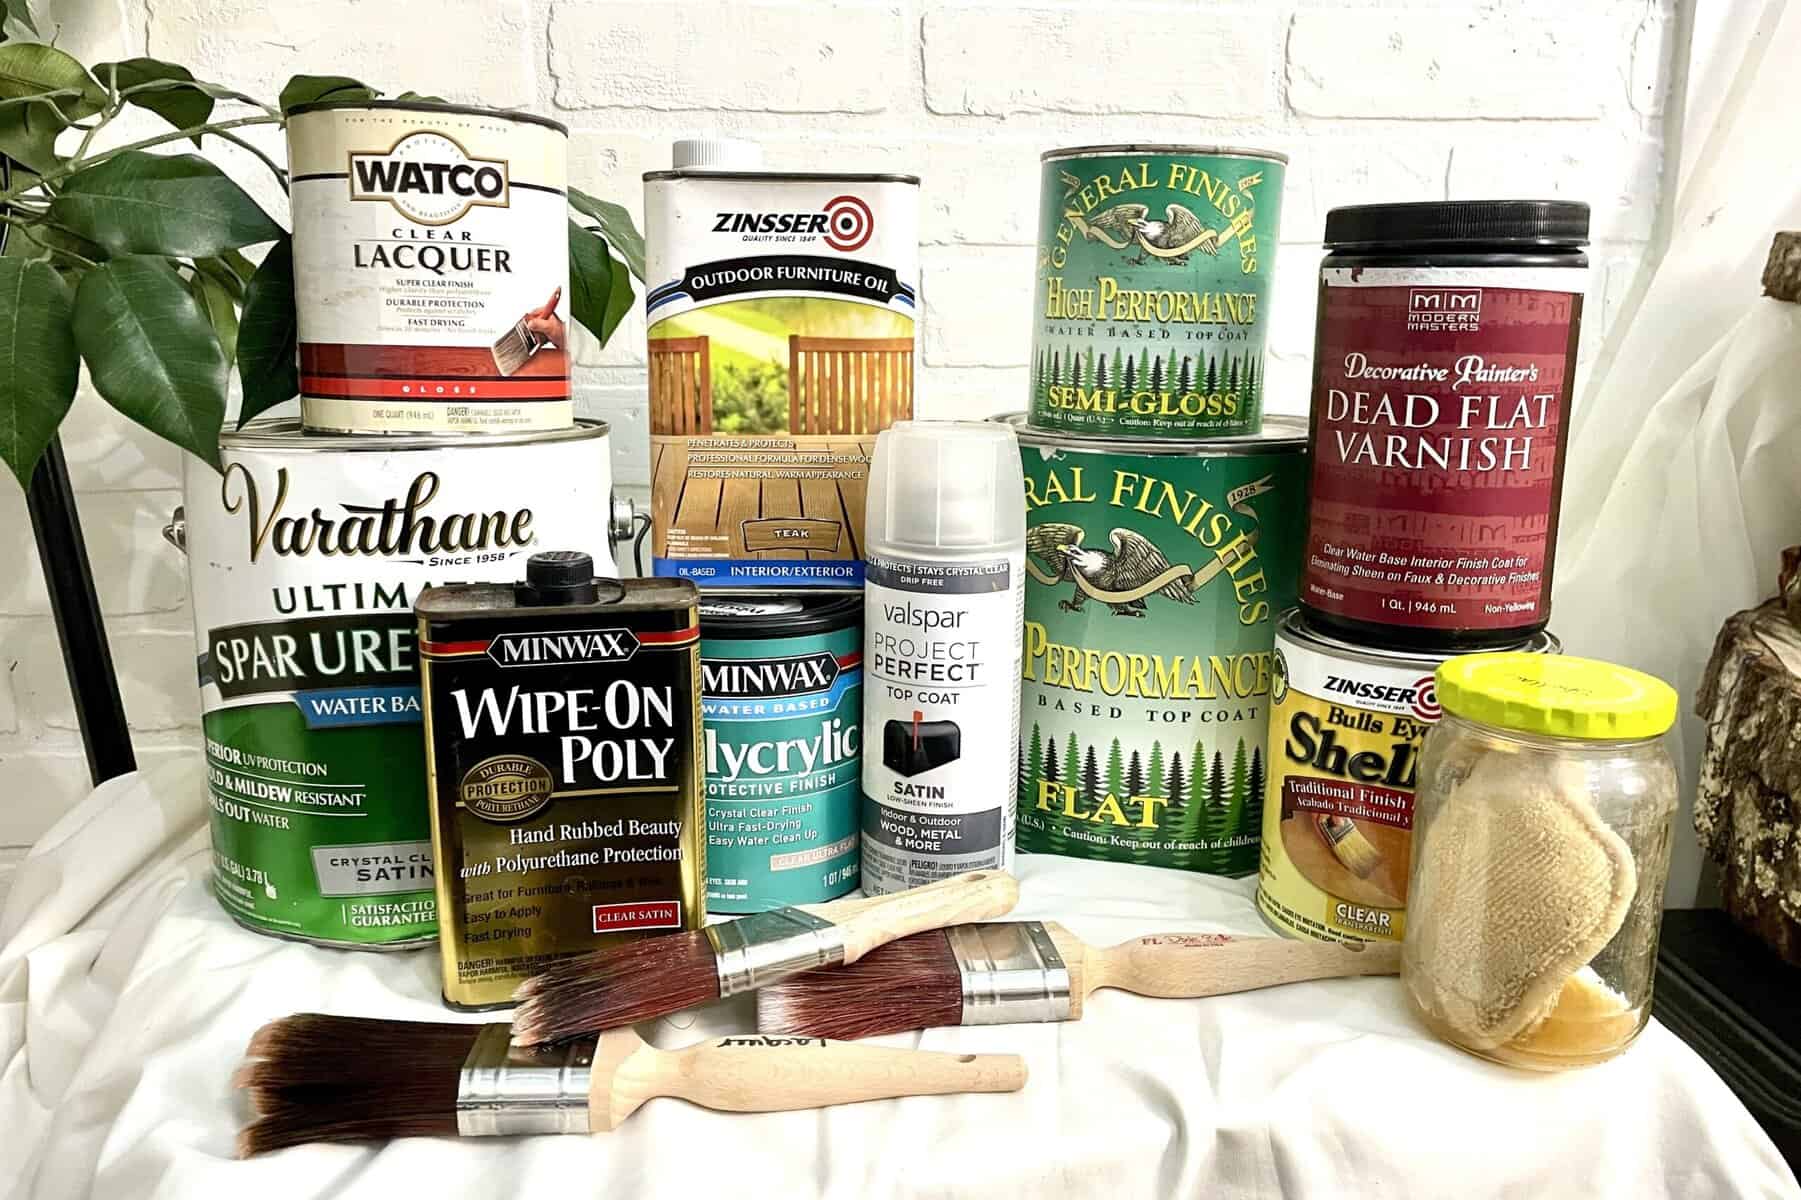
What’s in the Finishing Toolkit?
Tools
- Lint-free cloth or cheesecloth
- Soft buffing cloth or wax brush
Materials
- Optional: 0000 steel wool (for removing old wax or applying wax over raw wood)
- Paste wax (your choice of clear or tinted)
Pro Tips: Before You Begin
Before you dive in, here are a few tried-and-true reminders:
- Always test the wax on a hidden area first—some waxes darken raw or light woods
- Never apply wax over polyurethane or lacquer—it won’t stick properly
- Prep the surface—clean it well and make sure it’s dry
- Apply thin coats—thick layers get gummy and difficult to buff
Common beginner question? “Can I use wax alone?” Yes, you can! Just remember that it’s a light-duty finish and not meant for kitchen tables or wet areas.
Step-by-Step: How to Apply Wax to Wood Furniture
- Clean the Surface: Start with a clean, dry surface. If needed, wipe down with distilled water and mild soap or use mineral spirits to remove grime.
- Scoop & Spread: Using a soft cloth or brush, apply a thin layer of wax in the direction of the wood grain. A little goes a long way!
- Let it Haze: Allow the wax to sit for 10–20 minutes until it appears dull.
- Buff to Shine: Using a clean, soft cloth or buffing brush, buff the surface until you achieve your desired sheen.
- Repeat if Desired: Apply additional coats for extra protection, allowing each coat to cure for a few hours before applying the next.
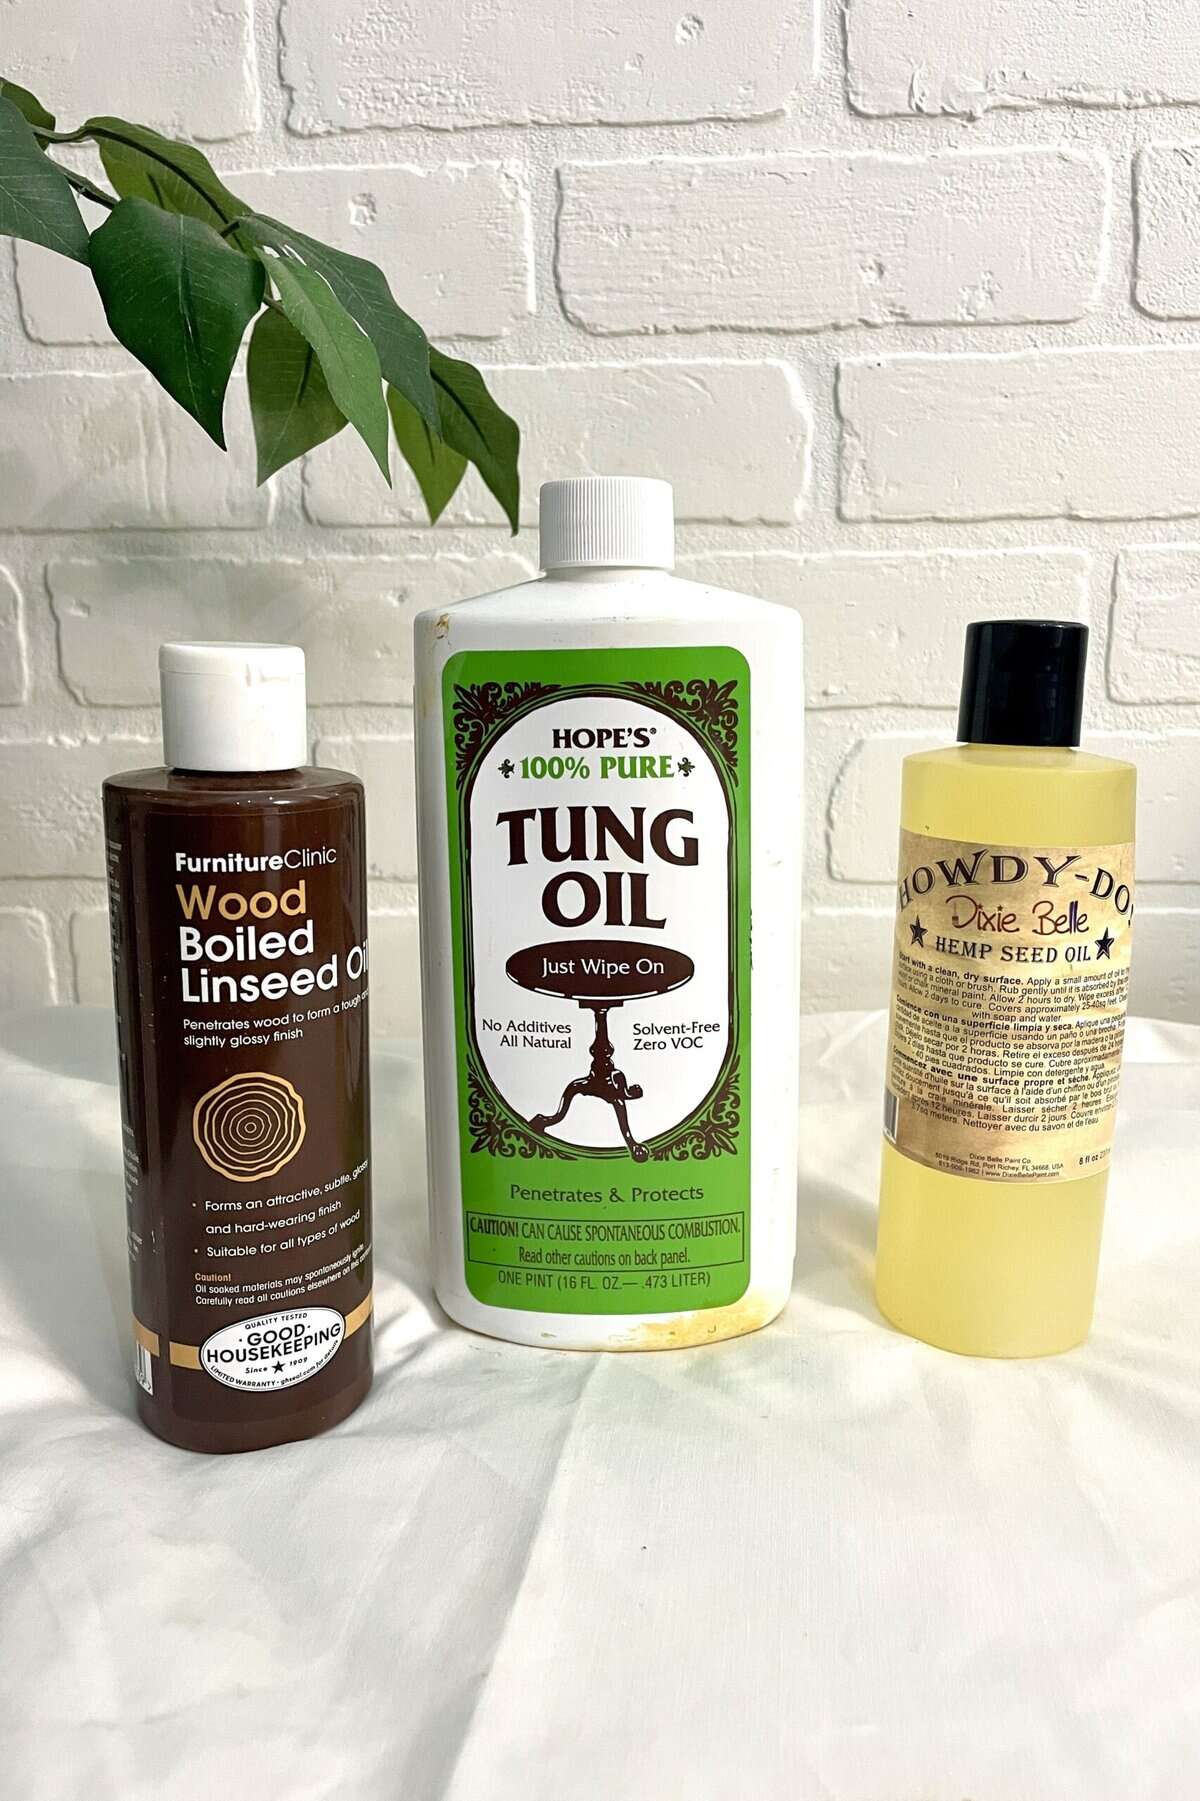
Pro Tip: Applying wax over an oil finish (like Danish or tung oil) can offer both protection and a beautiful depth. However, avoid applying wax over polyurethane or lacquer, as it won’t adhere well.
Application Best Practices
- Ideal temp: 60°F to 80°F
- Humidity: Below 60% is best
- Dry time (between coats): 1–2 hours
- Full cure time: 24 hours to several days, depending on thickness
- Number of coats: 1–3 for most applications
Let each coat fully haze and buff before applying the next!
When and How to Refresh a Wax Finish
Signs your wax finish needs a little love:
- Dullness or dry-looking patches
- Surface feels sticky
- Minor scuffs and scratches
To refresh:
- Lightly buff the surface
- Reapply a thin coat of wax to affected areas
- Let haze and buff again
If the wax is peeling, flaking, or uneven: it’s time for a full removal and reapplication.
Refinishing: Removing and Reapplying Wax
If your waxed piece is looking dull, flaky, or sticky, or you simply want to start fresh, here’s how to refinish it:
- Test the Finish: Use a dab of denatured alcohol on a hidden spot. If the finish doesn’t dissolve, it’s likely wax. (Not sure if your finish has a wax seal? Use this guide to find out!)
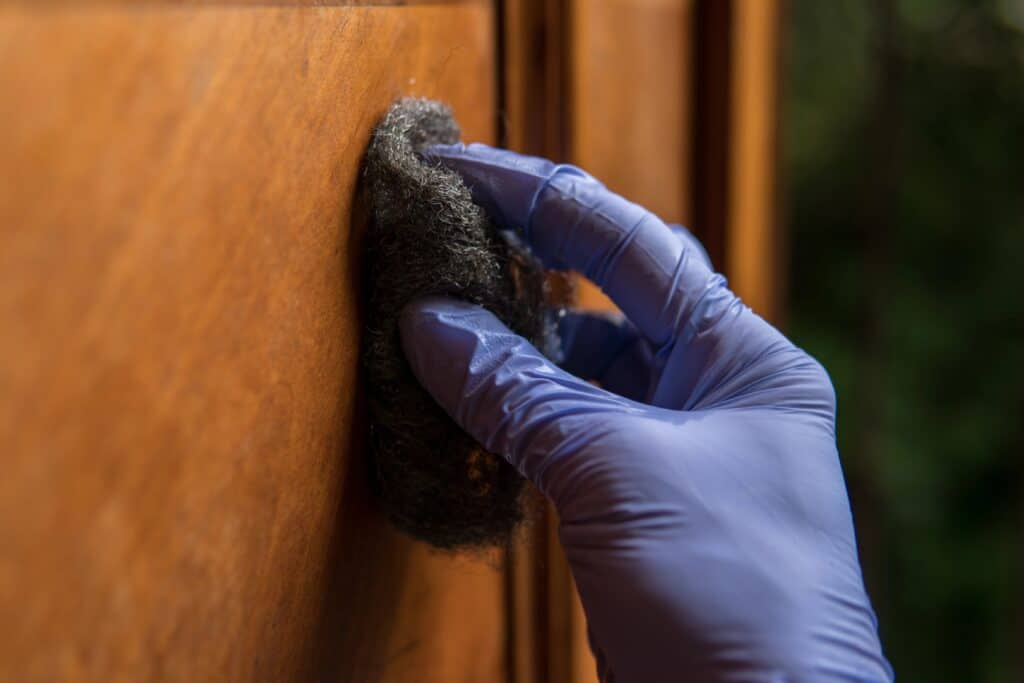
- Remove Old Wax: Pour a small amount of odorless mineral spirits onto your steel wool pad. You want it damp, not dripping. (This can be a little tricky with steel wool, so I like to keep a bucket nearby to squeeze out into.)
- Working in small sections (1–2 sq ft at a time), rub the surface in the direction of the wood grain to dissolve the wax. You’ll feel it start to break down. It’ll get slick and then dull, and the steel wool will begin to drag.
- Wipe Clean: Use a clean, dry cloth to wipe away the waxy slurry that’s lifting off the surface. You may need to repeat Steps 1–3 a few times, depending on how thick the wax layer is.
- Test Surface: Allow the surface to dry for 30–60 minutes. Run your hand across it. If it still feels tacky or slippery, repeat the process. The surface should feel dry and clean, not waxy.
- Refinish as Desired: You can now reapply wax, switch to an oil finish, or prep for another type of topcoat.
Pro Tip: If you’re dealing with a very old or heavily waxed piece, consider a final wipe with denatured alcohol to ensure no residue is left behind — just be sure to test in an inconspicuous area first to avoid damaging veneer or delicate finishes.
Caring for Your Waxed Furniture
Keeping your waxed piece looking gorgeous is simple:
- Dust Regularly: Use a soft microfiber cloth
- Avoid Water and Harsh Cleaners: These break down the wax finish
- Buff Occasionally: A quick buff revives the luster
- Reapply Wax Every 6–12 Months: More often for heavily used surfaces
Do Not Use: Silicone-based sprays, ammonia cleaners, or any product not labeled as wood-safe
Common Wax Finish Mistakes (And How to Fix Them)
| Mistake | What Went Wrong | How to Fix It |
| Sticky surface | Applied too much wax | Remove excess with mineral spirits, re-buff |
| Dull finish after buffing | Didn’t wait long enough before buffing | Wait for haze to develop, then buff again |
| Uneven sheen | Wax applied too thick or unevenly | Reapply thin coat and buff consistently |
| Wax won’t stick | Applied over incompatible finish | Remove wax, sand, and apply appropriate finish |
| White marks or moisture rings | Water damage on wax surface | Rewax and buff or spot repair with steel wool |
FAQs
Q: Can I use wax over paint?
A: Absolutely! Wax is especially popular over chalk paint and milk paint for a soft, aged look.
Q: Is wax food-safe?
A: Most commercial paste waxes are not food-safe. Use beeswax-based options specifically labeled food-safe for cutting boards or butcher blocks.
Q: Can I apply polyurethane over wax?
A: Nope! Wax repels water-based and oil-based finishes. Remove the wax completely before switching to another topcoat.
Q: How often should I reapply wax?
A: Typically every 6–12 months, depending on use. High-touch surfaces may need more frequent touch-ups.
Q: What’s the difference between clear and dark wax?
A: Clear wax is neutral; dark wax adds color and depth, highlighting details like carvings and brush strokes.
Final Wrap: Why Choose Wax?
If you’re looking for a beginner-friendly finish that’s easy to apply, forgiving to work with, and full of vintage charm, wax is a wonderful place to start. It enhances the natural beauty of wood, adds a soft velvety glow, and can be refreshed without stripping everything down. Whether you’re restoring a treasured heirloom or adding character to a chalk-painted piece, wax gives you control, creativity, and timeless appeal—all with just a cloth and a little elbow grease.
So if you want beautiful results without the stress, grab your cloth, open that tin, and buff away. You’ve got this, and your furniture is going to look gorgeous!
Thank you so much for stopping by! I hope this information helps you with your next project. Drop a comment below and let me know if you have any questions or tips from your adventures with furniture wax!
Until next time, have a beautiful and blessed day!

Don’t forget to sign up so you hear all about the next misadventure!