How to Pour Epoxy Resin on a Table Top
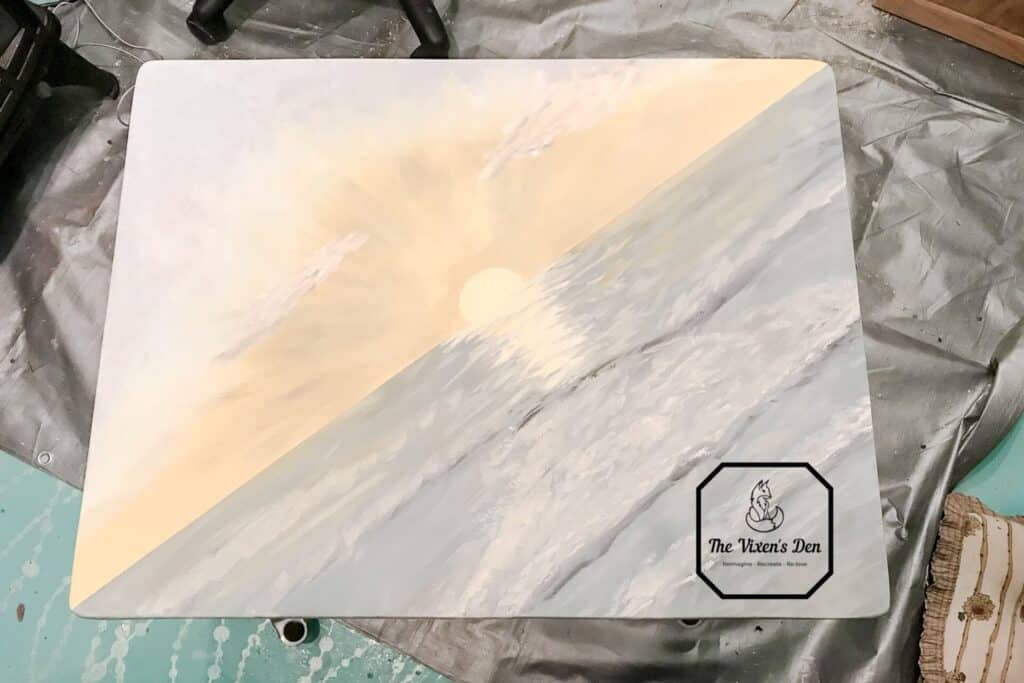
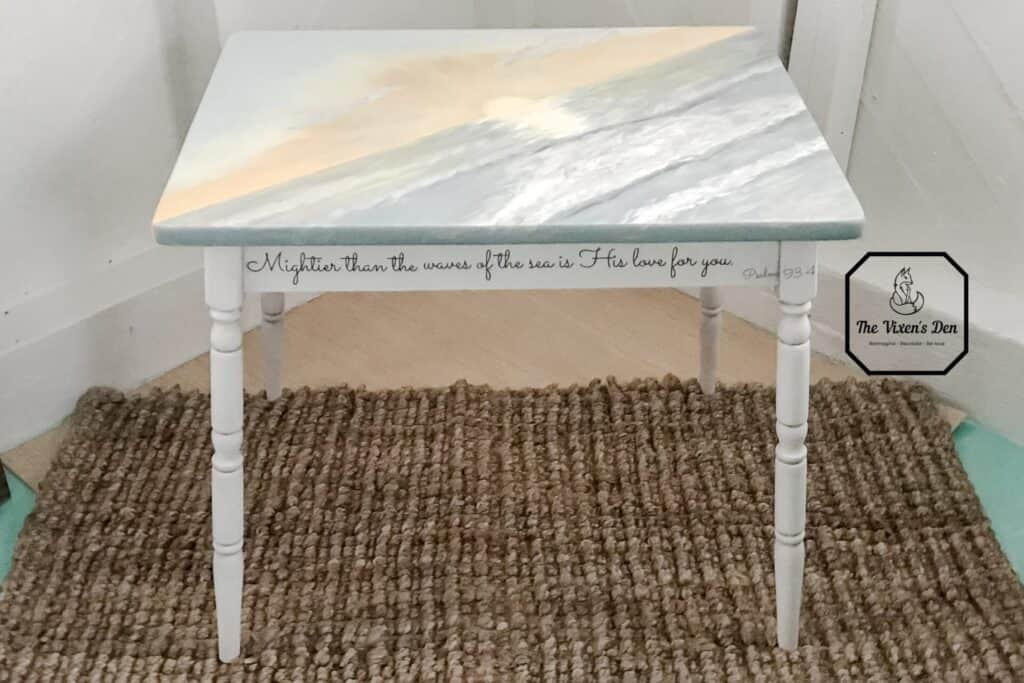
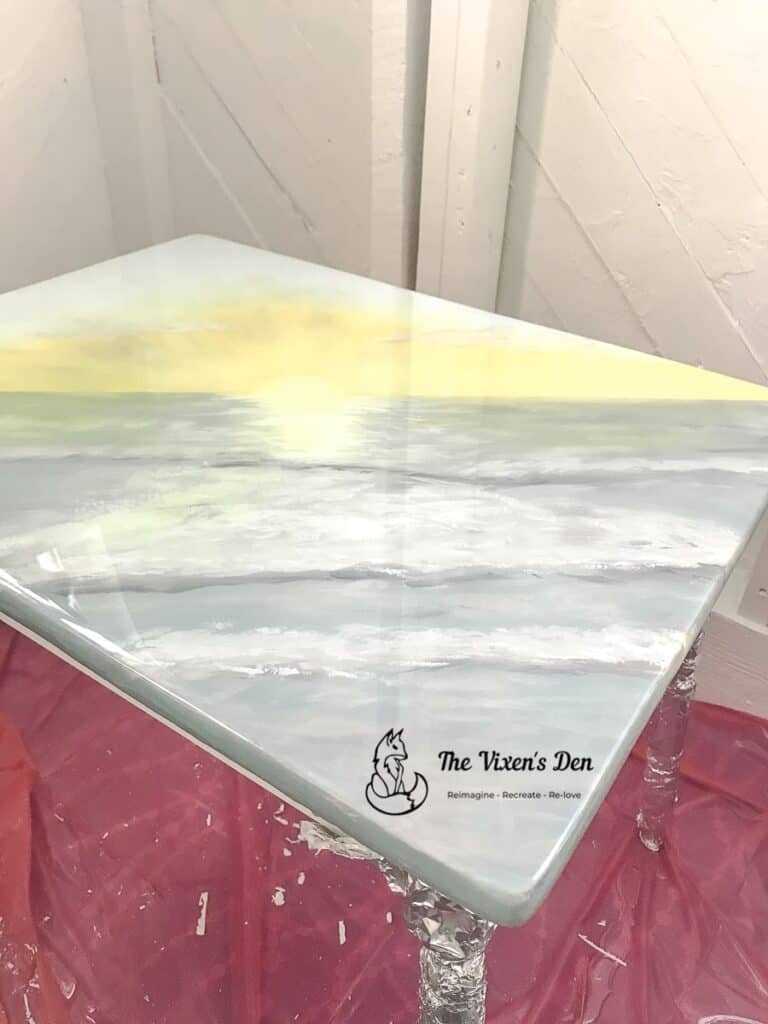
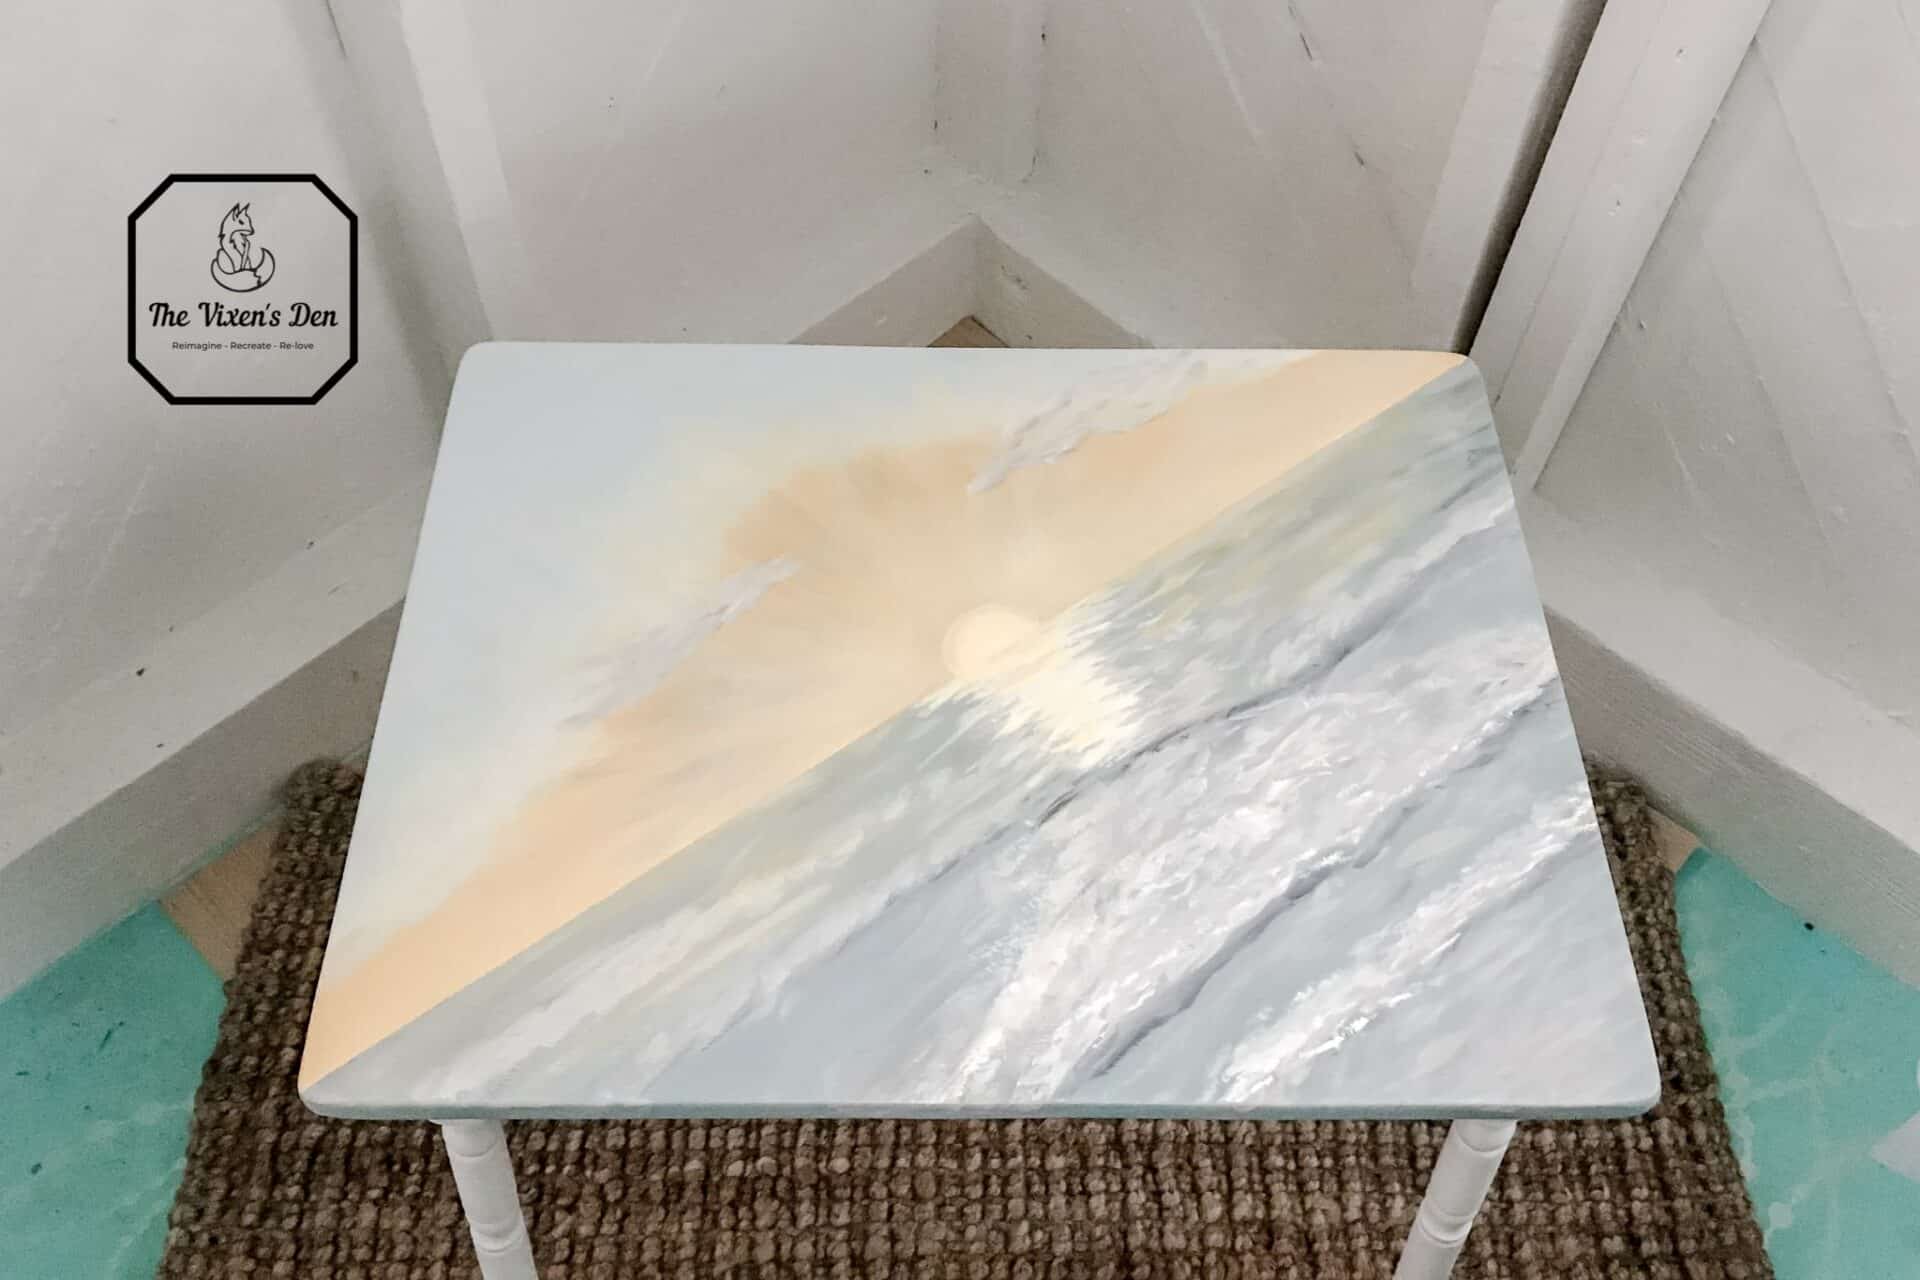
Do you have a beautiful tabletop or painted piece that you would like to protect with an epoxy resin pour? After all of the work of hand painting this beach scene on my grandbabies’ table, I wanted to give it a little extra durability for the long haul. I learned lots of things along the way so hopefully, it can help your project move forward a little more smoothly than mine!
THIS POST CONTAINS AFFILIATE LINKS TO PRODUCTS THAT I HAVE OR WOULD USE.
AS AN AMAZON ASSOCIATE, I EARN FROM QUALIFYING PURCHASES AT NO COST TO YOU.
YOU CAN SEE MY FULL DISCLOSURE HERE.
Polyester vs Epoxy Resin
There seemed to be two primary options to complete this project:
- Polyester resin
- Epoxy resin
What’s the difference?
I’m so glad you asked! Below is a summary of what I found in my research:
Polyester Resin
Polyester resin is less expensive, cures hard, can be drilled and polished, scratches can be easily buffed out, it takes longer to cure (which can also be good as it allows for longer working time). However, it doesn’t stand up to water or impact as well as epoxy resin, it’s not UV resistant, it’s very stinky, and it cannot be used as a sealer. Polyester resin is used more as a filler to:
- Build airplanes
- Repair boats
- home improvement
- Make automotive repair parts
- Create jewelry
Epoxy Resin
Epoxy resin is easy to use, water, heat, abrasion, and impact-resistant. It’s 100% food-safe, and UV safe. However, it contains VOCs, is more expensive, cures more quickly, and is not as malleable as polyester resin. Epoxy resin is used as a filler or a surface coating to:
- Seal surfaces
- Create heat-resistant adhesive
- Create food-safe surface coatings
- Create protective coatings for wood and metal
- Make automotive repair parts
- Create jewelry
If you would like to learn more, please check out this post at resin-expert.com.
Which Epoxy Resin is Best?
I did a lot of research before I finally settled on the product ProMarine Table Top Epoxy. I chose this product because it seemed to be the easiest to work with (aka Becky-proof):
- Self-leveling
- Water and moisture resistant
- Eliminates craters, crawling and fish-eye
- Crystal clear and U.V. resistant (less likely to yellow or amber over time)
- Does not blush
- Can be used on many surfaces including table tops, wood finishes, artwork, etc.
The only downside is that it is expensive and it is stinky.
The Amber Elephant in the Room
One of the biggest complaints with resin is that it yellows over time. The best way to avoid this appears to be to simply keep the piece out of the sunlight. I wouldn’t recommend pouring resin over a white project that will be left outside or next to a window in a bright sunny room. Even the ProMarine Table Top Epoxy (now renamed Promise epoxy Resin) that I chose, which is advertised as “crystal clear” and “UV resistant” clearly states that there may be slight yellowing over time.
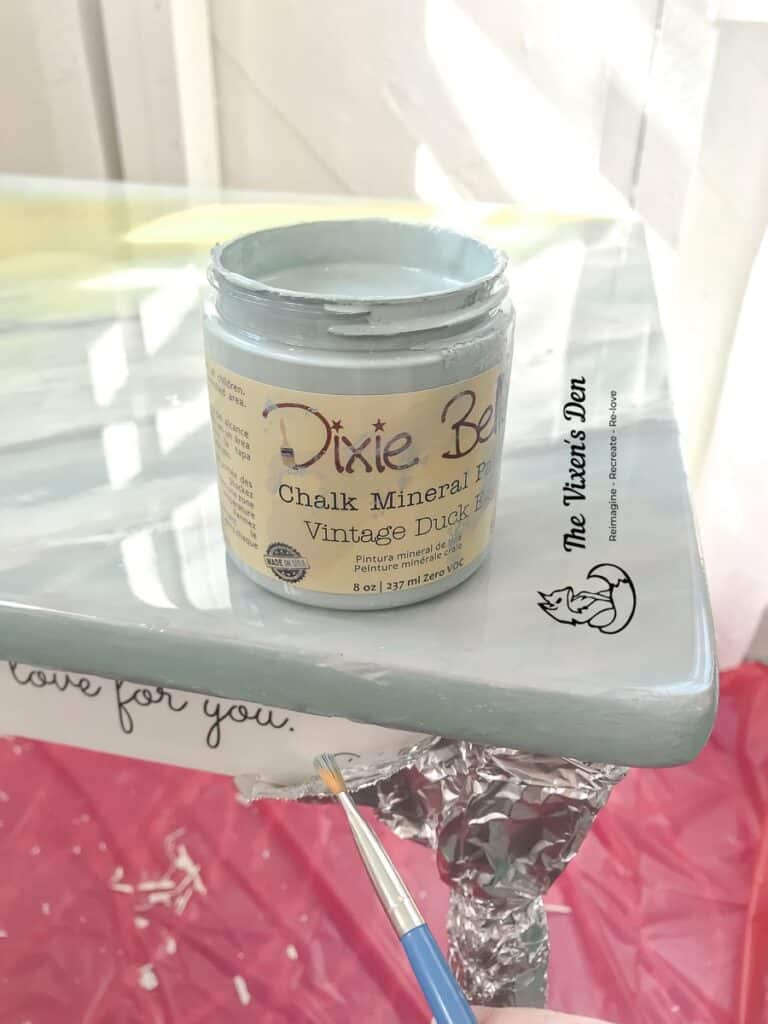
Yellowing isn’t as much of a concern for the project that I chose, as it will be kept inside and it has yellow in the scene already. I did not pour over the white legs or side pieces. This pour was entirely on the tabletop.
So, are you ready to get started? Let’s talk about the supplies that you’ll need.
Tools and Materials
Tools
- Plastic cups or silicone measuring cups
- Plastic paint pail liner or silicone mixing cup
- Silicone stirs
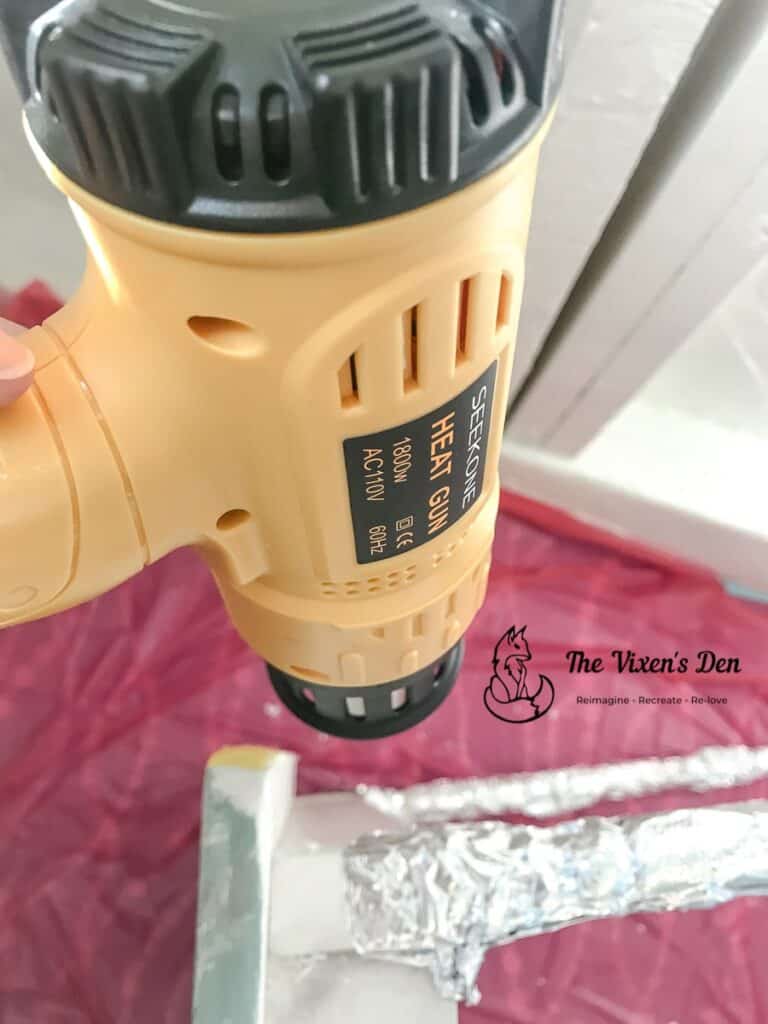
- Heat gun
- Metal Scraper
- Safety glasses
Materials
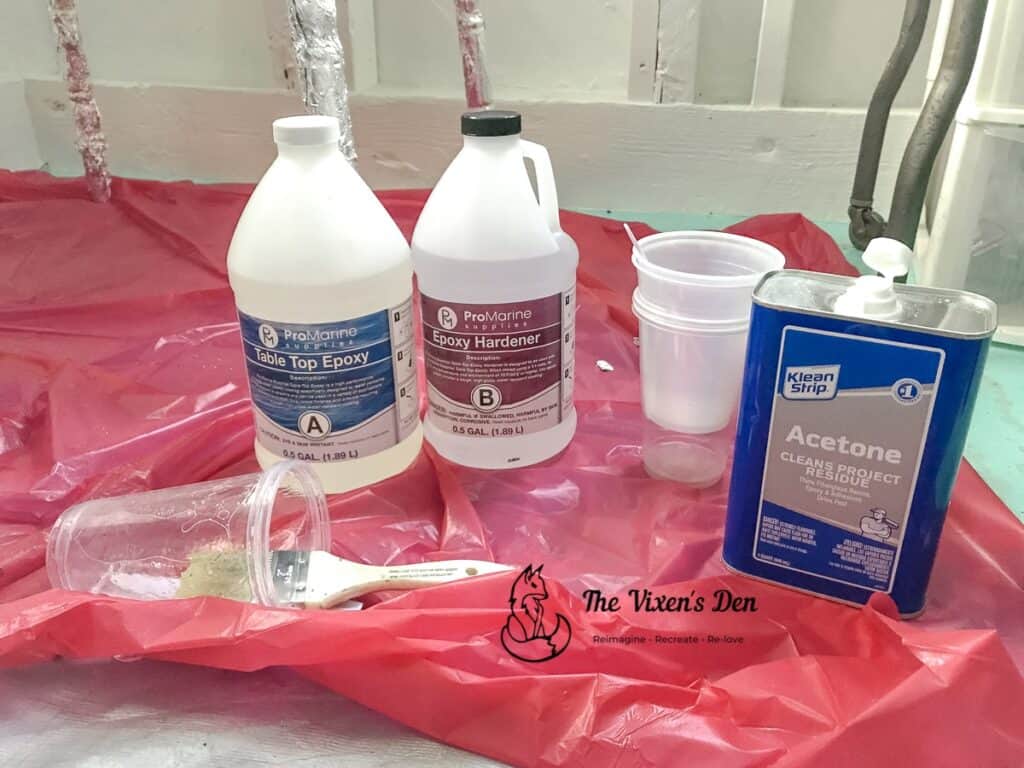
- Epoxy resin
- Disposable tablecloth
- Aluminum foil
- Disposable gloves
Cleaning and Prepping
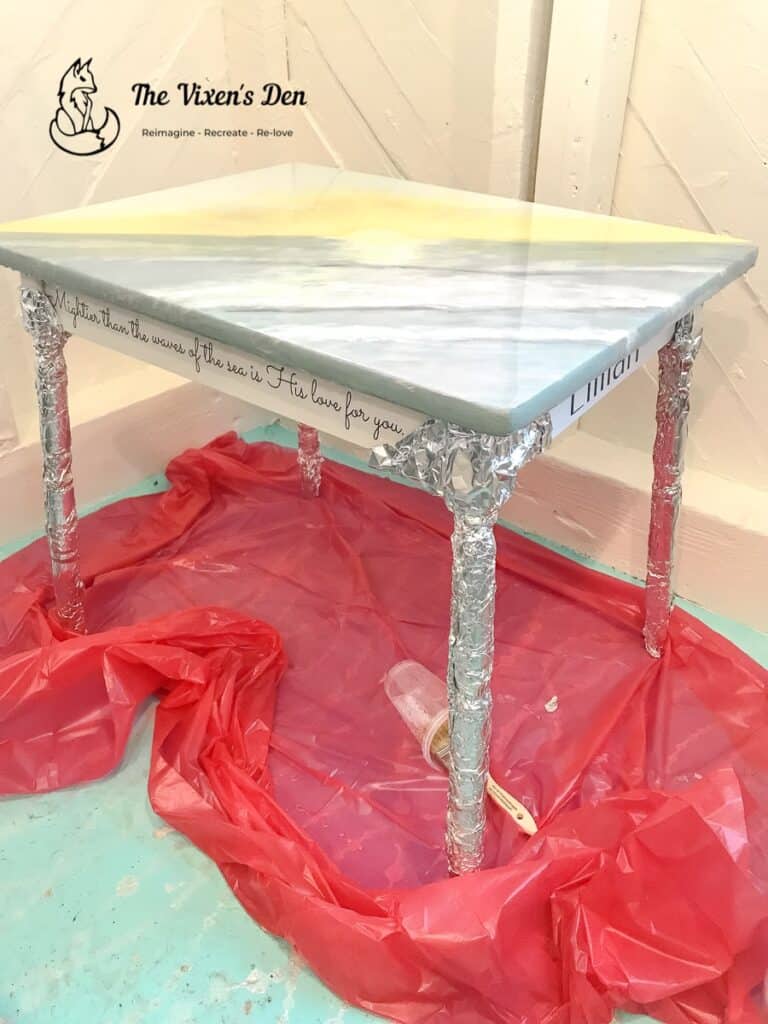
To prepare the project for pouring, I vacuumed the studio and wiped down the tabletop with a tack cloth. I also placed a disposable plastic tablecloth on the floor under the table and wrapped the legs in aluminum foil. Although it appeared that the tabletop extended well beyond the legs, I’m pretty messy. I didn’t want to take the chance of accidentally flicking resin onto areas that I wasn’t pouring.
My studio is always a bit dusty and under attack from ladybugs and other creepy crawlies. Because of this, even though I vacuumed and wiped down the piece before starting, I still ended up with some floaty bits.
Hindsight is 20/20 Tip: Prep your project and pour the resin in a completely clean space that can be closed off and not entered for at least 24 hours.
The working and curing space also needs to stay at around 75 degrees Fahrenheit (24 degrees Celsius) in order to properly cure. Resin cures faster at temperatures above 75 degrees F (reducing your working time) and slower below 75 degrees F.
Finally, check your project to make sure it’s level. The resin is self-leveling, so if the project is not level then the resin will pool towards one side resulting in an uneven finish.
Calculating the Amount of Epoxy Resin Needed
Before jumping into the pour stage, you may want to consider starting with a seal coat. A seal coat does just that, it seals the project with a thin coat of epoxy resin and helps to minimize bubbles during the flood pour. Here are the two formulas to calculate exactly how much material you need for each stage:
Calculating the Seal Coat
To figure out how much material you need for the seal coat, multiply the square feet of the surface (length times width) by 0.025″. It’s a good idea to add 10% to that for waste.
Calculating the Flood Pour
To figure out how much material you need for the flood coat, multiply the square feet of the surface (length times width) by 0.0625″. Then add 10% for waste.
Mixing Epoxy Resin
Resin will stick to almost anything, except silicone and Tyvek (or so I hear). I decided to try using disposable plastic cups to mix the resin so that I could just toss them when I was finished. I had some 16-ounce plastic disposable cups on hand. In hindsight, they weren’t really large enough for this project. I also invested in some acetone to clean up any epoxy that got on my hands or undesirable areas.
Measuring the Epoxy Resin and Hardener
Epoxy resin requires a 50/50 ratio of resin and hardener to create the perfect mix. Being the diligent “follow the rules” kind of gal that I am, I eyeballed the liquids as I poured them into two cups. Then I poured one cup into the other, scraping down the sides.
This is the point that I realized that I needed bigger cups.
Mixing the Materials
The next step is to constantly stir the mixture for 8 minutes. I set the timer on my phone and began to slowly and steadily stir the resin. If you stir it too fast, then it will create more bubbles in the mix, which adds more work during the pour step.
One comment that I came across during my research was that wood stir sticks will cause more bubbles when mixing the resin. So, I ordered a silicone stir stick. The silicone stick didn’t arrive until after the first pour, so I used a plastic knife for the “first pour” (more on that later.)
The plastic knife was very flimsy.
I do not recommend it.
The silicone stir stick was a THOUSAND times better!
Let’s recap the first pour:
- the cups were too full
- the plastic knife was flimsy
- oh, and did I mention that the cups were also flimsy?
We’re off to an awesome start. Let’s get back to mixing.
As I stirred the mixture, it began to turn from clear to milky. According to the instructions, this indicates that the chemical process has begun.
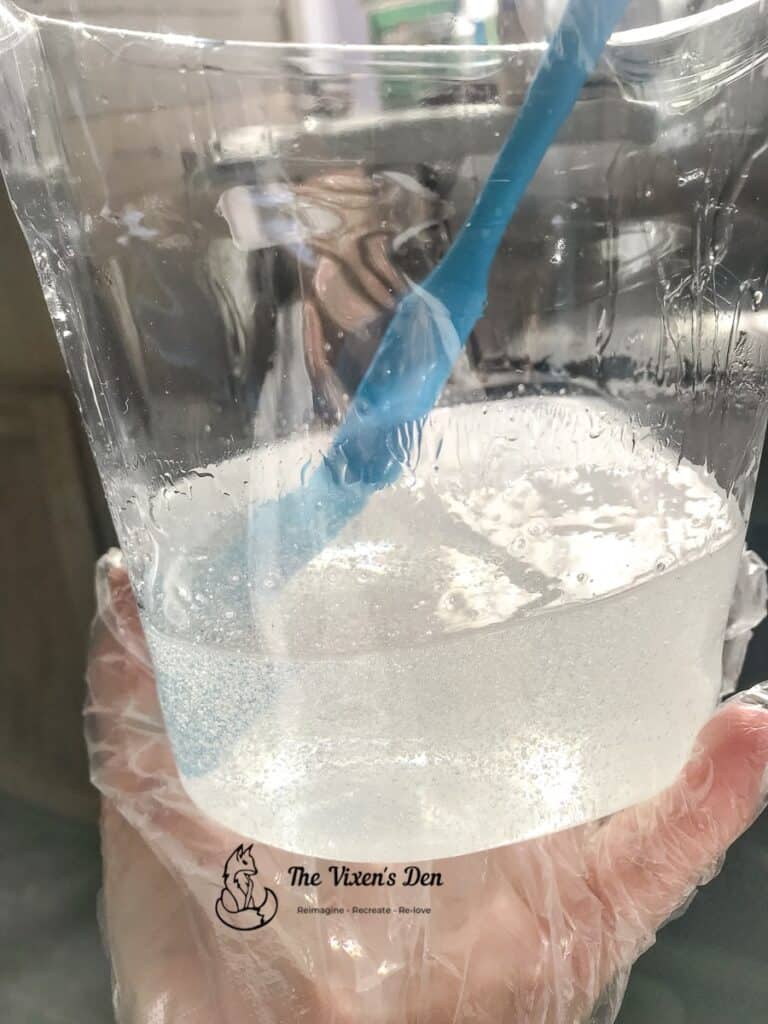
(This image is of the epoxy resin from the second pour, you can see all of the bubbles and the milky color.)
Tips for Success
If I were adding a seal coat, then once the 8 minutes were up I would grab a chip brush and paint it on. Then you would repeat the calculating, measuring, and mixing process to create your flood coat. I, however, had applied a clear coat to the surface, so I was interested to see if that was sufficient to seal the project enough to complete it in one pour. More on that later.
The Epoxy came with an instruction pamphlet and both the pamphlet and the containers refer to the website for additional information, so there’s plenty of support (for those of us who like to follow instructions.)
I also checked out some YouTube videos in advance. The instructions for some types of resin recommend dumping the resin out of the mixing cup and into another cup halfway through the mixing process. That step was not part of the instructions for the ProMarine product that I used. So, naturally, I followed the YouTube process and transferred from one cup to the next for the first pour. I didn’t do that for the second pour, and I didn’t notice a difference.
Flood Pouring Epoxy Resin
Once the timer is up, it’s time to pour!
This part is tough to mess up. Just start at one end and pour the mixture in a zigzag pattern across the tabletop. You don’t need it to be perfectly even, but you also don’t want huge globs on one end and stringy lines on the other.
I held the cup upside down at an angle and tried to scrape out as much as I could with the plastic knife. Once I had scraped out as much as possible, I tossed the plastic cup in the trash.
Leveling Epoxy Resin
The next step is to very gently encourage the resin to level. I used the same motions used when frosting a cake, and lightly swept the knife over the surface of the resin. Starting at the center, I filled in any gaps, then began gently sweeping the resin towards the edge of the tabletop.
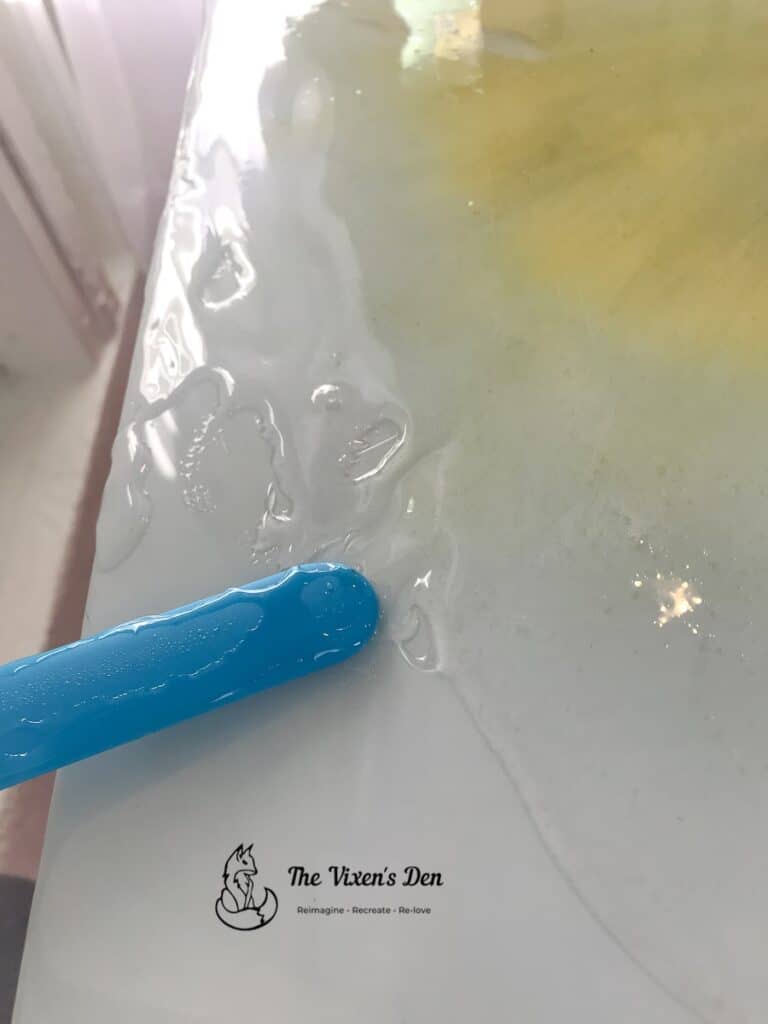
(I didn’t have very many pictures from the first pour, so this image is from the second pour. Same principle, better tool.)
It’s very important to barely touch the surface of the resin because it does self-level and you don’t want to overwork the product and end up with gouges.
Popping Resin Bubbles
Finally, grab your heat gun, and let’s pop some bubbles!
Popping bubbles with the heat gun is actually really fun. By waving the heat gun across the surface of the resin, the bubbles draw to the surface and disappear right before your eyes! You can also encourage the resin to move towards any spots that are still leveling out so that nothing gets missed.
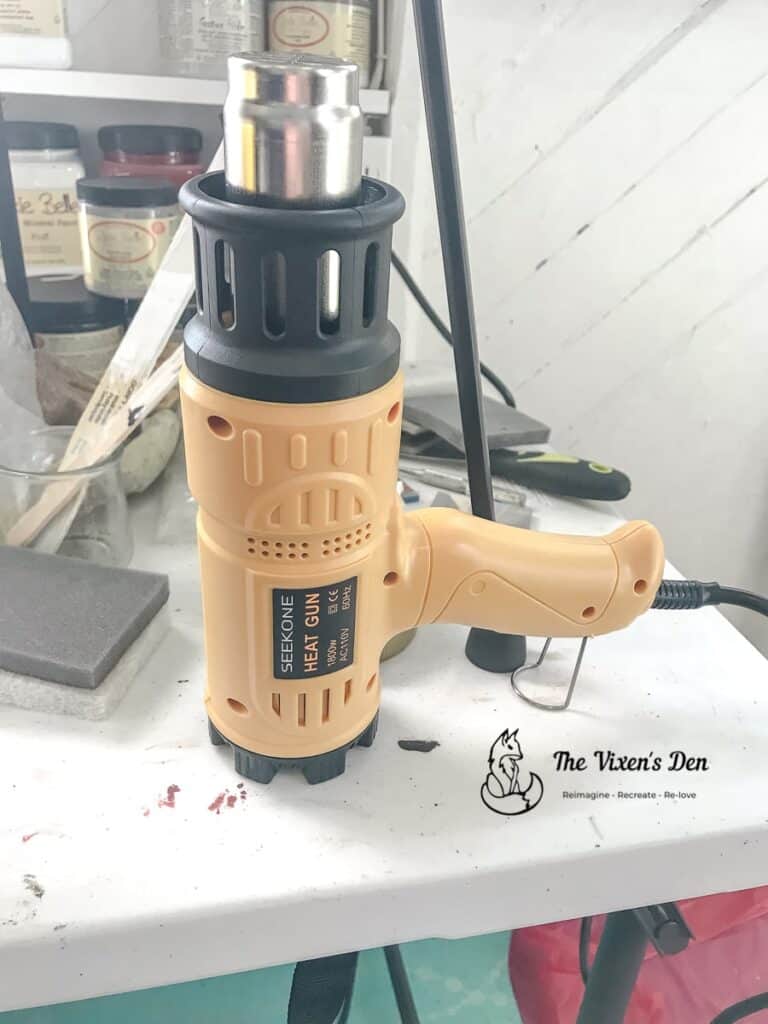
I recommend using the lowest setting possible and holding the heat gun about 8 inches from the surface of the resin. I believe that I ended up having to repour because of two factors:
- Overworking the resin
- Holding the heat gun too close to the surface at too high of a setting
You’ll want really good lighting for this step so that you can see the bubbles. I missed some during my first pour, so they are now forever encased in resin on the surface of the tabletop.

You’ll also want to have some tweezers on hand for any hairs or floaty bits that suddenly appear. I think resin has the same attraction as a pair of white pants to a puppy running through mud puddles.
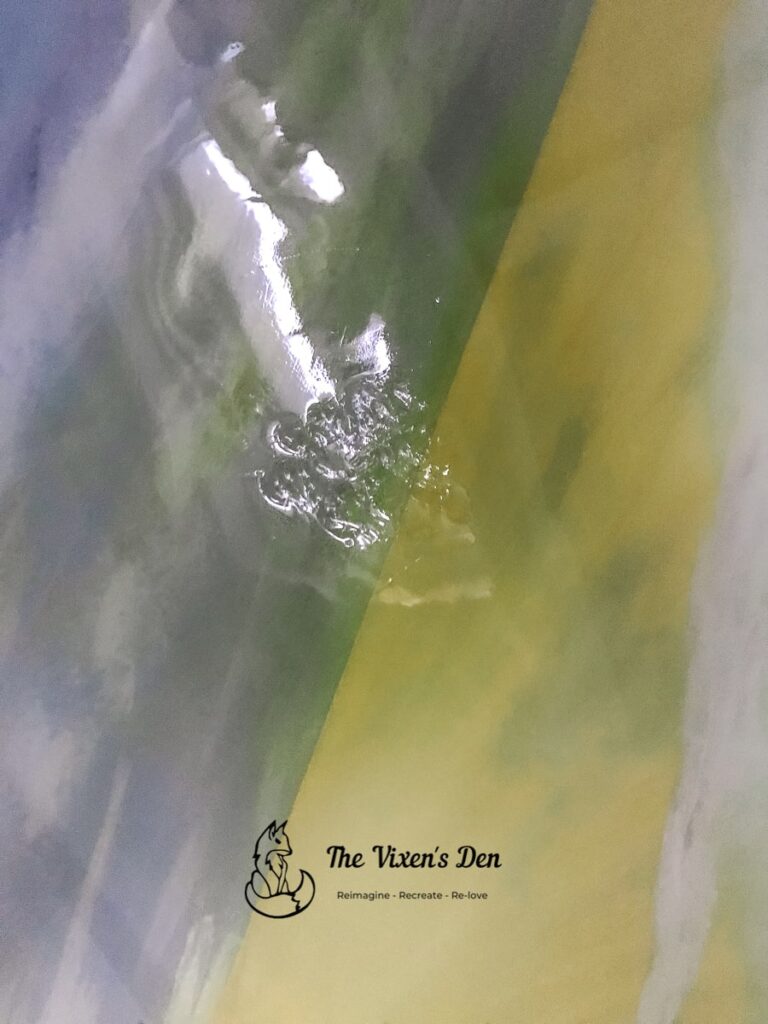
Smoothing Out the Edges
As I waved my magic heat gun wand to vanish bubbles, I also used the silicone scraper to smear the resin along the lip and even it out. I noticed that the resin would flow in drips down the lip, instead of evening out, so it needed a little extra help there.

The ProMarine Epoxy Resin has a working time of 40 minutes. Once you reach 40 minutes, you risk scorching the resin if you continue to use the heat gun and the drips along the edges turn gummy. This is the point where you want to stop. Put down the heat gun, seal up the space, and cross your fingers that no ladybugs find their way inside.
Cleaning Up and Finishing Off the Resin Pour
The next day I inspected my handiwork! And was seriously disappointed.
Not only was there a speck of something that had fallen down into the resin after I closed up the studio, but there were also bubbles, several ripply spots from the heat gun, and even a couple of spots where the resin completely missed and I could see bare paint!
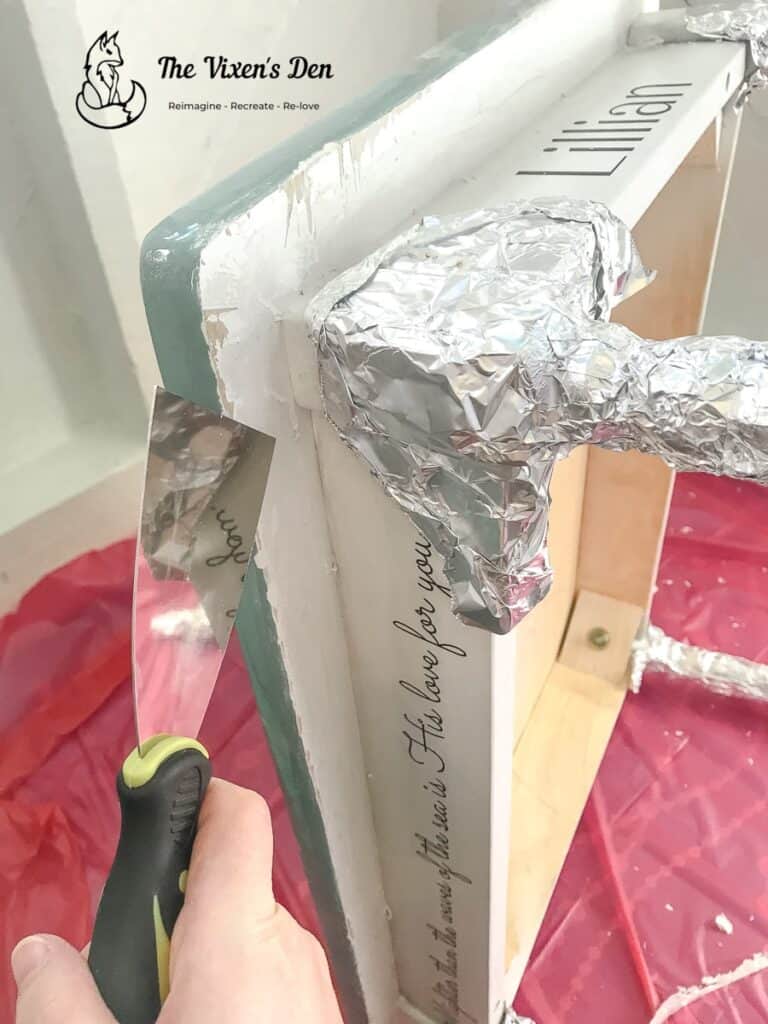
In hindsight, it appears that a resin seal coat would have been a good time investment. As it was, I couldn’t do anything about the speck or the bubbles, but I could fill in the rippled spots and the empty holes. But first, I had to scrape the drips off of the edges.
Using the heat gun, again on the lowest setting, and a sturdy metal scraper I softened the resin with the heat gun and then began scraping the drips from the underside of the table. Here is where I learned another important lesson: resin will chip if you scrape parallel to the table edge.
Hindsight is 20/20 Tip: Always scrape the resin drips perpendicular to the table edge, starting at the edge, cutting into the resin, and scraping towards the frame of the table. This will minimize chipping.
Once all of the drips were scraped off, I touched up the chips on the table edge, let it dry, and began the second pour that same day.
Changing Things up for the Second Epoxy Resin Flood Pour
For the second pour, there were a few changes.
- My order of silicone measuring cups and stirs had arrived, so I used the silicone measuring cups to measure the materials.
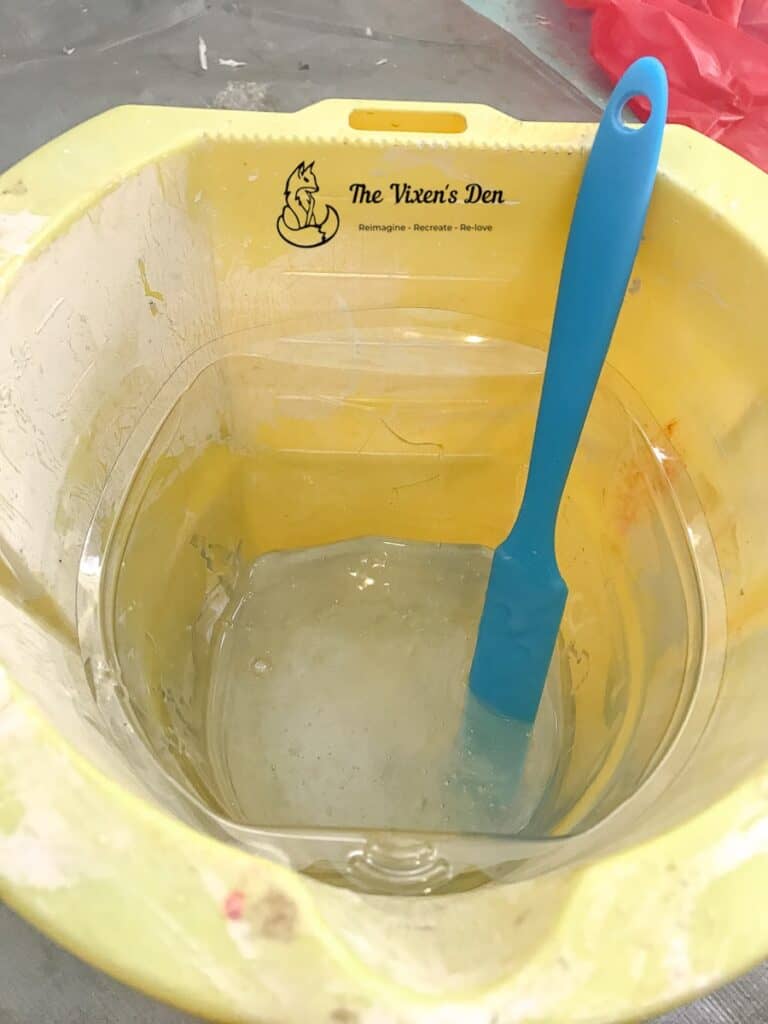
- I also picked up some paint pail liners and used one of those as the bowl to mix the resin.
- My fancy silicone spatula made stirring SO much easier!
- Finally, I used a lower setting on the heat gun, kept the nozzle further away from the resin (about 8 inches), and stepped away around the 40-minute mark.
I believe the second pour was a much greater success.
Epoxy Resin Reveal and Takeaways
Are you ready to see the before and after?
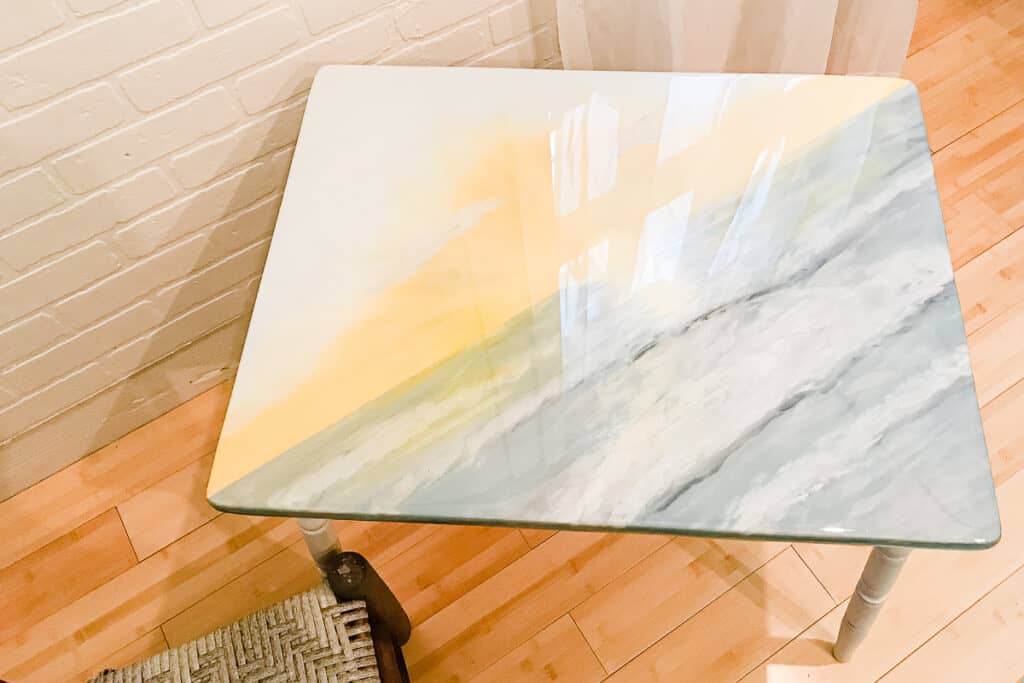
The resin really helped to bring out the colors in the paint, but the glare from it also makes the design more challenging to see. Considering how well it is now protected, however, I’m counting this one as a win.
So, here’s wrap up of the “Hindsight is 20/20” realizations from this little misadventure:
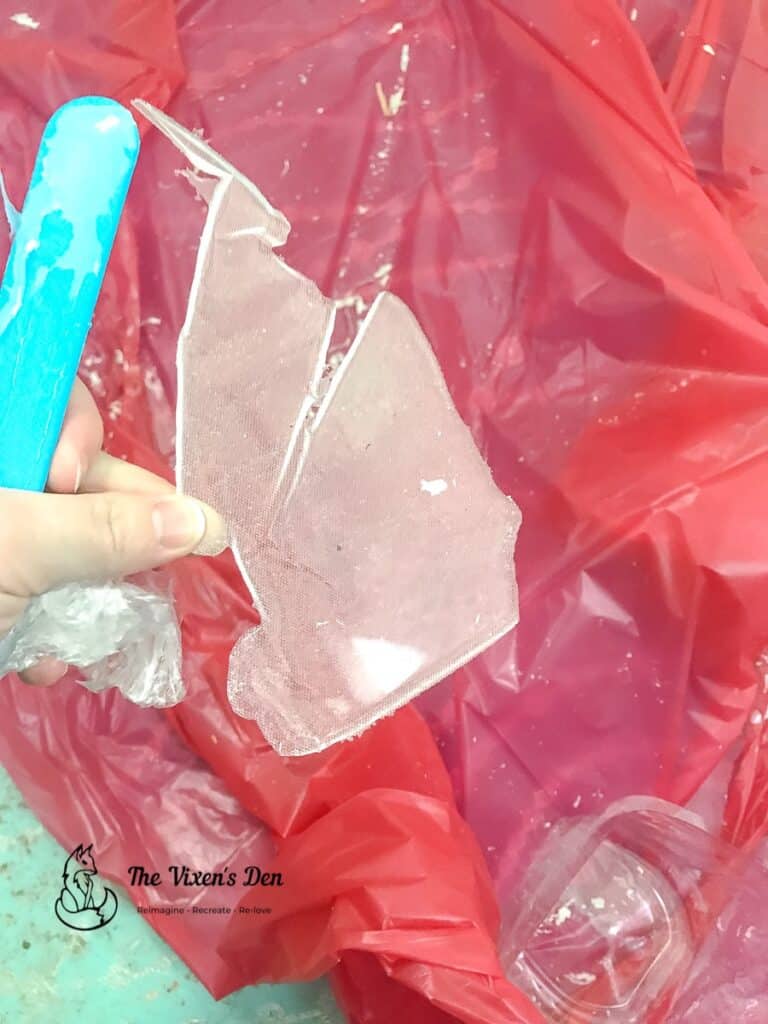
What tools do I really need for this project? If you don’t buy anything else, invest in a tall silicone stir and paint pail liners. These two products made a huge difference in my ability to stir the resin properly and not make a huge mess in the process. And, it’s a fun bonus that you get to peel sheets of resin off of your silicone stir once it’s dried….
What tools should I not use? Don’t use a chip brush or a wooden stir. The natural bristles and wood seemed to encourage bubbles, which is another reason that it’s recommended to seal a natural wood surface before pouring resin. Tiny particles of air are trapped in the surface and they make their way out as the resin cures.
Can I pour resin inside my house? Resin is stinky, so if you’re sensitive and can’t ventilate because it’s 40 degrees outside (remember the resin needs to be kept around 75 degrees to properly mix, pour, and cure), consider wearing a respirator. I didn’t, but we’ve already established that I’m all about the risk-taking over here.
How do I prevent dust and bugs from landing in my project? I’m seriously considering a pop-up shelter like this one for future pours. It will also come in handy for painting projects, so it’s definitely a multi-functional tool.
How shiny is the surface? As you can see from the pictures, this is not a matte finish kind of a project. Resin makes a beautiful shiny finish! On one hand, it’s wonderful knowing that the painting is so well protected. On the other hand, it’s a little bit of a bummer that you can only really appreciate it in a low-light situation.
How durable is the resin surface? This piece has only been in use for a few months, so durability is yet to be determined. However, from what I’ve seen so far, it’s pretty low maintenance. I also love the fact that it’s food-safe, so mom and dad don’t have to worry about their kiddos eating off of it.
This project was a fun opportunity to learn about pouring epoxy resin on a tabletop. It created a beautiful piece that I hope will be enjoyed for a very long time. Have you used epoxy resin before? Let me know about your projects and any tips that you have in the comments below.
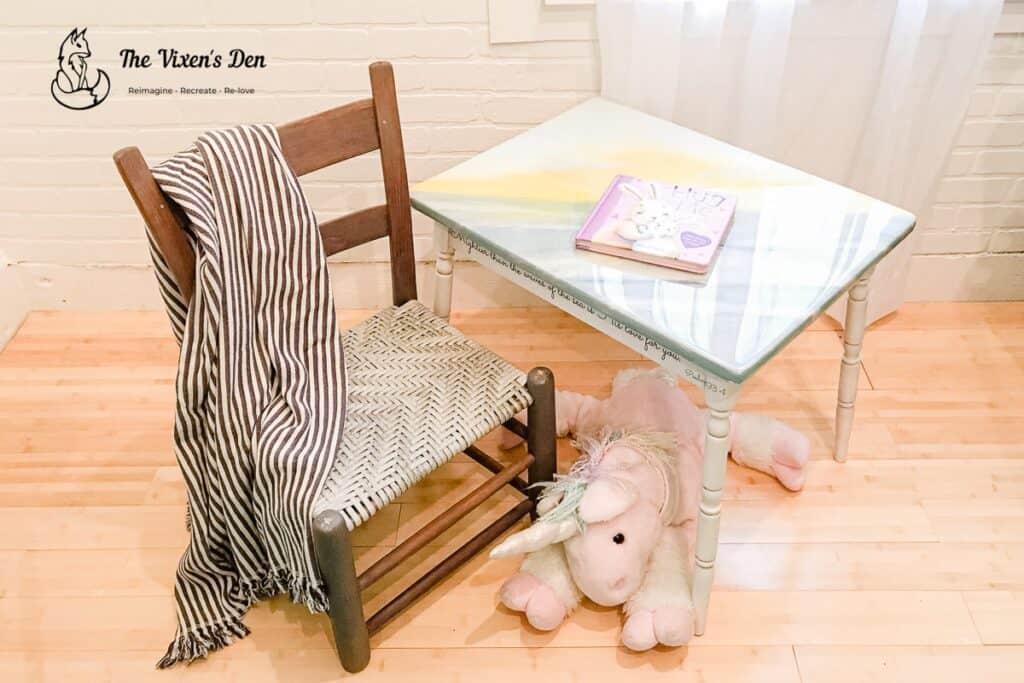
Thank you for stopping by! Don’t forget to sign up so you hear all about the next misadventure. Until then, you might enjoy seeing the matching yard sale ladderback chair, complete with a woven seat.
Have a wonderful day!


I still love this table and the added resin top looks amazing! Thanks for sharing this tutorial with us over on Crafty Creators. Having the hindsight tips are great, and peeling off the dried resin does look so, so satisfying lol. I haven’t yet used resin, but this will be great help when I get a chance to add another skill set to my tool belt!
XOXO,
Niki
Becky,
That was cool. I love the shine on the table. Do you know if polyurethane resin would be more difficult to use than the epoxy resin?
It’s all new to me – but I like all the choices to get a permanent protection on the top. Made me think about a bureau I have that needs a makeover. I had originally used a wax on it but of course over time my daughters & now grandkids have messed up the top.
Thanks, babe!!
😘
What an excellent question! Polyurethane resin is actually highly recommended for outdoor applications because it has even less of a tendency to yellow. Sounds like I need to start a new project! Thank you so much for the question, sweet!