Beginner’s Guide to Identifying Furniture Finishes
Ready to transform your furniture? Before you jump into your refinishing project, it’s crucial to know what finish you’re working with! While this step is often overlooked by beginners, testing the existing finish is a game-changer. It helps you choose the best method for cleaning, repairing, or stripping your piece so you can achieve flawless results every time!
Why Testing Finishes is a Total Game Changer
If you’re new to furniture refinishing, the idea of testing might seem like an extra step you don’t need. But trust me, it’s worth it!
Testing the finish ensures you don’t accidentally damage your piece or waste time using the wrong methods. Plus, it saves you from unnecessary sanding or stripping and helps you make sure the new finish will stick perfectly. In short, it’s your secret weapon for achieving beautiful, long-lasting results!
Still not convinced? Just check out all of these benefits:
- Prevents Damage – Using the wrong stripping or refinishing method can ruin the piece.
- Saves Time & Effort – Avoid unnecessary sanding or stripping by choosing the correct approach.
- Preserves Historical Value – Some older finishes may be worth restoring rather than removing.
- Ensures Compatibility – Helps determine the best refinishing products for adhesion and durability.
- Avoids Unexpected Reactions – Some finishes react poorly to certain solvents or new coatings.
- Improves Final Results – Properly identifying the finish ensures a smooth, professional-looking outcome.
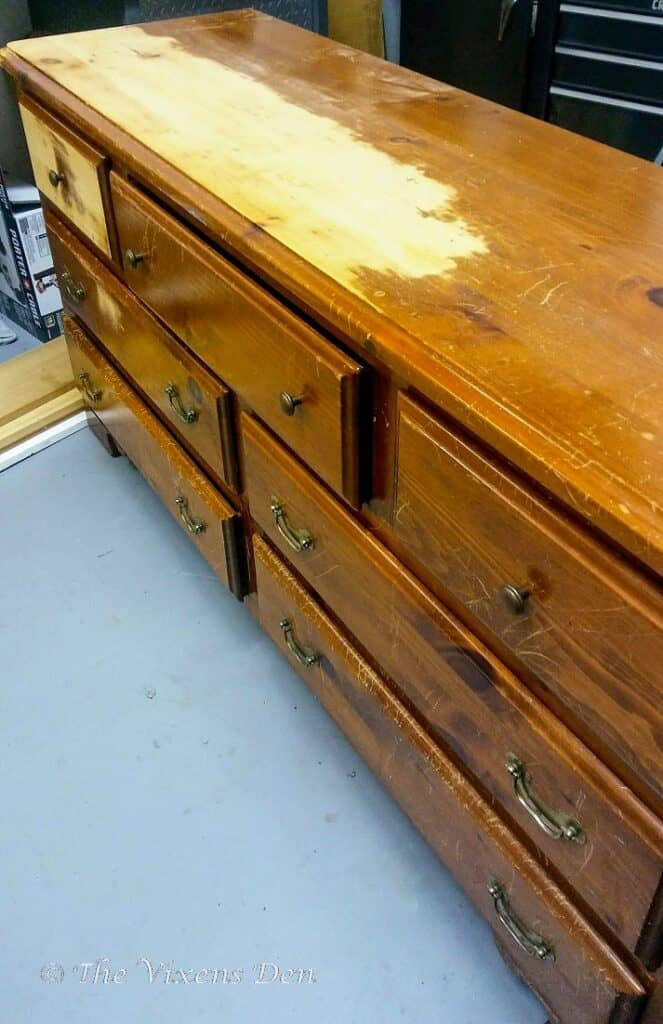
How the Wrong Refinishing Method Can Ruin a Piece
Using the wrong refinishing method can cause serious damage, including:
- Stripping Away Character and Value – Antique and vintage furniture often has original finishes that add to their authenticity. Harsh chemical strippers or aggressive sanding can erase intricate patinas, wood grain details, or historic craftsmanship.
- Causing Uneven or Patchy Results – Some finishes dissolve differently under solvents. The wrong chemical or sanding method may strip some areas completely while leaving others intact, creating a blotchy, uneven surface.
- Weakening the Wood – Excessive sanding or using water-based stripping methods on certain woods can raise the grain, weaken delicate veneer layers, or even cause warping and cracking.
- Preventing Proper Adhesion – If a new finish isn’t compatible with the old one, it may not bond correctly, leading to peeling, bubbling, or an overall rough finish that requires starting over.
- Unwanted Chemical Reactions – Some old finishes, like oil-based varnishes, can react poorly with new water-based products, causing discoloration, streaking, or a sticky, uncured surface.
- Over-Saturating Wood with Chemicals – Strong solvents can penetrate too deeply, damaging glue joints, softening adhesives, or even dissolving decorative inlays or painted details.
- Losing Unique Wood Tones and Grain Patterns – Over-stripping or sanding can remove natural oxidation and aging effects that give older furniture its depth and beauty, leaving it looking lifeless or artificial.
As you can see, it’s easy to misstep and cause disastrous results by using the wrong stripping method. Taking the time to test first saves both time and frustration later! Let’s walk through the simple steps to identify common furniture finishes with confidence!
But first, some mandatory legalese for your reading pleasure…
THIS POST CONTAINS AFFILIATE LINKS TO PRODUCTS. IF YOU PURCHASE PRODUCTS THROUGH THESE LINKS, THEN I MAY RECEIVE A SMALL COMMISSION AT NO COST TO YOU.
I ONLY RECOMMEND PRODUCTS THAT I USE AND/OR HAVE RESEARCHED AND WOULD USE.
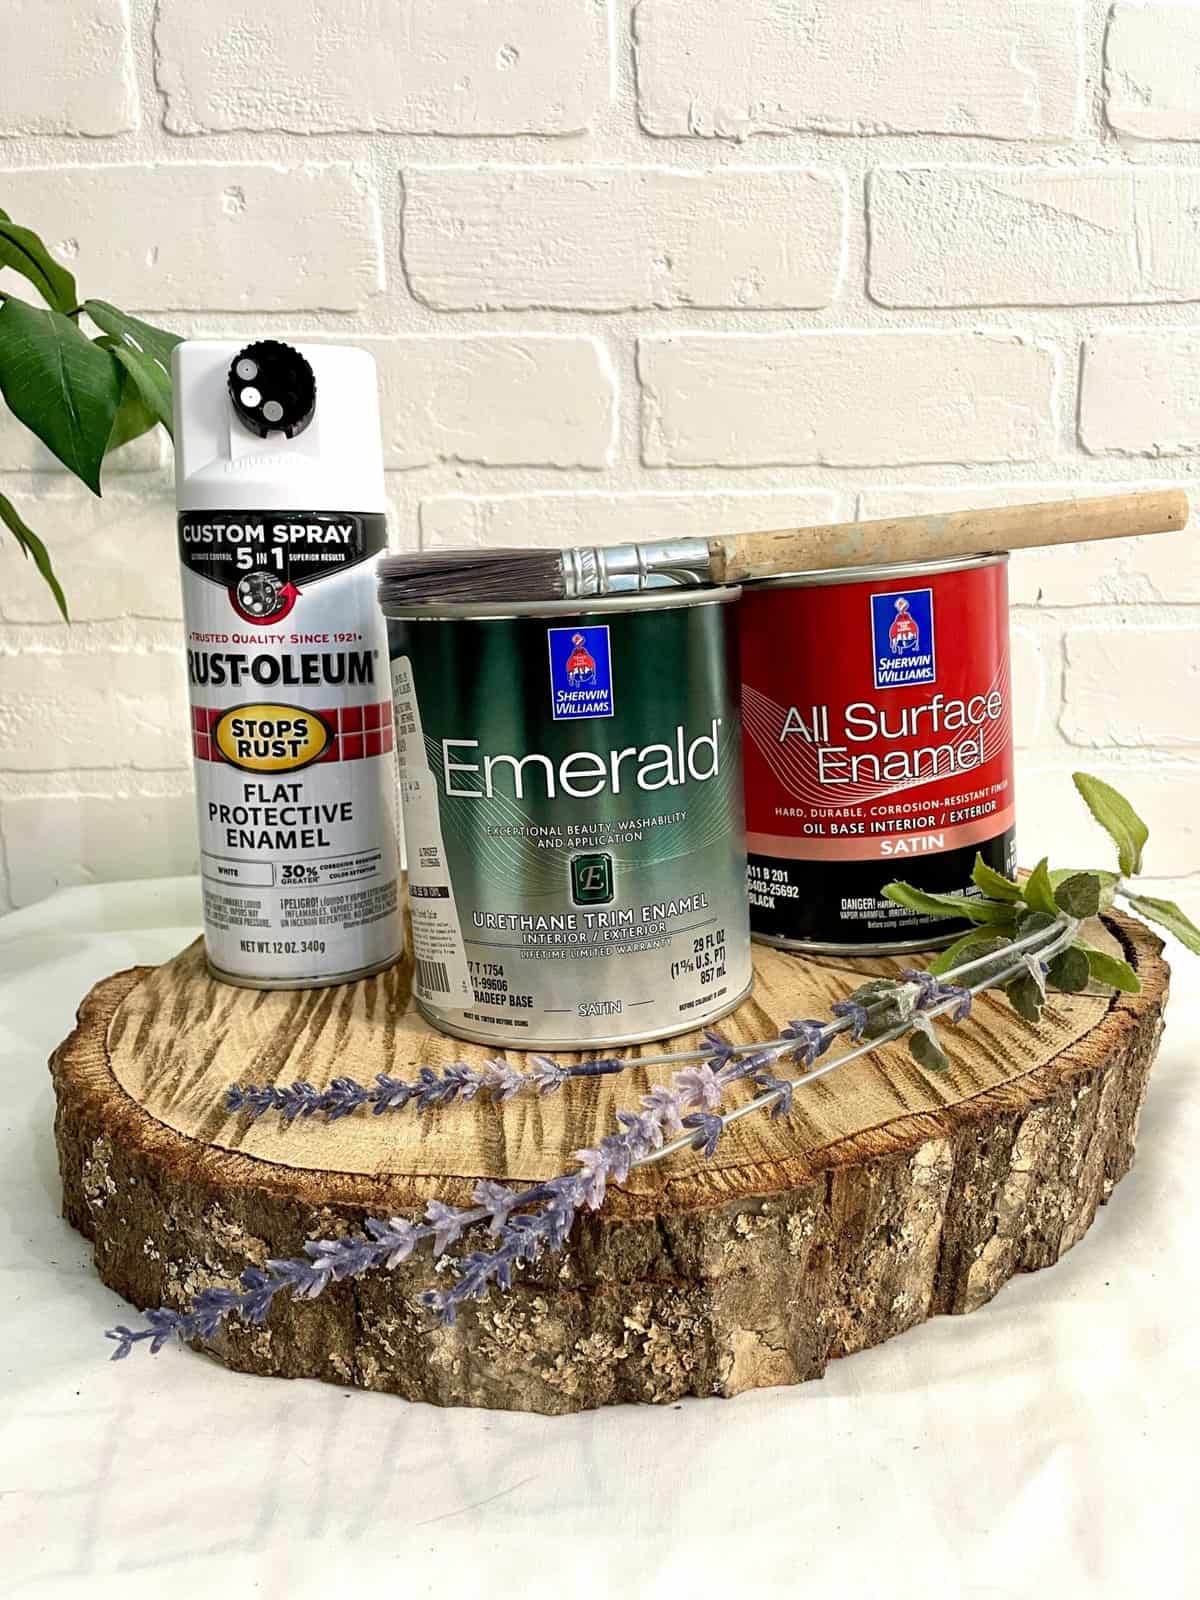
Tools and Materials
Tools
- Lint-free cloths or cotton swabs
- A small, inconspicuous test area on your furniture piece
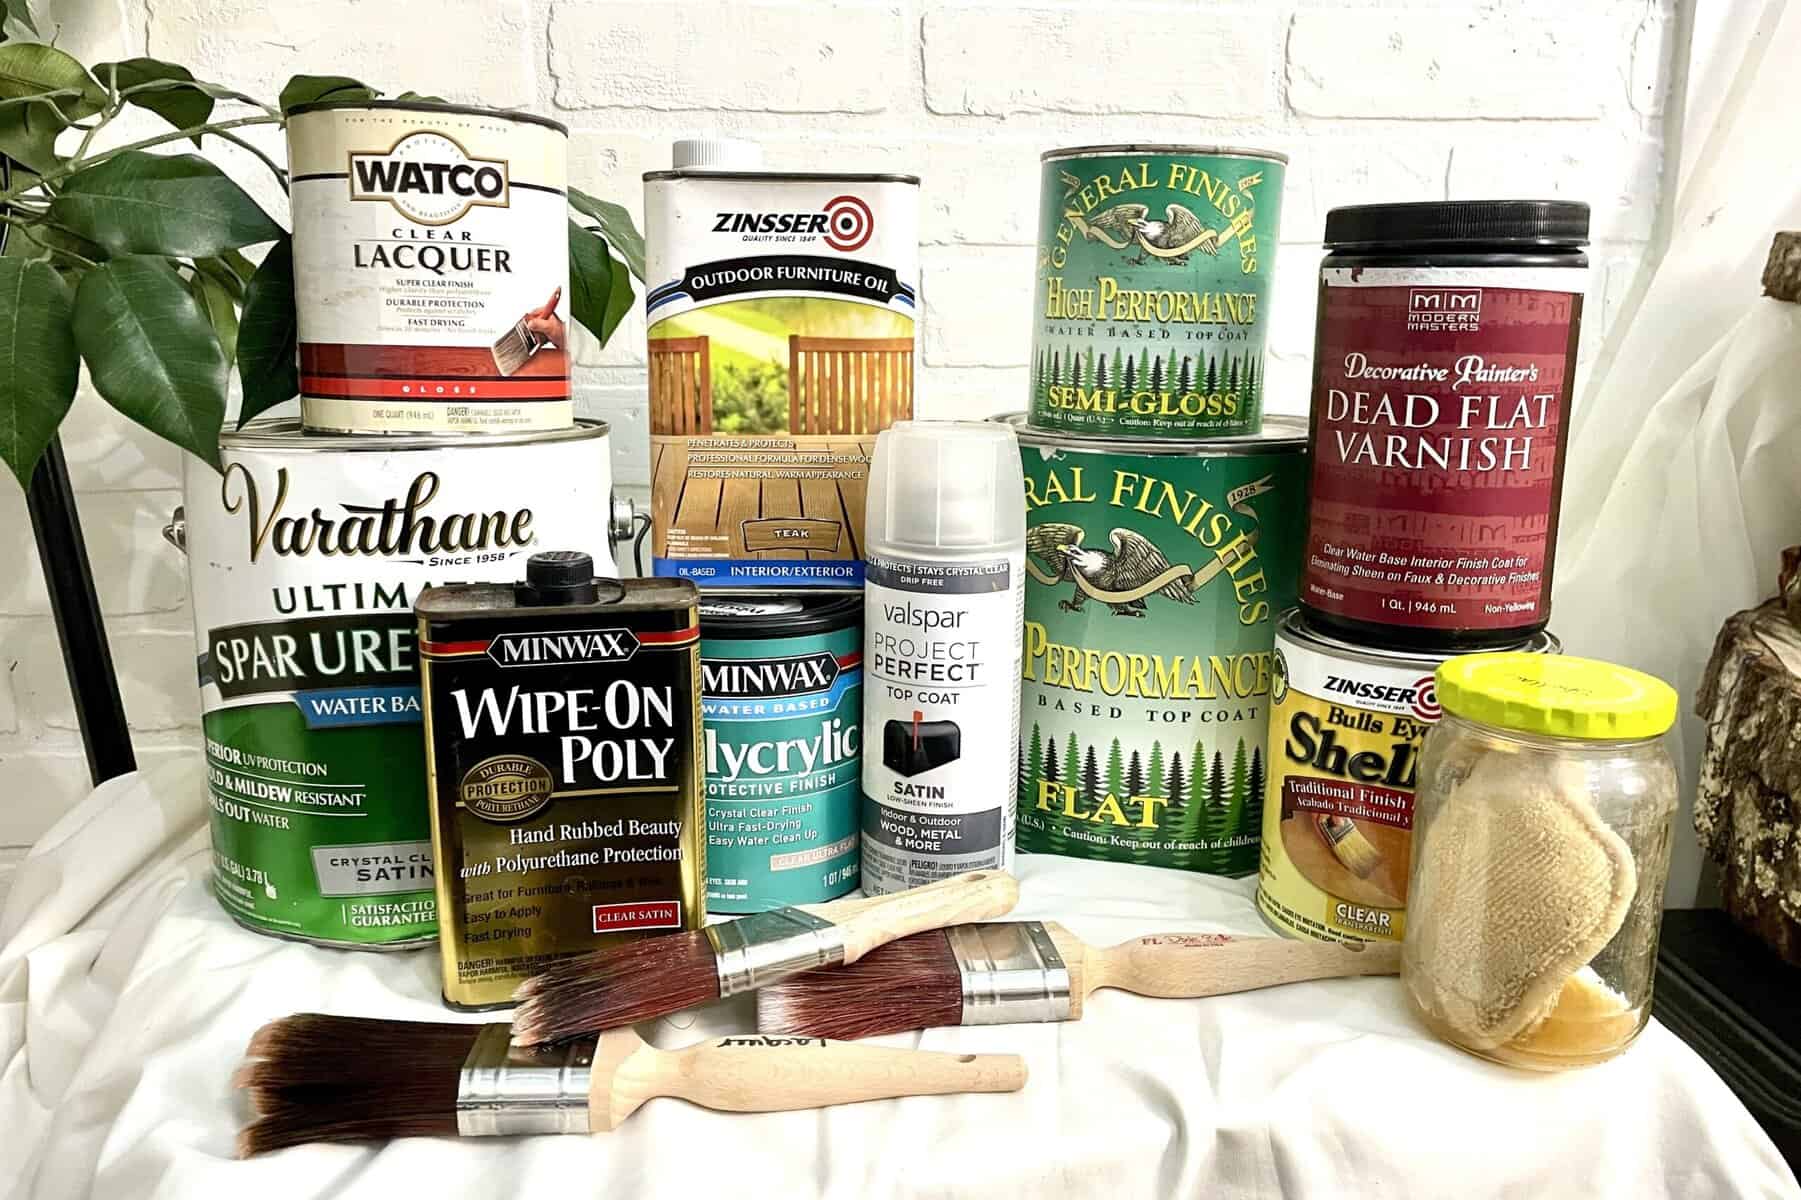
Materials
- Mild soap
- Distilled water
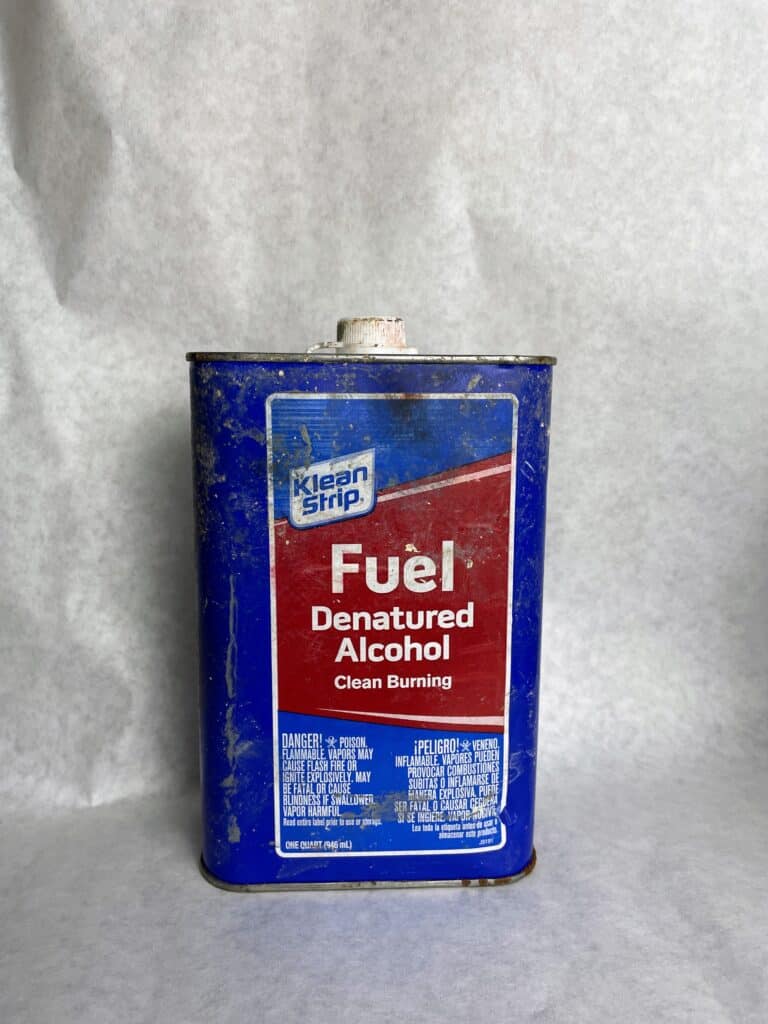
- Denatured alcohol
- Lacquer thinner
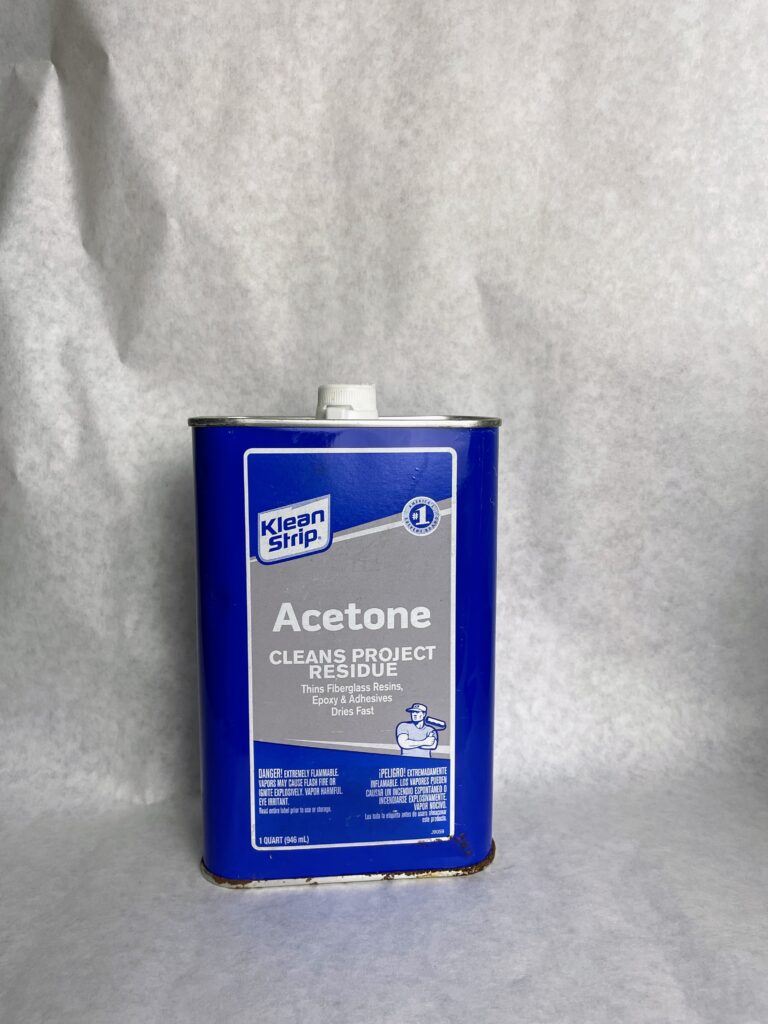
- Acetone
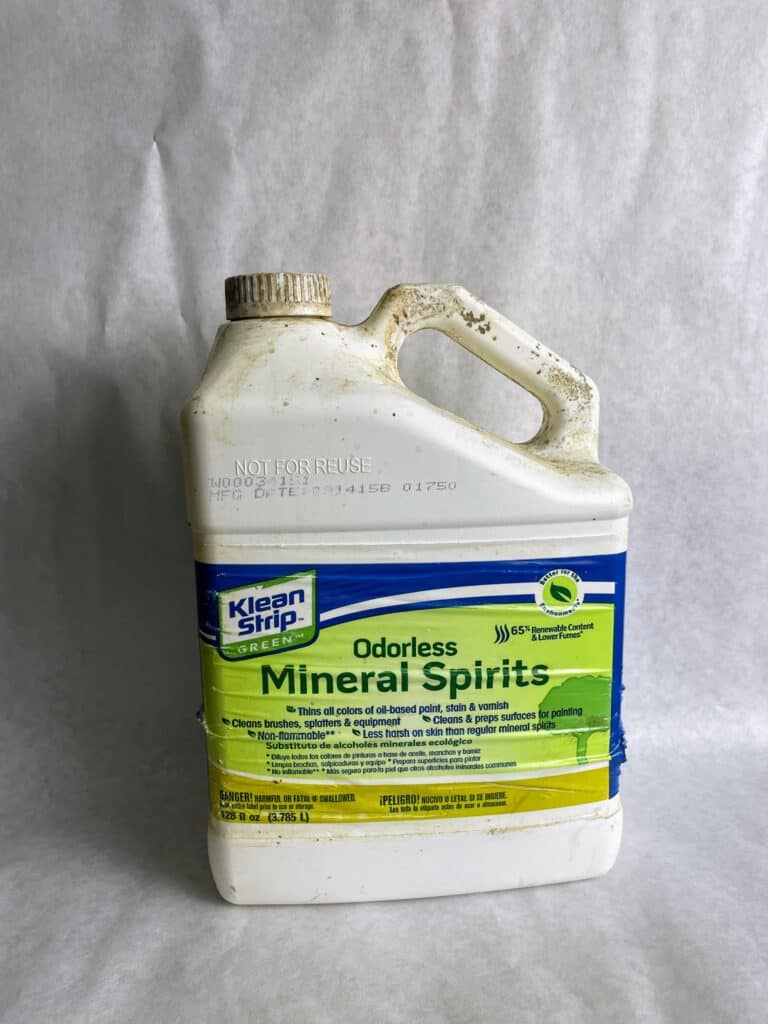
- Mineral spirits
Cleaning & Prepping
Start by giving the piece a gentle cleaning. Mix mild soap with distilled water and use a lint-free cloth to wipe down the surface. This removes dirt and grime that could interfere with the test results. Let it dry completely before proceeding.
Pro Tip: When cleaning with water, distilled water is preferable over tap water. Tap water contains minerals such as chlorine, calcium, and magnesium, which can leave behind residues and watermarks. Distilled water, however, is free of these minerals and impurities, making it gentler on your furniture and ensuring a streak-free, pristine finish.
Perform the Alcohol Test (For Shellac Identification)
Dip a cotton swab in denatured alcohol and rub it on a hidden part of the furniture.
- If the finish dissolves or becomes tacky, it’s likely shellac.
- If nothing happens, move on to the next test.
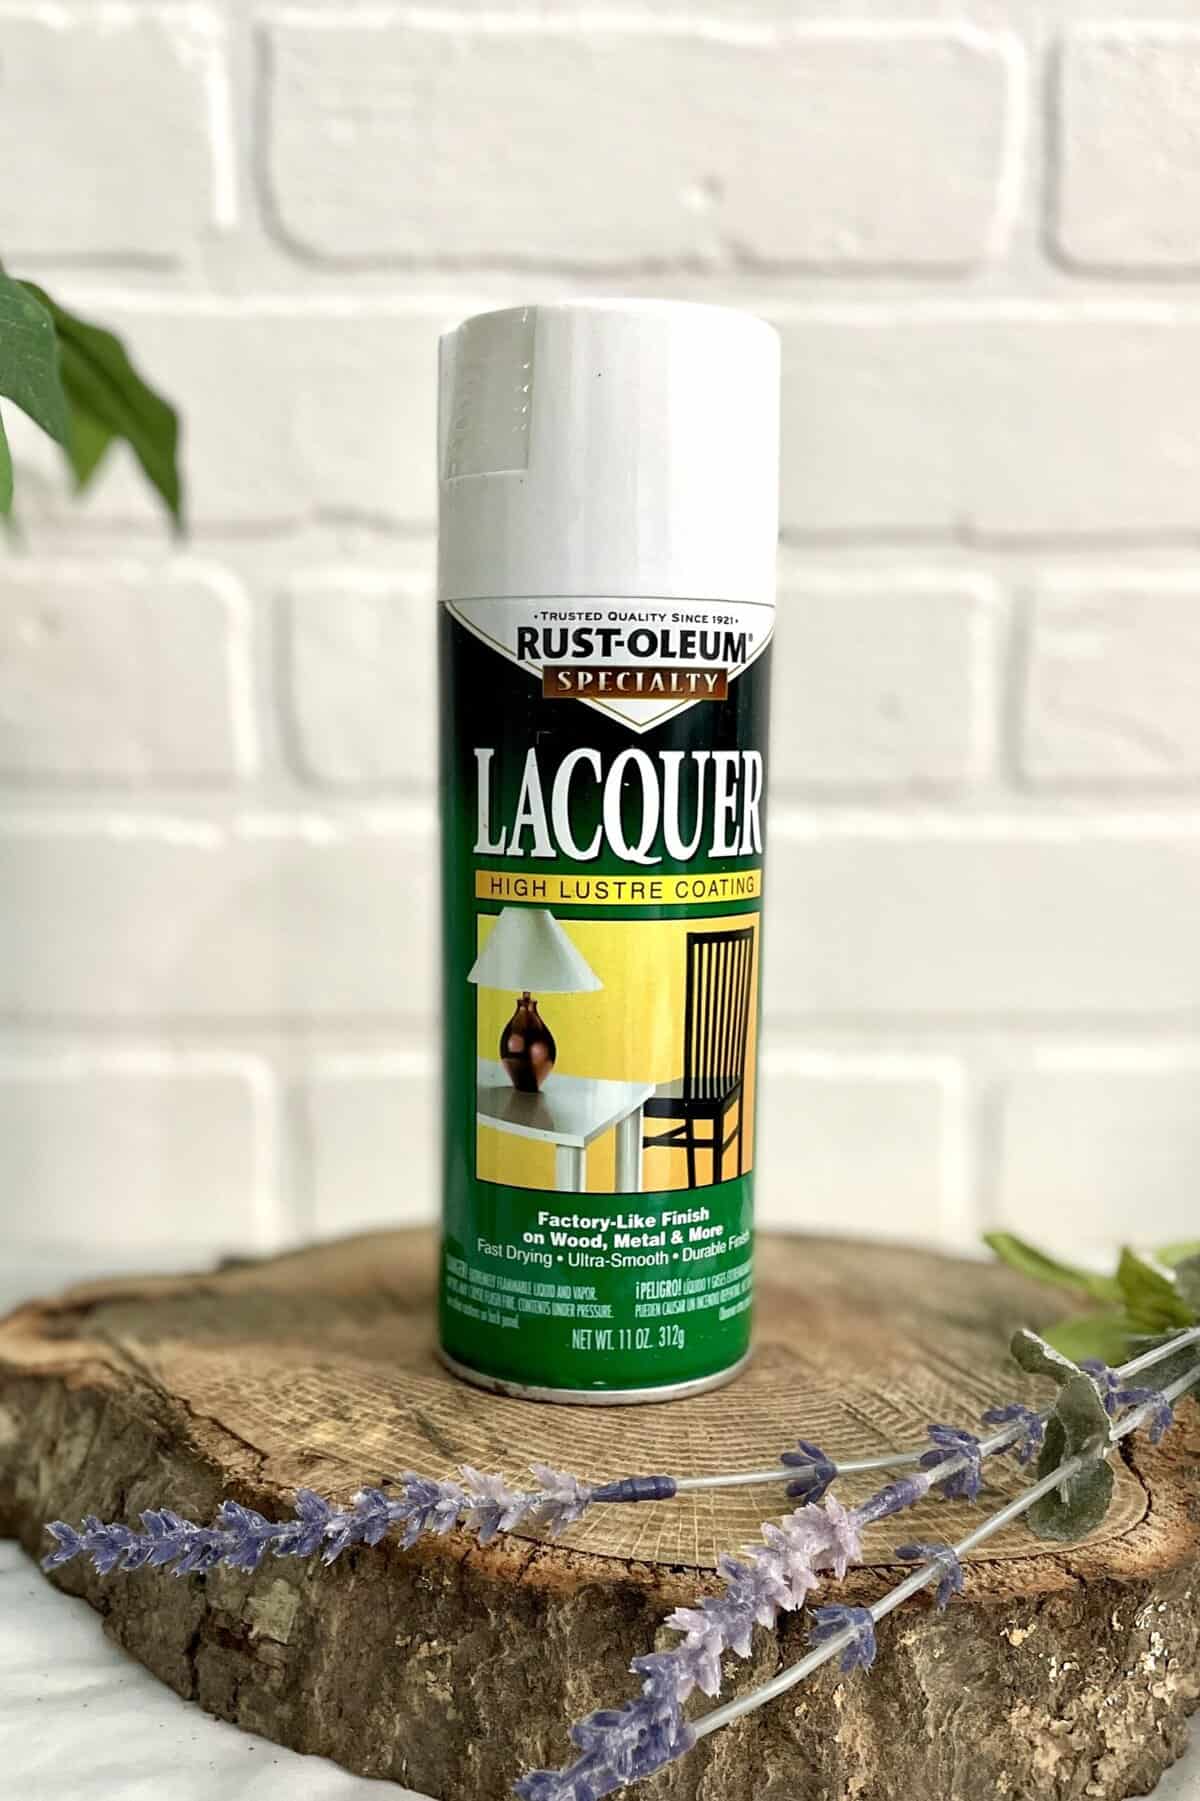
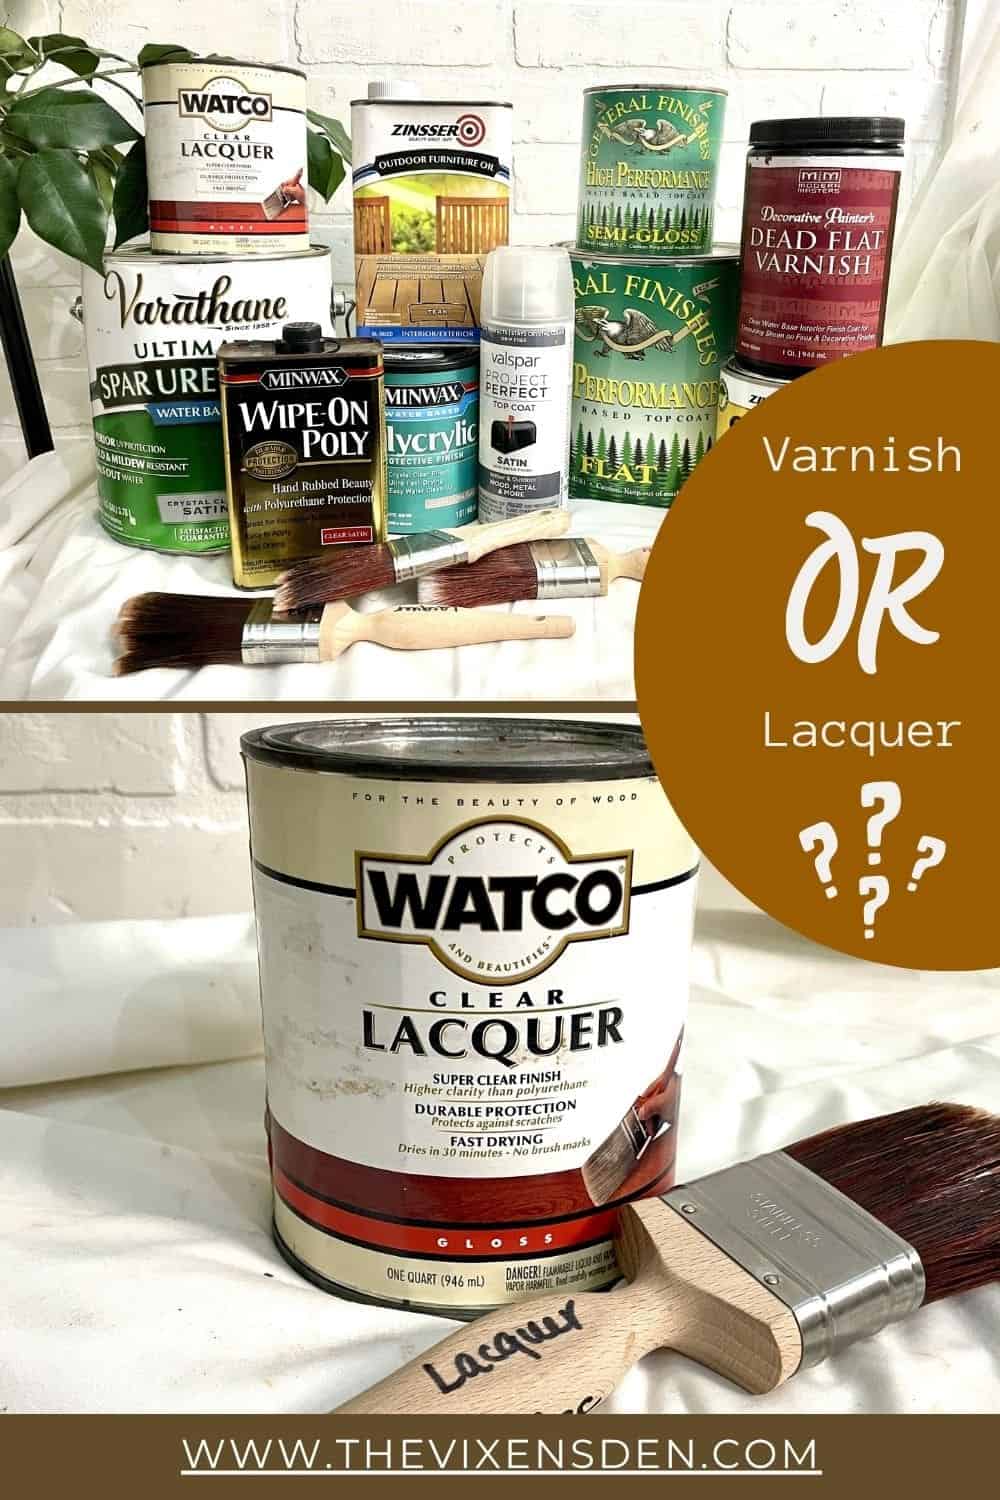
Perform the Lacquer Thinner Test (For Lacquer Identification)
Apply a small amount of lacquer thinner to another hidden spot.
- If not, continue testing.
- If the finish softens or dissolves, it is lacquer.
Perform the Acetone Test (For Varnish vs. Polyurethane)
Apply a small amount of acetone to the surface using a cotton swab.
- If the finish remains unchanged, it is likely varnish or polyurethane.
- If it softens slightly but doesn’t fully dissolve, it’s probably polyurethane.
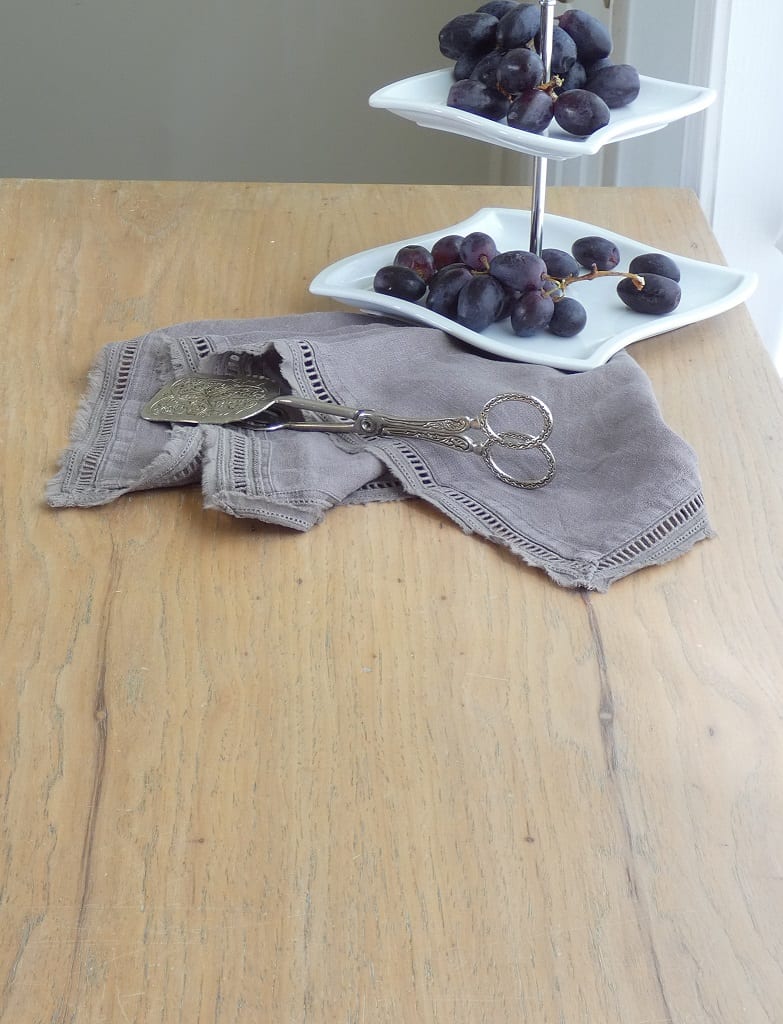
Perform the Mineral Spirits Test (For Oil Finishes)
Dampen a cloth with mineral spirits and rub it onto the surface.
- If the finish absorbs some of the liquid and appears to darken slightly, it likely has an oil finish (such as tung oil or Danish oil).
- If the finish remains unchanged, it’s probably a hard film finish (like lacquer or polyurethane).
Observe and Touch for Wax or Oil Finishes
- Wax Finish: Rub the surface with a clean cloth. If it smudges or feels slightly greasy, it may have a wax coating.
- Oil Finish: If the surface has a slightly matte, soft feel and doesn’t form a solid film, it’s likely an oil finish.
Identify Painted or Epoxy-Coated Finishes
If none of the above tests affect the finish, consider whether the piece has:
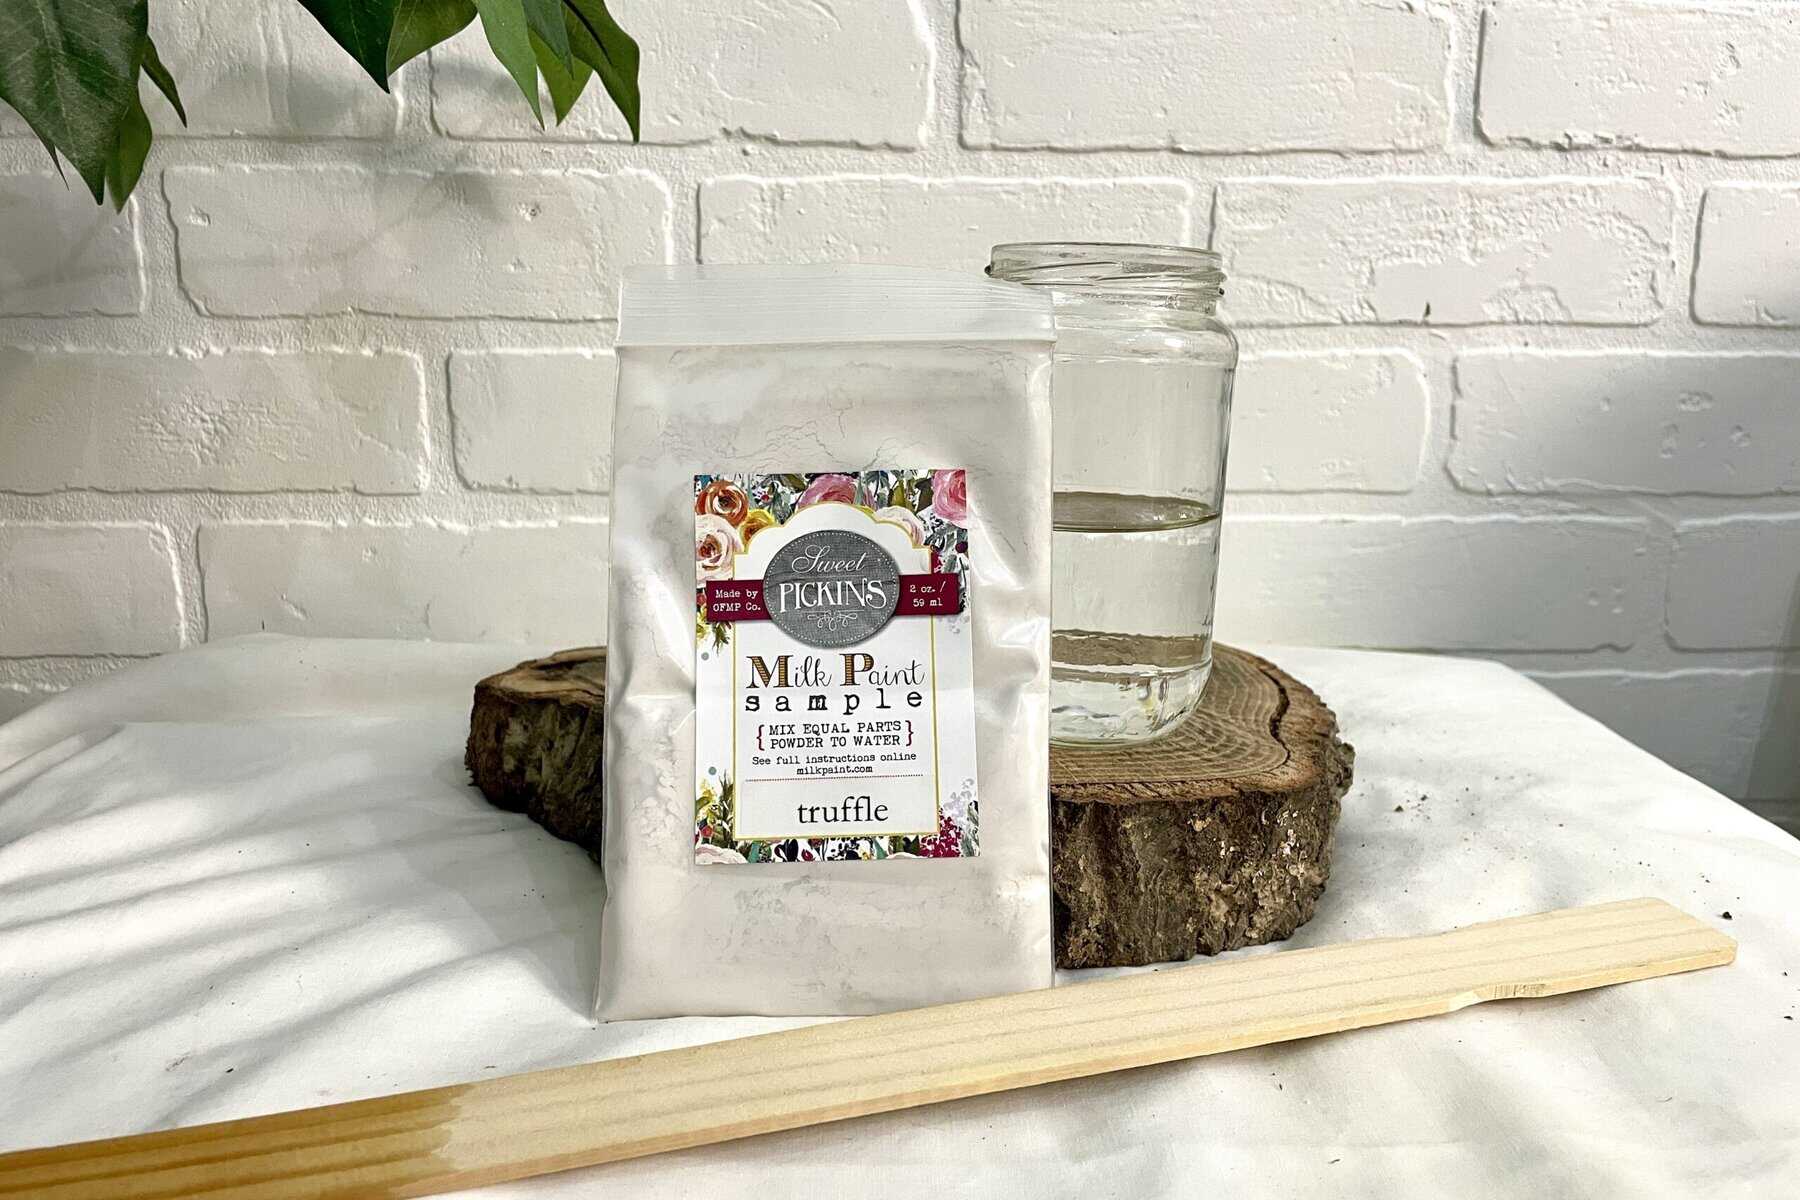
- Milk Paint or Chalk Paint: These have a matte, powdery texture.
- Pro Tip: This test only works if the paint hasn’t been sealed with another product, such as wax or acrylic sealer.
- Epoxy Resin: This is thick, glossy, and nearly impervious to solvents.
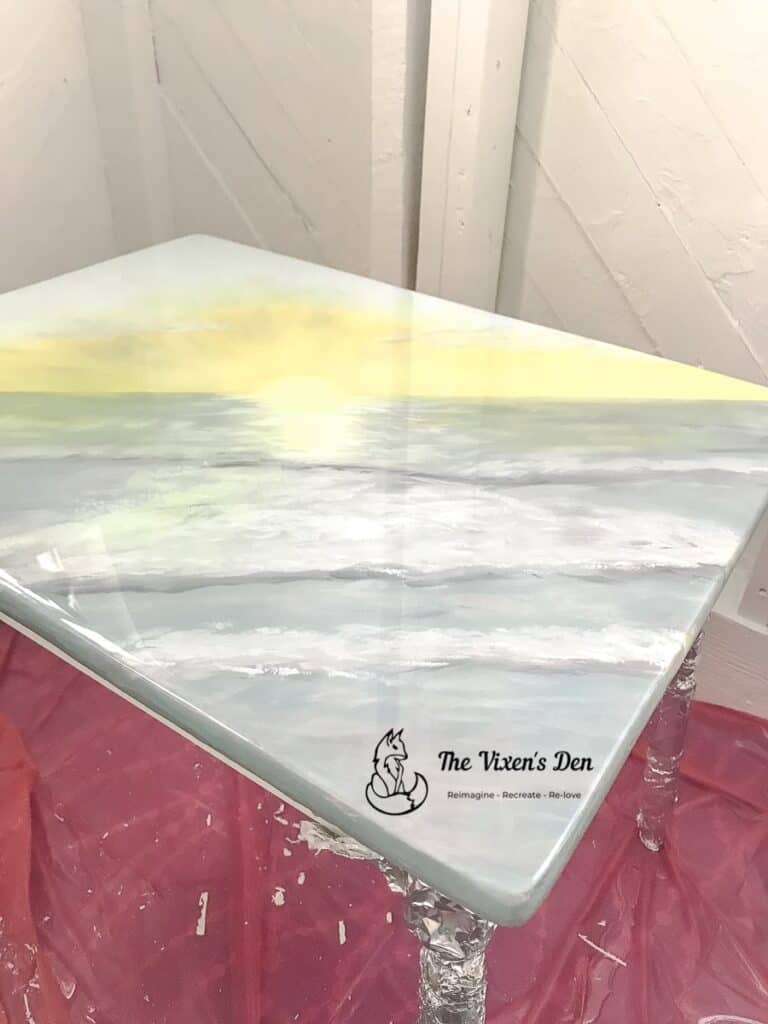
What’s Next?
Testing your furniture’s finish isn’t just a “nice-to-have”—it’s the secret weapon that saves your piece from disaster! Whether you’re preserving vintage charm or prepping for a bold new look, knowing your finish is the first step toward a stunning transformation. Once you’ve identified the finish, you can choose the best repair or refinishing method.
So before you grab that sander and go to town, remember—knowledge is your best tool! Taking a few minutes to test the existing finish can save you hours of frustration and preserve the character that makes your piece one-of-a-kind.

Ready to continue your refinishing journey with confidence? Grab your copy of “Put Down that Sander” for expert guidance, insider tips, and all the motivation you need to refinish like a pro!
Thank you so much for stopping by!
Until next time, have a beautiful and blessed day!