Beginner’s Guide to 2-Part Polyurethane Wood Furniture Finish
Ready to step up your furniture refinishing game with a finish that’s as tough as it is beautiful? Enter: 2-part polyurethane—the superhero of high-performance finishes! Used by pros for decades and trusted in the world of fine cabinetry, floors, and furniture, this finish offers unmatched durability and a stunning, crystal-clear gloss (or satin, if that’s your thing). Buckle up, because we’re diving into the fascinating history, application secrets, refinishing steps, and easy-peasy care tips for this powerhouse product.
THIS POST CONTAINS AFFILIATE LINKS TO PRODUCTS THAT I HAVE OR WOULD USE.
AS AN AMAZON ASSOCIATE, I EARN FROM QUALIFYING PURCHASES AT NO COST TO YOU.
YOU CAN SEE MY FULL DISCLOSURE HERE.
What Is 2-Part Polyurethane?
2-part polyurethane is a high-performance finish made from two separate components: a resin base and a hardener or catalyst. When mixed, they chemically react to form a crosslinked coating that cures into an extremely durable and protective layer over your wood.
Unlike simple oil-based or water-based polyurethanes, 2K (short for “2-component”) polyurethane is a favorite in marine, automotive, and commercial woodworking for its extreme toughness and resistance to water, chemicals, and abrasion.
A Quick Peek into Polyurethane’s Past
Polyurethane was first developed in the 1930s by German chemist Otto Bayer. While the early forms were mostly for cushioning (hello, foam!), it didn’t take long for chemists to realize this flexible polymer could also make one heck of a hard, protective coating.
Fun Fact: 2-part polyurethane is also known as 2K polyurethane, where “K” comes from the German word Komponente, meaning “component.”
2-part polyurethane, also known as catalyzed polyurethane, entered the furniture scene in the mid-20th century as industrial-grade protection for surfaces that needed to stand up to heat, chemicals, and abrasion—like kitchen cabinets, bar tops, and hardwood floors.
What Makes It “2-Part”?
Unlike your run-of-the-mill one-part polyurethane from the hardware store, 2-part poly is a two-component system:
- Part A – Polyol (resin): This is the base component that gives the finish its film-forming properties.
- Part B – Isocyanate (hardener): This reacts with the polyol to create a strong, flexible, chemical-resistant film.
These components must be mixed in precise ratios—usually 2:1 or 3:1 depending on the manufacturer. Once mixed, they create a chemical reaction that cures (not just dries) into an incredibly tough, scratch-resistant finish. Think of it like epoxy’s refined cousin—with the same superhero strength but a much sleeker look and feel.
Pro Tip: If you’ve encountered a finish that just won’t budge under a lightweight chemical finish remover, such as Citri-Strip, or when sanding, then you’re most likely up against a 2-Part Polyurethane.
Where and Why to Use It
Now that you have the backstory, it’s time to decide. Is 2-Part Polyurethane the perfect match for your project? Here are all the details to help you out!
| Best For | What’s to Love | What’s Not to Love |
|---|---|---|
| High-traffic tabletops | Available in gloss, satin, and matte sheens | Short pot life (work quickly!) |
| Bar tops | Crystal-clear finish | Can be finicky to apply |
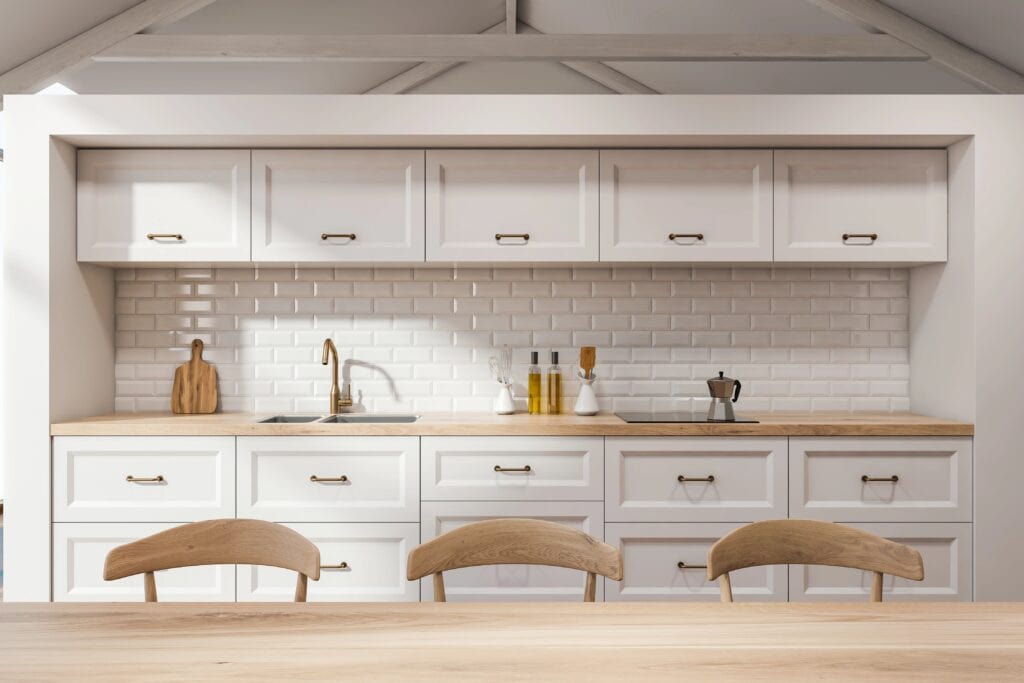
| Kitchen and bathroom furniture | Exceptional resistance to heat, moisture, solvents, and abrasion | Requires precise mixing |
| Commercial-use pieces | Long-lasting protection | Some types require spray equipment |
| Solvent-based versions have strong fumes |
Which Product is Right for You?
While many 2K polyurethanes are spray-only, a few standout products are formulated specifically for brushing or rolling—perfect for DIYers! Here are comparisons of the top 3 products, based on skill level, durability, and product availability:
Best for Beginners
General Finishes Enduro-Var II Conversion Varnish – This is the secret weapon of DIYers who want the 2 Part Poly benefits (mostly) without the 2K fuss of mixing and spraying.
Type: Single-component, water-based conversion varnish (self-crosslinking)
Application: Brush, roll, or spray (best results by spray)
Best For: DIYers and professionals sealing stained or natural wood furniture indoors
Pros:
- Very durable—suitable for tables, cabinetry, and high-traffic surfaces
- Easy to use (no mixing required)
- Water cleanup
- Excellent clarity and ambering similar to oil-based finishes
- Less odor and lower VOCs
- Self-sealing, fast drying
Cons:
- Not as hard as true 2-part polyurethanes
- Not ideal for outdoor use
- Slightly more flexible than traditional conversion varnishes
Best for: Beginner to intermediate users who want great durability with low hassle and easier cleanup. Great for furniture and cabinetry.
Best for Creatively Confident
Epifanes 2-Part Polyurethane
Type: Solvent-based, true 2-part polyurethane (aliphatic urethane)
Application: Brush, roll (tip method), or spray
Best For: Marine-grade durability, outdoor or high-abuse environments, and gloss lovers
Pros:
- Rock-hard finish—chemical, UV, and abrasion resistant
- Incredible gloss and leveling (famous in boat restoration circles)
- Suitable for brush/roller without significant orange peel
- Excellent for both indoor and outdoor use
Cons:
- Requires careful mixing and pot life awareness
- Solvent-based—stronger odor and longer cure
- Higher skill level for best results
- Not as readily available in local hardware stores
Best for: Advanced or confident users looking for maximum durability and UV resistance—great for heirloom-quality furniture and even exterior woodwork.
Best for Pros
General Finishes Clear 2K Poly Top Coat
Type: Water-based, two-component polyurethane (catalyzed)
Application: Spray only (recommended)
Best For: Professional finishers and shops with spray equipment
Pros:
- Ultra-durable (even harder than Enduro-Var)
- Water cleanup, lower odor than solvent-based 2K polys
- High chemical and abrasion resistance
- Beautiful clarity and minimal yellowing
Cons:
- Requires mixing with catalyst
- Short pot life
- Spray-only—brushing/rolling not recommended
- Not ideal for casual DIYers
Best for: Professionals with spray setups or skilled finishers wanting a commercial-grade finish for tables, cabinets, and built-ins.
| Product | Best For | Skill Level | Application | Durability | Cleanup |
|---|---|---|---|---|---|
| Enduro-Var II | Furniture & cabinets | Beginner–Intermediate | Brush, Roll, Spray | High | Easy (Water) |
| Epifanes 2K | Outdoor, marine, heirloom | Advanced | Brush, Roll, Spray | Very High | Difficult (Solvent) |
| GF 2K Poly | Commercial/ Shop use | Pro/Advanced | Spray only | Very High | Easy (Water) |
What’s In the Finishing Toolkit?
Tools
- HVLP sprayer or foam brush/natural bristle brush
- Vacuum
- Personal Protective Equipment (PPE)
Materials
- 2-part polyurethane (resin + hardener) or Enduro-Var II
- Mixing cups and stir sticks
- 220–400 grit sandpaper
- Tack cloth
- Drop cloth or protective sheeting
- Lint-free rags or cloths
Pro Tips:
Before You Begin
I am renowned for jumping into a project without thinking through all of the process and possible pitfalls first (because how much fun is that?!?), but following these steps will help you ensure a fantastic finish with fewer tears of frustration:
- Prepare your test board and practice your technique!
- Work in a well-ventilated area
- Wear proper safety gear (yes, even for one coat!)
- Check your temperature and humidity—ideal is 65–80°F and 35–60% humidity – this one is a biggie! Applying in high humidity or extreme cold can slow curing or cause blushing/cloudiness. AKA: Guaranteed tears!
How to Apply 2-Part Polyurethane (Without Losing Your Cool)
Remember, you have options in how you apply this finish, depending on the product that you chose. We’re breaking this down step-by-step assuming that you’ve selected the true 2K finish, Epifanes 2-Part Polyurethane, so you may be able to skip step 2 if you chose General Finishes Enduro-Var II Conversion Varnish instead.
Whichever product you decide to use, you’ve got this!
Step 1: Prep Like a Pro
- Clean the surface: Remove grease, wax, and dust with distilled water and mild soap or a wood-safe cleaner.
- Strip existing finishes (if needed): Use a chemical stripper or sandpaper to remove old poly, lacquer, or varnish.
- Sand smooth: Finish sanding with 220-grit paper for a buttery-smooth surface.
- Vacuum and tack cloth wipe-down: Remove all sanding dust.
Pro Tip: Apply in a well-ventilated, dust-free area. This finish cures through a chemical reaction—ventilation is a must!
Step 2: Mix Carefully, If Required (remember, you have options)
- Follow the manufacturer’s ratio (often 2:1 or 4:1 resin to hardener).
- Stir gently for 2–3 minutes using a clean stir stick—avoid whipping in air bubbles.
- Let it sit for the recommended induction time (usually 10–30 minutes) to allow the chemical reaction to begin.
Warning: Once mixed, you’re on the clock! Most pot lives are 2–4 hours max.
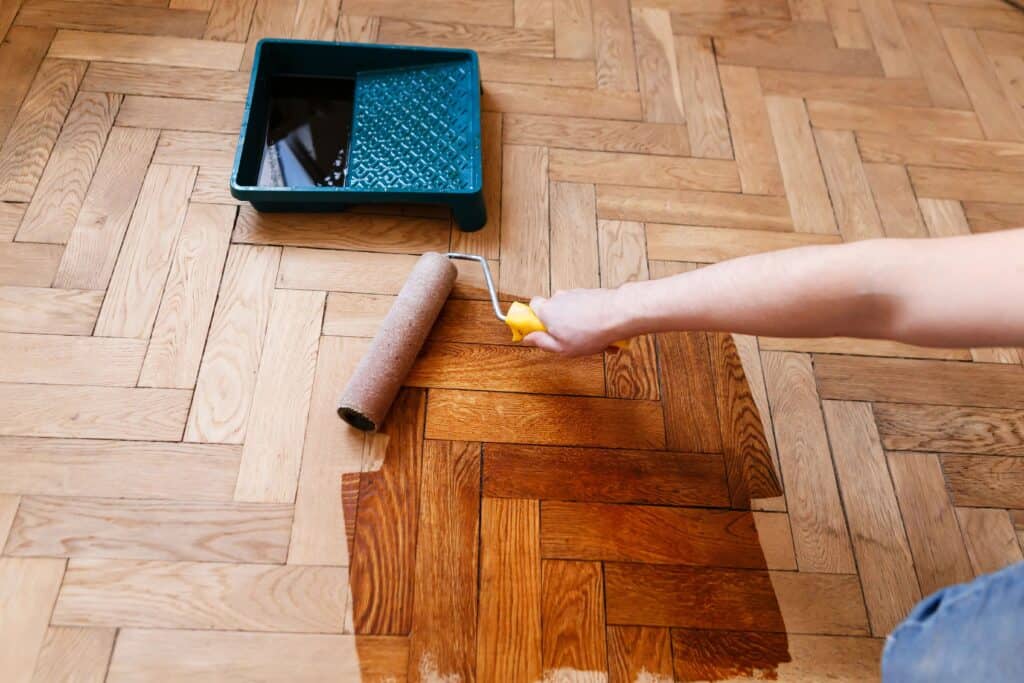
Step 3: Apply Like a Champ
You can brush, roll, or spray, but spraying gives the smoothest, most pro-looking results. (#studiogoals!)
For Brushing:
- Use a high-quality natural bristle or foam brush.
- Apply in long, even strokes with light pressure.
- Don’t overwork it—self-leveling will do the rest!
For Spraying:
- Use an HVLP spray system.
- Thin with the recommended reducer (if required).
- Apply in multiple light coats rather than one heavy one.
Step 4: Layer Up
- Allow sufficient drying time between coats (often 4–6 hours, but check your product label as water-based products may be dry in as little as 1-2 hours).
- Lightly scuff-sand with 320–400 grit between coats for maximum adhesion.
- Wipe away dust with a clean tack cloth or microfiber cloth dampened with distilled water..
Apply 2–4 coats depending on desired build and durability. More coats = more protection!
Step 5: Let It Cure
Keep it dust-free and dry during this time. No heavy objects or cleaners until fully cured!
While it may feel dry to the touch within hours, full chemical curing takes 5–7 days (or more depending on conditions). For best results, no touching!
Pro Tips:
- Ventilate well or wear a respirator when using solvent-based formulas.
- Always mix thoroughly—undermixed product can cure improperly.
- Always strain your mixed poly through a fine mesh filter before application
- Use a fresh tack cloth between every coat—don’t reuse!
- Use a fresh brush or roller for each coat to avoid contamination.
- Keep an eye on your pot life. Discard leftover material after it expires.
- Label and date every container to avoid mystery mixes
- Store leftover unmixed components in cool, dry spaces
Refinishing With 2-Part Poly Finish
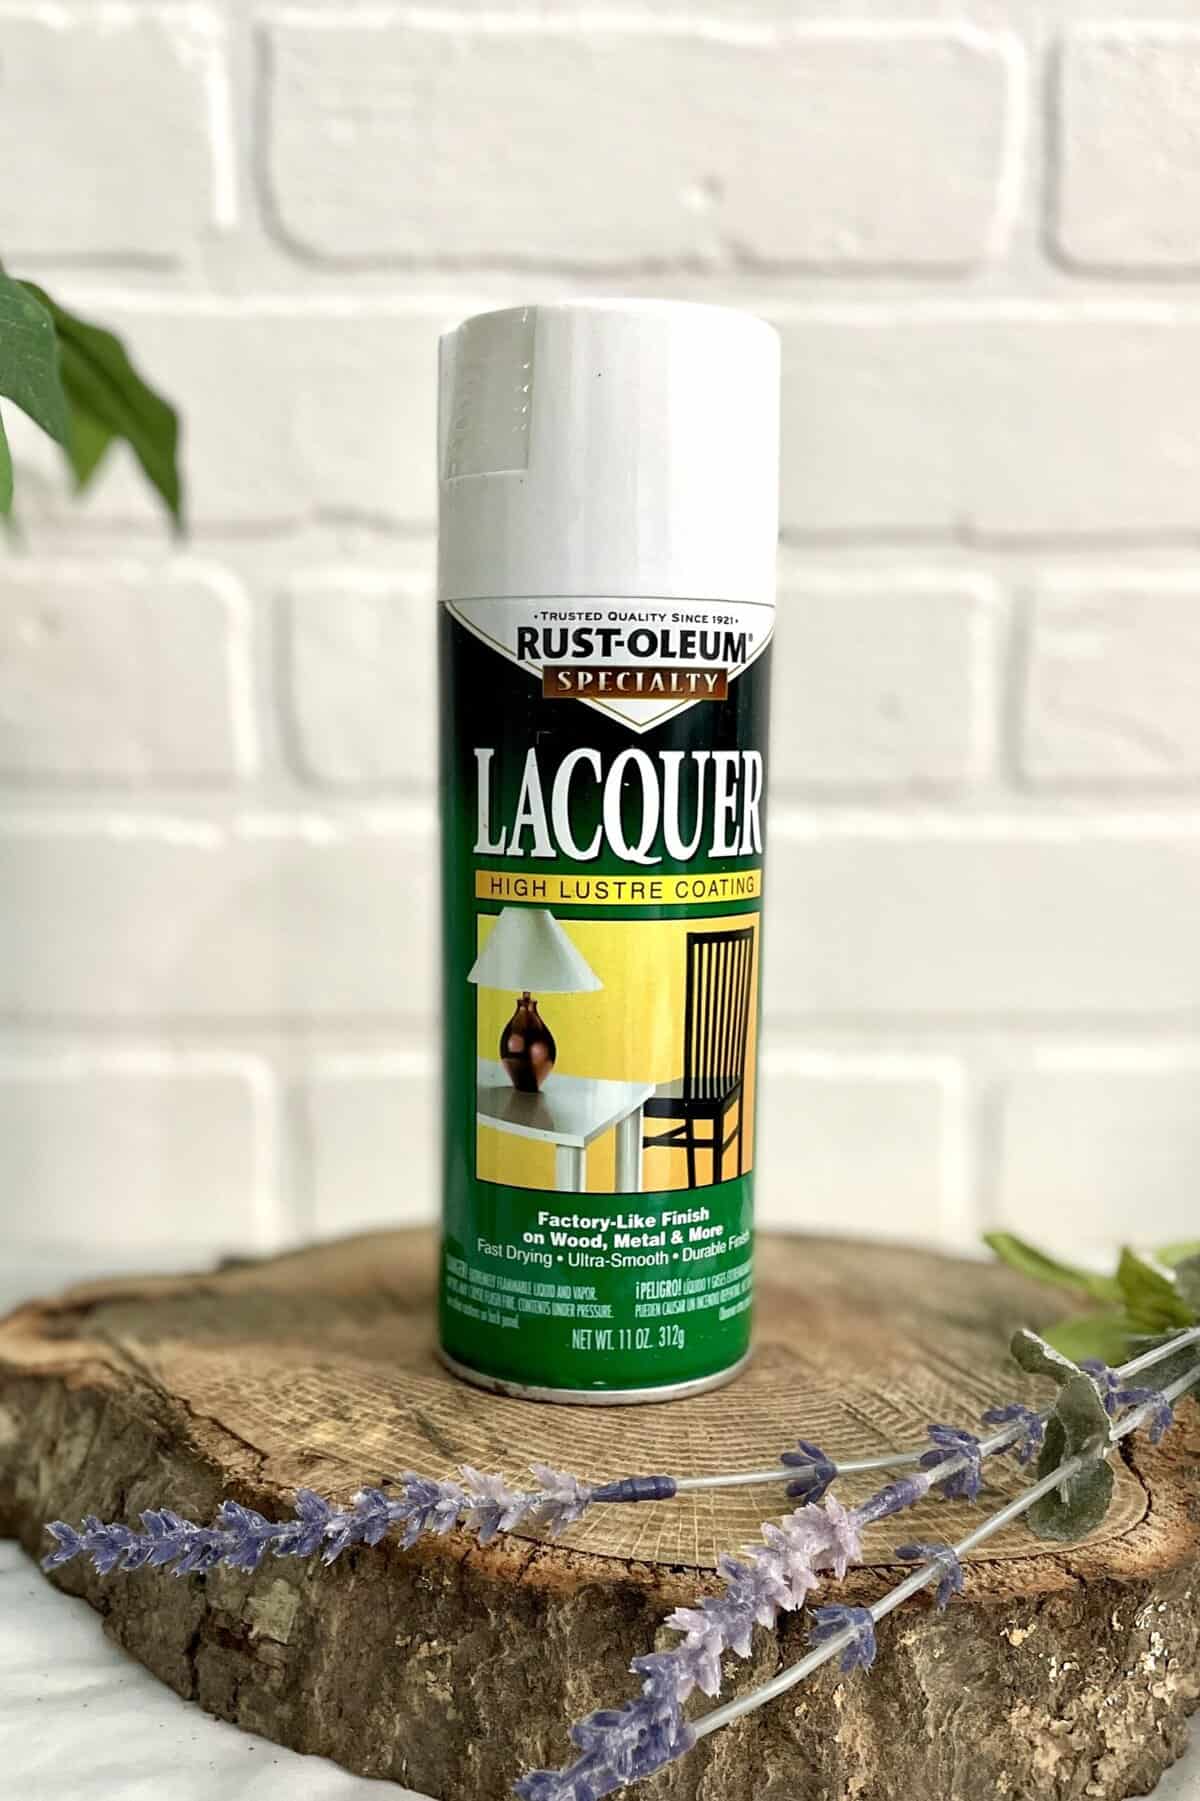
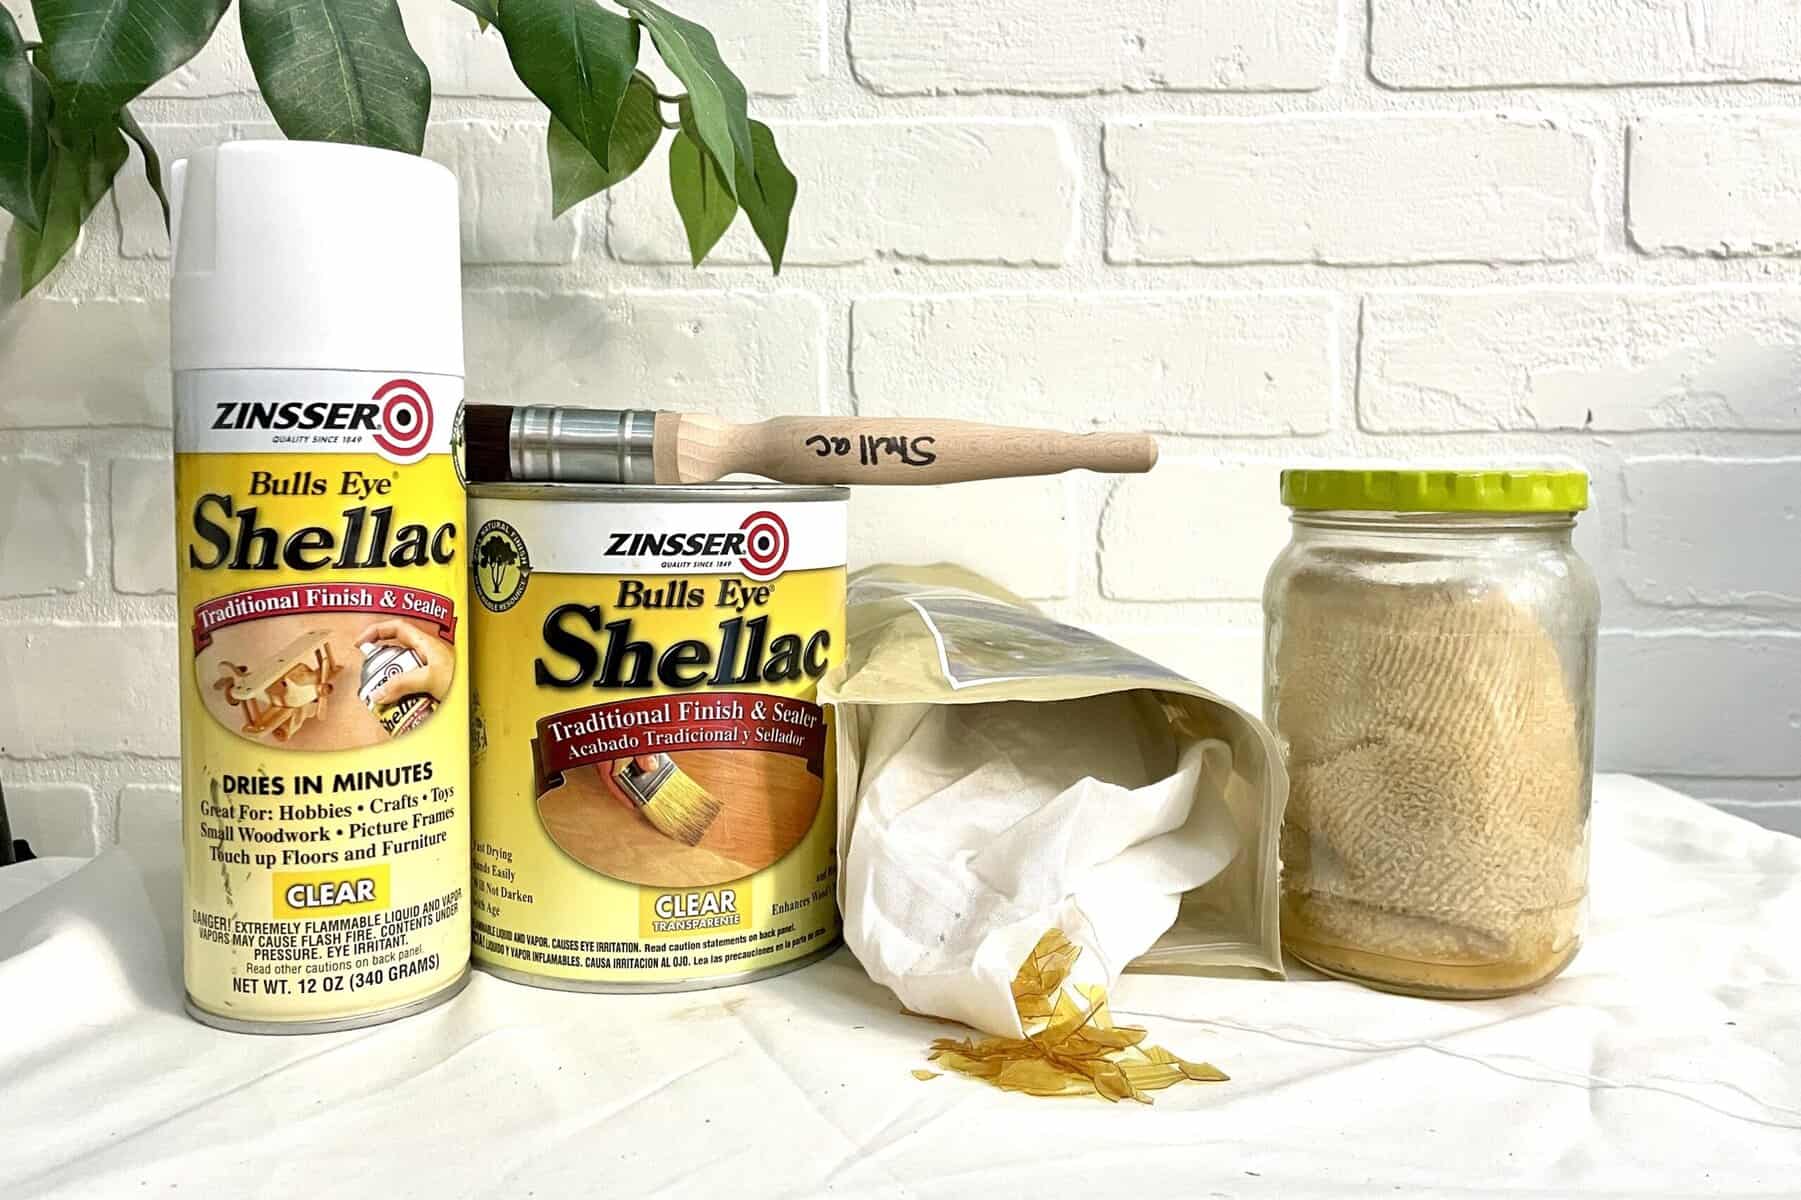
2-Part Poly is a little particular, in that it will only bond if the existing finish is also polyurethane or lacquer. Other finishes (like wax, oil, or shellac) must be completely stripped.
Polyurethane/Lacquer Refinishing steps:
- Clean thoroughly with a degreaser
- Scuff sand with 220 grit to create a mechanical bond
- Vacuum, wipe clean with a tack cloth or microfiber cloth dampened with distilled water, then proceed with the 2-part application
Removing 2-Part Polyurethane
Two-part polyurethane is a tough cookie—durable, chemical-resistant, and bonded for life! But don’t worry, with the right tools (and a little patience), you can remove it. Here are the pros’ go-to removers and what makes them shine:
| Product Name | Why Pros Use It | Use Instructions | Safety Notes |
|---|---|---|---|
| Dumond Smart Strip | Eco-friendly, fume-free, and powerful enough for 2K poly and epoxy | Apply thickly, cover with plastic, dwell 12–24 hrs, scrape, neutralize with water + vinegar | Safe indoors, wear gloves, ventilate lightly |
| Klean-Strip Aircraft Remover | Industrial-grade strength for urethanes and automotive coatings | Apply outdoors, short dwell (15–30 mins), scrape, use mineral spirits to clean | Highly toxic, use PPE, respirator, outdoor only |
| TotalBoat TotalStrip | Marine-grade remover designed for epoxy and 2K poly | Apply with brush, wait 15 mins–8 hrs, scrape gently, neutralize surface | Great for large furniture, use gloves + ventilation |
Pro Tips:
- Always test in a small, hidden area before applying across the entire surface.
- Use plastic scrapers to avoid gouging the wood.
- Follow up with a neutralizer to prep the surface for refinishing.
- Be gentle with older pieces—let the stripper do the work!
When and How to Refresh a 2-Part Polyurethane Finish
Even the toughest finishes can show their age after years of use—especially on high-traffic surfaces like dining tables, bar tops, and kitchen islands. Here’s how to know when it’s time for a little TLC, and how to freshen things up the right way!
Signs Your 2-Part Polyurethane Finish Needs a Refresh
Keep an eye out for these telltale signs:
- Dull or cloudy sheen: A once-glossy surface now looks flat or hazy.
- Fine scratches or scuff marks: Especially common in high-use areas.
- Water no longer beads up: This means the protective barrier is wearing thin.
- Discoloration or stains that won’t wipe away: These can sneak in when the topcoat wears down.
- Areas feel rough or uneven: This could indicate worn spots or minor lifting.
When to Reapply
A properly applied 2-part polyurethane finish can last 5 to 10 years or more with regular care, but for surfaces that see heavy use (like kitchen tables), you might want to touch up or recoat every 2–4 years.
How to Reapply the Finish (Without Starting Over)
If your finish is simply worn—not flaking or peeling—you may not need to strip it entirely. Here’s the reapplication process:
Step 1: Clean Thoroughly
- Use a degreasing cleaner (like diluted distilled vinegar and water or a specialty wood cleaner) to remove oils, waxes, or residues.
- Let dry completely.
Step 2: Lightly Sand the Surface
- Use 320- to 400-grit sandpaper to gently scuff the entire surface.
- You’re aiming to dull the sheen and give the new coat something to grip—not to sand through the finish.
- Vacuum and wipe away dust with a tack cloth.
Step 3: Mix and Apply a Fresh Coat
- Mix a new batch of 2-part polyurethane according to the product’s instructions.
- Apply a thin, even coat with your chosen applicator (brush, roller, or sprayer, depending on the product).
- Allow to dry according to the recommended cure time.
Optional: Add a Second Coat
- If the surface still looks worn or uneven after one coat, lightly sand and add a second coat for extra durability.
What If the Finish Is Peeling or Severely Damaged?
If your polyurethane is flaking, lifting, or has deep gouges and water damage, you’ll need to strip it down to the bare wood using a product like Dumond Smart Strip Marine or a heat gun (with caution). Then sand, clean, and reapply a brand-new finish.
Caring for Your 2-Part Poly Finish
Once cured, 2-part poly is pretty low maintenance—but a little love goes a long way!
| Do | Don’t |
|---|---|
| Dust regularly with a microfiber cloth | Use harsh cleaners or abrasives |
| Wipe spills immediately | Drag items across the surface |
| Use coasters and placemats to avoid heat rings or stains | Allow standing water to sit |
Pro Tip: For deeper cleaning, use distilled water mixed with a splash of distilled white vinegar or a gentle dish soap.
Common 2-Part Polyurethane Mistakes (and How to Fix Them!)
You’ve got your tools prepped, your coats planned, and your confidence dialed in—go you! But before you dive in brush-first, let’s take a quick detour to the “oops zone” and learn from the pros. Even the most seasoned refinishers have made a sticky mess with 2-part poly at some point, so don’t worry—we’ve got your back!
Let’s walk through the most common mistakes beginners make with this mighty finish—and how to dodge them like a DIY ninja.
1. Incorrect Mixing Ratios
What Went Wrong: Mixing the base and hardener in the wrong proportions causes improper curing, tackiness, or brittleness.
How to Fix It:
- Always measure carefully by volume or weight, exactly as directed on the product label.
- Use separate, labeled measuring containers.
- If you’ve already applied an improperly mixed coat, it will likely need to be completely stripped and redone.
2. Mixing Too Much at Once
What Went Wrong: 2-part polyurethane has a short pot life (often 30–60 minutes). Mixing too much leads to waste or product gelling mid-application.
How to Fix It:
- Mix small batches you can apply within the pot life window.
- Only mix what you can use in 15–30 minutes.
- If it starts thickening, discard and mix fresh—don’t try to “thin” it back out.
3. Applying in High Humidity or Cold Temps
What Went Wrong: High humidity or low temps can cause cloudiness, poor adhesion, or slow curing.
How to Fix It:
- Ideal conditions: 65–75°F (18–24°C) and 40–60% humidity.
- Use a dehumidifier or heater in your workspace if needed.
- Avoid rainy days in non-climate-controlled spaces.
4. Skipping Surface Prep
What Went Wrong: Dust, oils, or shiny finishes underneath cause fish-eye spots or peeling.
How to Fix It:
- Clean thoroughly with a wax-free degreaser.
- Sand to a smooth, matte surface before applying.
- Wipe with a tack cloth to remove dust.
5. Overworking the Finish
What Went Wrong: Brushing back and forth too much can cause bubbles, lap marks, or dragging.
How to Fix It:
- Use long, even strokes.
- Work in sections, and leave it alone once applied.
- Tip off gently if needed, but don’t go back over it once it starts setting.
6. Bubbles or Foaming
What Went Wrong: Stirring too vigorously or rolling with a foam roller introduces air.
How to Fix It:
- Gently stir, don’t shake.
- Use a high-density microfiber roller or quality synthetic brush.
- Apply thin coats and avoid excess agitation.
7. Applying Too Thick
What Went Wrong: Thick coats can lead to runs, drips, slow drying, or uneven curing.
How to Fix It:
- Apply multiple thin coats instead of one heavy one.
- Allow proper drying time between coats (check the label!).
- Sand lightly between coats if needed for adhesion.
8. Poor Ventilation
What Went Wrong: Strong fumes can be dangerous and cause dizziness or headaches.
How to Fix It:
- Always work in a well-ventilated area with a fan or exhaust system.
- Wear a proper respirator rated for organic vapors.
- Never work near open flames—2-part polyurethane is flammable!
9. Not Allowing Full Cure Time
What Went Wrong: Using or handling the piece too soon can damage the finish permanently.
How to Fix It:
- Dry-to-touch isn’t the same as cured!
- Wait the full cure time (usually 5–7 days) before heavy use.
- Avoid setting anything on the surface until the finish hardens completely.
10. Improper Cleanup
What Went Wrong: Tools gummed up or hardened, workspace contaminated, spills hardened.
How to Fix It:
- Clean brushes and rollers immediately with the correct solvent (often mineral spirits or a brand-specific reducer).
- Dispose of used rags safely—they can combust!
- Wipe up spills right away.
Troubleshooting Common 2-Part Polyurethane Mistakes
To get you started off on the right foot, here’s a handy dandy chart that summarizes those common beginner mistakes, as well as how to avoid them, and how to fix them! (You’re welcome! wink)
| Mistake | What It Looks Like | Why It Happens | How to Avoid It | How to Fix It |
|---|---|---|---|---|
| Not mixing thoroughly | Cloudy, streaky, or tacky finish | Resin and hardener not fully combined | Mix by weight or volume as instructed; scrape sides and bottom of mixing container | Sand back to bare wood or until smooth, then reapply properly mixed finish |
| Working after pot life has expired | Gummy, uneven, or soft surface | Chemical reaction begins curing in container | Track pot life from the moment parts are combined and only mix what you can use in time | Strip uncured layer, clean residue, sand, and start over with a fresh mix |
| Applying too thick a coat | Runs, drips, bubbles, or uneven texture | Heavy coats trap air or sag before curing | Apply thin, even coats using a quality brush, roller, or sprayer | Sand smooth once cured, then recoat with thin layers |
| Applying in poor temperature or humidity | Cloudy finish (blushing), slow cure, or sticky surface | Moisture or cold slows or ruins chemical reaction | Apply between 65°F–80°F and under 60% humidity; check weather forecast | If still tacky after 48 hours, remove and recoat in better conditions |
| Not sanding between coats | Uneven sheen, poor adhesion, or surface imperfections | Glossy surfaces prevent good bonding | Sand lightly between coats with 320–400 grit; wipe away dust | Lightly scuff with fine grit, clean, and apply another coat |
| Using the wrong applicator | Roller bubbles, brush strokes, or orange peel texture | Applicator type affects flow and leveling | Use foam rollers, synthetic bristle brushes, or recommended spray equipment | Lightly sand and recoat with correct applicator |
| Skipping surface prep | Peeling, bubbling, fish-eyes, or uneven finish | Dirt, oils, or incompatible coatings prevent adhesion | Clean with mineral spirits; scuff sand glossy or sealed surfaces | Strip, clean thoroughly, sand, and refinish |
| Not allowing proper cure time | Scratches, dents, or sticky finish | 2-part poly needs time to chemically harden fully | Allow 5–7 days for full cure; avoid heavy use during this time | Let cure undisturbed; sand and recoat if damage is deep |
| Using incompatible finishes underneath | Bubbling, lifting, or wrinkling | Solvent reaction or poor bonding between layers | Test product compatibility; avoid waxes or oil-based stains not approved for use | Strip and refinish using compatible base coats |
| Skipping protective gear or ventilation | Headaches, dizziness, or skin irritation | 2K polyurethane contains strong solvents and isocyanates | Wear gloves, goggles, VOC-rated respirator; work in well-ventilated area | Stop immediately and move to fresh air; seek help if symptoms persist |
FAQs
Still have a few lingering questions floating in your finish fumes? We’ve got answers! Let’s tackle the most common curiosities and concerns, especially for first-timers.
Q: What’s the difference again between 2-part polyurethane and regular polyurethane?
A: Regular polyurethane is a single-component finish that dries by solvent or water evaporation. 2-part polyurethane chemically cures, creating a tougher, more resilient finish—perfect for high-use surfaces.
Q: Is 2-part polyurethane food-safe?
A: Once fully cured, some brands may be considered food-safe but always check the product label or manufacturer’s website.
Q: Can I brush it on instead of spraying?
A: Yes, but you must work quickly and use very thin coats to avoid brush marks.
Q: Does it yellow over time?
A: Some oil-based versions may amber slightly; water-clear versions are available for non-yellowing protection.
Q: Can I apply it over paint?
A: Only if the paint is fully cured and compatible. Test first!
Q: Do I have to sand between coats?
A: Yes, light sanding helps the next layer bond and removes dust nibs.
Q: What should I do if I see bubbles or brush marks?
A: Bubbles often result from overworking the finish or using a foam roller/brush too aggressively. To avoid this:
- Stir, don’t shake the mix.
- Apply in thin, even coats.
- Don’t go back over areas that are already drying.
Light sanding between coats can smooth out imperfections.
Q: How do I fix drips or runs?
A: Let the coat fully dry, then sand the drip smooth using 320–400 grit sandpaper. Clean off the dust and reapply a thin coat in that area.
Q: Can I use it on outdoor furniture?
A: Not all 2-part polyurethanes are rated for outdoor use. Look for marine-grade or exterior-rated formulas if you plan to use it on outdoor pieces.
Q: How should I store leftover product?
A: Once mixed, the finish has a limited pot life and cannot be stored. But unopened cans of Parts A and B can be stored separately in a cool, dry place away from sunlight and moisture.
The Final Wrap-Up
If you’re ready to step up your furniture-finishing game and want a clear, tough-as-nails coating that looks absolutely luxurious—2-part polyurethane might be just the ticket! Whether you go with the beginner-friendly Enduro-Var II or dive into the marine-grade magic of Epifanes, your piece will be gleaming, guarded, and gorgeous.

So roll up those sleeves, grab your brush (or roller), and get ready to give your furniture the finish it deserves. You’ve got this—and The Vixen’s Den is here to cheer you on and answer questions every step of the way!
Thank you so much for stopping by! Do you have a tip for working with 2 Part Polyurethane, or a question that this guide didn’t cover? Drop it in the comments below!
Until next time, have a beautiful and blessed day!