Beginner’s Guide to Shellac Furniture Finish
If you’ve ever dreamed of giving your wood furniture a warm, vintage glow that practically sings with character, it’s time to say hello to shellac! This golden gem of a finish has been dazzling woodworkers for centuries, and for good reason. It’s beautiful, natural, quick-drying, and surprisingly versatile. Ready to dive into the warm world of shellac? Let’s explore everything you need to know—from its quirky history to application secrets and long-lasting care.
THIS POST CONTAINS AFFILIATE LINKS TO PRODUCTS THAT I HAVE OR WOULD USE.
AS AN AMAZON ASSOCIATE, I EARN FROM QUALIFYING PURCHASES AT NO COST TO YOU.
YOU CAN SEE MY FULL DISCLOSURE HERE.
So… What Is Shellac?
Shellac is a natural resin harvested from the female lac bug (yes, a real insect!) found in India and Thailand. The resin is composed primarily of aleuritic acid, shellolic acid, and wax, plus various colorants depending on the type of tree the lac bug inhabits. Before you squirm—don’t worry! The resin is purified into beautiful flakes that are then mixed with denatured alcohol to make a brushable or sprayable liquid.

Shellac is considered non-toxic and even food-safe once fully cured, which makes it ideal for vintage furniture, decorative finishes, and pieces that come into light contact with food.
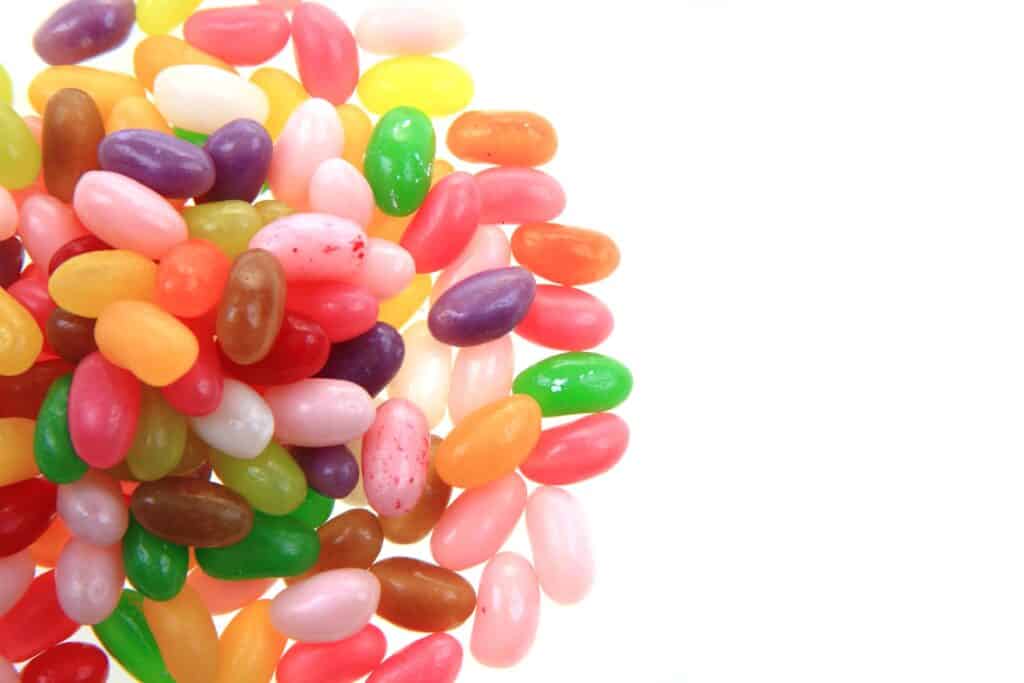
Fun Fact: De-waxed shellac has been keeping your sweet tooth safe for over a century as food additive E904—it’s the shiny coating on jelly beans, candy apples, chocolate, and even some pills! It’s like nature’s original food-safe sparkle.
A Brief History of Shellac
Shellac has quite the legacy! This finish has been in use for over 3,000 years, with origins in ancient India and Southeast Asia. It’s made from the secretions of the lac bug (Kerria lacca), which are collected from tree bark, cleaned, and processed into flakes. These flakes are dissolved in alcohol to make the liquid finish we know and love today. By the 19th century, shellac had taken Europe by storm, becoming a go-to for fine furniture, phonograph records, and even candy coatings!
Fun Fact: It takes around 100,000 lac bugs to make 1 lb of shellac flakes. That’s some serious teamwork!

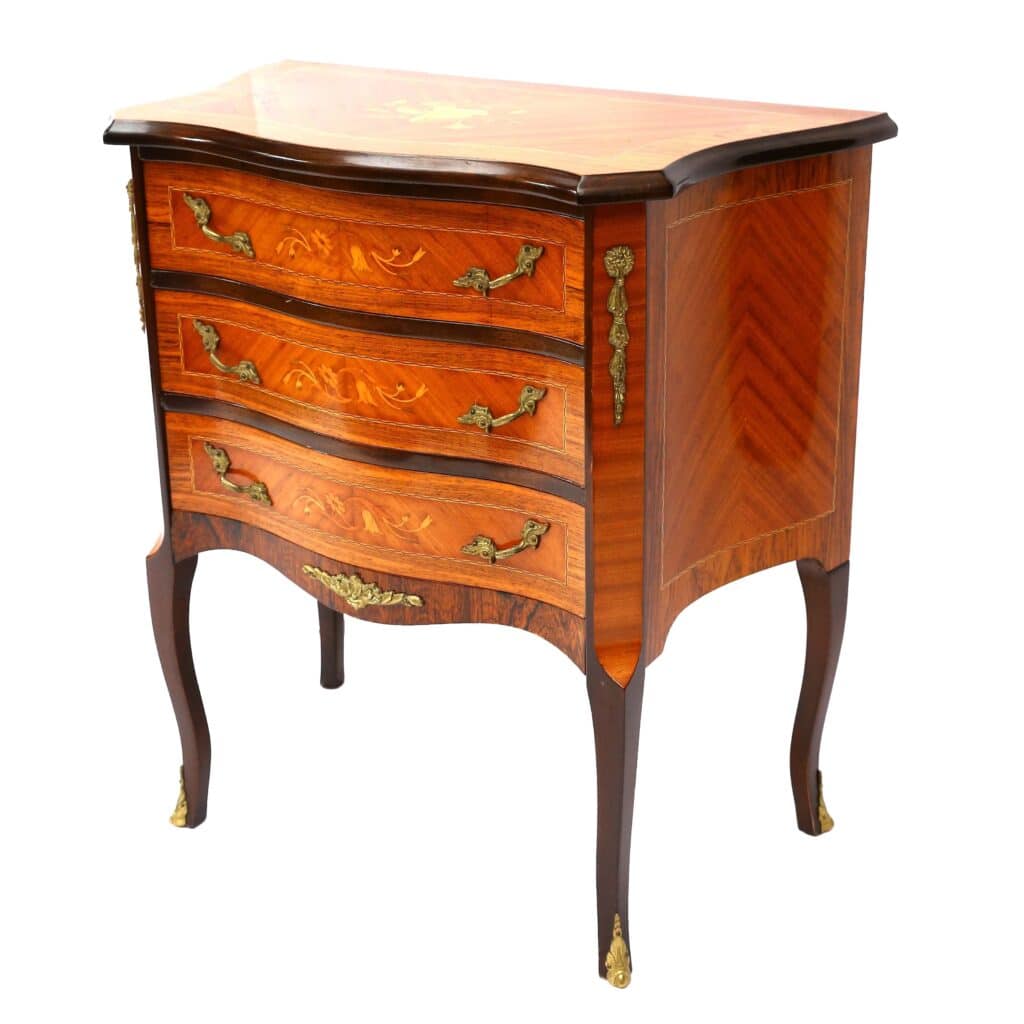
Where and Why to Use Shellac
Shellac is a dream come true for certain refinishing projects—but it’s not perfect for everything. Here’s how to decide when to reach for this glowy gem:
| Where It Shines | What’s to Love | What’s Not to Love |
|---|---|---|
| Antique reproductions | Fast drying—can recoat in under an hour! | Not water- or alcohol-resistant |
| Decorative furniture pieces | Gives a warm, vintage glow | Not heat resistant |
| Touch-ups over existing finish | Easy to apply and repair | Scratches more easily than poly or varnish |
| Musical instruments, fine trim | Food-safe when cured | Limited durability on high-traffic surfaces |
| Naturally derived and non-toxic | Requires fresh mixing for best results | |
| Great adhesion to most surfaces | Short open time (around 10-15 minutes) |
Which Product Is Right for You?
Not all shellac is created equal! Here are three top choices tailored to your confidence level:
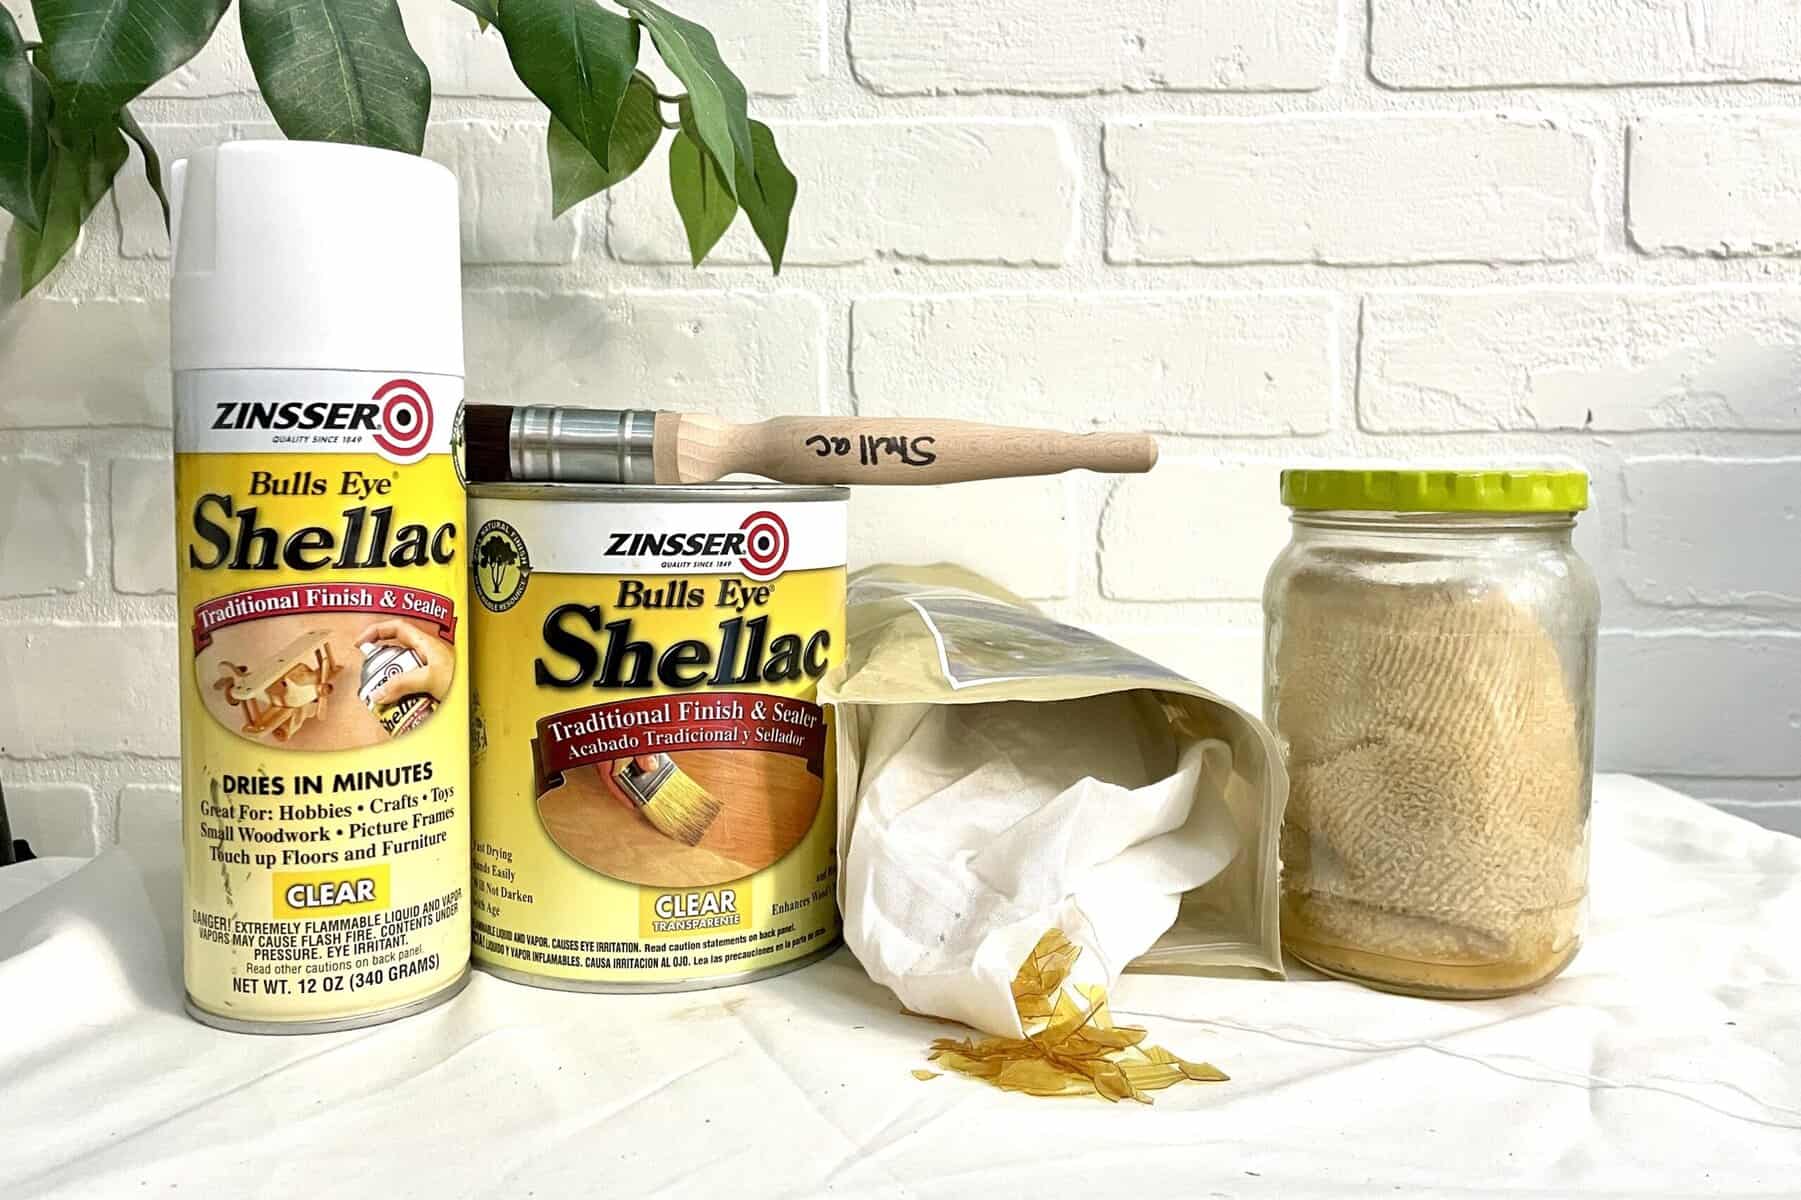
Beginner: Zinsser Bulls Eye Shellac (premixed)
- Pros: Ready to use, consistent quality, available in hardware stores
- Cons: Short shelf life once opened, limited color options
Creatively Confident: Old World Shellac Flakes (Blonde, Lemon, or Garnet)
- Pros: Customizable color and cut strength, longer shelf life as flakes
- Cons: Requires mixing with denatured alcohol and straining
Pro: Seedlac + Custom Blend (raw resin form)
- Cons: Requires experience, lengthy preparation
- Pros: Total control over composition and color, highest purity
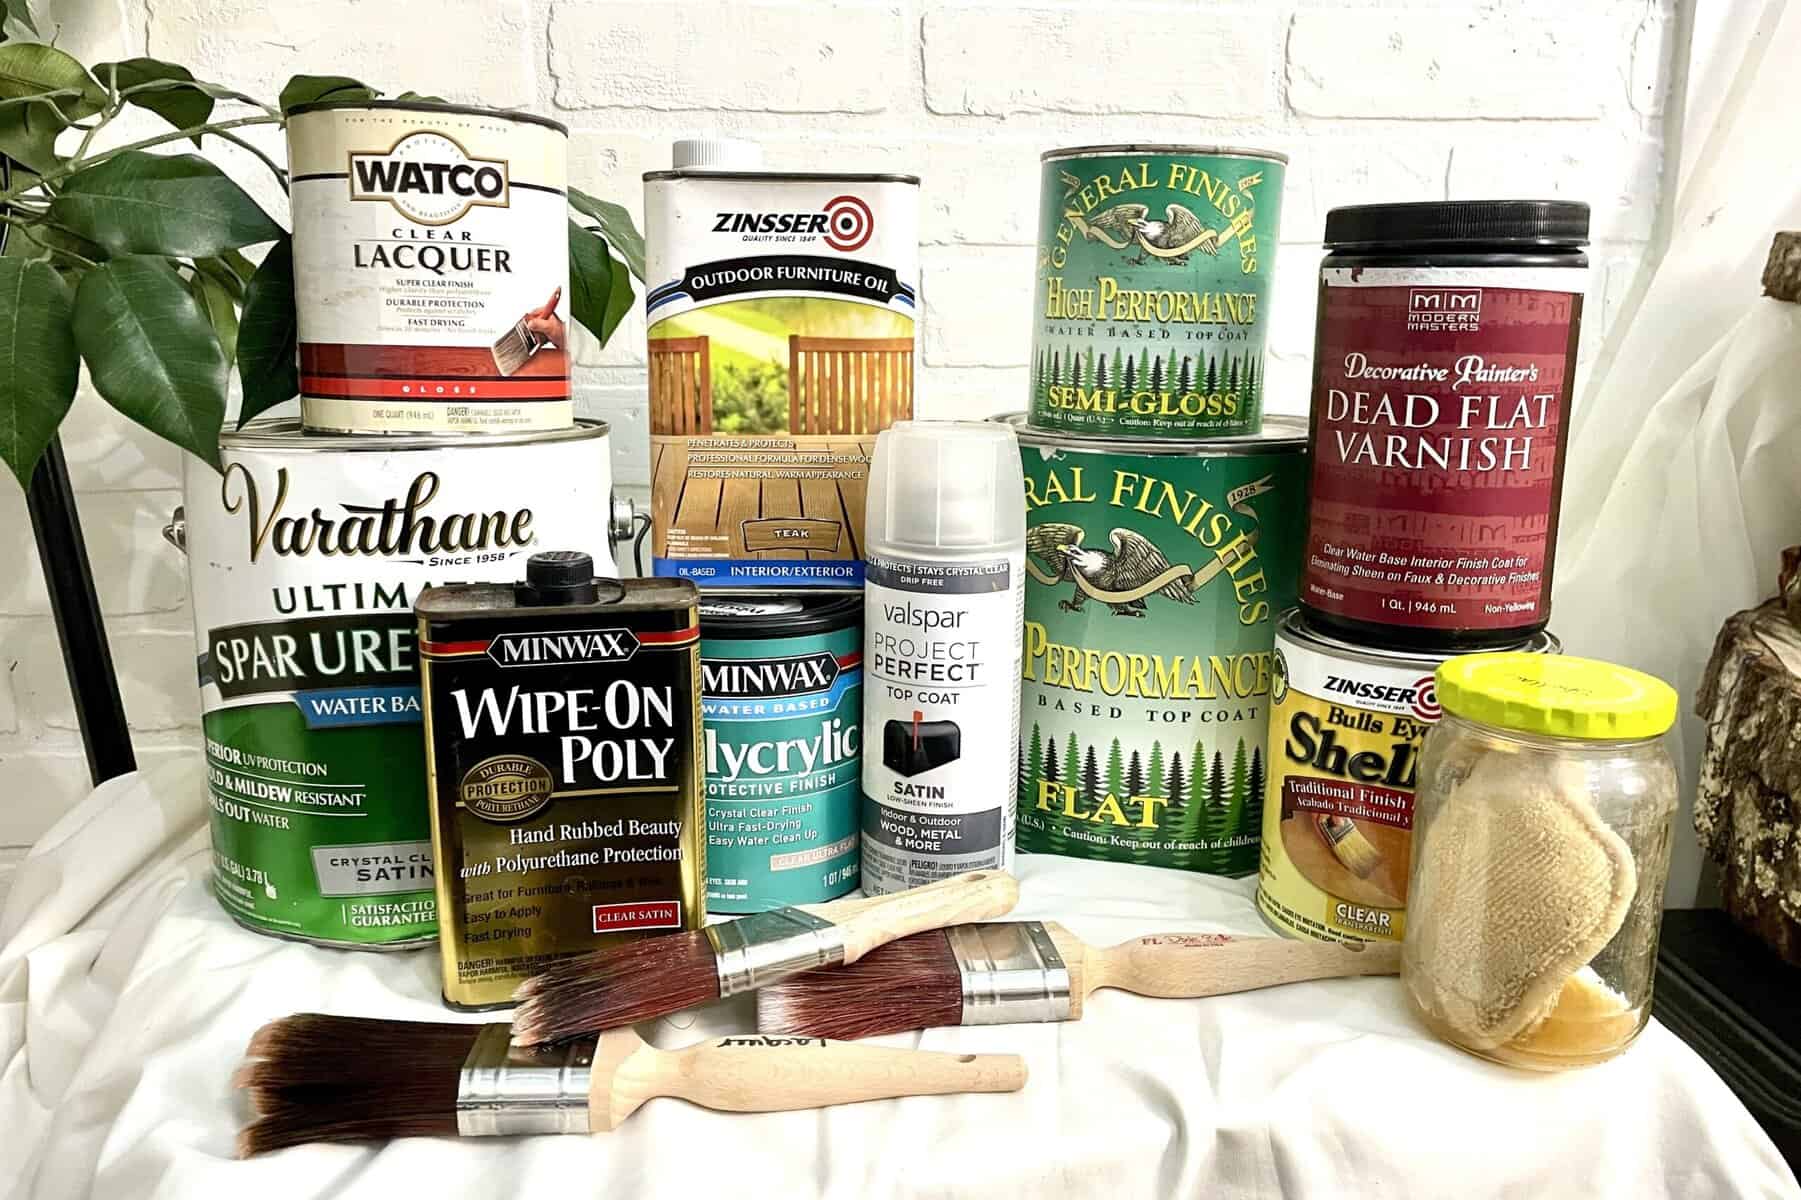
What’s in the Finishing Toolkit?
Tools
- Natural bristle brush or French polishing pad
- Lint-free cloths
- Tack cloth or vacuum
Materials
- High-quality dewaxed shellac flakes or pre-mixed shellac
- Denatured or ethyl alcohol
- Fine-grit sandpaper (400+)
Pro Tip: You have the option to either buy pre-mixed shellac or mix up your own. Here’s a helpful table to mix up the perfect cut every time!
| Cut Strength | Flakes (oz) | Alcohol (oz) | Use Case |
|---|---|---|---|
| 1 lb cut | 1 | 8 | General furniture, touch-ups |
| 2 lb cut | 2 | 8 | Tabletops, stronger wear |
| ¾ lb cut | 0.75 | 8 | French polishing, delicate layers |
Pro Tips: Before You Begin
Before you crack open that can (or start dissolving flakes), keep these common questions and missteps in mind:
- Strain your shellac. Even premixed options can have bits that cause streaks.
- Always test your surface! Shellac sticks best to bare or lightly scuffed wood.
- Mix small batches. Shellac has a short shelf life—around 6 months once mixed.
- Use denatured alcohol ONLY. Substitutes can ruin your mix.
How to Apply Shellac (You’ve Got This!)
New to finishing? Shellac is super beginner-friendly! Here’s your quick-start guide:
- Prep your piece by sanding off any loose finish and cleaning off dust.
- Mix it up (if using flakes)—a basic “1 lb cut” = 1 oz flakes + 8 oz denatured alcohol 24 hours in advance of application. Gently stir pre-mixed shellac.
- Brush or pad on thin, even coats—go with the grain and don’t overwork it.
- Let it dry (it won’t take long!). Let each coat dry for 30–60 minutes.
- Lightly sand between coats with 400-grit sandpaper.
- Repeat for 3–8 coats, depending on how deep you want that shine!
- Final Buff: Once fully dry, buff with a soft cloth for that signature shellac glow!
And if you’re feeling fancy, try French polishing for that ultra-glossy piano finish. (Not required—but very satisfying. #life_goals)
Application Best Practices
Number of Coats: 3–5 for furniture, 6+ for French polish
Ideal Temperature: 60–80°F
Ideal Humidity: Below 50%
Dry Time Between Coats: 30–60 minutes
Cure Time: 2–4 weeks
Number of Coats: 3–5 for furniture, 6+ for French polish
Reminder: Avoid heavy use or exposure to heat and water until fully cured.
When and How to Refresh Shellac Furniture Finish
Shellac is refreshable—no stripping required if it’s just dull or scratched!
Signs It Needs Refreshing:
- Loss of gloss
- Fine surface scratches
- Slight discoloration
When You Can Refresh:
If the shellac finish is not flaking or peeling:
- Clean the Surface: Use mild soap and distilled water to remove grime.
- Rejuvenate: Soften old shellac with a light wipe of alcohol (this re-blends the layers!)
- Finish: Touch up or completely reapply as needed
This is part of what makes shellac so magical! The old finish and the new finish just melt into one another. It’s so much easier than stripping and starting over!
Refinishing with Shellac
Want to refinish an old piece that’s seen better days? Shellac’s got your back!
First things first—check the existing finish to make sure it’s shellac! Dab a bit of denatured alcohol on a hidden area. If it gets tacky, bingo—it’s shellac.
Pro Tip: Did the shellac test flop? No worries! This guide to testing furniture finishes can help you ID the mystery finish.
You’ve got shellac—hooray! No need for messy strippers or power sanders. Even if your surface is cracked and flaky, it can still be saved by following these easy steps to see the magic of shellac in action:
- Clean the Surface: Use mild soap and distilled water or denatured alcohol to remove grime.
- Sand Lightly: Remove flaking finish and smooth the surface before applying new shellac.
- Apply New Coats: Follow the application method above, and remember – thinner is always better!
Removing Shellac
Unlike poly or lacquer, shellac is super easy to remove:
- Saturate a pad with denatured alcohol
- Rub in small circles until shellac liquefies
- Wipe away residue with clean cloths
- Sand lightly before refinishing
Pro Tip: Because shellac is the perfect bond for almost any other finish, there’s no need to completely remove the existing shellac down to bare wood. Just remove all the flaky bits, and create a smooth starting point!
Caring for Your Shellac Finish
Shellac’s a sweetheart, but she has her sensitivities. Here’s how to keep her glowing:
- Dust regularly with a soft cloth
- Clean with mild soap and distilled water – avoid any cleaners containing alcohol, ammonia, or silicone
- Touch up every few years as needed—it’s super easy!
- Avoid alcohol spills (it will dissolve the finish!)
- Use coasters and mats to prevent heat and moisture damage
- Don’t scrub with anything harsh – shellac is a delicate finish that scratches easily
Bonus tip: Add a coat of paste wax for extra shine and protection. Shellac LOVES a good wax topper.
Common Shellac Finishing Mistakes (And How to Fix Them!)
Are your shellac finish results not what you expected? Here is a handy chart to help you find the perfect fix!
| Mistake | What Happened | How to Fix It |
|---|---|---|
| Sticky or tacky surface | Applied too thick or humid conditions | Strip with alcohol, reapply thin coats |
| White rings or blushing | Exposure to moisture or high humidity | Rub with alcohol-soaked pad or recoat |
| Bubbles in finish | Shaken mix, overbrushed | Sand lightly, apply fresh thin coat |
| Cloudy appearance | Not fully dissolved or dirty tools | Filter shellac, use clean tools |
| Cracking or flaking | Old shellac or exposure to heat/alcohol | Strip and refinish |
| Streaky finish | Too humid / overworked | Strip with alcohol, apply in lower humidity, use lighter coats |
| Sticky surface after days | Improper ratio or poor ventilation | Strip and refinish using proper cut and allowing full curing time |
Pro Tips for Shellac Success
- Mix only what you’ll use in a few months – Shellac has a shelf life. Fresher = better results!
- Label your cut strength – Use a marker to note the pound-cut strength on your jar. You’ll thank yourself later!
- Keep it cozy – Apply in temps between 60°F–75°F and humidity below 50% for best results. High humidity = streak city.
- Stay in the shade – Just like when you’re cleaning windows, avoid applying shellac in direct sunlight to maintain even drying and streak-free shine!
- Clean your brushes with alcohol – Denatured alcohol does the trick. No need for harsh solvents! (Don’t sweat it if you forget to clean your brushes; the shellac will melt off like butter the next time it’s dipped in alcohol or liquid shellac!)
- Sand lightly between coats – Use fine (320–400 grit) sandpaper for that silky-smooth feel.
- Let it cure before heavy use – Light handling is fine, but give it 30 days before hosting that furniture dance party.
- Keep your mixture debris-free – Avoid the floating hairs and lint specks drama! Always strain shellac through cheesecloth or a paint strainer before applying.
- Shellac’s hidden super power – Super-Bond Girl! Use dewaxed shellac under other finishes like polyurethane to prevent peeling and flaking without sanding down to bare wood! (You’re welcome! *wink*)
- Test first! – Always do a test run on a scrap or hidden spot. Every project is unique – it’s worth the preview!
Frequently Asked Questions
Q: Is shellac food safe?
A: Absolutely! Once it’s fully cured (about 30 days), shellac is considered food-safe and non-toxic. That’s why it’s been used for candy coatings and even pharmaceuticals! So go ahead and use it on your wooden kitchen tools or dining table – just make sure it’s fully cured first.
Q: How long does it take for shellac to dry?
A: Shellac dries super fast! In most conditions, it’s dry to the touch in just 15–30 minutes. You can usually recoat after an hour. It’s a real time-saver!
Q: What’s the difference between dry time and cure time?
A: Dry time is when it’s no longer tacky – usually within 30 minutes. Cure time is when it’s fully hardened and chemically stable, which takes about 30 days. Don’t worry – you can use the piece gently before then!
Q: Can shellac go over stain or paint?
A: Yes! Shellac plays well with most oil-based and dye stains. Just be sure the stain is completely dry before applying. Over paint? You bet, especially chalk paint – it seals it beautifully!
Q: Can I use shellac outside?
A: Sadly, no. Shellac is a bit of a diva when it comes to moisture and UV rays. It’s best kept indoors where it can shine.
Q: Can I repair damaged shellac finishes?
A: You sure can! One of shellac’s best features is how easily it melts into itself. Just apply a fresh coat or two, and the old and new blend together like magic.
Q: How do I remove shellac?
A: Denatured alcohol is your go-to! It dissolves shellac without the harshness of heavy-duty strippers. Easy peasy.
Q: How many coats do I need?
A: For durable furniture use, aim for 3–8 coats. Thin, even layers are the secret sauce for a smooth finish.
Q: What’s the best way to apply shellac?
A: You can use a high-quality natural bristle brush, pad, or even spray it. Just work quickly – shellac has a short open time!
Q: How do you fix a damaged shellac finish?
A: Shellac is the self-healing superhero of the finish world! Just dab on a bit of denatured alcohol to soften the damaged area, then brush on a fresh coat. It melts right into the old layer like they were never apart. No sanding, no fuss—just smooth, seamless magic!
Q: How long does shellac last?
A: With a little TLC, shellac can stick around for years! It’s not as tough as modern synthetics, but it’s super easy to freshen up. A quick recoat and your piece will be glowing like new—no stripping required!
Q: Is shellac better than polyurethane?
A: It’s not a competition—it’s a team sport! Shellac is a gorgeous, natural finish with tons of character, perfect for indoor treasures, especially those beautiful antiques. Polyurethane is the heavy-duty protector for high-traffic pieces. Check out this post about varnishes to help you choose the one that suits your project’s vibe and lifestyle. Or hey, mix and match!
Final Thoughts
Shellac may not be the flashiest finish in the aisle, but she’s a total classic with a heart of gold. It may require a bit of patience and finesse, but the rewards are oh-so worth it. Whether you’re reviving a family heirloom or putting a personal stamp on a thrifted treasure, shellac brings warmth, richness, and character that modern finishes just can’t replicate.

So grab your brush, trust the process, and let your furniture glow with that golden, vintage charm. You’ve got this!
Thank you so much for stopping by! Got a shellac story or a sticky situation? Drop your questions or wins in the comments—I love helping fellow refinishers!
Until next time, have a beautiful and blessed day!

Don’t forget to sign up so you hear all about the next misadventure!