What Is Milk Paint? A Beginner’s Guide to Natural, Earthy Furniture Paint
If you’ve ever wandered into a furniture store, scrolled Pinterest, or peeked at your neighbor’s whimsical farmhouse dresser, you’ve probably noticed that matte, slightly chippy look that seems to whisper, “I’ve been loved for decades.” That, my friend, is the magic of milk paint: a timeless finish that can turn your DIY furniture into a charming heirloom. Today, we’re going to roll up our sleeves, mix up some powder, and chat about everything you need to know to master milk paint with confidence, quirks, and a little sparkle.

THIS POST CONTAINS AFFILIATE LINKS TO PRODUCTS THAT I HAVE OR WOULD USE.
AS AN AMAZON ASSOCIATE, I EARN FROM QUALIFYING PURCHASES AT NO COST TO YOU.
YOU CAN SEE MY FULL DISCLOSURE HERE.
What is Milk Paint?
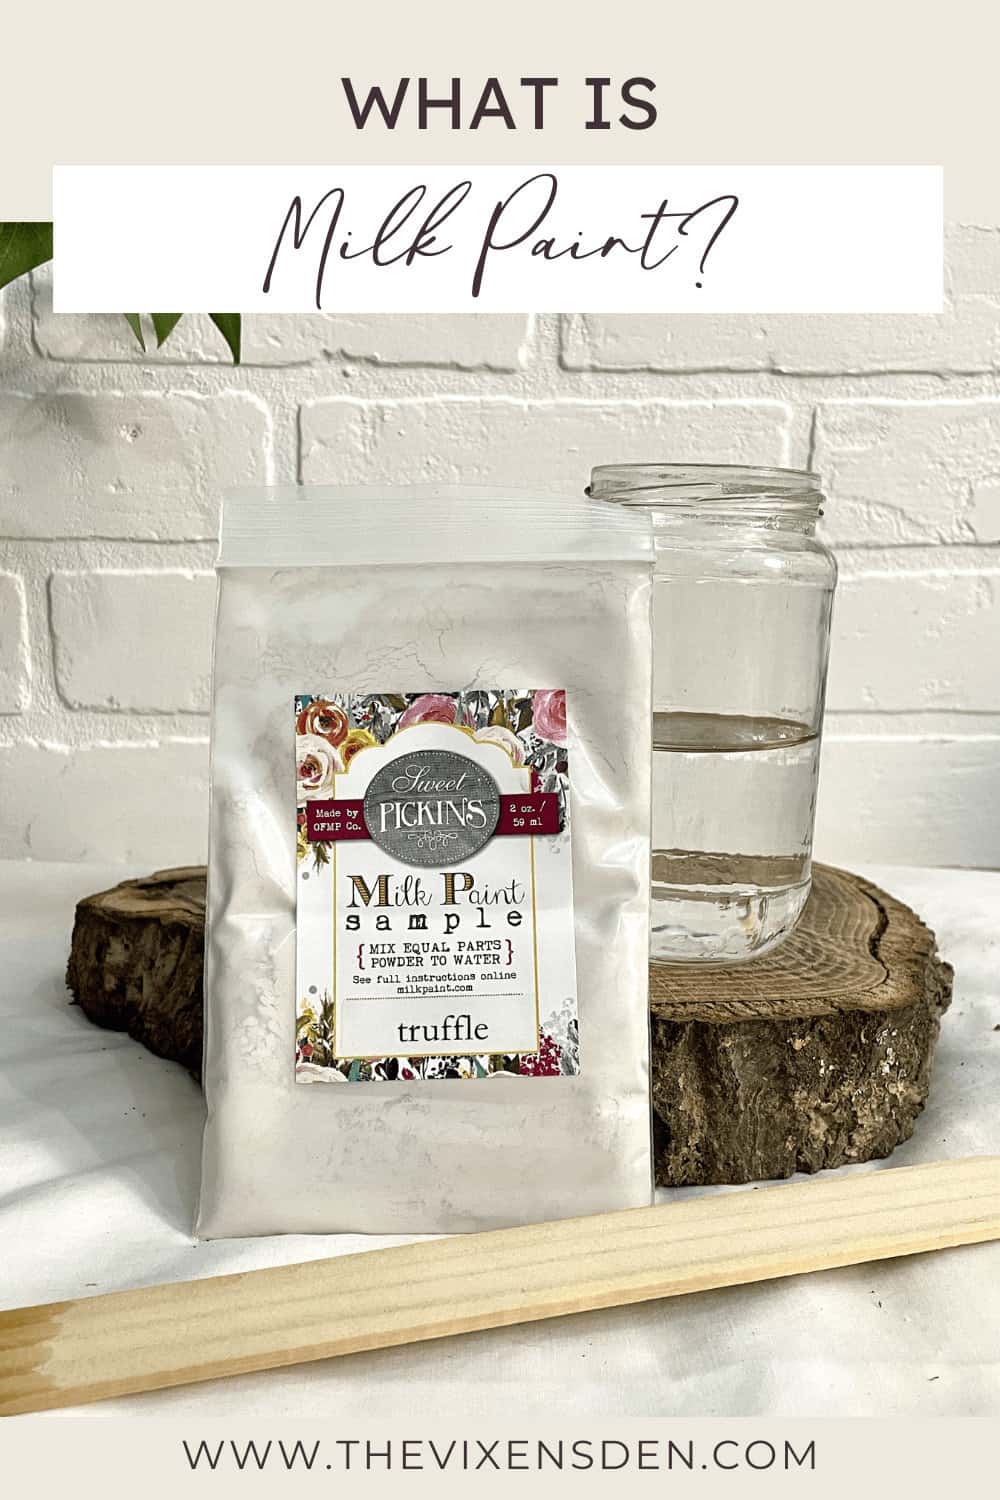
Alright, let’s get a little nerdy (but fun!) for a minute. Milk paint is a natural, non-toxic, water-based paint originally made from four simple ingredients: milk protein (casein), lime (calcium hydroxide), natural pigments, and water. The magic happens when the casein and lime combine. They create a durable, mineral-like paint that literally bonds with the wood, instead of just sitting on top like latex or acrylic paints.
This composition makes milk paint super breathable and eco-friendly, with zero VOCs (volatile organic compounds) — perfect for refinishing furniture you want to be safe and sustainable. And unlike modern paints, milk paint ages beautifully, developing a soft patina and often showing off that dreamy, rustic chippy look.
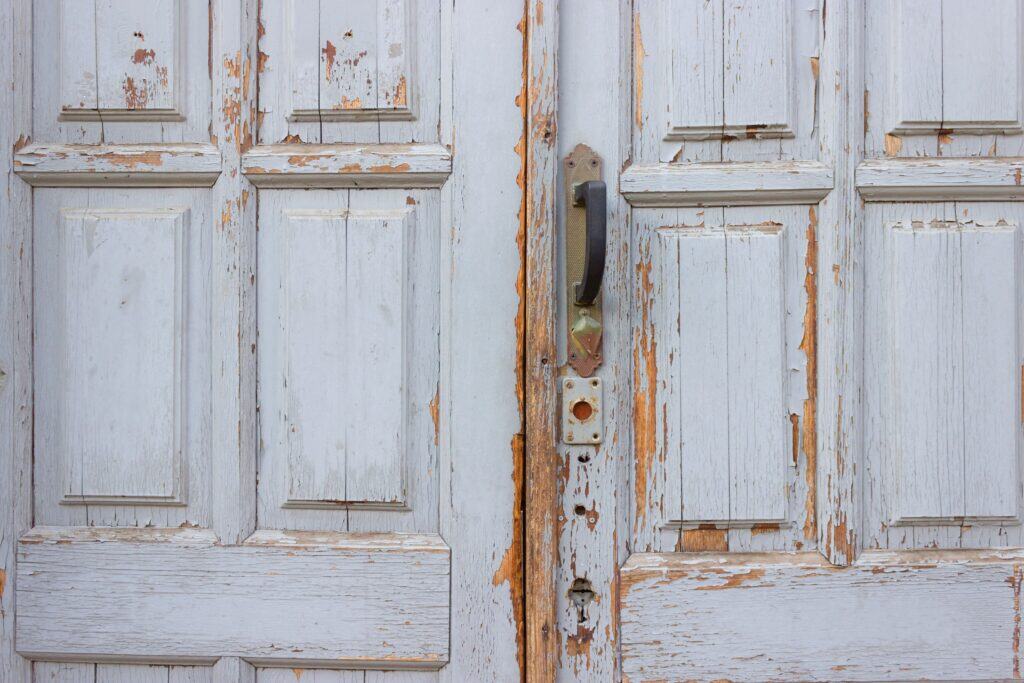
Some modern versions are hybridized with acrylics, which makes them easier to use but slightly less “authentic” in texture and wear. True milk paint dries to a chalky, matte finish, naturally chips for a vintage vibe, and is fully safe for indoor furniture and even toddler-friendly!
A Peek Into Milk Paint History
Let’s hop in the time machine. Milk paint is ancient, dating back thousands of years. Early Egyptians used casein paint for murals, and colonial Americans painted their furniture with it because it was inexpensive, safe, and durable.
Fun fact: the “chippy” look you love today? That used to happen naturally when painters skipped primers. Modern crafters deliberately mimic it for charm.
Did you know…
- Milk paint was a go-to finish before the Industrial Revolution made oil-based paints widely available.
- Milk paint was beloved by early pioneers because it was cheap, easy to make at home, and safe enough to use around kids and animals.
How cool is it that when you use milk paint, you’re connecting to ancient DIYers?
Where and Why to Use Milk Paint: The Pros and Cons
Milk paint shines when you want a vintage, rustic, or matte finish, but it has some quirks you should know about. Here’s a table to guide your furniture adventures:
| Where It Shines | What’s to Love | What’s Not to Love |
|---|---|---|
| Vintage, rustic, farmhouse, and shabby chic furniture | Non-toxic, eco-friendly, zero VOCs | Needs sealing to protect from water and wear |
| Bare wood or previously stripped furniture | Breathable finish that won’t trap moisture | Can be tricky to use on glossy, sealed surfaces without prep |
| Kids’ furniture and toys | Beautiful, soft matte finish with authentic aging | Not as durable as polyurethane without a topcoat |
| Kid’s furniture and toys | Easy to mix, customize colors with pigments | Requires some skill to avoid blotchiness and uneven application |
| Outdoor projects with proper sealing | Easy cleanup with just water | Shorter shelf life than synthetic paints |
Ready to pick your milk paint soulmate? Let’s check out the best products for every skill level!
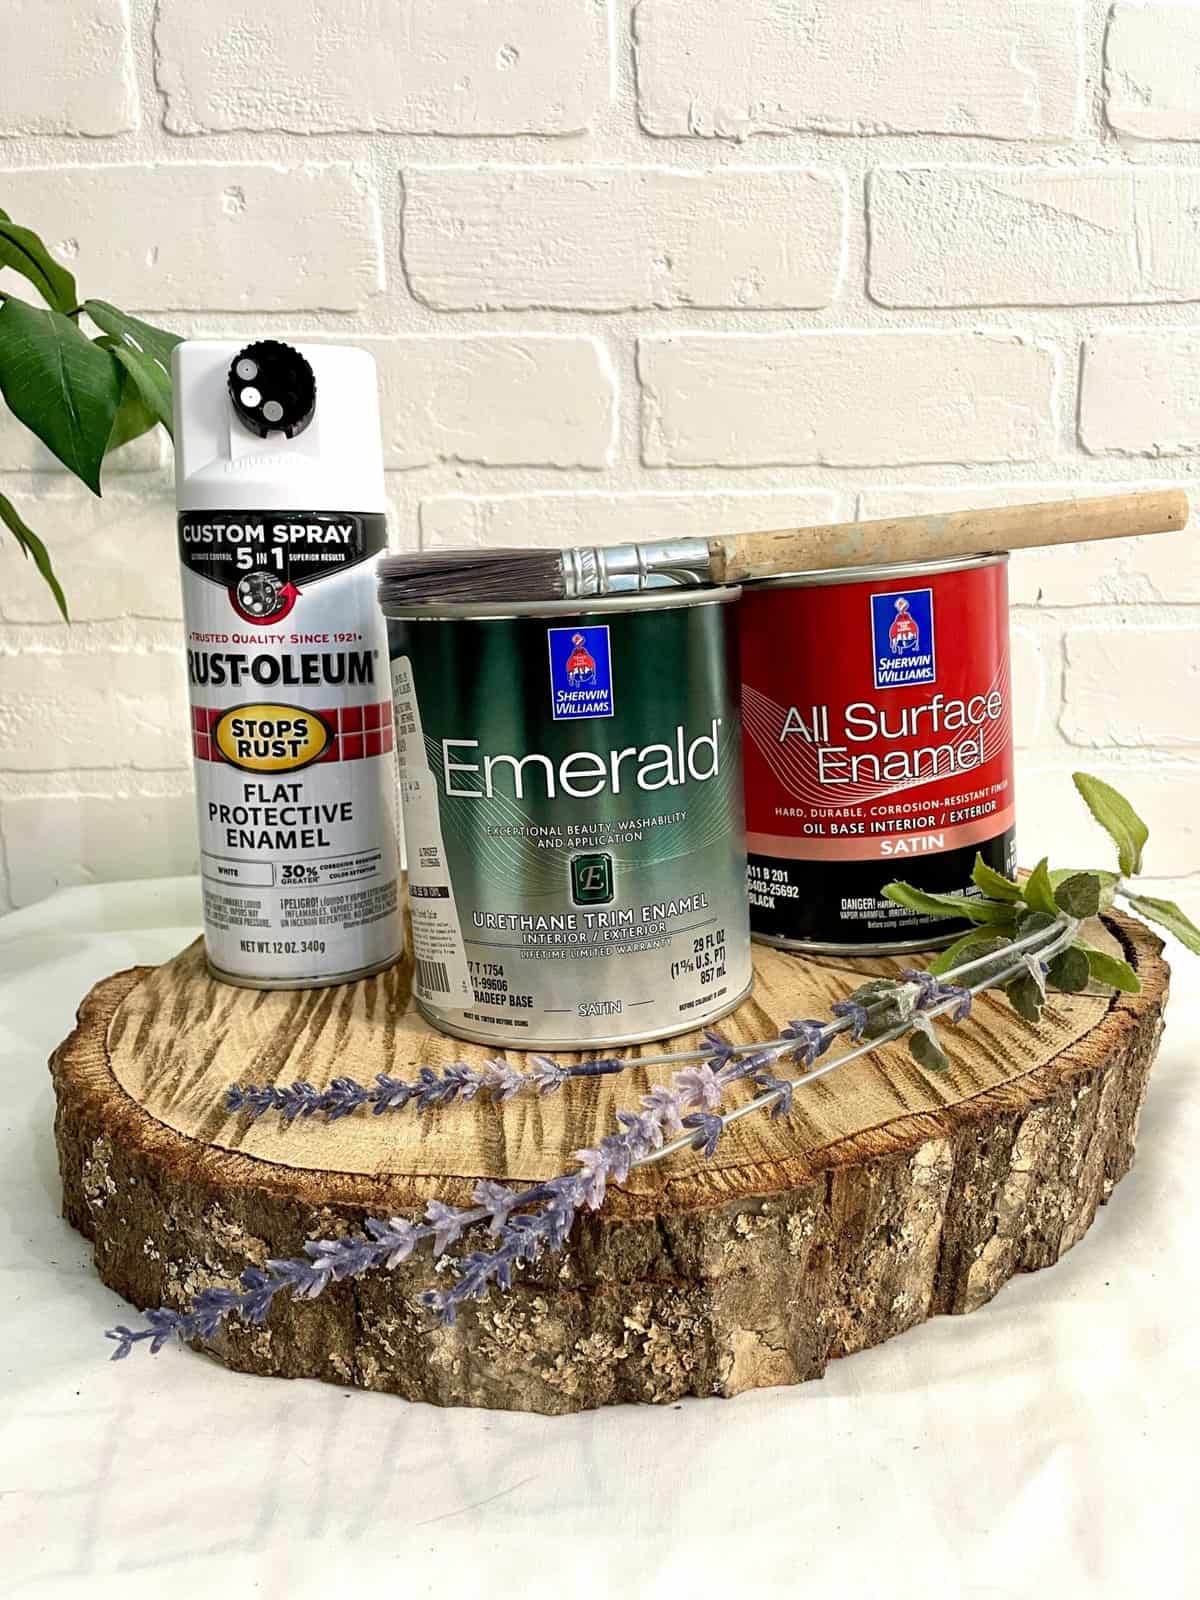
Which Milk Paint Product Is Right for You?
We’ve hand-picked milk paints based on experience level, durability, ease of use, availability, and furniture-friendliness:
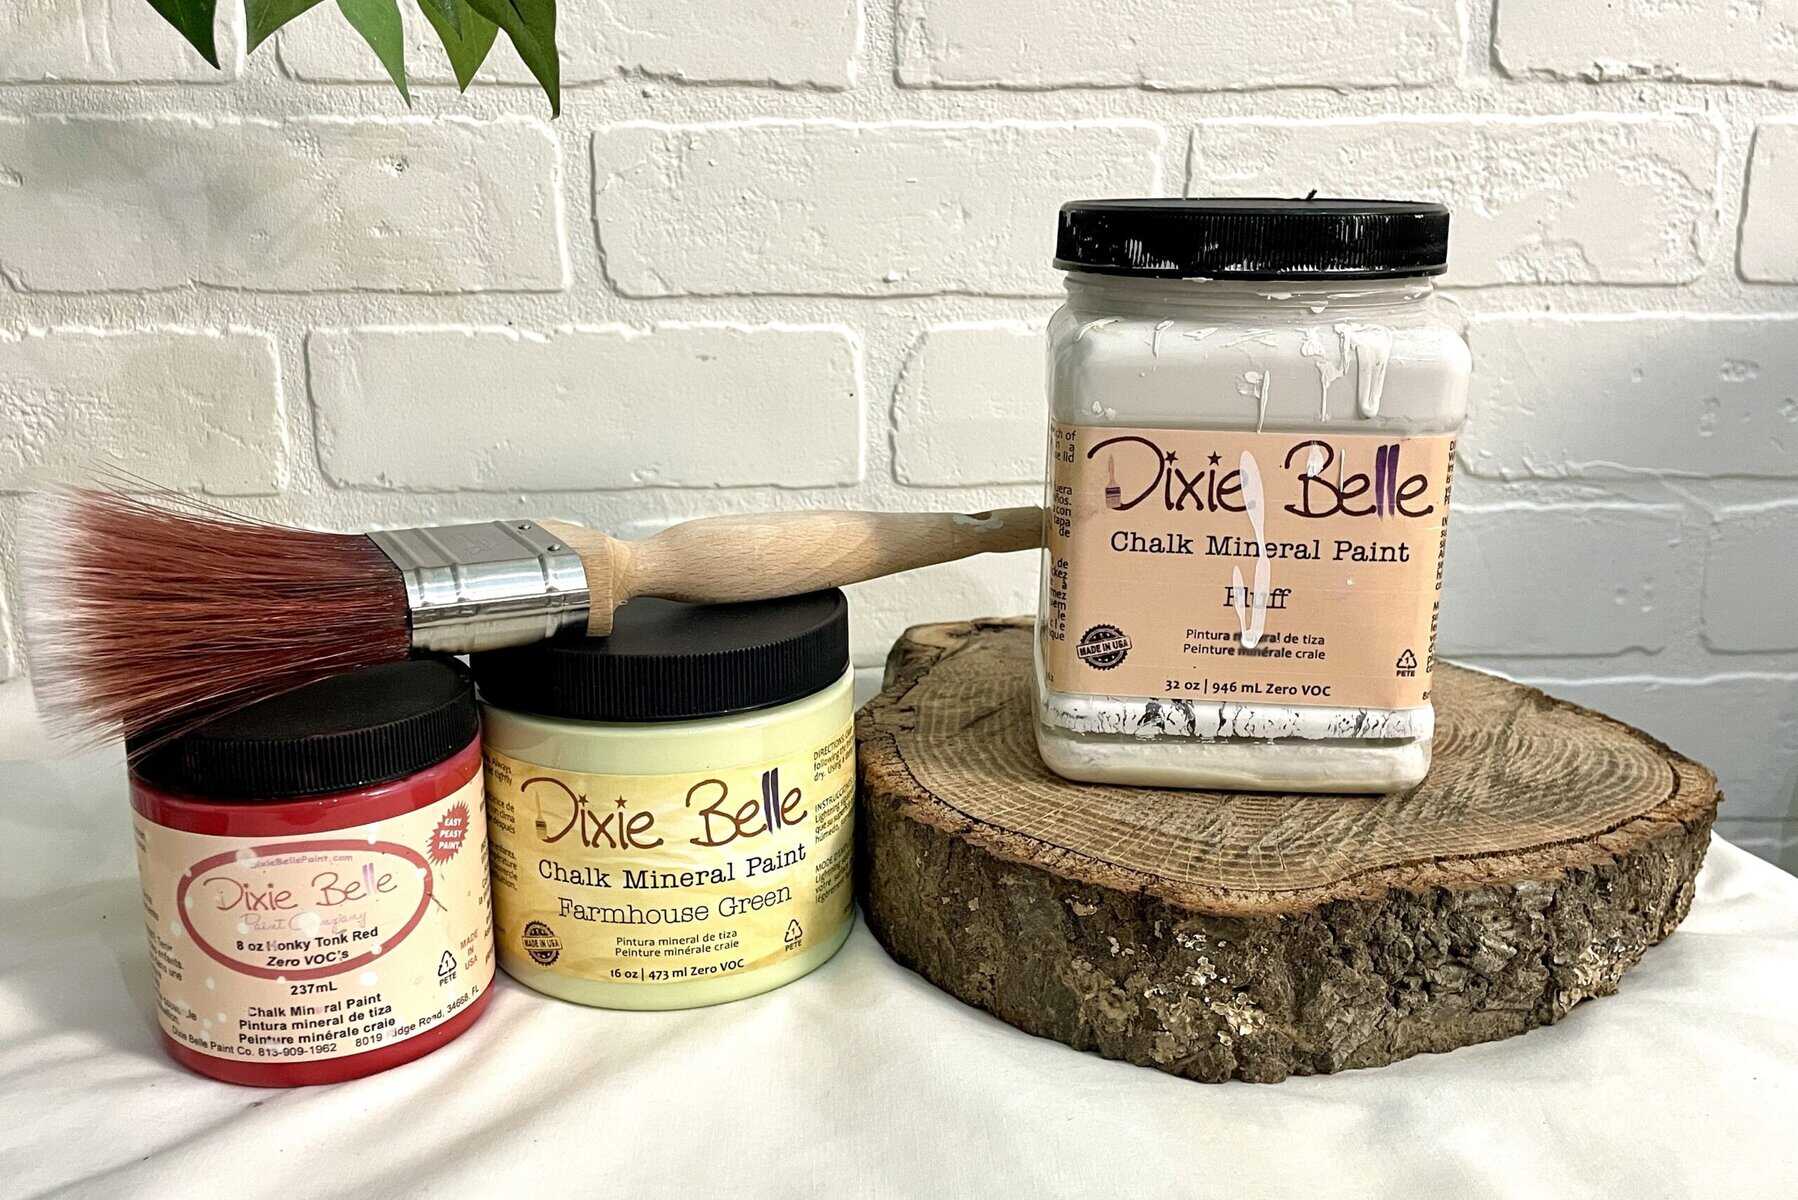
True Milk Paint (100% Traditional Casein-Lime Binder)
| Experience Level | Brand | Why Recommended |
|---|---|---|
| Beginner | Old Fashioned Milk Paint | Pre-measured packets, simple mixing, forgiving, historically accurate |
| Creatively Confident | The Real Milk Paint | Longer open time, ultra-low VOC, wide color range, furniture-friendly |
| Pro | Miss Mustard Seed’s Milk Paint | Natural chipping, layering control, ultimate artistic finish |
Hybrid Milk Paint (Acrylic Resin Binder with Additives)
| Experience Level | Brand | Why Recommended |
|---|---|---|
| Beginner | Rust-Oleum Milk Paint Finish | Premixed, easy to use, widely available, forgiving |
| Creatively Confident | General Finishes Milk Paint | Excellent durability, smooth finish, easy layering & distressing |
| Pro | Old Barn Milk Paint | Rich pigments, complex surface behavior, advanced sealing techniques |
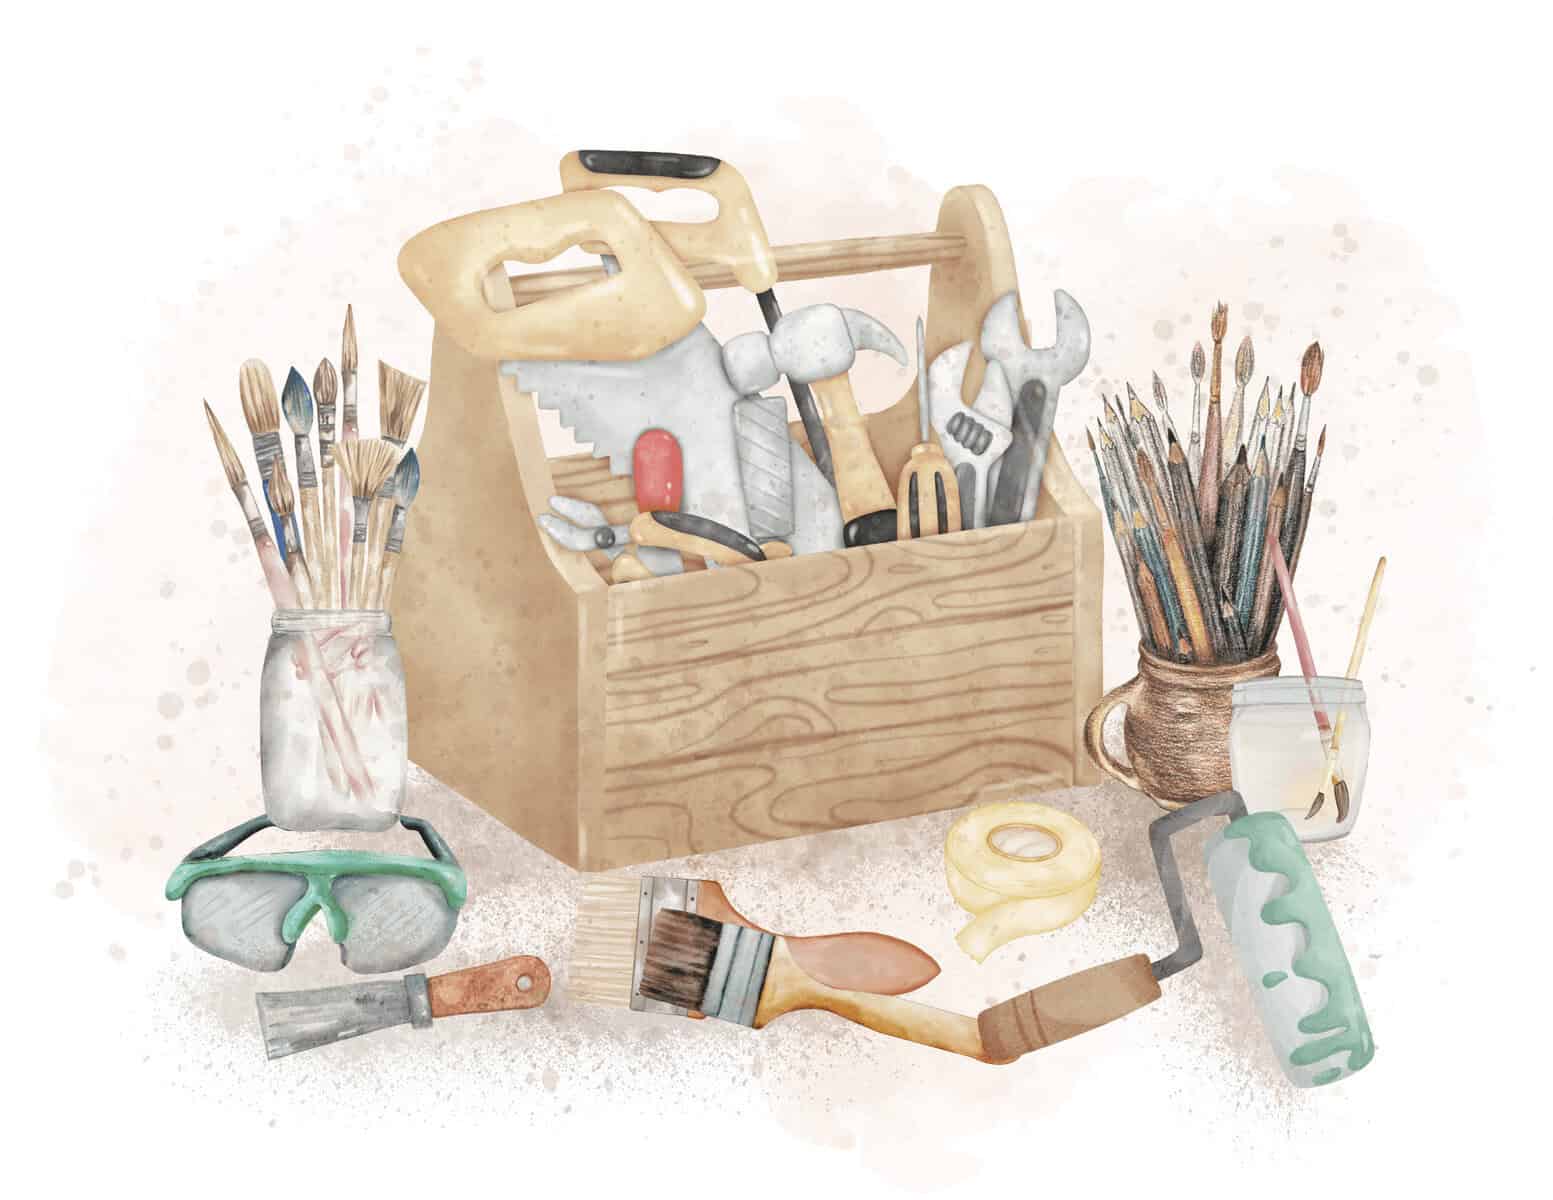
What’s in the Finishing Toolkit?
Before you get painting, stock your studio with these essentials:
Tools
- Mixing container and stir sticks (non-metallic)
- Natural bristle brush or foam brush (synthetic can work, but natural is preferred)
- Drop cloths
- Nitrile gloves
- Goggles
- Ventilation (for the dust and topcoats)
Materials
- Milk paint (powder or ready-mix depending on your choice)
- Water (preferably distilled for consistency and minimal chemical reaction)
- Sandpaper (220-320 grit for prep and light distressing)
- Optional: bonding agent (for use on sealed or previously painted surfaces)
- Protective topcoat (like wax or water-based polyurethane)
- Painter’s tape (great for pinning down drop cloths and protecting areas that you don’t want painted!)
Pro Tips: Before You Begin
Let’s avoid common rookie mistakes right off the bat!
- Always test first. Try a small corner or scrap piece—milk paint can surprise you!
- Mix slowly. Lumps are your enemy, patience is your friend.
- Mind the surface. Bare wood loves milk paint; sealed surfaces usually need a bonding agent.
- Layering is magical. Milk paint plays well with multiple colors; think of it like painting with mood and texture.
Pro Tip: Need help identifying that finish so you can remove it the fastest and most effective way? This post has your back!
How to Apply Milk Paint: Step-by-Step
Think of milk paint like baking bread. It’s rustic, a little unpredictable, but oh so rewarding when it comes together. Here’s how to go from dusty old dresser to a “wait, did you buy that at Anthropologie?” kind of masterpiece.
Step 1: Prep Like a Pro
- Clean thoroughly – Grab your trusty Orvus WA solution (our safe, non-film-leaving choice) and scrub off grease, fingerprints, and mystery spots. Rinse and let it dry.
- Assess the surface – Glossy factory finishes? You’ll need to scuff sand with 150–180 grit for grip. Raw or previously stripped wood? You’re golden—no sanding necessary.
- Decide on adhesion help – If your surface is laminate, slick veneer, or shiny poly, brush on a bonding agent (like Extra-Bond with Real Milk Paint or Old Fashioned Milk Paint’s bonding additive). Think of it as primer without the primer.
Step 2: Mix the Magic (True Milk Paint Only)
- Measure equal parts powder and distilled water.
- Stir with a whisk, then let it sit for 10–15 minutes so the lime and casein fully hydrate.
- Give it another stir—clumps are the enemy. You want pancake batter consistency (thin for washes, thicker for full coverage).
- Only mix what you’ll use in a few hours. True milk paint doesn’t believe in leftovers, as it spoils.
(Using Hybrid milk paints like Fusion or General Finishes? Skip this step. They’re premixed and ready to roll.)
Step 3: First Coat
- Use a high-quality synthetic or natural bristle brush. Don’t stress over brush marks—milk paint self-levels surprisingly well.
- Apply in long, smooth strokes. It will look streaky, thin, and maybe even patchy at first. Don’t panic. Milk paint is a slow bloomer.
- If you want chippiness (that romantic, distressed farmhouse look), skip bonding agents and let the first coat dry as-is.
Step 4: Second Coat (and Beyond)
- Most projects need 2–3 coats, but porous woods may drink up more.
- Let the first coat dry about 30 minutes to an hour—it’s quick!
- Lightly sand with 220 grit if you want a smoother finish.
- Apply the second coat. This is when it starts to look solid and beautiful.
Step 5: Creative Effects (Optional but Fun)
- Layer colors: Paint a base color, then add a contrasting topcoat. Once dry, sand selectively to reveal peeks of the base color.
- Distressing: Rub edges with wax before painting so the top layer resists adhesion and chips away gracefully.
- Wash effect: Thin your paint with extra water to create a soft, sheer look that shows off the wood grain.
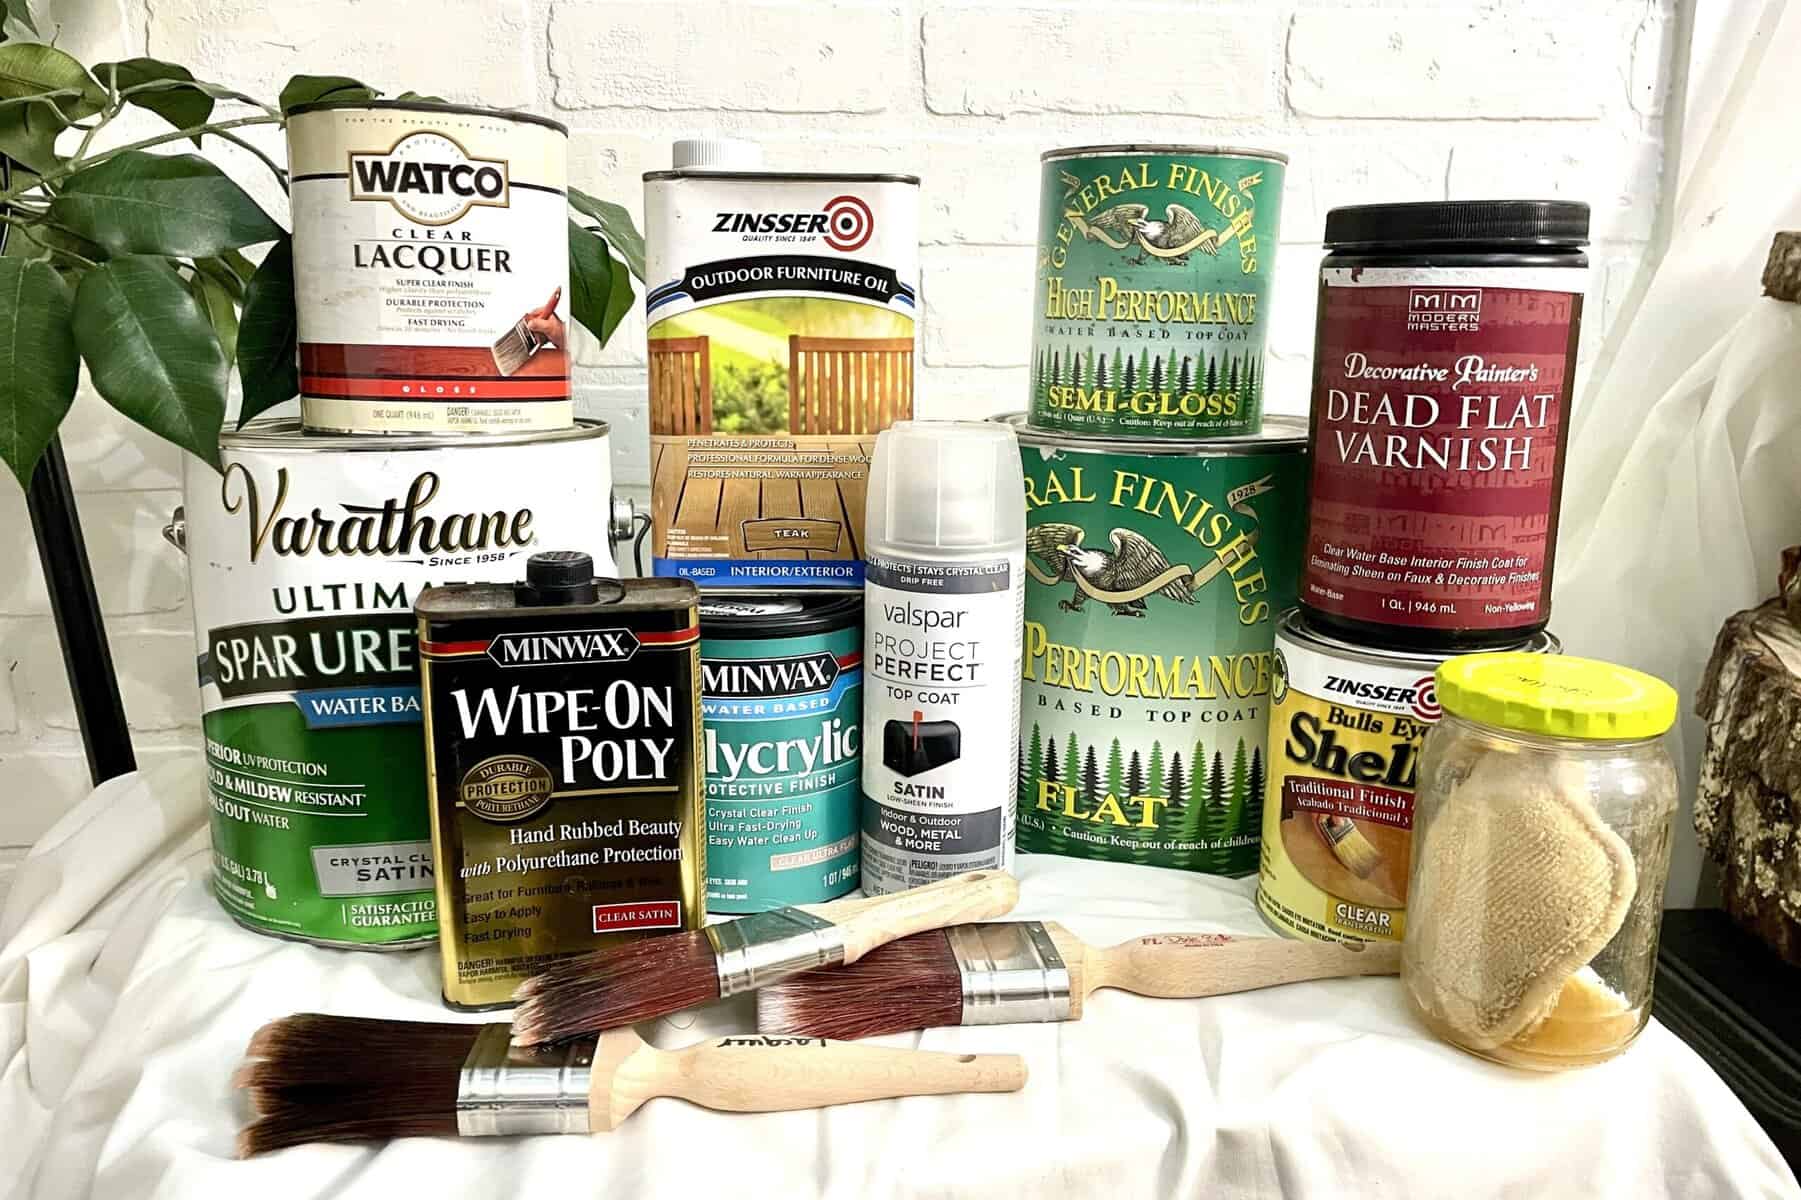
Step 6: Seal the Deal
Milk paint is gorgeous but porous. It needs protection. You’ve got options:
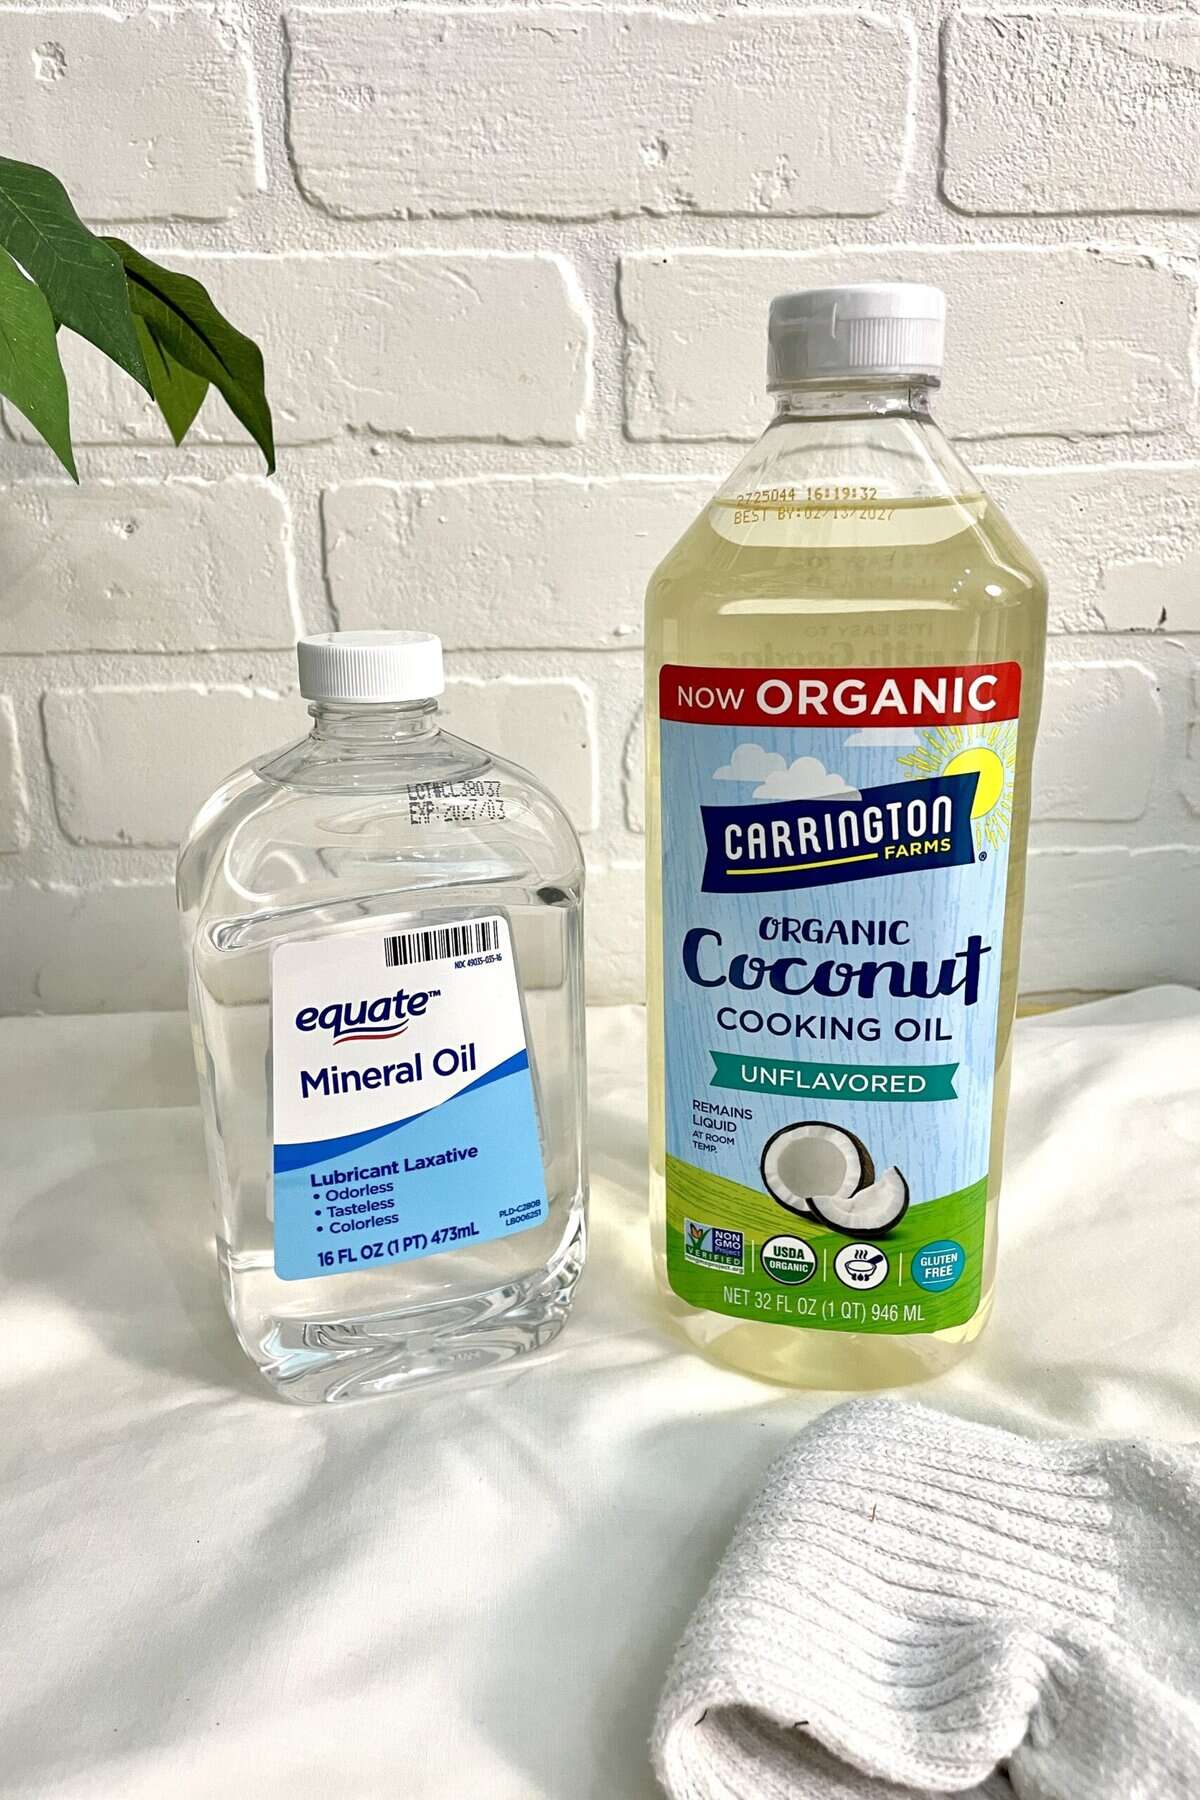
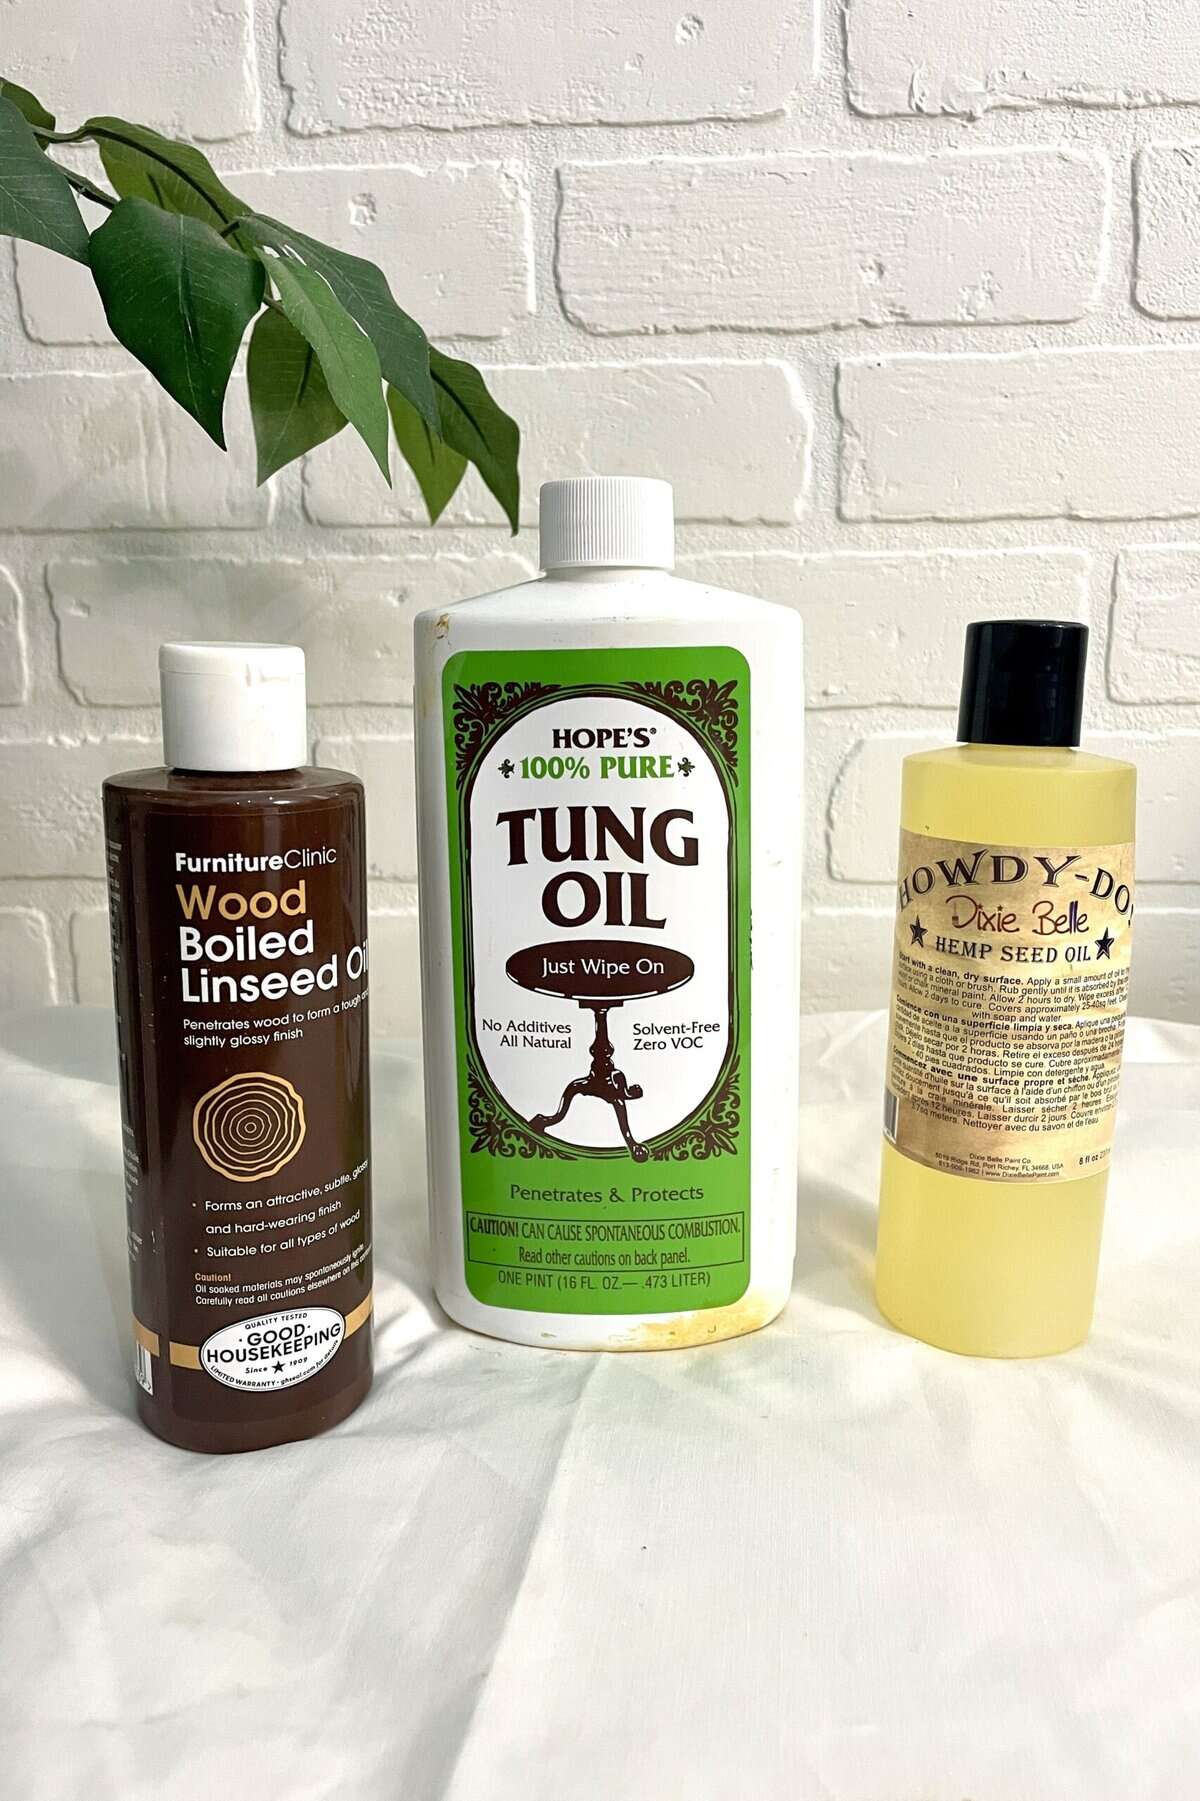
- Hemp oil – soaks in, gives depth, and keeps that velvety matte finish. Best for a natural vibe.
- Wax – soft sheen, touchable feel, easy to refresh later.
- Polyurethane (water-based) – if the piece will see heavy use (think dining tables or kids’ furniture), go with poly for durability.
Step 7: Live With It (and Love It)
One of milk paint’s quirks is that it settles into the piece over time. The surface hardens, the colors mellow, and the finish feels lived-in instead of factory-made. It’s the kind of finish that whispers stories and urges you to linger and enjoy the moment.
Application Best Practices
Ideal temperature: 60°F to 80°F (15°C to 27°C)
Humidity: Moderate (40% to 60%) to avoid uneven drying or cracking
Number of coats: 2 coats for solid coverage; 1 coat or less for chippy, rustic effect
Dry time between coats: 1 to 2 hours
Cure time before heavy use: At least 7 days
When and How to Refresh Your Milk Paint Finish
Signs your finish needs some TLC:
- Paint is flaking or peeling (more than you want it to)
- Surface looks dull or worn
- Wood is exposed in frequently used areas (again, this may be what you wanted, but if not, then let’s put a halt to that excess wear and tear!)
Refreshing steps:
Step 1: Gentle Cleaning
- Mix up a soft cleaner like Orvus WA Paste (my favorite safe, neutral choice).
- Wipe down the piece with a damp, but not dripping, cotton flannel or microfiber cloth.
- Skip harsh scrubbers; you want to lift dirt and oils without disturbing the finish.
- Rinse with a clean, damp cloth and dry thoroughly.
💡 Why it matters: Milk paint is porous, so grime can settle into the finish if the protective layer has worn away. A clean surface is essential before layering on a refresh.
Step 2: Evaluate the Surface
- Look for shiny spots (where oils or waxes may have built up).
- Check for scratches, water rings, or dull patches.
- Decide whether you need just a re-wax/oil or a light touch-up coat of milk paint.
Pro Tip: Hold the piece in good natural light. You’ll see exactly where it needs some attention.
Step 3: Light Touch-Ups (Optional)
- If you spot small, worn areas, mix up a tiny batch of milk paint.
- Dab or feather it into the bare spots using a small artist’s brush or sponge.
- Let dry, then gently buff with a fine pad (like a 400–600 grit sanding sponge) to blend.
💡 Hybrid milk paints (like General Finishes) often don’t need this step because they have stronger built-in binders. True milk paints (like Old Fashioned Milk Paint) may show more wear and need little patches here and there.
Step 4: Revive the Protective Coat
Choose your refresh product depending on the original topcoat:
- If it was oiled: Use a fresh coat of hemp oil, tung oil, or your original choice. Wipe it on, let it soak, then buff off excess.
- If it was waxed: Apply a thin new coat of furniture wax, working in small sections. Buff until smooth and softly glowing.
- If it had a clear coat (hybrids): A quick scuff-sand with 400 grit followed by a thin wipe-on topcoat (like General Finishes High Performance) keeps it protected.
Feeling a little uncertain? Are you refreshing a found treasure or just can’t remember what the original finish was? This helpful guide will walk you through the steps of identifying what’s protecting that beautiful, chippy finish!
💡 Furniture-friendly note: Oils deepen and enrich colors, waxes give buttery softness and clears give durability. Match the protective topcoat to your lifestyle.
Step 5: Buff to Brilliance
- After your oil or wax has set, buff with a clean cotton cloth.
- The finish should feel smooth, conditioned, and renewed—never sticky.
Step 6: Step Back & Admire
That’s it! Your milk-painted piece has had a spa day, complete with a full facial and body wrap. No sanding marathon, no stripping, no heavy lifting, just a gentle refresh that keeps it looking vibrant and well cared for.
Remember: Refreshing milk paint is about maintenance, not a makeover. Done every year or two (or when your piece looks tired), this process extends the life of your finish and keeps your furniture looking like it belongs in a design magazine rather than a yard sale.
I love a good snapshot and side-by-side comparison (in case you haven’t noticed! lol). Here’s a quick guide to help you see the difference between a True Milk Paint refresh and a Hybrid Milk Paint refresh:
| Step | True Milk Paint (Casein-Based) | Hybrid Milk Paint (Acrylic or Acrylic Blend) |
|---|---|---|
| 1. Clean | Gentle wipe with Orvus WA; rinse & dry. Avoid harsh scrubbing. | Same process. Hybrids are slightly more forgiving of light soap residue. |
| 2. Assess Surface | Look for dull patches, chipping, scratches; check if bonding agent needed. | Check for dull areas, scratches, or worn topcoat; less chipping usually. |
| 3. Touch-Up | Mix tiny batch, dab on bare spots, blend with fine brush/sponge. | Often unnecessary due to stronger built-in binder; small spots can be painted directly. |
| 4. Reapply Finish | Oil, wax, or clear coat depending on original topcoat. Apply thin, buff when set. | Light scuff sanding if clear-coated, then wipe-on matching finish; wax or oil optional. |
| 5. Buff & Smooth | Cotton cloth to bring out soft sheen and smoothness. | Same process; hybrid finish often buffs faster due to smoother surface. |
| 6. Enjoy & Maintain | Regular light cleaning; re-wax/oil every 1–2 years or as needed. | Regular dusting and occasional topcoat refresh; hybrids are lower-maintenance. |
Refinishing Milk Paint
Step 1: Inspect the Current Finish
- Bare milk paint? (no shine, velvety feel) → easiest to refinish, you can go straight into sanding or repainting.
- Milk paint with wax? (soft sheen, slightly smudgy to the touch) → you’ll need to remove that wax before anything sticks.
- Milk paint with oil? (rich, deepened color, slightly slick feel) → trickier; oils seep in, so we’ll treat it like an oily wood surface.
- Milk paint with poly or varnish? (hard, glossy shell) → this will act like any other film finish, so we’ll sand and scuff it up for adhesion.
👉 Want to know more about these finishes? Pop over to our posts on Waxes, Oils, or Film Finishes for the full lowdown.
Step 2: Clean Thoroughly
No matter what you’ve got, start with a deep clean. Use a gentle furniture cleaner (like Orvus WA Paste) mixed with distilled water to wash away dirt and oils. Rinse with distilled water and let dry.
Skipping this step means your new paint or finish might not stick. It’s worth the extra five minutes, promise.
Step 3: Address the Topcoat (If Present)
- Wax → Remove with mineral spirits and a soft cloth. Then sand lightly to open the surface.
- Oil → Wipe down with a degreaser (Krud Kutter works well), let dry, and test adhesion with a small paint patch before committing.
- Poly/Varnish → Scuff-sand with 220-grit to give the surface “tooth.” Don’t skip this—poly laughs in the face of paint without it.
- No Topcoat → You lucky duck! Just move on to sanding for adhesion.
Step 4: Sand for Adhesion
- Light sanding (220-grit) if you’re layering milk paint over milk paint.
- Heavier sanding or even stripping if you want a bare wood restart.
Milk paint loves texture, so don’t be afraid of a slightly toothy surface.
Step 5: Apply Your Milk Paint
- Mix your milk paint fresh (true milk paint comes as a powder).
- Test your first coat on a hidden area. It will look chalky and streaky at first. Don’t panic.
- Layer on 2–3 coats, letting each coat dry completely.
- If you want controlled adhesion on a slick surface, add the bonding agent right into your first coat.
Step 6: Seal It In
True milk paint is porous. It needs a topcoat for survival. Your choice depends on the look you want and how your piece will be used:
- Wax → Soft sheen, vintage charm (but needs re-waxing down the road).
- Oil → Deep, rich color, but longer cure times.
- Polyurethane / Polycrylic → Strong, protective shell. Ideal for heavy-use furniture.
Step 7: Final Buff & Admire
If you’ve chosen wax, buff after curing for that irresistible glow. For poly or oil, let the finish cure as directed. Then step back and enjoy. Your piece is ready for a whole new chapter!
Pro Tip: Milk paint is one of the few finishes that actually improves with age. Chips, cracks, and wear aren’t flaws. They’re part of the story. If perfection is your goal, go with a film finish. If character is your love language, let milk paint glow under wax or deepen gracefully with oil.
Removing Milk Paint
Stripping away milk paint isn’t always as straightforward as sanding off chalk paint or dissolving varnish. Because milk paint itself bonds into the wood fibers, the real “wild card” is usually the protective topcoat. Before you dive in, you’ll want to figure out what’s guarding that paint layer.
Step 1: Identify the Topcoat
- Rub test: Dampen a soft cloth with distilled water and rub a hidden spot. If the surface gets tacky or dulls, it may be a wax or oil.
- Alcohol test: Rub another hidden area with denatured alcohol. If it softens, it’s likely shellac.
- No reaction? Then you may be dealing with polyurethane, lacquer, or varnish (aka a film finish).
👉 Still feeling unsure? Use this guide to walk through identifying your finish step-by-step. Then, head over to these posts on Wax Finishes, Drying Oils, Film Finishes (Varnish and Polyurethane), Shellac, or Lacquer for deeper guides on removal tricks.
Step 2: Remove the Topcoat
Protect Yourself: Don’t skip the gloves, goggles, or ventilation: even though milk paints are natural, removal will require chemical strippers for the topcoats and result in scraping and sanding dust.
Wax or Oil:
- Scrub with mineral spirits and a non-abrasive pad.
- Follow up with a light sanding (220 grit) to even things out.
Poly, Lacquer, or Varnish:
- Apply a thick layer of a furniture-safe paste chemical stripper. (I like
Zar , but any gel or paste stripper will work.) Allow the chemical time to sit and work. Most need 30 minutes to an hour (always follow the SDS and manufacturer’s directions). - Scrape gently with a plastic scraper.
- Repeat if needed. Multiple layers may need multiple rounds of stripping.
- Neutralize chemical stripper by wiping surface with mineral spirits or water (per product label instructions).
- Rinse thoroughly according to the product instructions.
Step 3: Assess the Milk Paint Layer
Once the topcoat is off, check the paint. Is it:
- Chalky and flaking? Sand with medium grit (120–150) to remove.
- Stubborn and bonded deep into the wood? Use a chemical stripper again, focusing on the paint layer.
Step 4: Clean and Neutralize
- Wipe everything down with distilled water or a mild cleaner like Orvus WA Paste to remove residue.
- If you used a chemical stripper, follow the product’s neutralizing instructions (often water or mineral spirits).
Step 5: Prep for the Next Chapter
- Smooth the surface with 180–220 grit sanding.
- Decide whether you’ll refinish with a new milk paint look, switch to another paint family, or show off the raw wood.
Quick Note: Because milk paint sinks into the wood fibers, some stain-like color may remain even after stripping. That’s not a flaw, that’s history. You can embrace it as part of the patina or sand further to chase a cleaner slate.

Caring for Your Milk Paint Finish
Milk paint is delightfully breathable and natural, but how you clean it depends on whether it’s bare paint (a bit chalky and porous) or sealed with a protective topcoat. Here’s your go-to guide for keeping your finish gorgeous:
For Bare Milk Paint (no topcoat aka the rebels choice)
- Dust first – Use a soft microfiber cloth or feather duster to remove loose debris.
- Mix a gentle cleaner – Combine a few drops of Orvus WA Paste with distilled water in a spray bottle. Shake lightly.
- Light clean – Dampen a soft cloth with the solution (never soak) and wipe gently across the surface.
- Rinse lightly – Wipe again with a clean cloth dampened with distilled water only.
- Dry thoroughly – Follow with a soft, dry cloth to remove any lingering moisture.
💡 Tip: Bare milk paint will naturally show wear and patina over time. That’s its charm! Avoid scrubbing — treat it gently.
For Milk Paint with a Wax Topcoat
- Dust first – Always start with a dry microfiber or cotton flannel cloth. Always.
- Refresh with Orvus WA – Use the same gentle Orvus + distilled water solution, but wipe very lightly so you don’t accidentally strip the wax.
- Buff back the shine – Once dry, polish lightly with a soft cloth.
- Re-wax as needed – If areas look dull, reapply a thin coat of furniture wax and buff.
For Milk Paint with an Oil Finish (hemp, tung, linseed, etc.)
- Dust first – Always.
- Gentle wipe-down – Use Orvus WA + distilled water solution (mild, wrung-out cloth).
- Nourish the finish – Every so often, refresh with a very thin coat of the same oil originally used. Wipe off excess and buff dry.
For Milk Paint with a Polyurethane or Polycrylic Topcoat
- Dust first – Yes, again, always.
- Mix cleaner – Combine Orvus WA with distilled water.
- Wipe gently – Use a wrung-out microfiber cloth, avoiding puddles.
- Rinse lightly – Wipe with a clean, damp cloth.
- Dry thoroughly – Always finish with a dry cloth to prevent streaks.
For Milk Paint with a Varnish or Lacquer Topcoat
- Dust first – I sound like a broken record, but it’s always step one.
- Use Orvus WA solution – Lightly dampen your cloth.
- Wipe evenly – Avoid standing water or harsh scrubbing.
- Final dry – Use a soft dry cloth for a streak-free finish.
Quick Reference Cleaning Chart
| Milk Paint Surface | Cleaning Method | Refresh Notes |
|---|---|---|
| Bare Milk Paint | Dust → Orvus WA + distilled water → Rinse → Dry | Expect patina; don’t scrub |
| Wax Topcoat | Dust → Orvus WA wipe → Buff | Reapply wax as needed |
| Oil Topcoat | Dust → Orvus WA wipe | Refresh occasionally with thin oil coat |
| Polyurethane / Polycrylic | Dust → Orvus WA wipe → Rinse → Dry | Durable; avoid abrasives |
| Varnish / Lacquer | Dust → Orvus WA wipe → Dry | Avoid excess moisture |
Common Milk Paint Mistakes (And How to Fix Them)
| Mistake | Why It Happens | How to Fix It |
|---|---|---|
| Uneven or blotchy color | Poor surface prep or improper mixing | Sand lightly, clean, and repaint; test mix ratios |
| Paint flakes or peels | Applying on sealed or oily surface without bonding agent | Sand to raw wood, apply bonding agent, repaint |
| Paint dries too fast/cracks | Too hot or dry environment | Paint in cooler, moderate humidity environment |
| Excessive chipping (not desired) | Thick coats or no sealing | Thin coats, seal with wax or poly to protect |
| Paint lumps in mix | Not sifting powder or mixing too quickly | Sift powder before mixing; stir gently |
FAQs
Q: Can I use milk paint over latex paint?
A: Only if you use a bonding agent first. Milk paint won’t stick well to glossy or sealed surfaces on its own.
Q: Is milk paint waterproof?
A: No, it’s porous. Always seal with wax or polyurethane to protect from moisture.
Q: How long does milk paint last?
A: With proper sealing and care, it can last years, developing beautiful natural wear.
Q: Can I tint milk paint?
A: You can mix in natural pigments or tinted bonding agents, but always test to avoid color shifts.
Q: Is milk paint safe for kids’ furniture?
A: Absolutely! It’s non-toxic and zero VOC, making it a fantastic choice for children’s pieces. Just be sure to consider the topcoat when you’re deciding how much your kiddo might be chewing on the furniture.
Final Wrap: Why Choose Milk Paint?
If you’re wondering why milk paint should be your go-to for your next project, here’s the scoop: it’s safe, versatile, and endlessly charming. Beginners will find forgiving options like Old Fashioned Milk Paint or Rust-Oleum Milk Paint Finish. Creatively confident crafters will love layering and subtle effects with The Real Milk Paint Co. And pros, like Miss Mustard Seed devotees, can truly play with chipping, texture, and advanced techniques.
If you are standing in front of a tired old piece wondering how to bring it back to life without harsh chemicals, sticky fumes, or plastic-y finishes — milk paint is calling your name! It’s beginner-friendly, safe to use indoors, and lets you build your confidence while experimenting with soft layers, vibrant color, and that perfectly imperfect aged look. You don’t have to be a pro to make something beautiful. You just need a little curiosity, a splash of paint, and the courage to start.
Milk paint isn’t just paint—it’s a way to tell the story of your furniture, whether you’re reviving an old dresser or crafting a custom piece from scratch. So grab your brush, mix your powder, and let your creativity shine!
Thank you so much for stopping by! I hope this information helps you with your next project. Drop a comment below and let me know if you have any questions or tips from your adventures with milk paint!
Until next time, have a beautiful and blessed day!