Which Paintbrush is Best for A Smooth Finish on Oil-Based and Water-Based Products?
Have you ever stood in the aisle of your favorite big box store and felt completely baffled by all of the paintbrush options? Here you are, ready to dive into your project, but you’re confronted with so many choices that you aren’t sure which paintbrush is the right one. Do you just grab the first brush that you find and hope for the best?
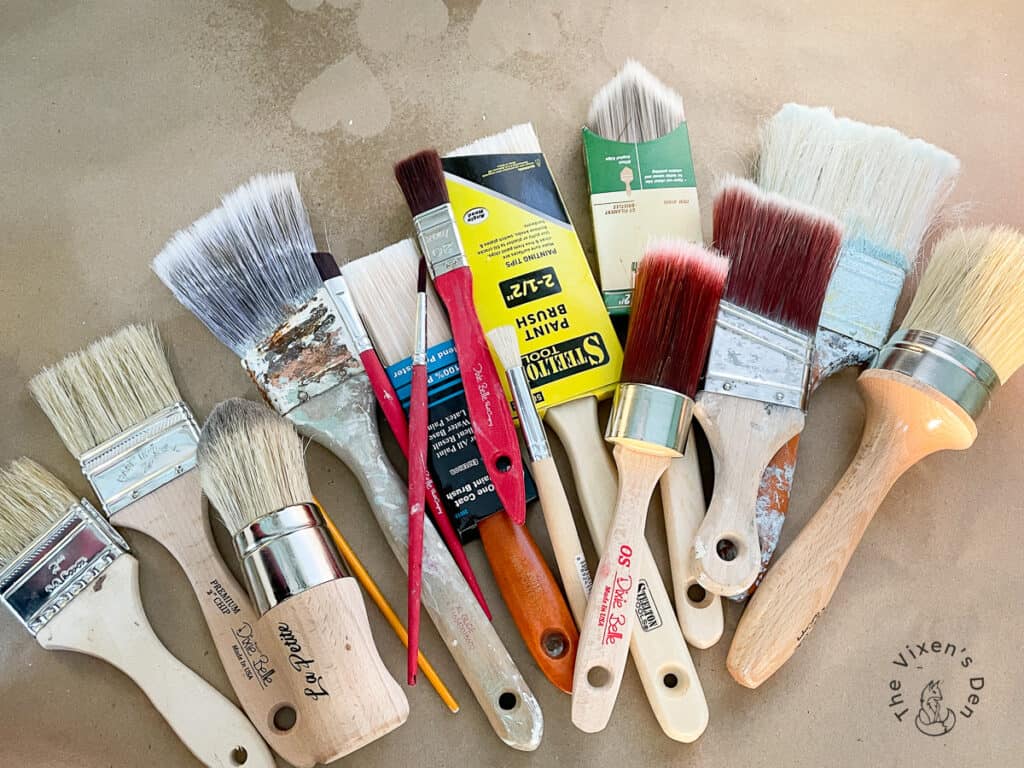
It might not seem like it, but the paintbrush that you choose could make a huge difference in your final results. Lucky you, I’ve done all of the research for you!
Let’s break down the elements of a good paintbrush. Then we’ll figure out which brush is right for you based on the type of material that you’ll be using. Finally, we’ll talk about cleaning and maintaining your new brush so you can spend less time and money buying brushes and more time working on your projects!
But first, some legalese:
THIS POST CONTAINS AFFILIATE LINKS TO PRODUCTS. IF YOU PURCHASE PRODUCTS THROUGH THESE LINKS, THEN I MAY RECEIVE A SMALL COMMISSION AT NO COST TO YOU.
I ONLY RECOMMEND PRODUCTS THAT I USE AND/OR HAVE RESEARCHED AND WOULD USE.
The Anatomy of a Paintbrush
A paintbrush consists of four basic parts:
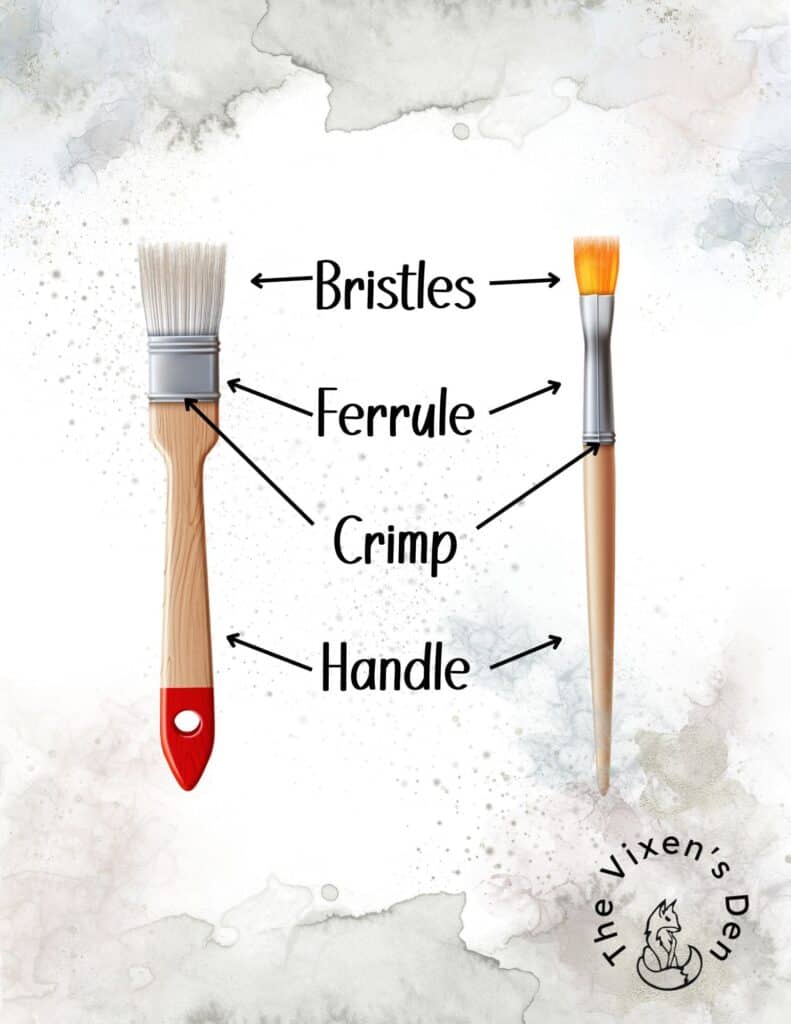
- The bristles are “loaded” or dipped into paint or finishes and then brushed against a project to “offload” the paint to the surface of the project. Bristles typically come in two different types: natural and synthetic.
- The ferrule is the metal piece that binds the bristles to the handle.
- The crimp is the indented section of the ferrule. It is what clamps the ferrule to the bristles and handle.
- The handle is where you hold the brush to paint. The handle is typically made from either unfinished or sealed wood or plastic.
How to Choose a Good Quality Paintbrush
For such a simple tool, choosing the right paintbrush makes all of the difference in how a project turns out, as well as how much pain you endure during the process.
If you’re slapping a few coats of sealer on a post before you put it in the ground, then the type of paintbrush that you use may not be that important. After all, raggedy bristles and obvious brush strokes on that type of project aren’t that big of a deal. But if you’re looking for a smooth finish, with minimal brush strokes and no bristles left behind, then you’ll want to follow these steps to make sure the brush you’re choosing is up to the task.
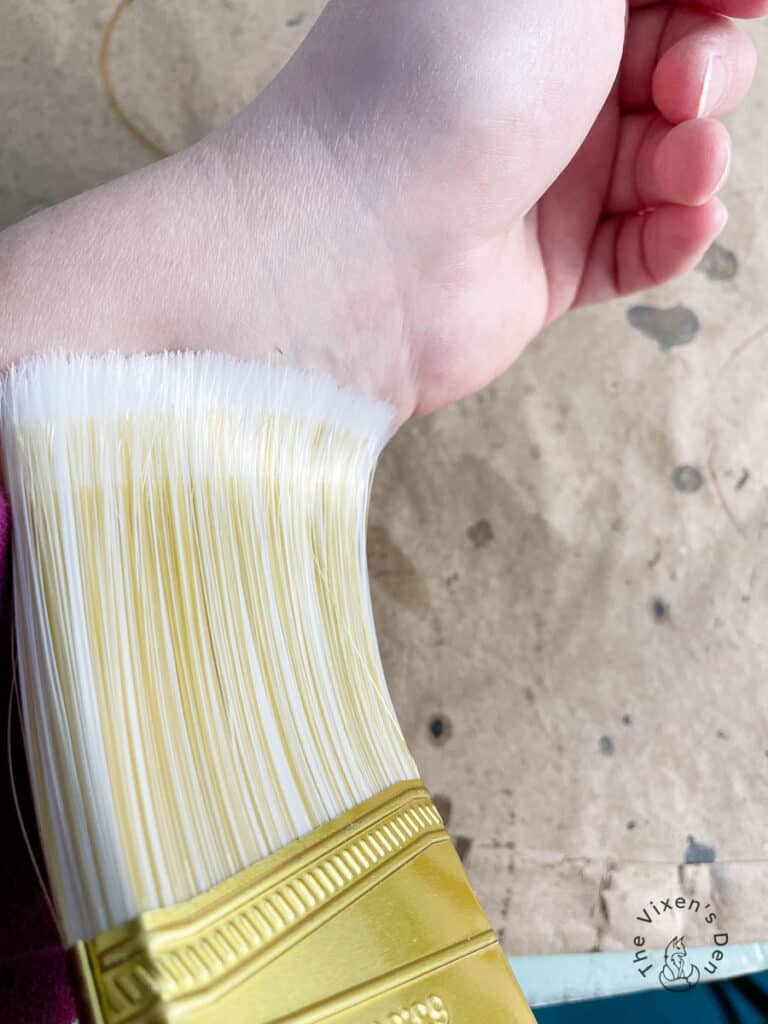
First, give the bristles a tug, and then brush them across your hand so that the bristles bend in half. You’re looking for very few to no bristles that pull free or break off.
Then consider the cut of the bristles. A flat-edged brush will work just fine for most applications, however an angled brush is quite versatile and allows for cutting in edges more easily. Finally, artist brushes provide a variety of tip options for highly detailed projects and touchups.
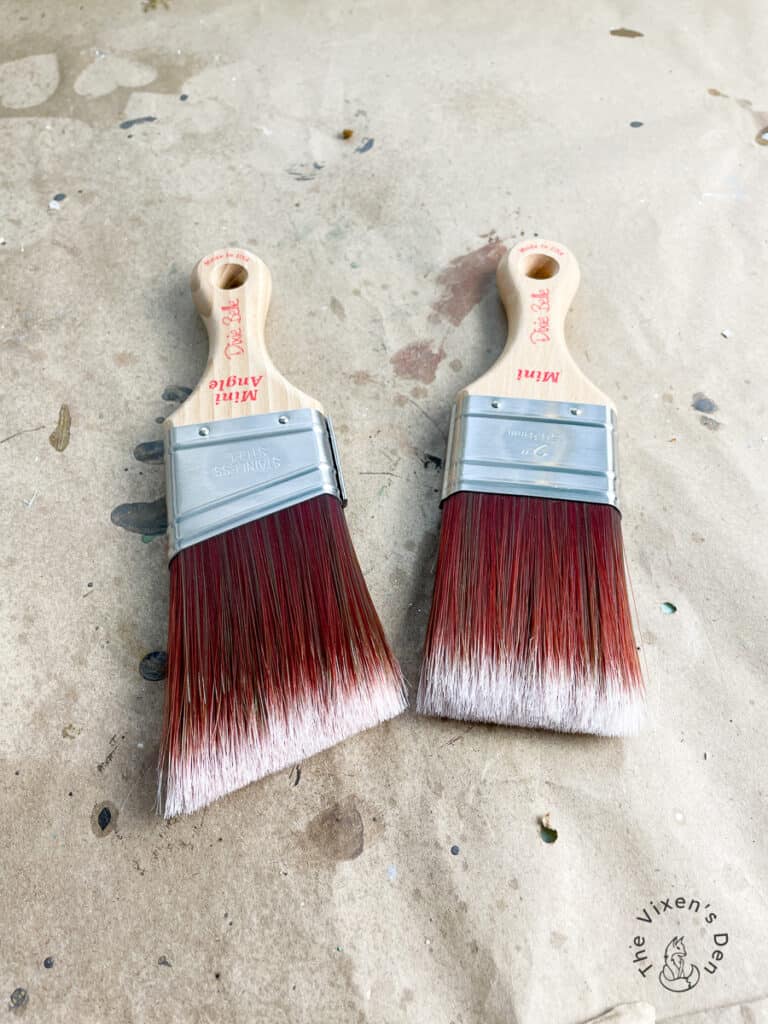
Next, look at the ferrule. The best ferrule will be made from brass or copper alloy, tightly bound to the bristles and the handle with no obvious protrusions. Over time, lower-quality ferrules will rust, so it’s important to care for your brushes by not leaving them in water and hang drying them whenever possible.
Then, take a close look at the crimp. If the ferrule is secured with only a single crimp, then it’s typically not going to hold up as well as a double or triple crimp. This means that you will end up with bristles falling out into your finish. Save yourself the time and frustration of having to tweeze stray bristles off your project by investing in a more secure crimp.
Finally, hold the brush and pretend to paint with it. If the grip is uncomfortable or awkward, imagine how much worse it will feel after hours of painting! I find that a natural wood handle, as opposed to a finished or plastic handle is easier to grip. I’ve had a paintbrush slip out of my hand during some vigorous painting projects, so I tend to steer away from painted or clear coat finish handles.
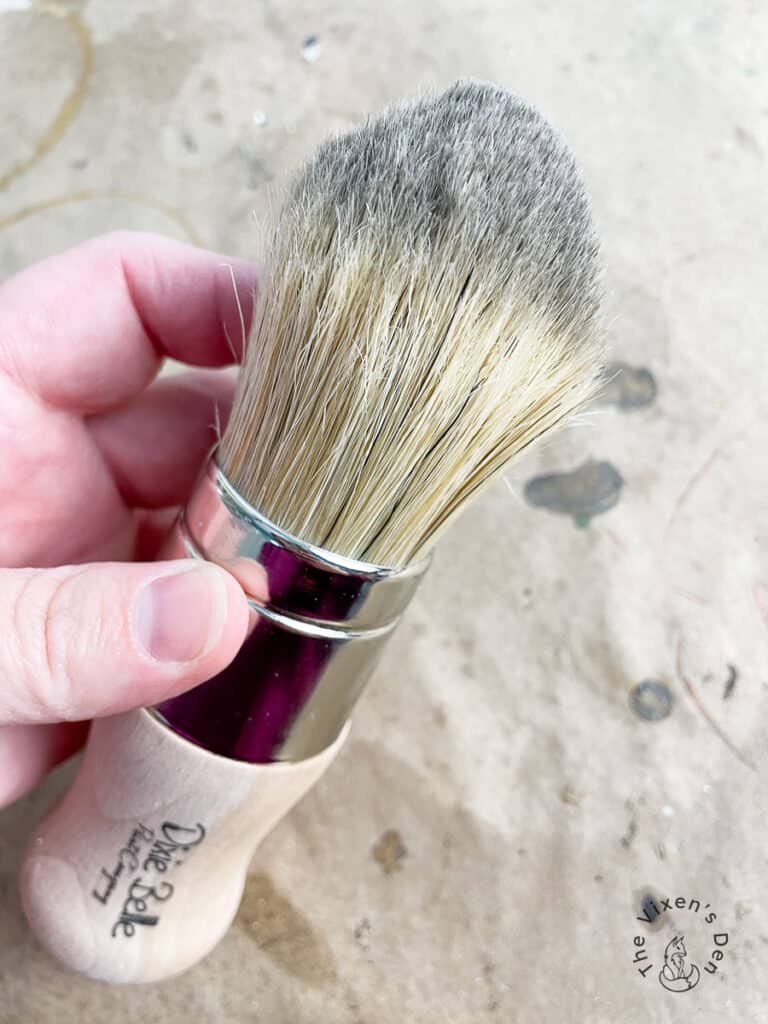
The length of the handle plays a large part in this decision too. Some projects, such as painting a house or adding tiny details, may result in less hand fatigue and allow you more distance from the surface of your project (and therefore less likely to have oopsies along the way) by using a long handle. However, painting a medium-sized piece where you have to get into tight spaces may require a short handle.
What Type of Paintbrush Do I Need?
Now that you know what to look for in a good quality paintbrush, let’s figure out which type of paintbrush you need based on the product that you will be applying, the type of finish you want to achieve, and your budget.
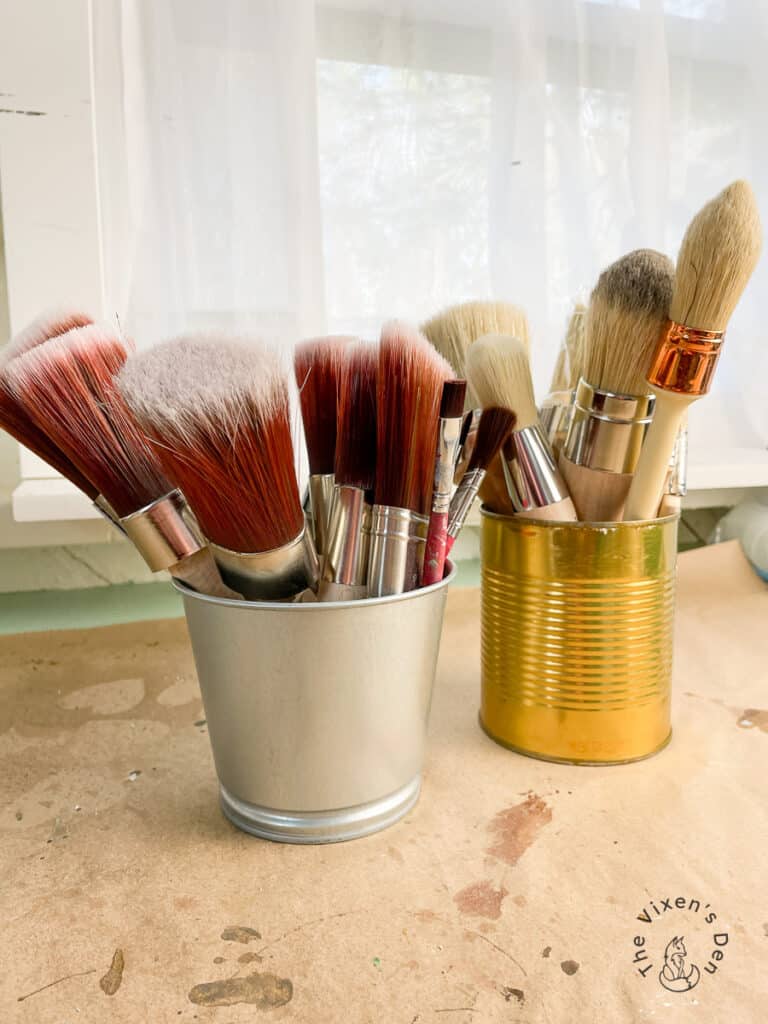
The Best Type of Paintbrush for Water-based Paints and Finishes
Water-based paints and finishes include the following:
- Chalk Paint
- Clay Paint
- Dixie Belle Silk Paint
- Latex Paint
- Acrylic Paint
- Glaze
- Dixie Belle Voodoo Gel Stain
- Mod Podge
- Poly Seal
- Dixie Belle Clear Coats
- Dixie Belle Gator Hide
- Dixie Belle Terra Tuff
- Polycrylic
- Water-based Polyurethane
Synthetic brushes, typically made from polyester, nylon, or a blend of both, are best for water-based paints and finishes. This is because they do not absorb water so they hold their shape better. This allows the material to easily offload from the paintbrush onto the project. The downside is that they don’t hold as much material on the bristles, so you have to dip or load the brush more often.
The ends of good quality synthetic bristles are “flagged” or split to soften the bristle and create more surface area. This results in a smoother finish and helps the bristles to hold more material.
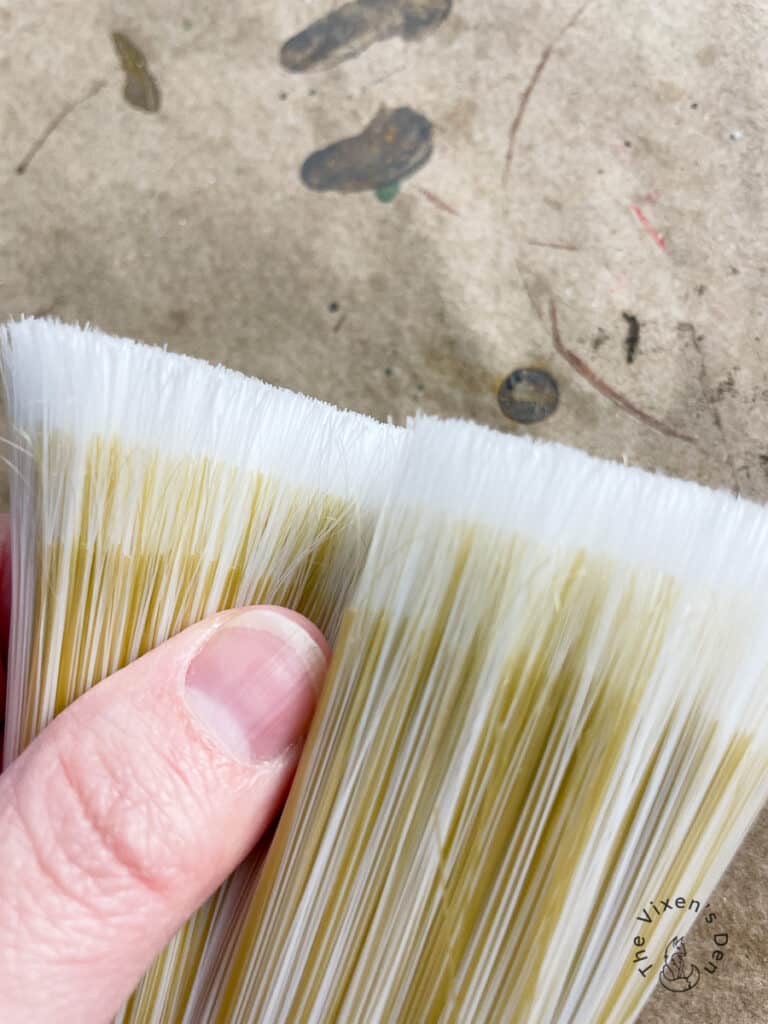
Good Synthetic Brushes
Polyester bristle paintbrushes are the best option for projects that don’t require a smooth finish, such as applying water sealer, painting a fence, similar rough surfaces. These brushes are usually the least expensive and are more likely to leave brush strokes. However, they are also the most versatile brushes, as they can be used with both water and oil-based paints.
Better Synthetic Brushes
Nylon and Polyester blend paintbrushes are excellent all-around paintbrushes. They provide a great quality finish without breaking the bank. The Dixie Belle Mini-Angle brush is my pick for this category. I love how the brush can get into tight spaces. It provides a smooth finish and it cleans up nicely.
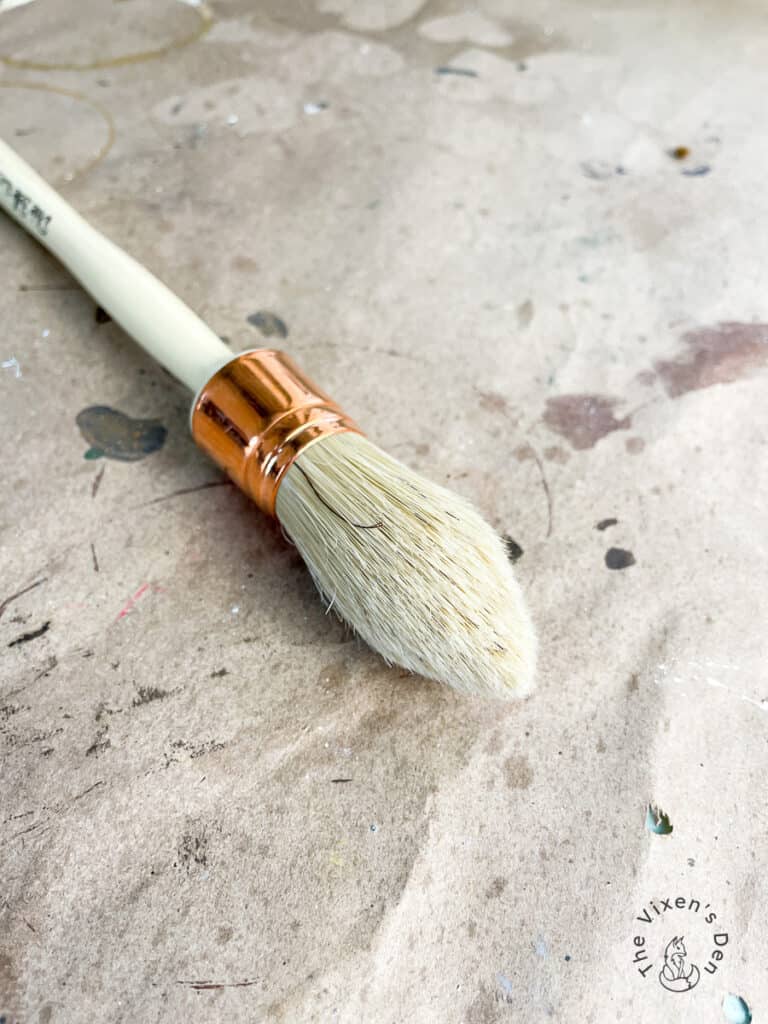
Round brushes are great for getting into details when painting furniture or round projects like spindles. Artist brushes are the perfect choice for touching up or creating more detailed projects such as murals.
better
Best Synthetic Brushes
100 Percent Nylon brushes provide an even smoother finish. However, they are also less stiff so they don’t offer as much control as a blended or polyester brush.
best
Premium Synthetic Brushes
Either Golden Taklon or Tylon Filament are the top-grade options for synthetic bristle brushes. The bristles are extremely fine, resulting in a smooth even finish.
The Best Type of Paintbrush for Waxes and Oil-based Paints and Finishes
Oil-based paints and finishes that perform best when combined with a natural bristle (or polyester) brush include:
- Oil-based Paint
- Oil-based Polyurethane
- Dixie Belle No Pain Gel Stain
- Waxes
- Varnish
- Shellac
- Lacquer
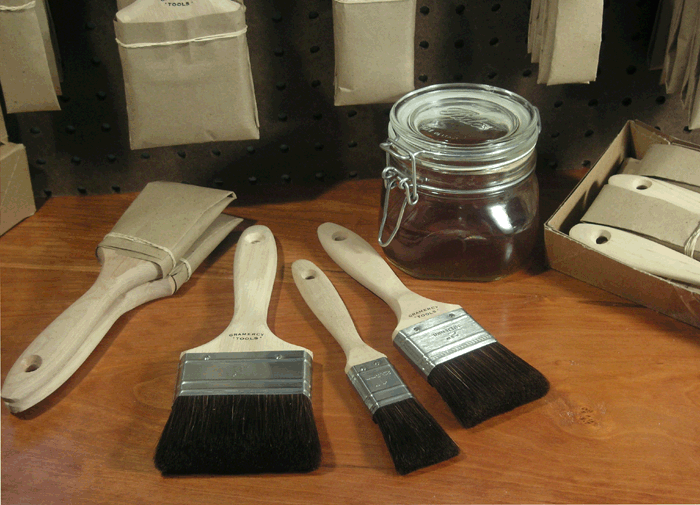
Natural bristle paintbrushes work best with oil-based paints and finishes because the bristles don’t absorb oils and lose their shape the way that they do with water. They also tend to hold a greater quantity of material so you don’t have to dip your brush as often as you do with synthetic bristles.
These brushes may be referred to as “China Brushes”. This is because the most commonly available natural bristles come from Chinese boars or oxen. The brushes may be “whipped” in order to split, or “flag”, the hairs which create a finer finish.
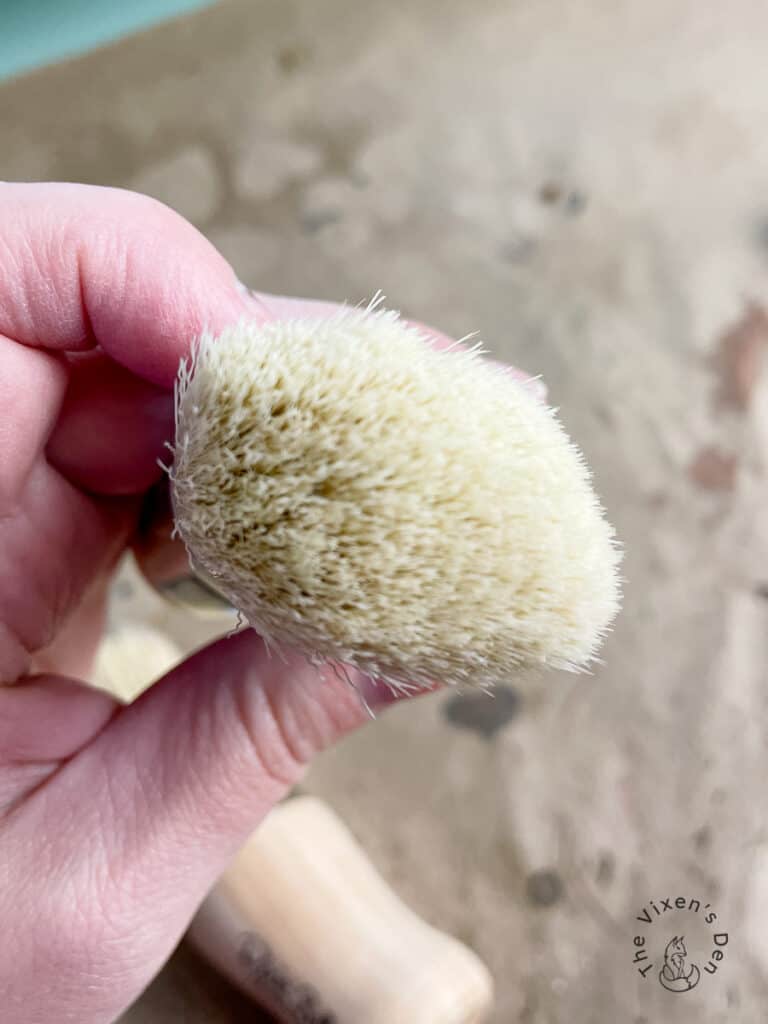
Finer grade natural paint brushes may also contain hair from badgers, squirrels, goats, camels, sable, and horses, to name a few. It’s fairly common to see these fine hair bristles combined with synthetic bristles. The synthetic bristles increase the ability of the natural bristles to “snap” back into place after a brush stroke.
Good Natural Paint Brushes
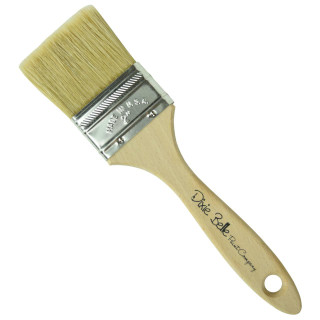
The average chip brush is made with “China Bristles” or “Hog Bristles”. Typically, the bristles appear light in color, but they may be dyed or painted. The stiffness of the bristles varies, but they are generally more coarse than finer brushes. These paintbrushes can be so inexpensive that they are disposable. This is great for epoxy, resin, or other projects where the brush has less impact on the finish and is generally a pain to clean afterward.
good
Better Natural Paint Brushes
Chinese Ox hair bristles are darker in appearance and finer to the touch than a China brush. Most mid-grade paintbrushes are made with Chinese Ox hair and are combined with synthetic bristles to help give the brush “snap” or elasticity. This type of paintbrush is great for the weekend DIYer who wants a good balance between a smooth finish and a full wallet.
Best Natural Paint Brushes
European Ox hair provides the finest finish available. The hairs are plucked from the ears of European oxen and may alos be combined with synthetic bristles to increase “snap” or elasticity. Until spray finishes became available, these brushes were the best way to achieve a smooth finish without any brush marks. European Ox Hair paintbrushes are often used by professional furniture makers who prefer a hand-finished product over a sprayed finish.
best
Premium Natural Paint Brushes
If you’re looking for a professional artist-grade bristle, then that’s when you will look for brushes made with badger, sable, or squirrel hair. These are extremely expensive, so not typically an investment for the casual DIYer. There are a lot of “badger-style” china bristle brushes available. The bristles on these brushes have been flagged and dyed to create the look and feel of a natural badger brush.
How to Clean and Care for a Paintbrush
The number one rule for paintbrush care:
Don’t leave brushes sitting upright on their bristles in liquid overnight.
Not only can it cause the ferrule to rust, which can taint products used in the future, but it also can cause the bristles to become bent over and separated. It’s so much easier to care for a brush upfront than to try to recondition it later.
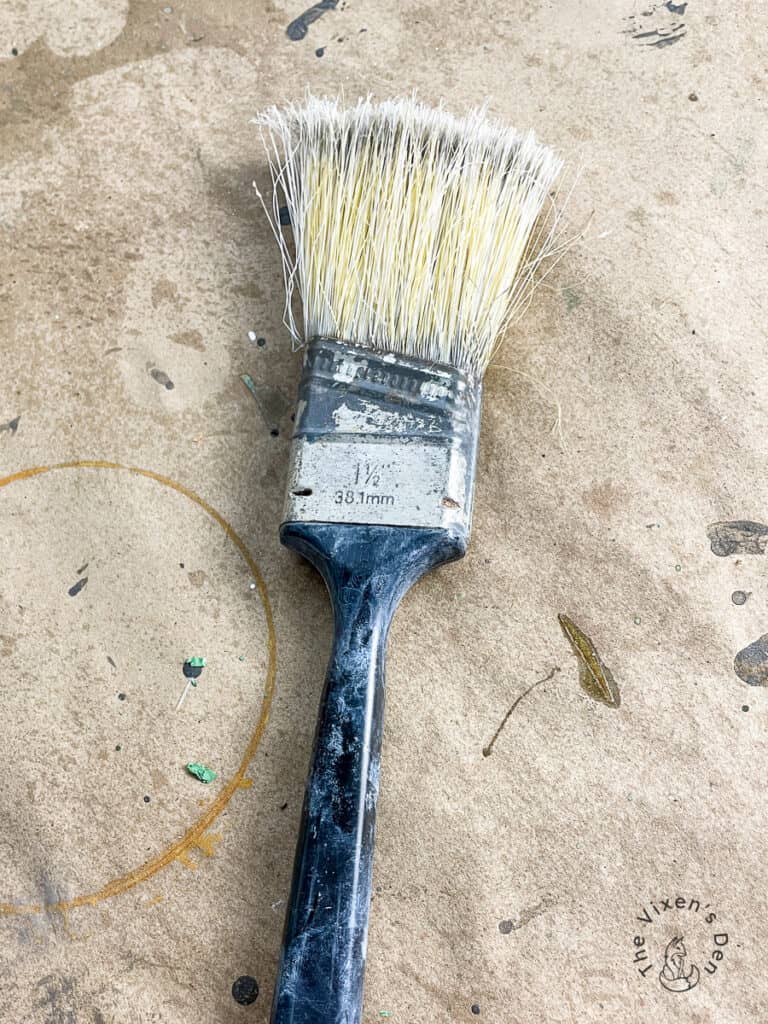
Before cleaning the brush, remove any excess material by scraping the bristles starting from the ferrule down to the bristle tips. A paint stir is an excellent tool for this step. I’ve also seen some people make their own paint screen from balled-up chicken wire that’s placed in the rinse container. Once the bulk of the material is removed, it’s time to clean the brush!
Cleaning Water-based Paints and Finishes
Water-based paints and finishes are the easiest to clean. All it takes is some warm water with Dawn Dish Detergent or Scrubby Soap.
Start by rinsing most of the material off of the brush into a clean container of water. Then, lather soap up into the bristles by pouring a little soap into your hand and swirling the bristle tips against your hand. If you’re using Scrubby Soap, swirl the bristle tips against the bar of soap until it’s filled. Then continue working the lather into the bristles and up towards the ferrule by swirling the bristles in your hand.
Never “scrub” the bristles so hard that they flatten out in your hand all the way up to the ferrule. This can damage the bristles, causing them to break off and shed.
Cleaning Waxes and Oil-based Paints and Finishes
After scraping off excess oil-based materials “rinse” the brush in a container filled with Mineral Spirits or a similar product. I prefer to use odor-free Mineral Spirits. If it seems that the Mineral Spirits is not working into the bristles well enough after a few minutes of soaking and swishing, then it may be necessary to use a brush comb to work the Mineral Spirits through the bristles. Repeat with fresh Mineral Spirits until the brush is clean.
Once the brush is thoroughly saturated with Mineral Spirits and the material seems to be removed, rinse with Laquer Thinner to remove the Mineral Spirits. The brush is then ready for a final cleaning and conditioning with the same Dawn Dish Detergent or Scrubby Soap and warm water process used for water-based finishes.
Cleaning Shellac Finishes
Shellac requires a rinse in Denatured Alcohol. Pour enough Denatured Alcohol into a plastic or glass container so that the bristles are covered to the bottom of the ferrule. Swish the bristles through the denatured alcohol until the shellac is removed. A brush comb may also be used to comb through the bristles and encourage the shellac to release from the bristles. Repeat as necessary until the brush is clean.
Once the shellac is removed, I recommend giving the brush a final cleaning and reconditioning with Dawn Dish Detergent or Scrubby Soap and warm water.
Cleaning Lacquer Finishes
Lacquer dissolves quickly when cleaned with Laquer Thinner. Fill a glass container with enough lacquer thinner to coat the bristles but not cover the ferrule. Swish the bristles through the Lacquer Thinner. Repeat with additional Lacquer Thinner until all of the lacquer is removed.
Complete the cleaning process by washing the brush with warm soapy water using either Dawn Dish Detergent or Scrubby Soap.
Cleaning Petrified Paintbrushes
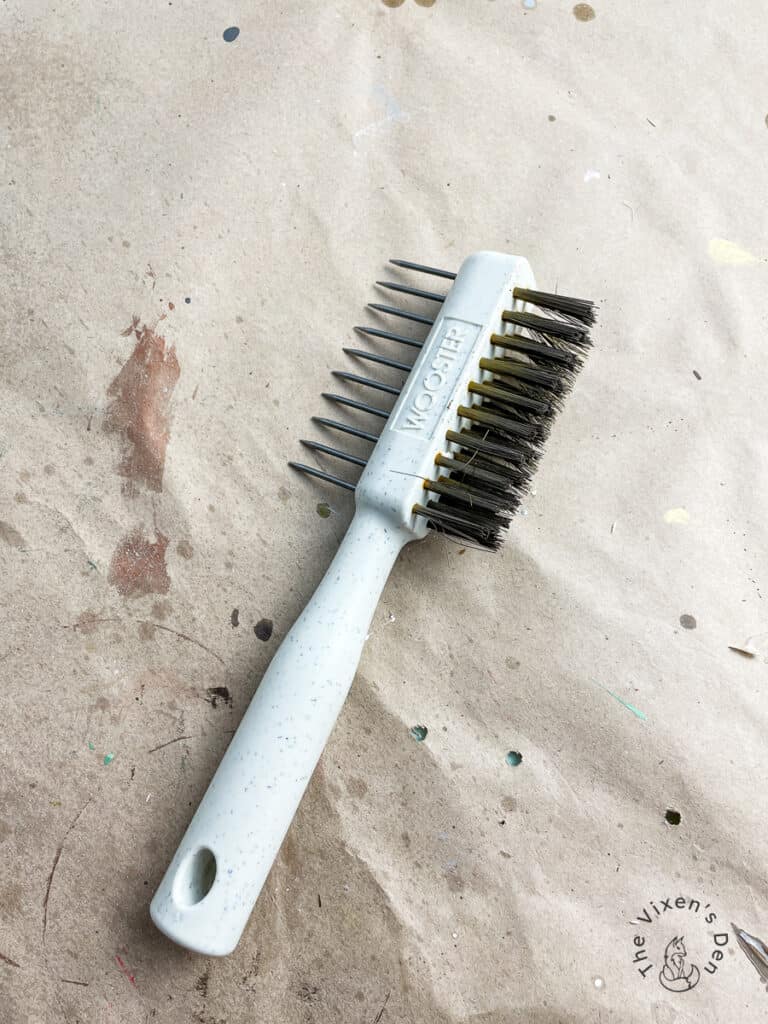
Hopefully, the tips above have prevented you from getting to the point of having a petrified brush. But just in case you have one hiding in the back of the garage, my favorite tool for cleaning petrified paintbrushes is a Wooster brush comb.
This tool works wonders on separating the brushes and scrubbing off dried-on paint and finishes. Scrub off any loose dried paint, then soak the brush in a heavy-duty brush cleaner. If you don’t have any on hand, then I found a great DIY recipe that you can use.
After the paintbrush has soaked, brush off all of the paint solids with the Wooster brush comb. Once you have removed all of the paint, you can recondition the brush by washing it in warm soapy water with Dawn dish detergent or my favorite Scrubby Soap cleaner.
Drying Cleaned Paintbrushes
Shake the brush back and forth vigorously to remove any excess water in the ferrule. Lay flat or hang by the handle to dry.
Storing Dried Paintbrushes
Once dry, it is recommended that you wrap the brush in brown paper to retain its shape. Wrapping your paintbrushes in paper keeps the bristles from becoming damaged by other tools that they may come in contact with during storage. This also helps keep dust and dirt off the bristles so that your brushes are clean and ready for the next project.
Disposing of Paint and Finish Residue
In general, it’s not a good idea to pour any painting or finishing materials down your drain. These chemicals can wreak havoc on a septic or sewer system. Make sure that your brushes are as clean as possible before moving to the process of cleaning with warm soapy water.
A general rule of thumb for excess and rinsed materials is to allow them to dry completely before disposing of them in the normal trash. Contact your local community service authority to learn the best practices for your area.
Summary
That was a lot of information! So, what’s the bottom line?
When it comes to picking out a paintbrush, the softer the tips of the bristles, the smoother the finish. So choose the brush that best matches the product you are using and your desired finish.
Cheap brushes are fine for short-term projects that don’t require a smooth finish, but if you’re planning to hold onto this brush for a while, then I recommend considering it an investment. I hope that this guide helps you break through the noise to purchase the best brush that you can afford.
As for the actual in-person selection process, I’m that weirdo standing in the aisle of the local hardware store stroking brushes across my cheeks and wrists. My favorite brushes are the ones that feel like baby bunny fur.
Do you have a favorite paintbrush? Let me know in the comments below. I love hearing your product recommendations!
Thank you so much for stopping by! I hope this information helps you with picking out the paintbrush for your next project. Check out the Vixens Den Studio shop pages to see all of my favorite tools and products!
Until next time, have a beautiful and blessed day!

Don’t forget to sign up so you hear all about the next misadventure! Until then, you may also like this Magazine Rack makeover or this Dresser upcycle.







Becky,
Great post!! Lots of useful information!!
Thanks so much for stopping by!!
I hope you have a great Memorial Da weekend!!
Hugs,
Deb