Magazine Rack Makeover
Magazine racks were once very popular for organizing and storing glossy paged catalogs and style guides. Now, as most people look up the same information online, they tend to find their way to thrift stores and garage sales. Sounds like it’s time for a magazine rack makeover!
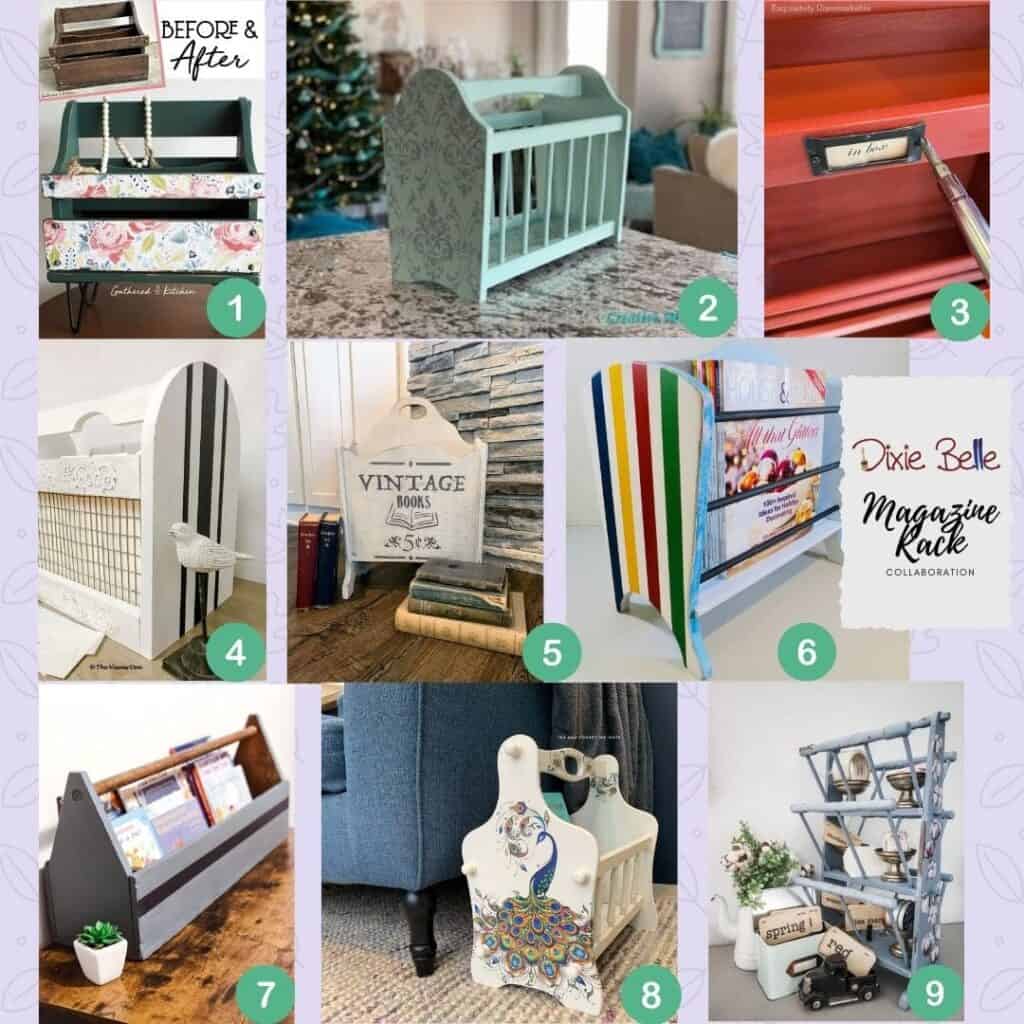
This project was a great opportunity for a collaboration challenge with other Dixie Belle Bloggers. Be sure to check out all of the beautiful makeovers at the end of this post, as well as 6 ways that I found to repurpose this magazine rack.
THIS POST CONTAINS AFFILIATE LINKS TO PRODUCTS THAT I HAVE OR WOULD USE.
AS AN AMAZON ASSOCIATE, I EARN FROM QUALIFYING PURCHASES AT NO COST TO YOU.
YOU CAN SEE MY FULL DISCLOSURE HERE.
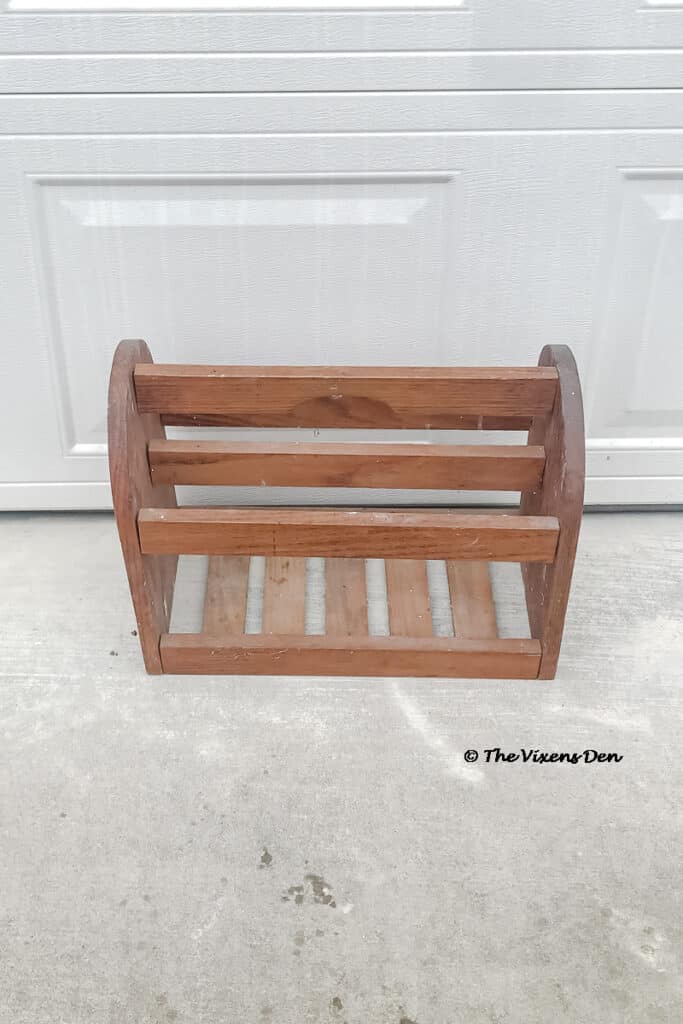
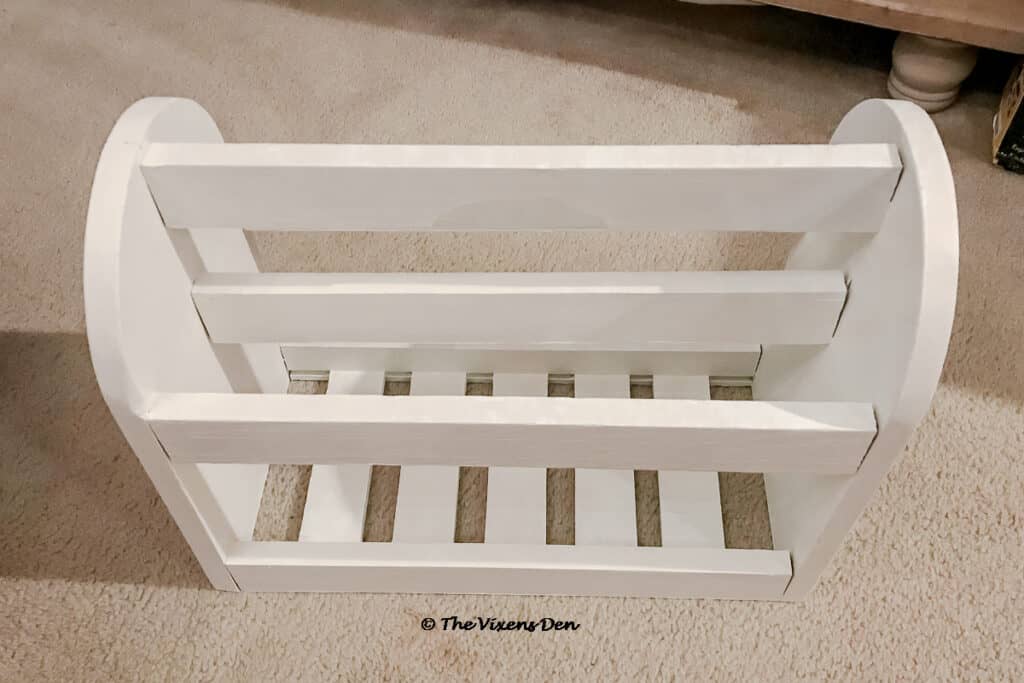
I found this magazine rack in my stash. It appears to be handmade or at the very least a rustic version of a mass-produced piece. The handle is very rough cut, and there are lots of gaps here and there. Instead of filling those gaps, I decided to embrace the rustic look and give this magazine rack a farmhouse-style makeover. Let’s give this rustic magazine rack a makeover and see how we can repurpose it for today’s home!
Tools and Materials
Tools
- Bucket
Paintbrush Artist’s brush Spray mist bottle - Wire cutters
- Staple gun
- Mini hammer
- Pliers
Dixie Belle Mud spatula Belles and Whistles Stencil – Royal Damask
Materials
Dixie Belle White Lightning Cleaner - Scratch-resistant scrubber
Dixie Belle BOSS Dixie Belle Silk Mineral Paint – White Cap Dixie Belle Chalk Mineral Paint – Caviar - Hardware cloth
- Emery cloth
- 3/8″ wire staples
- Painter’s tape
- Paper towels
Dixie Belle Mud – White Sanding sponge Dixie Belle Clear Coat – Flat
Cleaning and Prepping
This magazine rack was pretty gross from having been in storage for a long time. I mixed up a batch of
This was a job for Dixie Belle BOSS! After my experience with bleedthrough on the Alice side table, I wasn’t willing to take a chance again. Luckily, I had added BOSS to my lineup. Dixie Belle BOSS is a primer and sealant that blocks both odors and bleedthrough. It’s available in clear, white, and gray. I painted on two coats of clear BOSS and allowed it to dry overnight.
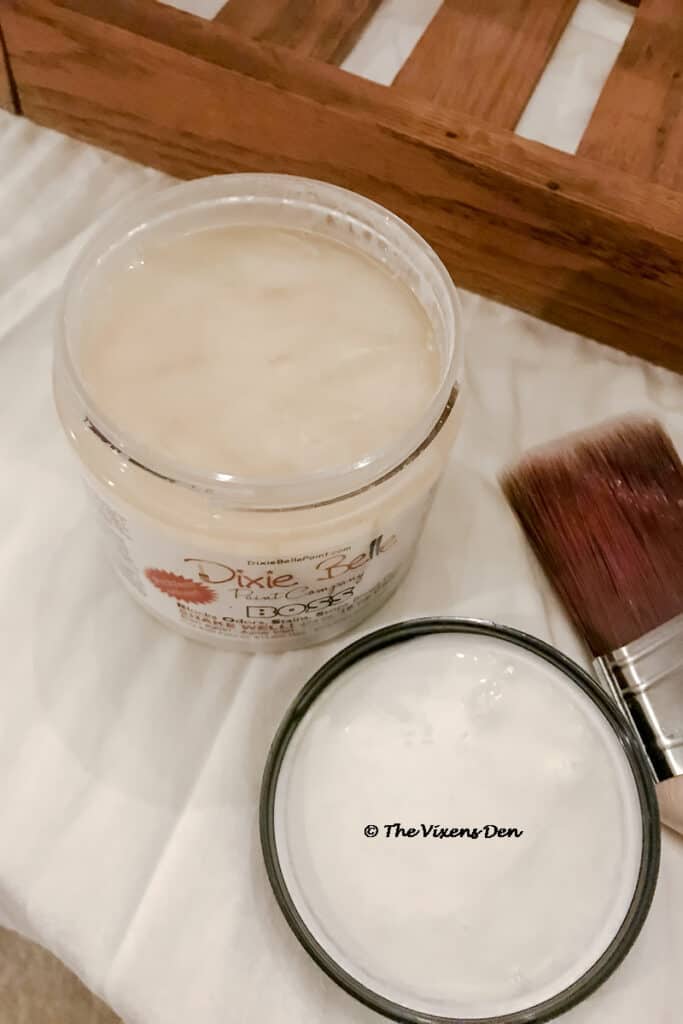
Hindsight is 20/20: Since I was painting the piece a lighter color, I should have used BOSS in white instead. Doing this would have required less paint for the next step.
Painting the Magazine Rack
For this project, I wanted to try out the Dixie Belle Silk All-In-One Mineral Paint line. This paint includes both a primer and a top coat, so it cuts down on some steps in the painting process. I only had a 4-ounce sample of this paint, so I thought it would also be a fun challenge to see if I could finish the project with just the sample.
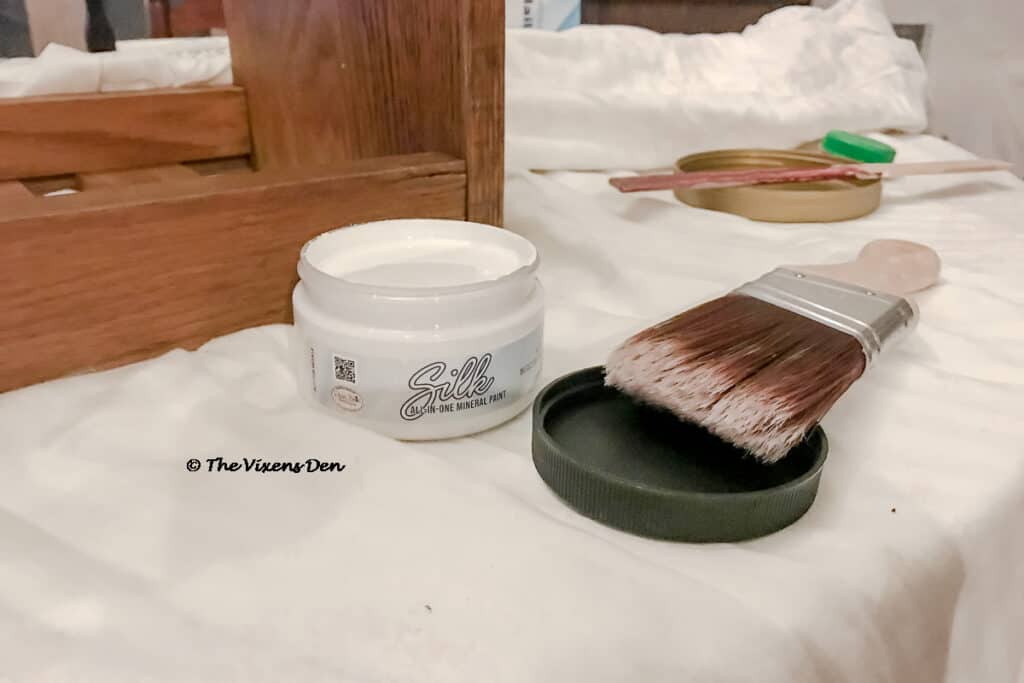
I gave the paint a good stir and then began applying it with my Dixie Belle
It took two coats to achieve full coverage, mainly because I wasn’t misting the paint as often as I should and because there were so many crevices in this solid old wood. I allowed the piece to dry overnight. The finish of Silk paint is much smoother, but with the texture of chalk paint.
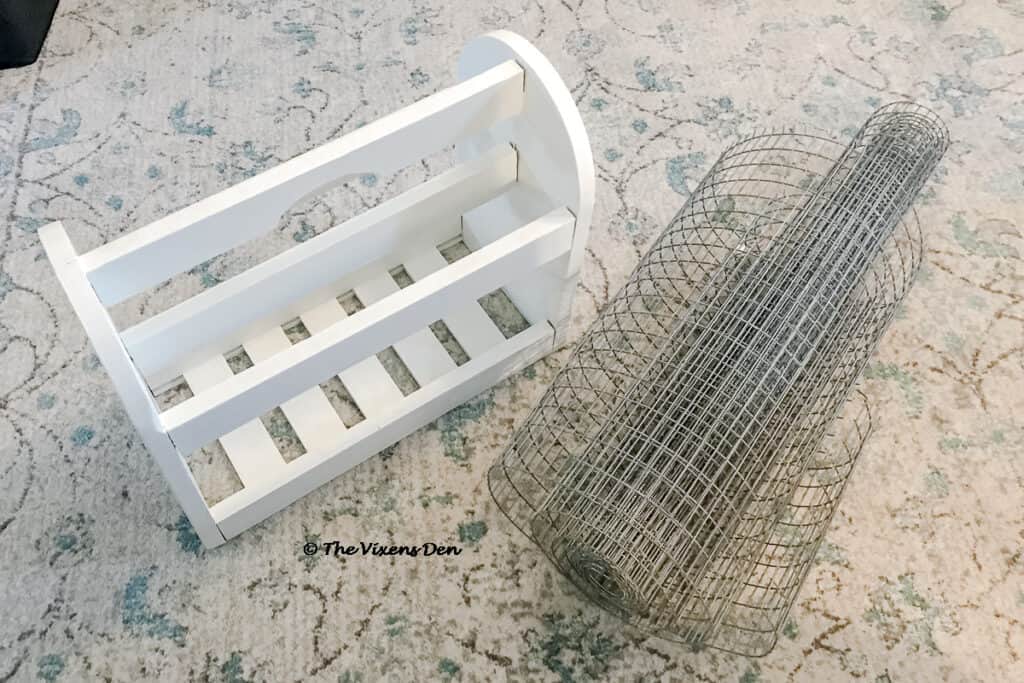
Installing Hardware Cloth
One of the problems with this particular magazine rack was that there was no divider at the middle or bottom. This made it easy for magazines to slip from one side to the other. I wanted to create separation between the two sides so that the rack could be used in other ways, such as a mail sorter or a book or magazine rack. I’m a fan of things being multifunctional.
I measured the inside of the magazine rack and then cut the hardware cloth to fit using wire cutters. I cut as close to the vertical strand of wire against the “block” that I was keeping, to minimize snagging. It would also be a good idea to sand the cut edges with some 40 or 80 grit emery cloth if you have it.
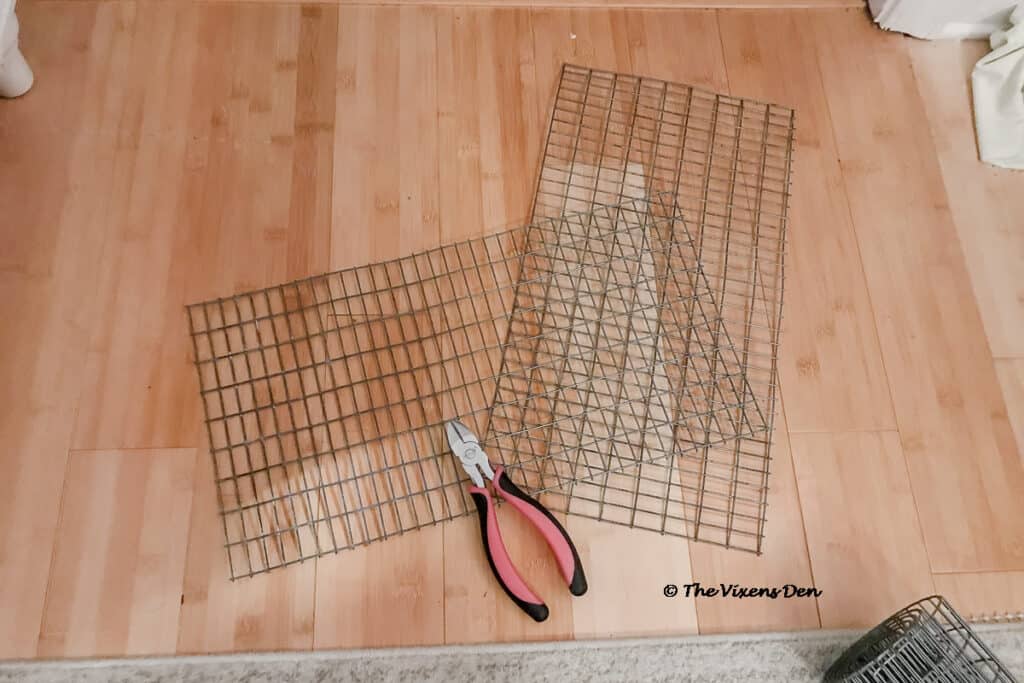
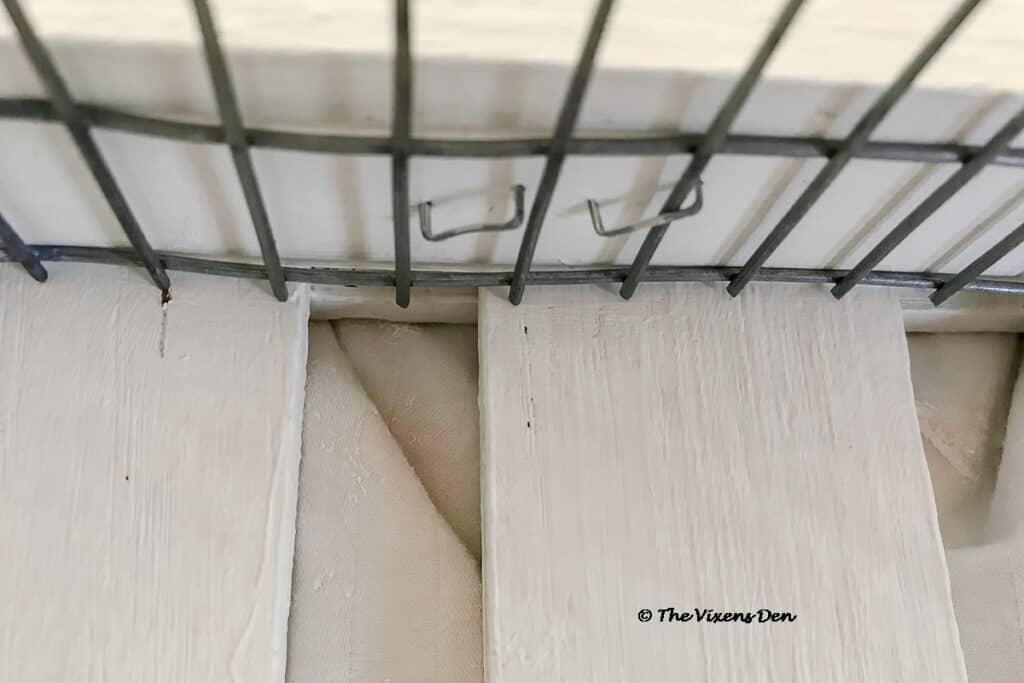
After the three hardware cloth inserts were cut to length, I placed one panel on the inside of the magazine rack and began fastening it down to the wood with staples.
This is the point where I discovered the difference between a T25 and a T50 staple. T50 staples are flat at the crown, similar to an office staple. T25 staples are rounded and work well for wire and cable applications.
Hindsight is 20/20: I need to invest in a T25 stapler and staples. I have my eye on this one. It not only drives both T25 and T50 staples, but it also has a knob that allows you to adjust how deeply they drive into the wood.
It was a struggle to get the stapler lined up properly at the correct angles. I had to remove a few stray staples with my standard pliers, and then tap a few into place. I found a mini hammer worked best for this step.
Adding Details
With the magazine rack painted and the hardware cloth panels installed, it was time to add some pretty details to make this piece special.
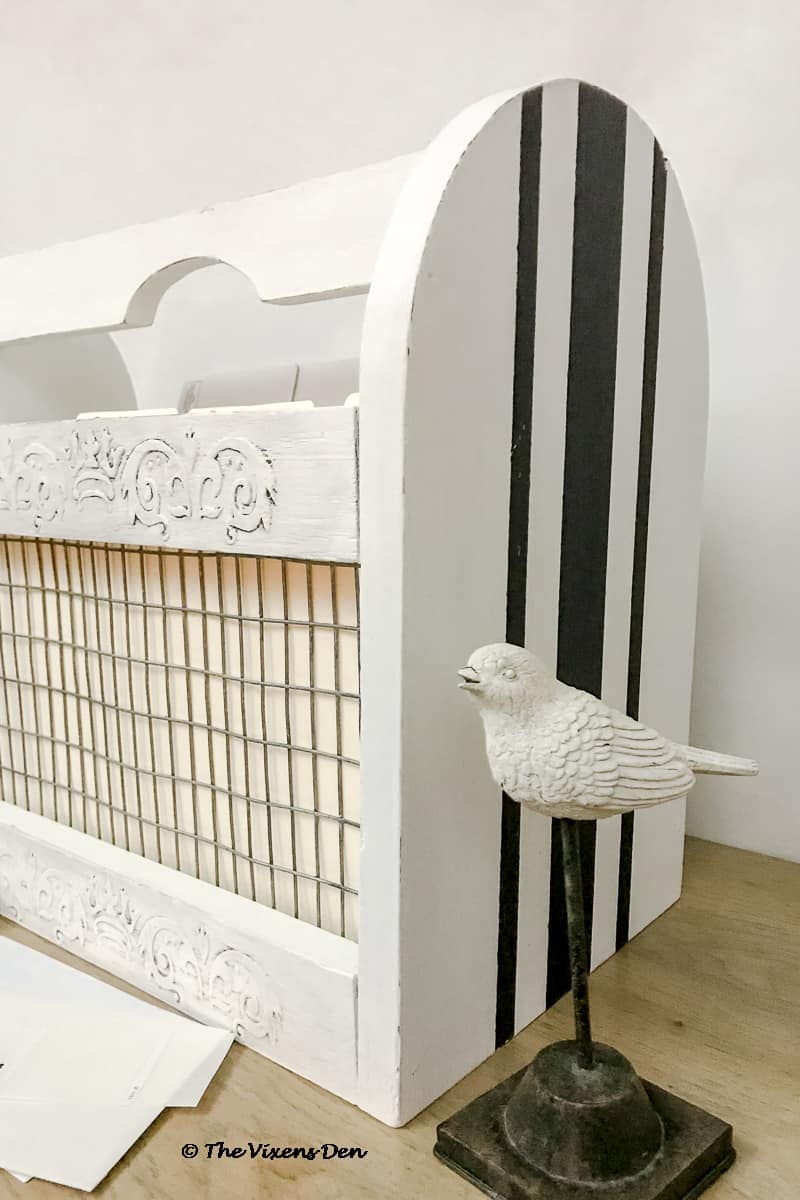
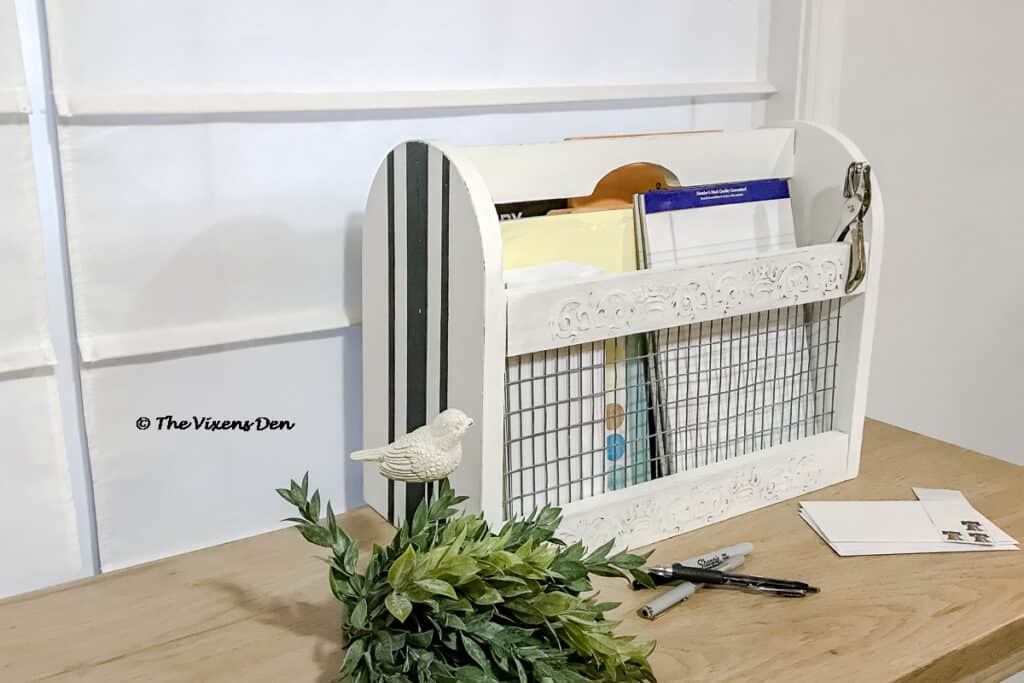
Grain Sack Striping
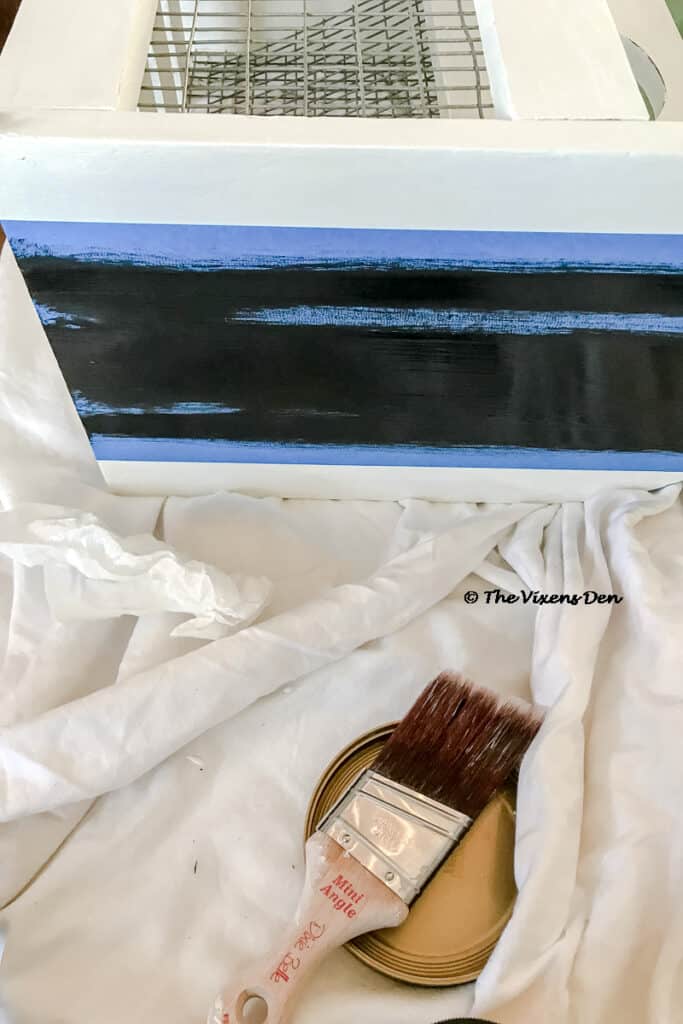
Nothing says “farmhouse” like grain sack striping. Following the rustic farmhouse theme, I decided to add grain sack striping to the ends.
I measured from the center, marked the lines with a pencil, and then taped off the lines with painter’s tape. Using the mini-angle brush, I painted the grain sack stripes with Caviar.
Raised Stencil
While the stripes dried, I prepared the Dixie Belle
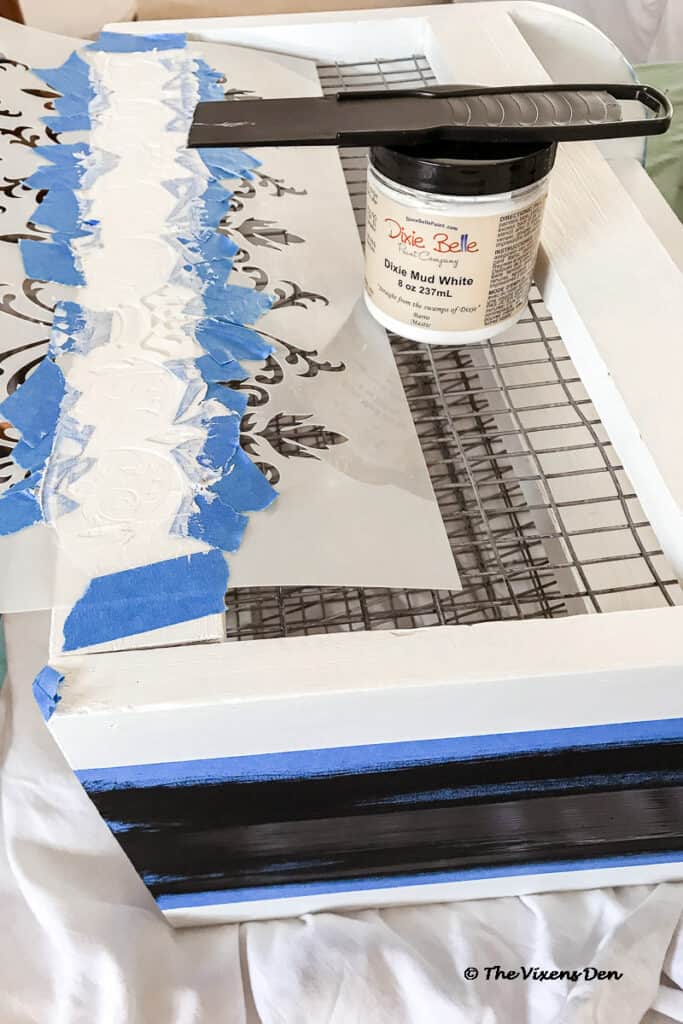
After allowing the raised stencil to dry for 30 minutes, I “sanded” the Mud with a dry paper towel. Dixie Belle Mud is easily altered or removed with water, so it’s important not to use a wet paper towel for this part, or it can overly soften the design.
Once the edges were smoother, I used the Mini Angle Brush to apply Dixie Belle
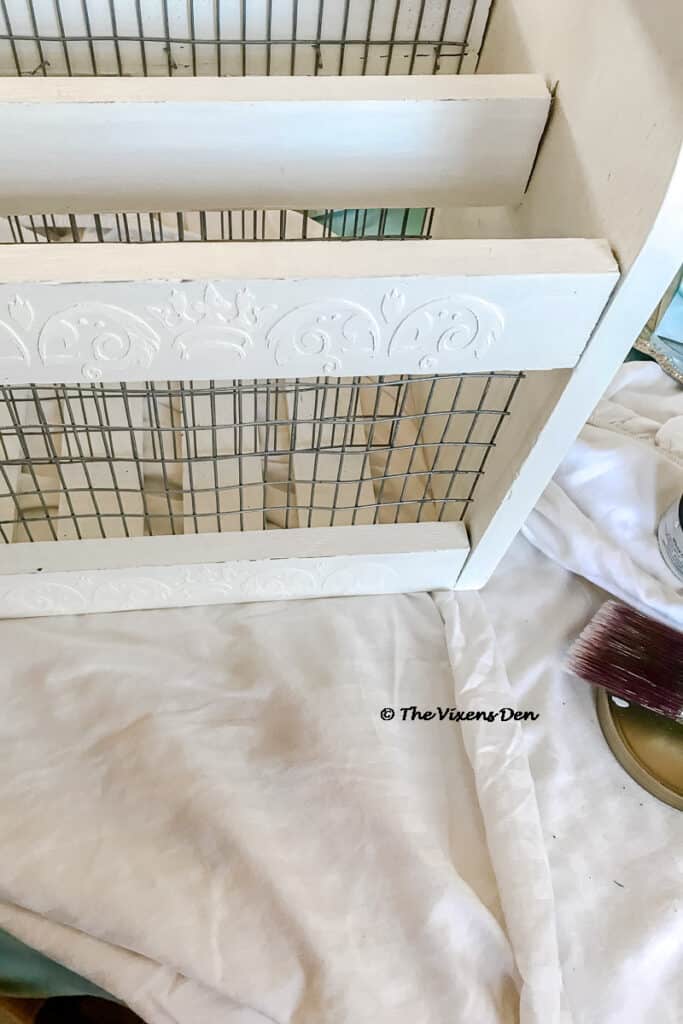
The raised stencil wasn’t as visible as I wanted, so I brushed on and wiped off Caviar, which resulted in a lovely glazed effect. The final touch was distressing the piece by sanding the edges with a sanding sponge and then sealing the stripes and stencil detailing with another coat of Dixie Belle Clear Coat in Flat.
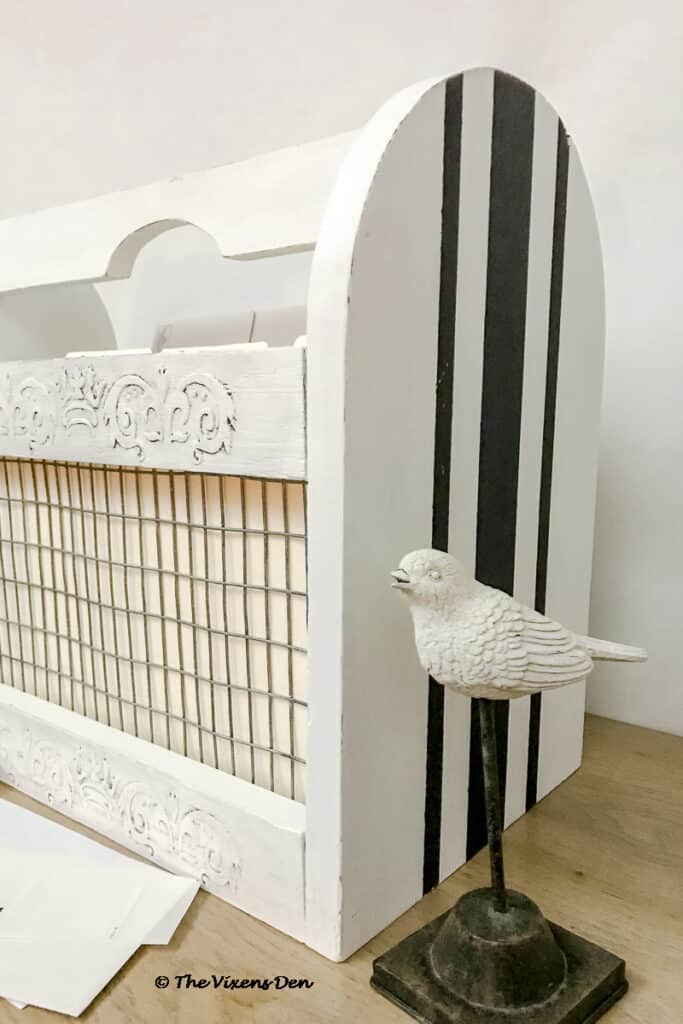
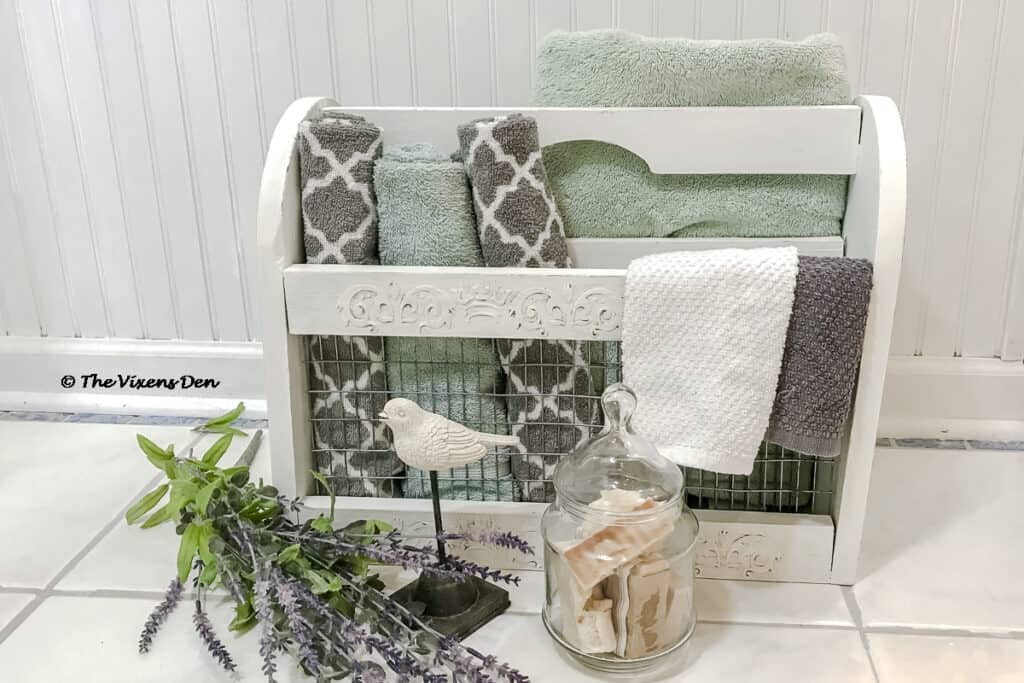
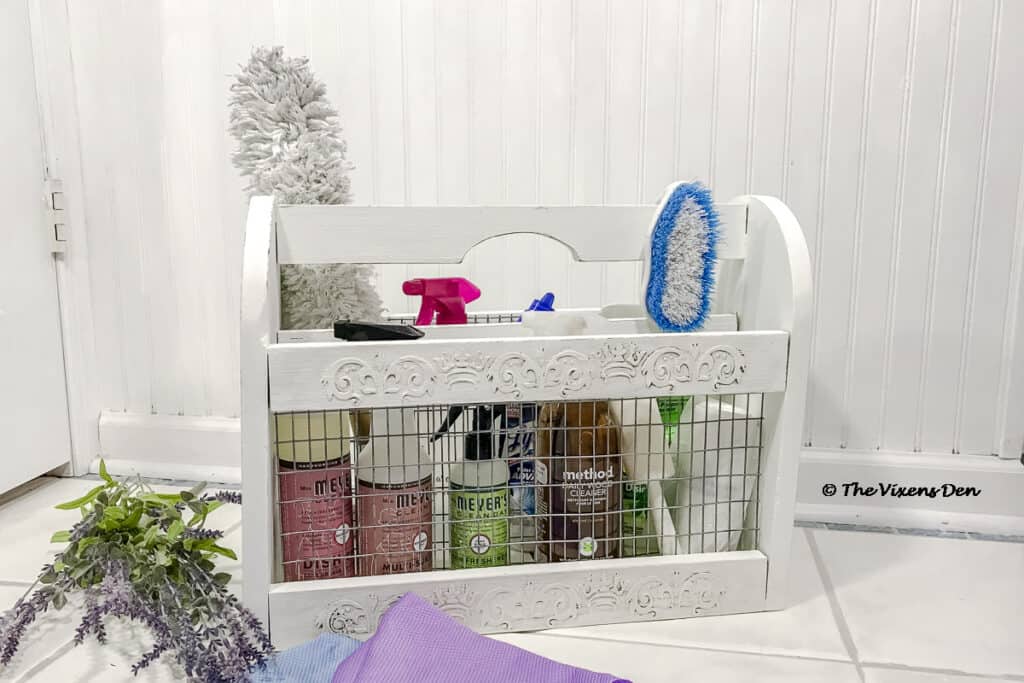
Final Reveal of the Magazine Rack Makeover
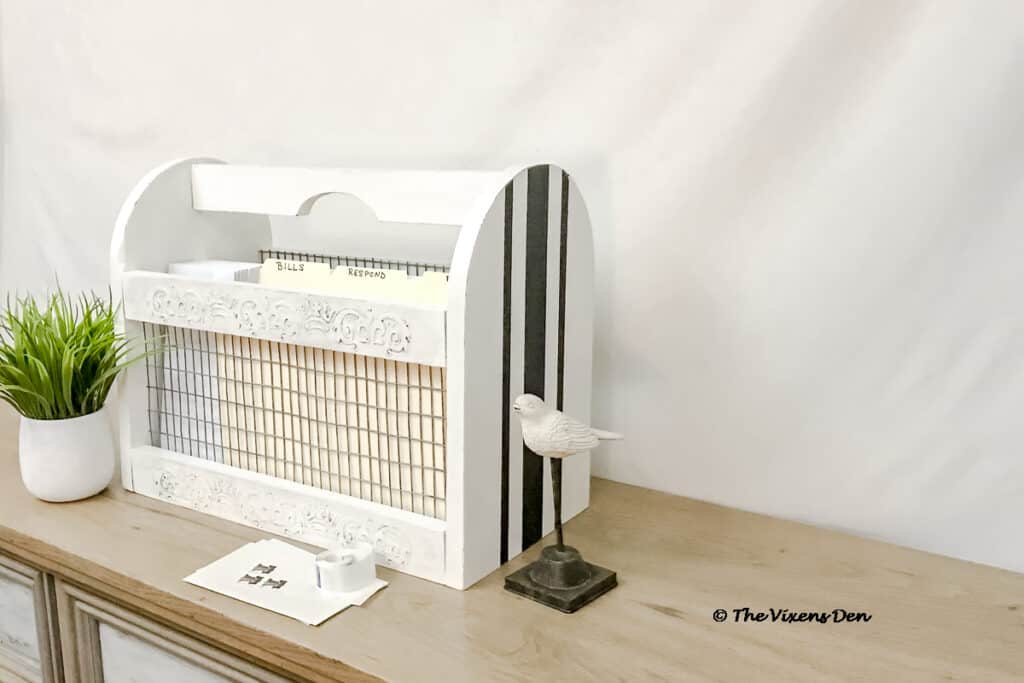
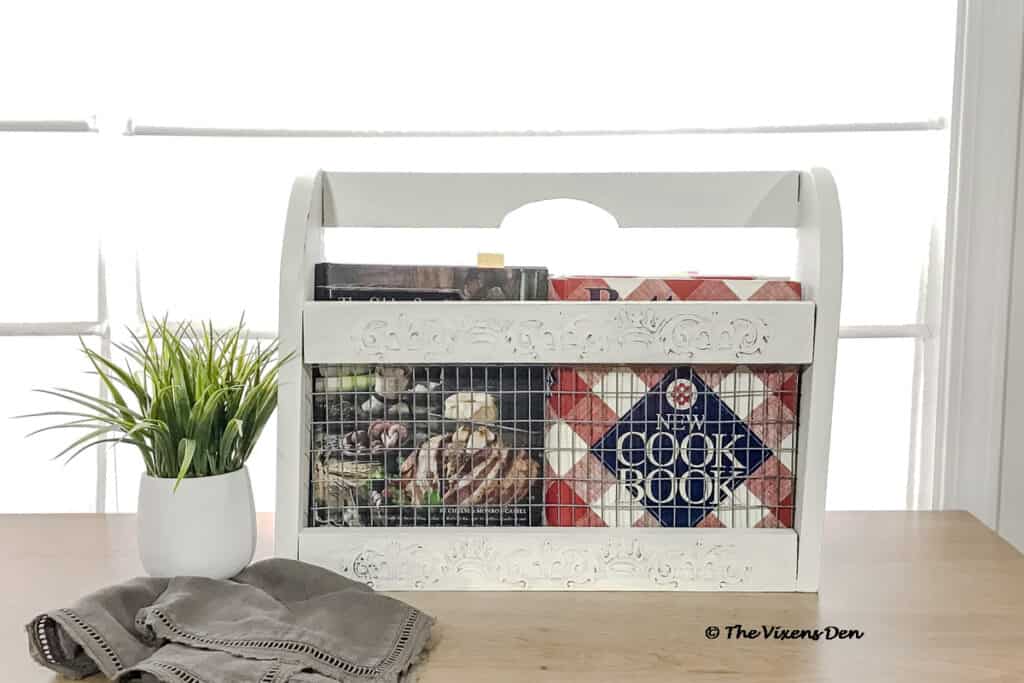
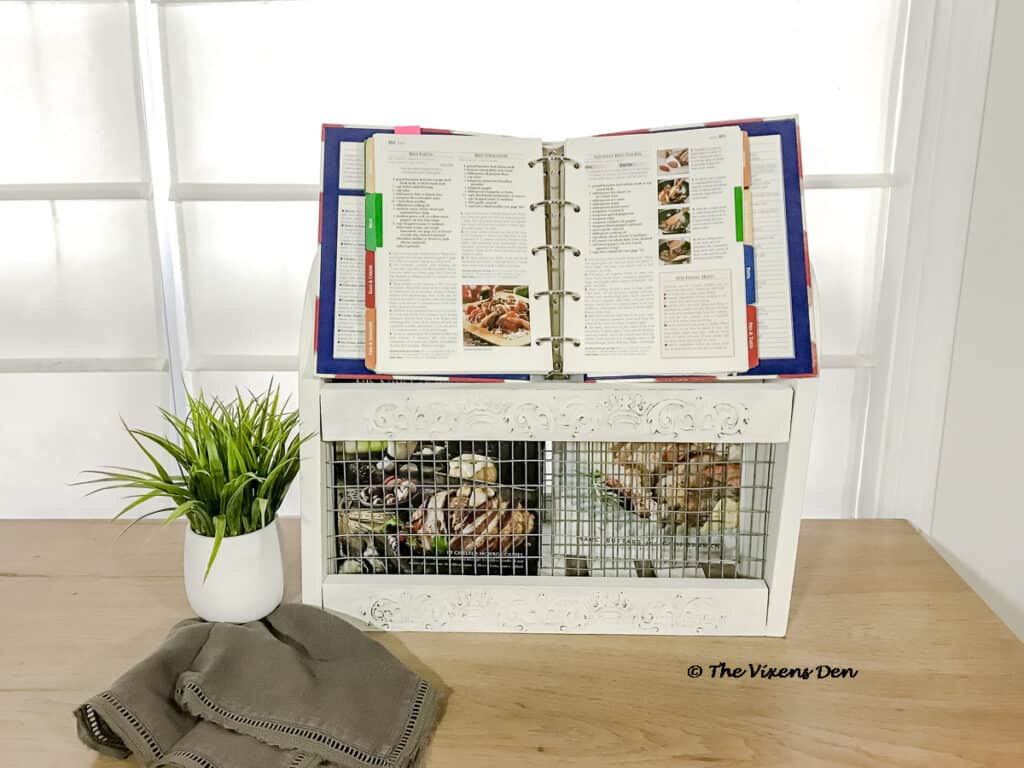
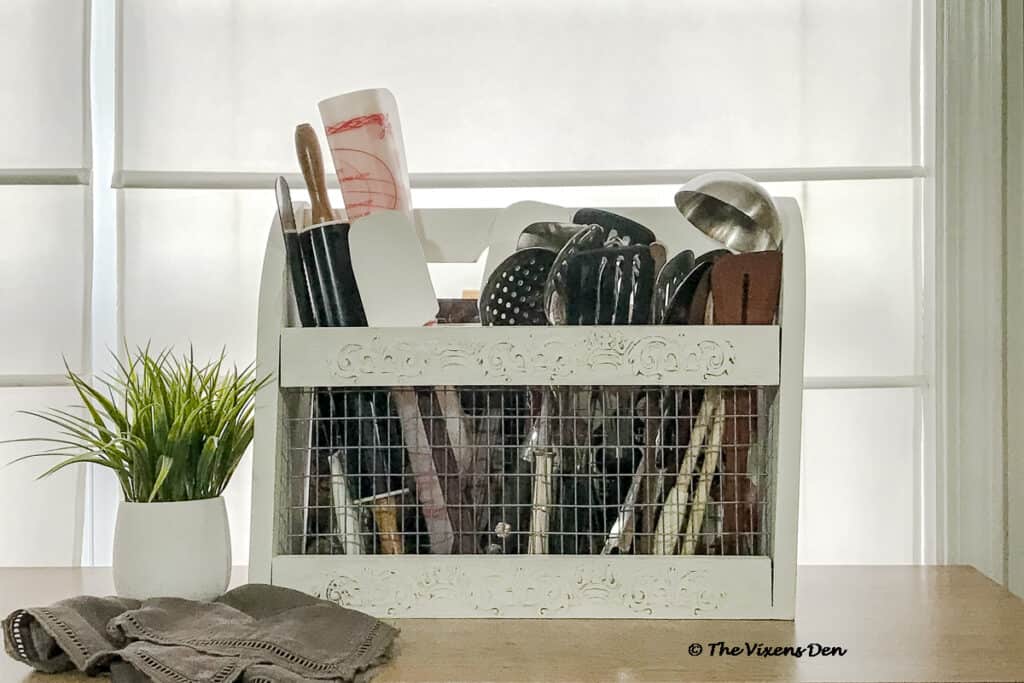
So what do you think of this transformation? I love how functional this piece has become. Here are some ideas that I came up with to repurpose it.
And here are the makeovers from some of my fellow Dixie Belle bloggers. Be sure to visit them and leave a comment. I know they’d love to hear from you!
How would you use this revived magazine rack? Let me know in the comments and then be sure to subscribe so that you receive an email when new misadventures are posted!

OMG, I love everything about this magazine rack makeover. Thanks for sharing this project, Becky! So Cute!
This is so inspirational!! I was desperately looking for a better way to hold/display my kitchen intensive…and because of you…now I know. Thank you so very much!!
Kitchen utensils…not intensive ????♀️????♀️????
I’m so glad that you enjoyed it!
Love that you styled it so many ways. Very well done piece. Would love to have you join us at Funtastic Friday Link Party.
Great make over! I love all the clever ways you’ve come up with for using your repurposed magazine rack, too! Thanks for sharing with us at Creatively Crafty #ccbg 🙂
Oh Becky I absolutely LOVE what you’ve done with this! I’m a huge fan of Dixie Belle products and shabby chic. I also love how you show so many ways to use it! Thanks for sharing at Vintage Charm. Pinned! xo Kathleen
Wow, Becky! I love the white and black. The wire really added the rustic French charm to the piece.
Thank you so much! I love French farmhouse style!
I love this to much! The way you added the Dixie Belle mud with the stencil turned out great! I’m doing to add some of the mud to my next order and give it a try, too! Thanks for sharing your technique. Pinned!
Niky @ The House on Silverado
Thank you so much, Niky!
I love it and LOVE the ways you showed how to use it not only as a magazine rack!! Enjoyed collaborating Becky!
Thank you, Lee Ann!
I love your addition of the wire! What a great detail!
Thank you, Kim!
Love the wire you added, completely transforms it.
Thank you, Rachel!
Wow Becky, you sure did built in a lot of function by adding that hardware cloth AND it looks amazing! I never really gave any thought to the staples before so thanks for that tip; I’ll definitely have that in mind for future projects.
THank you, Sara. I hadn’t thought of them either. I’m looking forward to trying out the T25 style to see if they make a difference.