Dresser to Buffet Makeover
Do you have an empty spot in your dining room that is just begging for a beautiful buffet? But you’ve seen the prices and just can’t justify spending that much money on a piece of furniture?
What if I told you that the solution to your problem is in the next room?
Yes, I know. It’s a dresser. But this is an upcycling project, and a dresser is just one room away from becoming a buffet.
Selecting a Dresser to Upcycle
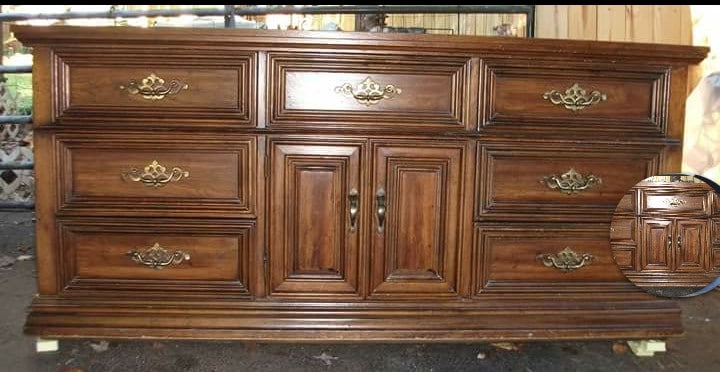
I found this project advertised on Facebook Marketplace. The ad promised that it was a solid wood dresser. I’ve heard this before, only to be disappointed when I showed up and discovered that it was really just MDF.
So frustrating!
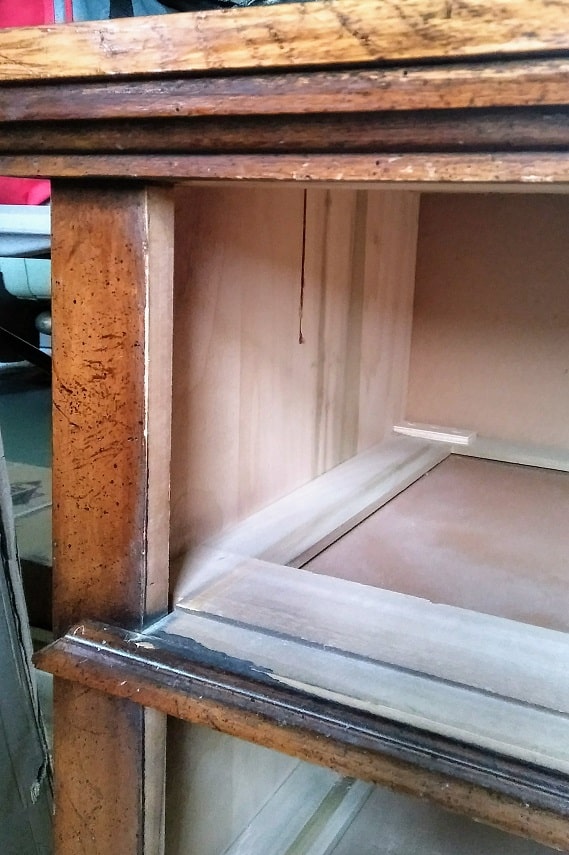
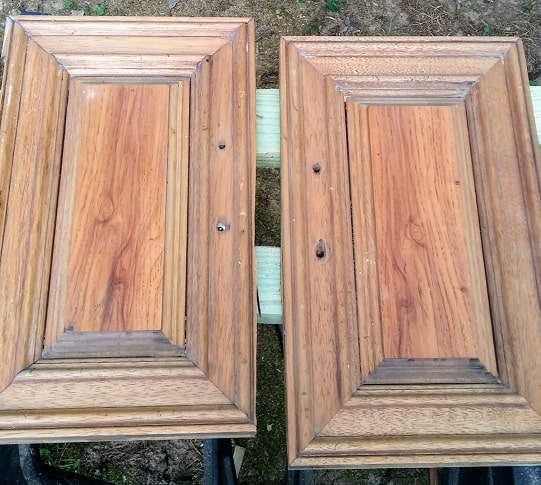
This piece turned out to be a combination, however. It had a solid poplar frame covered with a layer of oak veneer. A win!
The drawers, however, were another story. The sides were dove-tailed MDF with veneered facade fronts. MDF, also known as pressboard furniture, is very challenging to upcycle.
Since it is pretty much just compressed wood chips with a thin plastic or wood veneer glued over it, the refinishing options are limited. With not much bite for the screws and nails, once the woodchip material loosens, the veneer peels off and the furniture begins to come apart.
But, I was optimistic. The price seemed reasonable and I was ready for a project….hmmm, perhaps I should clarify another project.
Did I mention that my husband is a saint? He gave the okay, and let me haul the dresser home to hang out in the garage. After about six months, she finally spoke to me.
Luckily, I didn’t start talking back…with anyone else around. Because that would have been weird.
THIS POST CONTAINS AFFILIATE LINKS TO PRODUCTS THAT I HAVE OR WOULD USE.
AS AN AMAZON ASSOCIATE, I EARN FROM QUALIFYING PURCHASES AT NO COST TO YOU.
YOU CAN SEE MY FULL DISCLOSURE HERE.
Tools and Materials
Materials
- Citristrip finish remover
- Mineral Spirits
- Steel wool
- Disposable gloves
- Minwax Pre-Stain Wood Conditioner
- Minwax Stain: Classic Gray, Weathered Oak, Simply White
- General Finish Clear Coat: Flat
- Sandpaper
- Tack cloth
- Latex Paint: White and Aqua Blue (similar)
- Drawer hardware (similar)
- Furniture feet brackets
- Bun feet
Removing the Old Furniture Finish
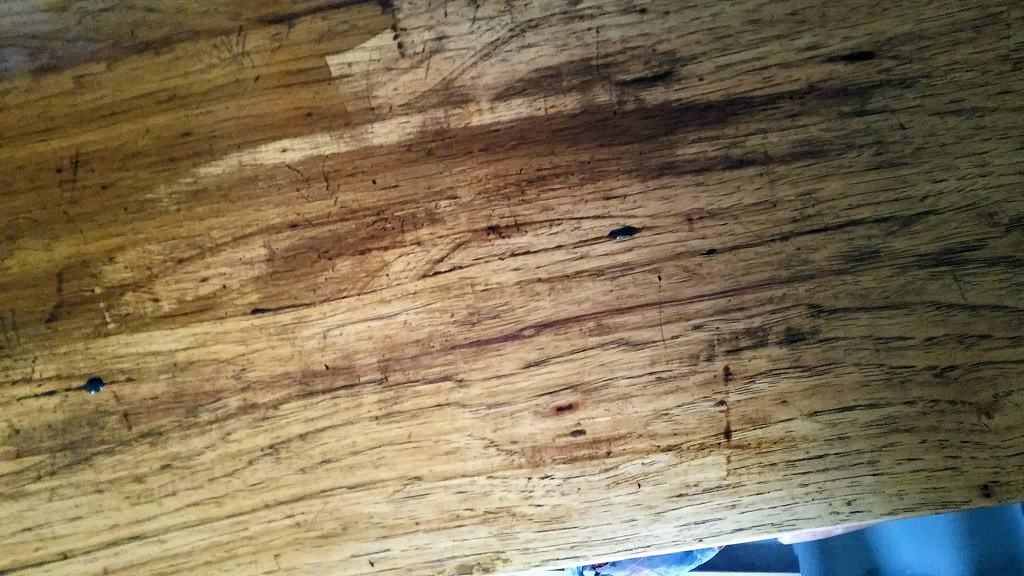
The first step was for that orangey 1980’s stain to go!
I absolutely despise am not a fan of sanding, so this process was courtesy of Citristrip. This isn’t a sponsored post, I just genuinely appreciate how quickly it removes the finish and stain without stinking up the garage and causing my airways to cake with sawdust.
I brushed on a thick coating of Citristrip with an old paintbrush. After letting it sit for about 2 hours, I scraped off the loosened finish. It’s important not to let the Citristrip dry out. If it dries, it creates a goo that is difficult to remove. Just apply another coat of Citristrip and let it reactivate the previous layer.
Pro Tip: When working with veneered wood, it’s always a good idea to start with a chemical stripper rather than sanding. Veneer is very thin, so it’s easy to sand through the veneer to the underlying wood while trying to remove the surface finish.
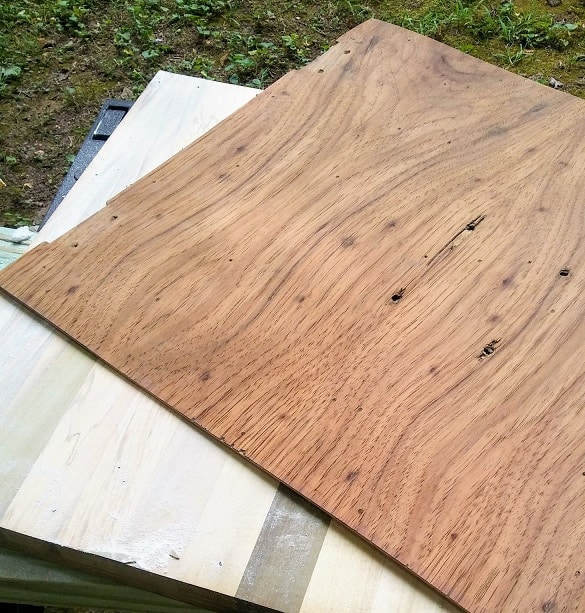
After scraping off the Citristrip and old finish goo there is a bit of residue left behind. To remove that, I “washed” the wood down by unfolding an extra fine steel wool pad and pouring Mineral Spirits onto it. I then wiped the wood in the direction of the grain, switching to a clean spot with each wipe.
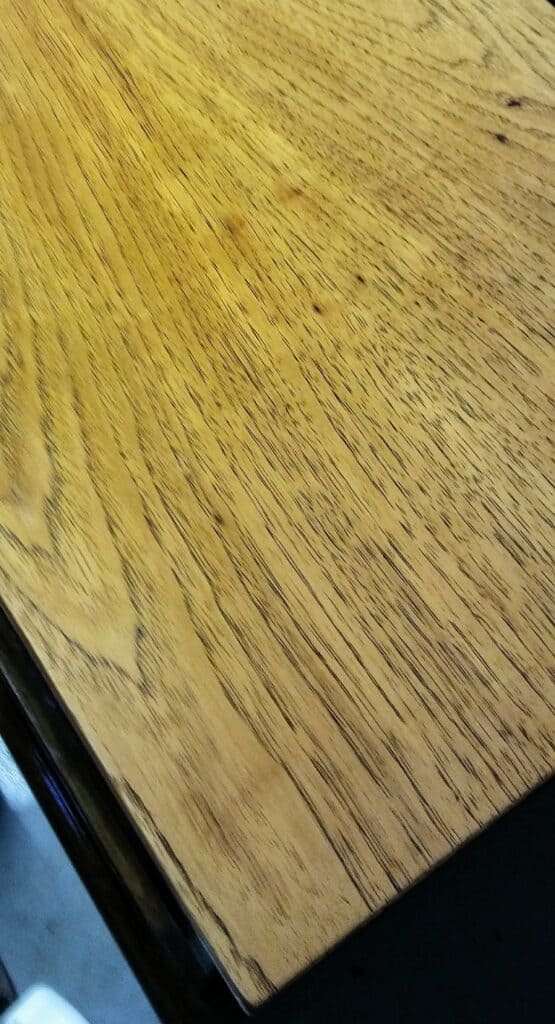
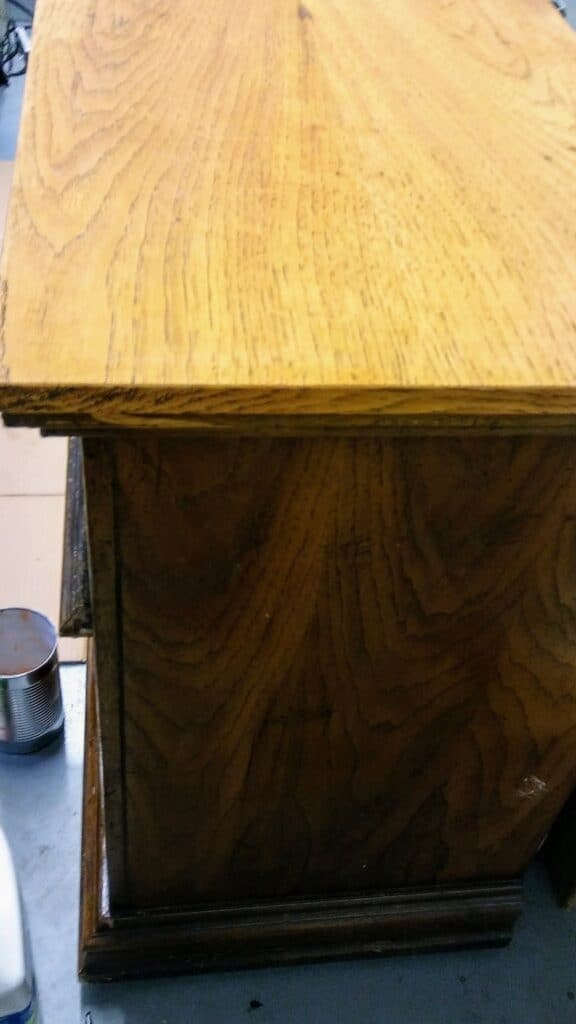
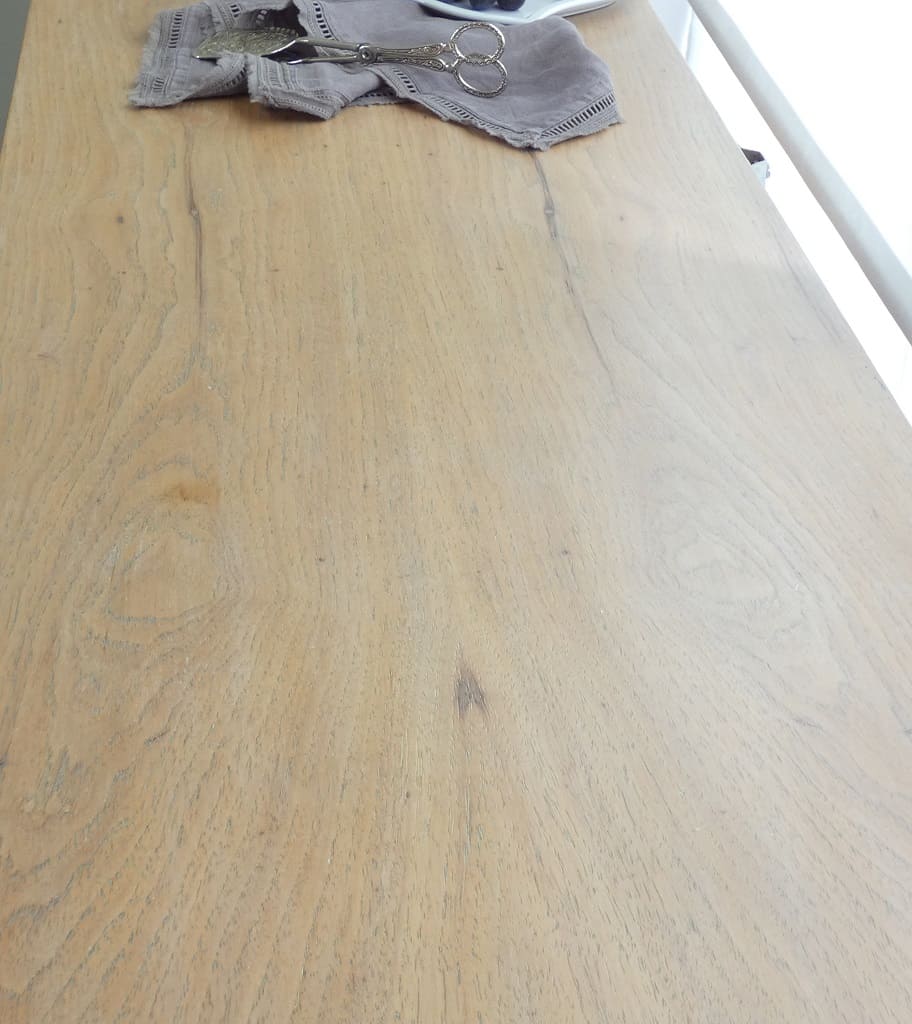
After lots of scraping with a plastic scraper and rubbing with steel wool, I could finally see the wood with all of its beautiful character.
Staining the Wood for a Natural Look
She (the dresser) was still looking a little too golden and shiny for my tastes, so I talked it over with her and we agreed that a little graceful aging might be just the ticket. (I did mention that I talk to my projects, especially when we are spending hours together bonding over binges of Gilmore Girls.)
So, I whipped out the Minwax Weathered Oak stain and started to soften her glow. It took a careful layering of Weathered Oak, Classic Gray and Simply White but eventually, it began to come together.

Sealing Wood for a Durable Clear Finish
Once the tones were right, I sealed her with 4 coats of General Finish Flat. I love that finish, not too shiny and super sturdy.
With a light sanding in between coats, the dresser was beautiful and ready to shine in her starring role as our new buffet.
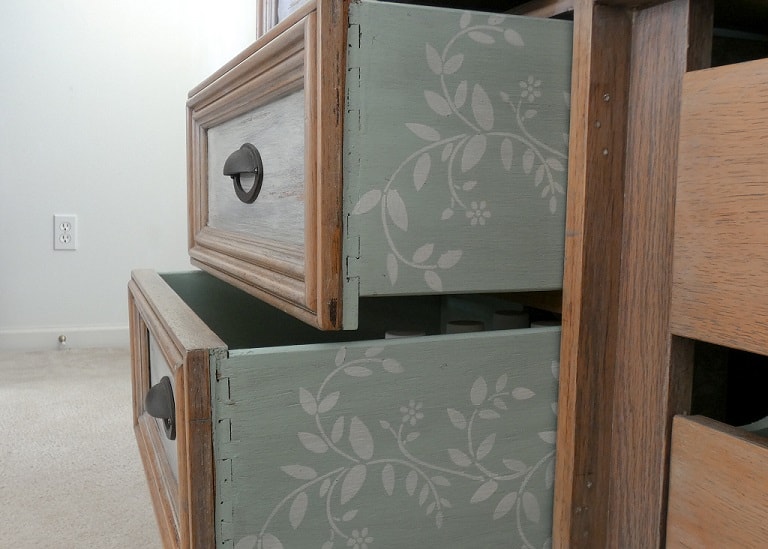
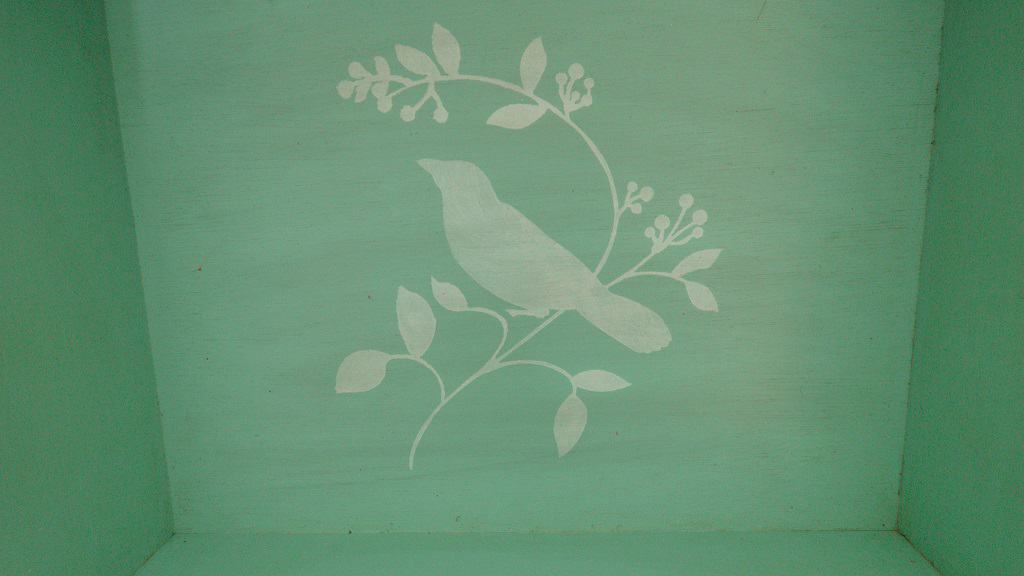
Painting, Paint Washing, and Stenciling Wood Drawers
But wait! The drawers weren’t ready! I wanted them to have a little more flair, but subtly.
So, I dug through my paint and stencil stash and came up with this:
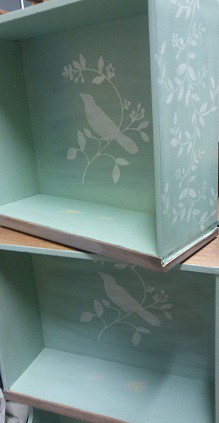
It’s a fun little surprise with a pop of “wow” that transforms her from ordinary to extraordinary.
For the drawer fronts, I wanted an even more aged paint look. It took several trial-and-error alternating layers of watered-down white paint and stain. Believe it or not, painting and staining can be combined, if done properly, and if you’re recreating an aged finish.
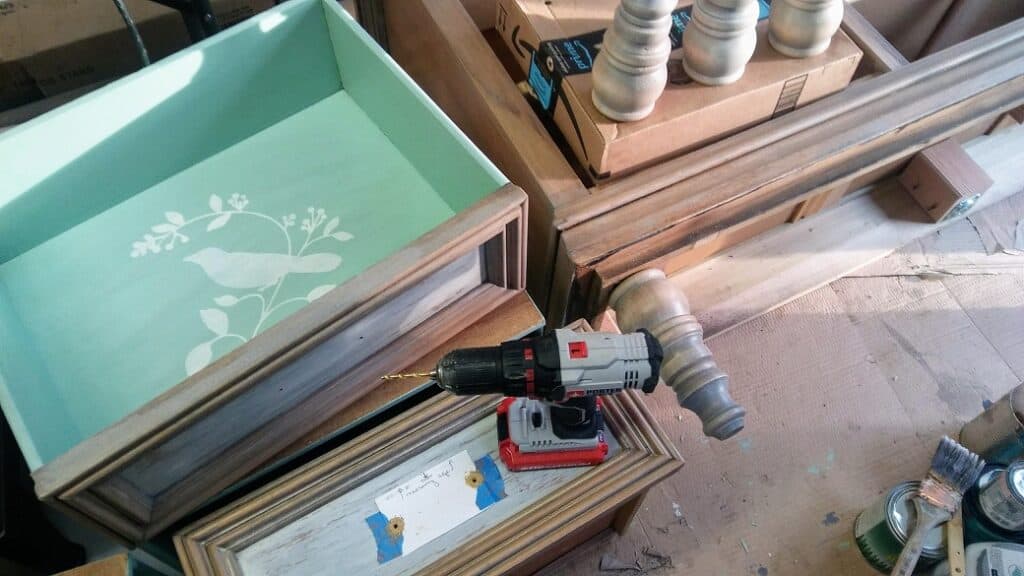
Updating Drawer Hardware and Feet
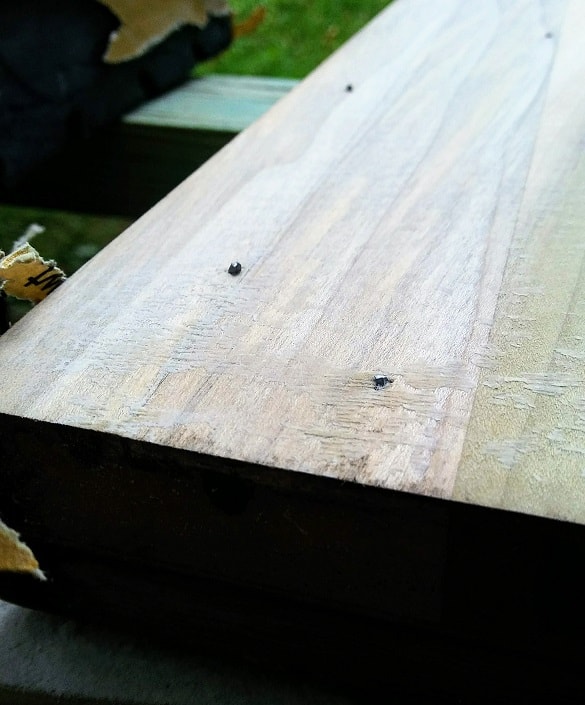
I then filled in the original hardware holes and created a cardboard template for the new handles.
I found the hardware (or her “jewelry”) at Hobby Lobby, but they don’t seem to have it any longer. Here’s a similar style and finish from Hickory Hardware.

The final step of bringing this 1980’s dresser into the 21st century was giving her a lift with some new bun feet. I love the classic look of bun feet. I used the same layering of Weathered Oak, Gray, and Pickling stains to match the dresser body as closely as possible.
The new feet were super easy to install. I just added a metal bracket to all four corners with some screws and then screwed the new feet into the bracket. Easy peasy!
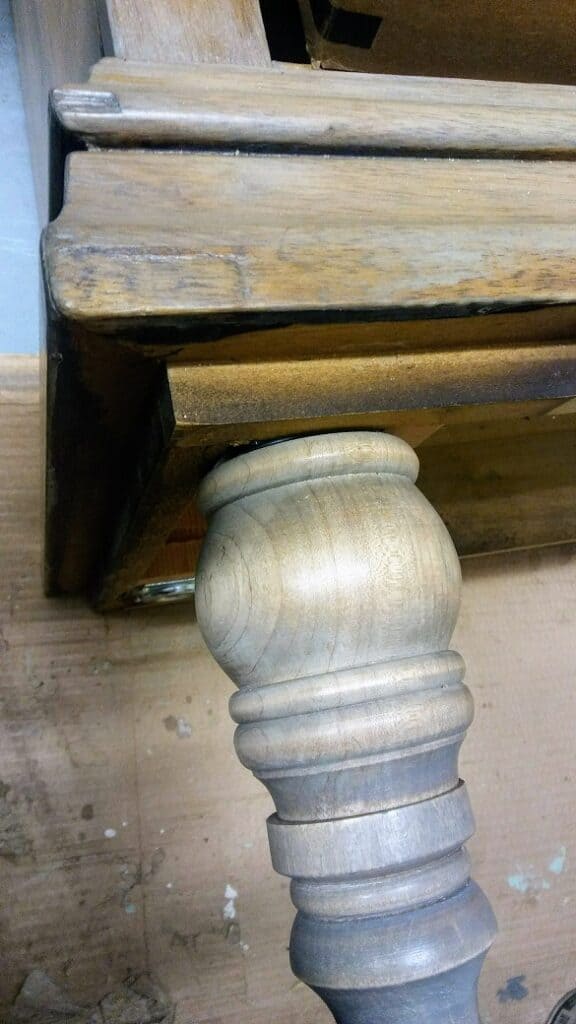
Hindsight is 20/20: The stain on the legs would have had a more even appearance and matched the rest of the dresser much better if I had applied some pre-stain first.
With the addition of her new jewelry and bun feet, we were ready to introduce Emily to her new home in the dining room. (She seemed to deserve a name, considering how much time we spent talking to one another.)
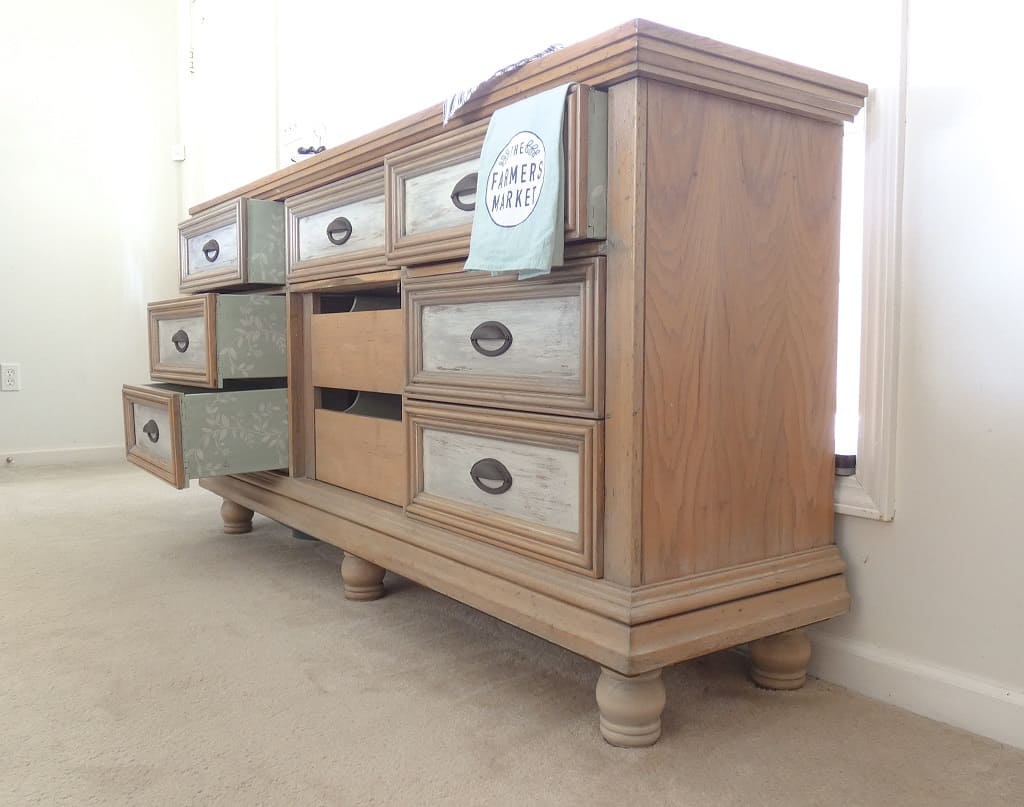
Upcycled Dresser to Buffet: Before and After
This natural wood finish is so much better than that 1980’s orange, right? It’s much easier to appreciate the beautiful wood grain and drawer details now, and I just adore those cute bun feet!
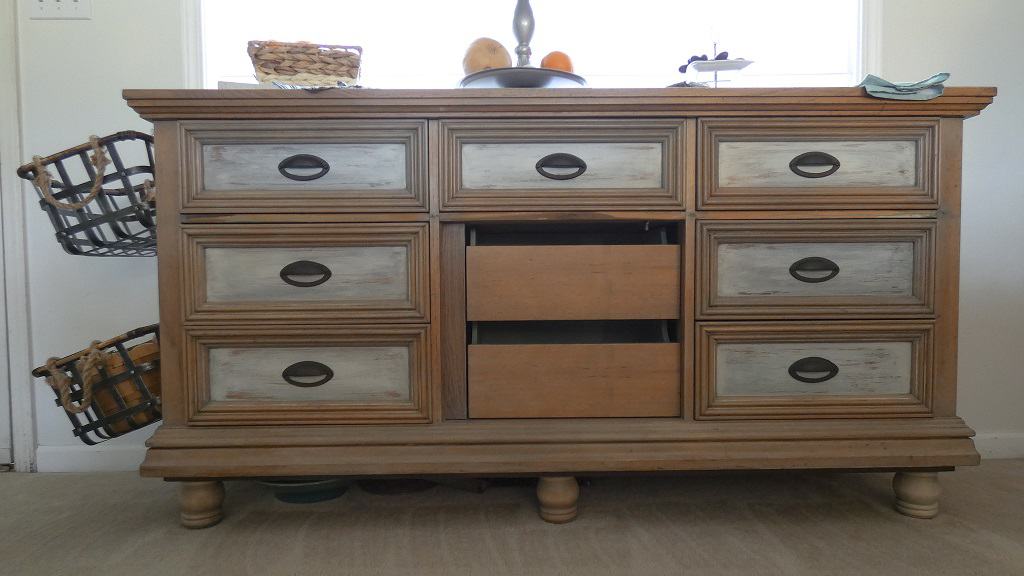
What a difference a little stain, paint, and new hardware can make!
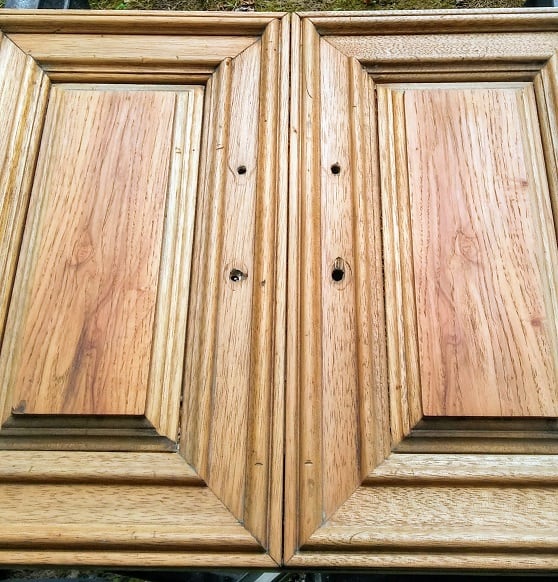
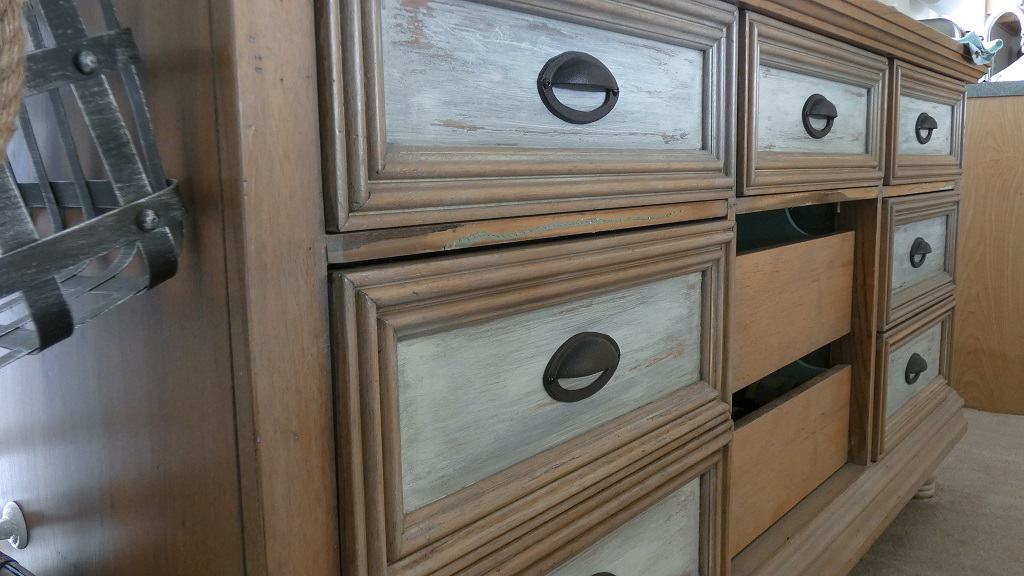
I originally intended to re-install the door, which is now two doors…
…but I think I prefer how easy it is to use those two drawers without the hassle of opening doors to get to them. I’m still considering adding additional hardware, but for now, we’re living with it. Since the front of those drawers is cut lower than the side, it’s easy enough to reach in and grab the edge of the drawer front to pull it open.
So, all that’s left is adding the little decorative piece along the front, under the top set of drawers. I’m going to go add this to my “To Finish” list right now…
How about some wrap-up pics of Emily in all her transformed “dresser to buffet” glory?
I am counting this dresser-to-buffet makeover as a success!
So, would you upcycle a dresser into a buffet for your dining room? And, I’m not the only one who talks to inanimate objects…right?
Thank you so much for stopping by! Check out the other amazing projects at the link parties below. I know the hostesses will appreciate your visit and comments.
Until next time, have a beautiful and blessed day!


Linked up to these lovely link party hostesses at:
Don’t forget to sign up so you hear all about the next misadventure! Until then, you may also like this Magazine Rack makeover or this one where I transform a gun cabinet into a linen cabinet. Enjoy!

I need someone in Houston Texas to flip some pieces for me. I’m in desperate need of help and you’re images are truly inspiring….
Hi Becky! I found you thru the The Cottage Market blog. I cant believe this is the first time seeing you. Anytime i find someone that does what i do and uses products i use i am inspired. I have signed up to get your emails. Thank you for sharing.
Hi Cheryl! Thank you so much for stopping by! I love seeing what fellow furniture and decor makeover artists are up to. I look forward to visiting you. Have an amazing day!!
Great repurpose – taking off the doors updates it!
This dresser to buffet makeover is simply stunning! I love the colors you chose and how you arranged the baskets on the side to be functional as a buffet! Amazing job, Becky!
This is such an incredible transformation! You did such a great job on it! Thanks for sharing your process with us!
Nah, I talk to myself, and objects, and our pup all of the time! Thanks for sharing your makeover, I love the new look vs the old one and I am sure Emily is screaming her praise. Those painted drawers were a nice touch, I also enjoyed the step by step process and now I know I can use other items rather than sanding. I used to love to sand, but it’s not something I can do anymore. Oh the possibilities, I am sure my husband will thank you later… haha… or maybe not? Have a wonderful day!
I hope that was in a good way! lol Thank you for stopping by!
Emily is gorgeous!!! Her jewelry and bun feet made a huge difference. Love how you painted her. I’m getting inspired to refinish my childhood dresser, chest and desk with a similar aged look. And I DO have a dresser as a buffet in my dining area. What’s in a name???
Thank you so much! I hope you’ll share pictures of your projects with us!
I love it!!! I really like the picture slider thingy????????????????
I was so excited when I found that option! Lol