Beginners Guide to Epoxy Resin Furniture Finish
Have you ever seen a tabletop so glossy you could fix your hair in it? Or a wood slab that glowed like honey under glass? That magic, my friend, is brought to you by epoxy resin—the enchanting, high-gloss finish that’s equal parts tough and beautiful. Whether you’re sealing a live edge, creating a river table, or simply reviving an old coffee table with a modern twist, epoxy is a refinishing powerhouse.
In this jam-packed guide, we’ll explore everything you need to know about using epoxy resin on wood furniture: from its history and chemistry to drying times, durability, refinishing steps, and long-term care. By the time we’re finished, you’re going to be a resin-pouring wizard! Let’s dive in!

THIS POST CONTAINS AFFILIATE LINKS TO PRODUCTS. IF YOU PURCHASE PRODUCTS THROUGH THESE LINKS, THEN I MAY RECEIVE A SMALL COMMISSION AT NO COST TO YOU.
I ONLY RECOMMEND PRODUCTS THAT I USE AND/OR HAVE RESEARCHED AND WOULD USE.
AS AN AMAZON ASSOCIATE I EARN FROM QUALIFYING PURCHASES AT NO COST TO YOU.
YOU CAN SEE MY FULL DISCLOSURE HERE.
What is Epoxy Resin?
Epoxy resin is a two-part synthetic polymer made from mixing two chemicals:
- Resin (Part A) – usually a Bisphenol-A or Bisphenol-F based liquid
- Hardener (Part B) – typically made with amines
When mixed together, a chemical reaction causes the mixture to cure into a solid, plastic-like surface. There’s no evaporation like with paint or varnish—epoxy cures through chemistry, not air-drying. It’s self-leveling, waterproof, and incredibly durable once fully cured. On wood furniture, it creates a high-gloss, crystal-clear finish that highlights natural wood grain and adds a layer of protection that’s hard to beat.
A Little History of Epoxy Resin
Epoxy resins were developed in the 1930s by German and Swiss chemists, and commercial production took off in the 1940s. While their first claim to fame was in the aerospace and electrical industries (hello, super-strong adhesive!), epoxy quickly found its way into marine and woodworking applications thanks to its extreme durability and waterproof nature.
Today, epoxy resin is beloved in the DIY and woodworking worlds for coating, filling, bonding, and beautifying wood surfaces—especially when a glass-like shine is on the wishlist.
Fun Fact: NASA uses epoxy resin in spacecraft construction due to its strength-to-weight ratio.
Where and Why to Use Epoxy Resin
Epoxy resin is like the glam red lipstick of the furniture world—bold, glossy, and unforgettable. But just like lipstick, it’s not always the right fit for the situation. Here’s a quick-glance guide to help you decide if this dazzling finish is the right match for your project.
| Best For | What’s to Love | What’s Not to Love |
|---|---|---|
| Table and bar tops | Glass-like, high-gloss finish that makes wood grain pop | Prone to yellowing over time (especially in sunlight) |
| High-use furniture (e.g., desks, coffee tables) | Extremely durable—resists scratches, water, and everyday wear | Long cure time—can take 3–7 days to fully harden |
| Decorative surfaces and artistic projects | Self-leveling and easy to pour in thick coats for dramatic results | Sensitive to mixing ratios—must be exact or it won’t cure properly |
| Filling voids, cracks, and live edges | Acts as a clear filler, sealing and stabilizing defects beautifully | Bubbles can form—requires heat gun or torch to remove |
| Custom pieces that need waterproofing | Completely waterproof once cured—no need for coasters or special care | Cannot be spot-repaired—fixes require full sanding and re-pouring |
| Showstopper finishes that wow on first glance | Enhances depth and clarity of wood tones like no other finish | Must be applied in controlled temps and humidity (ideally 60–80°F, 40–60% humidity) |
| Bonds tightly to wood | Susceptible to heat damage (use coasters!) | |
| Completely customizable – can be tinted or embedded with objects | Tricky cleanup (requires acetone or denatured alcohol before curing) |
Which Product Is Right for You?
When choosing the right epoxy resin, it helps to match your comfort level with a trusted product:
Best for Beginners
TotalBoat TableTop Epoxy
Pros: Forgiving 1:1 mix ratio, low odor, food-safe once cured, great customer support, easy for small to medium projects.
Cons: Not ideal for deep pours, may amber over time with prolonged UV exposure.
Best for Creatively Confident
Stone Coat Countertop Epoxy
Pros: UV resistant, easy to tint or color, ideal for countertops and artistic designs, longer working time for detailed pours.
Cons: Slightly higher price point, longer cure time compared to some other formulas.
Best for Pros
MAS Epoxies Deep Pour
Pros: Excellent for thick pours (up to 2″), great clarity, low exotherm, ideal for river tables and deep castings.
Cons: Requires careful environmental control (humidity/temp), longer cure time, best for experienced users.
Tips for Picking Your Perfect Epoxy Resin:
And because charts are super awesome and make me all happy inside, here’s a handy dandy table to summarize it all up for you!
| Skill Level | Product | Best For | Pros | Cons |
|---|---|---|---|---|
| Beginner | TotalBoat TableTop Epoxy | Clear coats, table tops, light-duty surfaces | – Easy 1:1 mix ratio – Minimal bubbles – Food-safe when cured – Great customer support | – Can yellow in direct sunlight – Not suitable for deep pours |
| Creatively Confident | Stone Coat Countertop Epoxy | Artistic pours, faux marble, colorful finishes | – UV resistant – Long working time – Works well with pigments and powders | – Sensitive to temperature swings – Not food-safe unless top-coated |
| Advanced Finisher | MAS Epoxies Deep Pour | River tables, thick pours, large casting projects | – Ideal for deep, bubble-free pours – Excellent clarity – Low exotherm | – Longer cure time – Requires controlled environment – Steeper learning curve |
Too much info? For the TLDRs among us:
- Stick with TotalBoat TableTop if you’re brand new and want reliable results on a flat surface like a desk or shelf.
- Choose Stone Coat Countertop if you’re eager to get creative with colors and add some personality to your projects.
- Go with MAS Deep Pour if you’re ready to level up and try those dreamy, thick, layered effects or river tables.
No matter which product you choose, always check the manufacturer’s instructions for working time, safety precautions, and ideal project types.
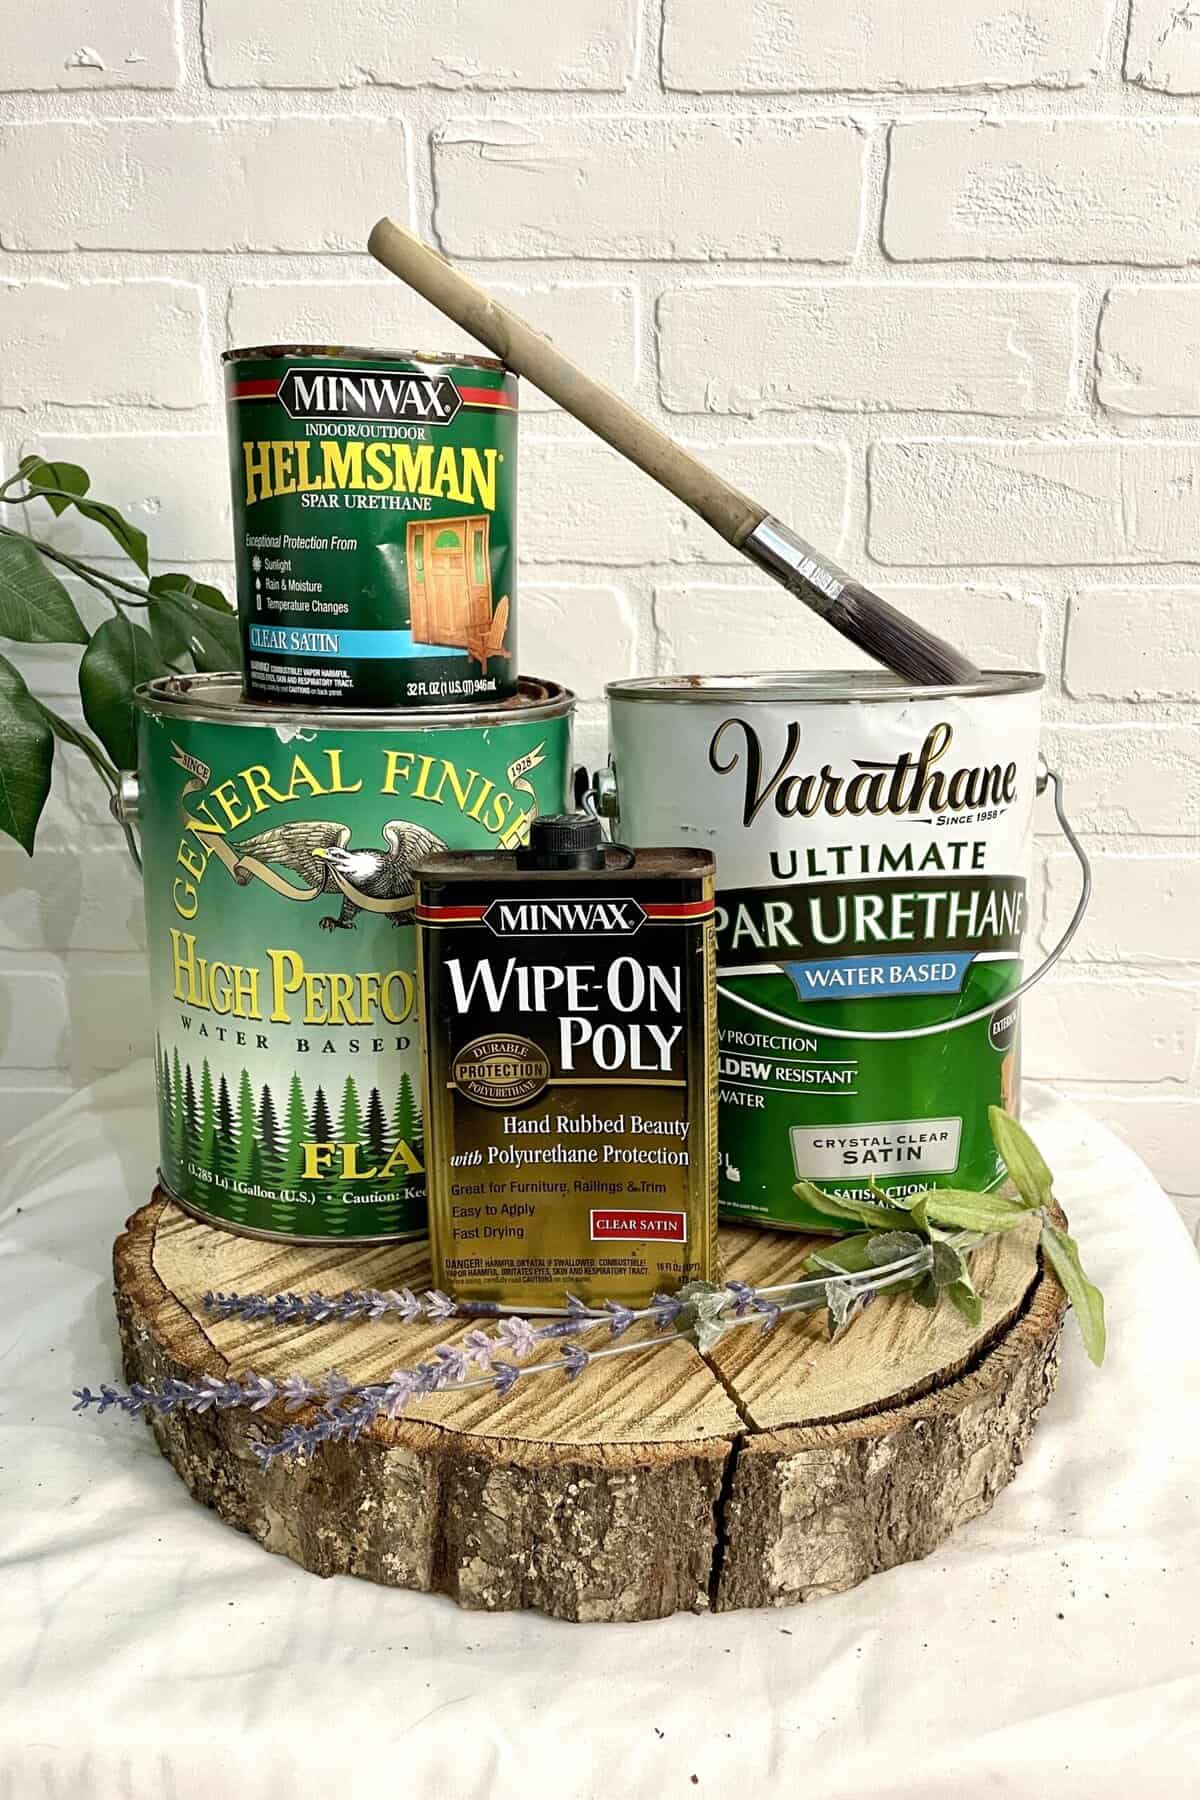
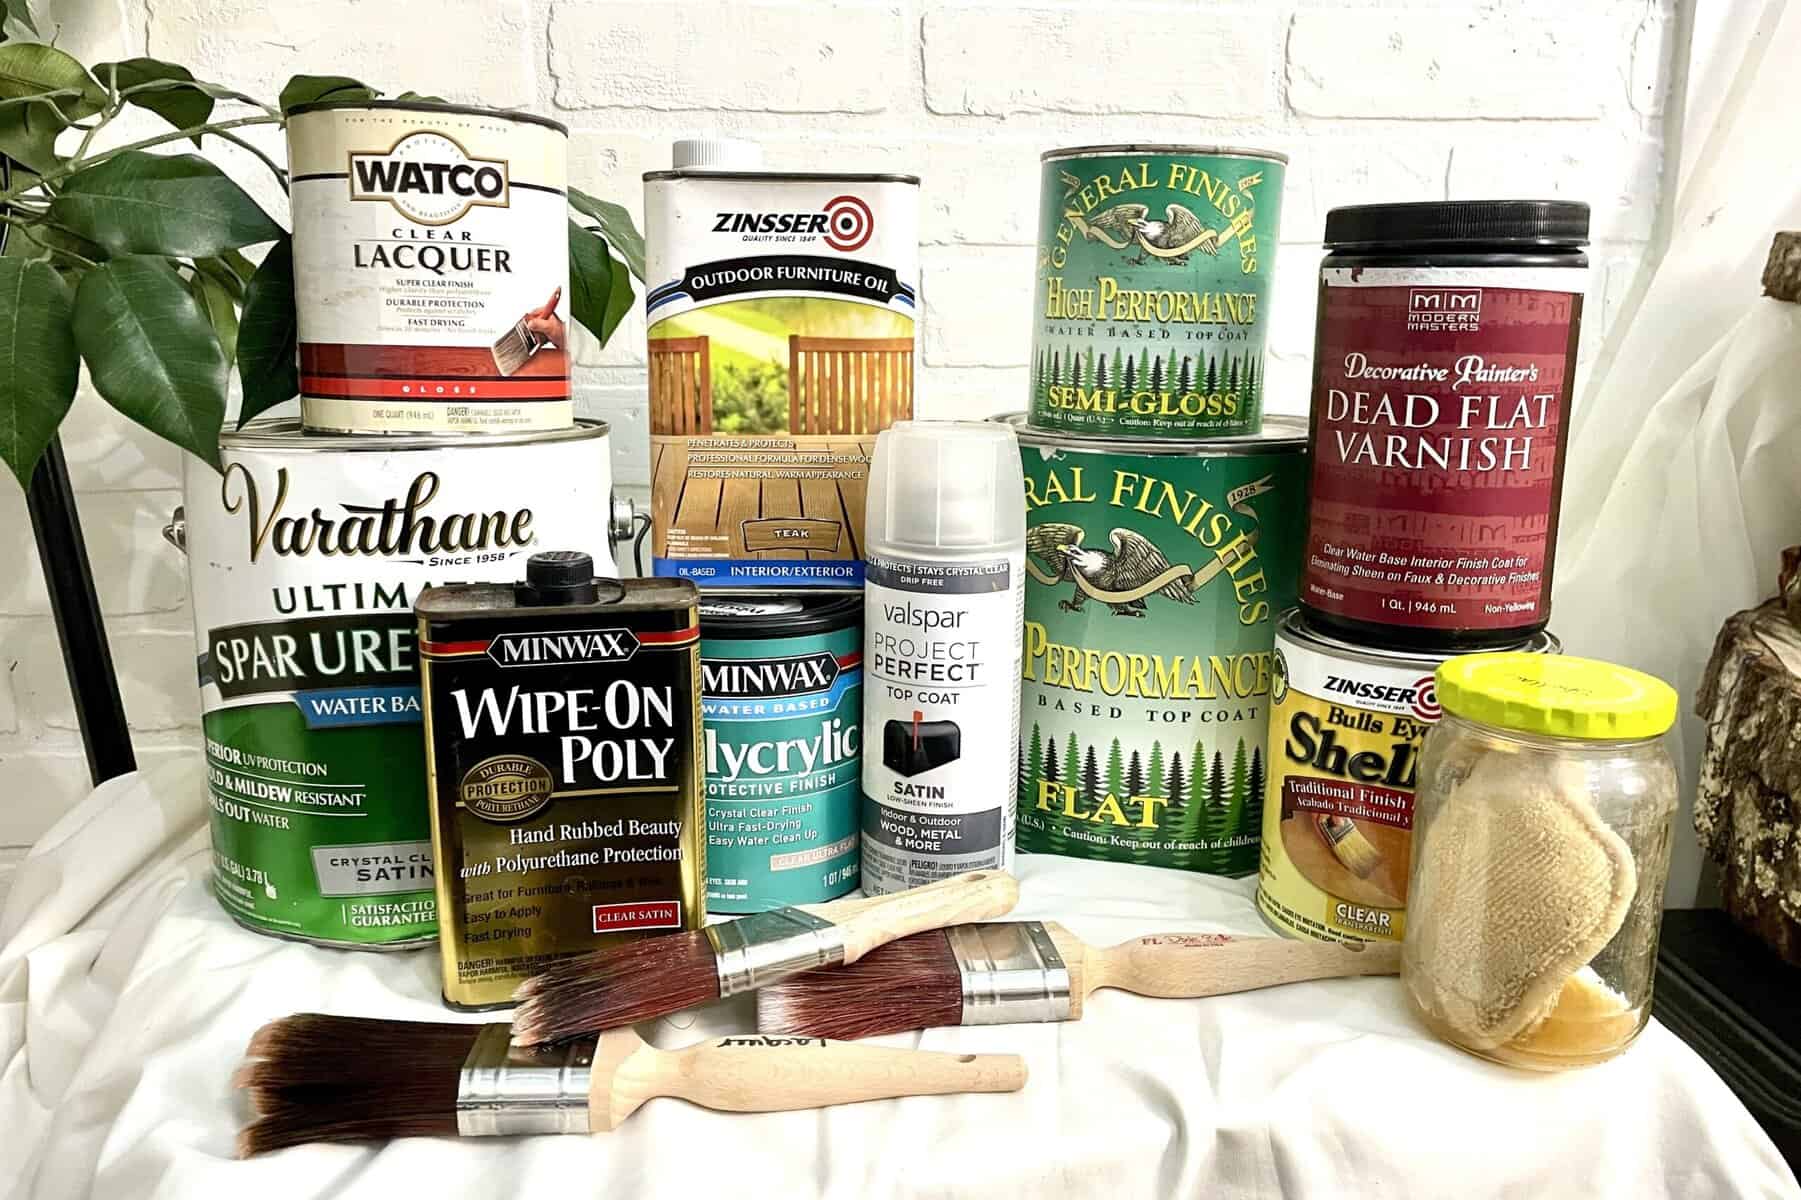
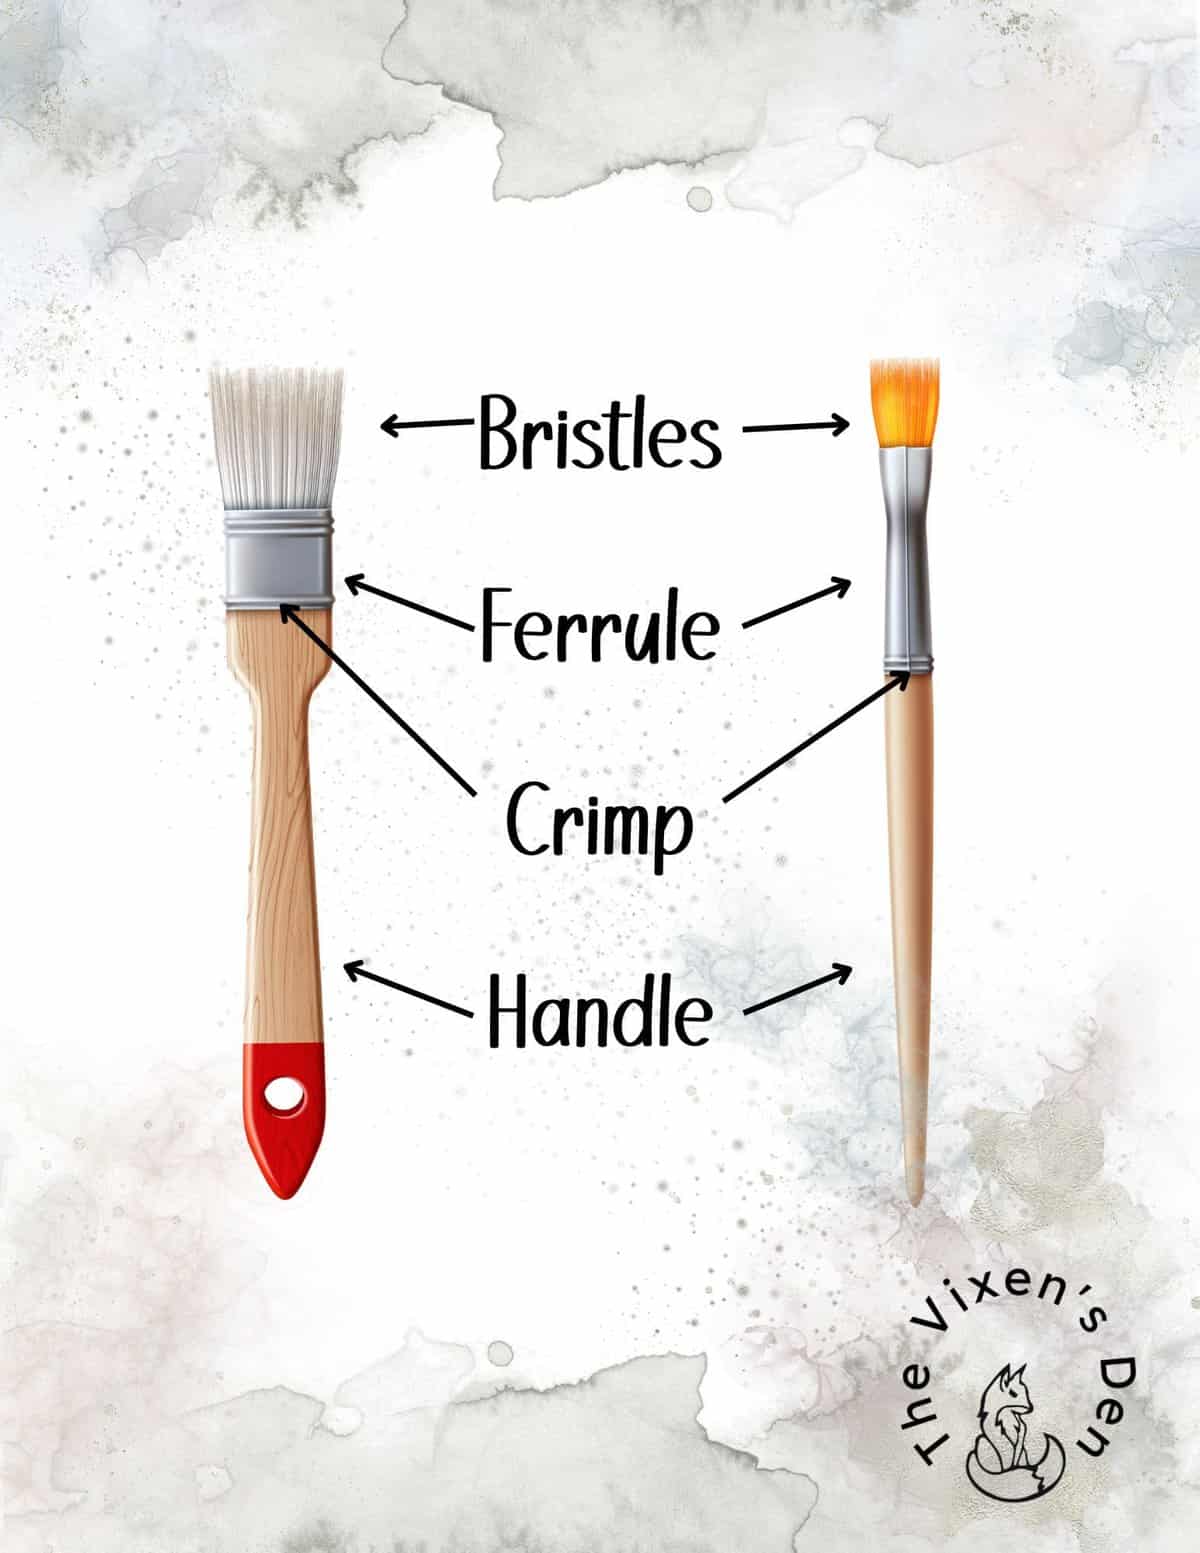
What’s in the Finishing Toolkit?
Before you get started, you’ll need these tools and supplies!
Tools
- Silicone measuring cups and silicone stir sticks
- Nitrile gloves (a must!)
- Goggles
- Respirator
- Level surface + plastic drop cloth for protection
- Propane torch or heat gun (for popping bubbles)
- Finishing sander and sanding pads
- Metal scraper
Materials
- Epoxy resin (resin + hardener, typically mixed 1:1)
- Aluminum foil
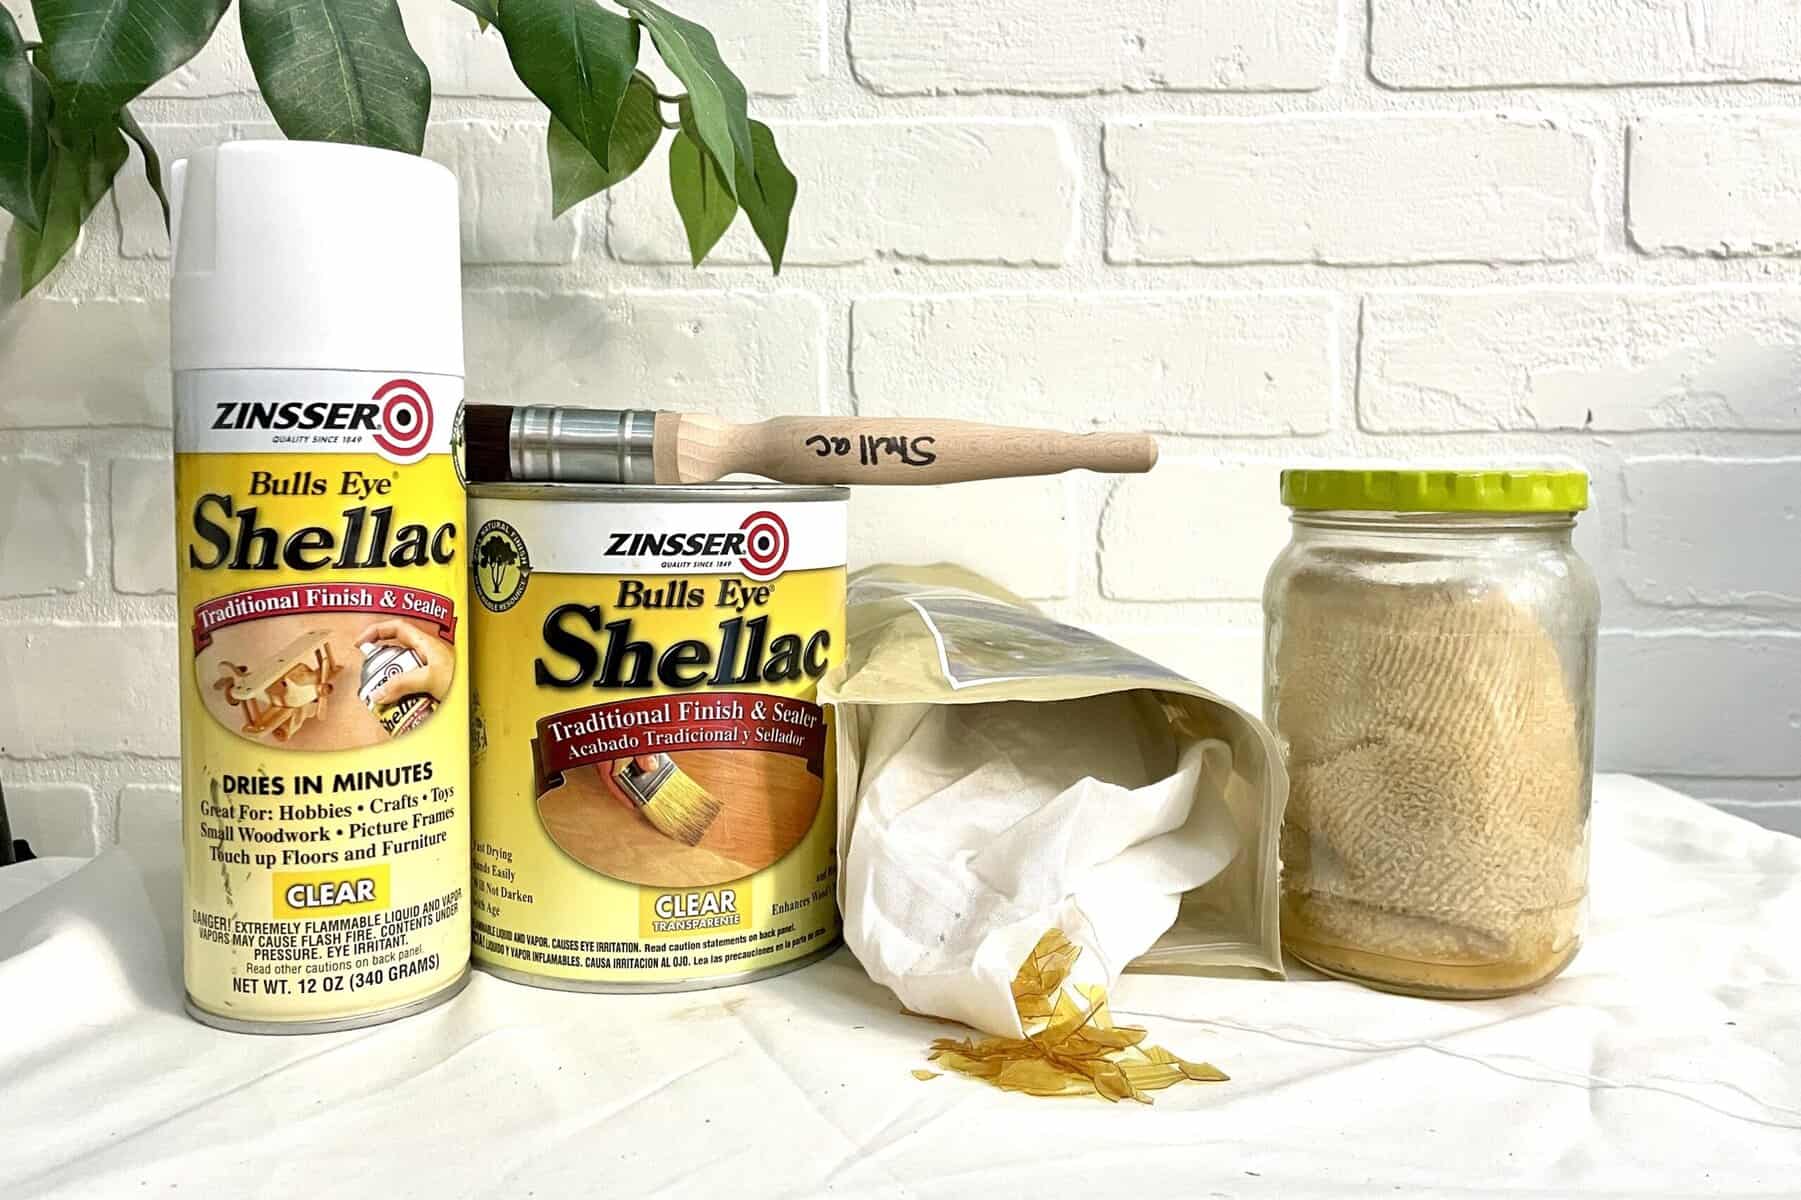
- Dewaxed shellac (optional but helpful)
- Optional Add-ons:
- Color pigments or mica powders for effects
- Silicone molds or edging tape for creative projects
Pro Tips: Before You Begin
- Pour in a dust-free, temperature-controlled space (60–80°F, 40–60% humidity).
- Mix SLOWLY to avoid introducing bubbles.
- Always measure by volume, not weight.
- Don’t skimp on surface prep—clean, sanded, sealed wood is best.
How to Apply Epoxy Resin
- Prep the Wood
Sand the surface smooth (usually 120–220 grit). Remove any dust with a tack cloth. Make sure the surface is clean, dry, and level. Use a seal coat if your wood is porous (this is where the de-waxed shellac comes into play)—it helps prevent air bubbles from escaping and causing pitting. - Protect the Work Area
Place the plastic drop cloth on the floor under your project. Wrap or tape aluminum foil to any areas that you do not want sealed with resin. (For example, I wrapped the legs of this table in aluminum foil to protect them from drips. It worked perfectly!) - Mix the Resin
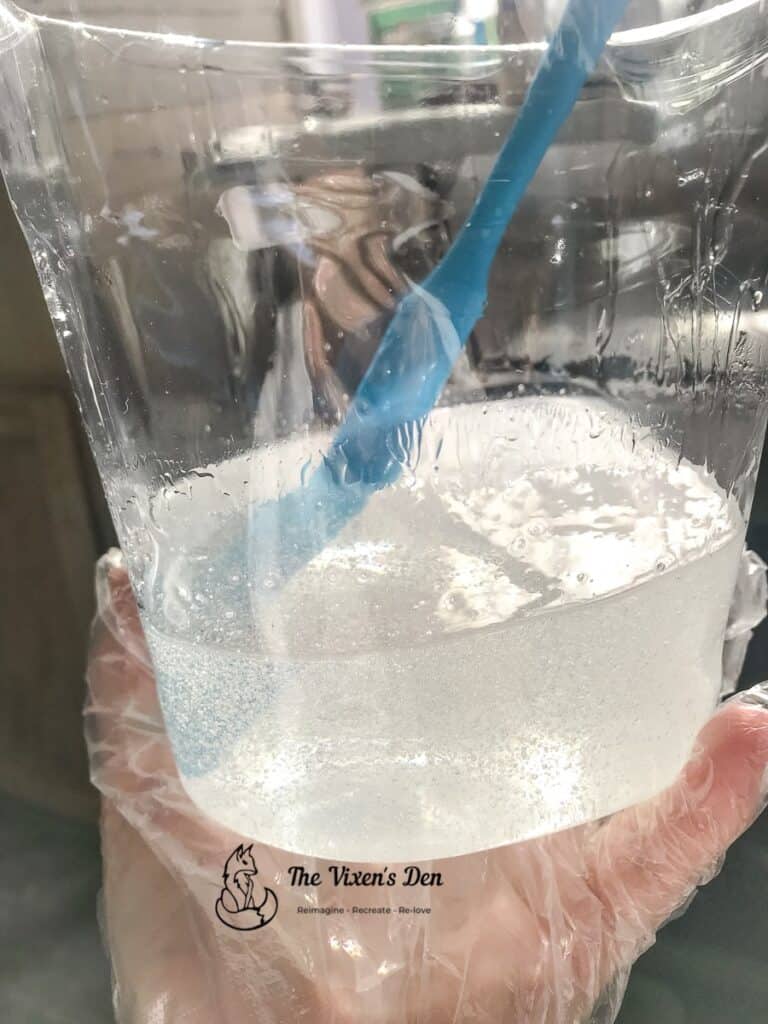
Combine the resin and hardener exactly as directed (usually 1:1 by volume). Mix slowly for 3–5 minutes until the mixture is crystal clear with no streaks. Scrape the sides and bottom of your container while stirring. - Pour the Resin
Pour your resin in the center and spread gently with a silicone scraper. Don’t overwork it—epoxy will self-level! - Pop the Bubbles
Use a propane torch or heat gun to gently wave over the surface, popping bubbles as you go. Be careful not to scorch the resin or the wood. - Let It Cure
Most epoxies cure in 12–72 hours, depending on the brand and temperature. Cover your work to keep out dust, and don’t touch it while it cures! - Trim Drips and Runs
Use the heat gun to soften any drips or runs along the edge of the project. These can then be scraped off with the metal scraper.
Application Best Practices
- Temperature: Ideal room temp is 70–75°F.
- Humidity: Keep humidity below 85% for best curing and clarity.
- Drying Time: Initial cure happens in 12–24 hours. Full cure in 3–7 days, depending on brand.
- Coats: For most furniture pieces, 2–3 coats offer max durability. Lightly sand between coats for best adhesion.
Want to see this glossy magic in action?✨ Come take a peek at how epoxy resin gives a custom-painted children’s table a dazzling, durable finish!
When and How to Refresh Epoxy Resin Furniture Finish
Before diving into refinishing or removal, it’s essential to assess whether your epoxy resin surface needs attention. Over time, epoxy can become dull, scratched, or slightly yellowed. Minor issues like these often require just a light refresh rather than a complete overhaul.
Signs it’s time to refresh:
- The surface appears dull or has lost its original shine.
- Minor scratches or scuffs are visible.
- Slight yellowing, especially in areas exposed to sunlight.
Quick Refresh Steps:
- Clean the Surface: Use a mild soap and water solution to remove any dirt or residues.
- Light Sanding: Gently sand the surface with fine-grit sandpaper (around 400-600 grit) to scuff it slightly, promoting better adhesion for the new layer.
- Apply a Fresh Coat: Mix a small batch of epoxy resin and apply a thin layer over the sanded area. This will restore clarity and shine.
This approach is ideal for surfaces that are structurally sound but are showing a little wear and tear from life.
Refinishing Epoxy Resin
If your epoxy surface has more pronounced issues—like deeper scratches, uneven areas, or significant dullness—a more thorough refinishing is in order.
Refinishing Steps:
- Deep Cleaning: Ensure the surface is free from contaminants.
- Sanding: Use medium-grit sandpaper (around 220 grit) to remove the existing finish uniformly.
- Clean Again: Wipe away all sanding dust with a cloth dampened with isopropyl alcohol and let it dry completely.
- Apply New Epoxy Layer: Mix and pour a new layer of epoxy resin, ensuring even coverage.
- Bubble Removal: Use a heat gun or torch to eliminate any air bubbles.
- Curing: Allow the resin to cure as per the manufacturer’s instructions, typically 24-72 hours.
This process rejuvenates the surface, making it look brand new.
Removing Epoxy Resin
In cases where the epoxy is extensively damaged—such as deep cracks, severe yellowing, or improper curing—removal might be the best option.
Removal Steps:
- Safety First: Wear appropriate protective gear, including gloves, a respirator, and eye protection.
- Heat Application: Use a heat gun to soften the epoxy, making it easier to remove.
- Scraping: Gently scrape off the softened epoxy using a putty knife or scraper.
- Sanding: After the bulk is removed, sand the surface to eliminate any remaining residue.
- Clean Up: Wipe the area clean with a suitable solvent like acetone.
Once the old epoxy is entirely removed, you can proceed with refinishing the surface as desired.
Pro Tip: This is a job best done outside with LOTS of ventilation. Regardless, still wear your respirator and goggles, as the resin will either turn into some nasty plastic dust or fill you with fumes. Be creatively conscious, my friend!
Epoxy Resin Care 101
Once your masterpiece is cured, you want to keep it looking fabulous! Here’s how to care for epoxy-finished furniture:
| Care Tip | Why It Matters |
|---|---|
| Use soft cloths | Avoid scratches from rough sponges or scrubbers |
| Clean spills promptly | Epoxy is resistant, not invincible—especially to strong solvents |
| Avoid heat | Use trivets! Epoxy can soften with sustained heat over 120°F |
| Minimize scratches | Avoid dragging items across the surface and use coasters, and placemats to prevent scratches. |
| Skip waxes | They can dull the surface—use a plastic polish instead |
| Refresh with polish | Use automotive or resin polish to restore shine every few months |
| Avoid extreme temperatures | Store in a climate-controlled space (extreme temps can cause cracking). |
Pro Tips for Epoxy Success
- Mix thoroughly: Under-mixing leads to sticky, uncured surfaces—always follow the brand’s instructions.
- Temperature matters: Ideal working temp is 70–75°F. Too cold and resin stays tacky; too hot and it cures too fast!
- Dust is your enemy: Work in a clean, dust-free area and cover your project while curing.
- Seal first: On live-edge or open-grain wood, a thin seal coat helps eliminate bubbles.
- Protect your hands: Always wear nitrile gloves—epoxy is sticky and unforgiving.
- Keep it level: Use a level surface and protect your workspace.
- Practice patience: Don’t rush the cure—cover your piece and walk away!
- Stay in the shade: Never apply epoxy in direct sunlight—it speeds up curing unevenly and can cause bubbles.
- Choose wisely: Use UV-resistant epoxy if the piece will be exposed to light.
Common Epoxy Resin Mistakes (And How to Fix Them)
| Mistake | Fix |
| Sticky or soft finish | Mixing ratio was off—remove and re-pour |
| Bubbles or dimples | Use heat gun/torch immediately after pouring |
| Yellowing finish | Choose UV-resistant products or add a UV stabilizer |
| Uneven surface | Make sure your project is level before pouring |
| Scratches over time | Buff with plastic polish or recoat |
Beginner FAQs
Q: Can I use any epoxy for furniture?
A: Look for tabletop or casting epoxy labeled as UV-resistant and self-leveling. Avoid industrial or marine epoxies unless your project calls for it specifically.
Q: How do I stop bubbles from forming?
A: Pre-seal porous wood, mix slowly, pour carefully, and use a heat source like a torch or heat gun to pop surface bubbles.
Q: How do I know if epoxy is fully cured?
A: It won’t feel tacky and will resist fingerprints. Most products reach full hardness after 72 hours but check the label.
Q: My resin didn’t cure—what went wrong?
A: Common culprits: incorrect mixing ratio, under-mixing, or temperatures below 70°F. Always follow manufacturer instructions to the letter.
Q: Can I pour a second coat of epoxy?
A: Yes! Lightly sand the surface with 220 grit, wipe clean, and pour the next coat within the recoat window (usually 4–12 hours) or after fully cured.
Q: Can I apply epoxy over an old finish?
A: Only if it’s sanded thoroughly and the old finish is compatible. It’s best to apply epoxy to raw or sealed wood.
Q: Can epoxy resin be removed once cured?
A: Only through mechanical means like sanding or scraping—it’s not dissolvable once fully cured.
Q: Can I use epoxy outdoors?
A: Yes, but make sure to use a UV-stable product. Otherwise, it will yellow over time.
Q: Is epoxy food safe?
A: Only once fully cured (usually after 7-10 days) and when using food-safe certified products (like TotalBoat TableTop Epoxy)
Q: Can I sand and polish epoxy?
A: Absolutely! Start with wet sanding at 400–600 grit and work up to 2000 grit. Finish with a plastic polish for a glossy shine.
Final Thoughts
Epoxy resin is like the sparkle filter for your furniture—it’s glossy, protective, and adds a sleek, modern twist to natural wood. Whether you’re sealing a tabletop, fixing an old finish, or getting creative with color, epoxy opens up a world of possibilities.
Just remember: prep well, measure carefully, and don’t be afraid to experiment (safely and with gloves, of course)! Once you get the hang of it, you’ll be itching to pour your next project.
Thanks so much for stopping by—I’m so glad you’re here! I hope this guide helps you feel confident and excited to tackle your next epoxy adventure. Got a brilliant tip for working with epoxy resin on furniture? Or a head-scratching question I didn’t cover? Drop it in the comments—I’d love to hear from you! Let’s keep learning and creating together!
Until next time, have a beautiful and blessed day!

Don’t forget to sign up so you hear all about the next misadventure!