Beginner’s Guide to Semi-Drying Oils for Wood Furniture Finishing
Semi-drying oils are the lesser-known cousin of the wood oil finishes family. They offer a soft luster, mild water resistance, and rich wood enhancement. These oils require a lot of patience, as they take much longer to dry than the better-known drying oils.
So, how do they fit into the world of oil furniture finishes?
I’m so glad you asked! Let’s take a deep dive into what these oils are, when, where, and how to use them!
THIS POST CONTAINS AFFILIATE LINKS TO PRODUCTS. IF YOU PURCHASE PRODUCTS THROUGH THESE LINKS, THEN I MAY RECEIVE A SMALL COMMISSION AT NO COST TO YOU.
I ONLY RECOMMEND PRODUCTS THAT I USE AND/OR HAVE RESEARCHED AND WOULD USE.
What are Semi-Drying Oils?
Semi-drying oils are plant-based oils that partially harden when exposed to air. Unlike drying oils (like tung or boiled linseed oil) that polymerize (form a cross-linked bond) into a hard film, semi-drying oils undergo slower, incomplete oxidation. This means they remain slightly soft and flexible over time, giving your piece a natural, low-sheen glow.
Chemically speaking, semi-drying oils contain moderate amounts of unsaturated fatty acids, especially oleic acid and linoleic acid. When exposed to oxygen, these fatty acids form weak cross-linked bonds. The oil thickens and becomes tacky, eventually creating a soft, semi-solid protective layer.
What Chemically Defines a Semi-Drying Oil:
| Characteristic | Typical Range for Semi-Drying Oils | Why It Matters |
|---|---|---|
| Iodine Value | 100–130 | Indicates degree of unsaturation; this range means partial polymerization ability. |
| Polyunsaturated Fatty Acids (PUFAs) | 30–60% (usually linoleic acid dominant) | PUFAs allow oxidative cross-linking, but not enough here to form a hard film. |
| Monounsaturated Fatty Acids (MUFAs) | 20–50% (typically oleic acid) | Stabilizes oil and slows drying; high MUFA content contributes to a softer finish. |
| Saturated Fatty Acids | 10–25% | Saturates the oil structure; reduces reactivity and drying potential. |
| Film Hardness After Cure | Soft to flexible | Forms a soft or tacky film that does not fully harden without additives. |
| Polymerization Speed | Slow to moderate (often 10–30 days or more to partially cure) | Slower oxidative drying means extended handling and reapplication windows. |
Fun Fact: Iodine value is a scientific measure of how many double bonds exist in the oil’s fatty acid chains. The more double bonds, the more reactive the oil is with oxygen (and therefore the better it dries).
Interestingly, a lot of the oils that are used for semi-drying oil finishes may already be hanging out in your pantry!
Common semi-drying oils include:
| Oil | Approx. Iodine Value | Key Fatty Acids | What Makes It Semi-Drying | Typical Cure Time |
|---|---|---|---|---|
| Soybean Oil | 120–135 | Linoleic (50–60%), Oleic (20–30%) | Moderate polyunsaturation; can oxidize partially but won’t fully harden into a solid film | 14–30 days (partial film forms) |
| Sunflower Oil | 110–135 (varies by type) | Linoleic (65%), Oleic (20%) | Oxidizes enough to become tacky or gummy, but lacks enough PUFA to fully polymerize | 10–25 days (soft, slightly tacky feel) |
| Cottonseed Oil | 104–119 | Linoleic (50%), Palmitic (25%) | Lower iodine value = less reactive; forms a flexible, soft film at best | 15–30 days (never fully hard) |
| Corn Oil | 115–130 | Linoleic (60%), Oleic (25%) | Similar to soybean oil but slightly lower reactivity; forms a semi-solid or sticky coating | 14–30 days (may stay slightly soft) |
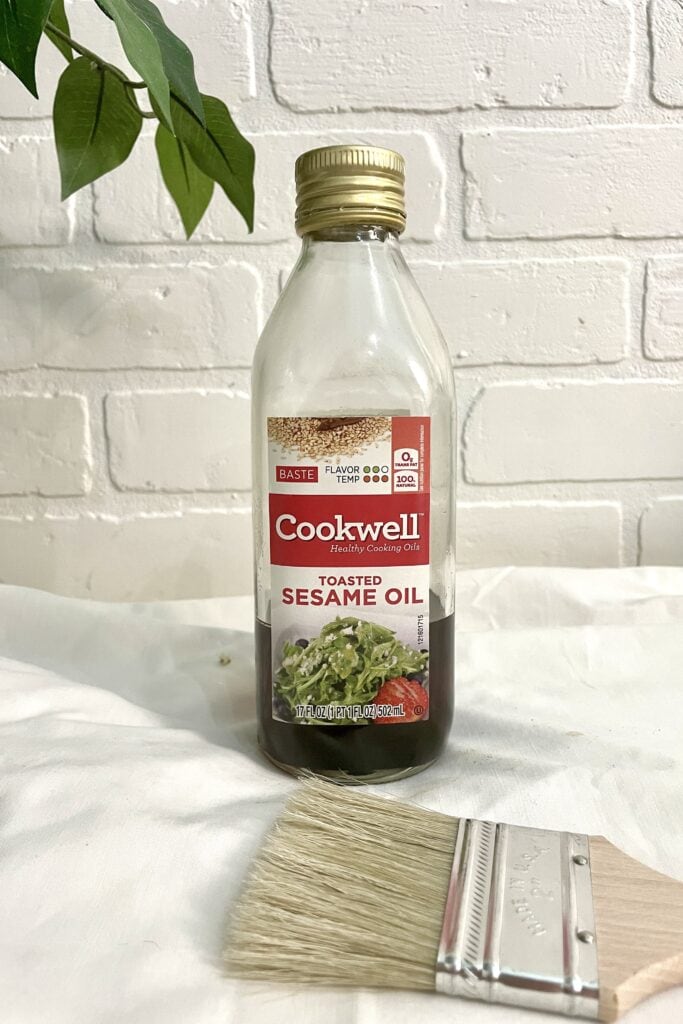
| Sesame Oil | 105–120 | Linoleic (40–45%), Oleic (35–40%) | Higher oleic content stabilizes oil; does not polymerize well, but slightly thickens with air | 10–25 days (remains soft and flexible) |
| Rice Bran Oil | 99–110 | Oleic (38–45%), Linoleic (35–40%) | Low iodine value and PUFA content limit polymerization; forms soft, pliable coating | 20–40 days (remains semi-cured) |
What’s the difference between semi-drying and drying oils?
Drying oils, like tung, boiled linseed, and hemp oil, contain higher levels of polyunsaturated fatty acids (especially linolenic acid), which allow them to fully polymerize when exposed to air. This results in a hard, durable film that protects wood from moisture and abrasion.
Semi-drying oils, on the other hand, have a lower degree of unsaturation, so they only partially harden. This results in a softer, less durable finish that may remain tacky if applied too thickly. They’re often used for low-traffic pieces or blended into commercial products for added workability and glow.
Semi-drying oils won’t offer the bulletproof shield of polyurethane, but they may be used for children’s toys to provide some degree of protection while making the toy safe for children.
A Peek Into the History of Semi-Drying Oils
Semi-drying oils have been used in both art and woodworking for centuries. While they might not get as much spotlight as their drying cousins, they’ve quietly played supporting roles in paint binders, conditioners, and even culinary tools.
It’s furniture trivia time!
- Ancient Chinese artisans used cottonseed oil in lamp lighting and waterproofing as early as the Tang Dynasty.
- Sunflower oil became popular in Eastern Europe due to its availability and versatility—and yes, even for furniture polish!
Where and Why to Use Semi-Drying Oils
Semi-drying oils are ideal for indoor wooden surfaces that don’t require extreme water resistance or heavy-duty protection. Think: carved bowls, wood spoons, children’s toys, or anything you want to keep looking soft and natural.
| Where It Shines | What’s to Love | What’s Not to Love |
|---|---|---|
| Small furniture, carvings, wood decor | Easy to apply and beginner-friendly | Not suitable for high-traffic or outdoor pieces |
| Food-contact items (when food-safe certified) | Non-toxic options are available | Can turn rancid if not refined or properly stored |
| Projects needing a soft sheen | Enhances wood grain without high gloss | Requires regular reapplication |
| Budget DIY builds | Affordable and accessible | Slower curing, stays tacky if applied too thick |
Which Product is Right for You?
Ready to choose your perfect match? Here are three great drying oil options for every experience level:
Beginner: Sunnyside Refined Soybean Oil
- Pros: Food-safe, widely available, odorless, easy to apply.
- Cons: Slower to cure, may require more frequent reapplication.
Creatively Confident: Tried & True Original Wood Finish
- Ingredients: Soy and Linseed blend
- Pros: Contains semi-drying oil and polymerized linseed, beautiful matte finish.
- Cons: Long cure time, must be applied very thinly.
Pro: BioShield Herbal Oil #2
- Pros: Natural formula, enhanced with semi-drying oils and resins for better performance.
- Cons: Higher price point, longer curing time.
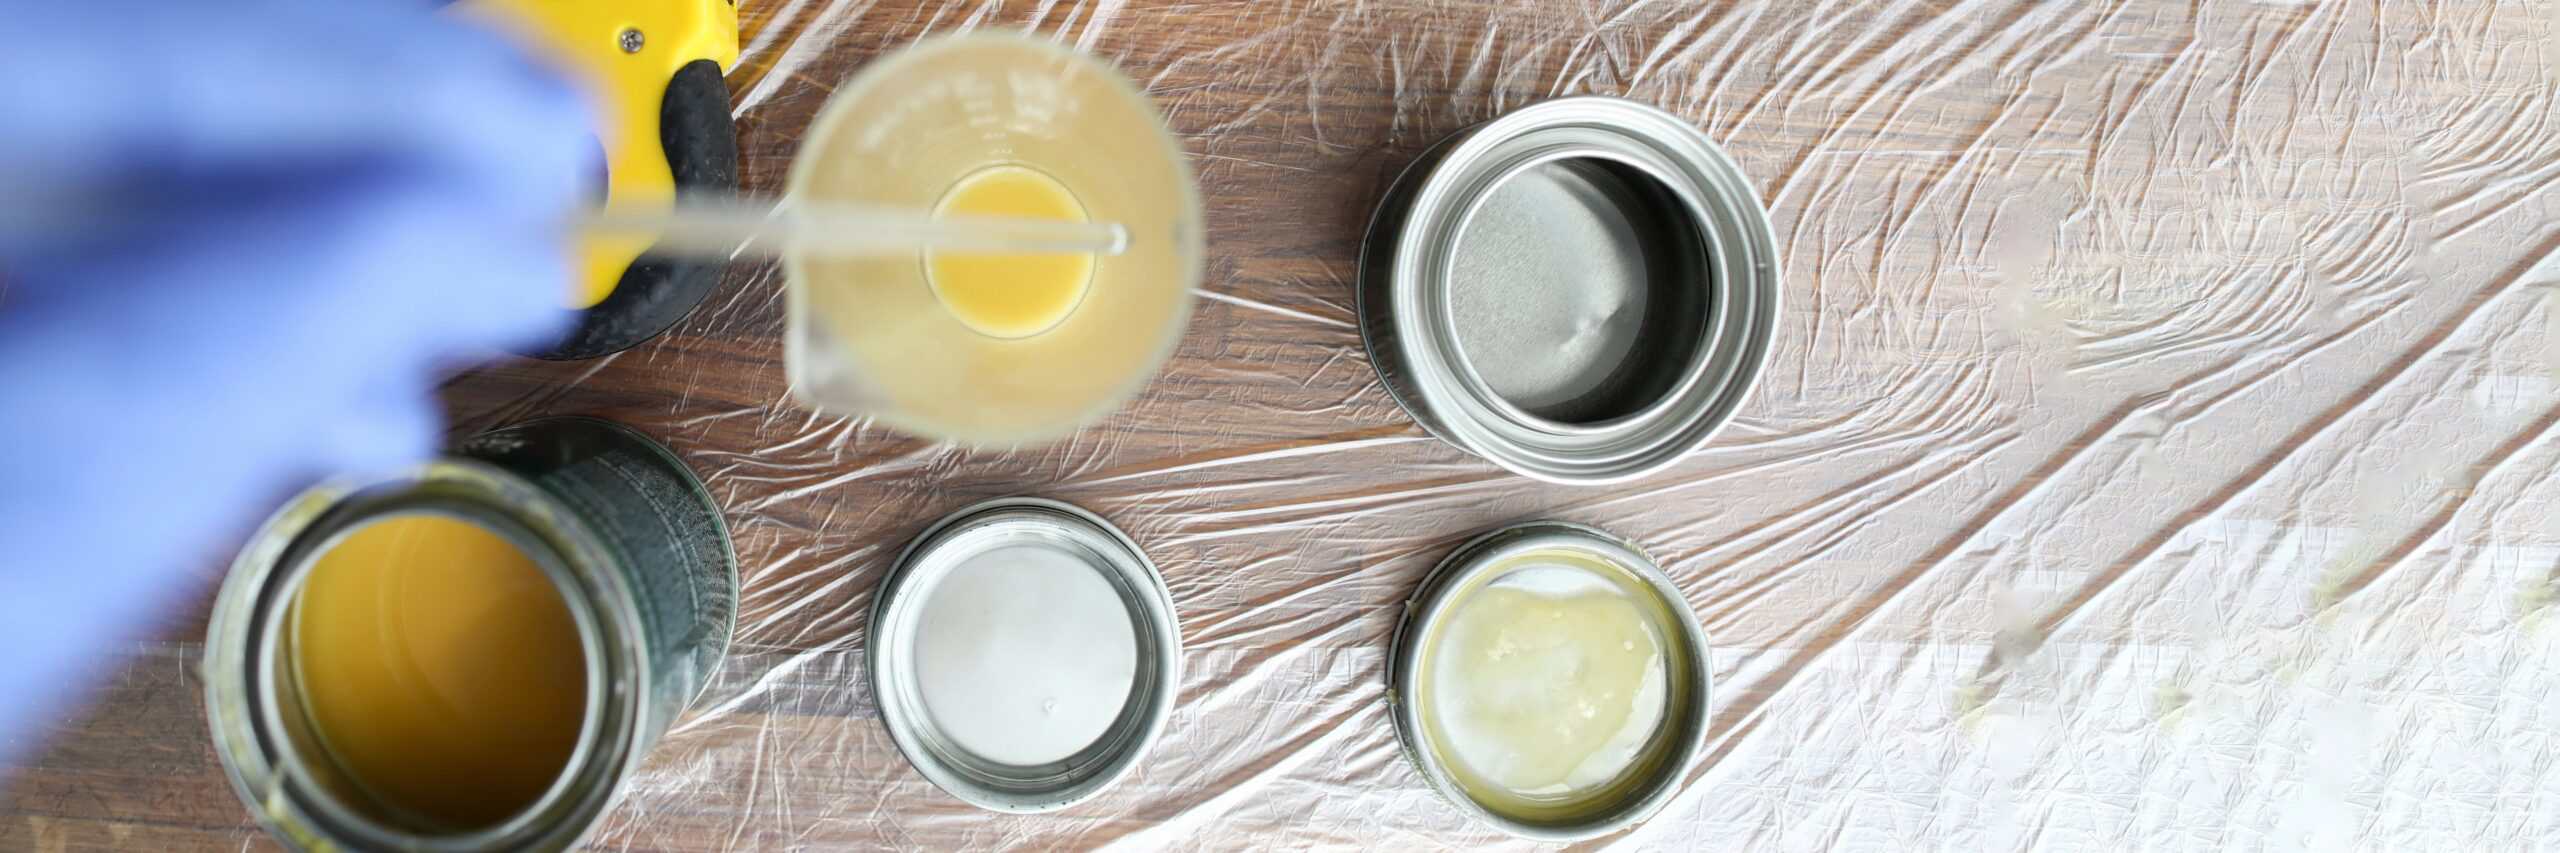
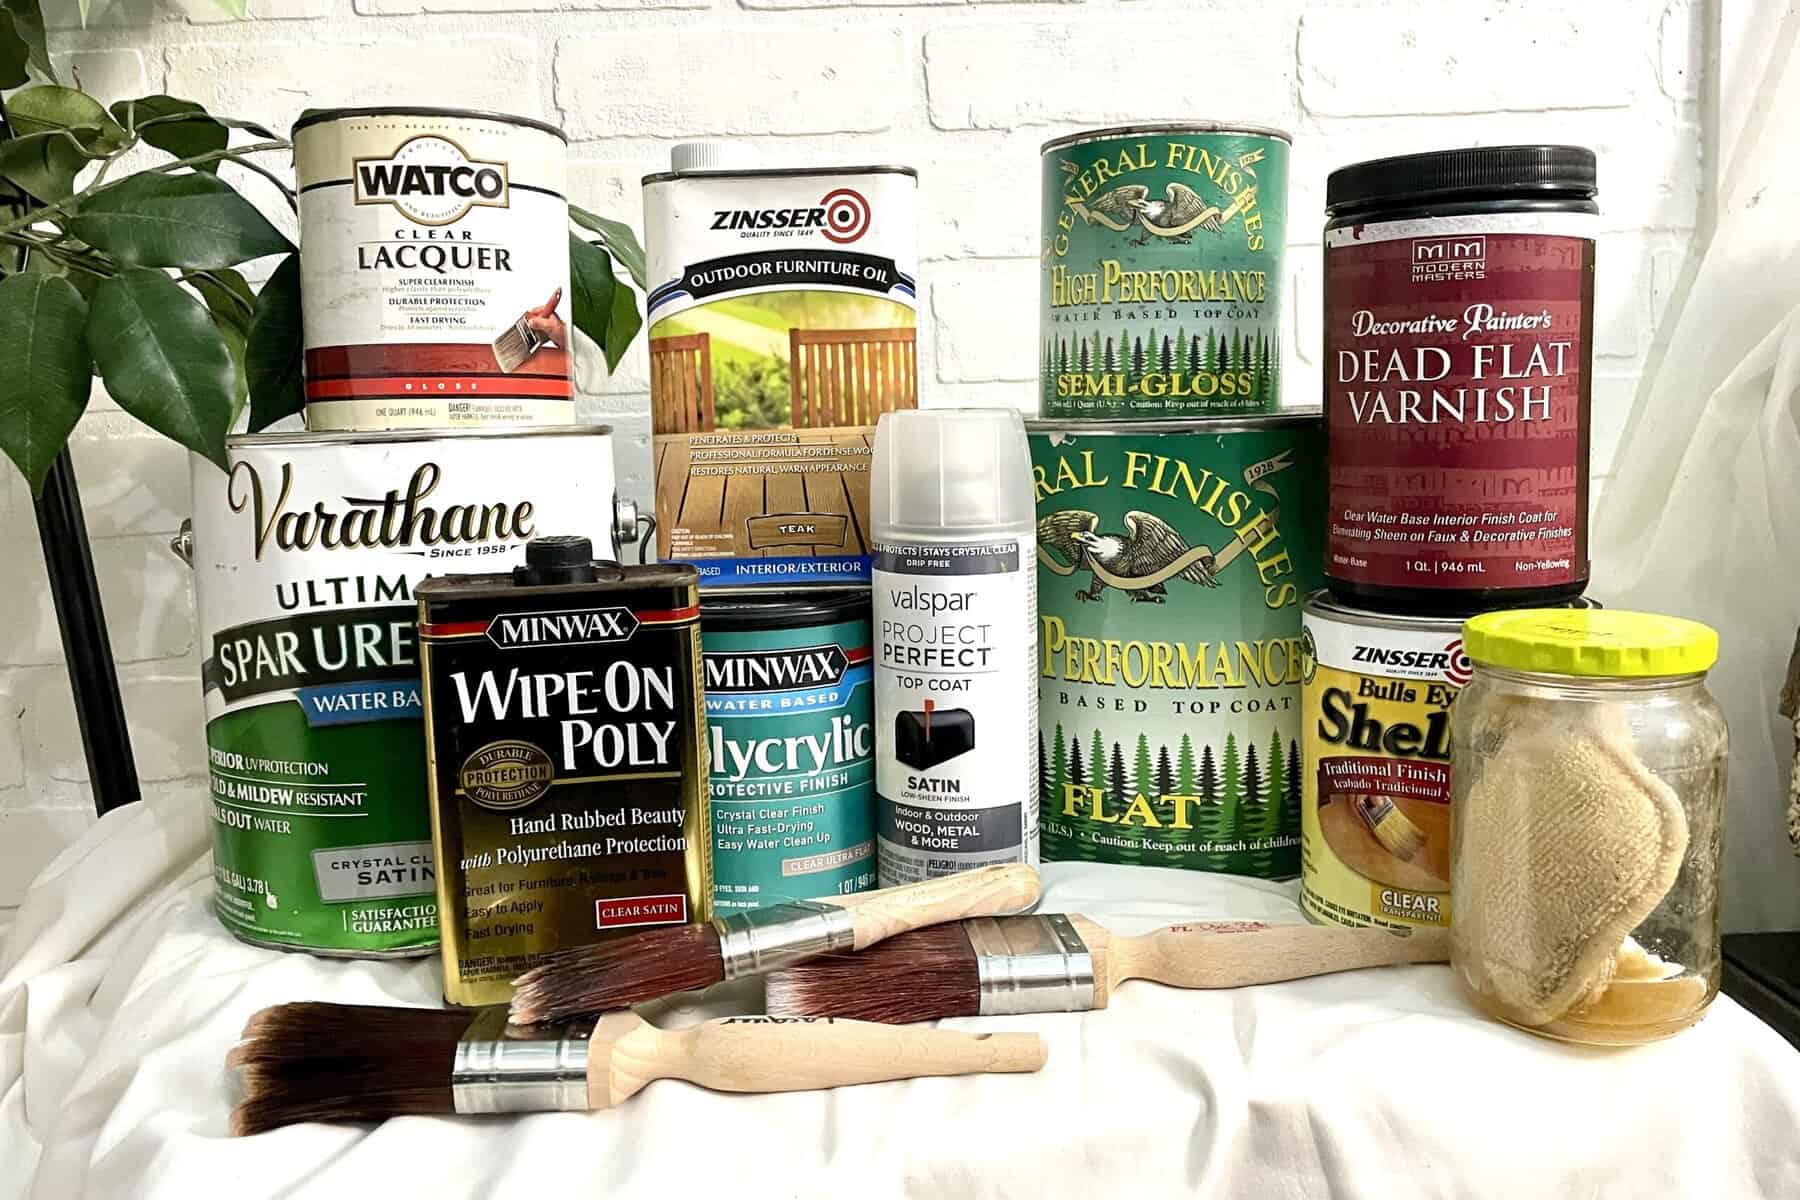
What’s in the Finishing Toolkit?
Tools
- Gloves (optional but helpful)
- Small container for pouring oil
- Well-ventilated work area
Materials
- Lint-free cloths or rags
- 220-320 grit sandpaper (for surface prep)
- Safe disposal container for oily rags
Pro Tips: Before You Begin
- Don’t skip the sanding – Smooth, open-grain wood helps the oil absorb evenly.
- Do a test patch – Every piece of wood responds differently.
- Wipe off the excess! – Leaving oil on the surface will make it tacky or gummy.
- Temperature matters – Aim for 65–75°F with low humidity.
- Store rags safely – Dry them flat or store in a metal container filled with water to prevent spontaneous combustion.
How to Apply Semi-Drying Oil Finishes
- Prep the Wood: Clean, sand, and wipe down your surface. Oils love a dust-free zone.
- Warm the Oil (Optional): Gently warming the oil (NOT boiling) can help it absorb more easily.
- Apply Thin Coats: Use a lint-free cloth, foam brush, or your hands—whatever suits the project.
- Let It Soak: Give the oil 15–30 minutes to soak in. If it drinks it up fast, apply more.
- Wipe Off the Excess: This is crucial—any oil left on the surface will stay tacky forever.
- Cure Time: Let the piece rest in a well-ventilated space. Full curing may take days to weeks.
Application Best Practices
- Go Thin, Not Thick: More thin coats = better finish. Thick layers can lead to sticky, uneven surfaces or white blotches. There’s no recovery here, the entire project has to be stripped and refinished.
- Watch the Shelf Life: Many natural oils can go rancid over time. Store them in cool, dark places in sealed containers.
- Test First: Always try a test patch before slathering oil all over your precious piece!
When and How to Refresh Semi-Drying Oil Finishes
Signs your finish needs a refresh:
- Dull or uneven surface
- Dry feel or faded color
- Water soaking in rather than beading up
To refresh without stripping:
- Clean the surface.
- Lightly sand if needed.
- Reapply a light coat and wipe off excess.
- Let it cure.
When and How to Refinish Semi-Drying Oil Finishes
Signs your finish needs a refresh:
- If it’s peeling, sticky, or damaged:
To refinish a semi-drying oil surface:
- Clean the piece thoroughly with a degreaser.
- .Use mineral spirits to break down old oil layers.
- Sand lightly to remove any blotchy patches.
- Reapply new coats as needed.
Removing a Semi-Drying Oil Finish
Removing semi-drying oil is easier than most film finishes:
- Use mineral spirits or turpentine.
- Scrub with a soft brush or rag.
- Wipe dry, then sand if necessary.
- Follow with your new finish of choice.
Common Semi-Drying Oil Finish Mistakes (And How to Fix Them)
| Mistake | Why It Happens | How to Avoid It | How to Fix It |
|---|---|---|---|
| Sticky surface | Didn’t wipe off excess oil | Always wipe thoroughly after 15–30 mins | Wipe with mineral spirits and start over |
| Uneven finish | Uneven sanding or absorption | Sand evenly and apply thin coats | Lightly sand and reapply another thin coat |
| Rancid smell | Oil went bad in storage or on the piece | Use refined oils and store in airtight containers | Strip and refinish using fresh oil |
| Dark or blotchy patches | Applied too thick or didn’t wipe excess | Thin coats, wipe, repeat | Strip patch, re-sand, and re-oil |
Caring for Your Finish
- Dust regularly with a dry or slightly damp cloth.
- Avoid harsh chemicals or soap-based cleaners.
- Reapply a fresh coat every 6–12 months depending on use.
- Keep away from direct heat or sunlight.
Frequently Asked Questions About Semi-Drying Oils
Q: What’s the difference between drying, semi-drying, and non-drying oils?
A: Great question! It all comes down to how well the oil hardens (or polymerizes) when exposed to air.
- Drying oils (like tung or boiled linseed) fully harden and form a protective film. There is no danger of the oil turning rancid.
- Semi-drying oils partially harden and leave a soft, protective sheen. These must be reapplied if the wood surface is washed, to add more oils to the surface and prevent the oil from becoming rancid.
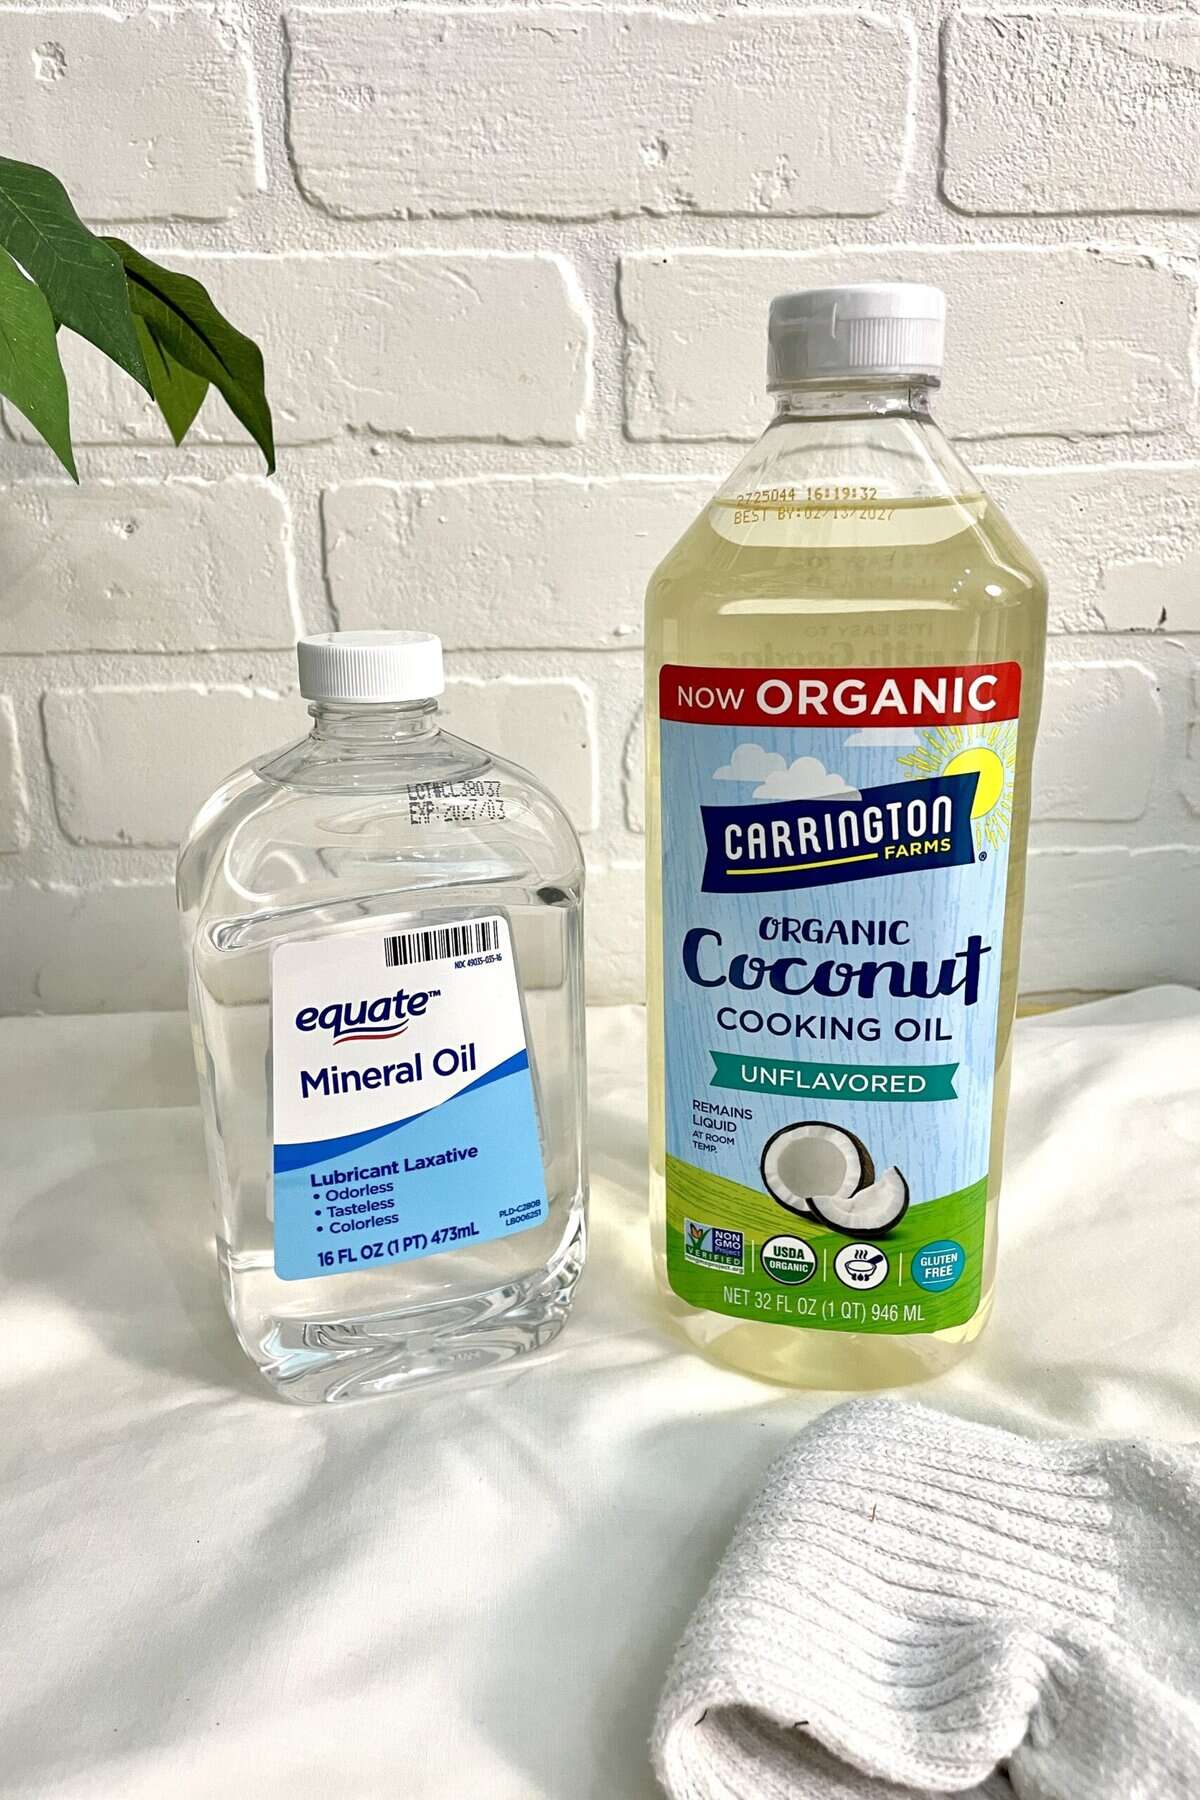
- Non-drying oils (like mineral oil) never dry—they stay oily forever and need frequent reapplication.
Q: Can I use semi-drying oils on kitchen items?
A: Yes—but with care. Only use food-safe, pure oils like refined walnut or sesame oil. Avoid oils that can turn rancid quickly, unless you’re prepared to reapply regularly.
Q: Why is my oil finish sticky days after application?
A: Oops! That’s probably excess oil left on the surface. Semi-drying oils don’t evaporate—they cure through oxidation. Always wipe off the extra oil after letting it soak for 15–30 minutes.
Q: Can I mix different oils together?
A: Sometimes. Many commercial oil finishes are blends. Just be aware that mixing oils can affect drying times and finish hardness. Applying a drying oil over a semi-drying oil before the semi-drying oil is cured, can result in the semi-drying oil never fully curing. Remember, these oils take time to dry. When in doubt, do a small test before committing to the whole project.
Q: How many coats should I apply?
A: Three to four light coats usually do the trick. Let each one fully cure (24–48 hours or more) before applying the next for best results.
Q: Is semi-drying oil a good choice for outdoor furniture?
A: Nope. Semi-drying oils are better for indoor projects. For outdoor pieces, blend with varnish or use a dedicated outdoor-grade finish for long-lasting protection.
Final Wrap: Why Choose Semi-Drying Oils?
Semi-drying oils are easy to use, beautifully natural, and full of charm. While they may not offer bulletproof durability on their own, they’re perfect for projects where warmth, depth, and a handcrafted touch are the star of the show.
Got a children’s toy that needs a food-safe finish, or a salad bowl yearning for a gentle glow? Semi-drying oils might be the perfect fit! Just keep an eye on the humidity levels and plan lots of time for drying and curing between coats so you can avoid creating a sticky mess.
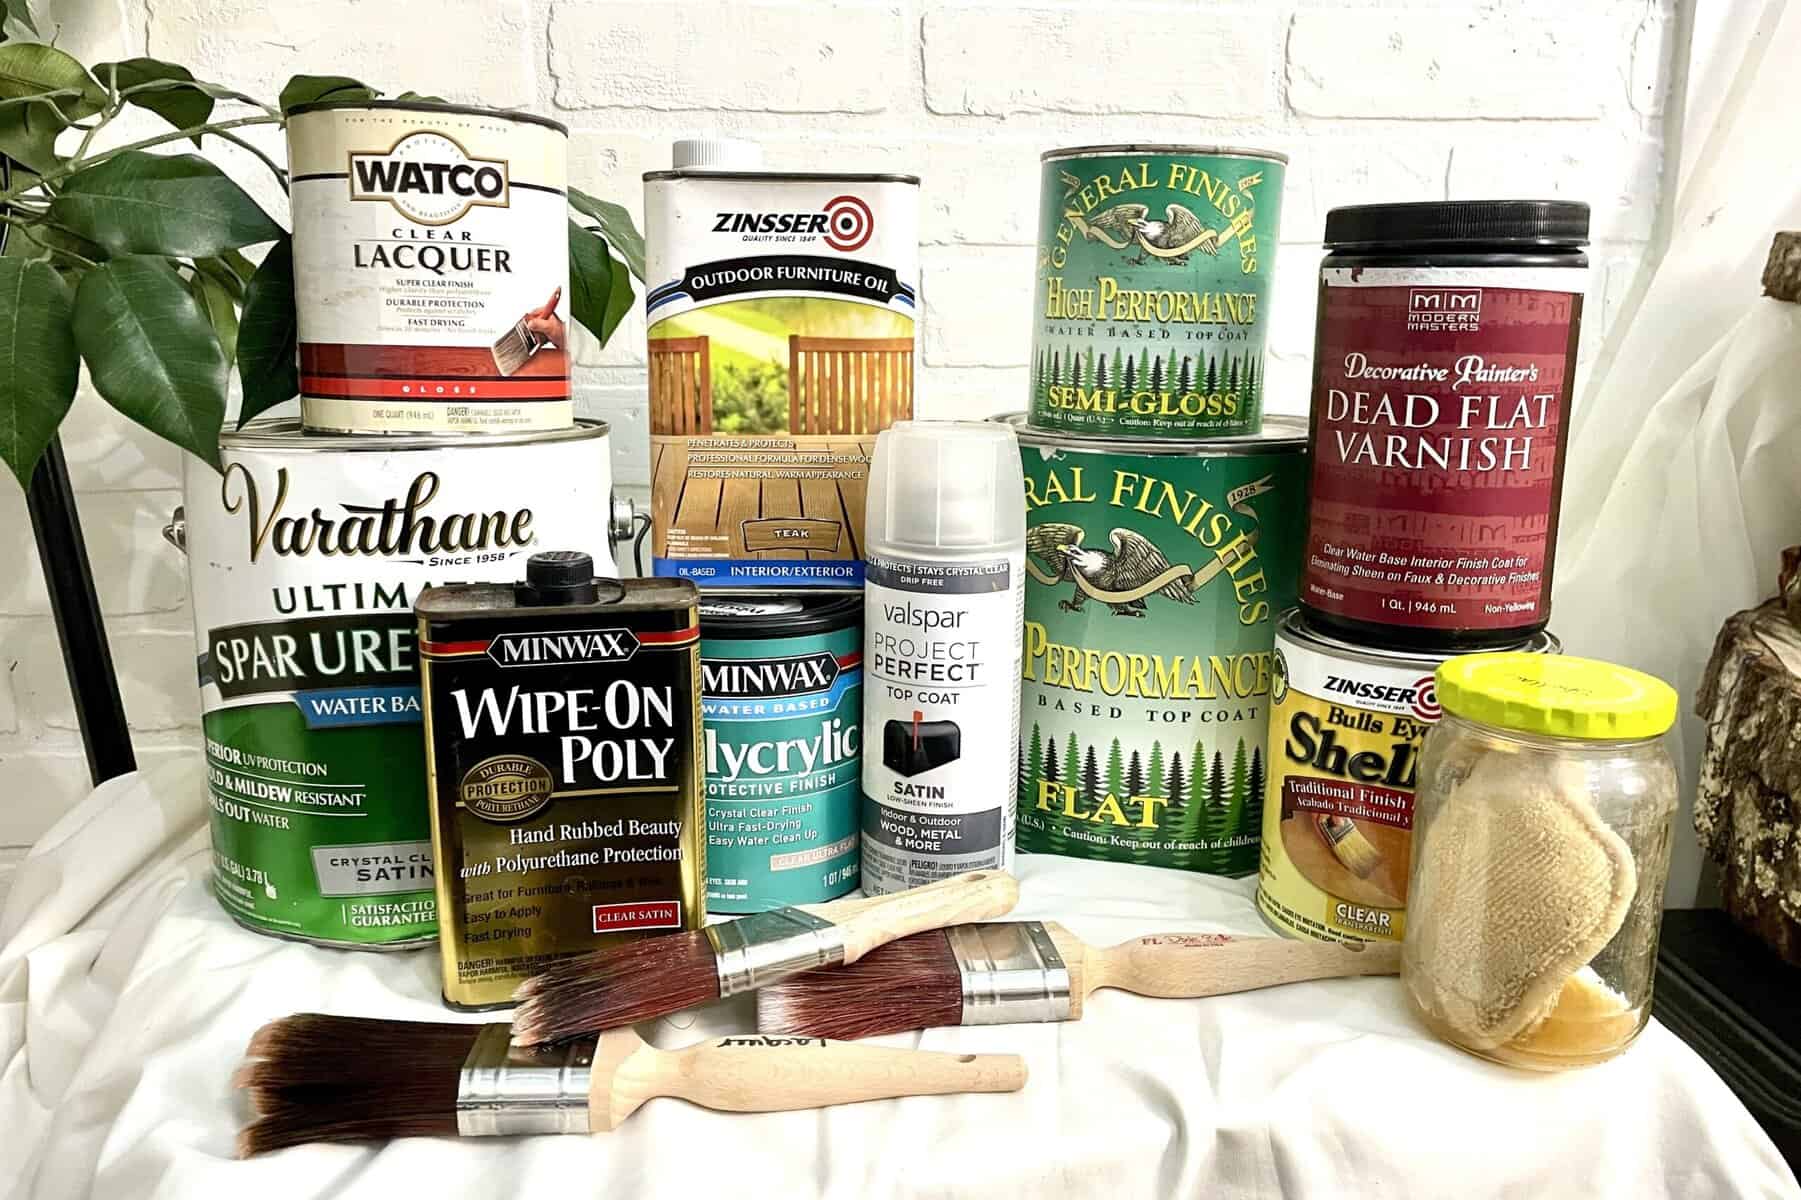
Are you thinking that semi-drying oils might not be the right finish for your project? Check out these posts on drying oils and varnishes. I’m sure we can help you find your perfect finish fit!
Thank you so much for stopping by! I hope this information helps you with your next project. Drop a comment below and let me know if you have any questions or tips from your adventures with semi-drying oils!
Until next time, have a beautiful and blessed day!

Don’t forget to sign up so you hear all about the next misadventure! Until then, you may also like this Magazine Rack makeover or this Dresser upcycle.