How to Repair Chipped Veneer Using Burn-In Wood Filler
Chipped veneer is like a hangnail. It’s just waiting to snag on something and turn into a giant gash that will hurt even worse. There are a lot of resources out there for how to repair chipped veneer for painting, but what if you want to keep the original stained wood look?

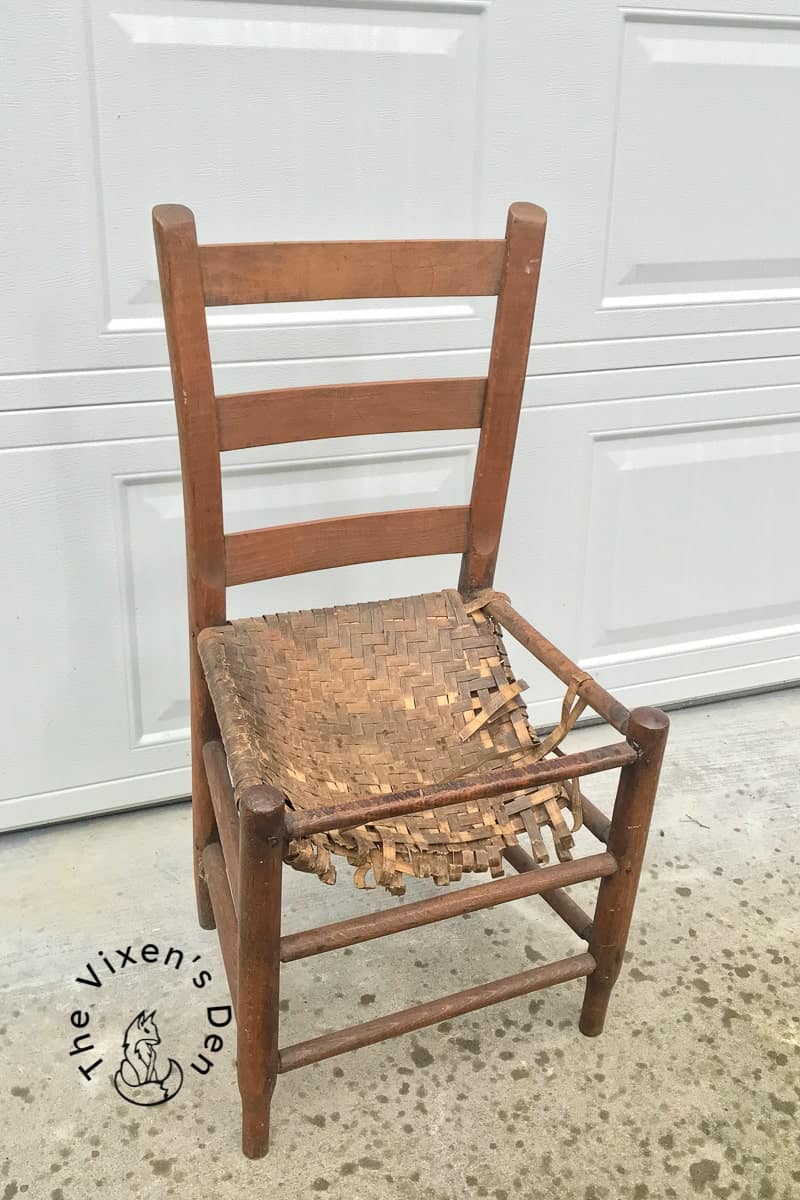
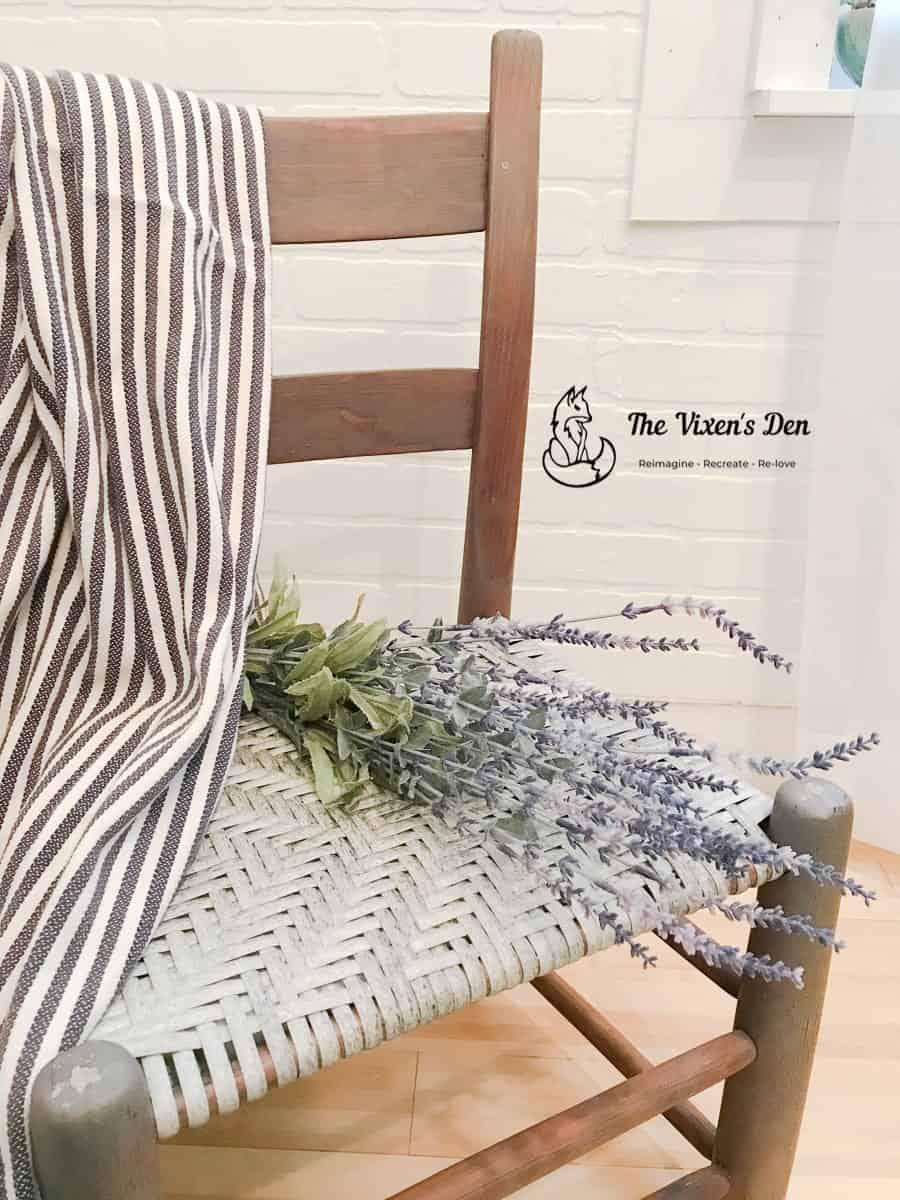
I’ve used wood fillers in the past, such as in this ladderback chair makeover, but I’ve always had difficulty getting the wood filler to take stain and match the surrounding wood. In this post, I’m exploring using a new-to-me product called “hard” wood filler. Before we jump into all the details, here’s some obligatory legalese:
THIS POST CONTAINS AFFILIATE LINKS TO PRODUCTS. IF YOU PURCHASE PRODUCTS THROUGH THESE LINKS, THEN I MAY RECEIVE A SMALL COMMISSION AT NO COST TO YOU.
I ONLY RECOMMEND PRODUCTS THAT I USE AND/OR HAVE RESEARCHED AND WOULD USE.
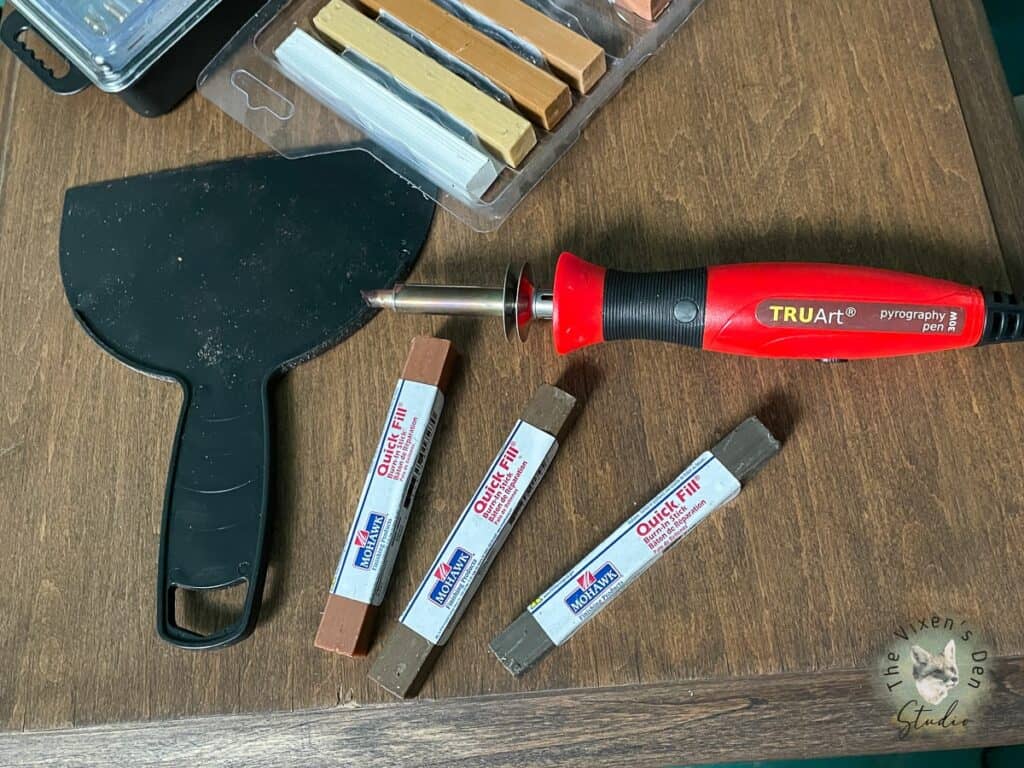
Tools and Materials
Tools
- Clamp or very heavy books
- Rag
- TruArt Pyrography Pen
- Plastic scraper
- Dixie Belle Mini Angle Brush
Materials
- Titebond wood glue
- Painter’s tape
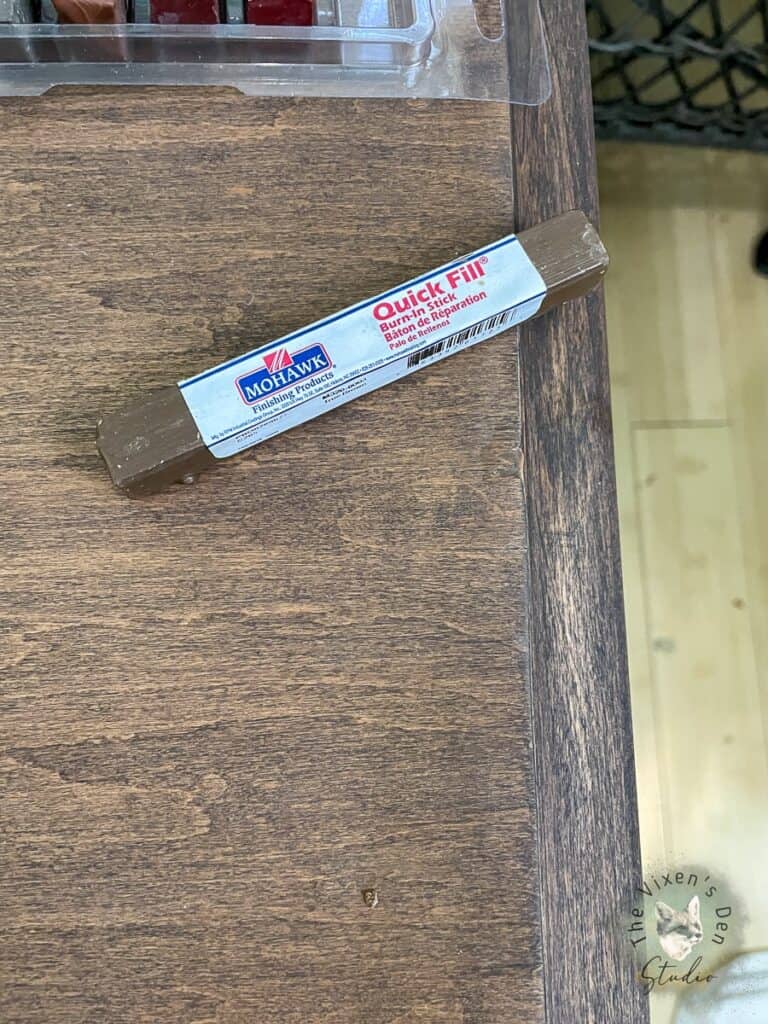
- Mohawk Quick Fill Burn-In Sticks
- Buffing pad
- Dixie Belle Clear Coat – Flat
Cleaning & Prepping
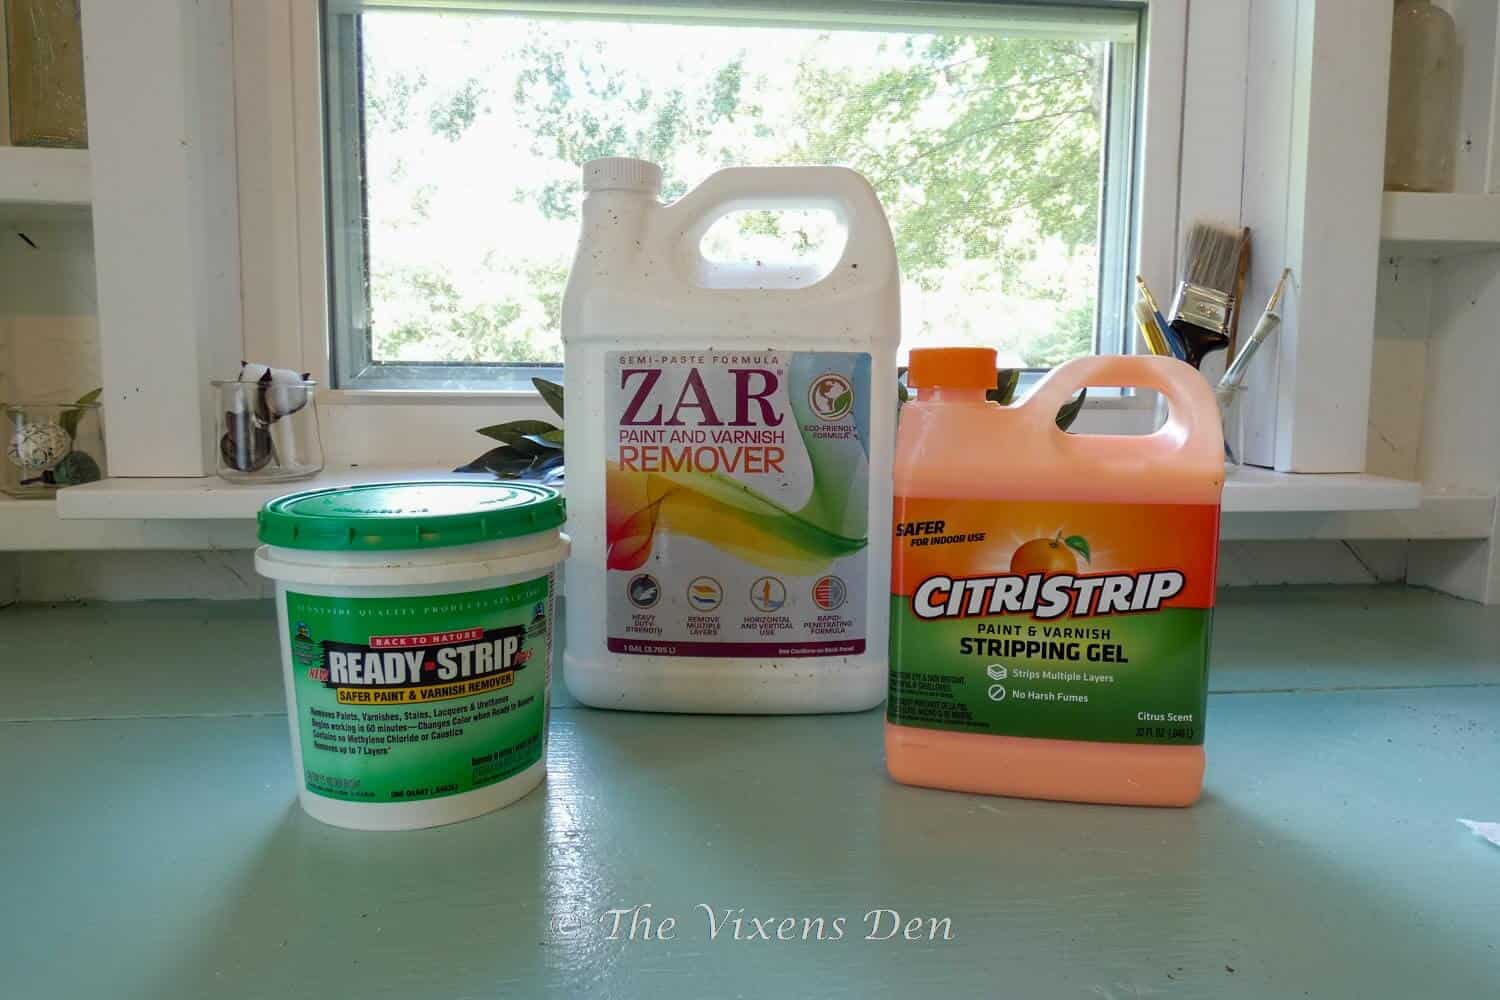
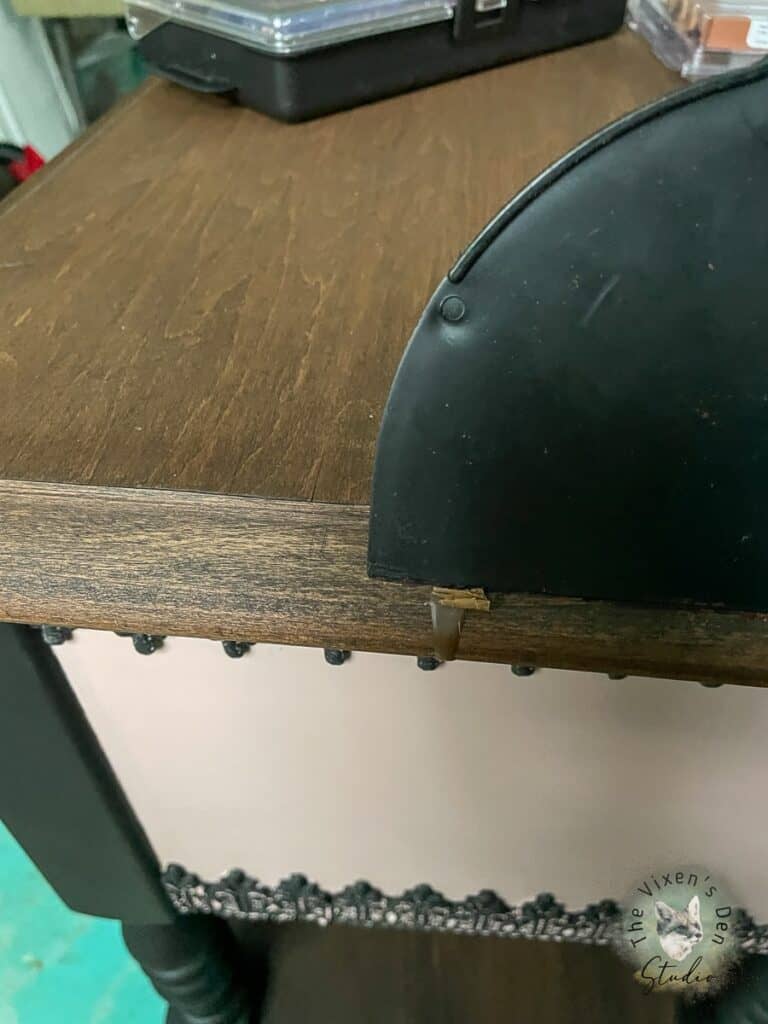
This end table was completely cleaned, stained, and sealed in this post. During the prep process, I used Var furniture finish remover to take off the factory finish. While removing the finish, I discovered that the tabletop veneer was loose, when the stripping pad snagged the edge.
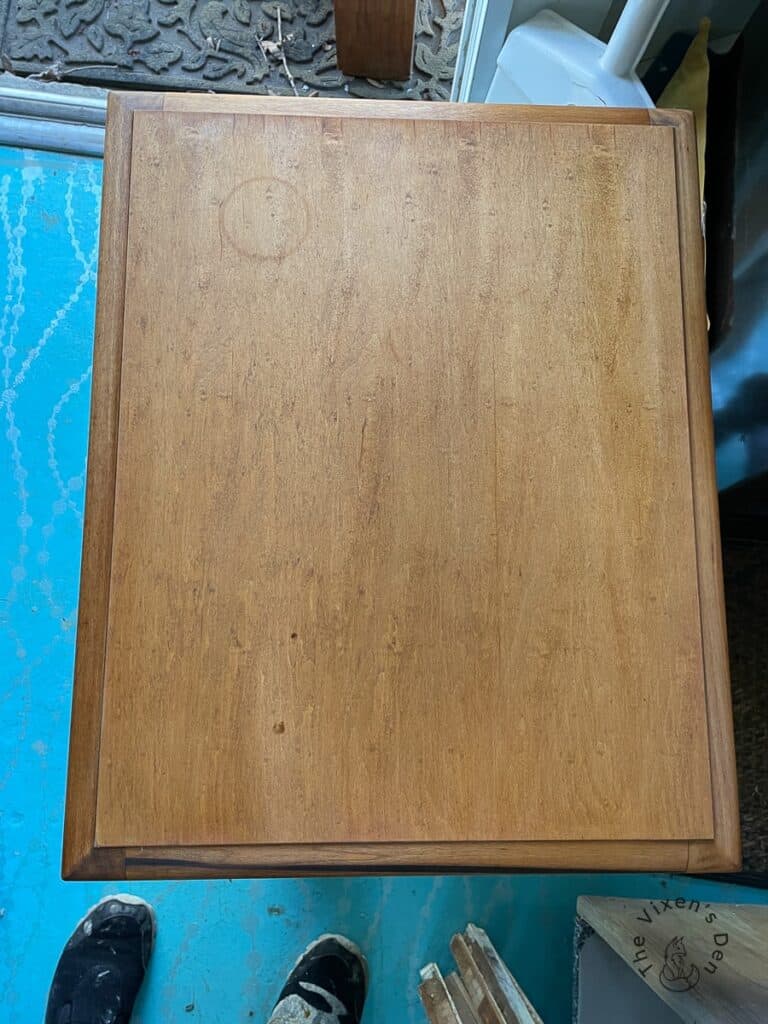
I squeezed some Titebond wood glue into the open seam and clamped the surface down, wiping away any excess that squeezed out with a rag. This worked very well, but there was still a small chip missing from the edge. I decided to wait and repair it after I figured out how I wanted to finish the tabletop.
(Sometimes these pieces of furniture have a mind of their own and my original plan is completely thwarted by what they have in mind!)
Deciding on a Veneer Repair Product
As I mentioned, there are a lot of options for filling chipped veneer. There are two primary categories:
- Wood Fillers
- Wood Putties
Here’s a quick overview of the pros and cons for each product so you can see why I chose the product that I ultimately used:
Wood Fillers
I’ve used wood fillers in the past, but have never been able to get them to look like the surrounding wood, even when they are listed as “stainable.” Wood fillers come in two primary options:
Water-based wood fillers – wood particles suspended in water:
Pros
- less odor
- dry quickly
Cons
- tend to shrink when they dry
- can be reactivated by water
Common Brands
- Minwax Stainable Wood Filler
- Elmer’s Wood Filler
Petroleum/solvent-based wood fillers – wood particles suspended in petroleum:
Pros
- does not reactivate with water
- great for exterior repairs
Cons
- stinkier
- dries more slowly
- does not stain evenly
Common Brands
- Dap Plastic Wood
- Bondo
I’ve tried each of these wood fillers, along with the trick of combining sawdust with wood glue to create my own cheap wood filler. I just haven’t had luck with creating a wood filler that’s truly stainable. With that in mind, I decided to see if there were any other products out there that would help me match the wood colors better. That’s when I learned about wood putties.
Wood Putties
Wood putties also have options (which is nice, because I like options!) They include:
- Two-part epoxies
- Soft wax sticks
- Hard filler sticks
Two-part epoxies:
Pros
- less odor
- dry quickly
Cons
- requires sanding
- doesn’t accept stain easily or evenly
Common Brands
- Kwikwood
Soft wax sticks:
Pros
- minimal odor
- no drying time
- no sanding dust
Cons
- waxy surface – recommend sealing
- requires leveling
- cannot be sanded
Common Brands
- Guardsman
Hard wax sticks:
Pros
- fills large gaps quickly and easily
- dry quickly
- no sanding dust
Cons
- some odor
- requires leveling
- waxy surface – recommend sealing
Common Brands
- Mohawk
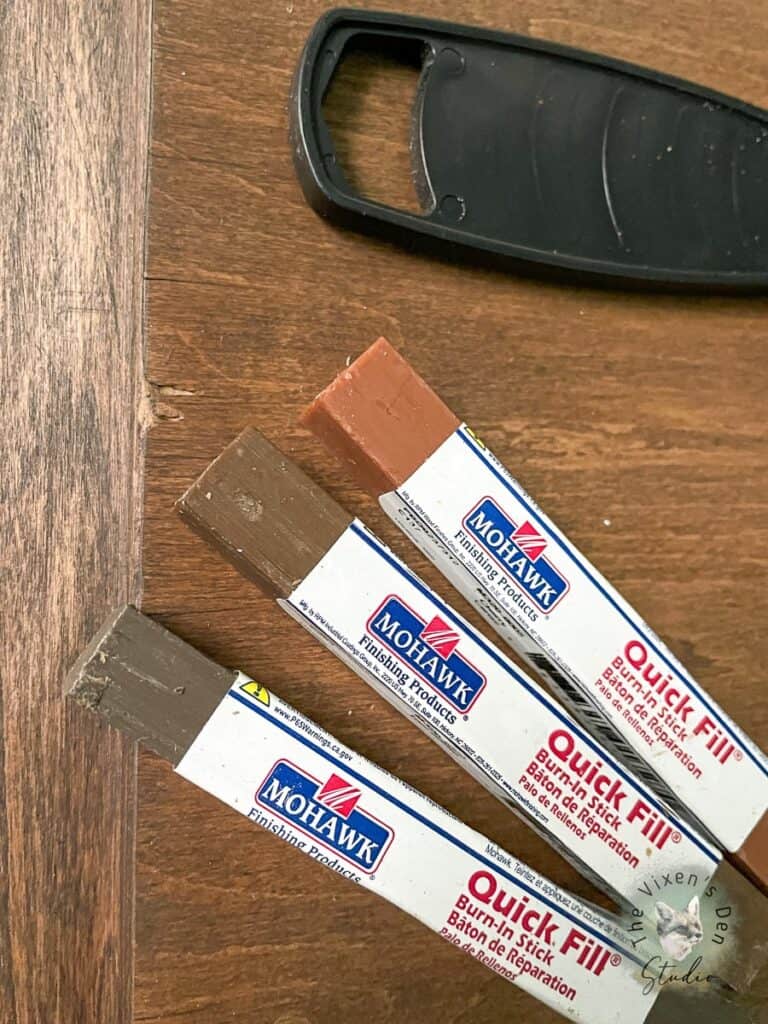
I’ve used both the two-part epoxy and soft wax sticks before. Those were good for different types of repairs but didn’t seem the best for filling a small chip in veneer on a tabletop surface. So, I ordered a set of Mohawk Hard Fill Burn-In sticks and a TruArt pyrography pen.
Applying Hard Wood Filler
This has to be the easiest wood filler to apply. All that I had to do was plug in the TruArt Pyrography Pen and let it heat up. Then I held the wood filler stick in one hand and the burning tool in the other over the top of the damaged veneer. I touched the end of the tool to the filler for just a few seconds until the filler melted and a drop fell into the hole in the veneer.
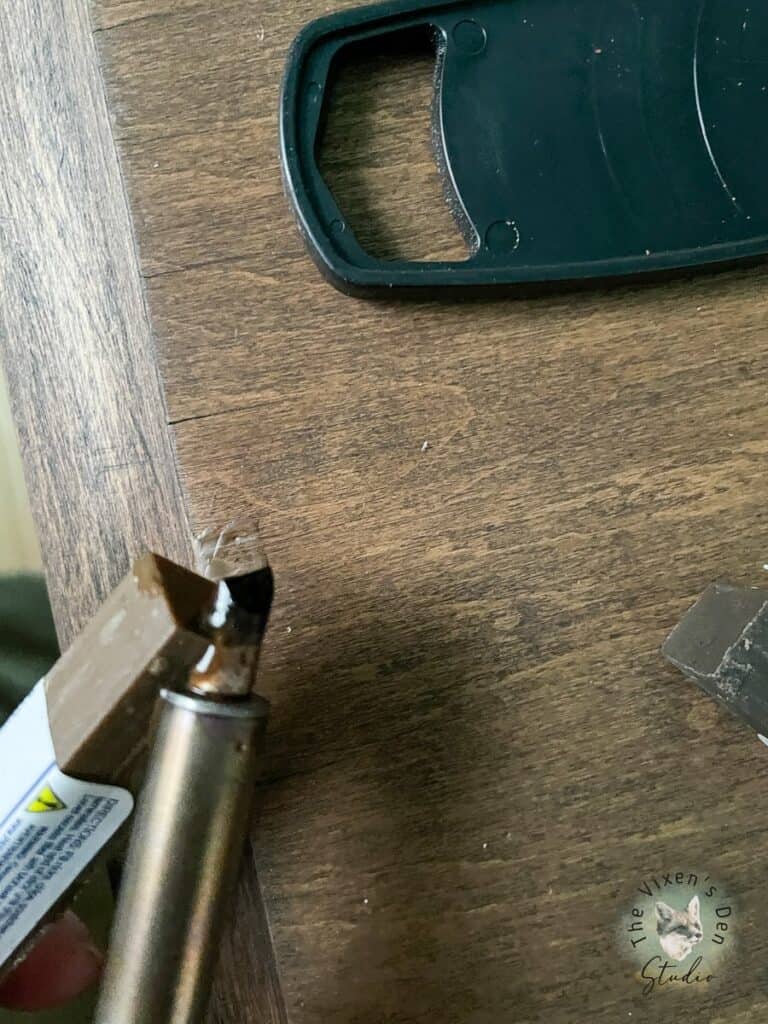
I then used the tip of the pyrography pen to level the filler and spread it into any gaps it might have missed. I found another gap under the veneer, so I turned the table on its side and repeated the same step, dripping wood filler into the gap under the veneer. (I don’t have any pictures of that step, because it was a little challenging to photograph by myself!)
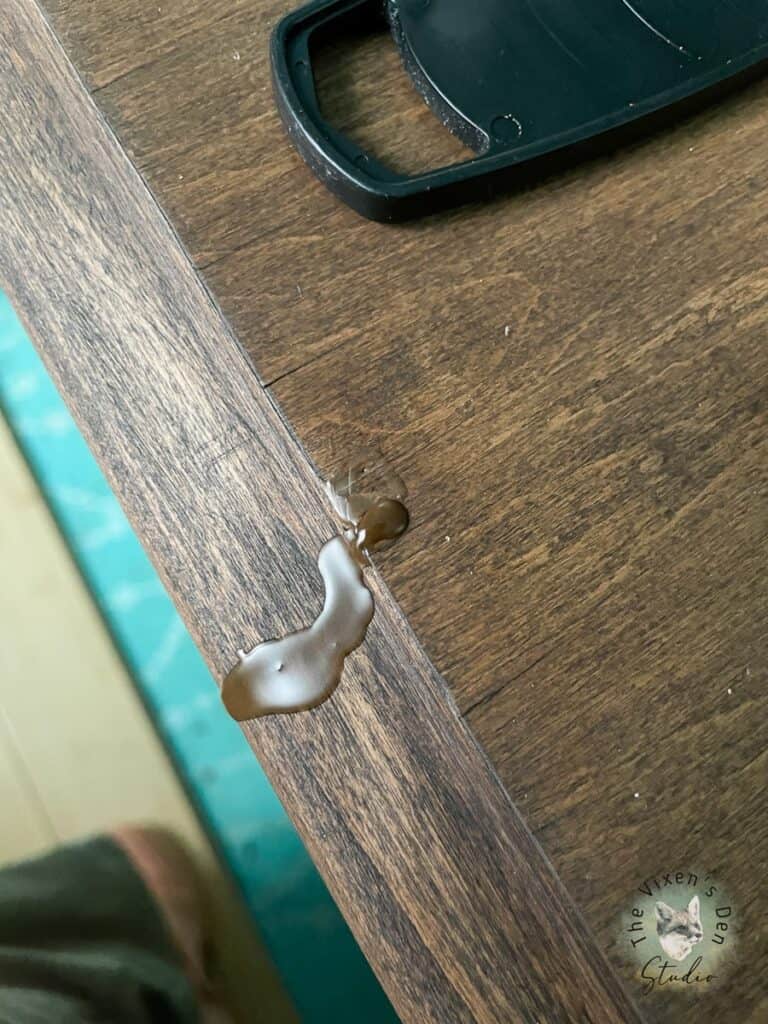
It looks a bit messy, doesn’t it? Don’t worry, it cleans up nicely. The wood filler hardens instantly, so there’s no waiting time to move on to the next step: scraping off the excess with a plastic scraper.
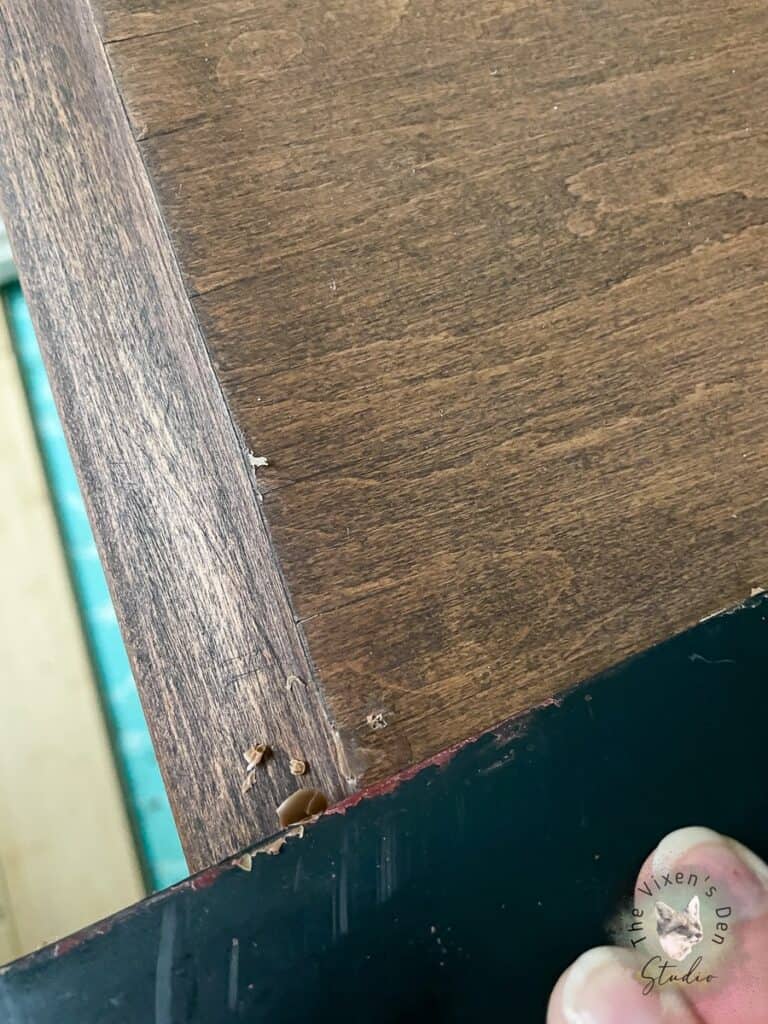
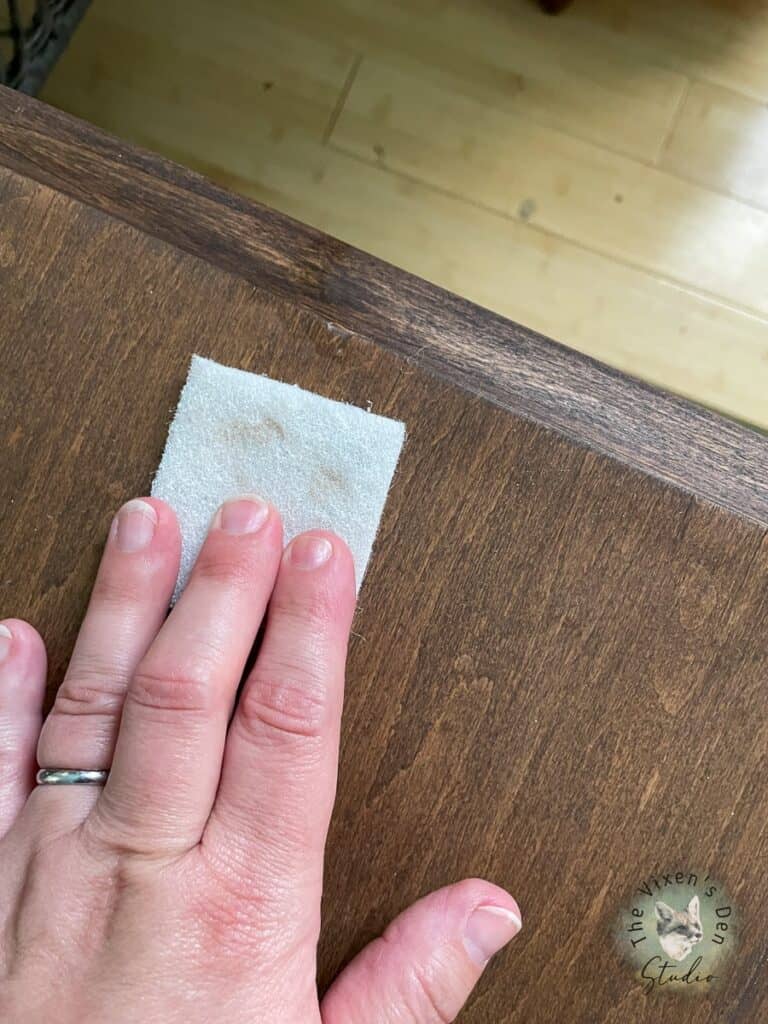
The plastic scraper did a fantastic job of leveling and removing the excess wax. To ensure that excess wax was completely removed from the wood surrounding the repair, I went over it with a buffing pad.
And that’s it for filling the wood! The filler that I chose matched the wood perfectly, so I didn’t have to mix colors or touch it up with a furniture marker. The only part that wasn’t so great, was the fact that the burn-in filler had more shine to it than the surrounding wood. This is because the filler contains wax. The next step evens out the shine to match the wood.
Applying Sealer
To match the rest of the finish, I used Dixie Belle Clear Coat in Flat. It provides a true matte finish while protecting the surface of the wood. This allows the beautiful grain to be the focal point of the tabletop.
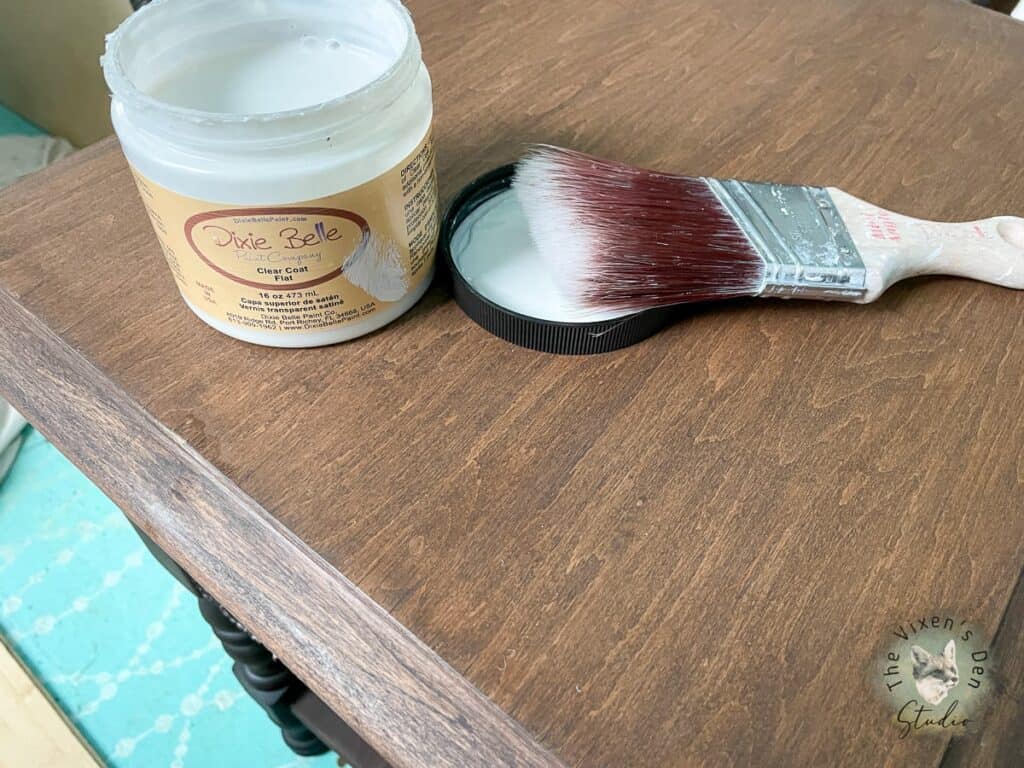
I brushed on two coats with my favorite brush, the Dixie Belle Mini Angle, allowing an hour to dry in between.
Final Reveal
I love how easy it was to create a professional-looking repair! By matching the right wood filler color to the wood, I was able to complete the repair in less than an hour! These Mohawk burn-in wood fillers provide so many different colors as well as the ability to blend multiple colors to create the perfect color match for any piece.
Thank you so much for stopping by! Check out the other amazing projects at the link parties below. I know the hostesses will appreciate your visit and comments.
Until next time, have a beautiful and blessed day!


Don’t forget to sign up so you hear all about the next misadventure! Until then, you may also like this Magazine Rack makeover or this Dresser upcycle.