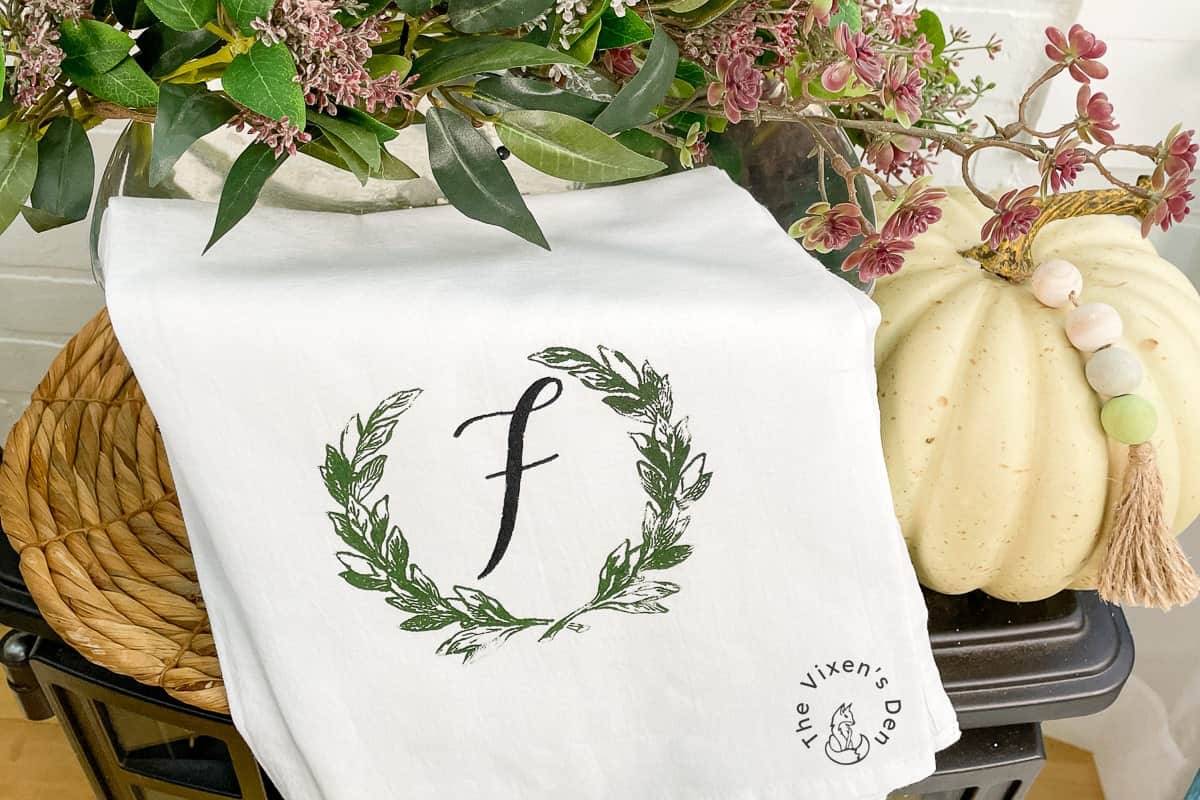
DIY Stenciled Monogram Flour Sack Towel
Are you hosting a dinner this holiday season? Or do you need a unique gift for someone who loves to spend time in the kitchen? Add a personal touch to the kitchen with a stenciled monogrammed flour sack towel!

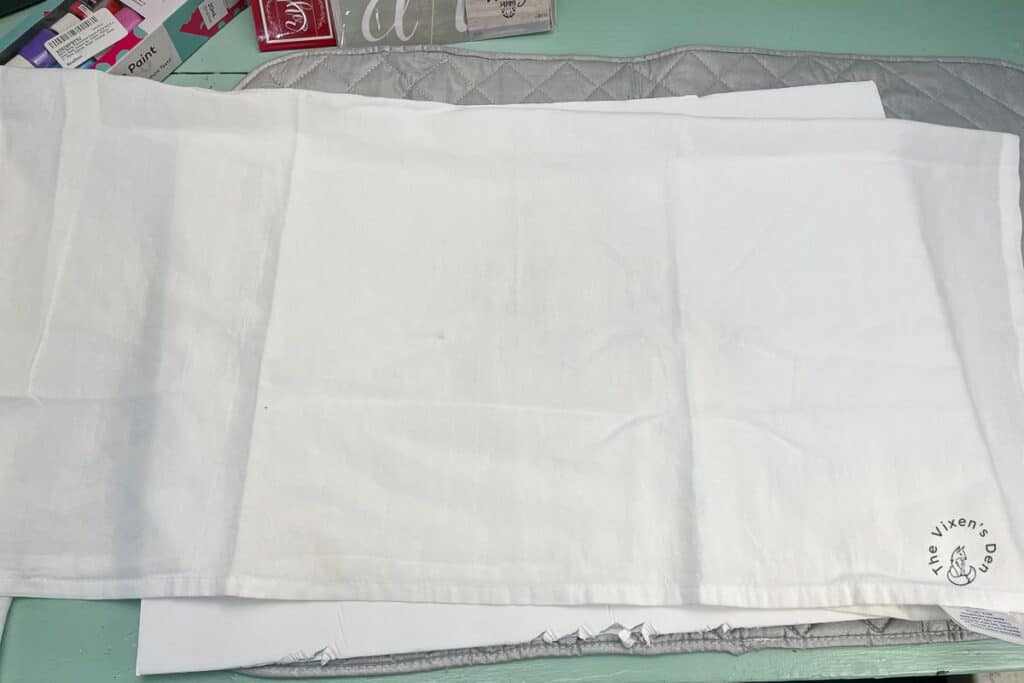
Flour sack towels are just lovely! They dry dishes so quickly, and because they are thinner than regular towels, they also dry out faster. They are called “flour sack” towels because they were originally created from the fabric that was used to ship flour. These days, you can find them in the kitchen section of your favorite store.
This easy DIY requires only a few simple items and two days to make. With so many customizable options, you can create one for all of your favorite hosts and hostesses!
THIS POST CONTAINS AFFILIATE LINKS TO PRODUCTS. IF YOU PURCHASE PRODUCTS THROUGH THESE LINKS, THEN I MAY RECEIVE A SMALL COMMISSION AT NO COST TO YOU.
I ONLY RECOMMEND PRODUCTS THAT I USE AND/OR HAVE RESEARCHED AND WOULD USE.
Tools and Materials
Materials
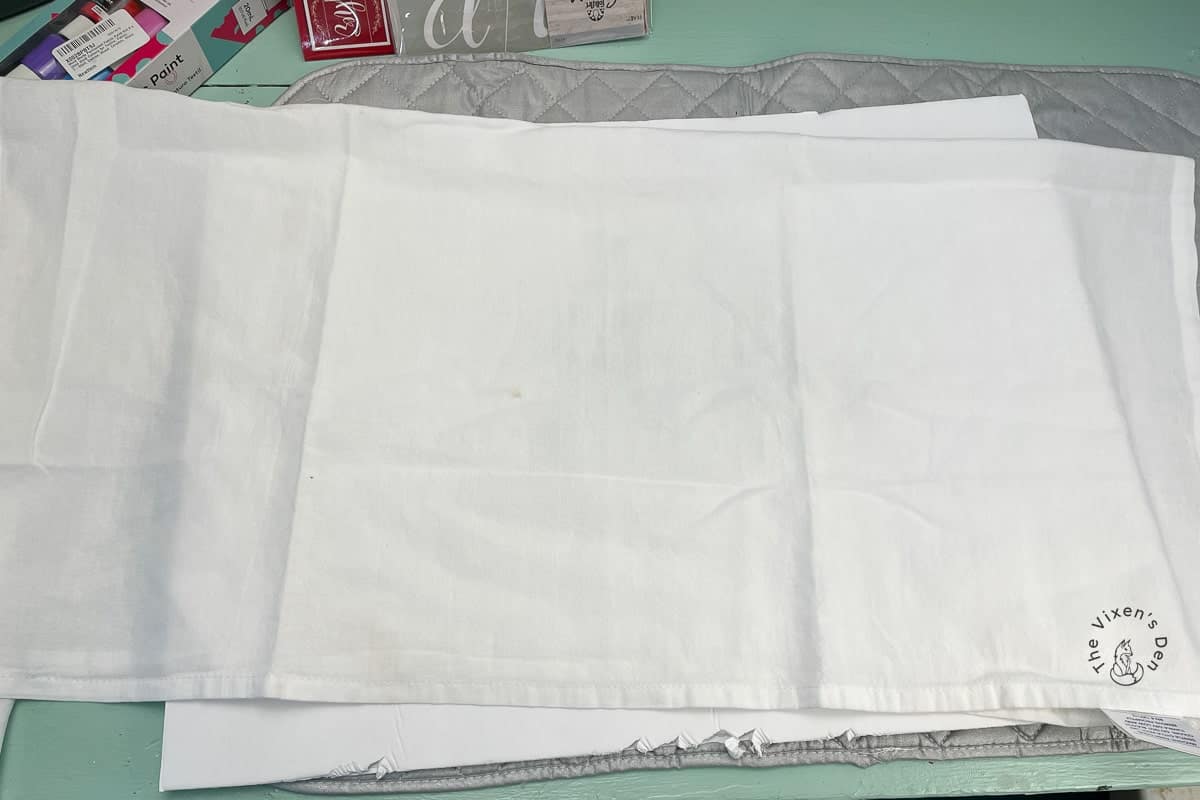
- Flour sack towels
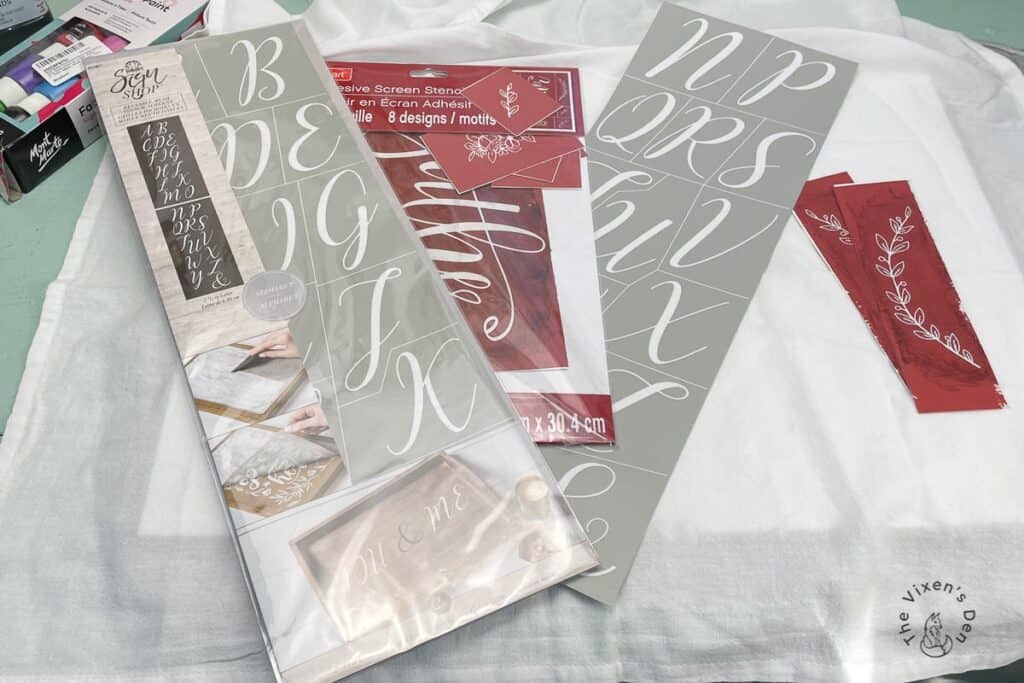
- Stencils
- Painters tape
- Cardboard
- Fabric paint
- Pie tin or paper plate
Prepare the Flour Sack Towels
It’s a good practice to always wash the fabric you’re working with before you start creating. This allows the fabric to shrink before any designs are added. I’m a rebel, so I always wash the fabric at the hottest temperature that I think might be used. This ensures there aren’t any surprises for the gift recipient if they throw their towels in the wash in a hot setting.
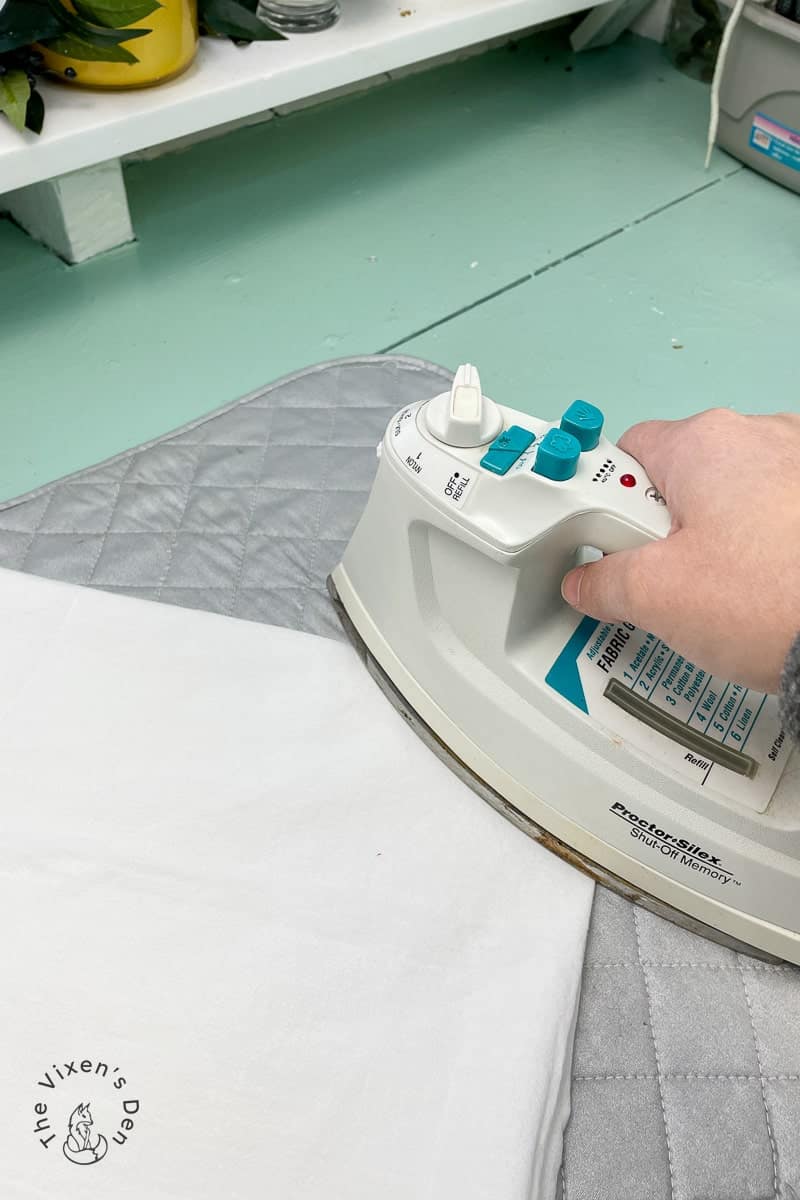
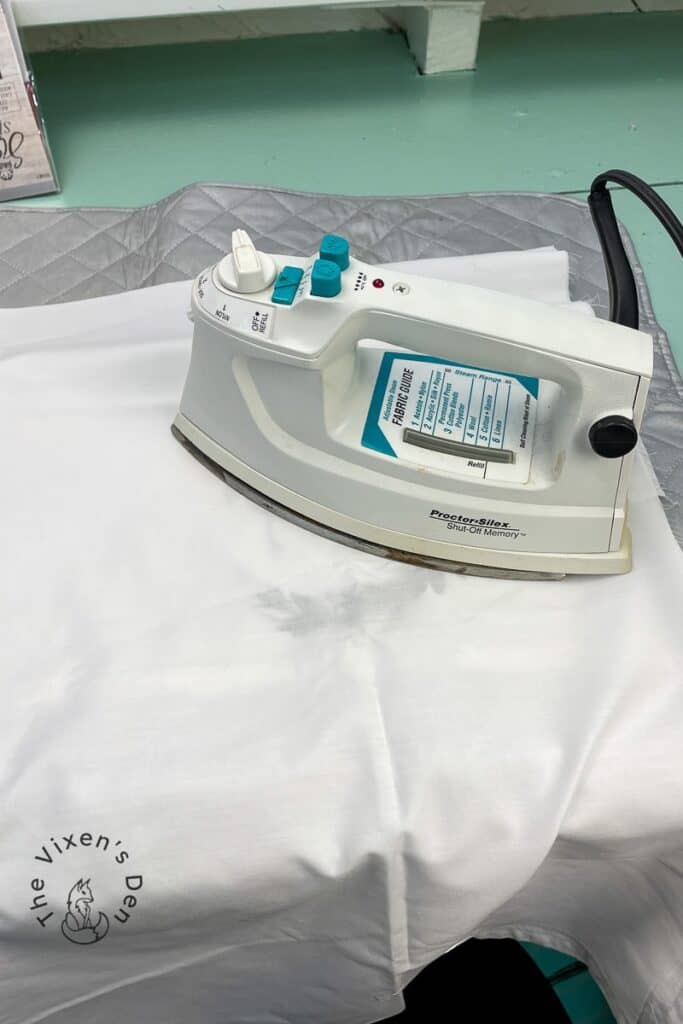
Once the towels are washed and dried, I iron them on a cotton setting. This helps to make sure that I have a smooth canvas for the stencil, which allows it to stick better. A firm stick means less bleed-through and a crisper final image.
Pro Tip: Always use a press cloth, also known as a thin piece of scrap material, to keep the iron from coming in direct contact with your project piece. This prevents accidental scorching or residue from becoming ironed into the fabric of your towel.
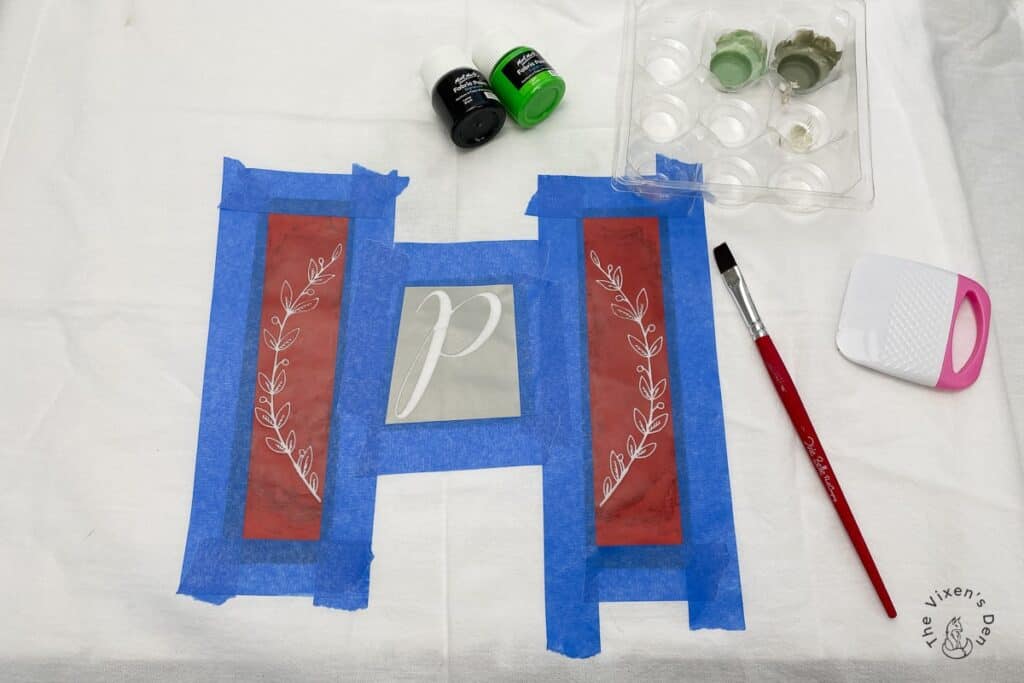
Layout the Stencil Design
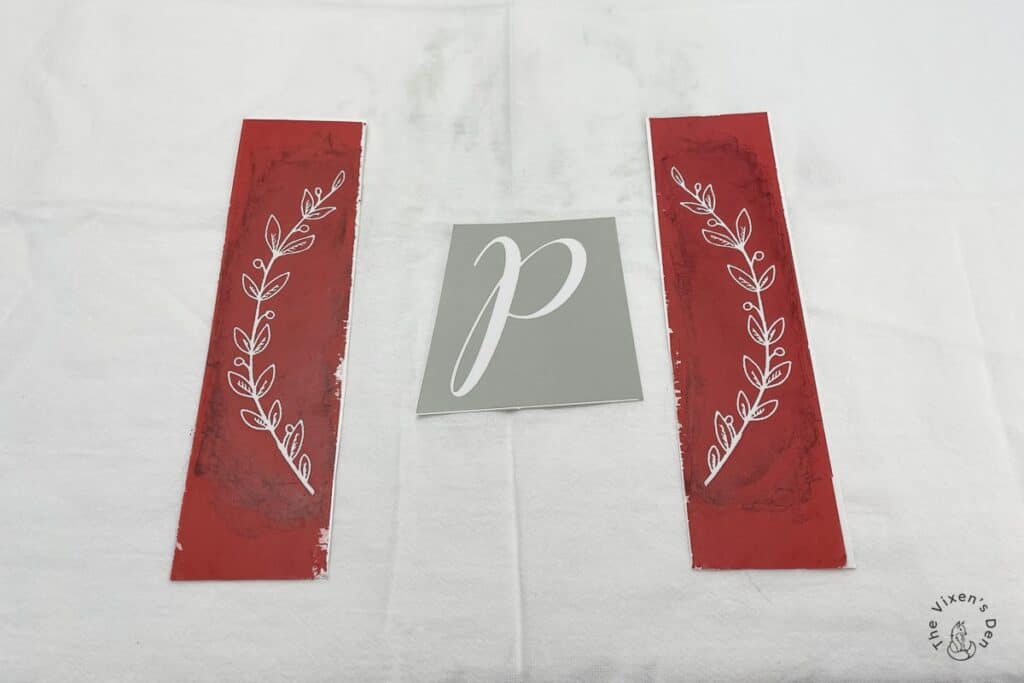
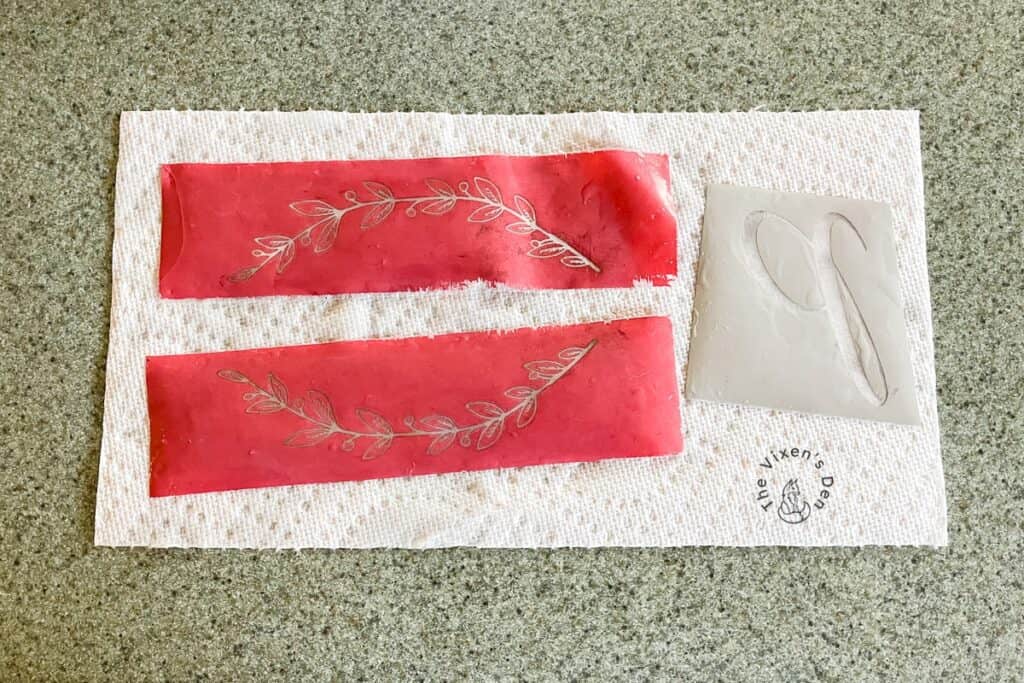
Select the stencils that you want to use for your project. Most of the silkscreen/mesh stencils come in a group, so you’ll need to use scissors to cut out the stencils that you’ll be using.
To find the center of the towel, I fold it in half and then in half again. Then I press the iron on the corner of the folds. This is my preferred method over measuring and marking.
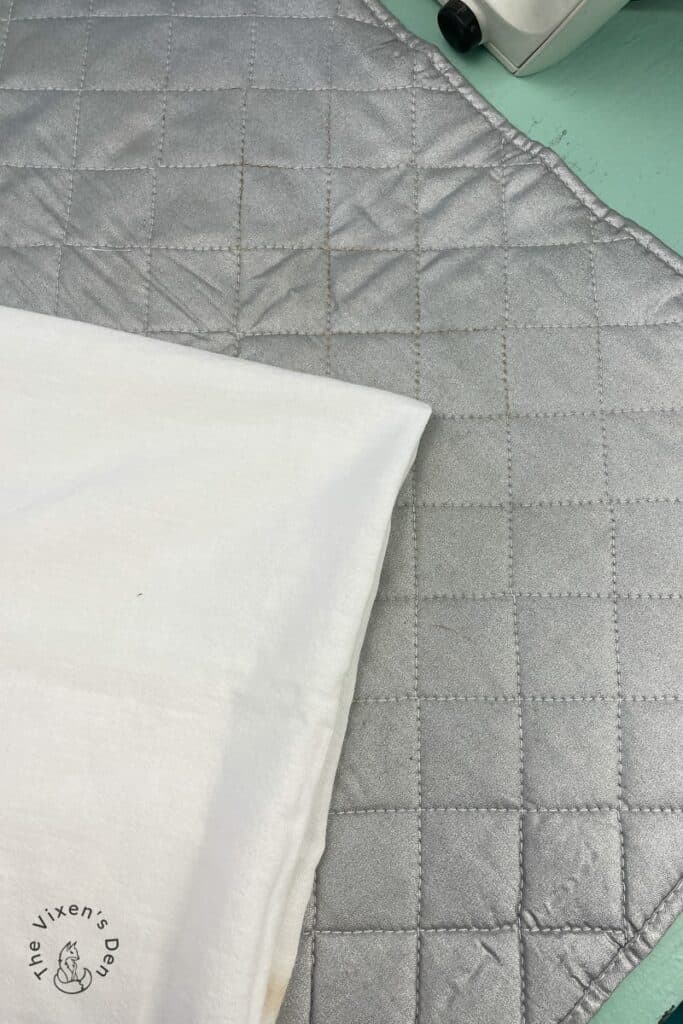
Once I’ve established the center, I unfold the towel and lay it out on a piece of cardboard. Don’t skip this step, because there will be paint bleed to the other side of the towel.
Next, I begin laying out the stencils. I tend to eyeball or measure with finger widths rather than a measuring tape, but you do what makes you comfortable.
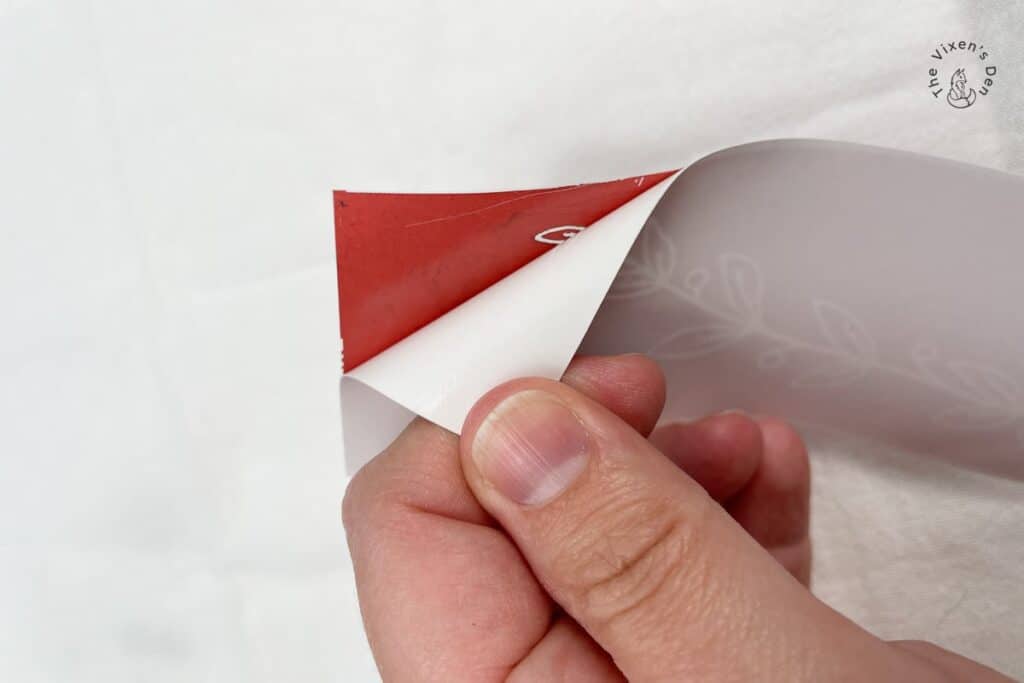
Once I have the layout figured out, I peel off the paper backing and press the stencil firmly against the fabric. Remember that the firmer the stick, the better the final product.
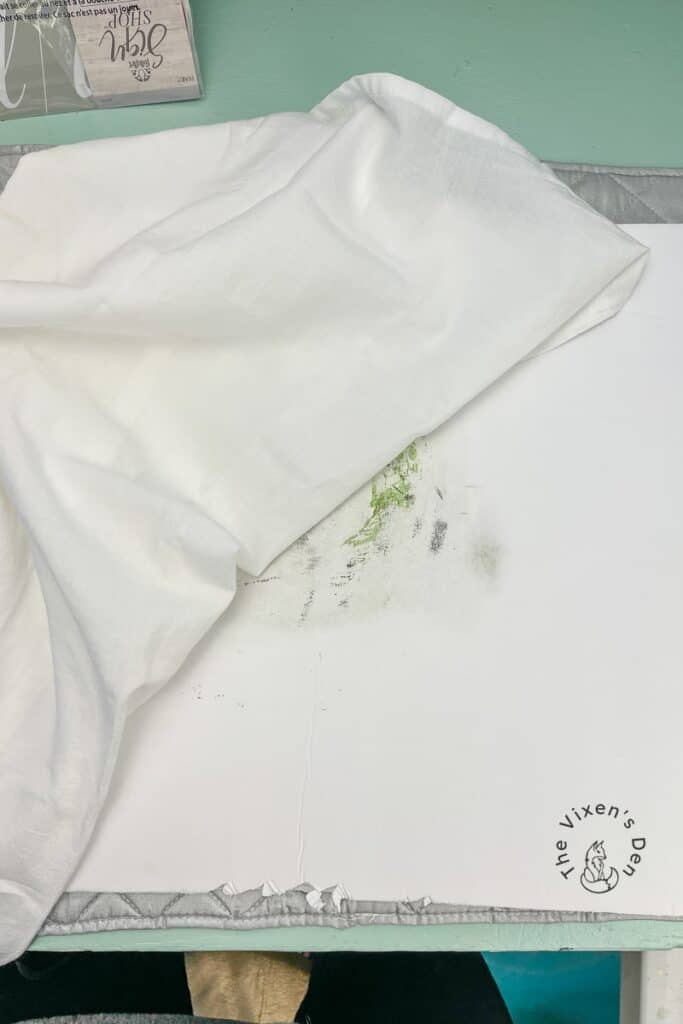
Pro tip: For the final step, I then seal the edges of the stencil with painter’s tape. Some of the stencils are very close to the edge. Over time, they also begin to fray and the mesh will begin to develop open spots where paint can seep through, like in this picture.
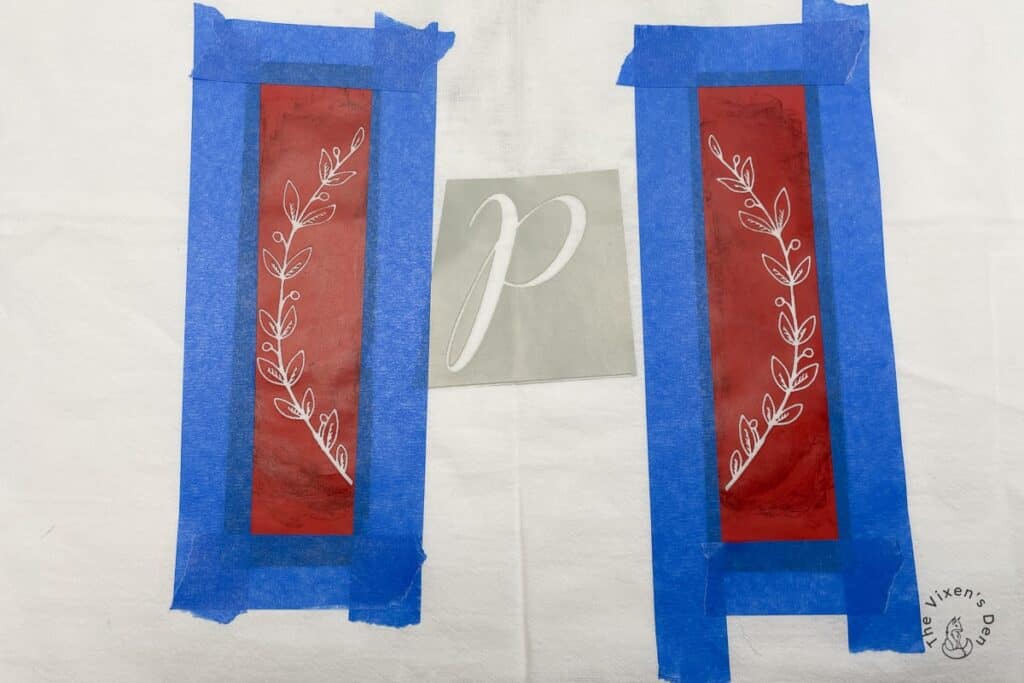
This is the nature of a mesh stencil, so adding the painter’s tape helps prevent accidentally painting over the edges or open spots of the stencil.
Apply Fabric Paint
The recommended method for applying fabric paint is to use a squeegee and scrape the paint into the mesh. Being the rebellious type that I am, and using these tiny little pots of paint, I found that a small artist paint brush worked better for me.
After mixing green with a bit of black to create a lovely deep olive tone, I spread the paint across the surface of the mesh stencil and then brush it back and forth. Brushing back and forth in all four directions, left, right, up, and down, ensures that paint fills the mesh completely. If you see any lighter-toned spots on the mesh, then it needs more paint.
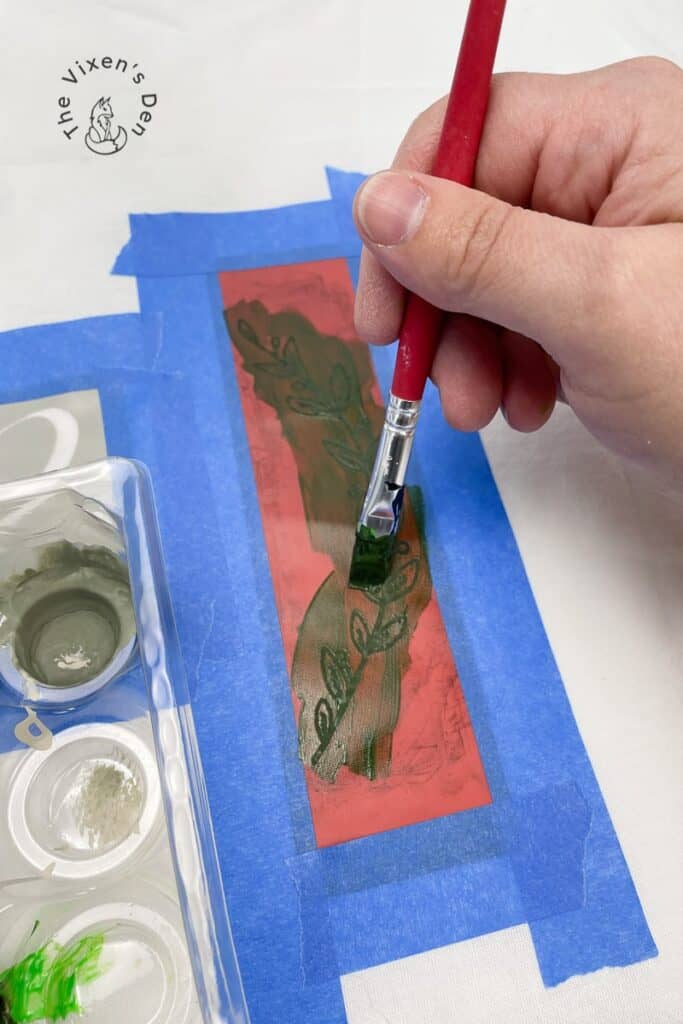
Once the mesh is filled, then you can use the squeegee to scrape off any excess paint. Scrape the edge of the squeegee against the paper plate to save the paint for the next step.
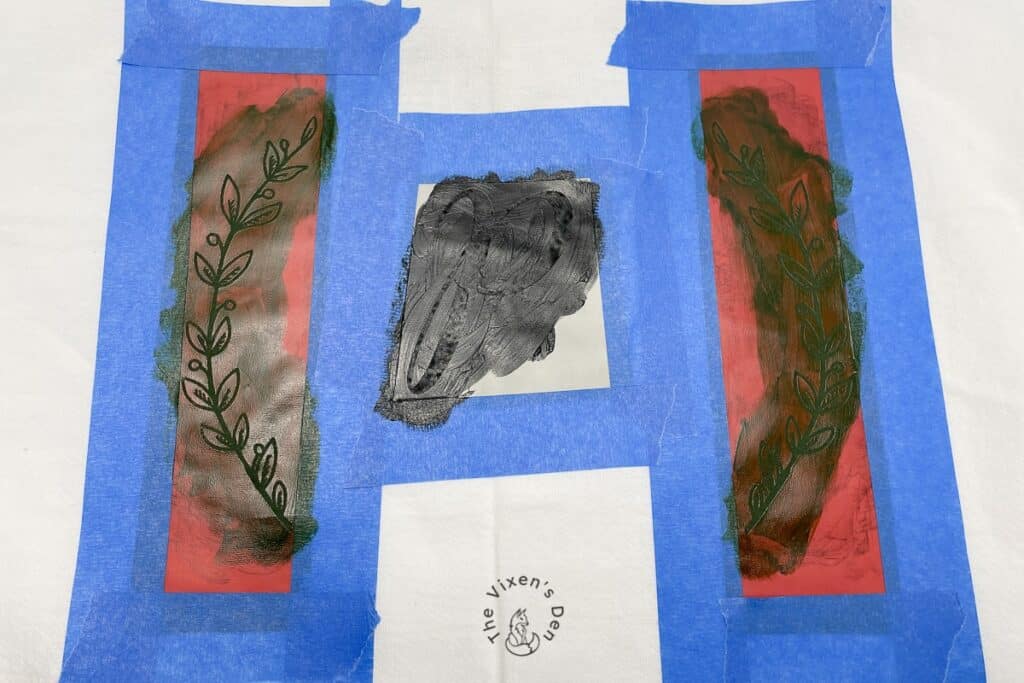
Continue painting until you’ve achieved the look that you want. Then go ahead and peel off the stencil to reveal your design!
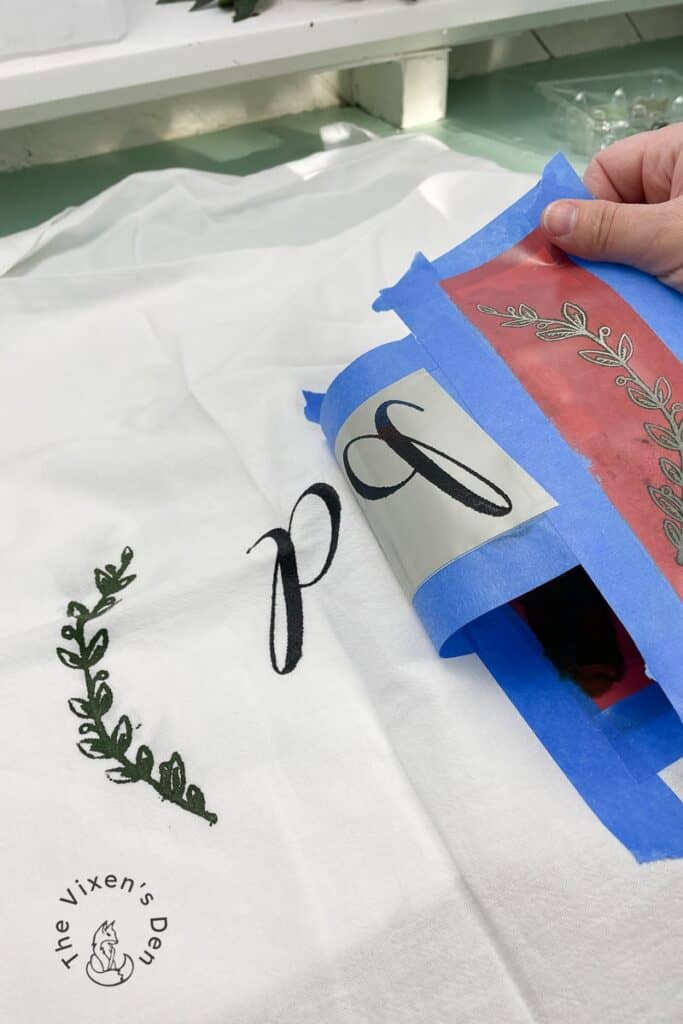
You don’t want to let the stencil sit for too long, because the paint will very quickly dry into the mesh. As soon as you remove it, immediately rinse the stencil in warm water. Lay it on a towel, sticky side up, and let it dry. Once dry, the stickiness returns and you can start working on your next project!
Set the Fabric Paint
Allow the paint to dry overnight. The next day, place your press cloth on the towel and iron the fabric on the cotton setting to set the paint.
Some paints may not require this, but I consider it a good practice to ensure a durable end product.
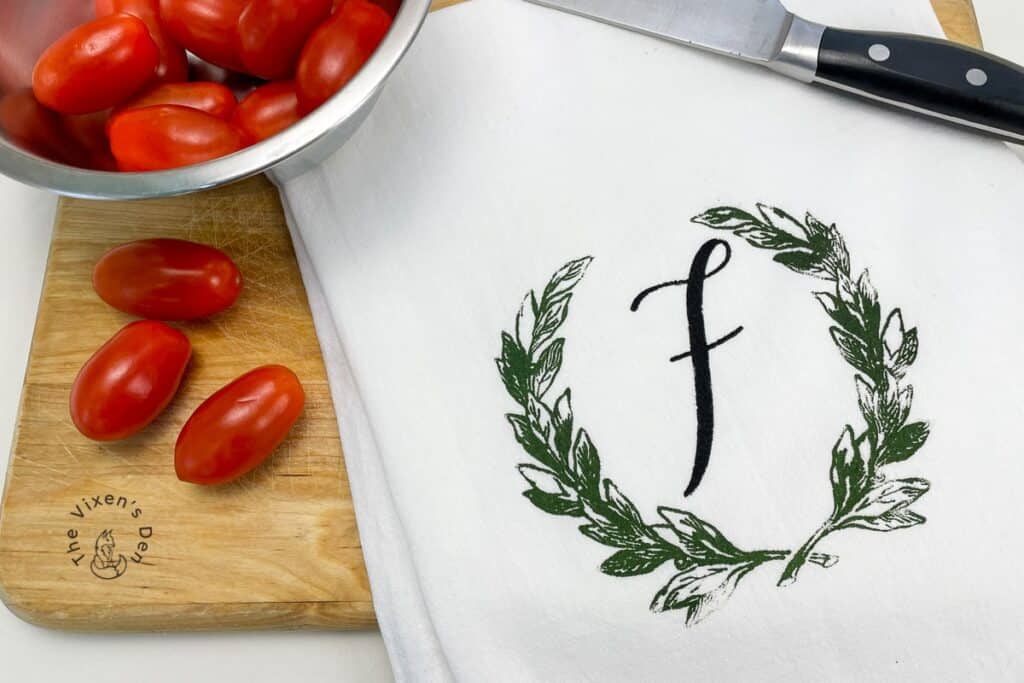
Final Reveal
And that’s it! Now you can display or gift your beautifully personalized flour sack towel!
Wasn’t that an easy way to create beautiful, functional decor? Those are my favorite projects. Just because it’s functional, doesn’t mean it can’t also be pretty!
What’s your favorite piece of functional decor? Let me know in the comments below and be sure to sign up so that you don’t miss any of the misadventures!

Linked up to these lovely link party hostesses at:
Dare to Share (Pams Party and Practical Tips)
Don’t forget to sign up so you hear all about the next misadventure! Until then, you may also like this easy Pumpkin Wreath or this Dresser upcycle.
This flour sack towel is just too cute! I need to try to make one myself sometime too! Thanks for sharing the tutorial!
Becky!! I love this project. It’s so pretty and excellent for anyone interested in getting started with DIY projects. How do you get your inspiration for the photos you take for your projects? Your photography and styling is stellar!
Becky, I love this flour sack towel, what a beauty, and a wonderful gift with Christmas around the corner! You sure make certain to follow each step to a tee so unlike myself who crafts on a wing and a prayer! Thank you for sharing!