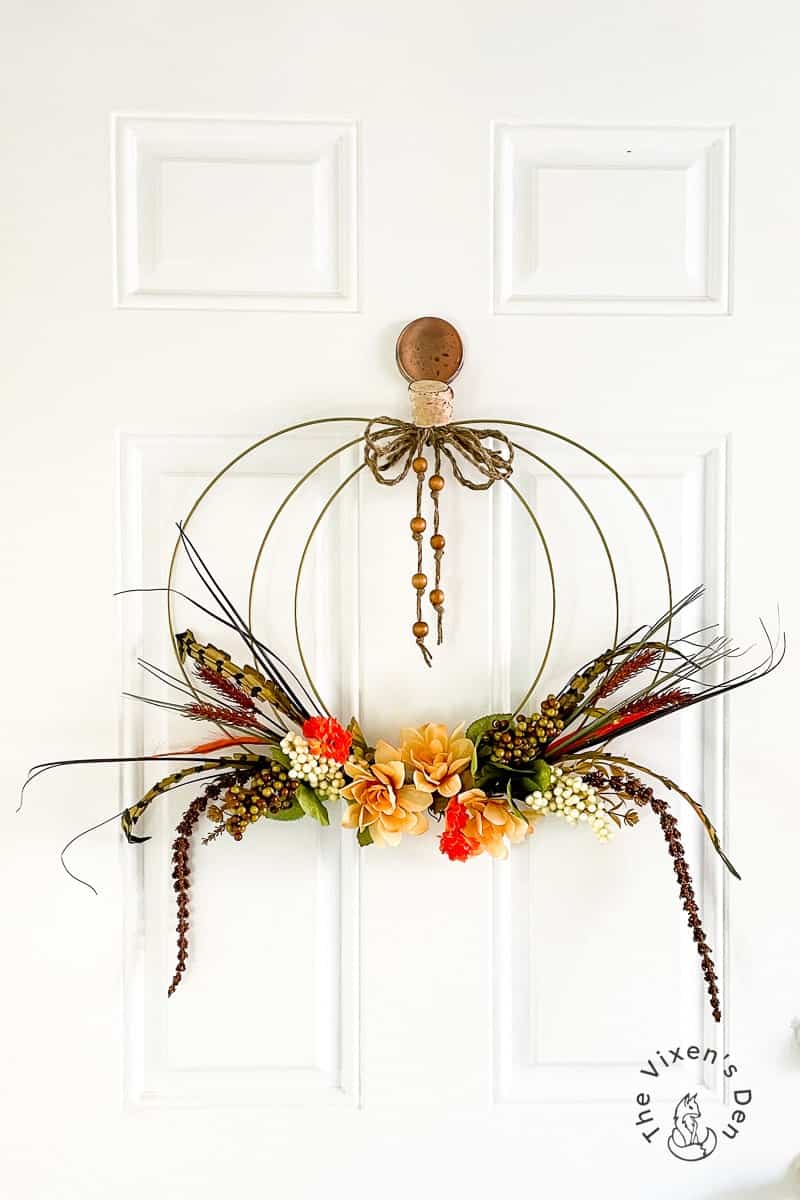
Easy Pumpkin Wreath from Wire Hoops
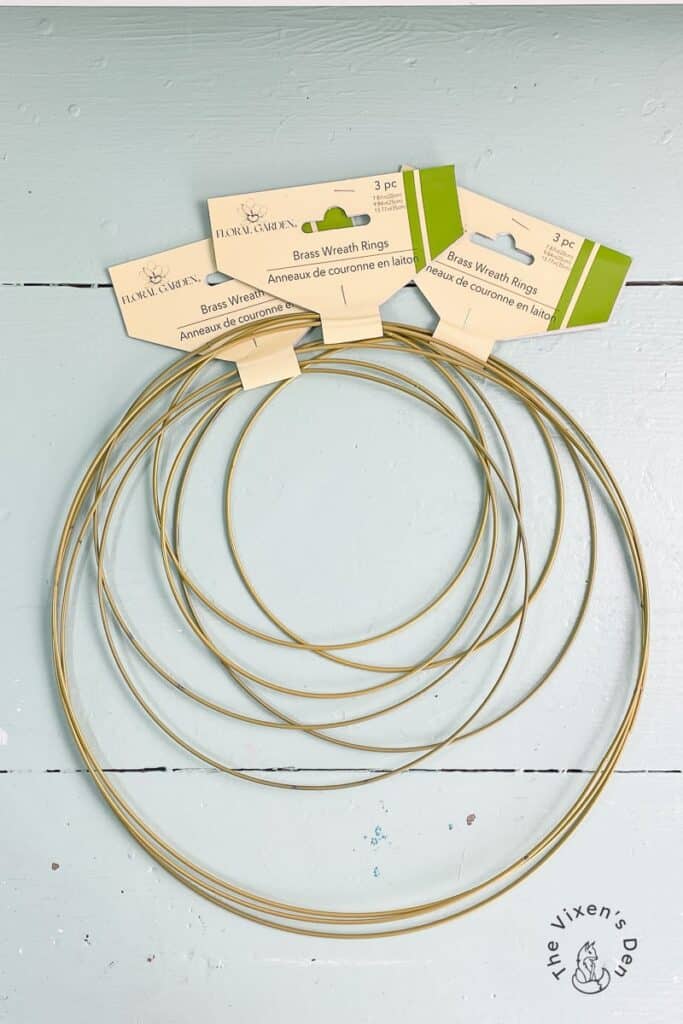
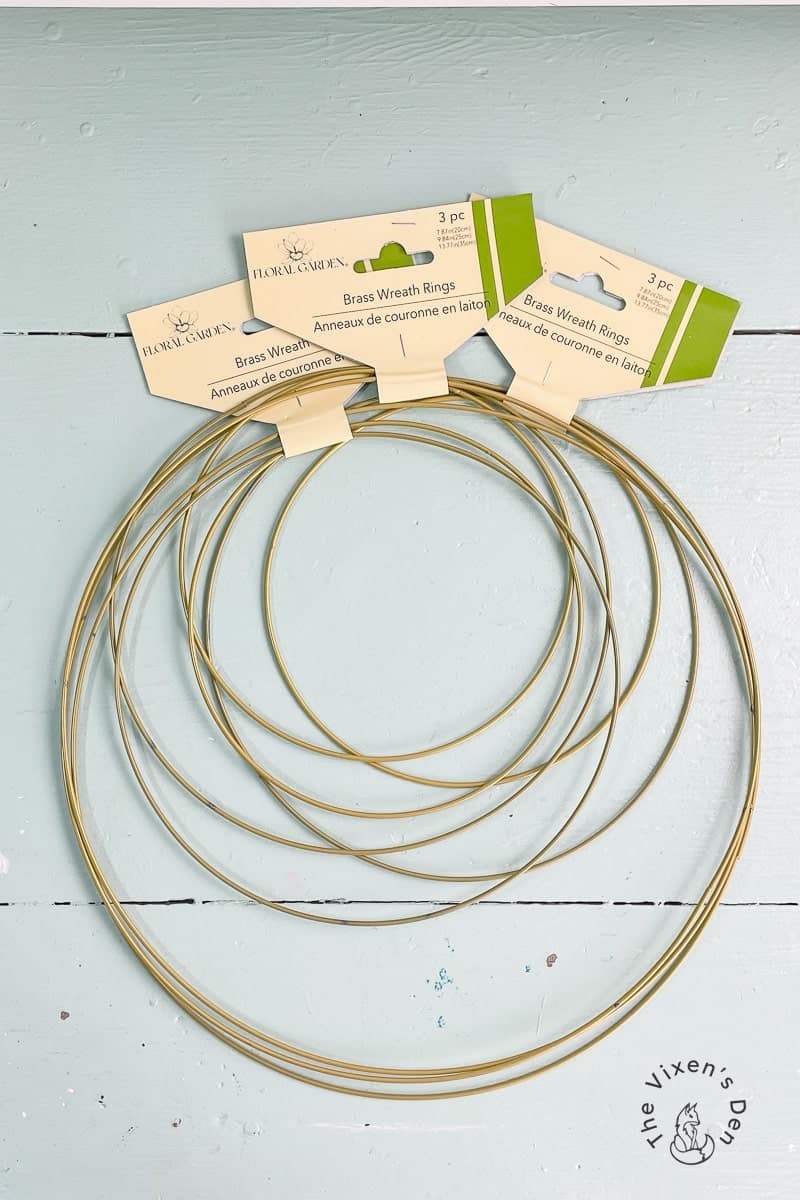
In my list of favorite makeovers, a good Dollar Tree project is definitely in the top three. I’ve seen a lot of wreaths made from the Dollar Tree pumpkin forms, but I like the flexibility to change up wreaths if I get tired of them. When I found these gorgeous brass wreath rings, inspiration struck!
THIS POST CONTAINS AFFILIATE LINKS TO PRODUCTS. IF YOU PURCHASE PRODUCTS THROUGH THESE LINKS, THEN I MAY RECEIVE A SMALL COMMISSION AT NO COST TO YOU.
I ONLY RECOMMEND PRODUCTS THAT I USE AND/OR HAVE RESEARCHED AND WOULD USE.
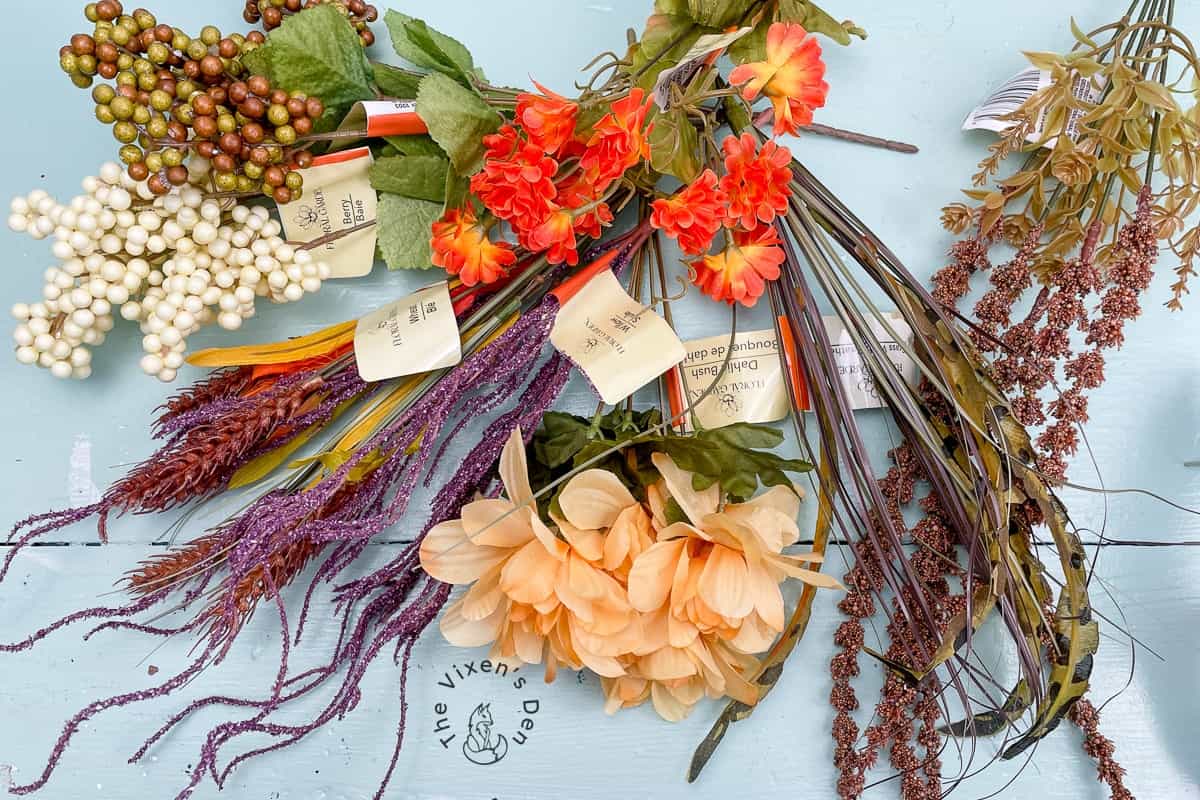
I browsed the aisles and found a few more items that spoke to me. I just knew that I could create a beautiful pumpkin wreath with these materials.
So, I decided to challenge myself to create a beautiful wreath using these Dollar Tree materials. What do you think? Did I nail it?
Now it’s your turn. Here are all of the materials and the steps so that you can make your own easy pumpkin from wire hoops!
Tools and Materials
Tools
- Wire cutters
- Scissors
- Glue gun
Materials
Wire hoop wreath frames (you’ll need 3 sets, which means you can make 3 wreaths!)- Floral stem wire
Floral stems (I used 7 stems)- Birch Wood Stems (similar)
- Stained Wood Beads
- Jute cord
- Glue sticks
Prepping the Wire Hoop Wreath Frame
Create the wreath frame by overlapping three hoops of the same size. I slid them in and away from each other until they created a pumpkin shape that I liked. The hoops can still be adjusted a bit after you join them together.
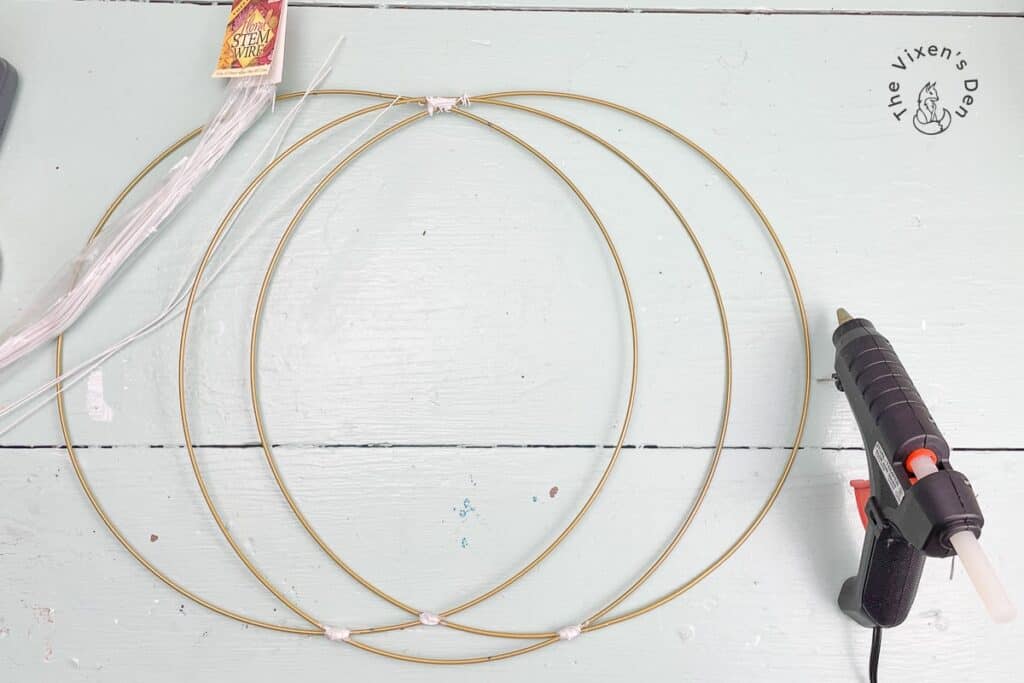
Once you have the shape that you like, wrap floral wire around each of the joints where the hoops overlap. Then twist the floral wire to create a tight finish. Repeat this step for all of the joints.
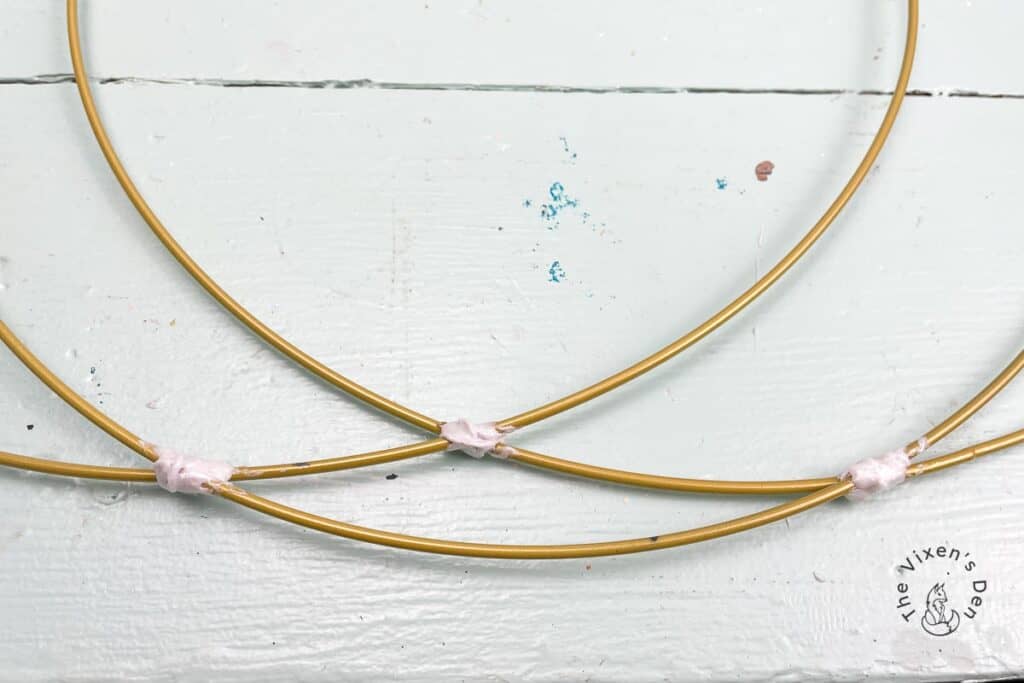
I went a little overboard and squeezed a little hot glue into each of the wired joints too. This helped to stabilize the joints, and it helps to keep the floral wire from working loose.
Arranging the Floral Stems
To get started, clip the individual floral stems off of the base. This makes them easier to shape and gain different heights in the arrangement.
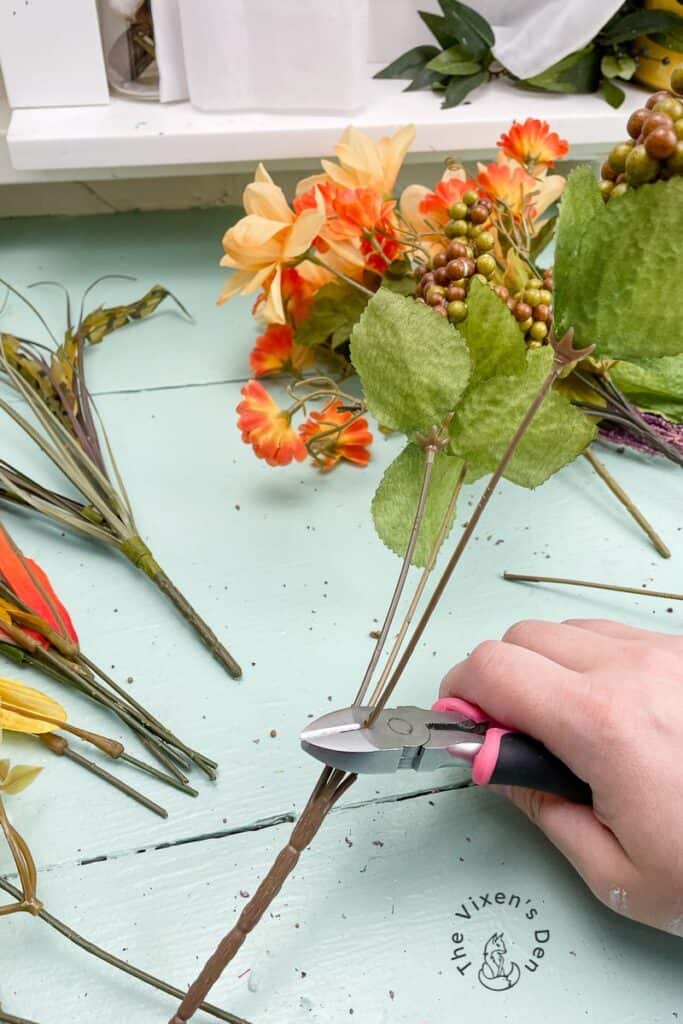
Pro Tip: Always use wire cutters to clip artificial flowers.
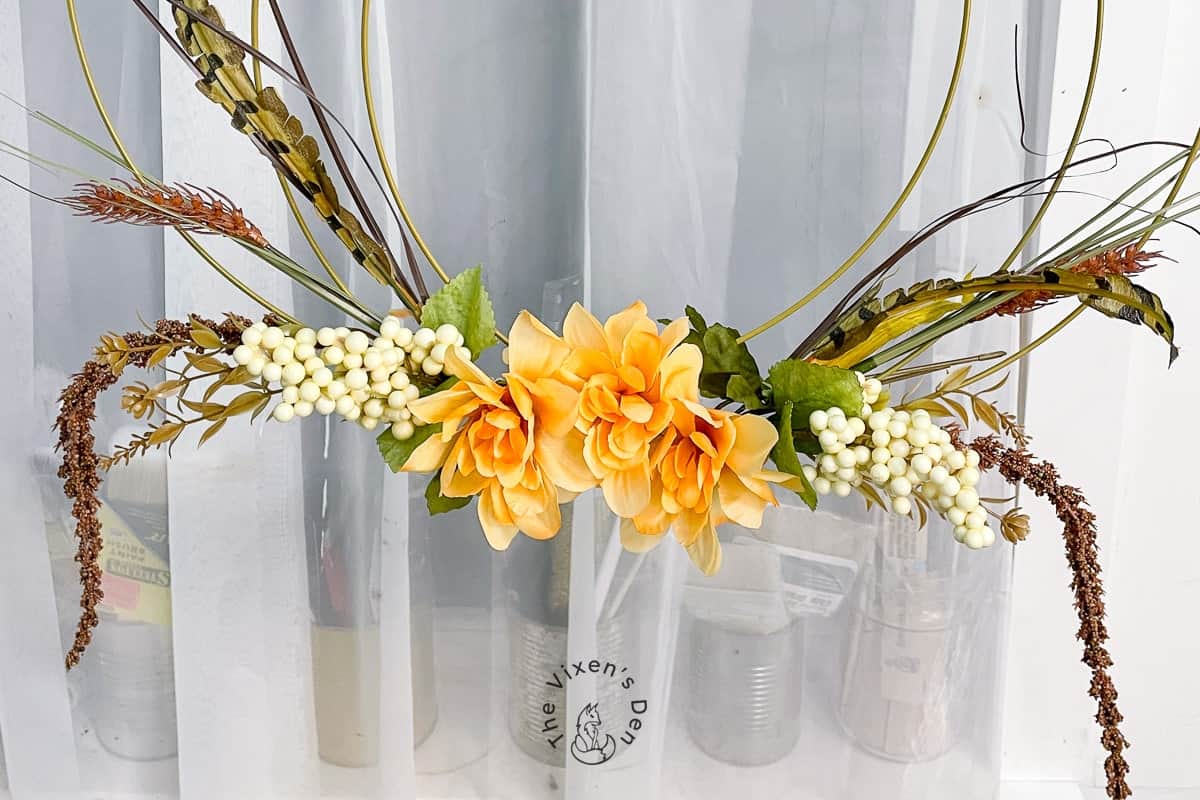
Push the floral greenery up towards the base of the flower, then begin arranging them. I started with the outer drapey pieces and worked my way inward. Wrap floral wire around the stems, and then twist the two ends tightly against the hoop.
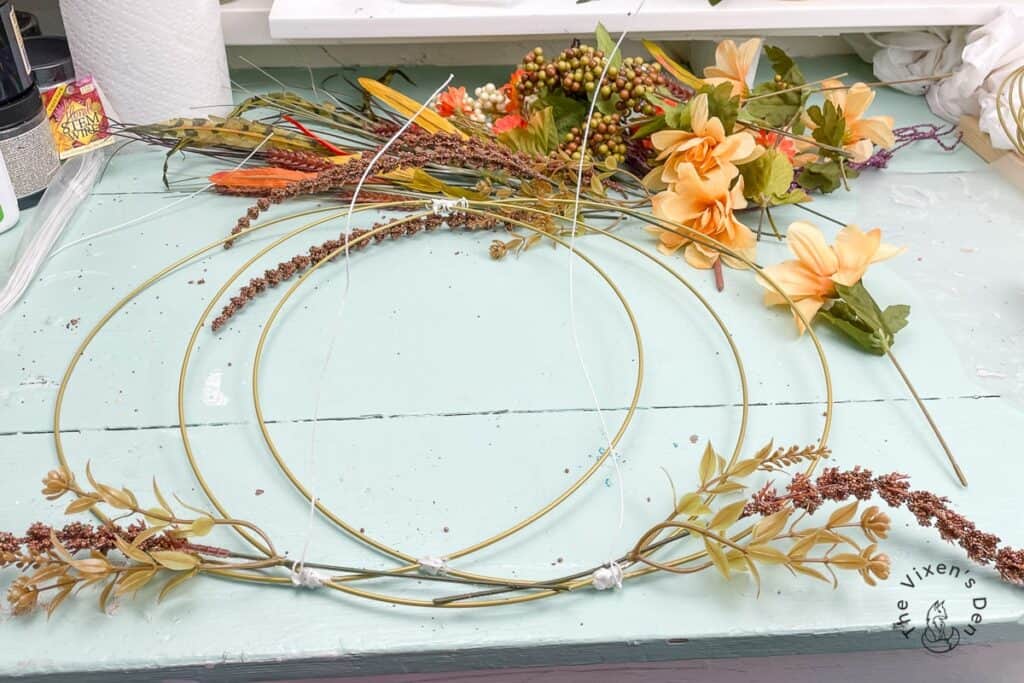
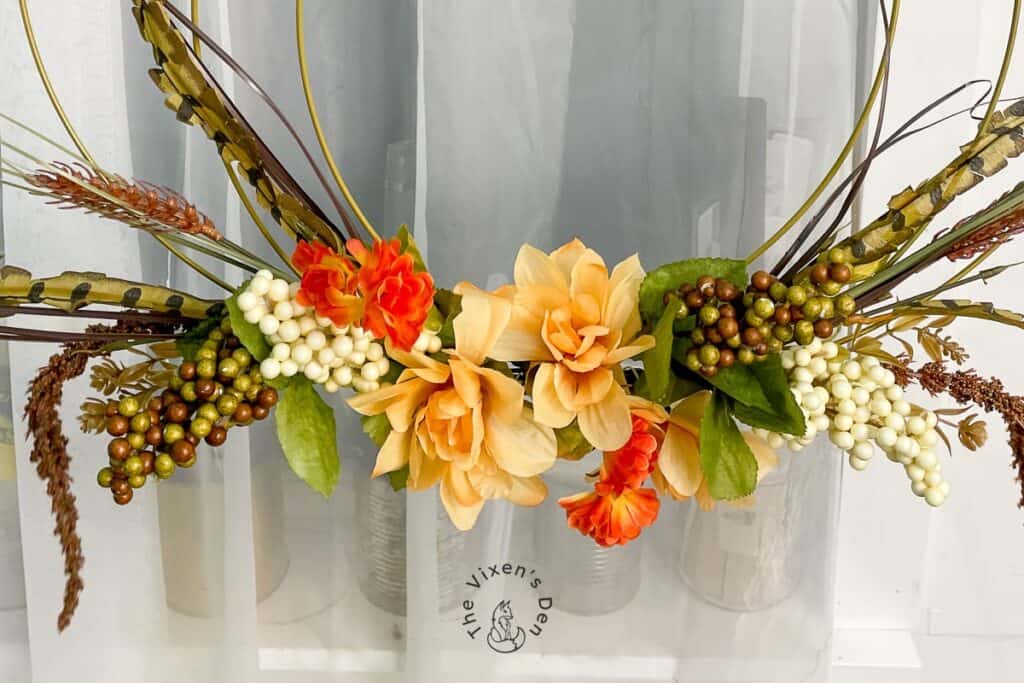
Continue layering and arranging floral stems until you have the look that you want. I like to mix different florals to create a lot of texture in my arrangements.
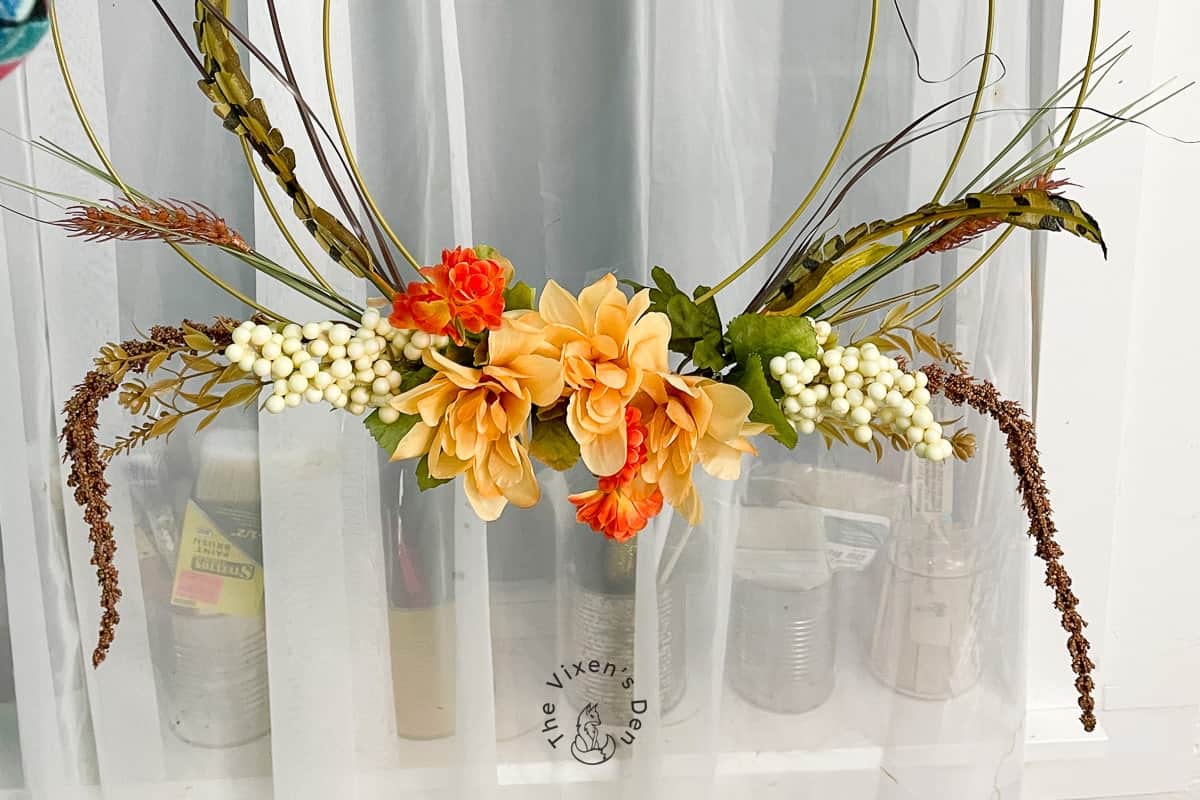
I was waffling between whether or not to add in the cute little orange flowers. Mr. V voted to keep them.
In the end, I decided not to use the purple stems. I love the arrangement that I ended up with!
Hindsight is 20/20: I was using long pieces of precut floral wire that I already had on hand, but Dollar Tree also has floral wire in the crafting section. A darker floral wire would probably have worked better for this. It blends in better with the stems, so I recommend using that for your project.
Creating a Birchwood Pumpkin Stem
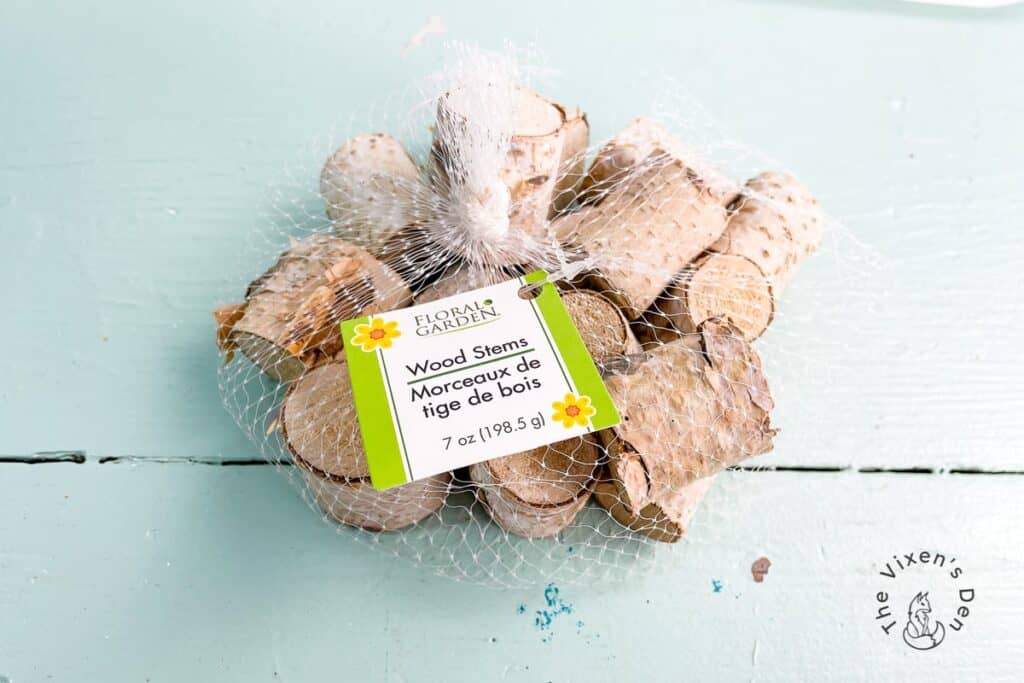
This pumpkin needed a stem! These birch wood stems are perfect. They come in a variety of sizes, so you’re sure to find the perfect one for your project.
Note: Unfortunately, these wood stems are no longer available; however, I have linked to a similar version.
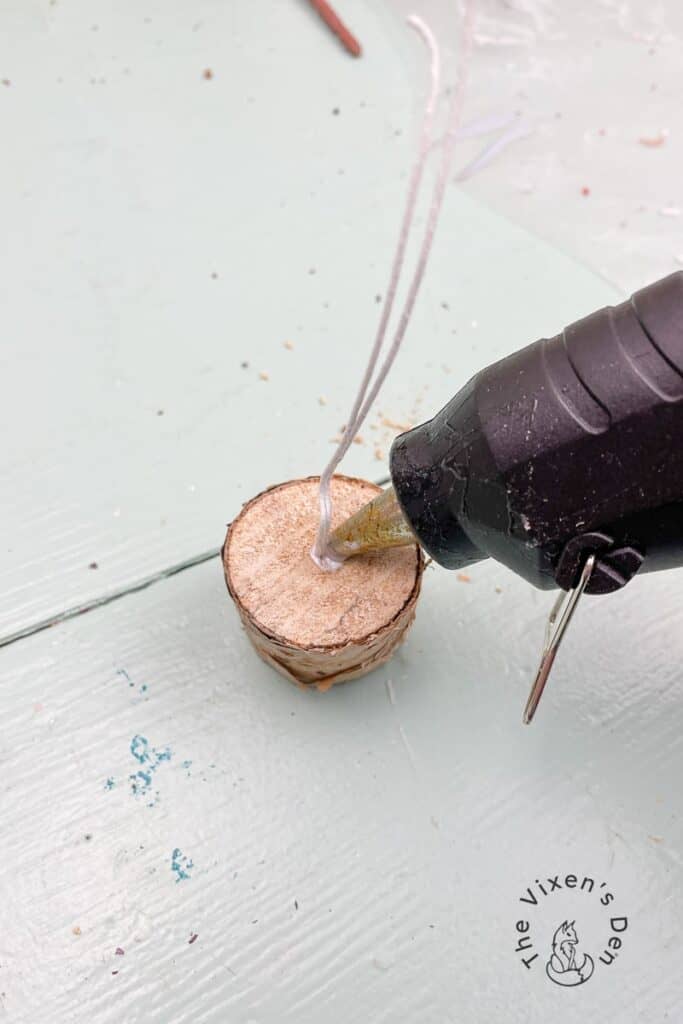
I didn’t want to just hot glue the stem onto the hoops because I was concerned that it would pop off if it was bumped. I could have just hot-glued the wire to the base of the stem, I suppose, but…well, it’s me and I’m extra. So, I pulled out the handy drill and a 3/32 bit and drilled a small hole part of the way through the stem.
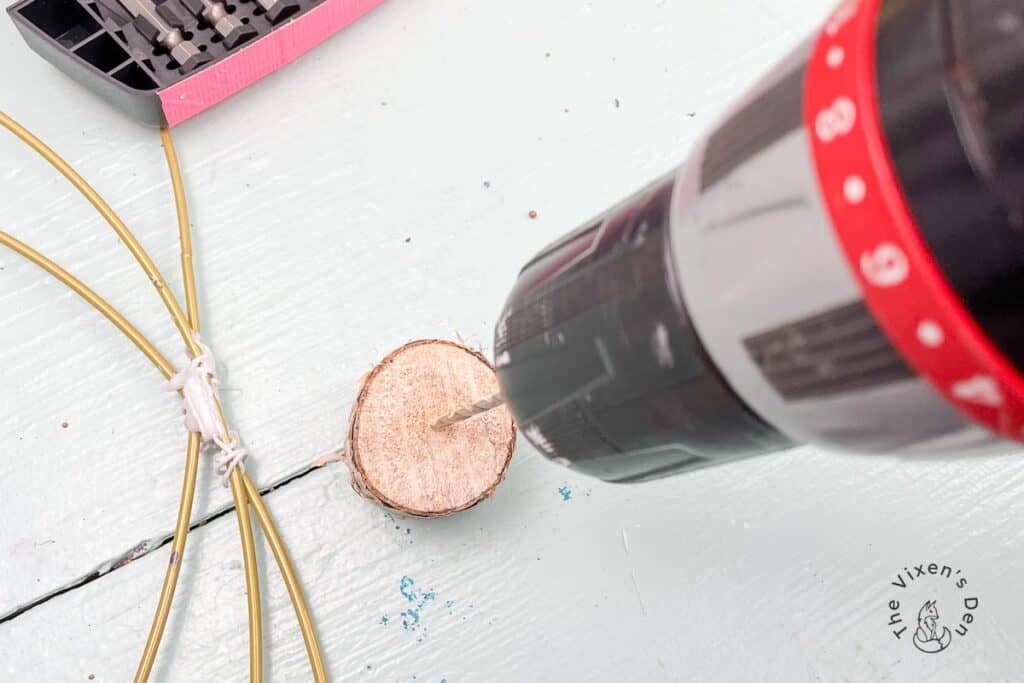
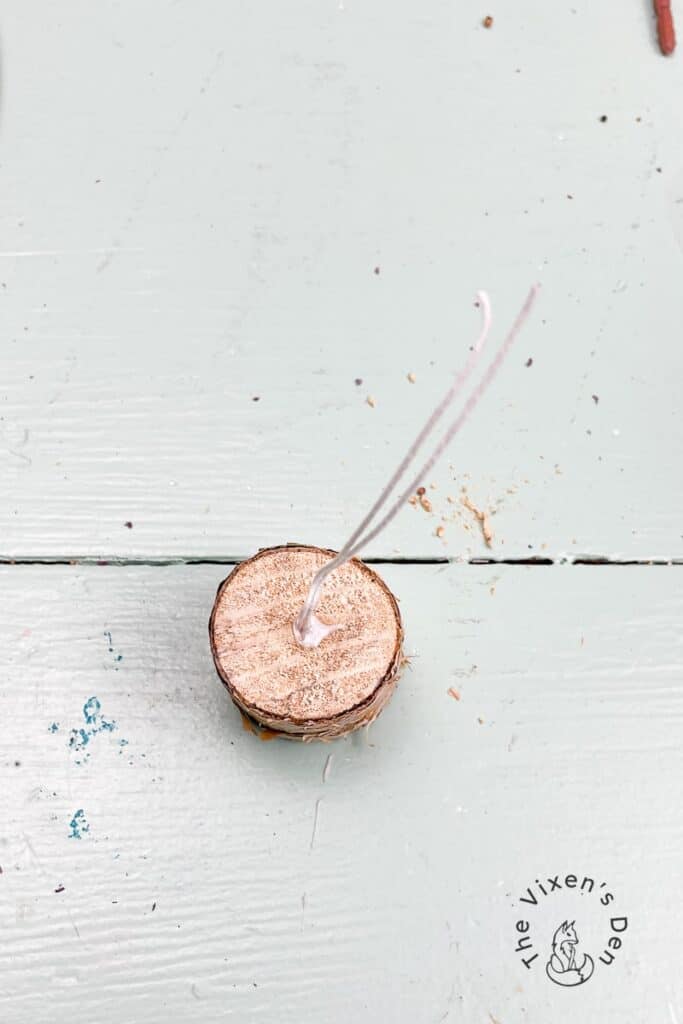
Then I cut a piece of wire to the right size and folded it in half. I squeezed a dollop of hot glue onto the opening that I had just drilled and then pushed the folded end of the wire into the hole. To make it extra secure, I squeezed another dollop of glue onto the top of the hole.
Whichever method you decide to use, I do recommend wiring the stem onto the frame.
Once the stem is prepped and the glue is cool, position it against the top of the wreath frame and tightly twist the wire against the hoop.
Creating a Jute Bow with Wood Bead Trim
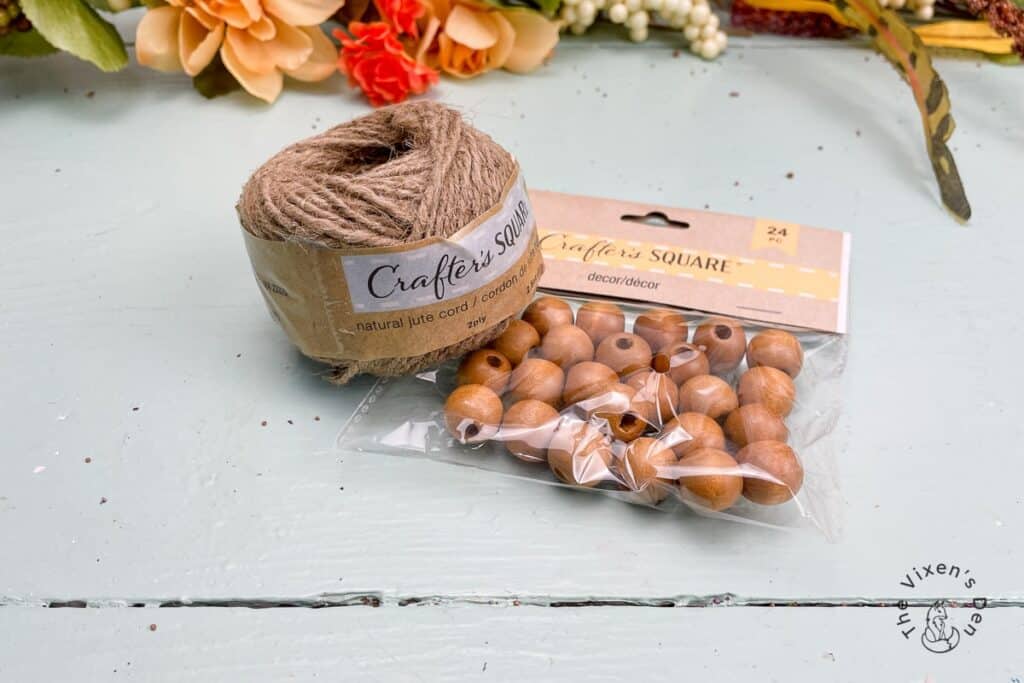
Now I just needed something under the stem to finish off the wreath. I tried using ribbon at first, but it just didn’t have the right feel. So I pulled out this jute cord and these cute wood beads.
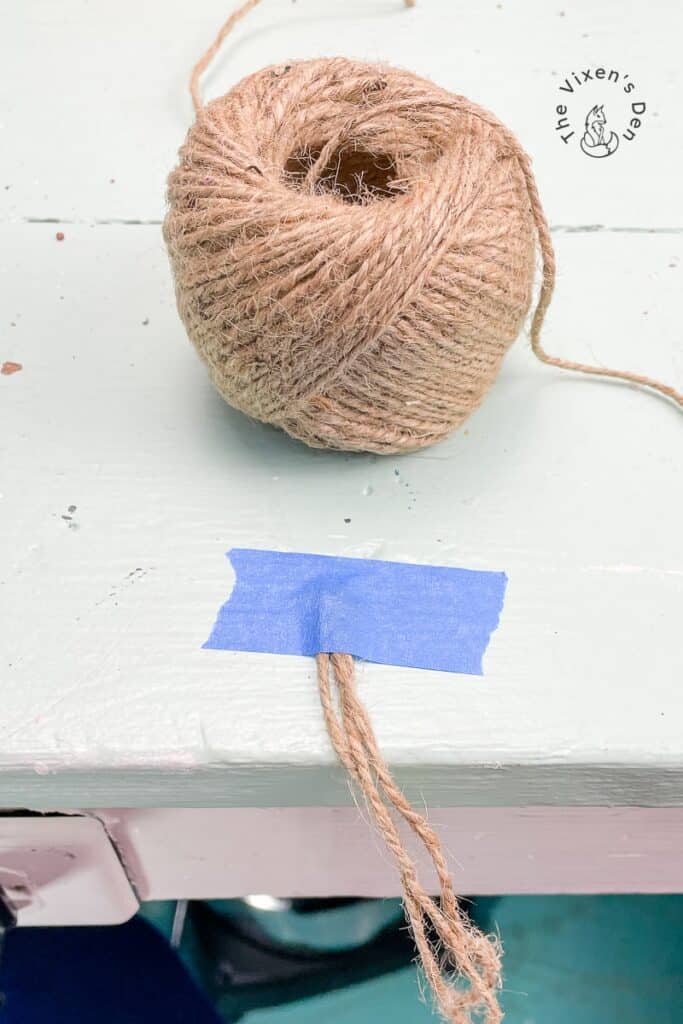
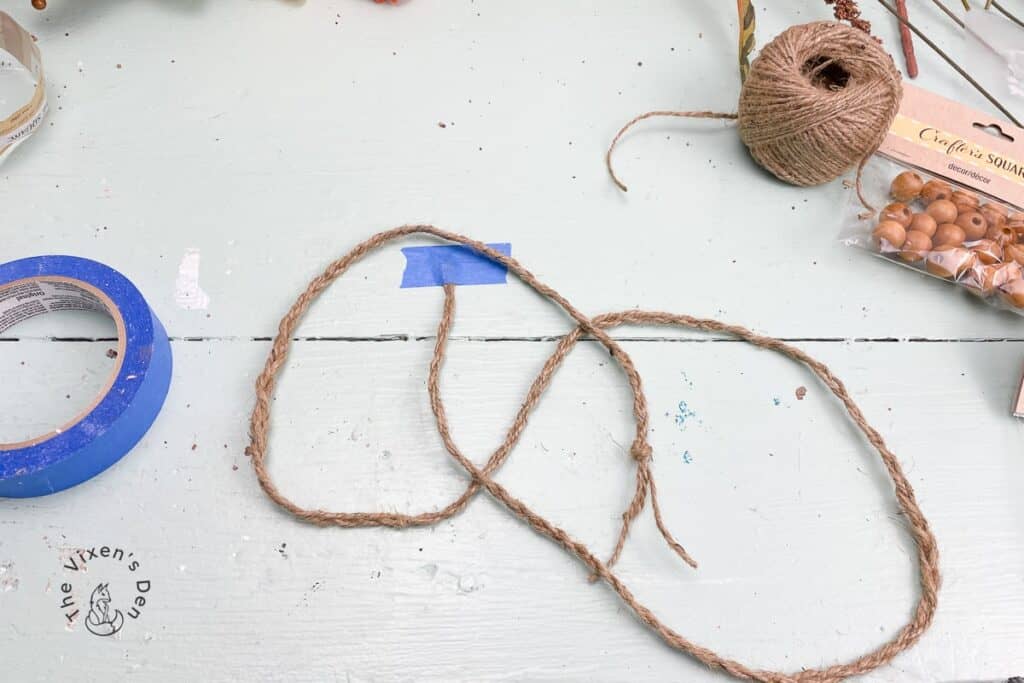
The jute cord was a little thin for the look I wanted, so I decided to braid it into a ribbon. Do you remember making friendship bracelets? Cut three strands of jute cord, longer than you think you’ll need. Knot off the end and tape it to a clean flat surface. Then start braiding!
Once you finish braiding, knot off the other end. You now have a jute ribbon.
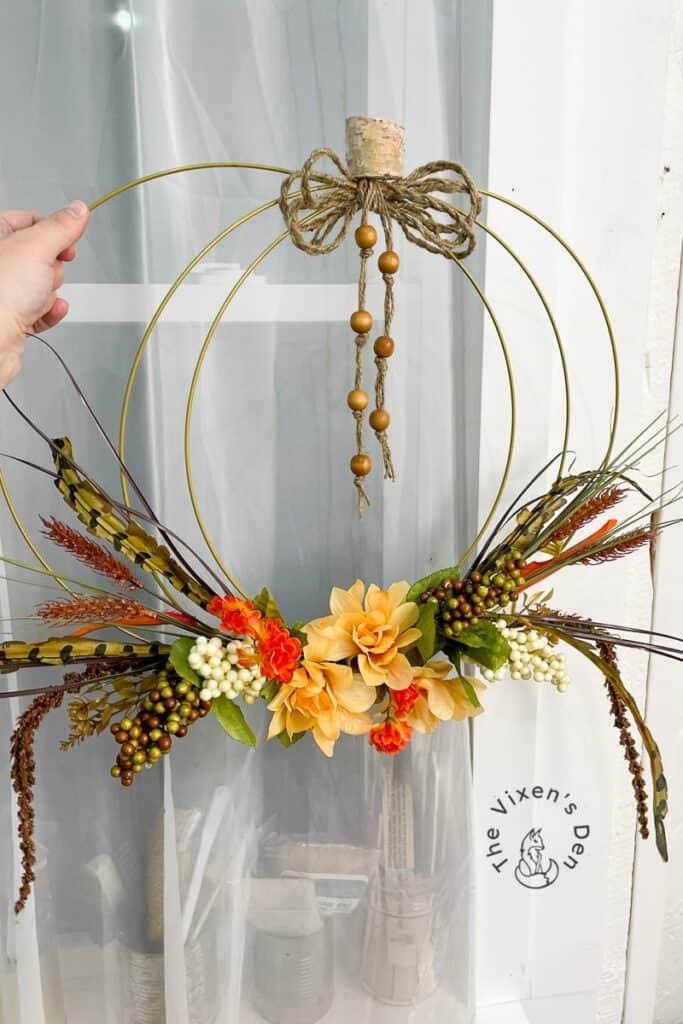
Wrap the jute ribbon around one hand or fold them over and over until you have three loops on either side of your bow. Use floral wire to fasten the bow into place under the stem.
To create the bow tail, cut two strands of jute cord about the same length as the distance from the top of the wreath to the bottom. Knot off the bottom end and string on a wood bead. Make a knot in the cord at a distance of about an inch above the bead. String on another bead.
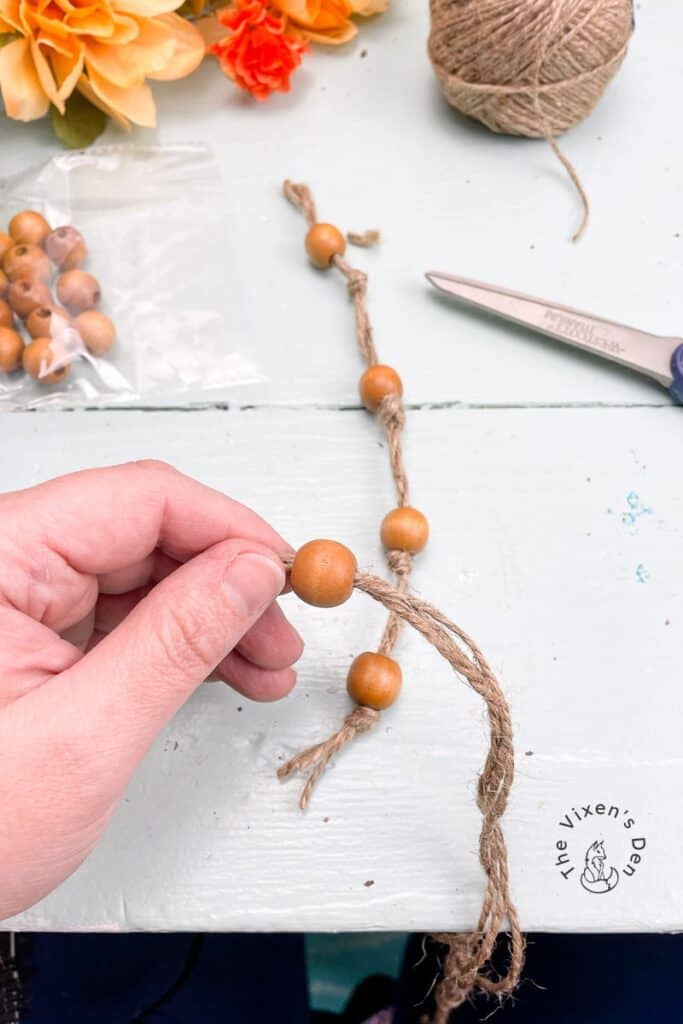
Repeat the process until you have four beads strung. Knot off the top. Repeat the process to create the second bow tail.
Fasten the beaded jute tails to the bow by folding over the top of the tails and hot gluing them to the bow.

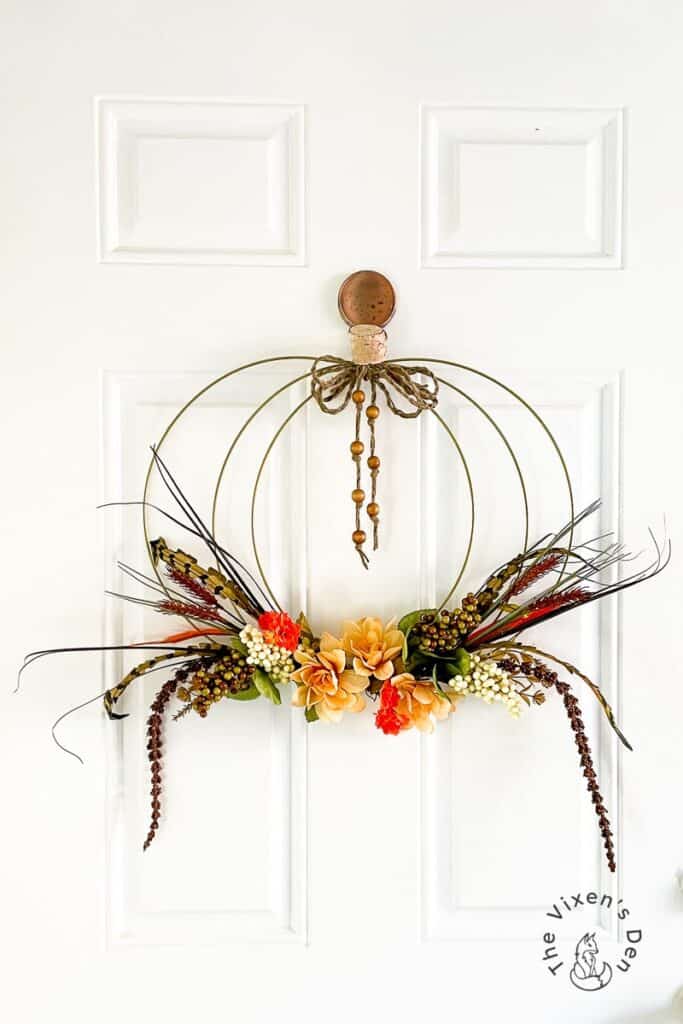
Final Reveal
And that’s it! You have now just created your very own beautiful wire hoop pumpkin wreath! Place it on your door and welcome in fall!
What is your favorite type of Dollar Store project? Let me know in the comments below!

Linked up to these lovely link party hostesses at:
Sundays on Silverado (The House on Silverado)
Happiness is Homemade (Life as a Leo Wife)
Inspire Me Monday (Create With Joy)
Don’t forget to sign up so you hear all about the next misadventure! Until then, you may also like this Elegant Spider Web Wreath from a picture frame or this Pink Pumpkin makeover.


Thanks for hosting a FABULOUS linky party every week !
Don’t forget to join us over at the Creatively Crafty Linky Party every Wednesday through Sunday
https://creativelybeth.com/creative-crafts-linky-party/
Followed and Pinned!
Creatively, Beth
Oh this is a gorgeous dollar store project – so pretty for a door or hanging inside!
This is just too cute! I need to try to make one myself. Thanks for sharing the tutorial for it!
Seriously such a cute project, Becky! And the photography in this post is amazing! Great job!
Wow Becky, what a unique idea! Love this pumpkin and how lovely would this be for Thanksgiving? So cute! Thanks for sharing your creativity.
Thank you so much, Cara!
I love this Becky. Just adorable! Pinned!
Thank you so much, Denise!