Cottage Core Pumpkin with Chalk Paint and Ribbon
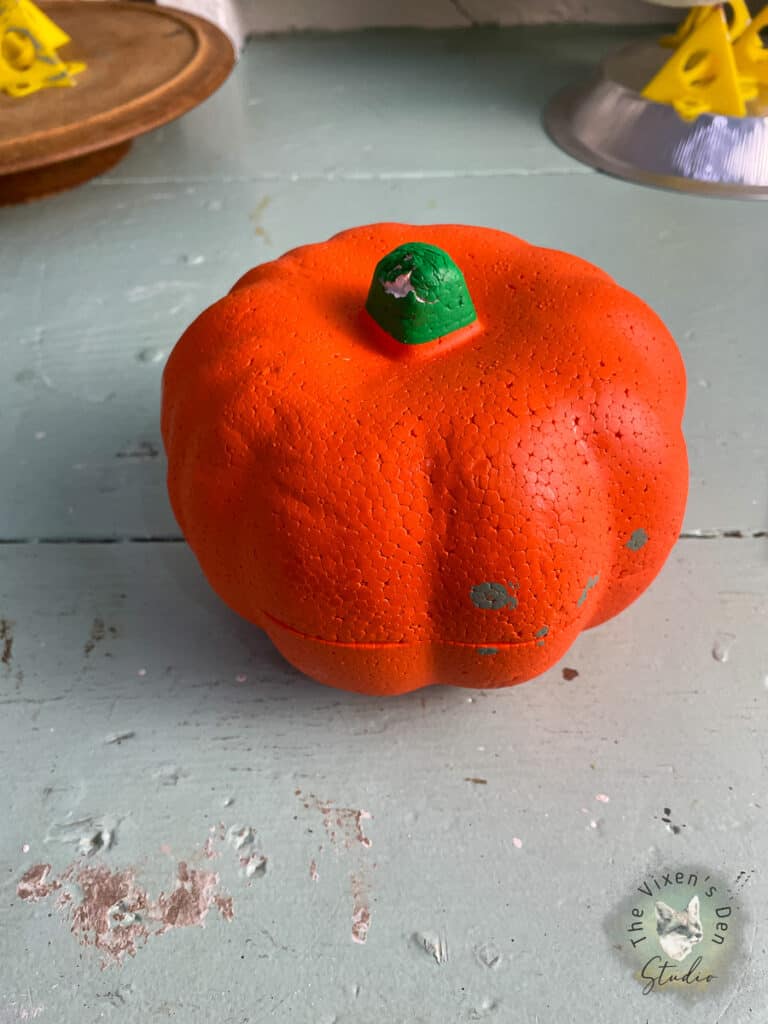
If you’re ready to celebrate fall but would like something softer than the traditional bright orange and deep burgundy colors that you usually find, then this project is for you! Give your orange pumpkin a cottage core makeover with Dixie Belle’s new Weeping Willow Chalk Mineral Paint.
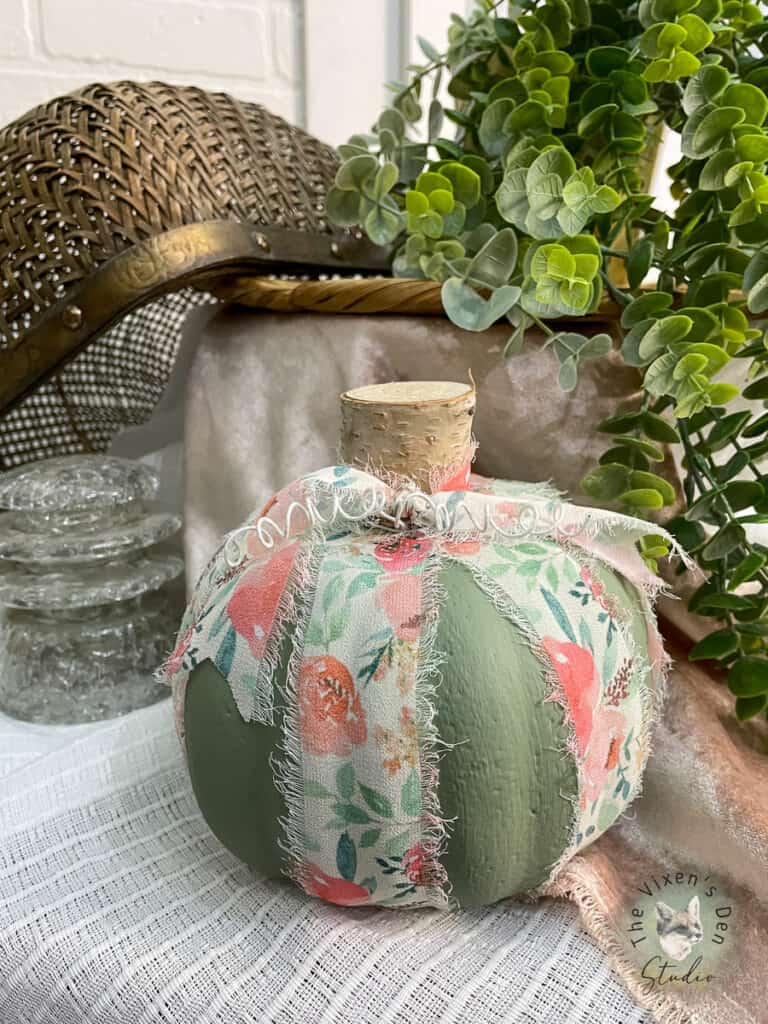
This DIY is super easy, and it is adaptable to whatever color combination you love best! Dixie Belle’s chalk mineral paints are so easy to use and they blend beautifully to create the perfect custom color to match your decor. But before we jump into the process, here is some mandatory legalese:
This post is sponsored by Dixie Belle Paint Company. While they provided some of the products for this project, all of the opinions are my own. Follow this affiliate link to see all of their amazing products!
AS AN AMAZON ASSOCIATE I EARN FROM QUALIFYING PURCHASES AT NO COST TO YOU. YOU CAN SEE MY FULL DISCLOSURE HERE.
Tools and Materials
Tools
- Paint Pyramids
- Mini Angle Paintbrush
- Small Round Paintbrush
- Artist Brush
- Surebonder Glue Gun
- Scissors
Materials
- Boss
- Dixie Belle Chalk Paint – Weeping Willow
- Floral Chiffon Ribbon
- Surebonder Glue Sticks
- Birch Wood Stem
- White Floral Wire
Cleaning & Prepping
I like to start every project with a good cleaning with White Lightning. This TSP-based product effectively removes all dust, dirt, and grease and provides a solid foundation for the paint.
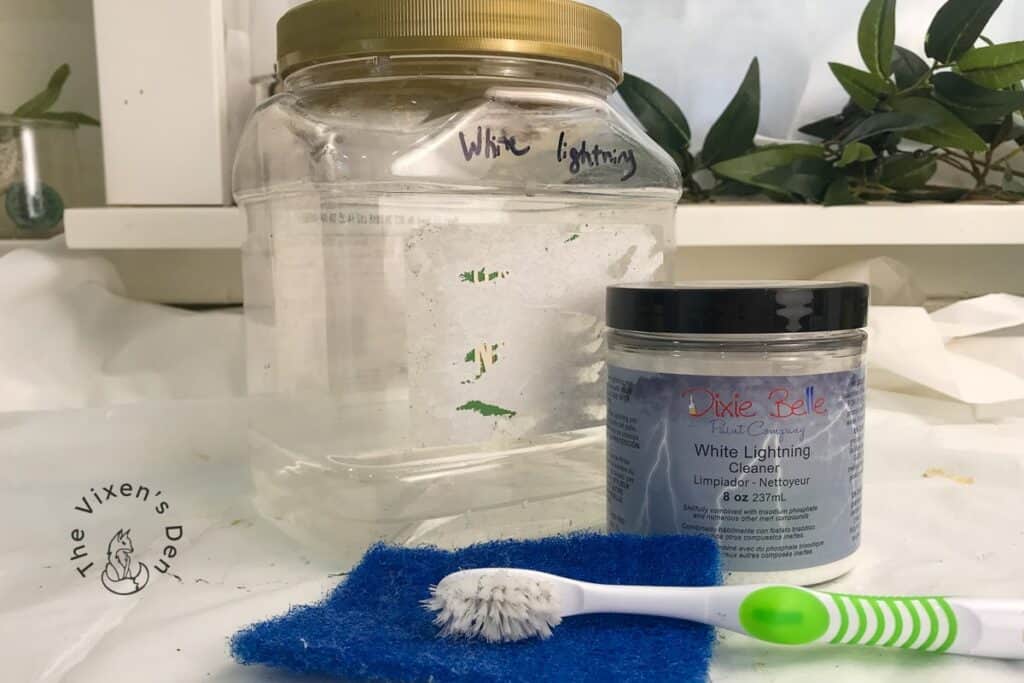
I rinsed the pumpkin thoroughly after cleaning it and let it dry overnight.
To help ensure the best possible final product, I also prime every project. This piece was primed with Boss to ensure that any manufacturing dyes wouldn’t seep through to the surface paint. I’ve experienced bleed-through before and it left a lasting impression, to say the least.
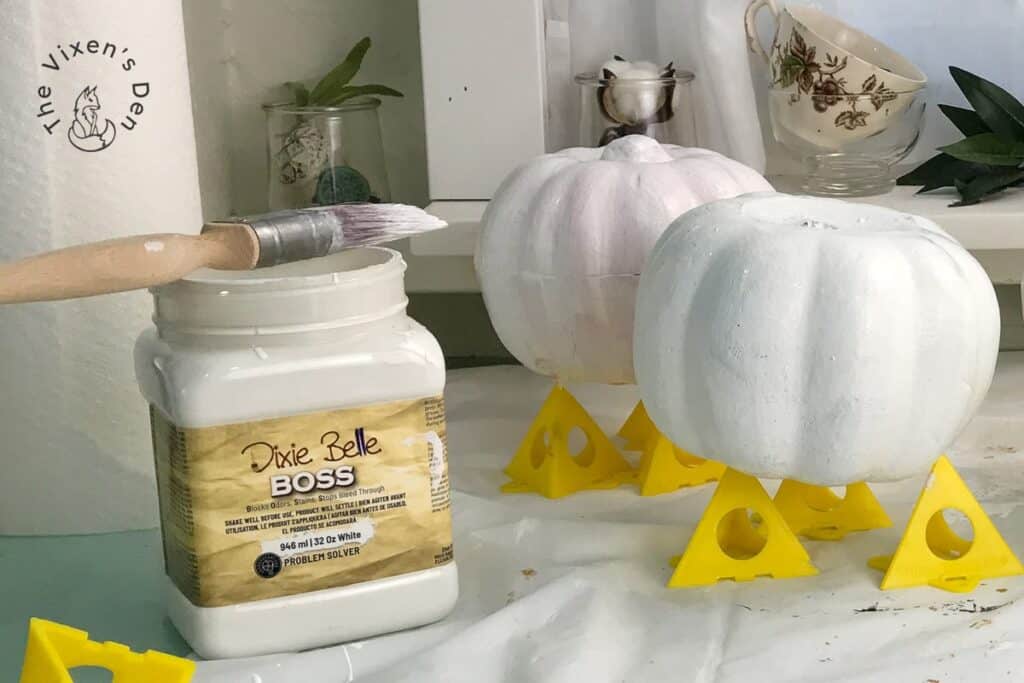
There’s nothing quite like getting to the end of a project that you’ve poured your heart and soul into, only to have dark streaks appear after you apply the clear coat. The moral of the story? Just prime it.
Paint
Dixie Belle Chalk Mineral Paint is my absolute favorite paint because of how easily it applies. A damp paintbrush and a spray bottle turn this rather thick mineral paint into a smooth and creamy mixture that spreads easily over the surface. If you’re seeing brush strokes then the paint is too dry. If you’re seeing bubbles, then you have too much water. The Goldilocks method is always the way to go.
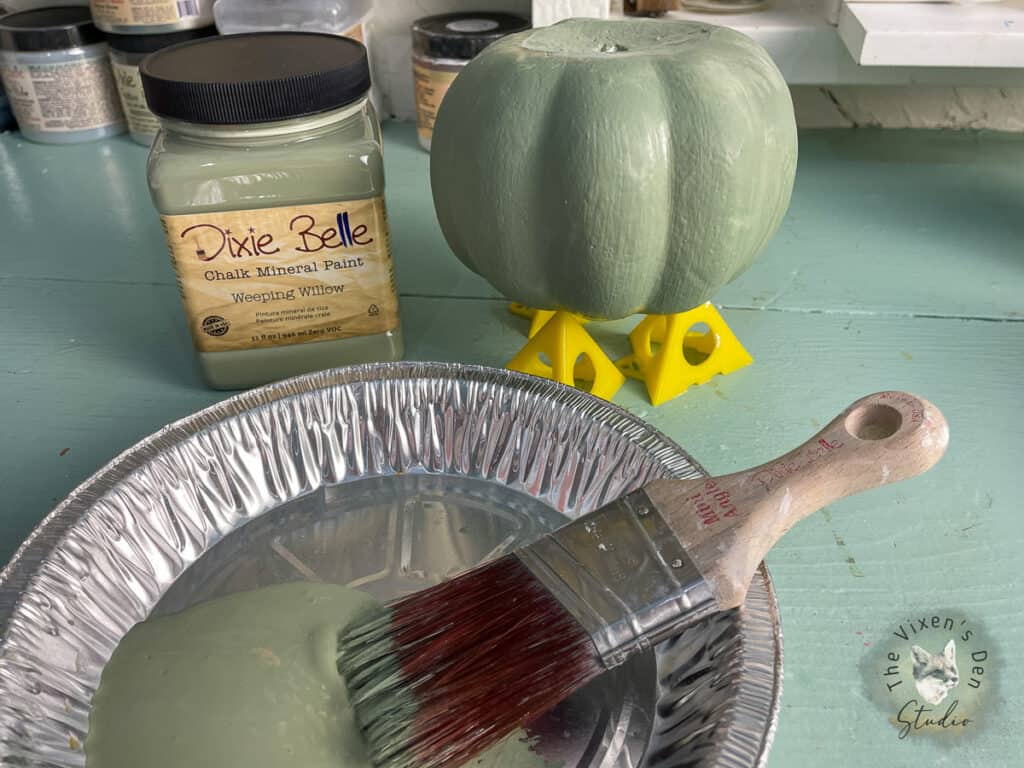
The hardest part about painting this pumpkin was getting the top painted without knocking the piece off of the paint pyramids. My favorite paintbrush, the Mini-Angle Brush, may have been a bit large for this project. I applied one coat and waited an hour for it to dry. Then I applied a second coat and let it dry overnight.
The next day, I sealed the pumpkin using a small round brush and Clear Coat in Flat. I love the Flat Clear Coat because it is a true flat sheen that allows the paint and any details to shine instead of the Clear Coat itself.
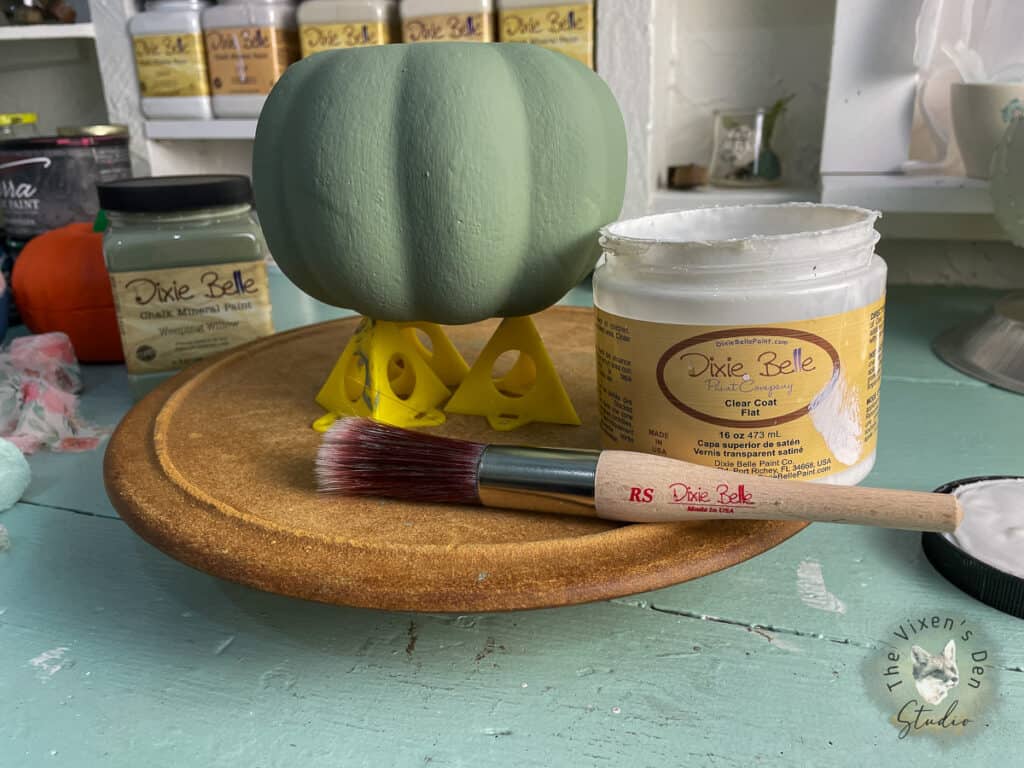
The Clear Coat was left to dry overnight. Then it was time to bring the final vision together!
Ribbon
I discovered chiffon ribbon when I was searching for ribbon for my daughter’s wedding. I just love the sweetly frayed edges and the beautiful colors. This floral chiffon ribbon was just perfect for my cottage core pumpkin!
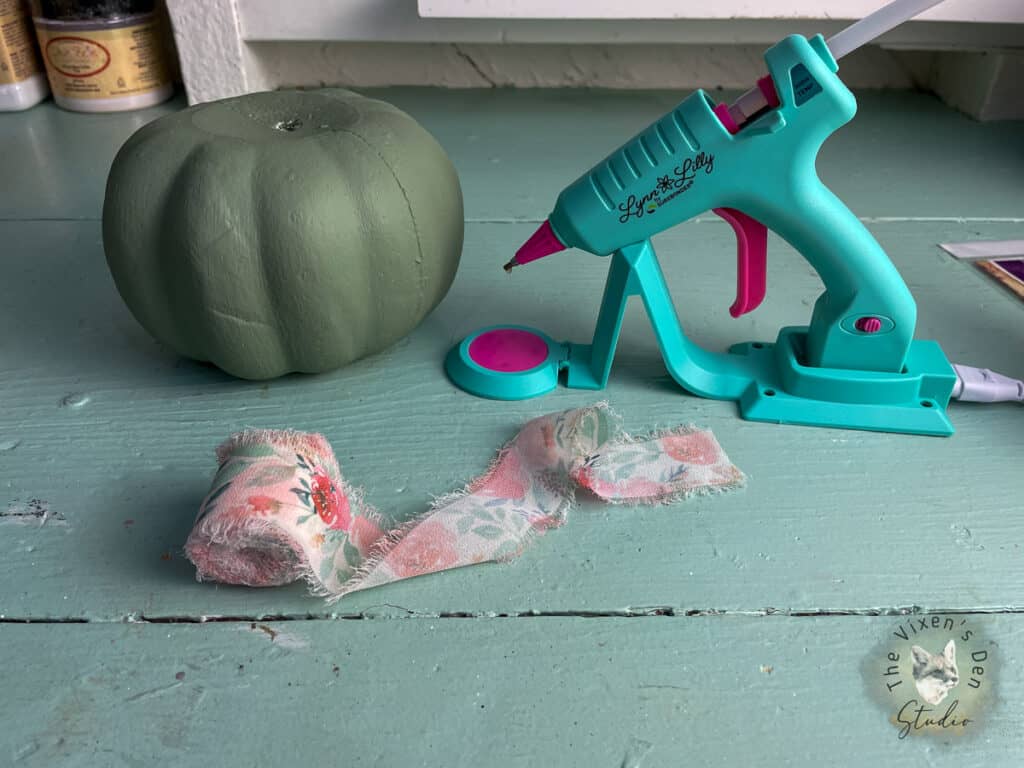
While I was at a conference, I had an opportunity to try out the Lynn Lilly hot glue gun. Until that point, I would have sworn that all glue guns were pretty much the same. After having this cordless glue gun in my hands and wielding its precision tip, I was thoroughly enlightened! I immediately came home and ordered one so that I would have it on hand for our wedding prep day. I’m so glad I did because this glue gun definitely made its way through a lot of hands that day!
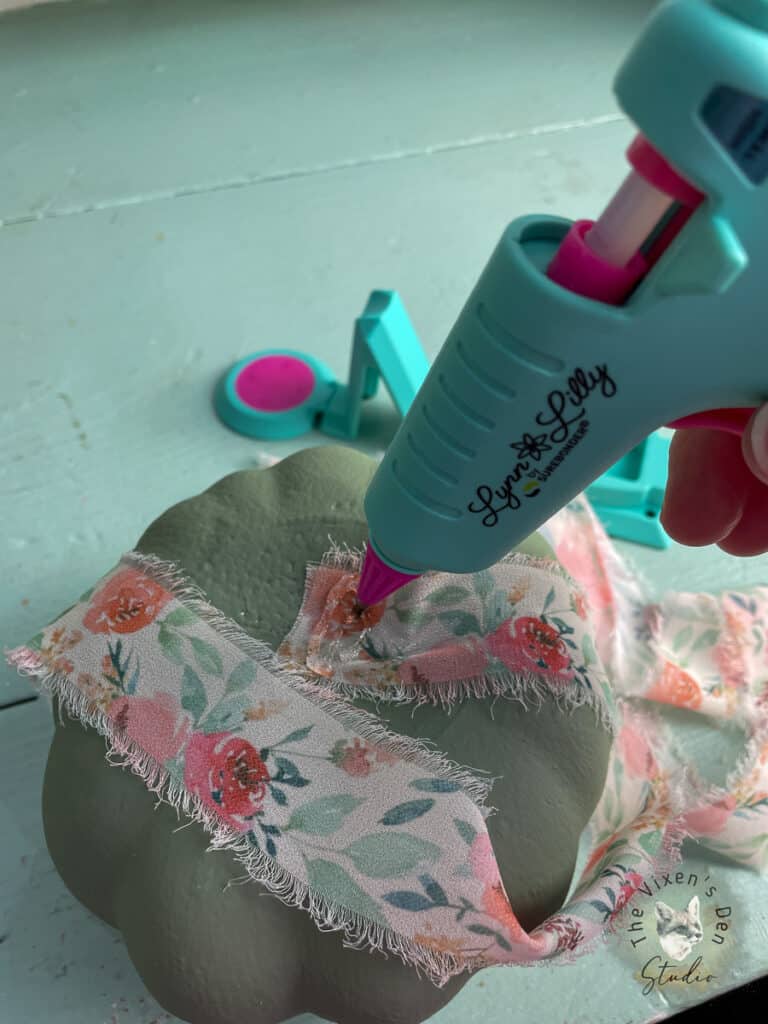
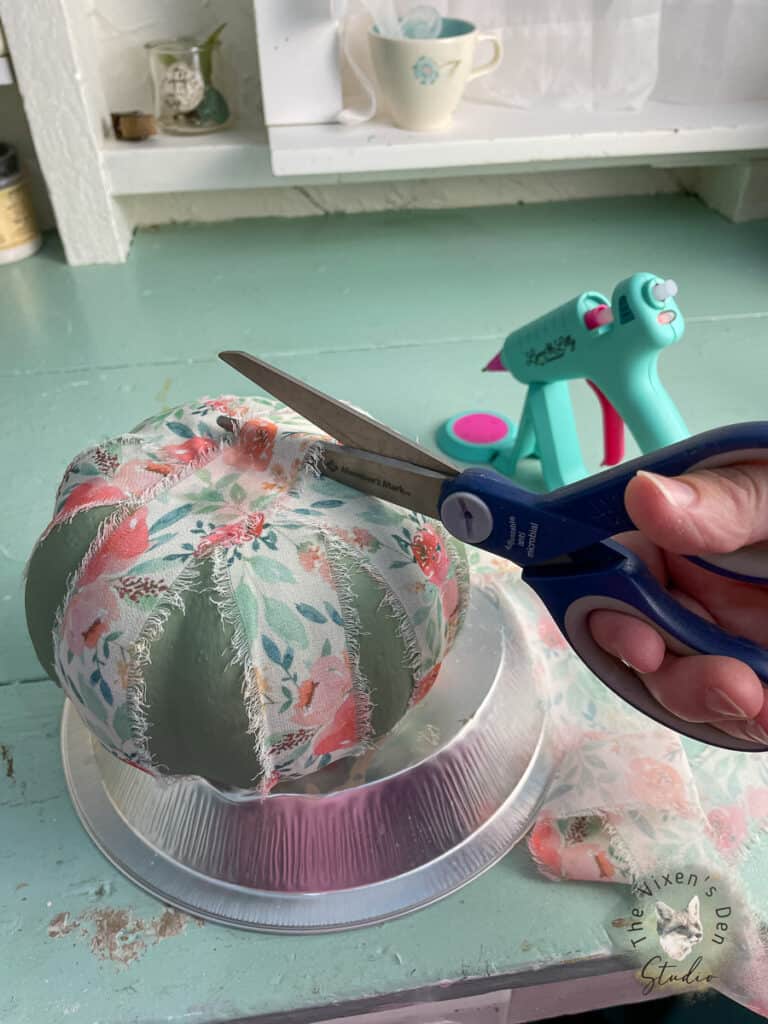
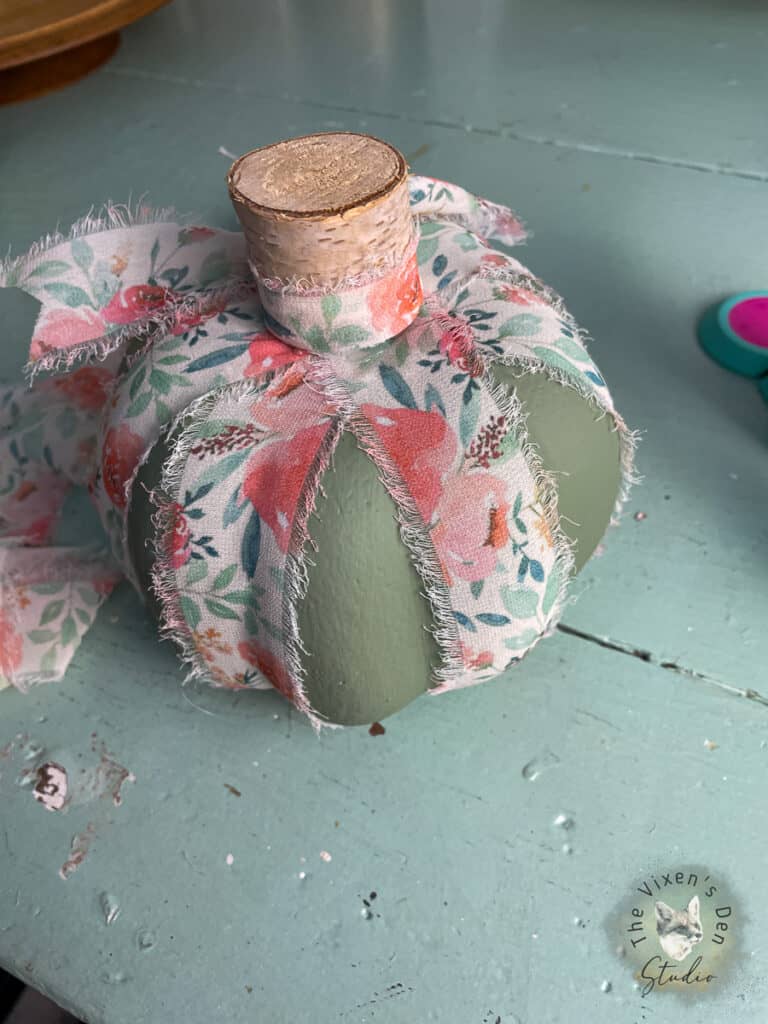
To start off, I flipped the pumpkin over and glued the end of the ribbon to the bottom. Then I flipped the pumpkin back over and smoothed the ribbon down against the surface, gluing it down to the top of the pumpkin. I repeated that process, wrapping the ribbon around the pumpkin with spaces in between for the beautiful paint to peek through.
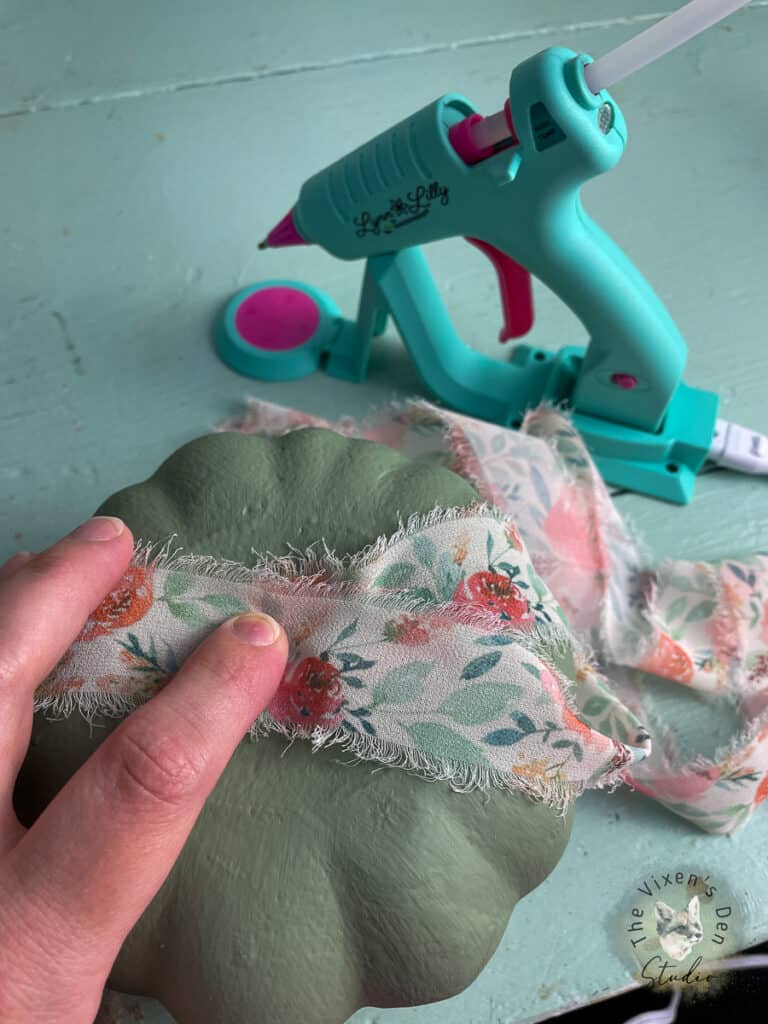
Once I was satisfied with the spacing and the pumpkin felt complete, I trimmed off the excess ribbon and glued it down to the top. The combination of the beautiful ribbon and soothing green chalk paint was lovely! All it needed now were a few details to finish it off.
Details
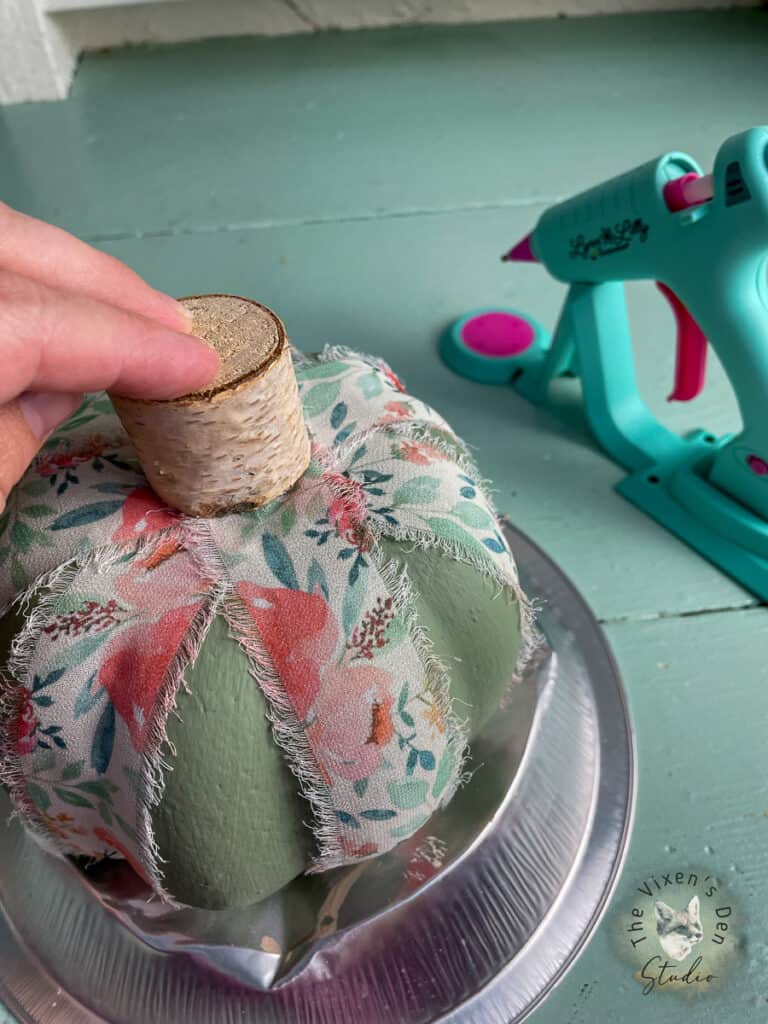
To complete the pumpkin, I applied a thick layer of hot glue to the bottom of a Birch Tree Stem. I pressed it firmly into the center of the top of the pumpkin and held it in place for about a minute.
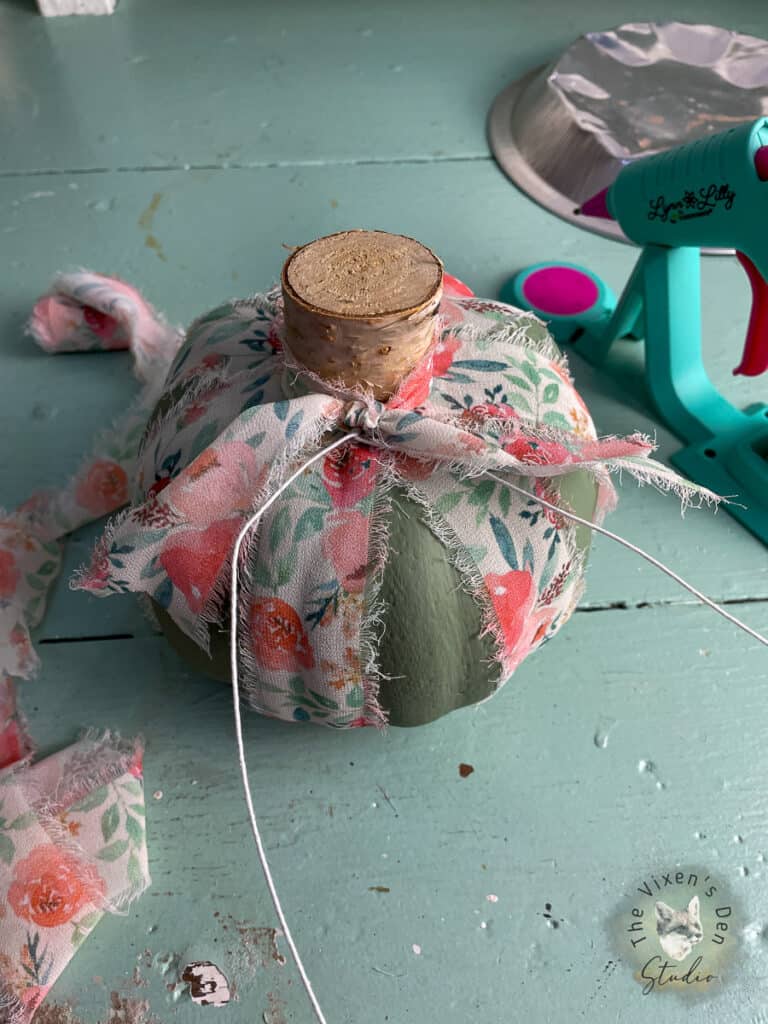
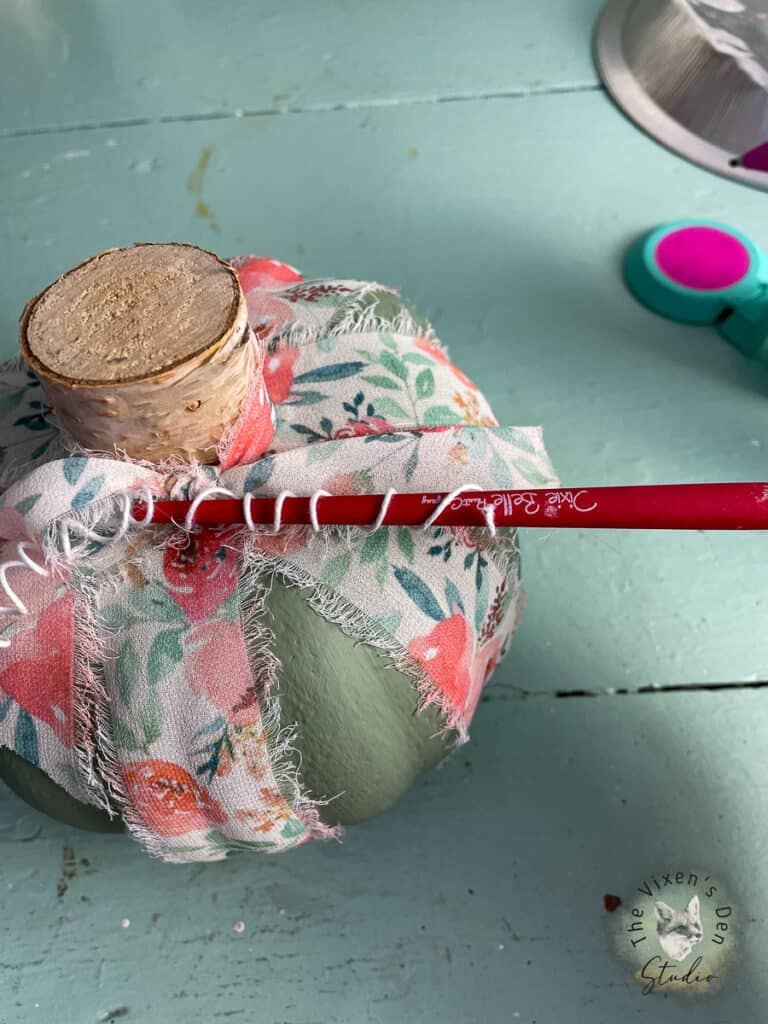
Then I centered a length of white floral wire against the back of the stem, wrapped it to the front, and twisted it tightly to hold it into place.
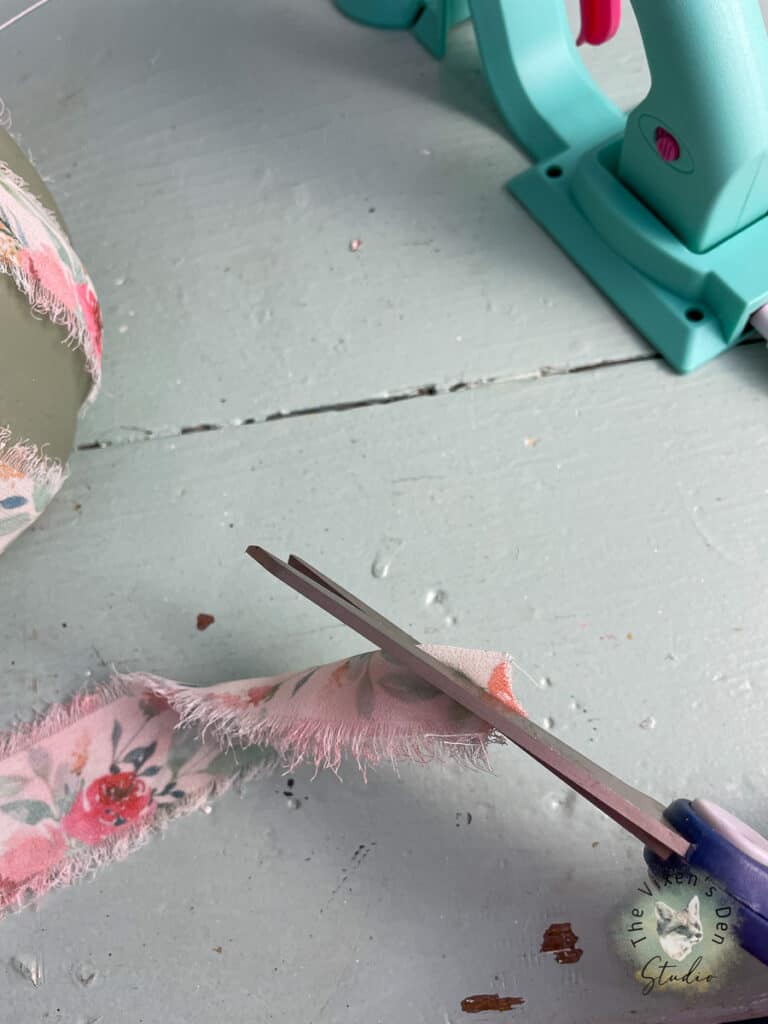
Taking a length of ribbon, I cut it and trimmed the ends into a vee shape. After applying glue to the base of the stem, I folded the ribbon in half and wrapped it around the stem so that the fringe was pointed up. I tied the ribbon snugly against the stem.
To finish it off, I used the handle of a Dixie Belle Artist brush to wind the floral wire into a coil. I adjusted the coil until it lay just so and it was done!
Final Reveal
So which look do you prefer for this sweet pumpkin, the traditional bright orange or the softer cottage core? Let me know in the comments below!

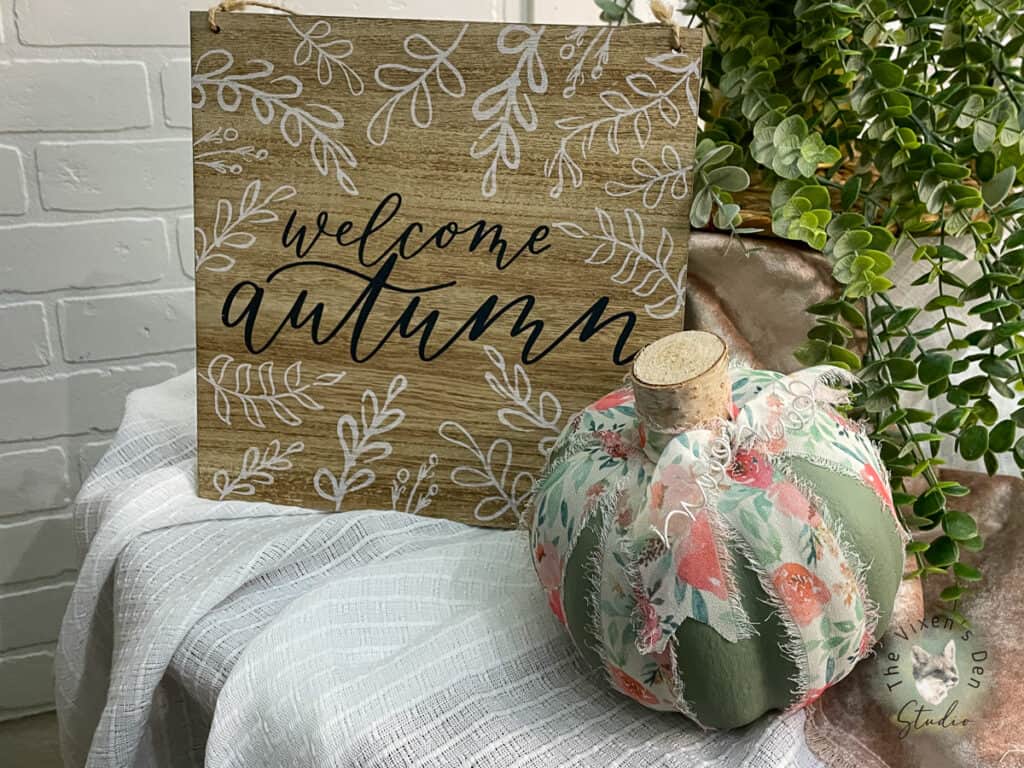
Personally, I’m not quite ready for Fall here, so this is a wonderful way to ease into it while enjoying the coziness and sweetness of soft colors and fringe ribbon.
Thank you so much for stopping by! Check out the other amazing projects at the link parties below. I know the hostesses will appreciate your visit and comments.
Until next time, have a beautiful and blessed day!


Linked up to these lovely link party hostesses at:
Don’t forget to sign up so you hear all about the next misadventure! Until then, you may also like this Magazine Rack makeover or this Dresser upcycle.

LOVE this weeping willow color, Becky!
We will be featuring you starting Wednesday at the Creative Crafts Linky Party! Pinned and shared!
Creatively, Beth
Thank you so much, Beth!
Just Lovely, Becky! And I love the little curly-cue detail with the floral wire! Apparently those stem curls are called tendrils. I didn’t know until I looked it up today.
Hi, Donna! The curly-q tendrils were so much fun to make! Thank you so much for visiting and commenting. It means so much! Hugs!!