How to Find the Right P2 Laser Power and Speed Settings
I am an enigma.
I will research a topic to death, but I am terrible about testing before jumping headfirst into a project.
I don’t typically consider that a problem. I usually pivot and figure out another method (and you have the benefit of enjoying the misadventures!) But there are some instances where it’s best to test and even retest before throwing money down the drain in wasted materials.
Using a laser machine is a perfect example.
I could have saved a LOT of time and materials on this adorable dinosaur cake topper if I had simply created a materials test grid from the beginning.

Let’s walk through why a materials test grid is an important tool and how to set one up for your design so that you can learn from my misadventure!
But first, some mandatory legalese for your reading pleasure:
This post is sponsored by xTool. While they provided the machine for this project, all opinions are my own.
Follow this affiliate link to see all of their amazing laser engraving and cutting machines and materials!
AS AN AMAZON ASSOCIATE I EARN FROM QUALIFYING PURCHASES AT NO COST TO YOU.
YOU CAN SEE MY FULL DISCLOSURE HERE.
Tools and Materials
Tools
- P2 Laser
Materials I Have Tested
- Cardboard
- (3mm) 1/8″ Basswood
- (3mm) 1/8″ Clear Acrylic
- (3mm) 1/8″ Blue Iridescent Acrylic
- Hardware store plywood
- Glass
Don’t Tests Just Waste Material?
xTool Creative Space (XCS) comes pre-programmed with settings for a variety of materials. So why even consider creating a materials test grid if there are already pre-programmed settings?
First, the P2 recommended settings may work for xTool materials, but they may not be the right settings for your design goal. Perhaps you’re looking for a darker or lighter engraving. You may even want a variety of each in the same design. The materials test grid allows you to figure out which settings will help you achieve those perfect results.
Second, it’s important to remember that different materials perform differently, but the same type of material from a different company can also perform differently. It’s just like trying on jeans from different brands. Just because that tag says they’re your size does NOT mean that they will fit!
Pro Tip: The same principle is applied to purchasing fabric, paint, flooring, carpet, etc. Plan for a percentage of waste and always buy enough at the same time to complete the job because the next batch (from the same company!) may be completely different.
Finally, finding the right balance between power and speed helps to keep the power at the optimum level without using more than necessary. This is important because the higher the power usage, the shorter the CO2 tube lifespan. Using the Materials Test Grid helps find the balance that gets the job done and delays replacing an expensive tool until it is absolutely necessary.
Remember that understanding your specific machine and how it performs is part of the creative process, just as learning how a new brush feels in the hand or a new paint applies. Testing is the only way to get to know this new tool. Imagine how confident you will feel and how accurately you can price a job if you know exactly what the end result will look like!
Select the Right Materials Test Grid
While the design results are wide-ranging, the P2 Laser is a powerful machine that offers three primary functions:
- Scoring
- Engraving
- Cutting
Since scoring and cutting are very close to the same result, it’s possible to get a good idea of the appropriate material settings with only two test grids:
- Scoring
- Engraving
The minimum power setting for the P2 is
Pro Tip: The basic relationship between power and speed are:
higher speed + lower power = light engraving
lower speed + higher power = deep engraving/cutting/burning your project into a briquet
So where do you find these magical test grids, you might ask? I’ve got the best answer ever. You can make them yourself!
Setting up a Materials Test Grid
While it’s true that you can buy Materials Tests, and free tests are available on the xTool site, you can create your own using xTool Creative Space (XCS)!
The best part about creating your own Materials Test is that you can completely customize it using a shape and/or font that mimics your planned project.
So let’s set up a test grid!
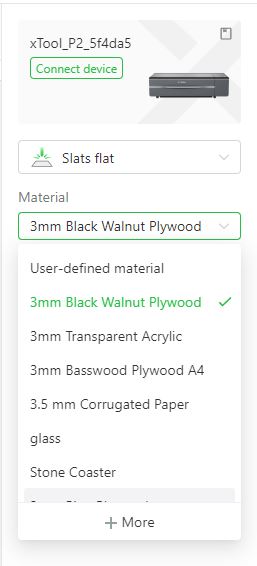
Open XCS.
Click on the shape icon in the left menu.
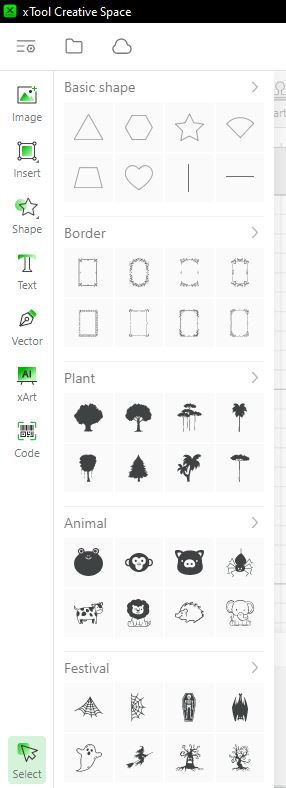
Choose a shape.
Pro Tip: I like to choose a more complex shape because it’s easier to see how the changes in settings distort the finer details.
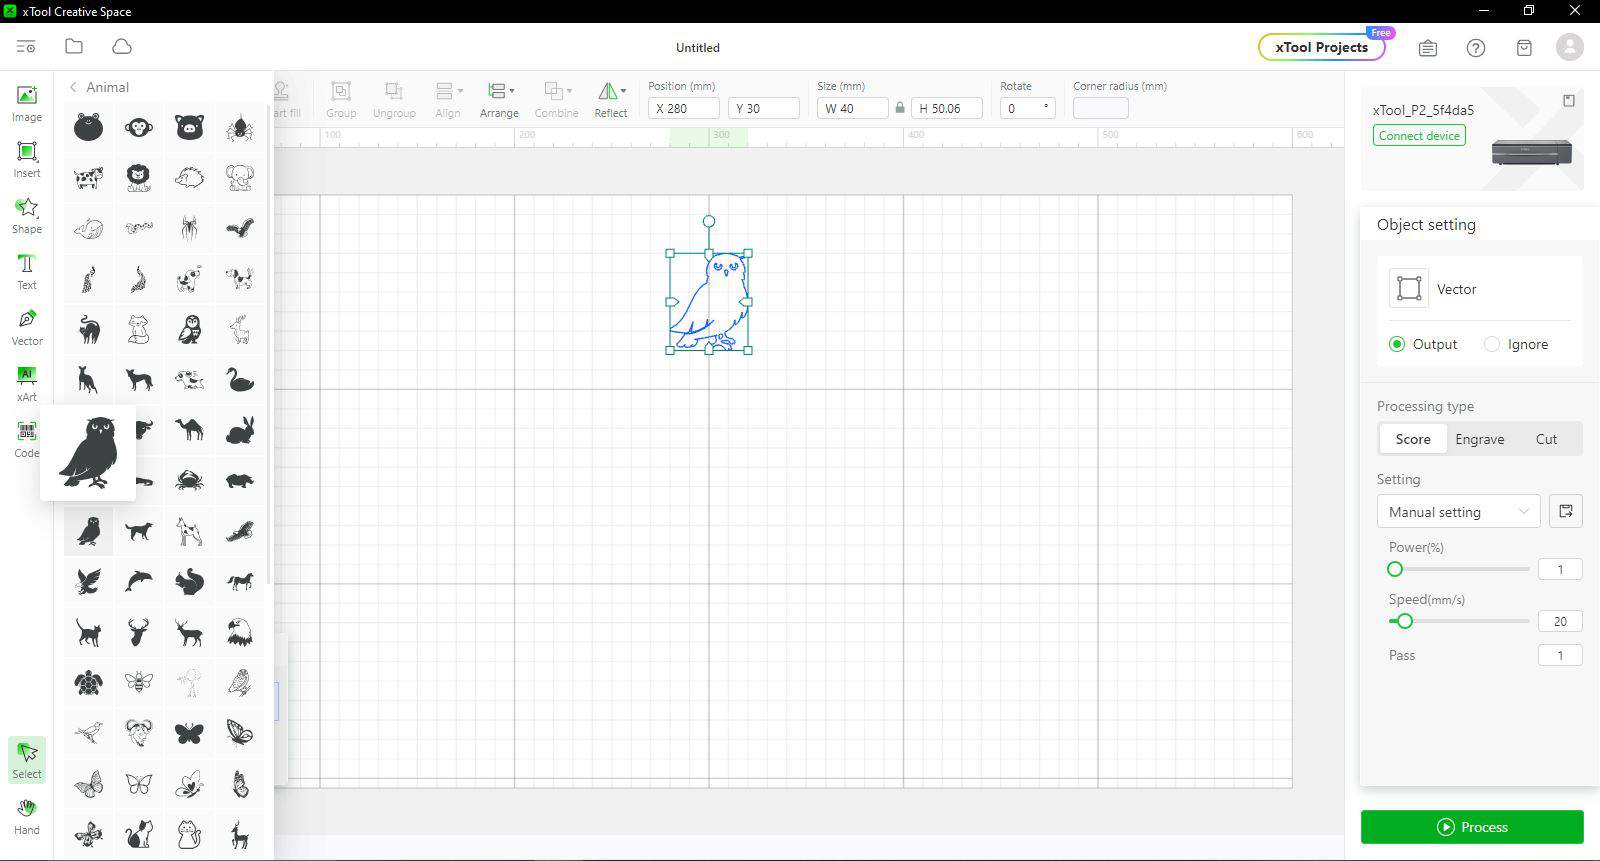
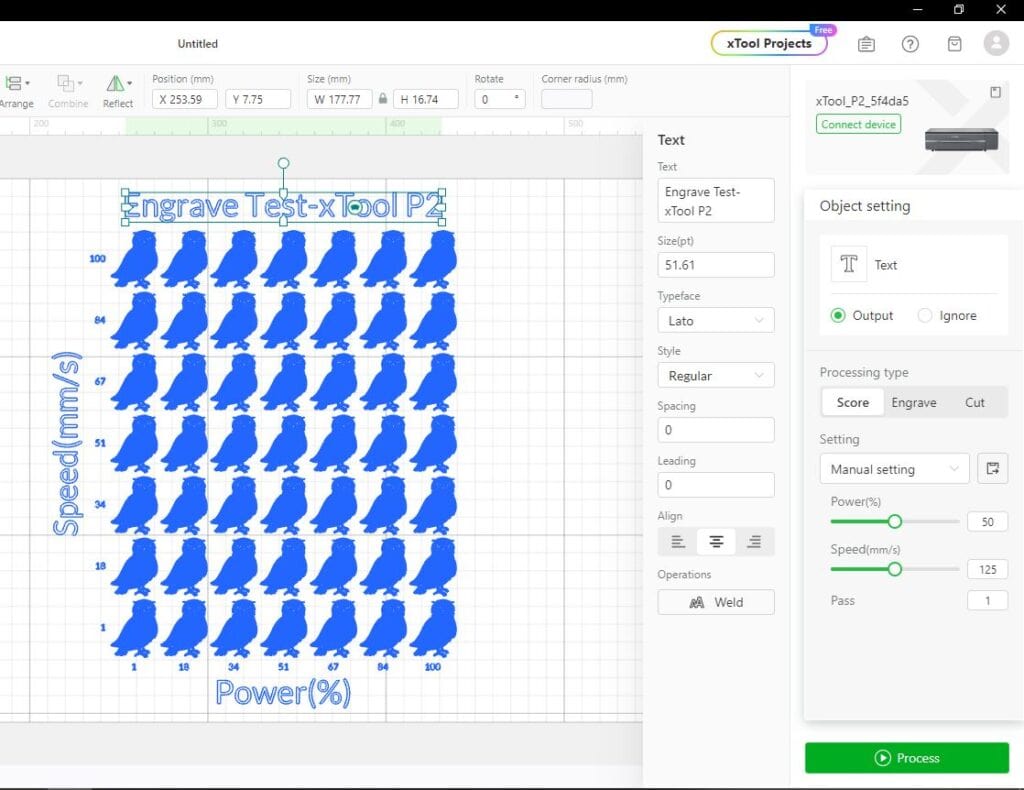
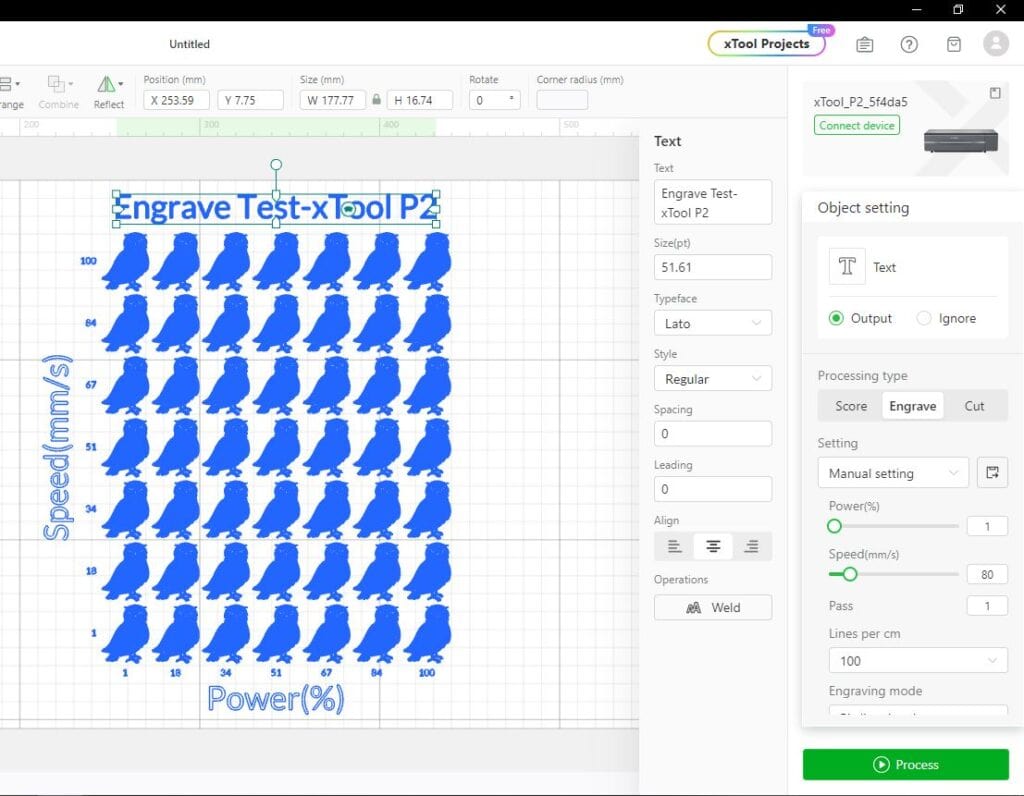
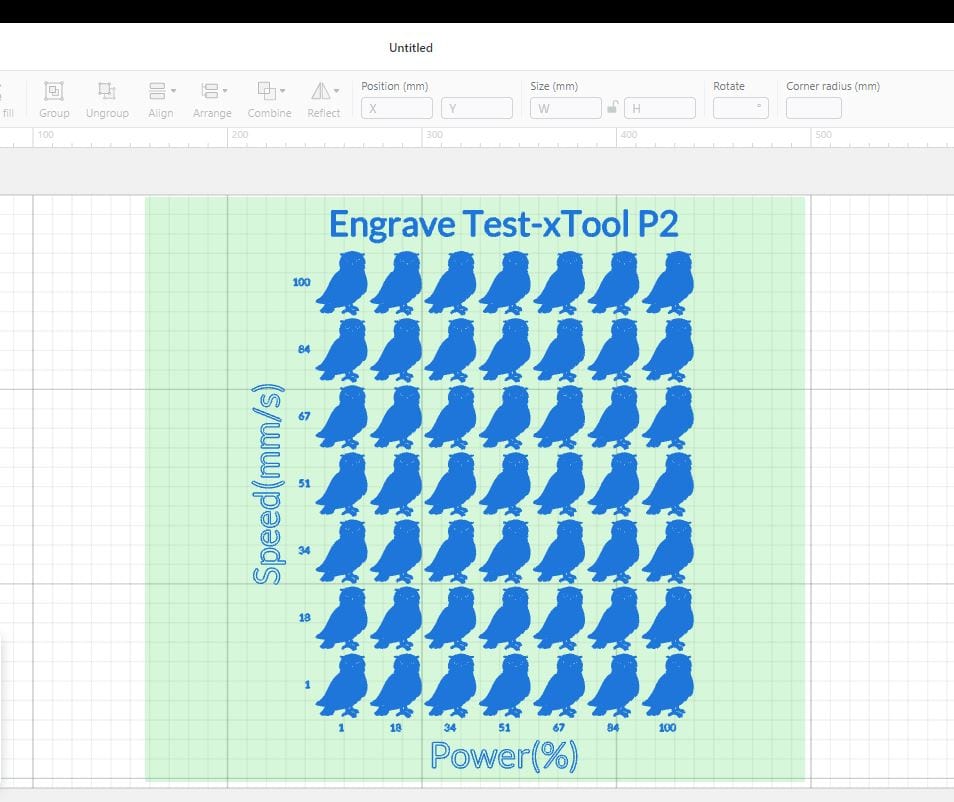
In the right panel, select either “Score” or “Engrave.” (The shape will turn blue when “Engrave” is selected.)
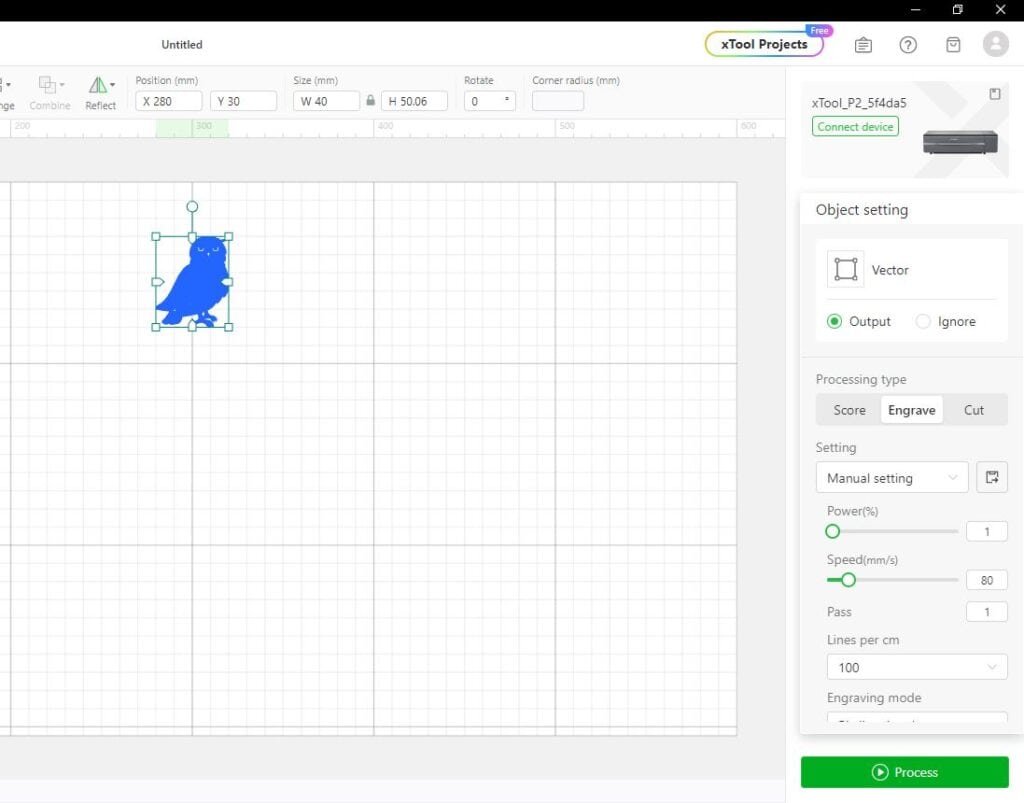
Pro Tip: XCS automatically defaults to “Score” so be sure to select “Engrave” before moving to the next step as you won’t be able to easily change the selection later.
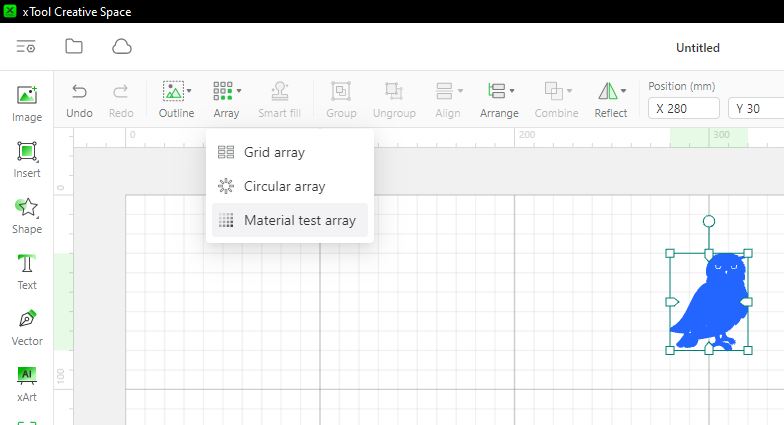
Click in the gray area above the grid to hide the shape menu. Then click on the “Array” icon in the ribbon at the top of the screen, then select “Test Grid” from the drop-down menu.
This menu shows the options available to create your custom test grid!
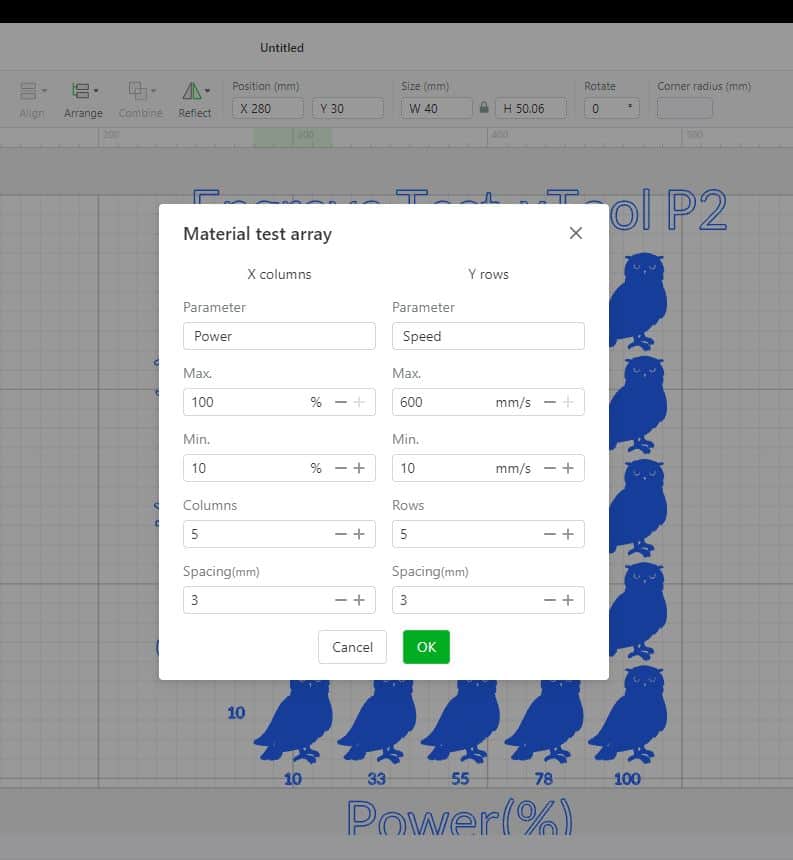
Set the minimum and maximum power and speed settings to establish the test range. Then select the number of rows and columns to increase or decrease the number of speed and power settings that you would like to test.
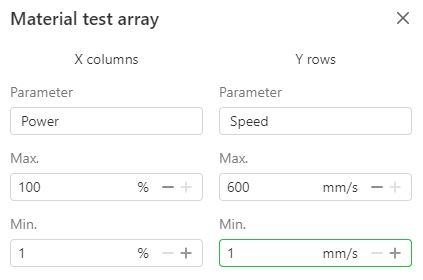
Pro Tip: I recommend focusing around the range recommended by xTool, so that you have a test both higher/faster and lower/slower than the settings listed in the xTool Material Settings Library. This will help you hone in on the perfect setting for your material without spending too much time testing out ranges that probably won’t work.
Once you have the range that you want to test, click “OK”
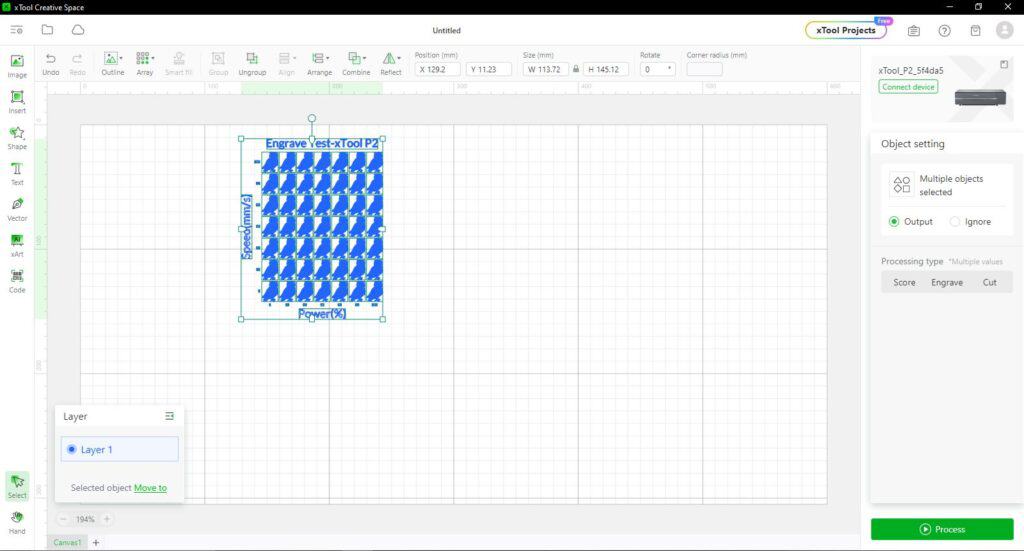
Grab a corner of the material test with your mouse and resize it to fit the grid. Then click “Ungroup” to (ironically) ungroup the test grid elements.
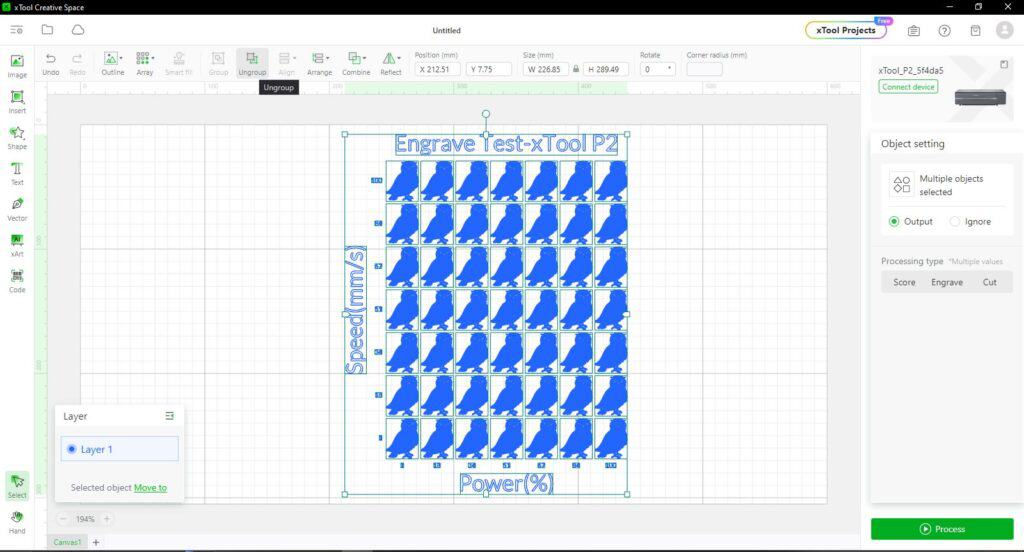
This allows you to tweak the power and speed settings font by changing the size or choosing to engrave instead of score.
Ungrouping the elements also provides an opportunity to verify that the test is set up properly. Hover over each test image and look at the power and speed settings in the right panel to make certain that they match up to the settings in the test grid.
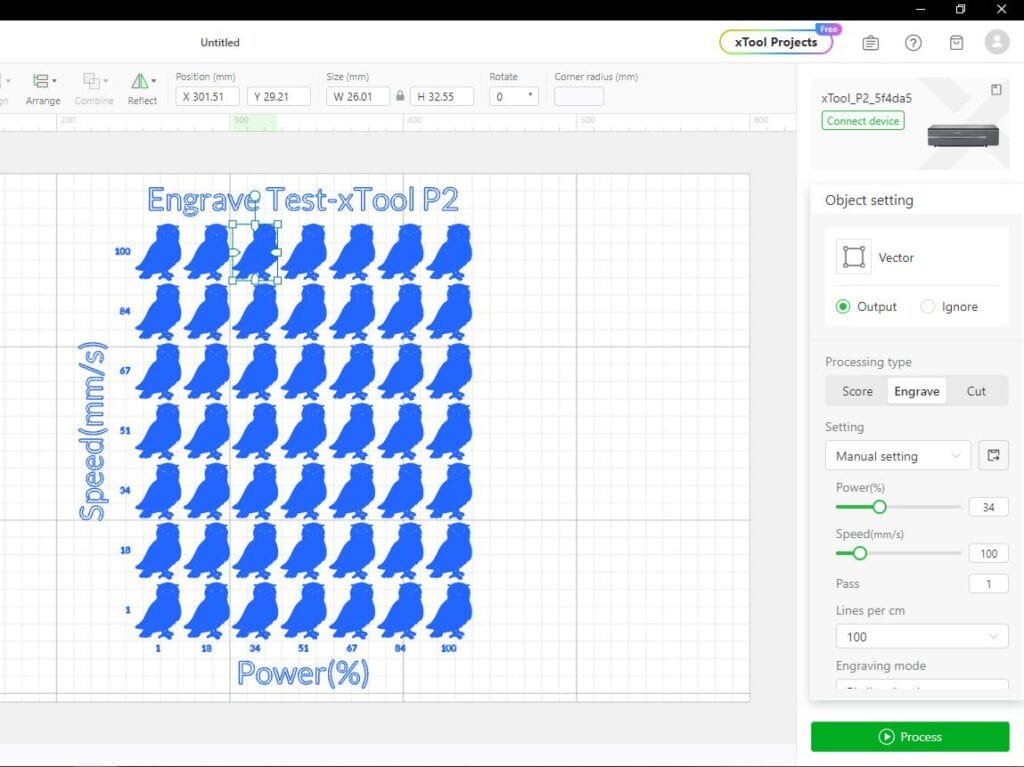
If they don’t match up, and instead are all the exact same speed and power setting, delete the test grid and start over. (This usually happens to me when I click “engrave” after I have created a “score” test grid.)
Pro Tip: This is a great time to make certain that the font is big enough to read. It will save you a lot of frustration and wasted material!
Once the test materials test grid is set up, highlight all of the elements and regroup them by clicking “Group” in the top ribbon.
Then arrange the test grid over the material and start processing!
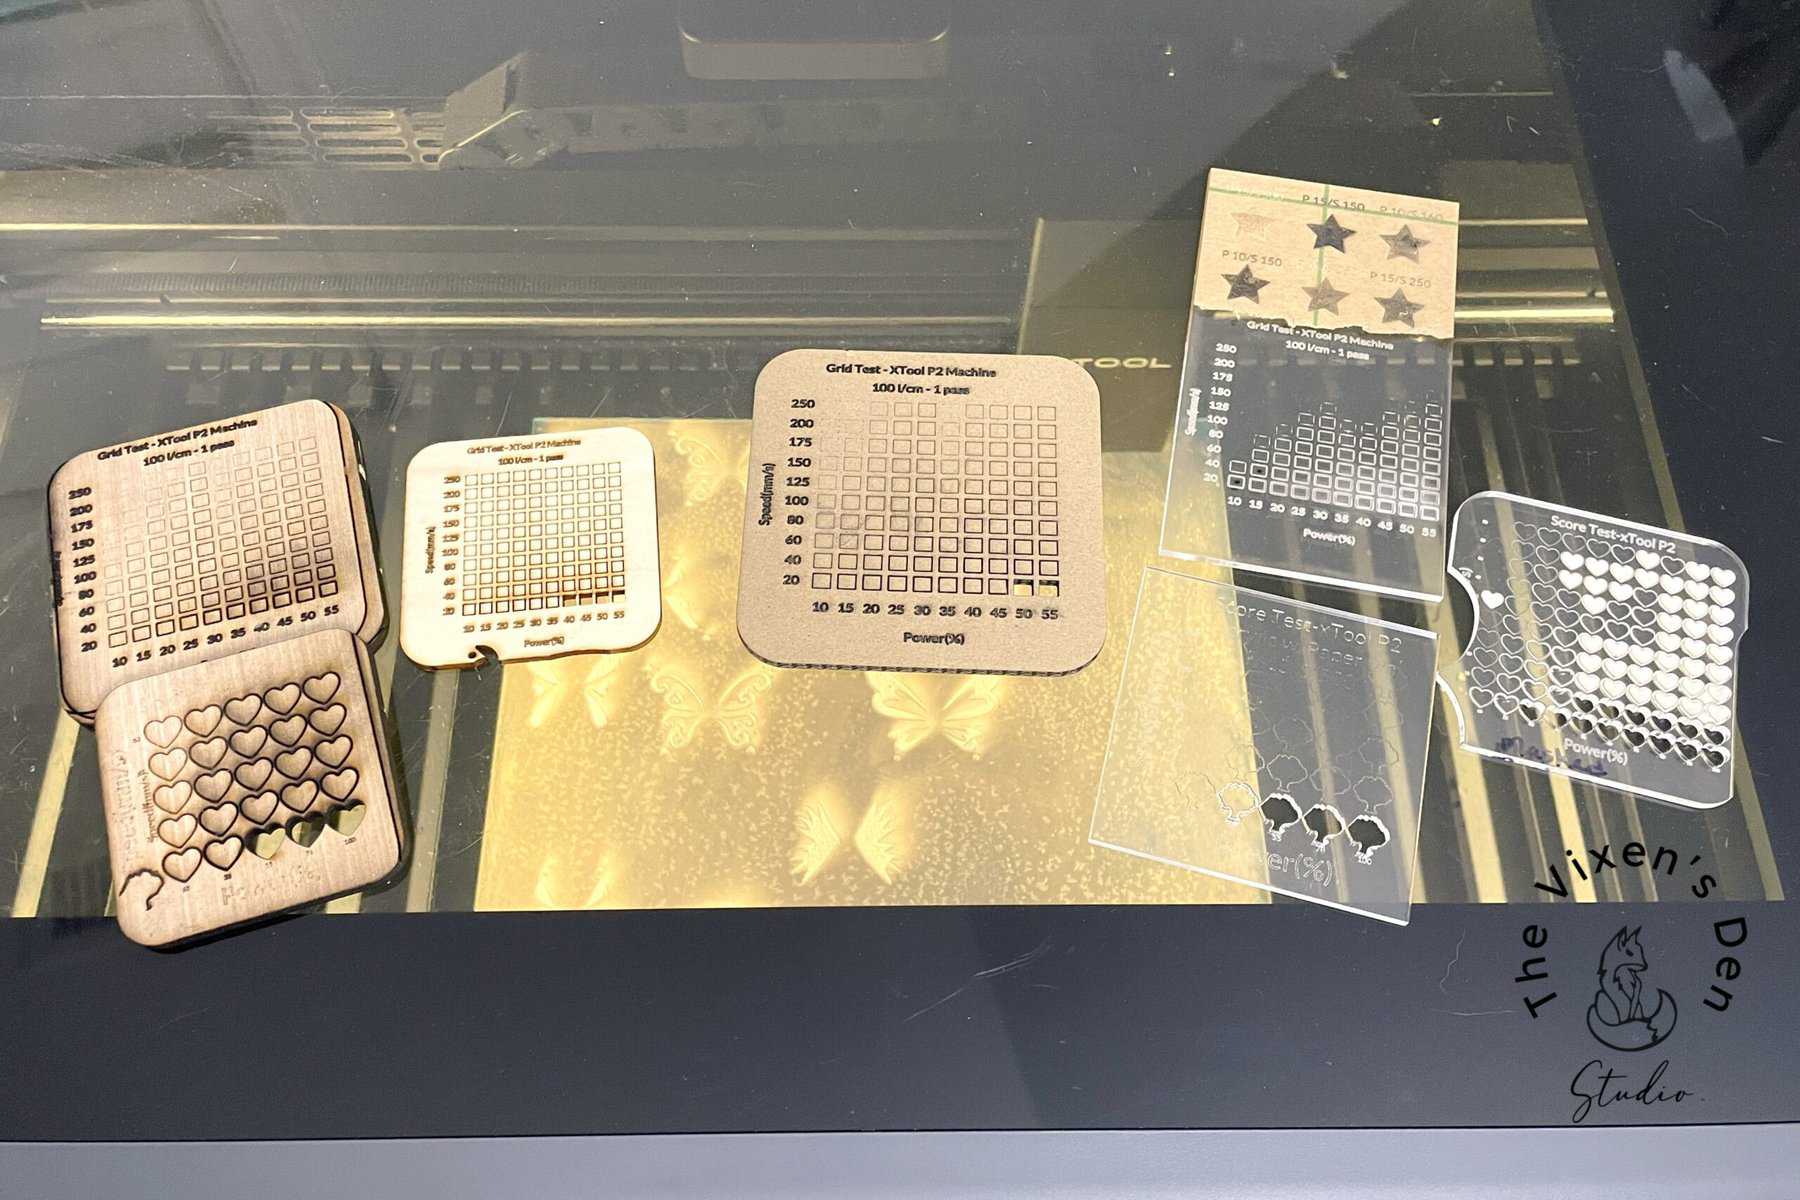
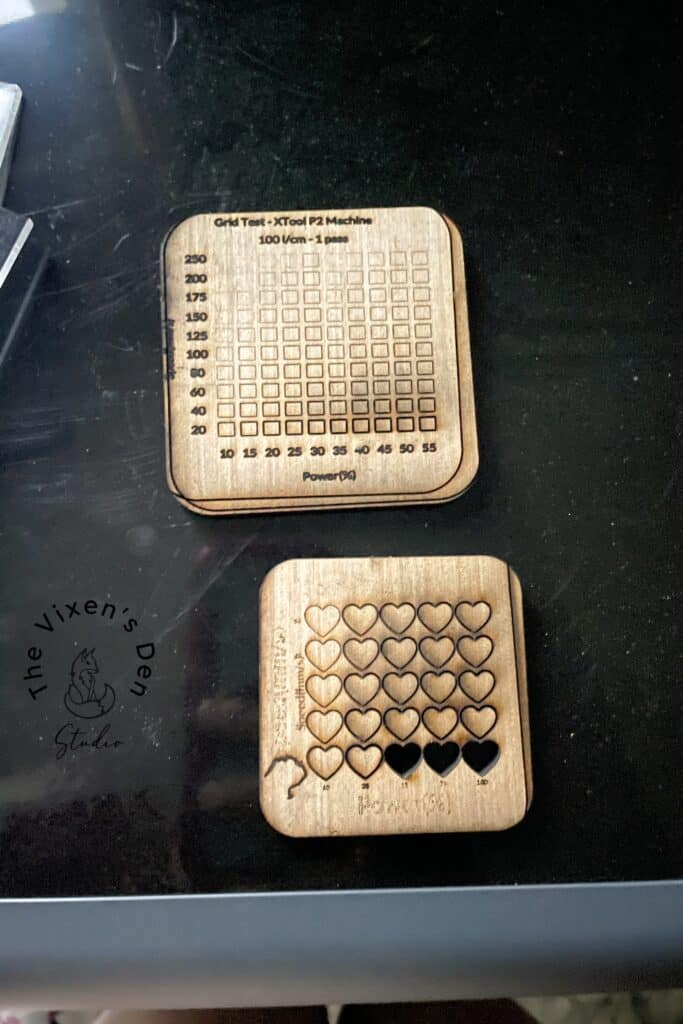
Choosing the Test Result
Success! You have just created your very own handy Materials Test Guide! Now take a good look at it and decide which settings are right for your project. Usually, the optimum setting will provide a deep engraving or clean cut at the lowest possible power with minimal flashing.
Remember that it’s a balance between power and speed – low power and high speed for fragile materials that burn easily, higher power and lower speed for thicker/less fragile materials that may need more oomph to achieve a clean cut in one pass.
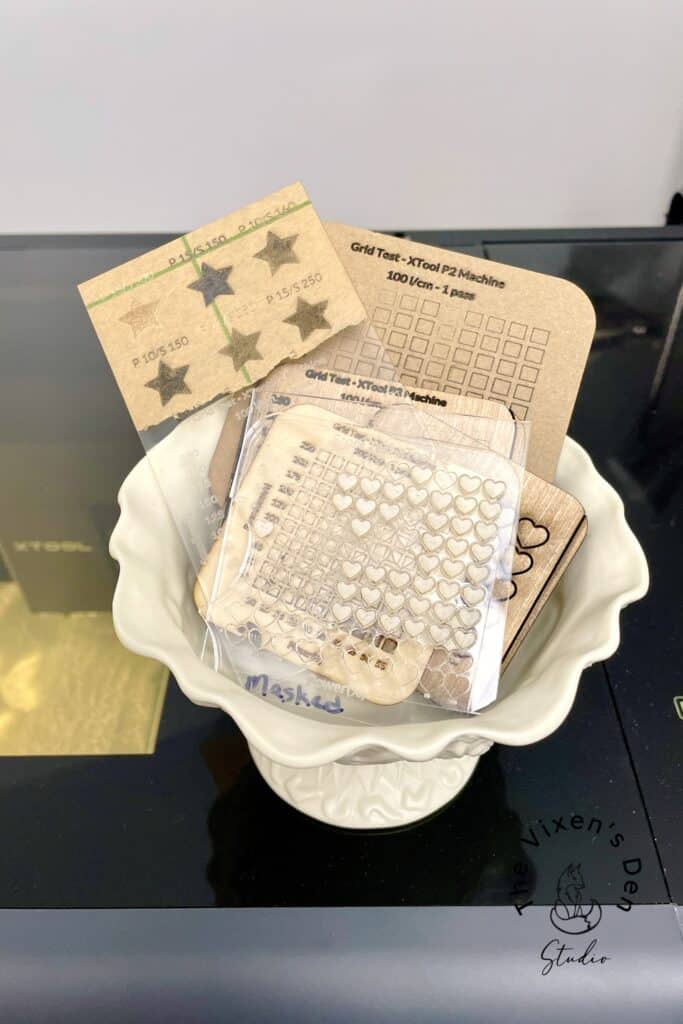
The longer the laser stays in one spot, the more likely to experience “flashing” on the project. Flashing appears as yellow staining or charring on wood and a ghostly halo on acrylic or glass. It is caused by the heat or smoke from the laser during processing.
Flashing can be prevented by masking. This is done by applying transfer tape to wood and a film of dish soap on glass or acrylic. Wood can also be sanded and wiped to remove some charring, but using the optimal settings and masking are the two techniques that will provide the best final result.
Pro Tip: Another setting that can be tweaked to help with flashing is the “Air Assist.” You can find this setting in the main machine settings as shown in this article about how to avoid burn marks when lase engraving wood from xTool. Increasing the air assist (fan) speed can help prevent charring.
Once you have a better idea of the range that works best for your material, you can perform another test grid to dial in that perfect balance of power and speed.
Final Thoughts
While it may seem wasteful to spend precious material creating a test grid, materials tests save time and money in the long run. They also provide you with a powerful tool that you can pull out whenever you start a new project or go back to using a material that you haven’t worked with in a while.
Creating a test for every new material helps verify that the combination of power, speed, and materials will provide the desired results. Predictable results will help you confidently price and create products quickly and easily!
Using the optimal amount (and not too much) of power helps to prolong the life expectancy of the CO2 tube, which also saves money on maintenance costs.
Best of all, creating a custom Materials Test is completely free! Using XCS to create a custom Materials Test is a great way to become familiar with the software and its capabilities. Create a test grid of a letter or unique shape to see exactly what to expect when creating the final product.

Ready to dive into the creative world of xTool laser engraving and cutting? Click below to start your xTool journey. At checkout, enter code AFFMTRS15 to receive 15% off select materials!


Thank you so much for stopping by! Until next time, have a beautiful and blessed day!

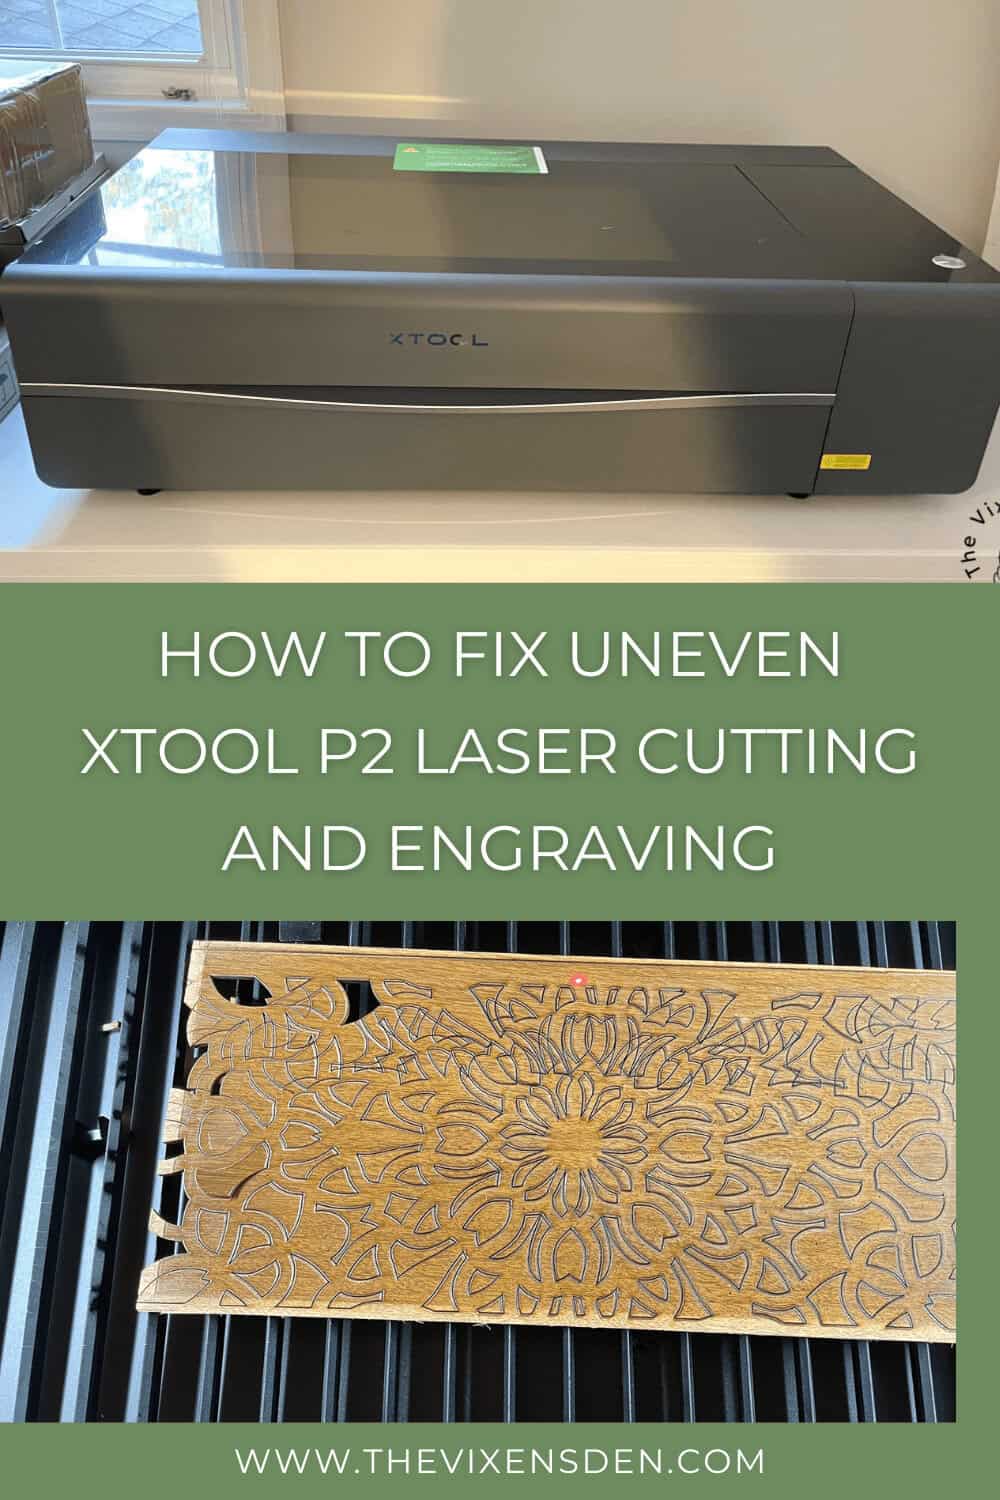
Don’t forget to sign up so you hear all about the next misadventure! Until then, you may also like this Beginner’s Guide to Setting up the P2 or this post about Fixing Uneven Cutting and Engraving.


Thank you so much for this information. I have never done anything with a machine like this. I wanted a Circuit and decided to get at P2…. I know I know…. Anyhow I’m watched tons of video’s and internet searches, asked in forums and in specific xtool groups nobody knew how to do this. Thank you for pictures and simple instructions. I’m on my second grid now…. =) I also signed up for your emails. Can’t wait to learn more.