Refinishing a Vintage Sled
Have you thought of refinishing a vintage sled?
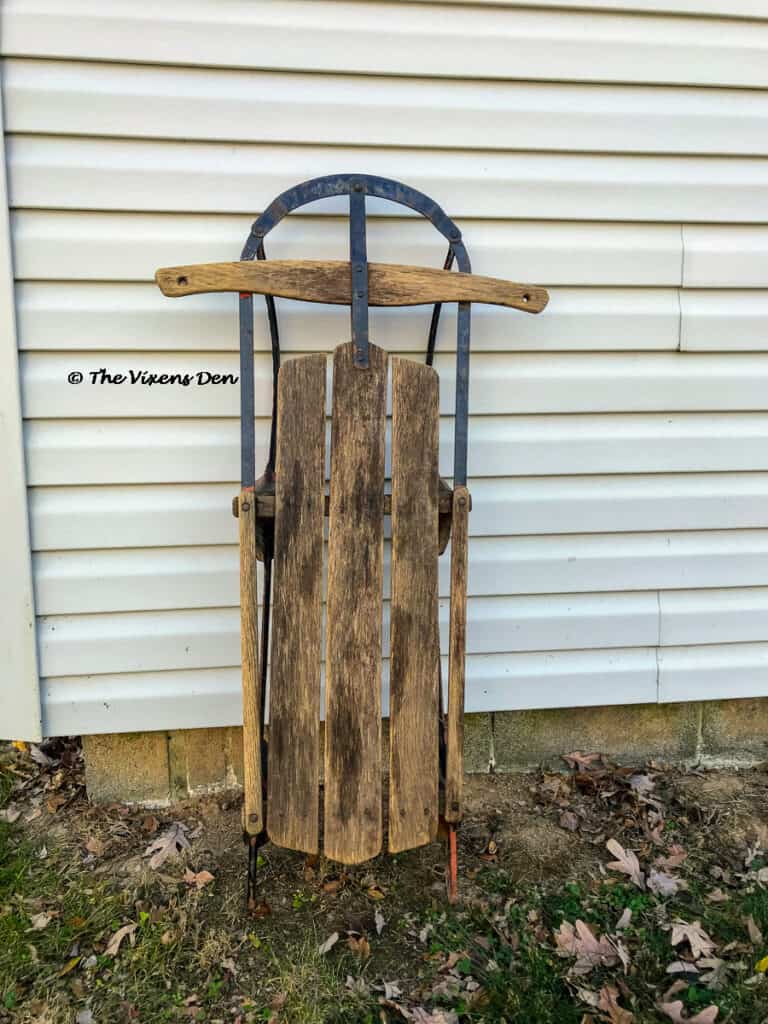
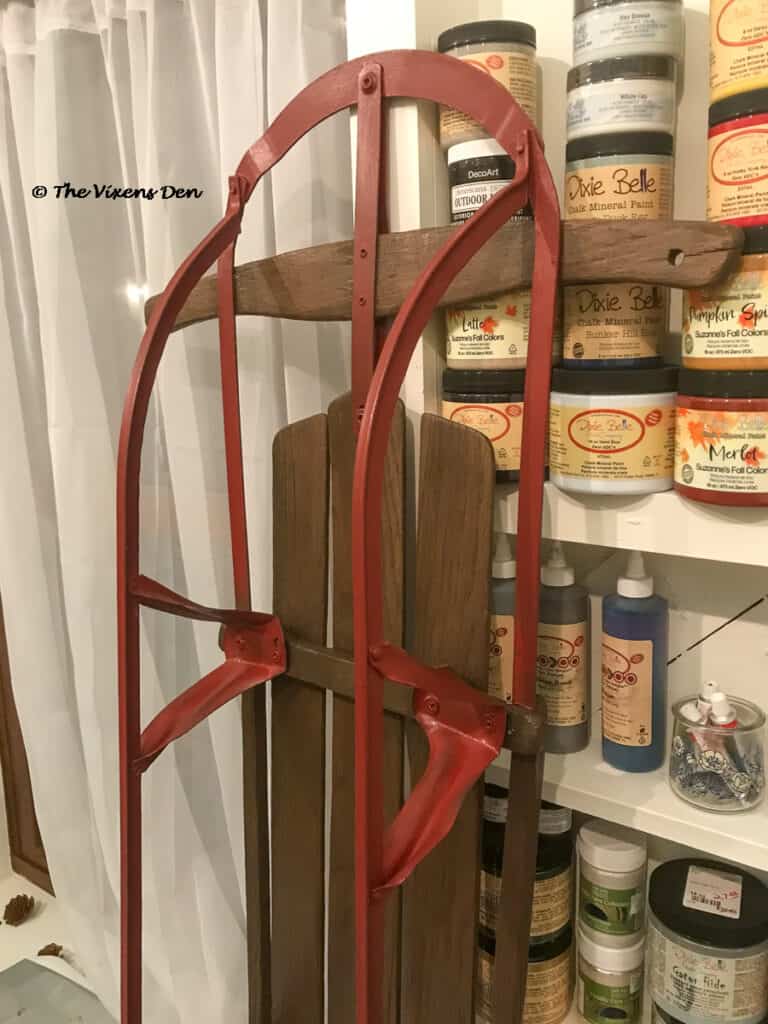
Have you seen these old wood and metal sleds before? This adorable sled was discovered by my client in the trash years ago. Her family actually used it for sledding during one of those deep snows that are so rare around here. But the sled spent most of the time tucked away in the barn. The wood was pretty beat up with a loose middle slat at the top. But the metal runners were intact and the vision that my client had was too cute to pass up. Let’s see how we brought new life to this vintage sled by refinishing it!
THIS POST CONTAINS AFFILIATE LINKS TO PRODUCTS THAT I HAVE OR WOULD USE.
AS AN AMAZON ASSOCIATE, I EARN FROM QUALIFYING PURCHASES AT NO COST TO YOU.
YOU CAN SEE MY FULL DISCLOSURE HERE.
The Refinishing Process
Tools
- Nylon scrub brush
- Hammer
Stain applicator Mini chip brush Artist’s brush Mini angle brush
Materials
White Lightning cleaner - Nails
Titebond wood glue - Sandpaper
R.A.D. Pad Surfprep sanding sponges Tobacco Road Voodoo Gel Stain Slick Stick primer Rustic Red Chalk Paint - Printer paper
Satin Clear Coat
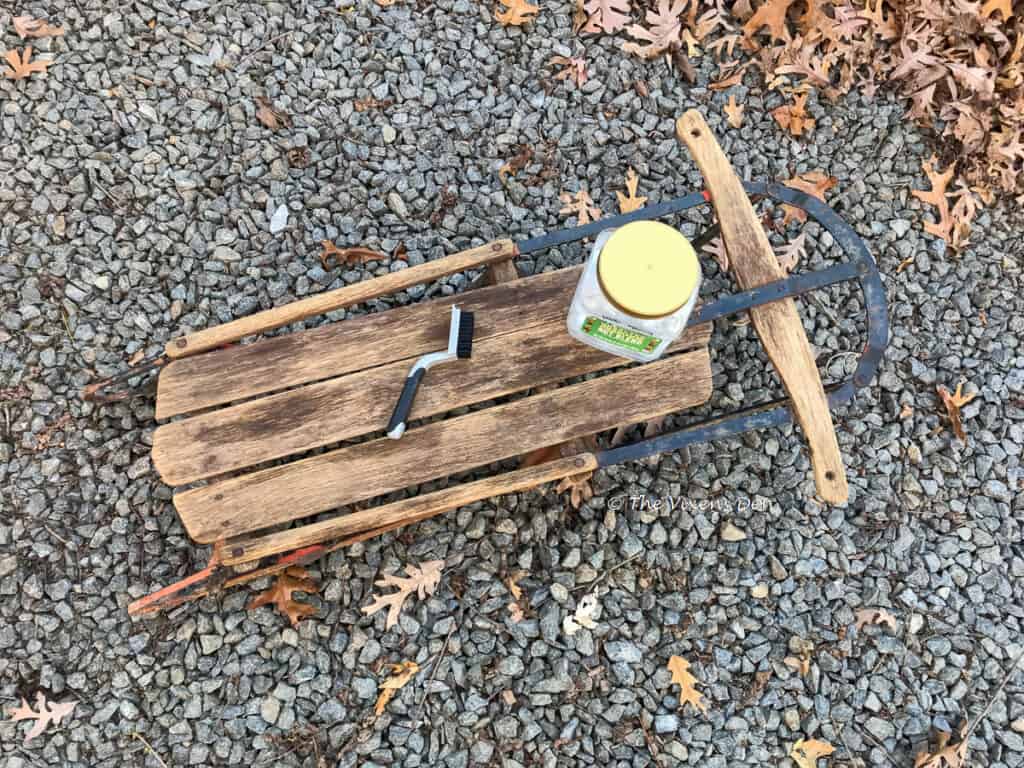
Cleaning the Sled
This sled was pretty dirty, even after my client had washed it off for me! I mixed up a batch of

After the sled thoroughly dried I could see a buildup of rust on the sled runners. I began scrubbing at the old paint, rust, and ground-in dirt with a heavy steel wool pad. It didn’t take long to realize that the steel wool wasn’t going to cut through the buildup anytime soon. I switched over to a wire brush but even that wasn’t cutting the mustard.
When Cleaning Isn’t Enough
One set of wire wheels to the rescue! I plugged in the wire wheel bit into the drill, tightened down the chuck, and went to town.

What a mess! It was crazy how much faster and more effective this process was with the right tools.
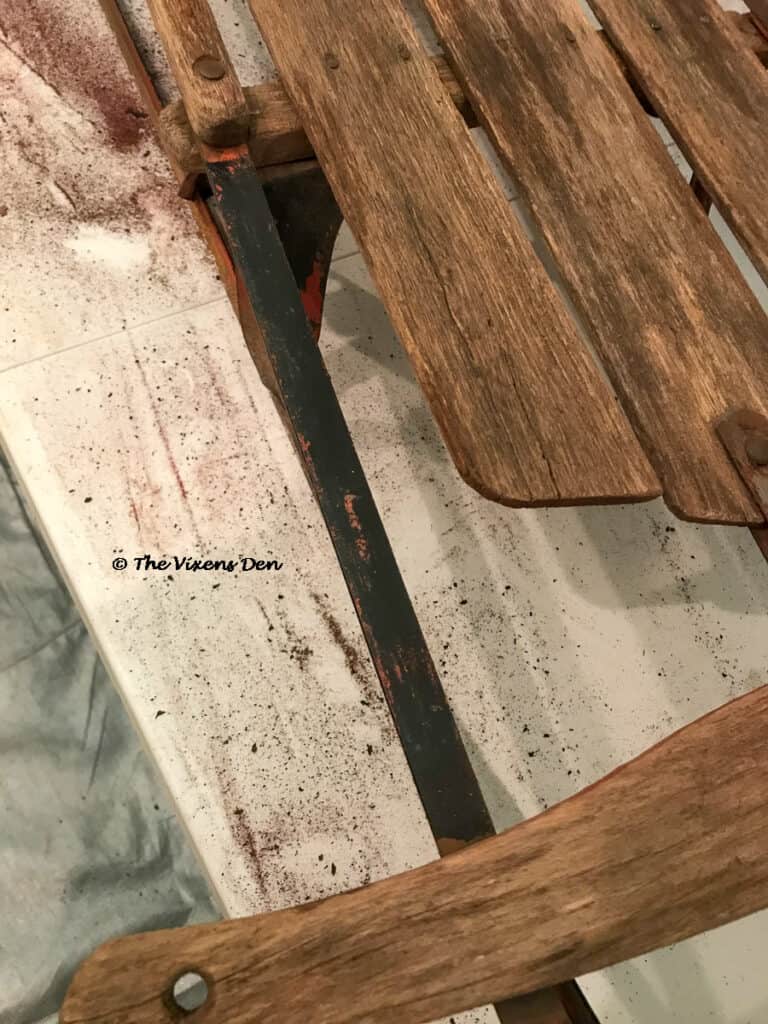
The sled runners were originally painted red. That paint held up very well, but the black paint flaked right off under the might of the wire wheel, 18 volts of battery power, and one very determined woman! There were several spots where I made it down to the bare metal.

Once the runners were clean, I decided to take the handheld wire brush back over the entire piece, brushing off even more dirt and grime in the process. The brush helped to get into crevices that the mouse sander wouldn’t fit.
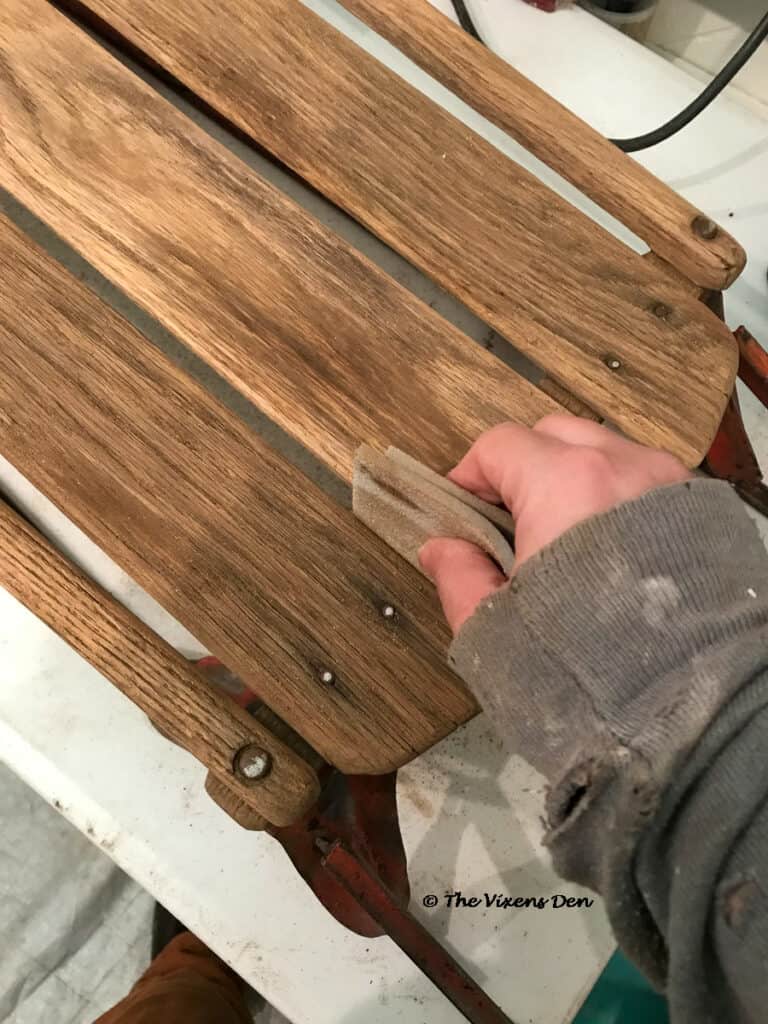
Then, I gave the entire piece a thorough sanding with my mouse sander, using 40 grit, 80 grit, and then 120 grit sandpaper. Finally, I finished off by hand sanding all of the surfaces using these
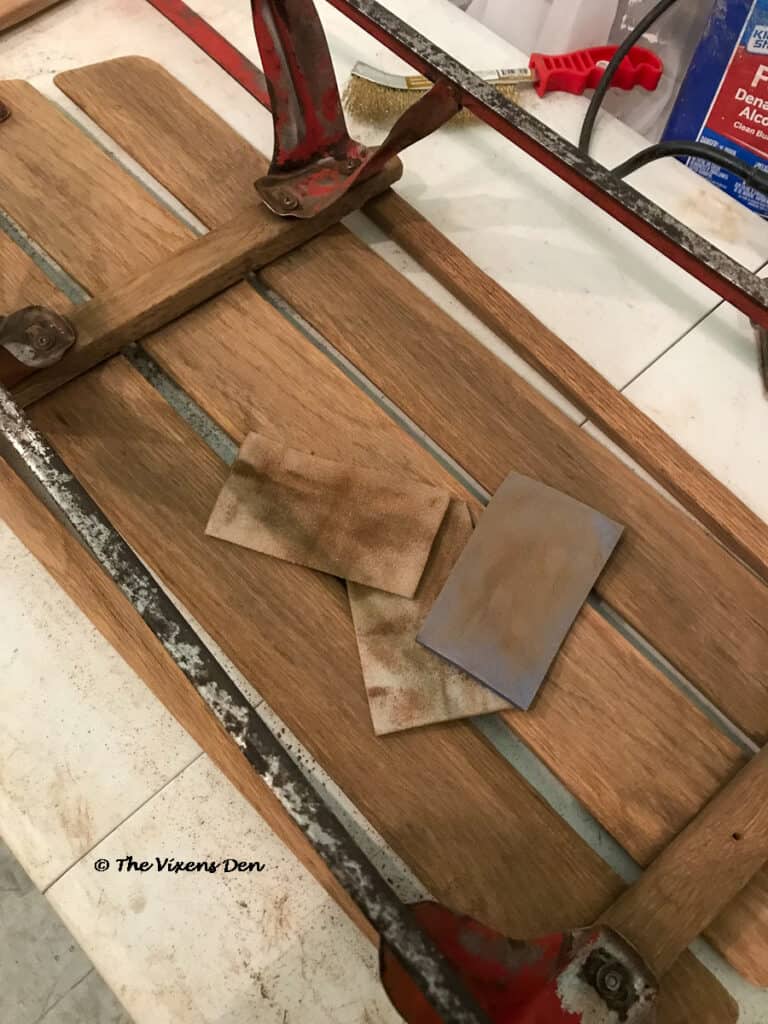
They fit perfectly into all of the tight spaces and they didn’t become clogged easily. I was amazed at how well they held up with how much I was tugging on them to pull them through the slats.
After thoroughly sanding the sled, I vacuumed all of the dirt and debris then wiped it down with a damp rag.

Repair Loose Boards
With the sled finally clean and dry, I could take a better look at the damaged spots. In this case, I lucked out with just a missing couple of nails. Random nails are something I can always find around here. I grabbed a couple from the stash, applied some

While I was at it, I went ahead and tightened up all of the original nails too.
Paint the Runners
Since I cleaned part of the runners down to the bare metal, I primed them with three coats of
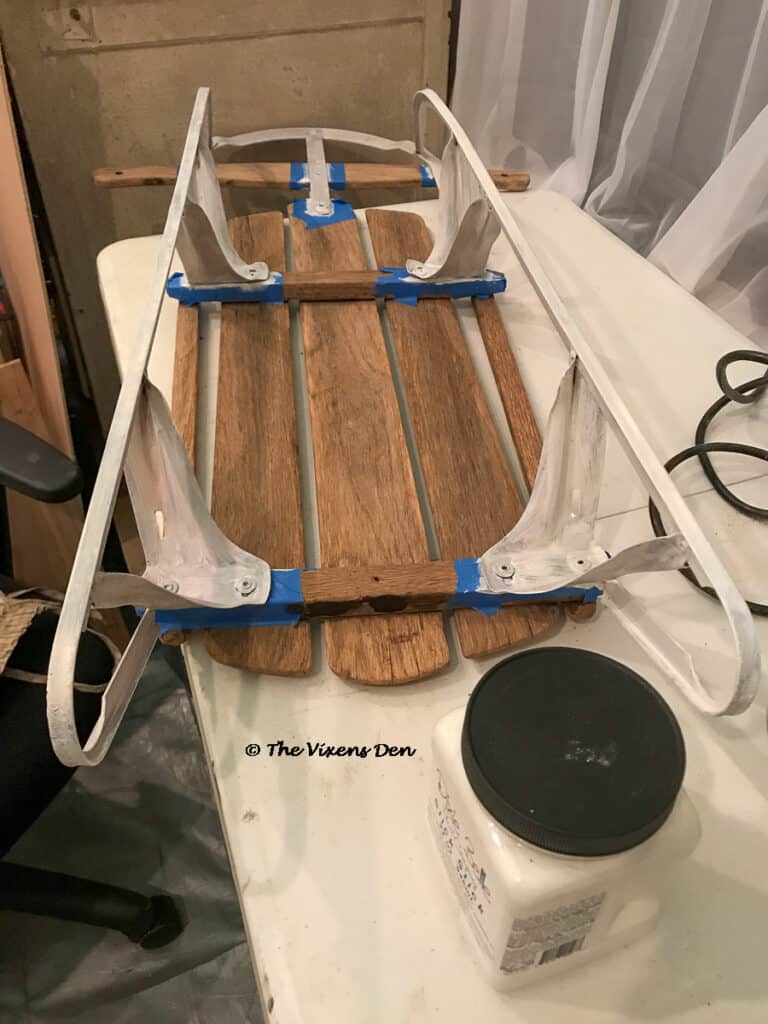
This product helps chalk paint adhere to slick surfaces, such as metal. It made the perfect base for this beautiful
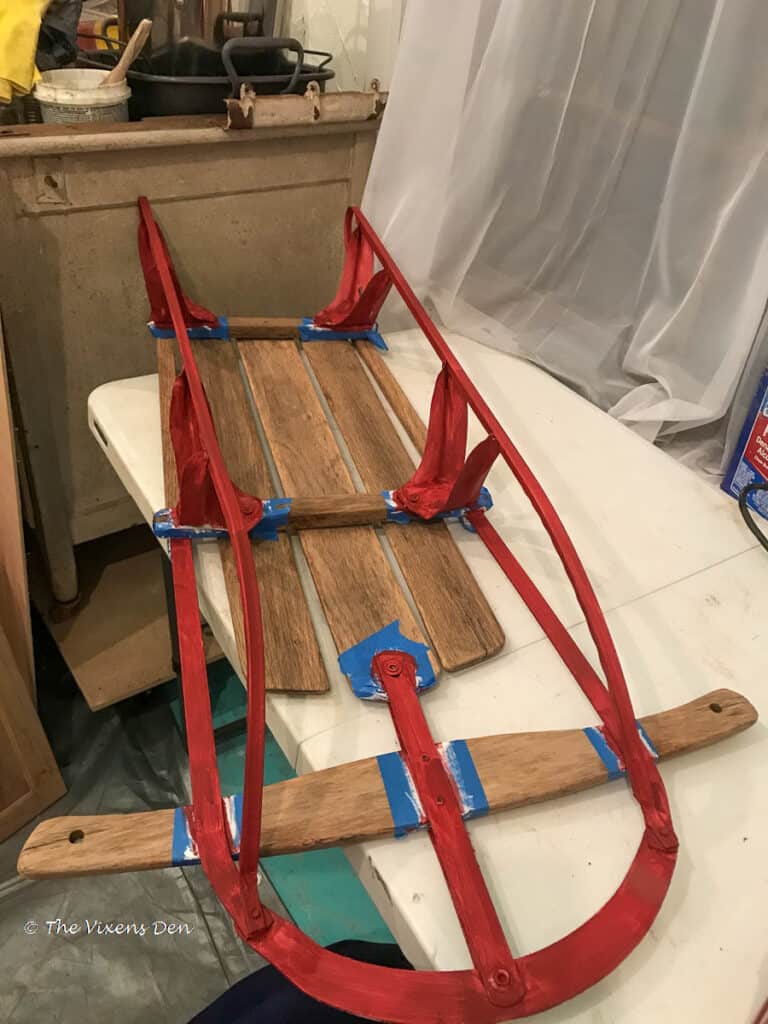
In total, I applied two full coats of
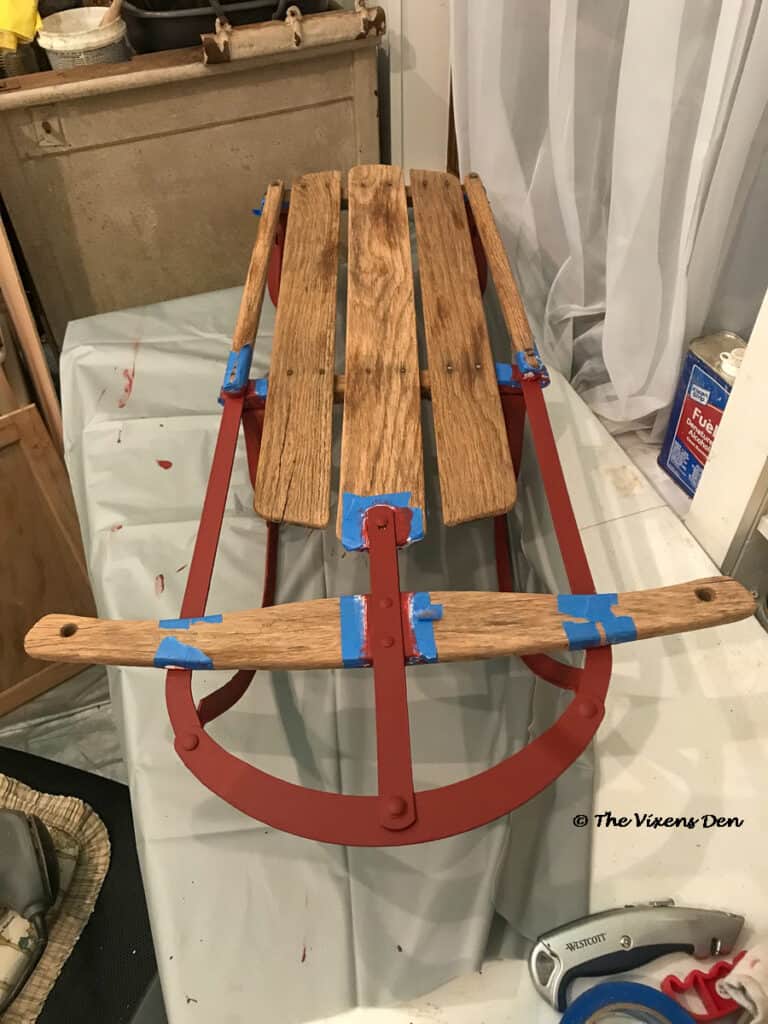
Stain the Wood
After testing out some options, we chose
The stain is water-based and dispenses from a ketchup-style squeeze bottle. I really enjoyed how easily it applied and the fact that it didn’t have the heavy odor of oil-based stains.
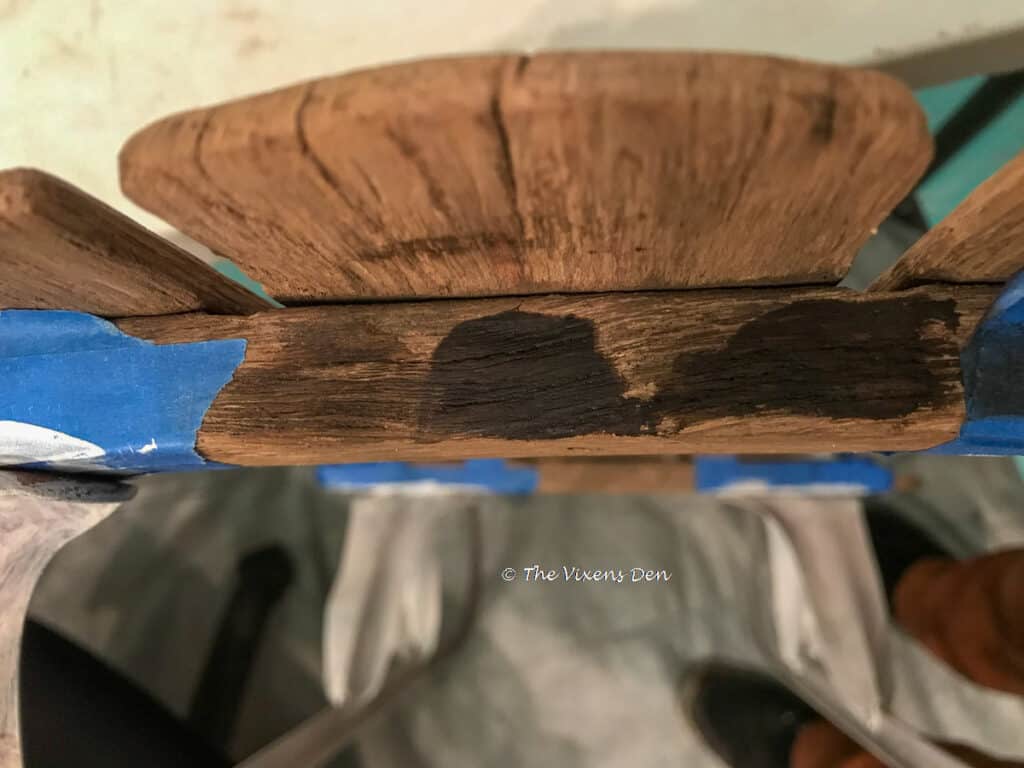
When I first began applying
This process worked well to create an even, rich tone if a little darker than we had originally envisioned. I applied one coat of stain with a touch-up coat to cover any spots that I missed.
Add a Topcoat
Since this piece will be used as decoration, a simple coat of
For this type of project, the
Vintage Sled Decoration Takeaways
This project was a good lesson in pivoting. Because sometimes you just have to clean and sand. And sometimes, you have to whip out the big girl tools to get the job done. I’m so grateful that my husband had these wire wheels on hand. They are now a permanent fixture in the Vixen’s Den studio.
Speaking of having the right tools, even though I taped off the wood with painter’s tape, I still had to clean up some areas, re-sand edges that were rough, and touch up with a small
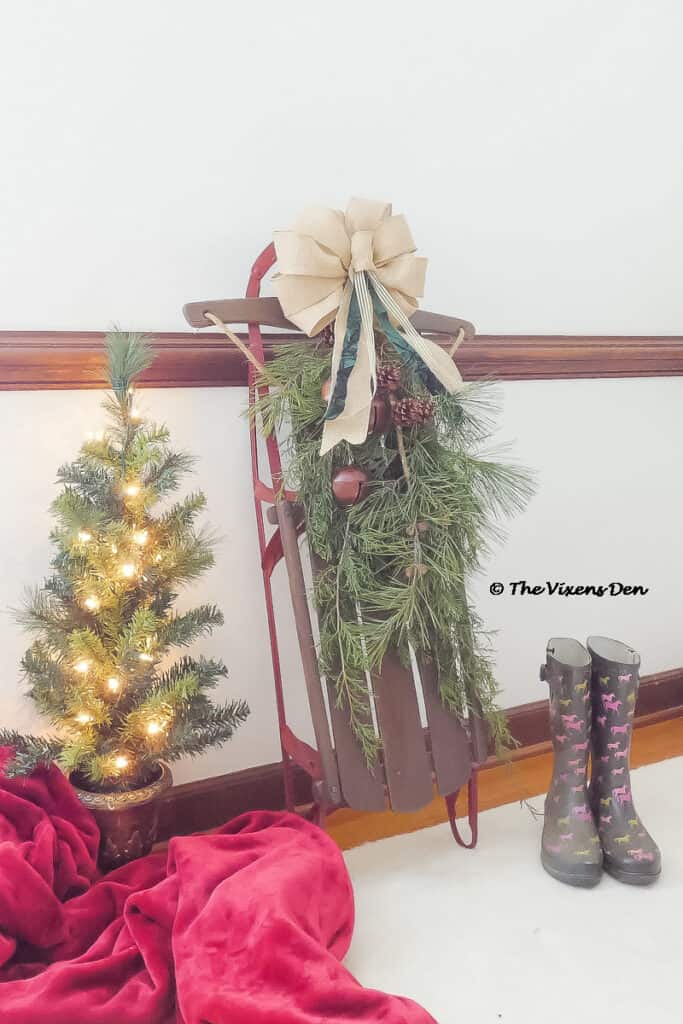
Can you believe the difference! This beautiful vintage sled was neglected for a long time and just needed a little love to bring her back to life.
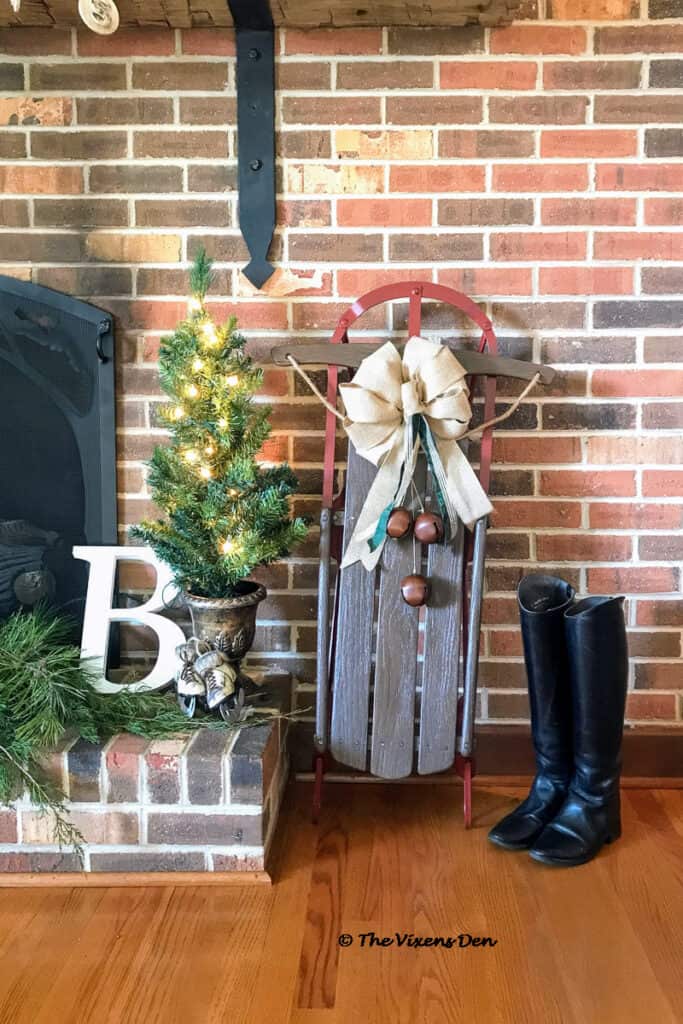
Although she won’t be taking any rides in the snow (although she could!) she is now so pretty that she won’t be hiding away in the barn again anytime soon.
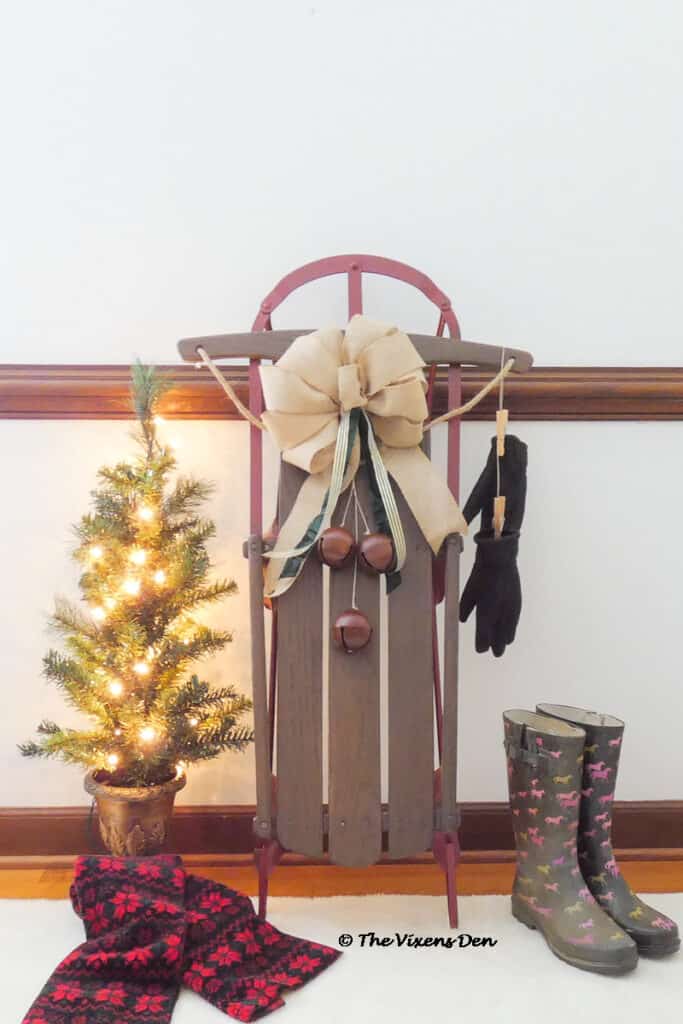
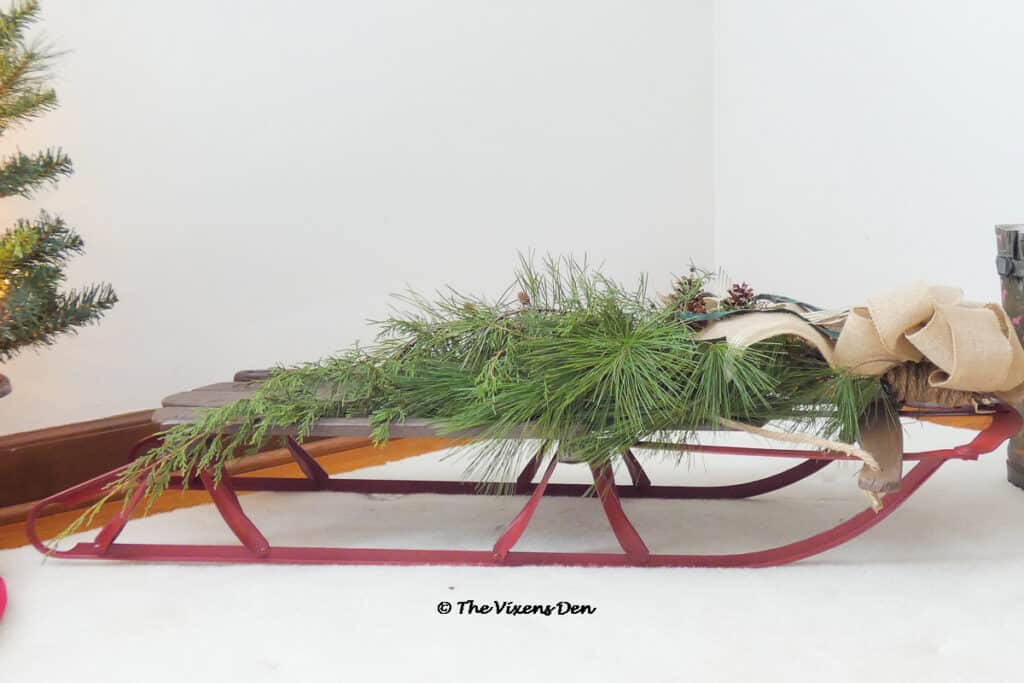
I love the rich rustic colors of the runners and the deep brown of the wood bed (cross my heart, that’s what the internet of things says that part is called.) The best part is how many ways you can style it for any season! I can’t wait to see what my client comes up with for her!
What do you think about the vintage sled makeover from grimy and sad to beautiful and center stage? Sign up below to see more makeovers like this one. In the meantime, take a look at these DIY rustic Christmas ornaments. Enjoy!


Such a FABULOUS upcycle, Becky! I had a sled just like this growing up!
Don’t forget to join us over at the Creatively Crafty Linky Party every Wednesday through Sunday
https://creativelybeth.com/creative-crafts-linky-party/
Followed and Pinned!
Creatively, Beth
I am hesitant to do any grinding sanding on my sled. I don’t want to destroy the patina and DEFINITELY don’t want to paint and devalue by covering/removing what’s left of its original finish. Just looking for an oil that will preserve the wood without promoting mold growth.
I understand completely! If you’re just wanting to seal and preserve the wood, then you may want to look at hemp oil. It may darken the wood a bit, depending on the species, but it will also seal it and prevent any mold or mildew from growing while protecting that beautiful patina!
This old sled has been brought back to life and makes perfect holiday decor, Becky! Thanks for sharing your creativity with the world!
You know, I have a vintage sled in the basement I have been meaning to style in our home. Thank you for the reminder! I love how this piece turned out, vintage sleds provide so many memories, I always up for a good trip down memory lane. Thank you for sharing.
This is an amazing makeover – great job on all your hard work! It turned out so beautifully 🙂
I love this so much! I have a vintage sled too and it is one of my most favorite Christmas pieces to display for the season!