How to Update Recessed Can Lights with Stain!
Recessed lighting is a great way to brighten up a room without creating too much visual clutter in the ceiling. However, they can still be a bit of an eyesore if the finish doesn’t quite match the ceiling. I found a super easy way to update metal recessed or “can” lights, and it doesn’t involve spray paint!
Now don’t get me wrong, I love spray paint. I even used it to update the builder-grade brass chandelier in my house. However, this makeover called for something a little more….wood-like.
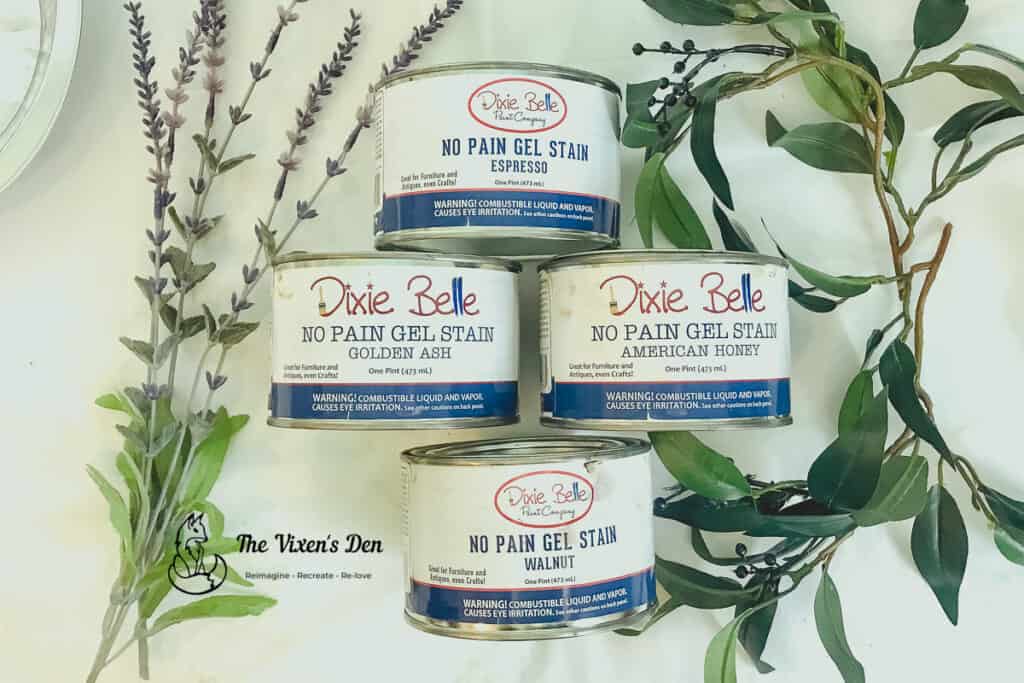
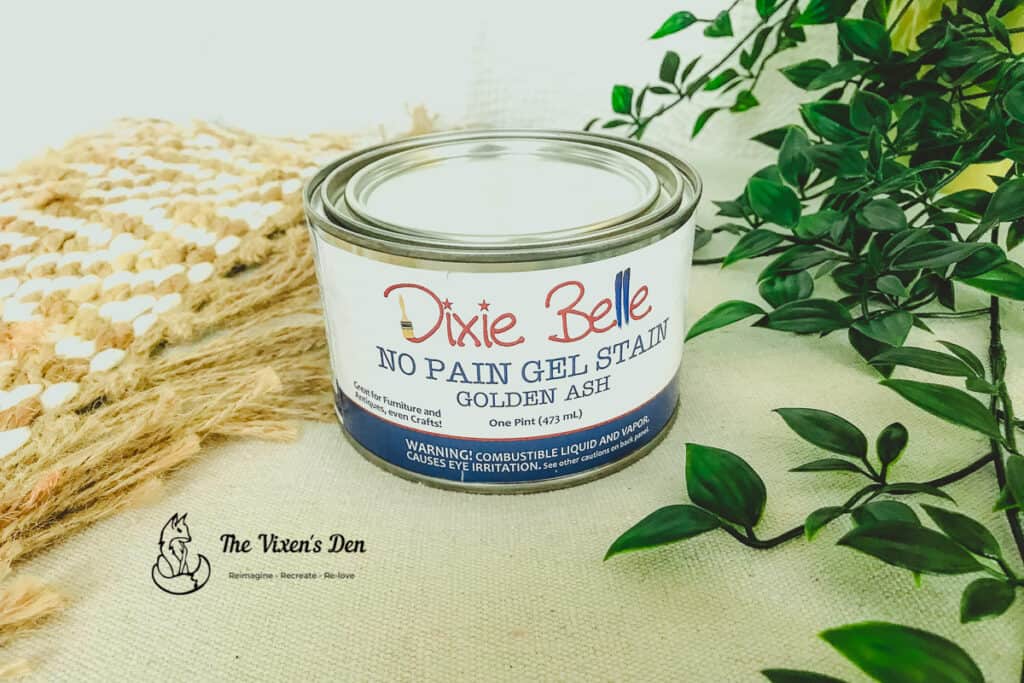
My secret weapon for giving these metal can lights a new look? No Pain Gel Stain by Dixie Belle Paint Company!
This post is sponsored by Dixie Belle Paint Company. Follow this affiliate link to see all of their amazing products!
NOTE: As an Amazon Associate I earn from qualifying purchases. Click here for more legalese information.
Tools and Materials
Tools
Materials
- No Pain
Gel stain – American Honey - No Pain
Gel stain – Golden Ash
Cleaning & Prepping
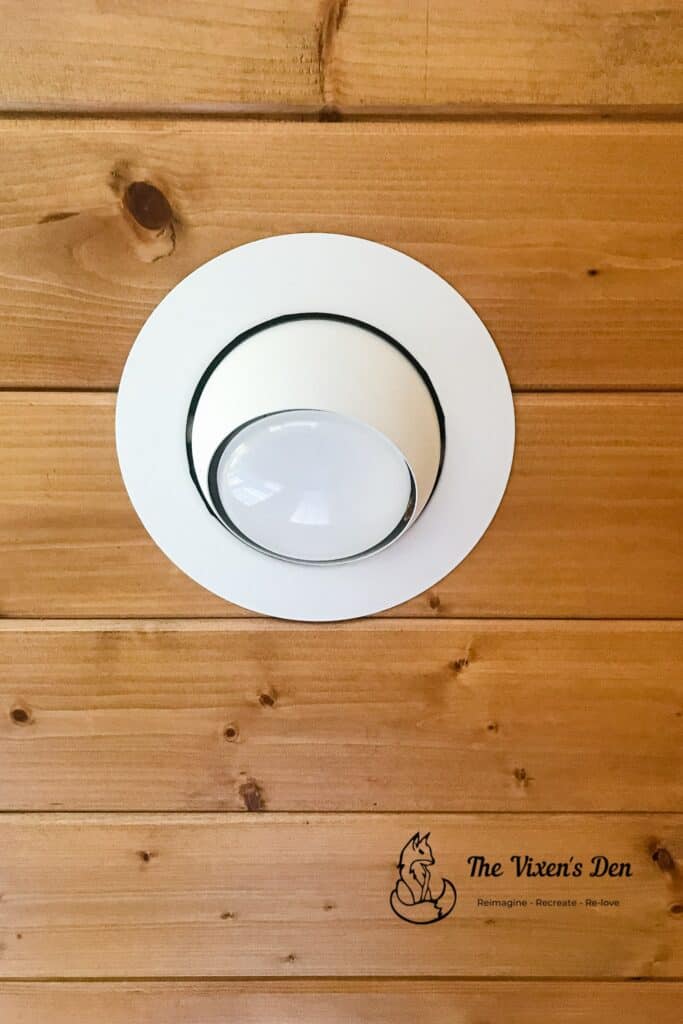
The metal lights were well maintained, so I didn’t have to do more than give them a quick swipe with a dusting cloth to clean them. Then I simply pulled them away from the ceiling surface so that I could easily stain the metal ring without also staining the ceiling.
Staining the Recessed Metal Light – Base Layer
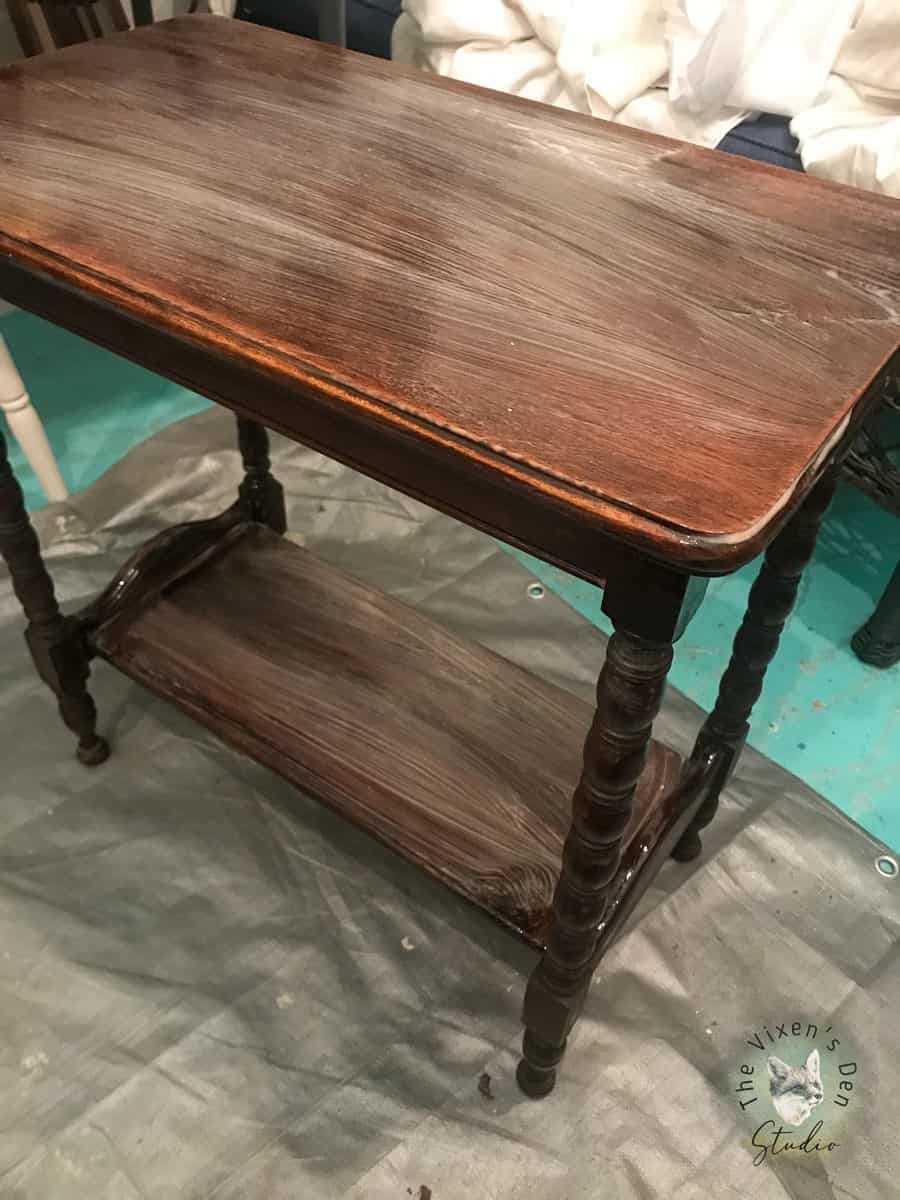
I wanted to create a look that mimicked the natural wood grain in the surrounding ceiling. As you can see, wood has many layers of tones and colors.
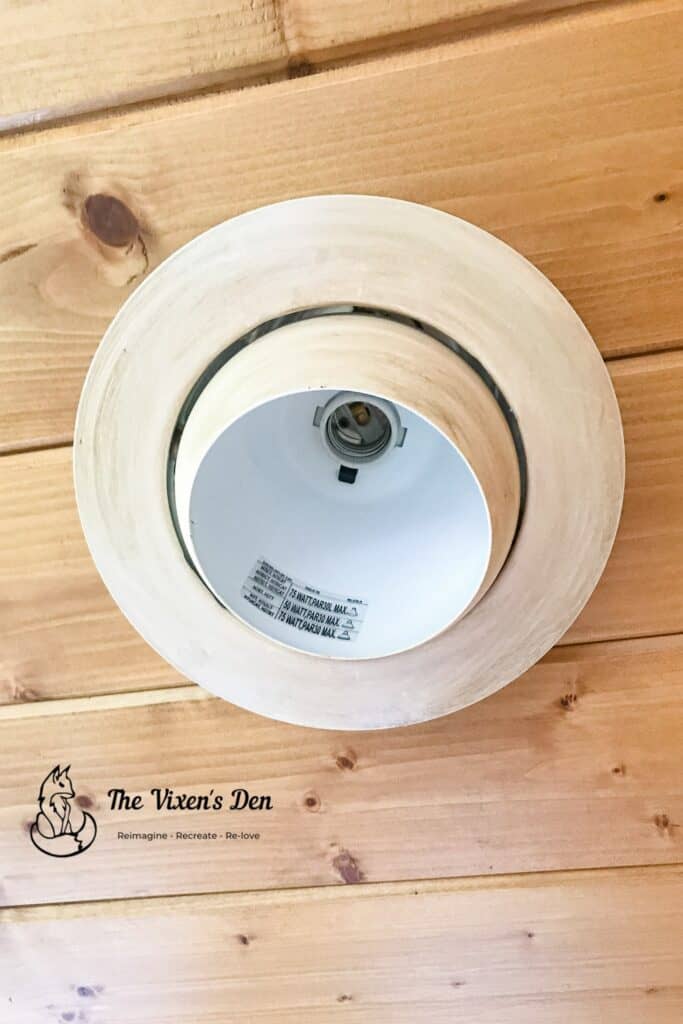
In order to achieve a natural stained look, I first started with a base coat of American Honey No Pain Gel Stain.
It looks pretty rough, right? But I promise it gets better. Remember that the goal is to create a natural wood grain look, so these swirls and swipes are actually a good thing.
Staining the Recessed Metal Light – Finish Layer
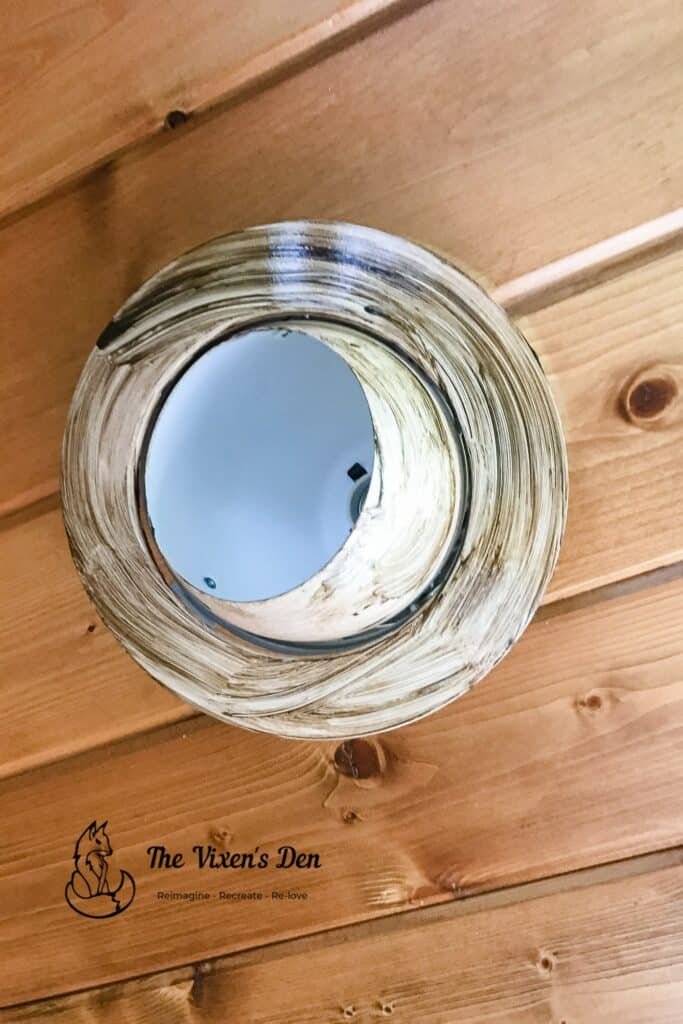
After about three hours, the base layer had dried so I could start adding the finish layer of stain. For this step, I used a lighter No Pain Gel Stain called Golden Ash.
Once again, I just used the same rag to create wood grain-like swirls that resembled wood grain.
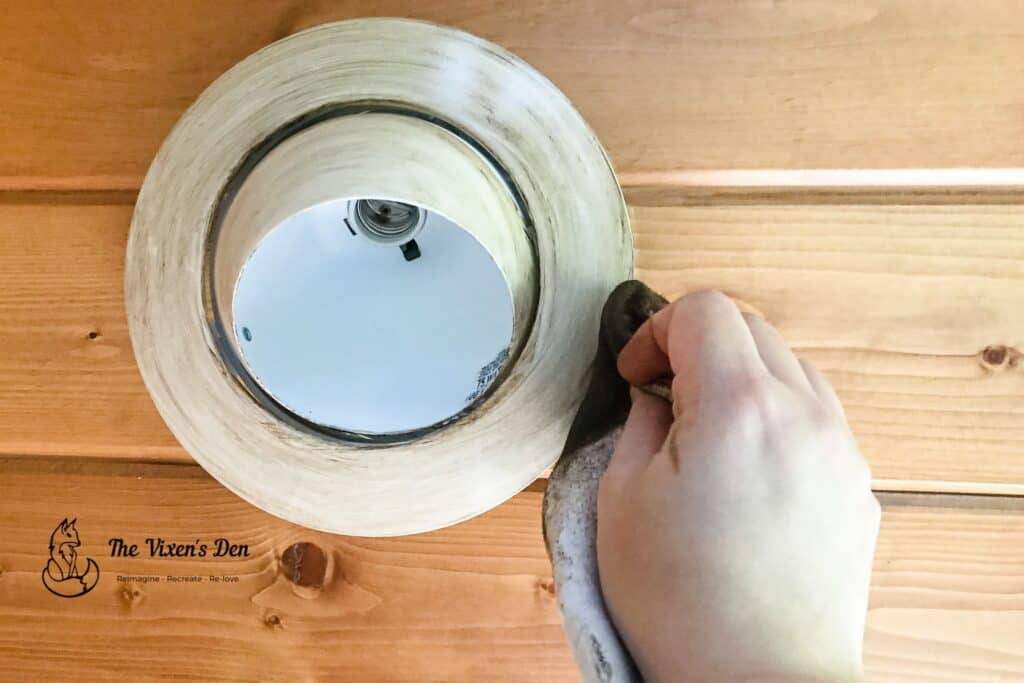
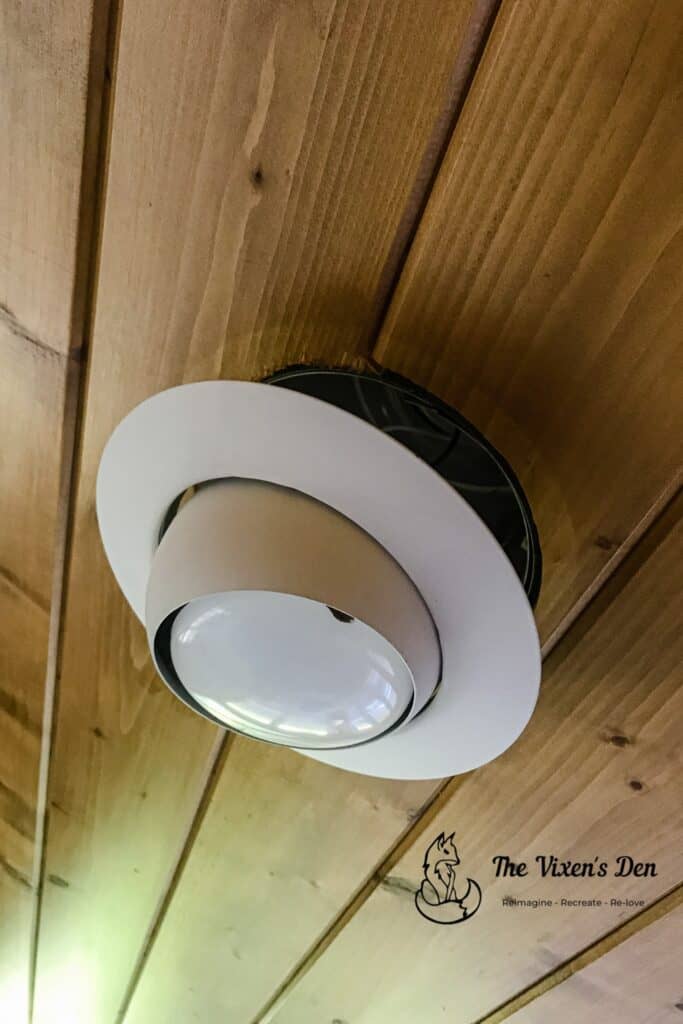
Once the top layer was in place, I let it dry for three hours. Then I came back and touched up any spots that I had missed. I let the lights dry overnight and then gently pushed them back into place the next day.
And that’s it!
Yes, it really was that easy!
Final Reveal
This was a super simple makeover that created a lot of impact!
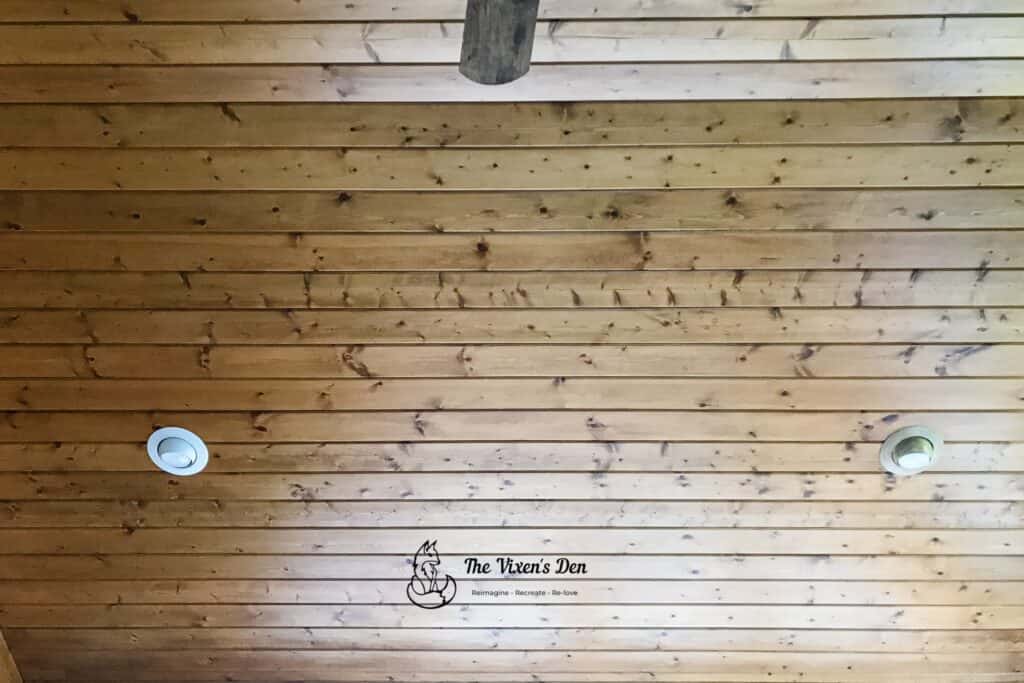
(Unstained light on the left, stained light on the right.)
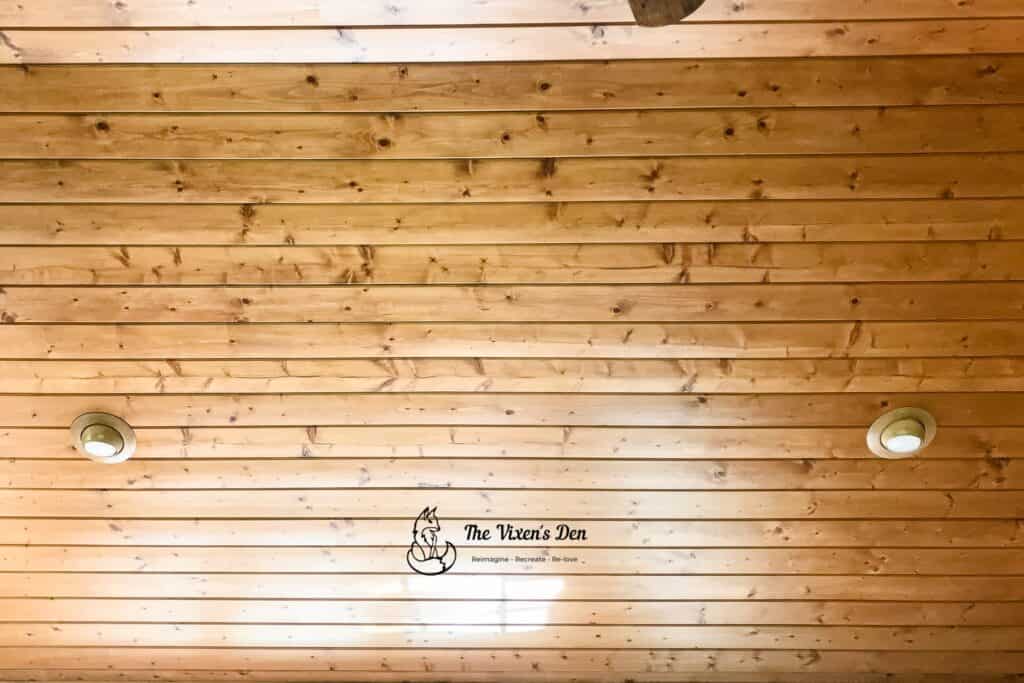
Aren’t they just beautiful? These lights now fade into the wood perfectly.
Have you ever stained metal? Leave a comment below and let me know your favorite way to use gel stain!

Linked up to these lovely link party hosts and hostesses at:
Don’t forget to sign up so you hear all about the next misadventure! Until then, you may also like this stained dresser makeover or this dresser to buffet upcycle.