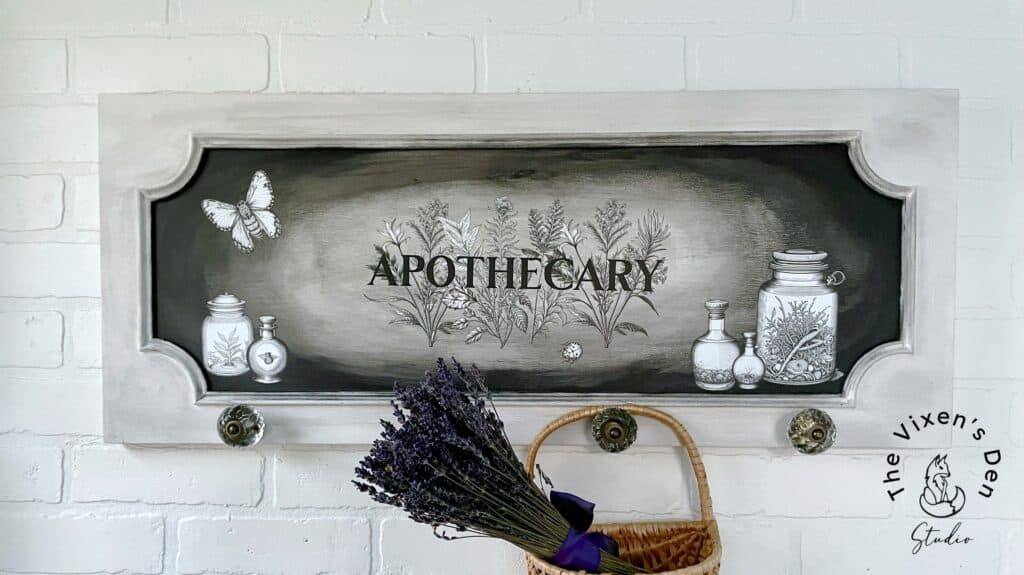
Cabinet Door Upcycle: Apothecary Transfer Wall Organizer
Looking for a way to create a beautiful and functional organizer to catch all the things on your way in and out of the door? Then this project is for you!
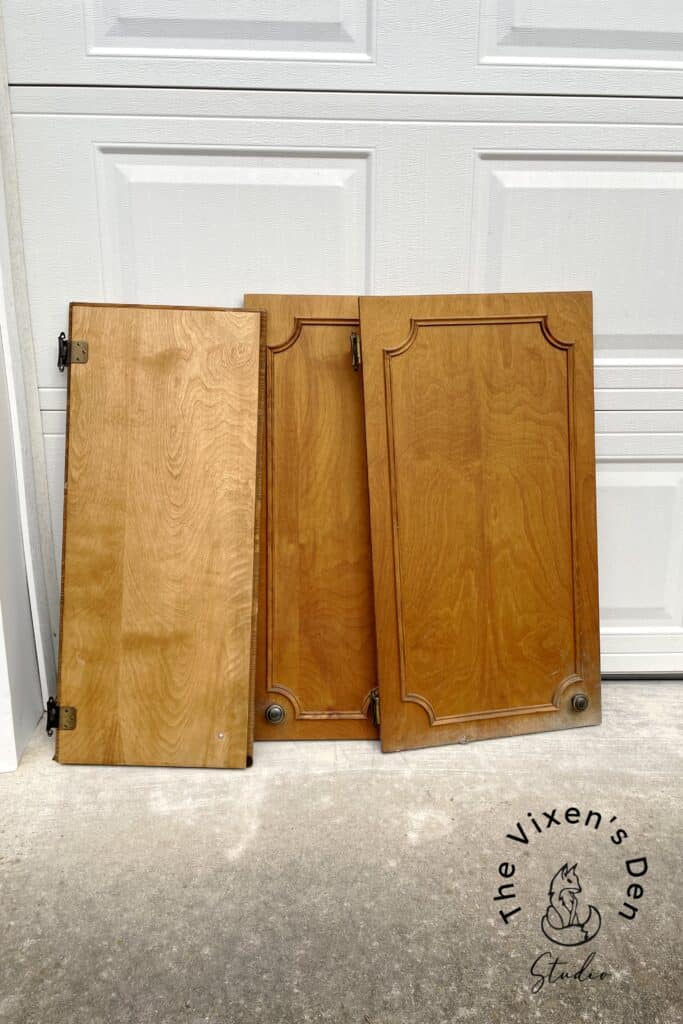
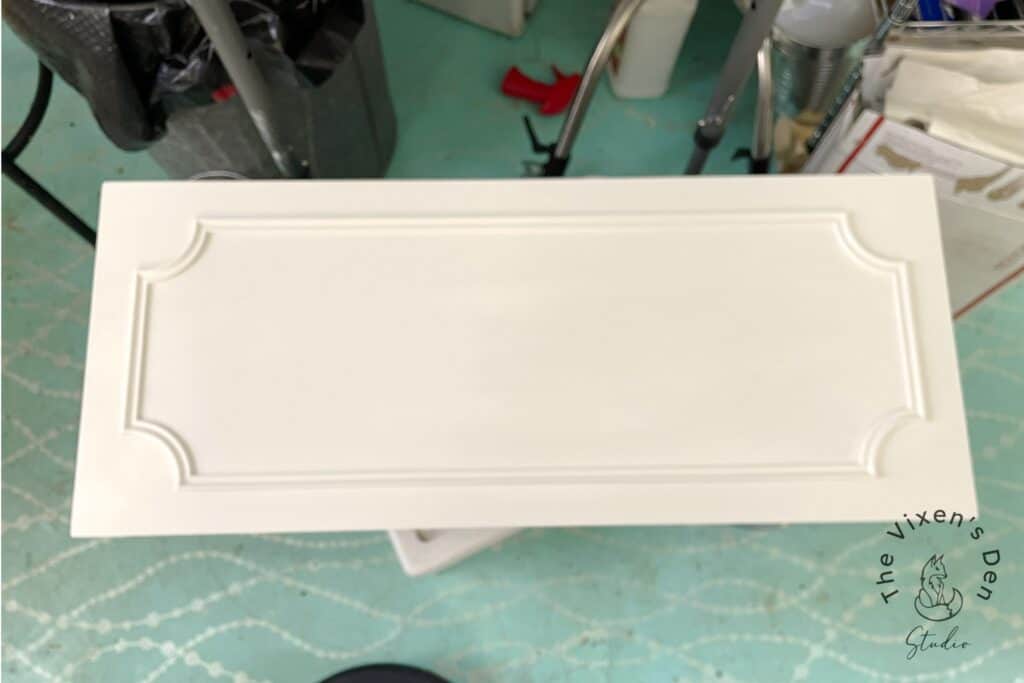
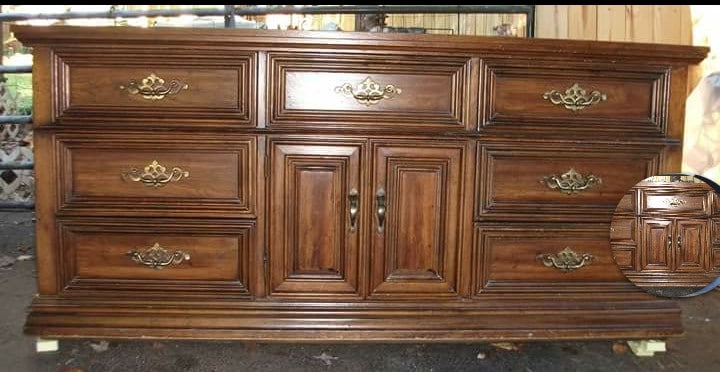
These cabinet doors were just waiting for the chance to become something amazing!
THIS POST CONTAINS AFFILIATE LINKS TO PRODUCTS. IF YOU PURCHASE PRODUCTS THROUGH THESE LINKS, THEN I MAY RECEIVE A SMALL COMMISSION AT NO COST TO YOU.
I ONLY RECOMMEND PRODUCTS THAT I USE AND/OR HAVE RESEARCHED AND WOULD USE.
AS AN AMAZON ASSOCIATE I EARN FROM QUALIFYING PURCHASES AT NO COST TO YOU.
YOU CAN SEE MY FULL DISCLOSURE HERE.
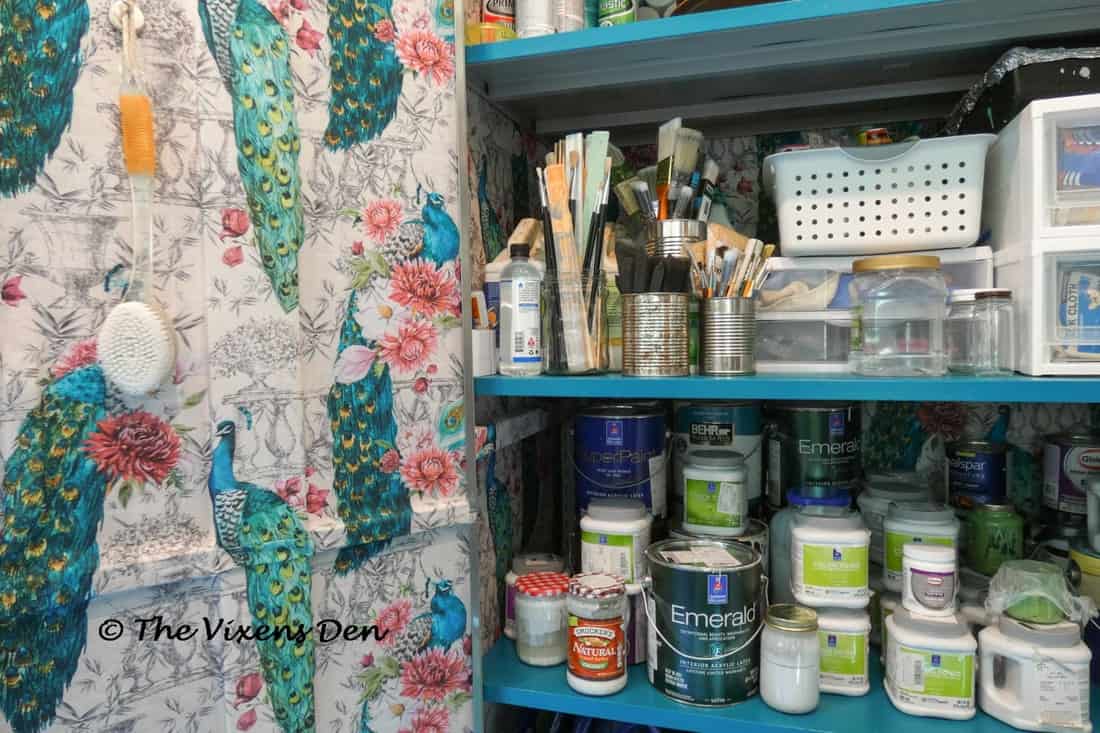
Tools and Materials
Tools
- Blue scrubby
- Rag
- Sanding block
- Putty knife
- Paint brush
- Spray mister
- Drill
Materials
- Cabinet door
- TSP based cleaner mixture (White LIghtning)
- Water for rinsing
- Wood filler
- Sandpaper
- Tack cloth
- BIN 1-2-3
- White chalk paint (Fluff)
- Black chalk paint (Caviar)
- Apothecary Transfer from Undead Furniture Co
- Flat Clear Coat
- Dahlia knob set from Undead Hardware
Cleaning & Prepping
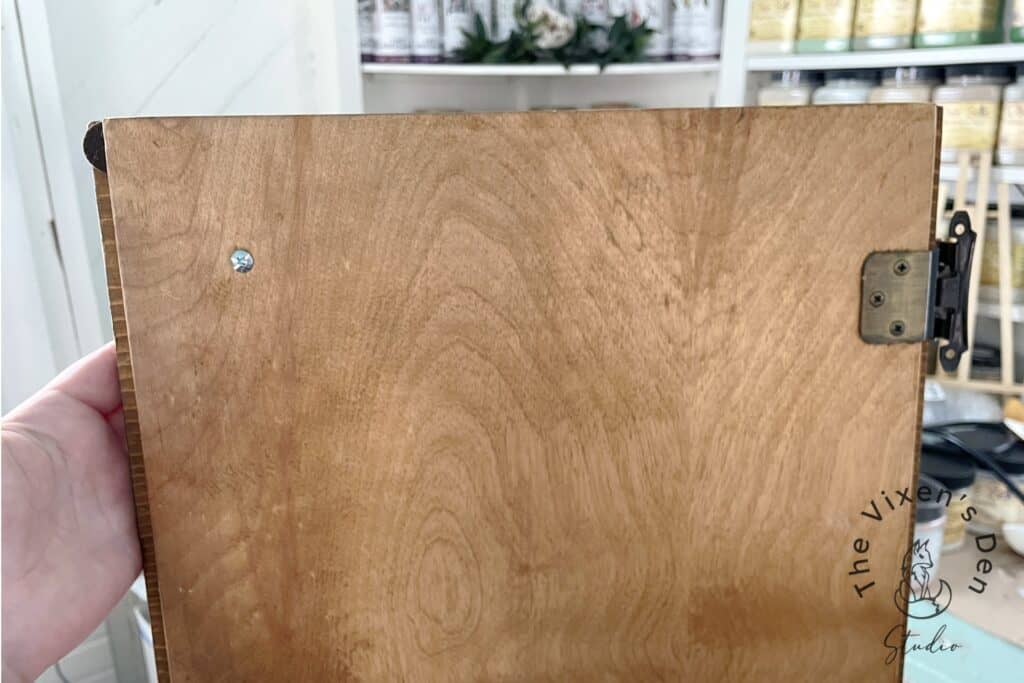
The first step for prepping is to remove existing hardware. My cabinet doors came with both knobs and hinges attached.
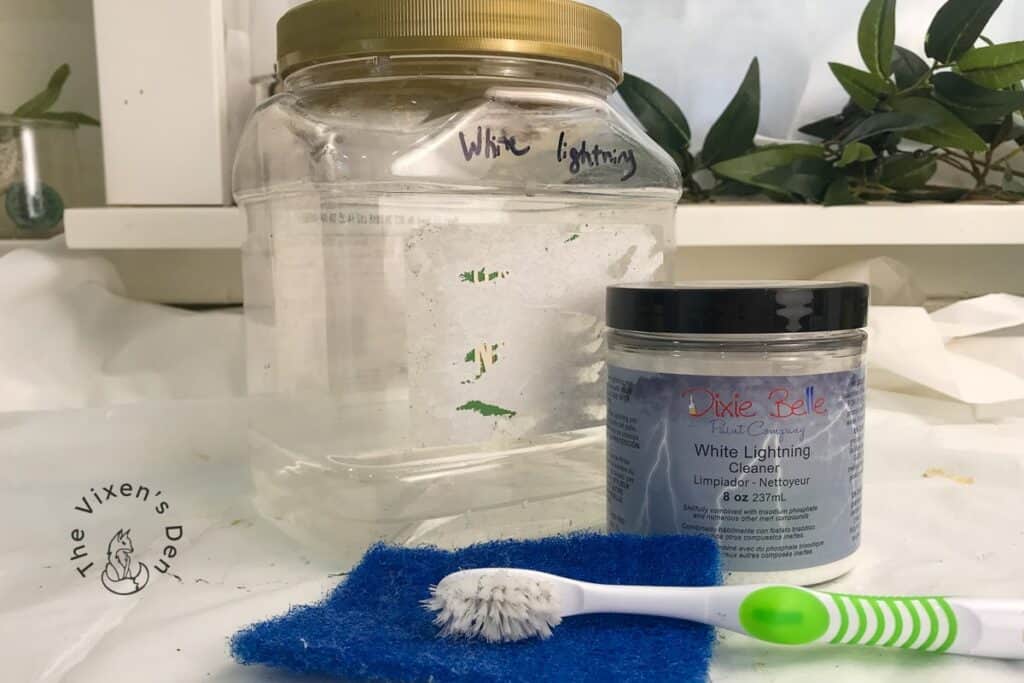
Kitchen cabinets lead a hard life, collecting lots of grease and grime. A TSP-based cleaner, such as White Lightning, is a great tool to cut through all those layers and ensure that you’re starting with a clean slate. I like to scrub the surfaces lightly with a blue scrubber and then rinse with clean water to make sure there isn’t a film left behind.
Once the surface is clean and dry, it is time to fill the holes with wood filler. One trick that I like to use is placing painters tape on one side of the hardware hole and then adding the wood filler. After the initial filling has dried, it’s super easy to add a second coat of filler to address any divots.
One more drying time and I finished up by sanding lightly to make sure the entire surface was smooth. All of the dust was vacuumed off and any lingering particles were grabbed up with a tack cloth.
The final prep step was to create a completely blank canvas. This means sealing in any stains or tannins that might want to sneak through later. My favorite one-step product for this is BIN 1-2-3 primer. This primer blocks stains and odors, ensuring that I won’t experience any surprises when I add a clear coat at the end of the process.
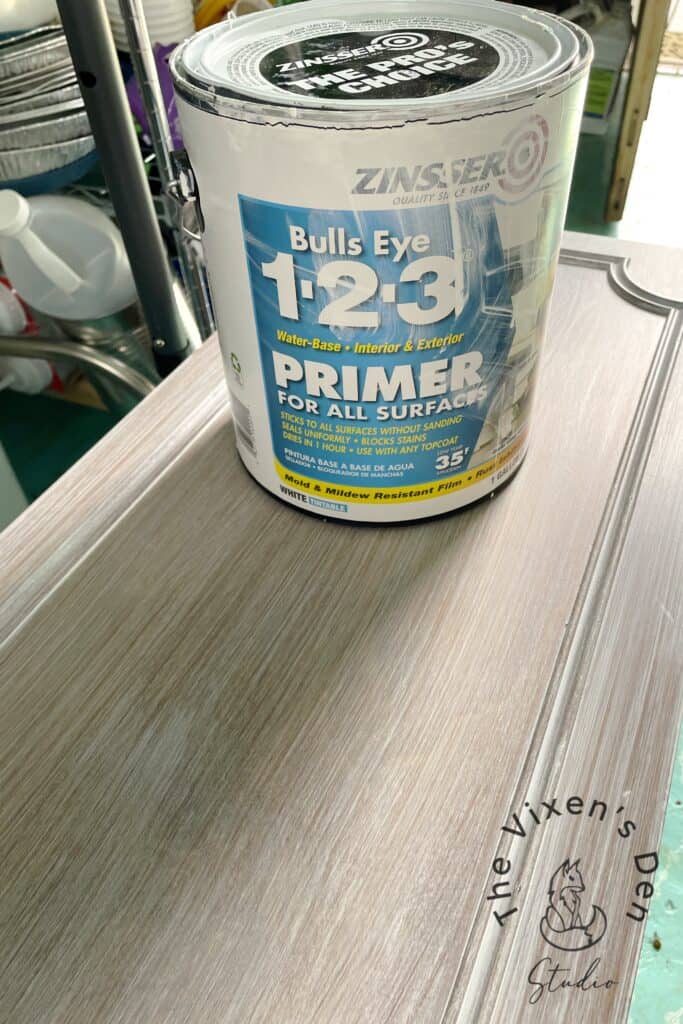
I brushed on two coats and let it dry for 24 hours before moving on to the fun part…painting!
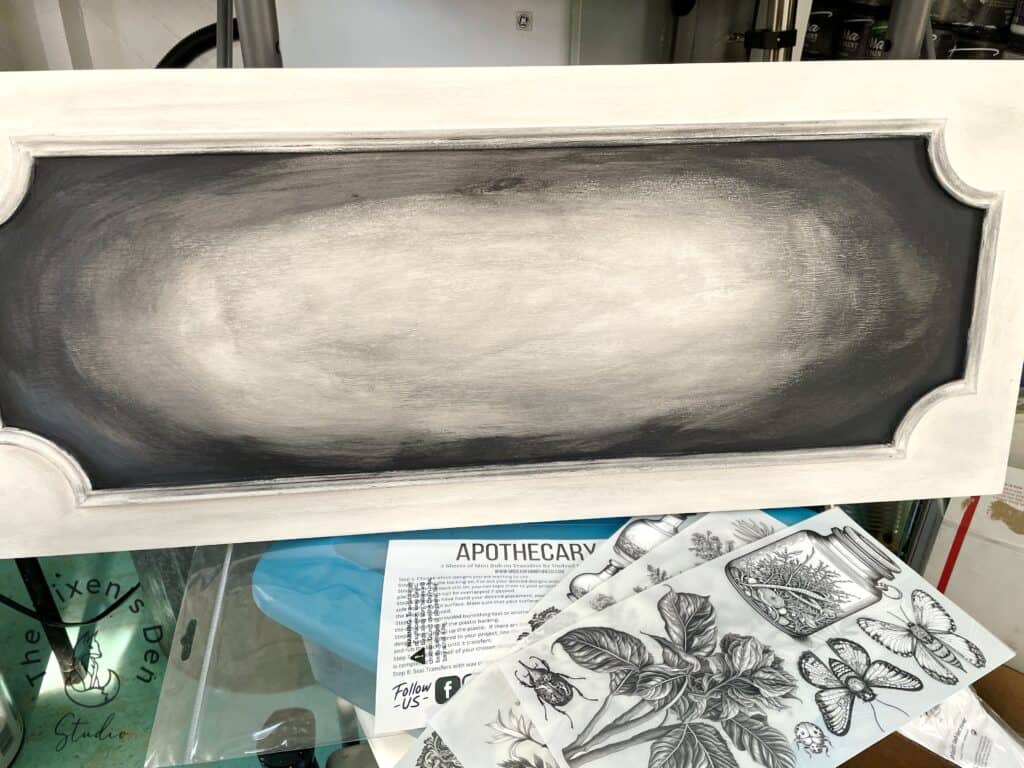
Painting and Blending Chalk Paint
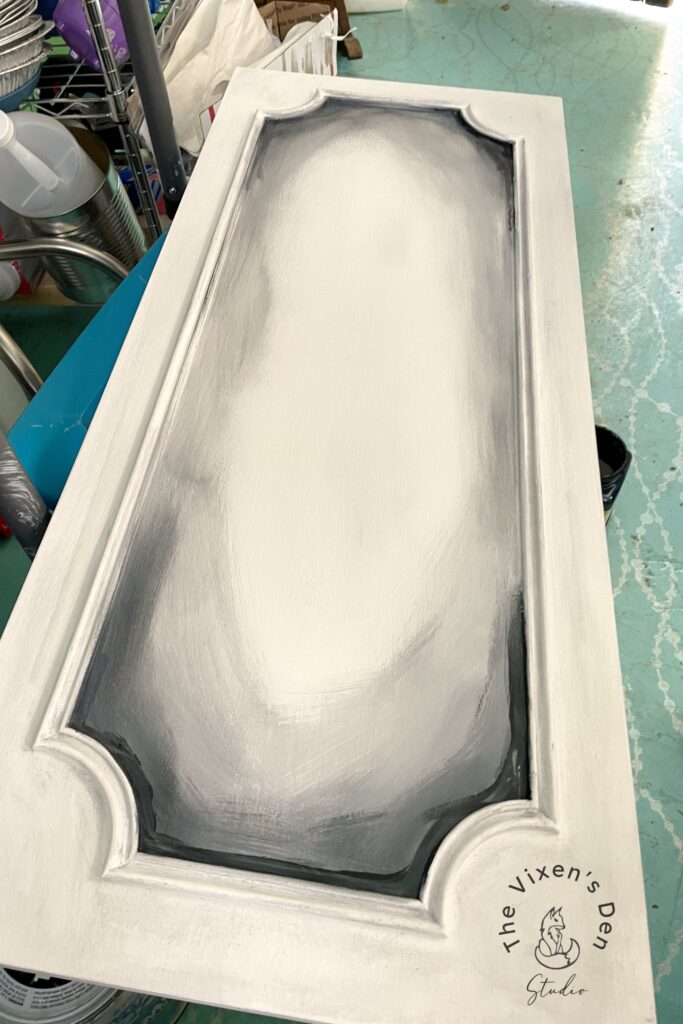
The absolute best part of chalk paint is the blendability! I tried blending with latex paint. It really did not work well. So when this design began to morph into a beautifully grungy blended look, I knew that chalk paint was the way to go!
You can blend dark into light or light into dark, either way the important part is to give the base paint time to dry before starting the blending process. That’s because chalk paint is reactivated by water, which is part of what makes it so beautifully blendable. I started with two coats of chalk paint in Fluff.
After giving it about half an hour to dry, I started adding Caviar to the edges. I really should have waited a little longer. The black paint activated the white paint, which required more time to dry.
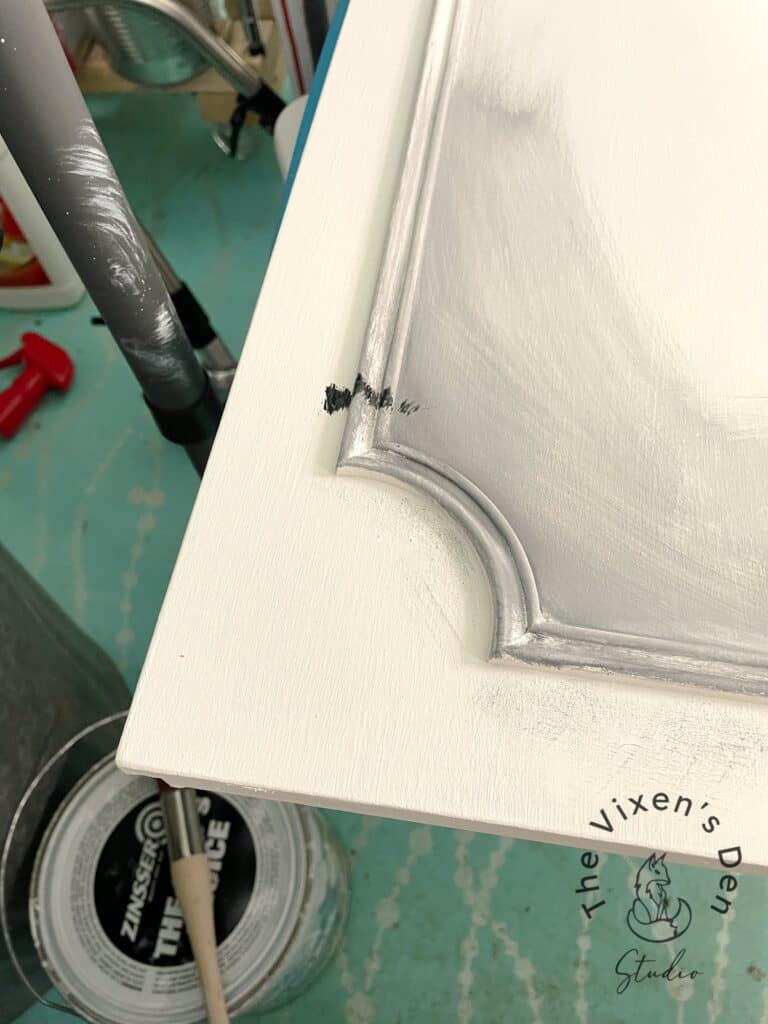
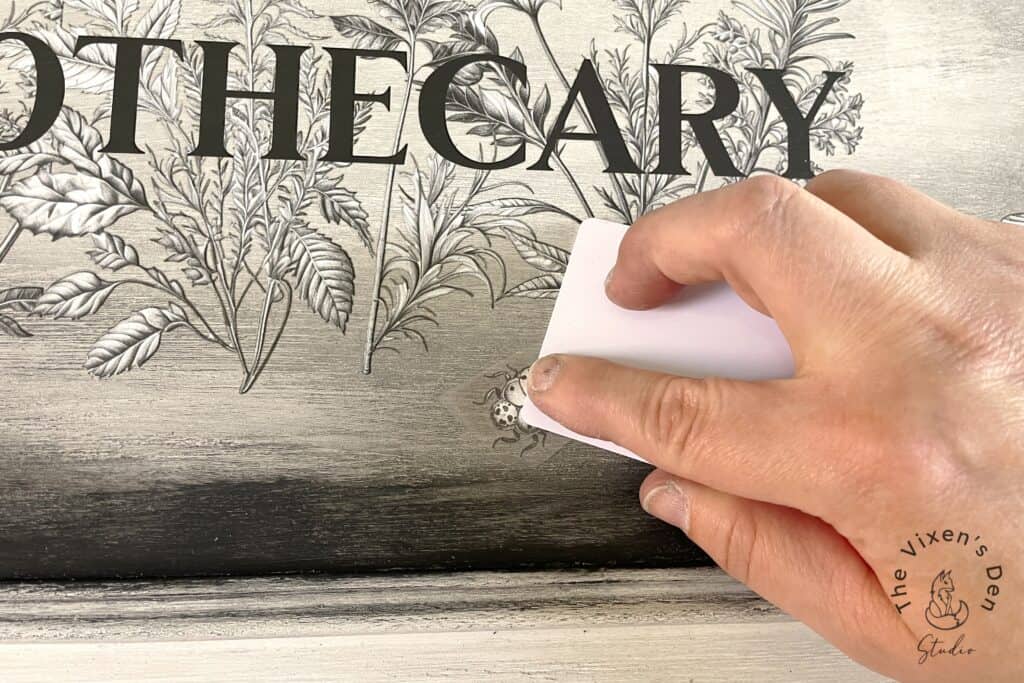
Pro Tip: The other reason that I love chalk paint is because it’s sooo easy to clean up little mistakes, like this one:
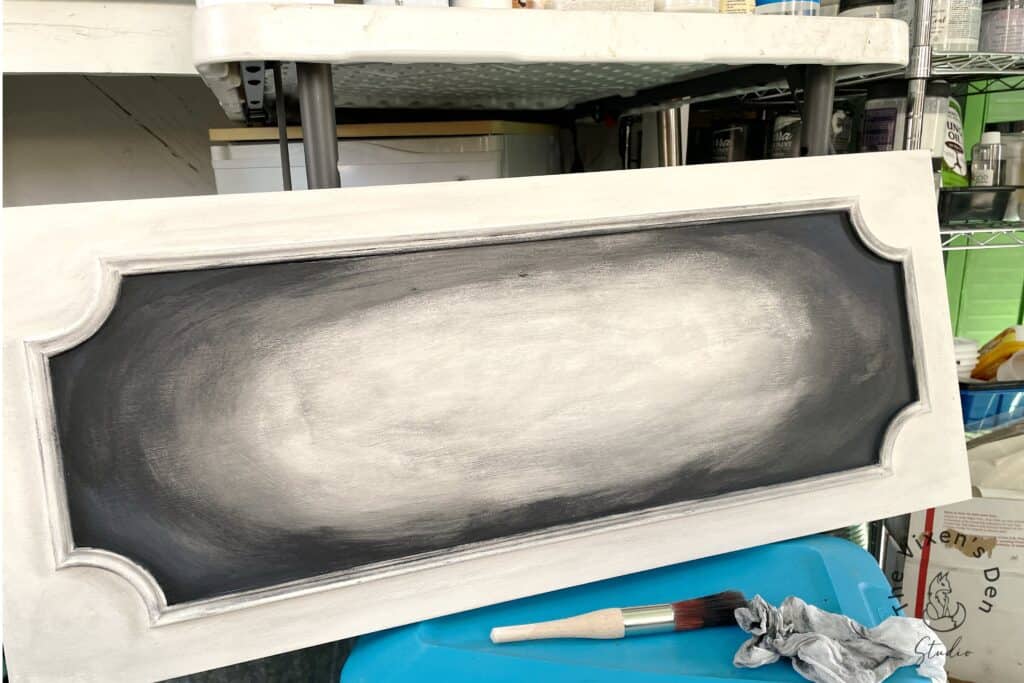
I am not a pro blender, but I had so much fun creating this aged, grungy look!
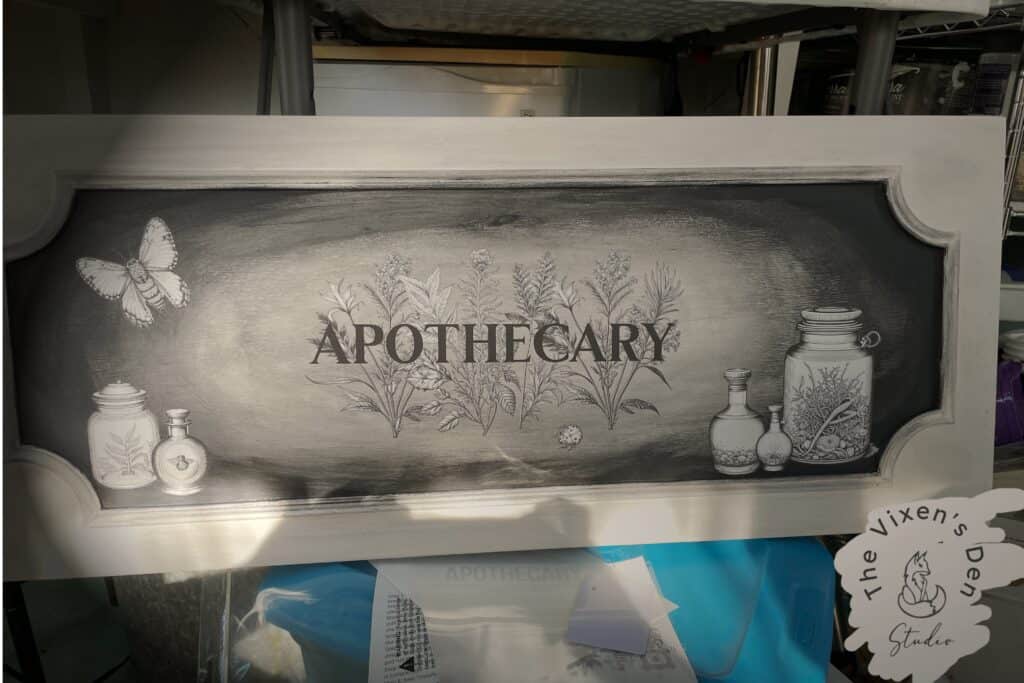
Applying Transfers
After about half an hour, the paint was dry enough to add these gorgeous transfers!
Transfers are wonderful because they add so much detail while still allowing a lot of creativity in how they are used. I love these transfers because they release so easily from the transfer sheets! Some transfers tear or stick as they realease, but these definitley do not have that problem!
Aren’t they just gorgeous!
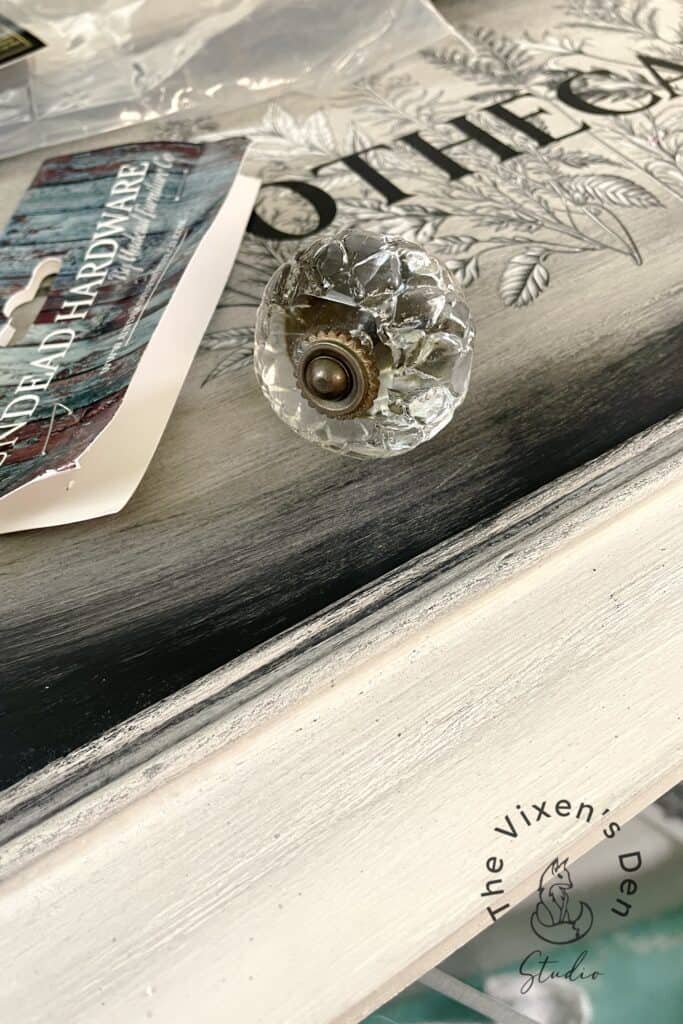
Installing Hardware
But we’re not finished yet! Along with these beautiful transfers, I had a chance to get my hands on this gorgeous hardware!
Final Reveal
Here’s the final project! This upcycled cabinet door has a whole new look!
Until next time, have a beautiful and blessed day!

Don’t forget to sign up so you hear all about the next misadventure!

Love this! Great transformation!!
HUgs,
Deb
Debbie=Dabble Blog