Cabinet Door Upcycle: DIY Reversible Christmas/Welcome Porch Sign
Here’s an easy way to double your decorating opportunities without doubling your decor storage! This easy upcycle transforms a used cabinet door into a dual-purpose Christmas and everyday Welcome sign. No need to drag another piece of decor up the stairs to the attic after the season is over, just flip the sign around and you’re ready to go!
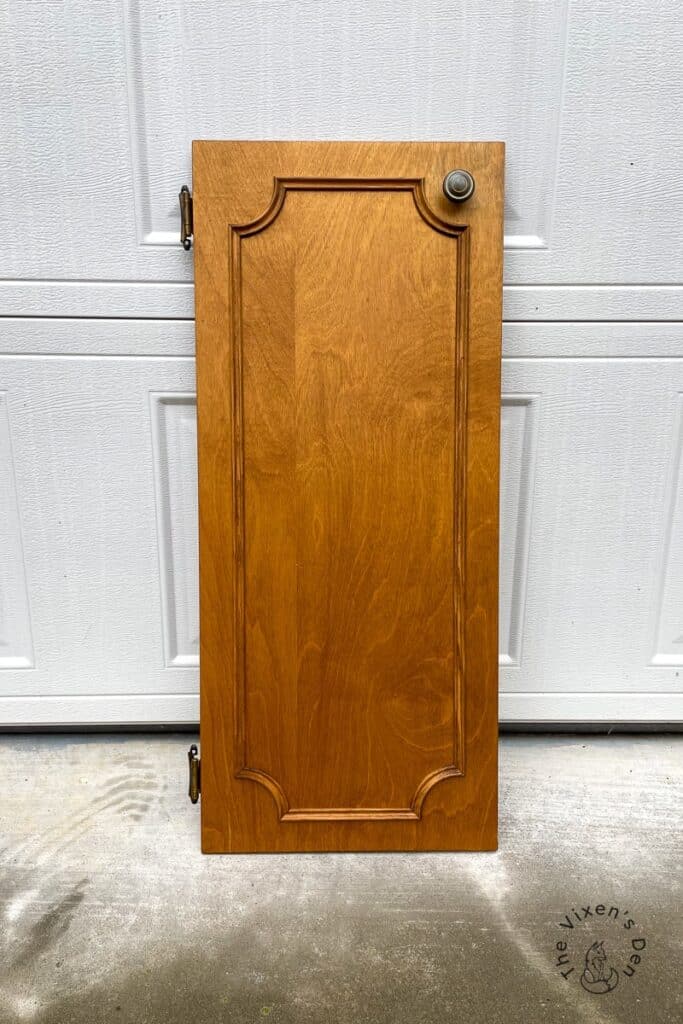
I was able to rescue a group of cabinet doors from the Habitat Restore bin. They had so many that the doors were marked down a dollar each to get rid of them! There were several different styles, but my favorites are the ones with extra wood detailing that creates a perfect frame!
Let’s see how some beautiful USA-made products completely transformed one of these worn-out cabinet doors!
This post is sponsored by Dixie Belle Paint Company. While they provided some of the products for this project, all of the opinions are my own. Follow this affiliate link to see all of their amazing products!
AS AN AMAZON ASSOCIATE I EARN FROM QUALIFYING PURCHASES AT NO COST TO YOU.
YOU CAN SEE MY FULL DISCLOSURE HERE.
Tools and Materials
Tools
Screwdriver Paintbrush - Burnishing Stick (provided with transfer)
Materials
- Used cabinet door
Blue scrubby White Lightning Wood filler 220 grit sandpaper Sanding block Tack cloth Boss Terra Clay Paint Onyx Blue Moon London Blue Moonbeam Prairie Dawn Desert Tan Malachite
Dewy Morning Transfer Terra Tuff
Clean with White Lightning
Kitchen cabinets live a hard life. They’re at the heart of the home, collecting all of the dust and grease that comes from daily cooking activities. This is why a degreasing and deglossing cleaner like White Lightning creates the best starting point for a cabinet door upcycle.
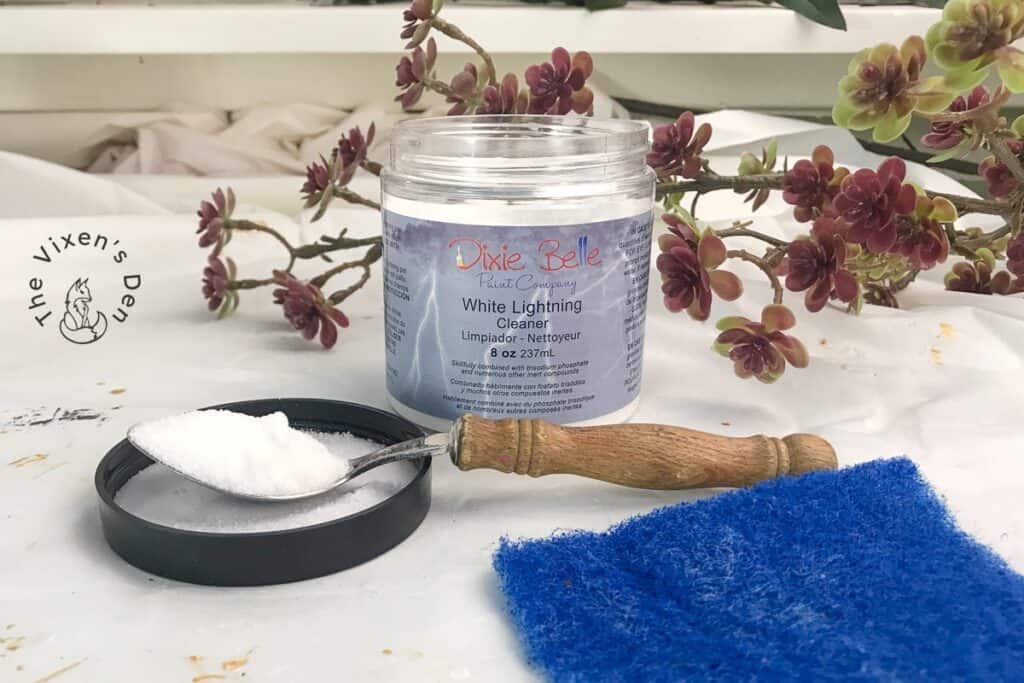
I removed the hardware with a screwdriver and then scrubbed the cabinet door with a blue scrubby and a mixture of White Lightning cleaner. Then I rinsed it thoroughly with warm water and allowed it to dry overnight.
The next day I filled the hardware holes with wood putty. After it dried, I sanded the wood filler smooth with 220 grit sandpaper and wiped the surface clean with a tack cloth.
Prime with Boss
In order to make sure that sneaky wood tannins can’t leak through to the surface, I applied two coats of Dixie Belle Boss using a 2″ mini angle brush.
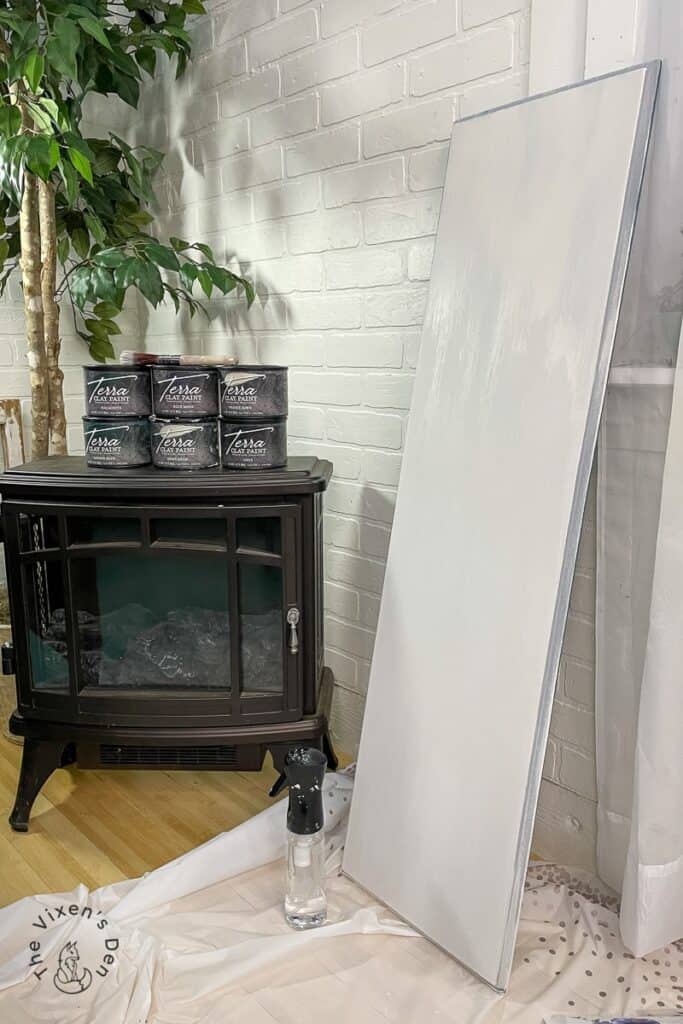
Boss only needs about an hour to dry and then you can apply the second coat. After applying the second coat, the primer needs to dry overnight.
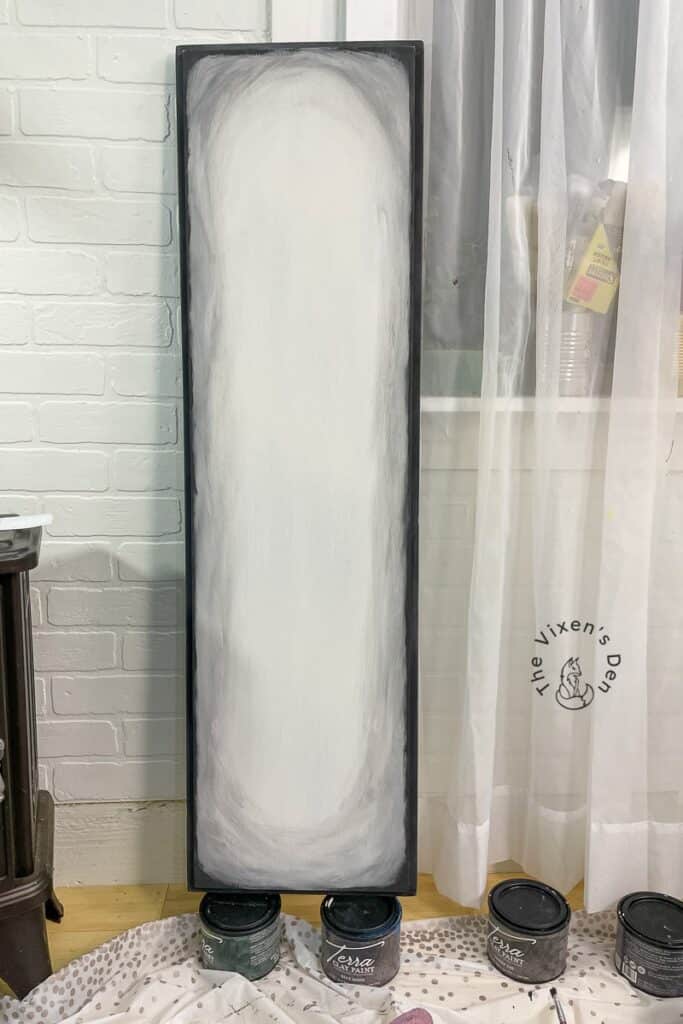
Paint with Terra Clay Paint
The next day, I got to start the fun part. Painting! For this project, I chose Terra Clay Paint. Terra Clay paint is a thick, highly pigmented paint that is so much fun to use! It truly is a no-rules paint.
I loved blending these “straight from the earth” paint colors together on the Christmas sign with just a few mists from my Continuous Spray Misting Bottle. Misting the paint allowed me to pull the paint colors into one another, creating a beautiful blended effect!
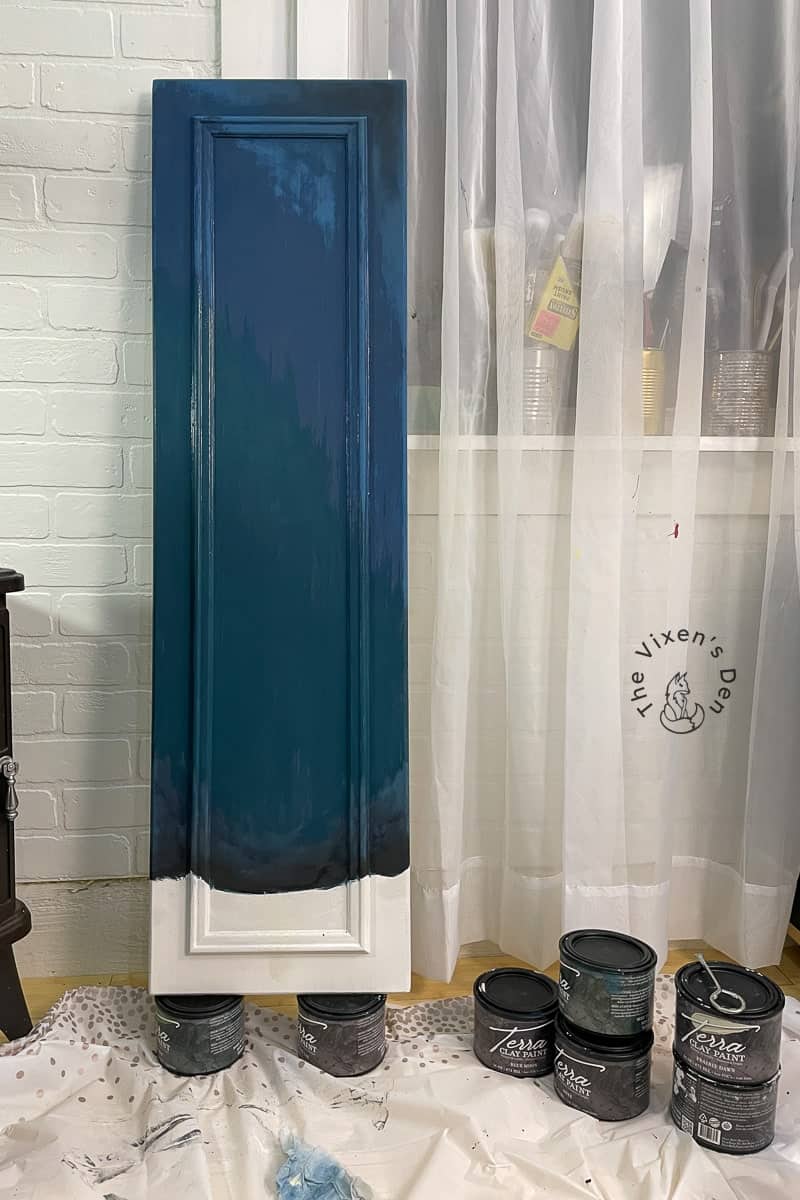
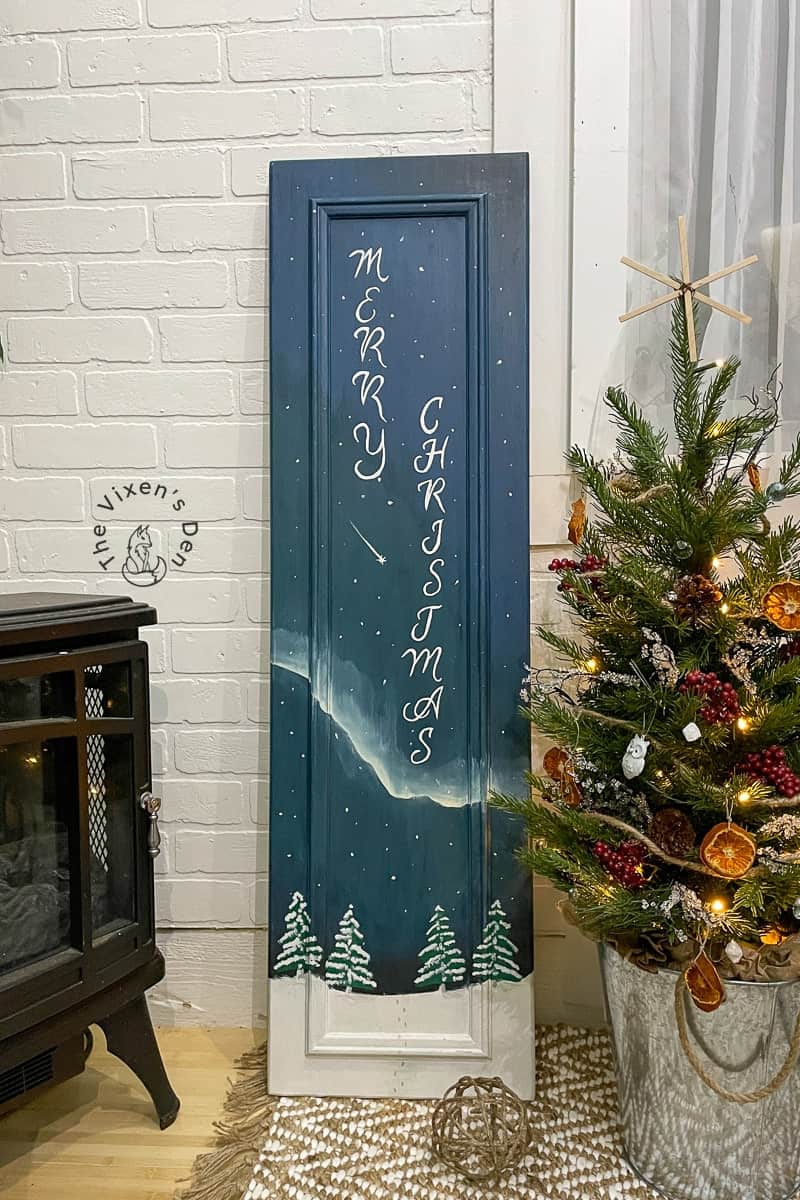
London Blue, Blue Moon, and Onyx were pulled together while still wet, and with the aid of a few spritzes of water, to create a beautifully blended night sky. Moonbeam, Desert Tan, and Prairie Dawn create streaks of starlight and stars sprinkled across the velvet sky.

If you want to make changes afterward, just reactivate the paint by misting it again with water. For the Welcome side of this sign, I came back and smoothed out some of the swirls from the “frame” that I painted with Terra Clay Paint in Onyx. I simply misted the brush with water and gently swept the brush strokes back and forth and in a circular motion.
Adding Words without a Cricut
I do not happen to own a Cricut, so I add fonts to my projects using one of two methods:
- Transfers (beautiful, but require drying time)
- Stencils (faster, but not as crisp)
For this project, I selected the fonts that I wanted to use from Canva, and then created the typography for the signs. I printed them out on simple 8-and-a-half-by-11 sheets of paper and then cut them out. I arranged the words and letters on the sign until I had an idea of where I wanted them placed. Then I flipped the papers over and rubbed chalk on the back of the paper.
Hindsight is 20/20 Tip: When applying typography to a project that is painted white, use a dark chalk for the back of the paper. I know, I know. That’s an obvious one.
Once I coated the back of the paper with chalk, I taped the chalk side of the paper to the project. Then I traced the edge of the words with a pencil. Once I was finished, I removed the paper and began filling in the chalk outlines with paint.
The results aren’t as crisp as a transfer, stencil, or cut out from a Cricut, but it is quicker and less expensive!
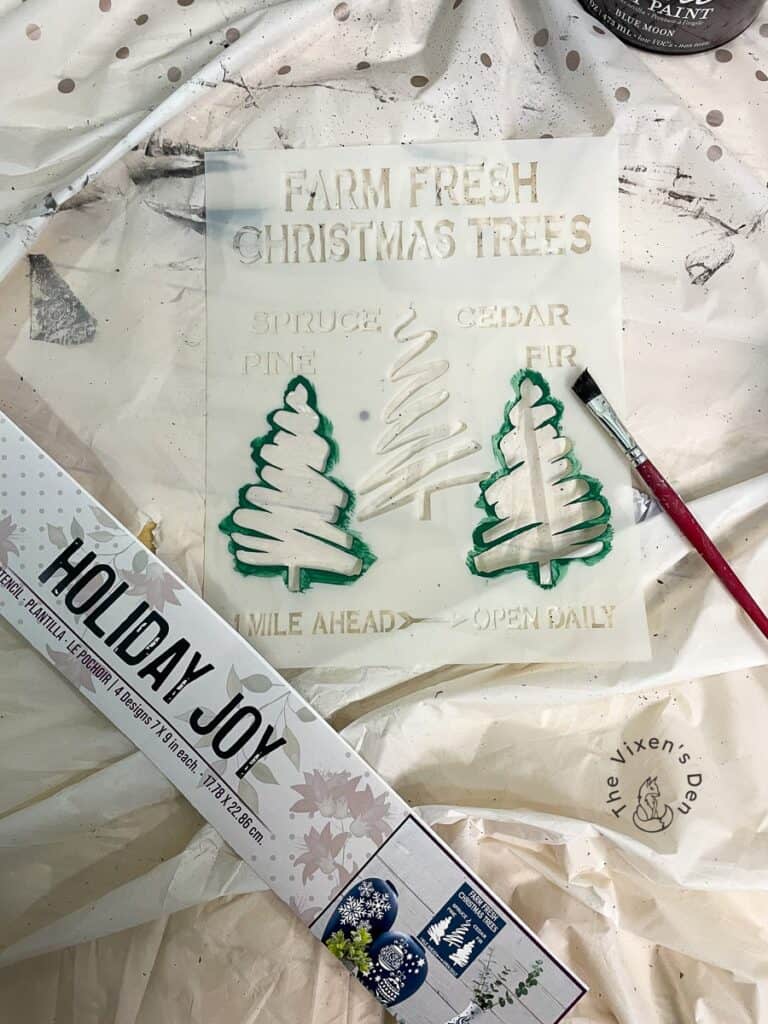
Christmas Sign: Add Trees with the Holiday Joy Stencil
Adding beautiful details doesn’t have to be hard. One of my favorite ways to add crisp detailed outlines and fonts quickly is by using stencils. Dixie Belle has a beautiful line of stencils, including this Holiday Joy Stencil.
The Holiday Joy Stencil collection includes a variety of beautiful mylar stencils that are perfect for the holiday season! The tree stencil from this Farm Fresh Christmas Trees set made it so easy to paint beautiful trees for the Christmas sign, especially when combined with the thick texture of Terra Clay Paint.
Seal the Terra Clay Paint
Hindsight is 20/20 tip: Before moving on to the next step, seal the surface of the Terra Clay Paint with Terra Tuff. It took a while before I figured out that the reason the transfer wasn’t sticking was that it couldn’t grip the clay paint. The sealer creates a surface that the transfer can stick to. This one step will save you so much time and frustration!
Hindsight is 20/20 tip: This sealer drips easily. Also, back brushing on the first coat will reactivate the Terra Clay paint and ruin your project, so make sure to apply thin coats and don’t back brush!
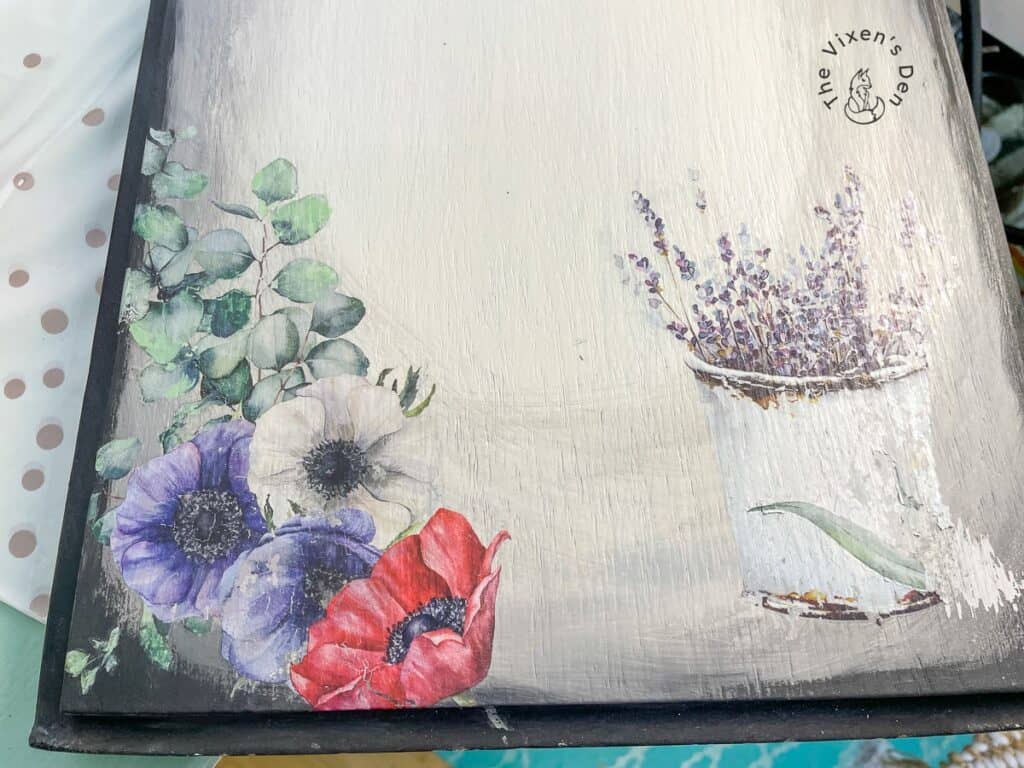
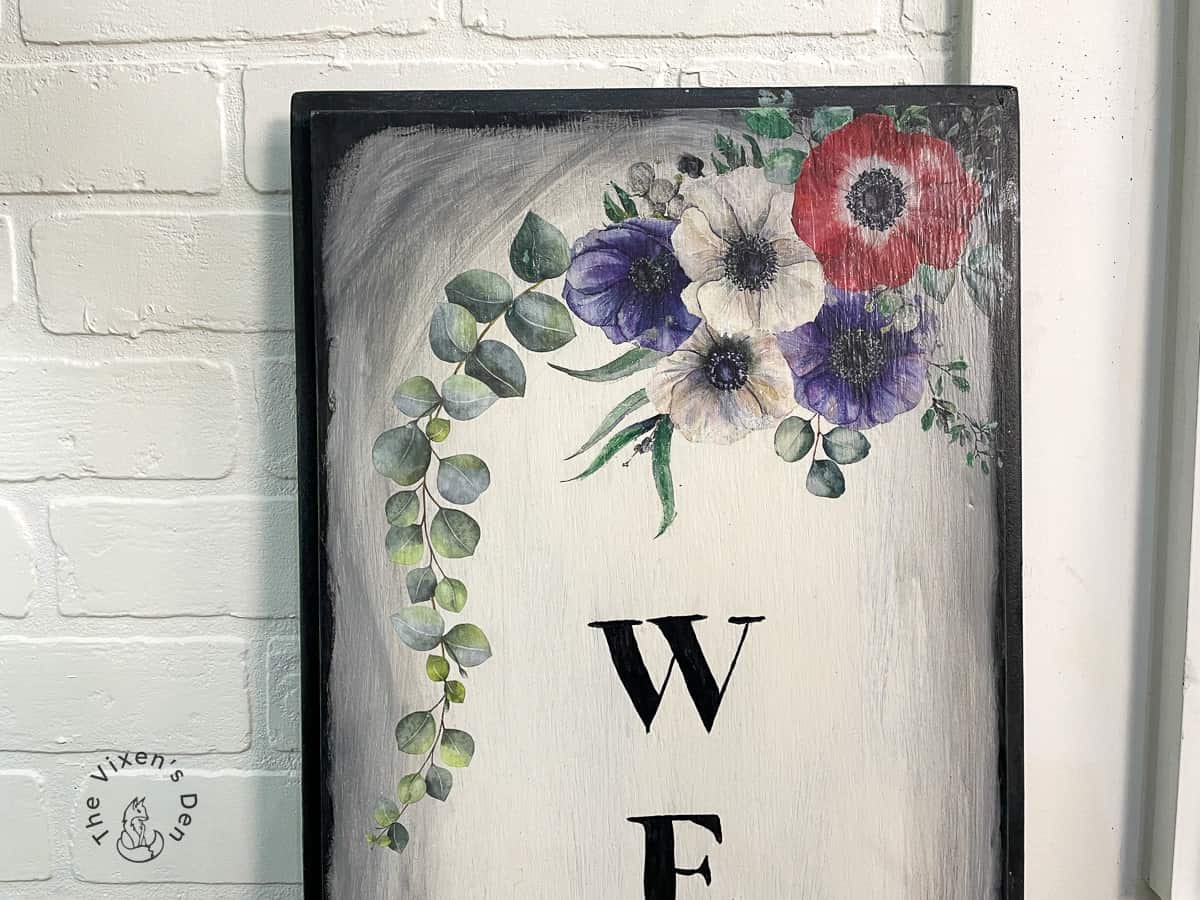
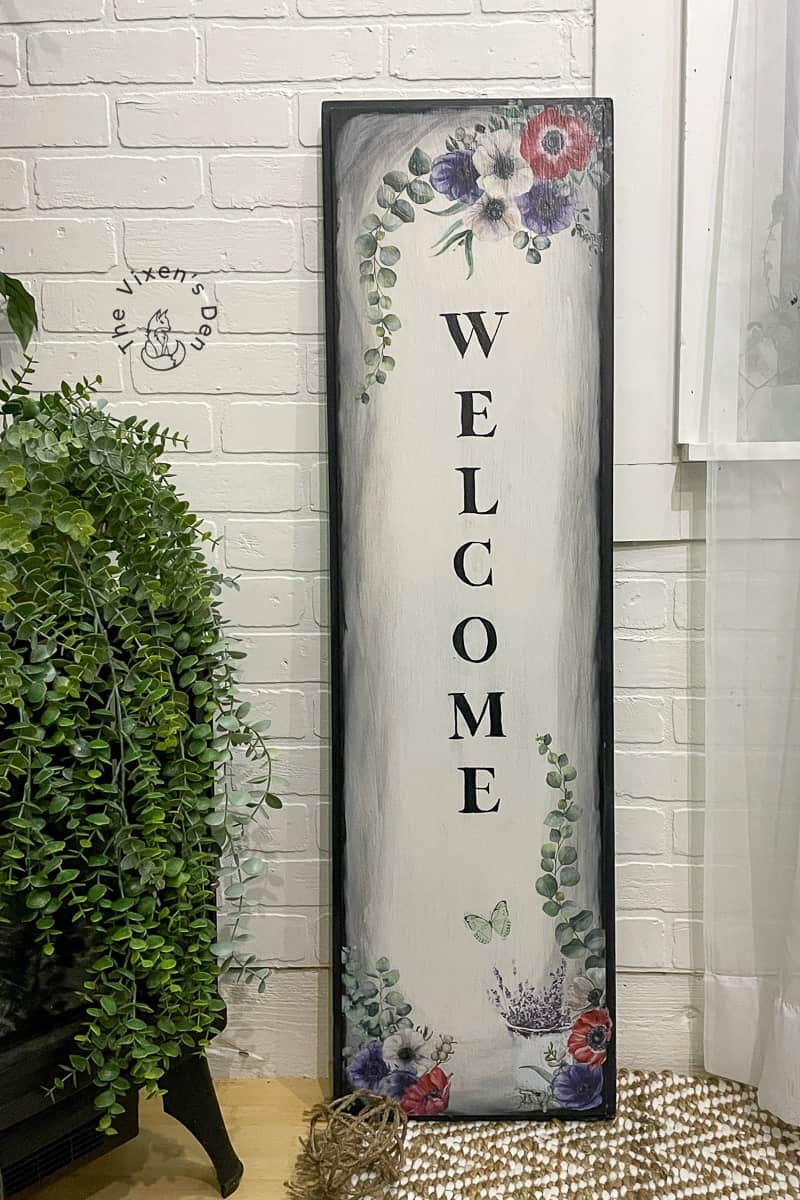
Welcome Sign: Apply the Dewy Morning Transfer
Beautiful, detailed transfers take creating your own unique decor to a whole another level! These transfers are so easy to apply by simply burnishing them onto the surface of your project with the included wood stick.
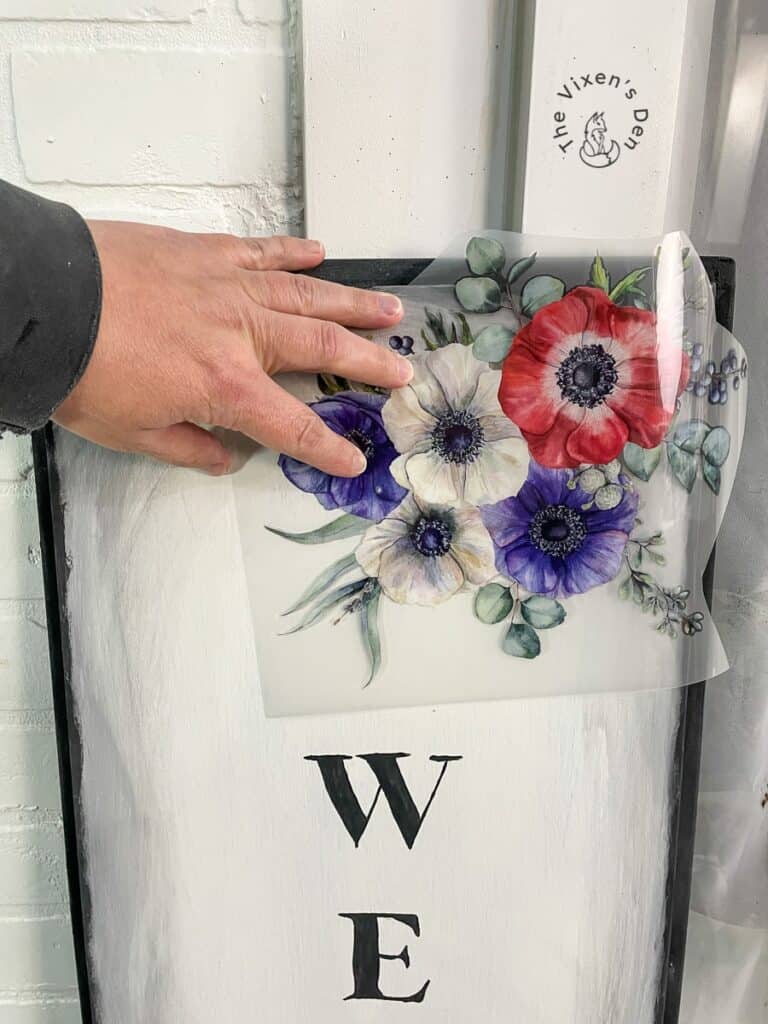
These top-quality furniture transfers can be easily cut, layered, and painted to create a custom design.
Protect with Terra Tuff
Seal in all of your hard work by brushing on two thin coats of Terra Tuff, a durable water and UV-resistant clear coat.

Final Reveal
What a beautiful makeover! That sad cabinet door that was destined for the dumpster is now the guest of honor at the front door! Not only that, but we’ve gained twice the decorating impact for half of the storage space. Win, win!

What is your favorite piece to upcycle? Let me know in the comments below. I love to hear your ideas and might even borrow one for a future project!
Thank you so much for stopping by! Check out the other amazing projects at the link parties below. I know the hostesses will appreciate your visit and comments.
Until next time, have a beautiful and blessed day!


Linked up to these lovely link party hostesses at:
New Upcycle Ideas (Funky Junk Interiors)
Don’t forget to sign up so you hear all about the next misadventure! Until then, you may also like this Magazine Rack makeover or this Dresser upcycle.

I love this Becky! The fact that it’s two sided is genius! I love the techniques you used. It really came out great. I would love it if you could share this at the Home Imagined link party. Have a wonderful week. XO- MaryJo
https://masterpiecesofmylife.com/2023/07/25/home-imagined-link-party-23/
I enjoyed this project Becky, I am thinking I need to go to our basement and see if I can locate a door to make over now.
I love your sign and the products you used. For lettering, you can always print what you want on Microsoft Word (you can change the font, letter size, and etc.), trace the letters on with graphite paper, then paint them with a brush. You look like a painter to me, girl! Happy New Year!
What a great tip! Thank you so much, Kristie!
Oh what a great idea Becky! I love how you transformed this!
Becky-
The Christmas sign is beautifully done! Both signs are, but my fav is the Christmas one. Night background with snow and mountains. And the falling star!! I can picture myself there in the quiet.
Did you free hand the text or use stencils? Either way, it came out lovely!!
Thank you so much, dear! I really love the Christmas sign too. I used a chalk transfer method that I apparently forgot to include in the post. Thank you so much for asking!!