DIY Interchangeable Seasonal Picture Frame Wreath
Storing a wreath for each season takes up a lot of storage space. Wreaths also eventually break down, whether they’re real or artificial. A DIY interchangeable wreath made from an upcycled picture frame is the perfect solution! Change out the decor each season and store it all in one bin!
Using a smaller quantity of decor means that you can splurge on higher-quality embellishments such as ribbons, greenery, or florals. If you don’t want to create your own arrangements, it’s super easy to pick up some beautiful premade arrangements.
Before we get started, let’s get the fine print out of the way…
This post is sponsored by Dixie Belle Paint Company. While they provided some of the products for this project, all of the opinions are my own. Follow this affiliate link to see all of their amazing products!
AS AN AMAZON ASSOCIATE I EARN FROM QUALIFYING PURCHASES AT NO COST TO YOU.
YOU CAN SEE MY FULL DISCLOSURE HERE.
Now, let’s get started on creating your customized seasonal wreath!
Tools and Materials
Tools
1″ synthetic paintbrush - Pliers
- Hammer
Materials
- Picture frame
White Lightning - Soft scrub brush
- Silk Paint – Black Sands
Terra Tuff Sealer - Sawtooth picture frame hangers
- Screw-in eyelets
- Floral wire
- Embellishments:
- Faux Boxwood Greenery
- Green and Gold Ribbon (similar)
- Rustic Sleigh Bell
Cleaning & Prepping
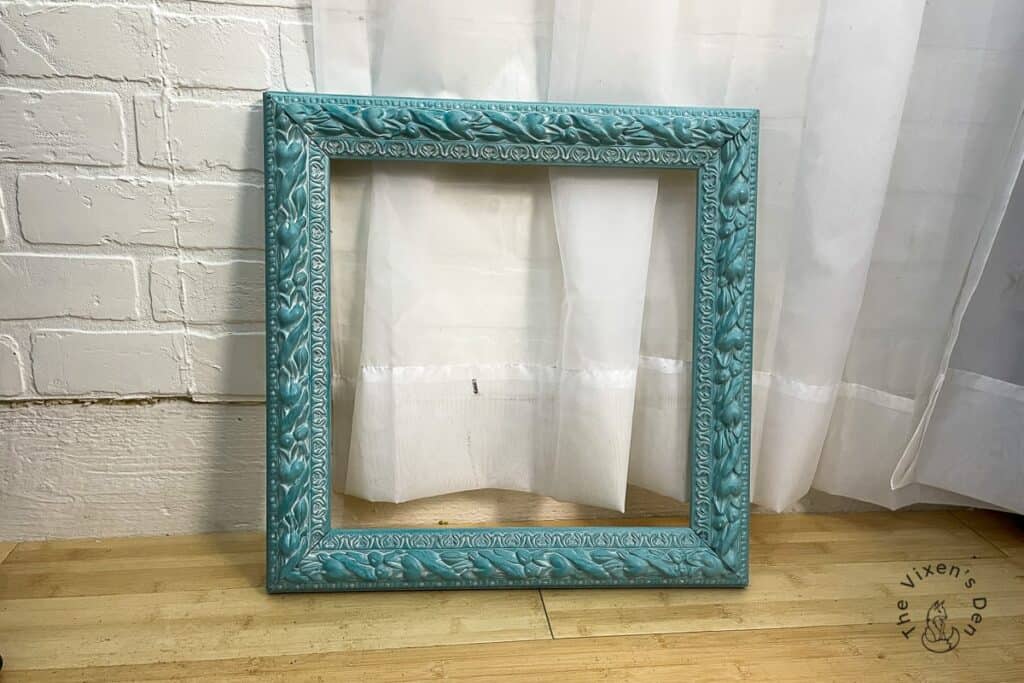
This picture frame had already received a makeover in the past, but it still needed a good cleaning to make sure it was ready for its new look. I scrubbed it down with an old toothbrush and my go-to degreasing cleaner, White Lightning.
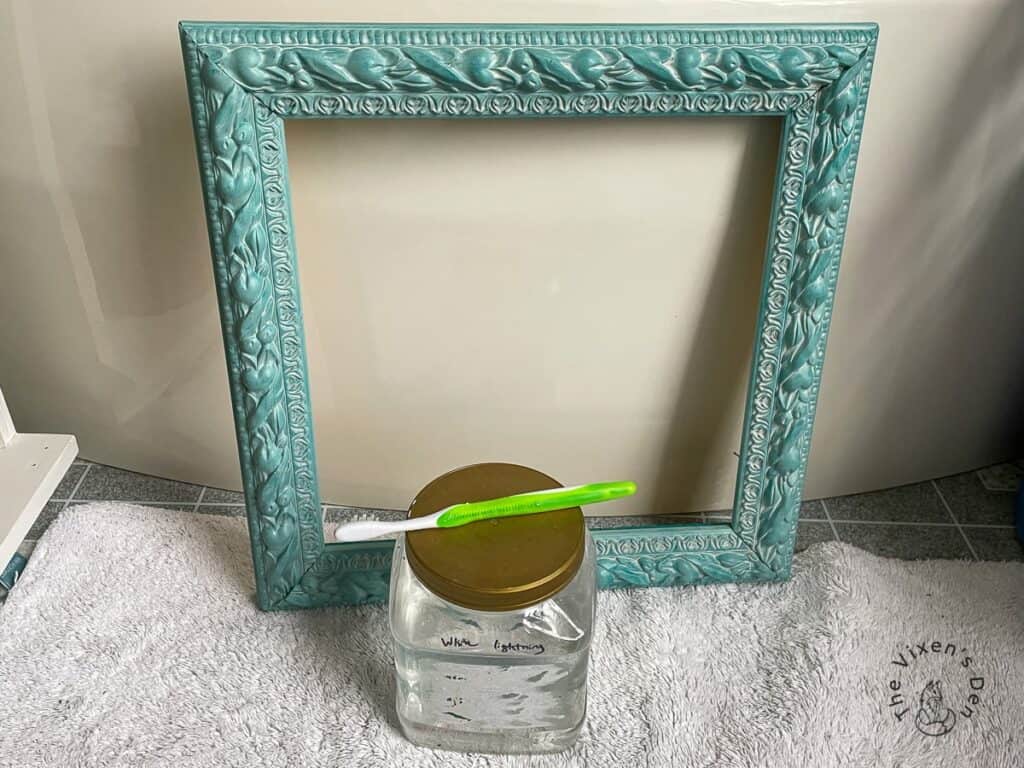
After scrubbing, I made sure to rinse thoroughly to remove any residue. Finally, I used pliers to remove any nails that were protruding from the back of the frame.
Paint the Picture Frame
Since this project had already been painted and the paint was still in really great condition, I chose a Silk Primer-and-Topcoat-In-One paint in Black Sands. The color is somewhere between dark grey and soft black. It’s a great neutral that can easily fit with any decor or season. The final finish is a wonderful matte.
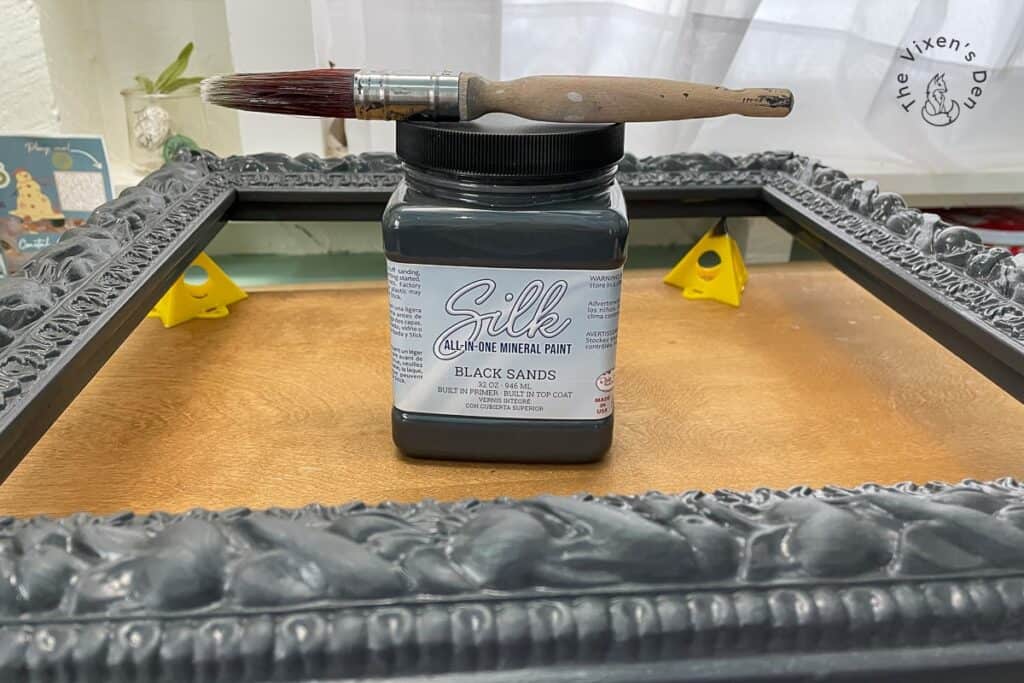
I applied two coats using a 1-inch flat synthetic brush. Before applying the paint and in between brush strokes, I misted the bristles with a fine spray misting bottle. This helps the paint glide smoothly onto the surface of the project and minimizes brush strokes.
Seal with Terra Tuff
Yes, I did say that the Silk paint has a top coat built in already. For an everyday piece of furniture, this built-in top coat will work fine. This frame, however, will be exposed to the elements and lots of sunshine, so I wanted to give it extra protection.
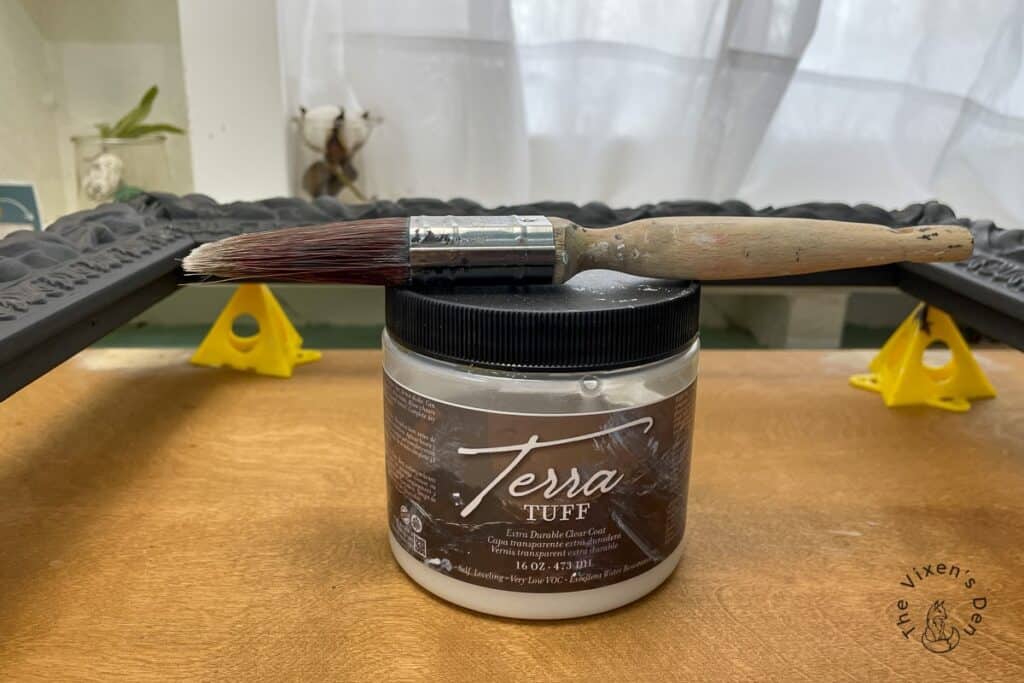
Terra Tuff isn’t only water resistant, but it also provides UV protection as well. It’s the perfect heavy-duty top coat! Terra Tuff does result in a semi-gloss finish. If you want a more matte finish then you can add a layer of Flat Clear Coat over top.
Add Hardware
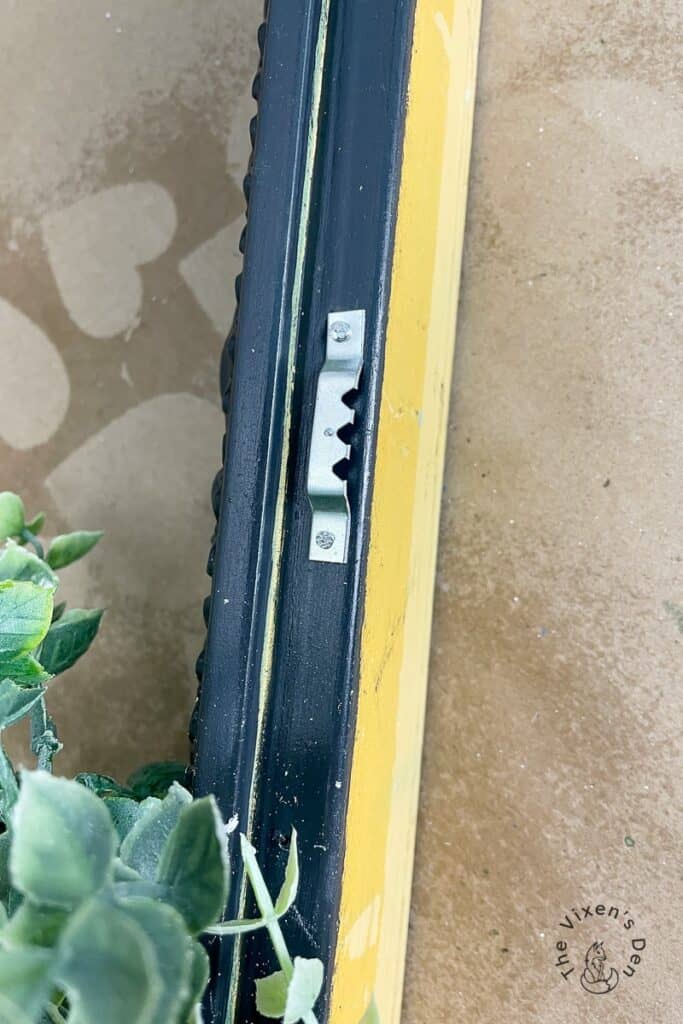
Simple picture frame hardware is all that’s needed to create the fastening points for embellishments. I measured across the top and bottom to find the center point of the frame and marked it with a pencil. Then I installed a sawtooth hanger to both the top and the bottom centers of the frame by hammering in small nails on each end of the hangers.
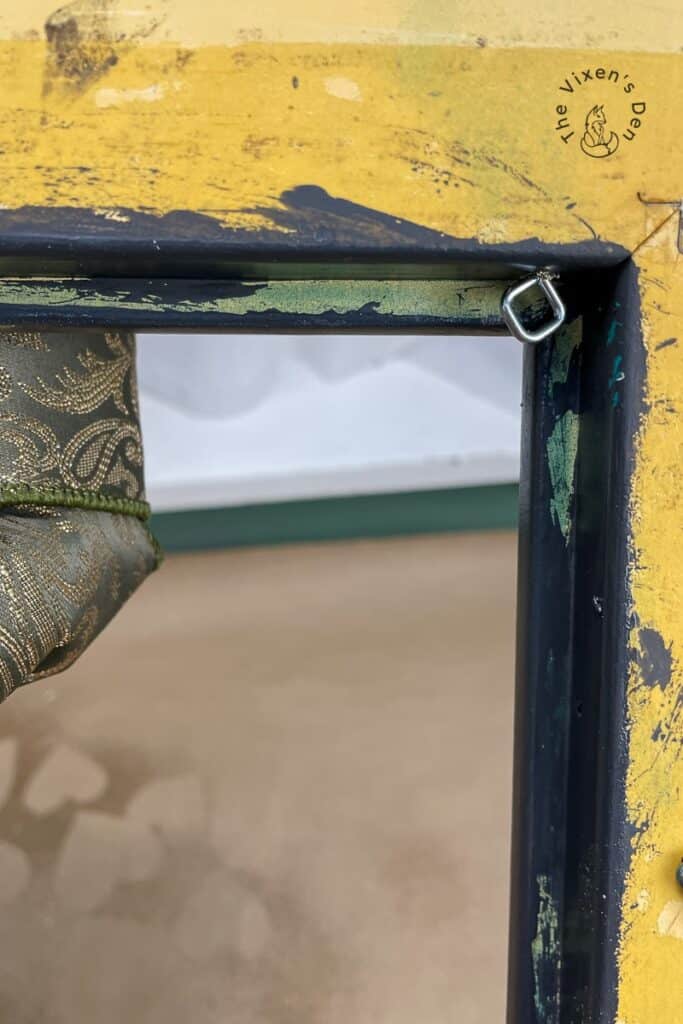
Finally, I screwed eyelets into the upper left and lower right corners. This allows more options for placing decorative elements.
Add Decorative Elements
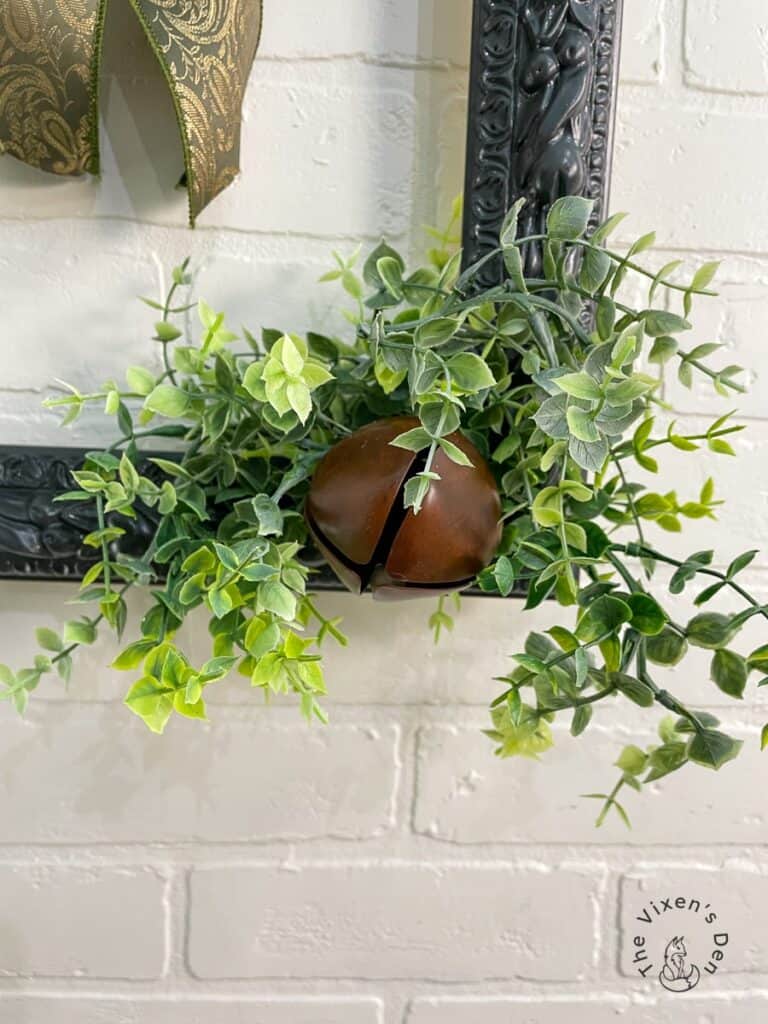
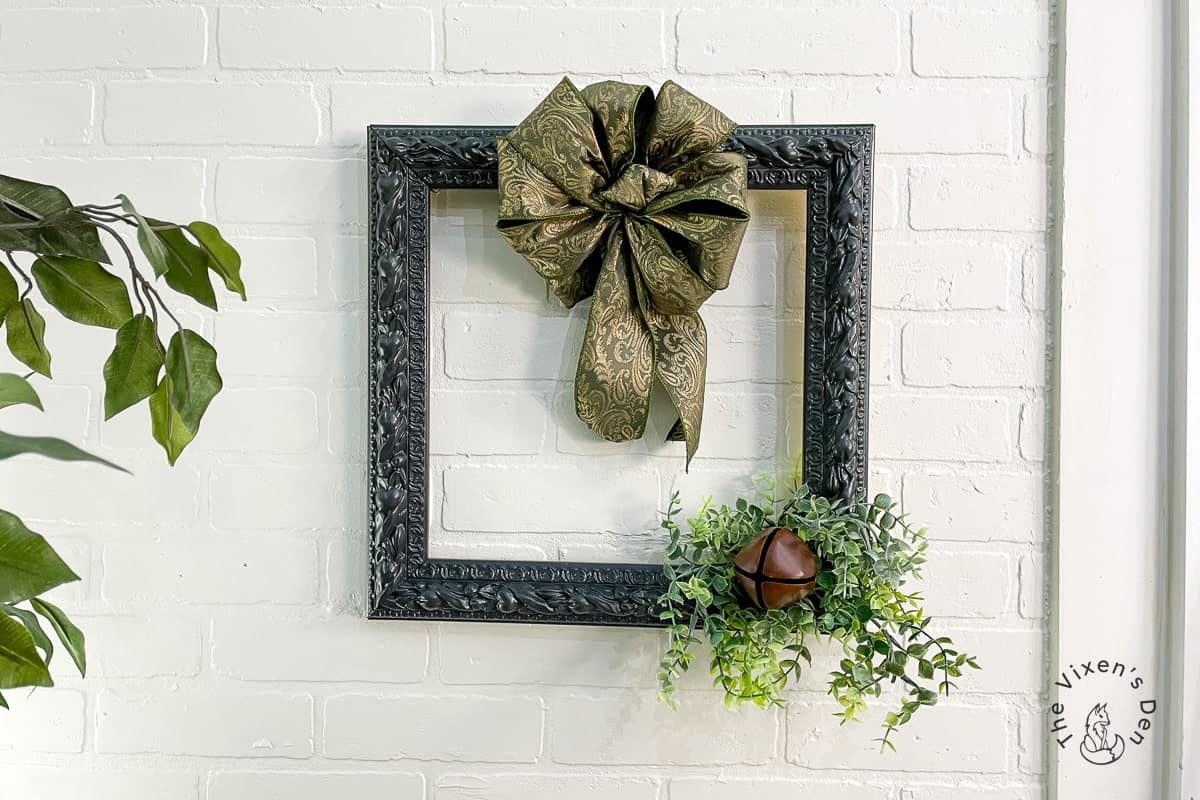
Time to add the pretty parts! I found a beautiful boxwood garland that I trimmed down to create a foundation for the focal point in the bottom right corner. Then I added a rustic bell for some interest.
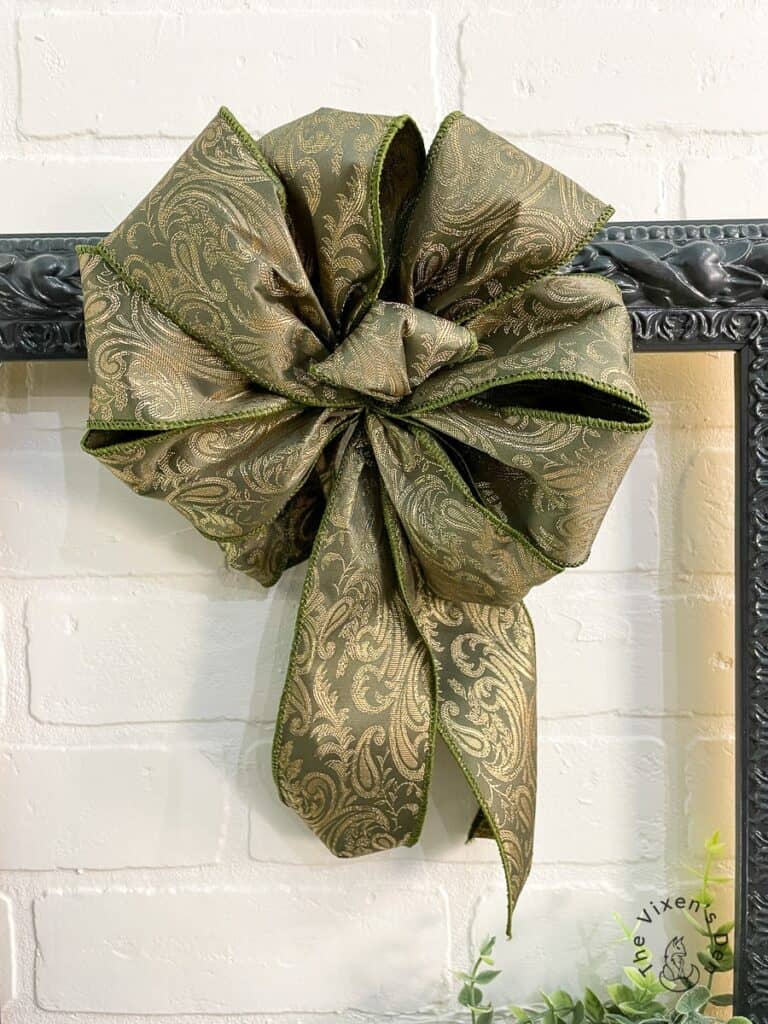
Then I added a fluffy bow to the top center that offsets the rustic color of the bell perfectly!
And that’s it! Now you can trade out bows, florals, greenery, and interesting elements to create a beautiful wreath for any occasion. Best of all, you won’t have to section off part of your basement or attic to store it all!
Seasonal Picture Frame Final Reveal
This painted picture frame has a whole new look and purpose!

The best part about this wreath is that it is the foundation for unlimited creativity! With a simple picture frame, you have a base wreath that allows you to create unique elements for any season. Add cute eggs and a bunny for Easter, miniature flip-flops for summer, and pumpkins for the fall. The possibilities are limitless!
Then, when the season is over, you just tuck the elements away in a small bag or box until next year. The base remains on the door, and the decorative elements take up a quarter of the space that a single-season wreath would require. It’s like the Mary Poppins carpet bag for decor!
I would love to hear from you! What would you add to make this wreath base special? Let me know in the comments below how you would decorate your wreath base. I love hearing all of your creative ideas!
Thank you so much for stopping by! Check out the other amazing projects at the link parties below. I know the hostesses will appreciate your visit and comments.
Until next time, have a beautiful and blessed day!


Linked up to these lovely link party hostesses at:
Dare to Share Party (Pam’s Party and Practical Tips)
Saturday Sparks (Pieced Pastimes)
Don’t forget to sign up so you hear all about the next misadventure! Until then, you may also like this Halloween Picture Frame Wreath or this Picture Frame Upcycle.


LOVE this picture frame wreath, so unique!
Don’t forget to join us over at the Creatively Crafty Linky Party every Wednesday through Sunday
https://creativelybeth.com/creative-crafts-linky-party-2/
Pinned!
Creatively, Beth