Celebrate a Thankful Thanksgiving with a DIY Gratitude Tree
It feels as if we jump straight from summer to Halloween and into Christmas. If you are with me in camp “Make Time for Thanksgiving” then this post is for you! This is your opportunity to get the Christmas tree in place, while still allowing Thanksgiving its time in the spotlight.
Before we jump into transforming a Christmas Tree into a Gratitude Tree, here is some obligatory legalese for your reading pleasure….
This post is sponsored by Dixie Belle Paint Company. While they provided some of the products for this project, all of the opinions are my own. Follow this affiliate link to see all of their amazing products!
AS AN AMAZON ASSOCIATE I EARN FROM QUALIFYING PURCHASES AT NO COST TO YOU.
YOU CAN SEE MY FULL DISCLOSURE HERE.
Now it’s time to see what supplies you might need for this project. I gathered some of my favorite Dixie Belle products and a few crafty items. Don’t forget the most important part…the tree!
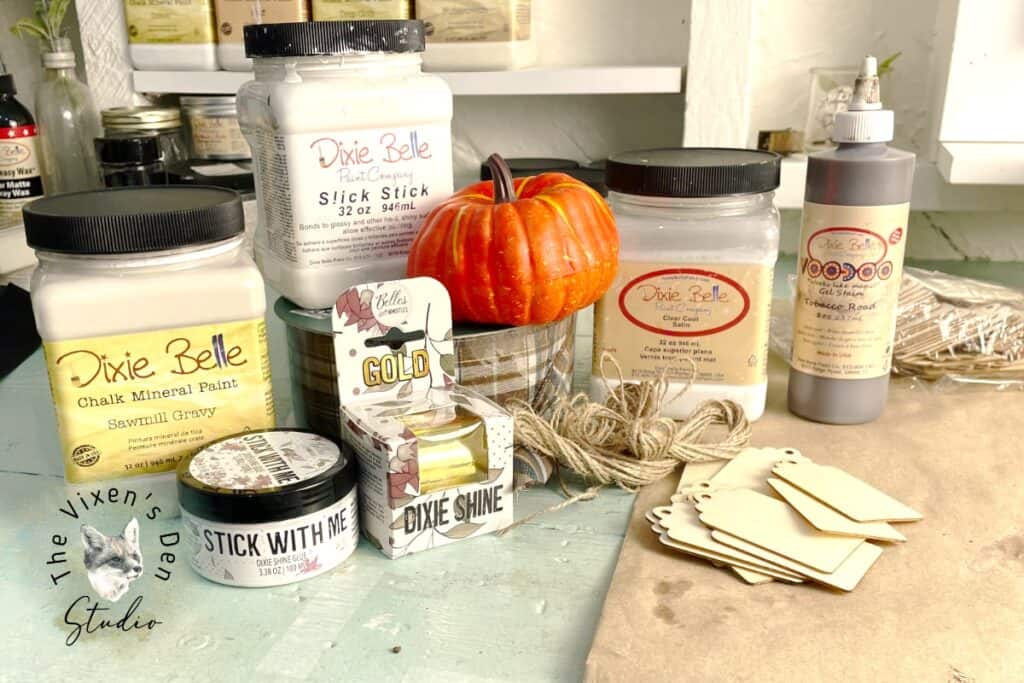
Tools and Materials
Tools
- Artists paintbrushes
- Scissors
Materials
- Wood tags
- Voodoo Gel Stain – Tobacco Road
- Stick With Me
- Dixie Shine – Gold
- Dual tipped marker
- Twine
- Foam pumpkin
- Slick Stick
- Dixie Belle Chalk Paint – Sawmill Gravy
- Hello Autumn Stencil
- Satin Clear Coat
- Scrubby Soap
- Ribbon
- Floral wire
- Christmas tree – I used my favorite tabletop Christmas tree
- Sola Wood Triticum Wheat Grass (Natural)
Cleaning & Prepping
Products sit on shelves gathering dust, no matter how clean the store or home may be. So the first step for any project is to spray it with some White Lightning Cleaner to remove dirt and grease. Then wipe it down with a damp cloth. Once the pumpkin has dried from its little bath, paint on two coats of Slick Stick, with an hour or two of dry time in between. Leave it to dry overnight and give that Slick Stick time to bond with the surface.
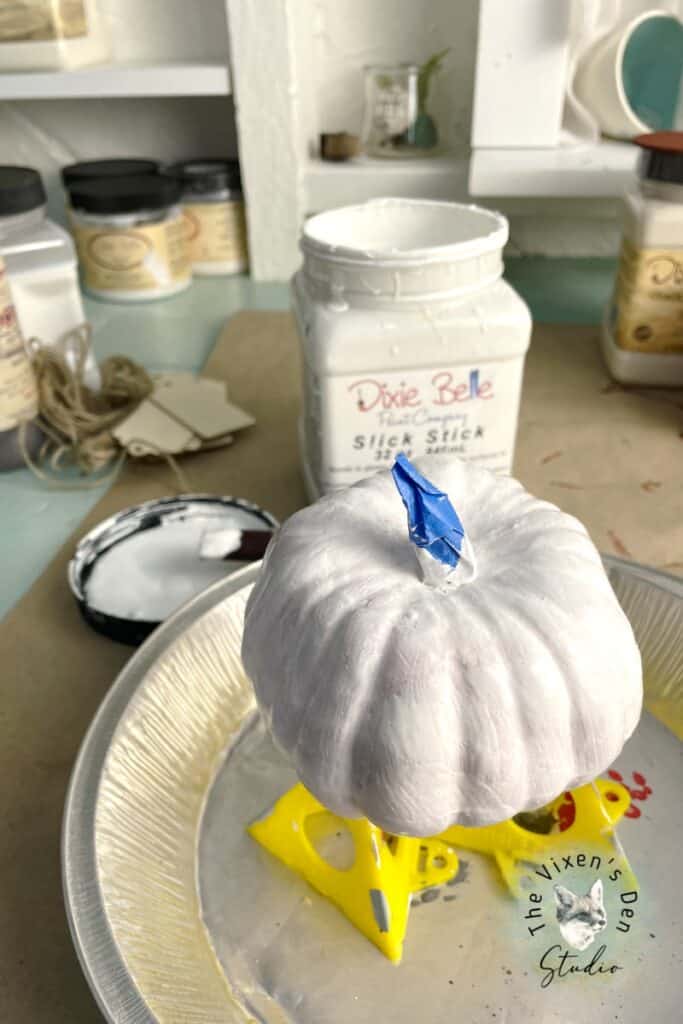
Pro Tip: This might seem like overkill, priming a decor piece, but skipping this step can be the difference between creating a piece that you enjoy for years and one that you have to repaint regularly. Ultimately, the choice is yours.
While the pumpkin dries, lightly sand down any rough edges on the wood tags. It doesn’t take much and prevents little stray wood hangnails from grabbing onto things and being ripped off. Any sandpaper will work, but my tool of choice is a sanding sponge.
Stain the Wood Tags
Once the little wood burrs are sanded off, they are ready to stain! I love using water-based Voodoo gel stain because it is easy to use and easy to clean up. Squirt some onto a rag and rub it onto the surface of the wood tag.
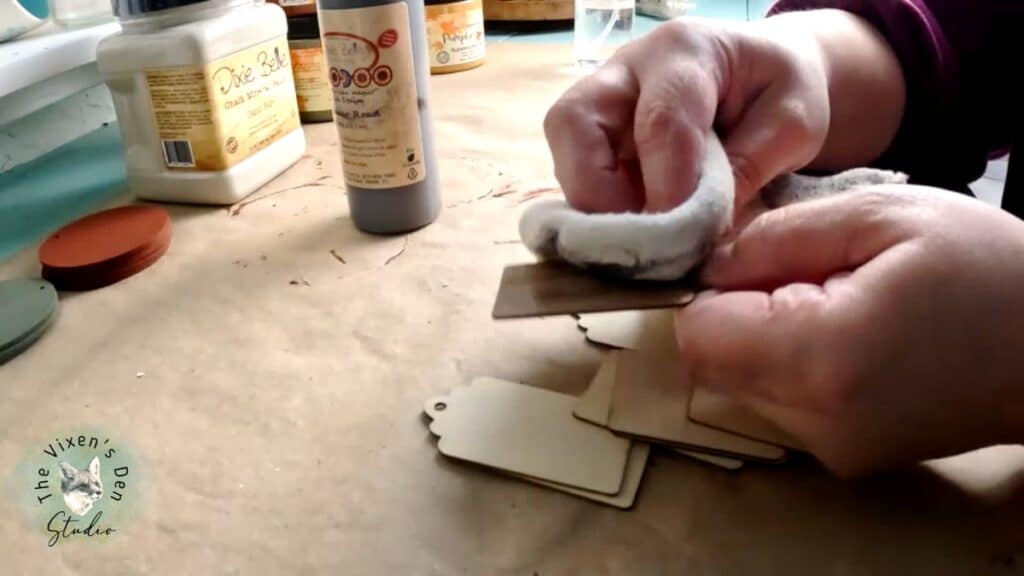
I only used one coat, but you can easily add additional coats if you prefer a darker look. Allow it to dry overnight.
Paint the Pumpkin
I had this beautiful ribbon that I picked up from Sam’s Club last year at the end-of-season sale. I used it to choose the paint color for the pumpkin topper and Dixie Belle chalk paint in Sawmill Gravy was the winner! This gorgeous paint has light green and grey undertones. It’s also water-based and super easy to use. Just make sure that your brush is damp before you start painting, and mist the piece with a little extra water if it seems too dry and leaves brush marks.
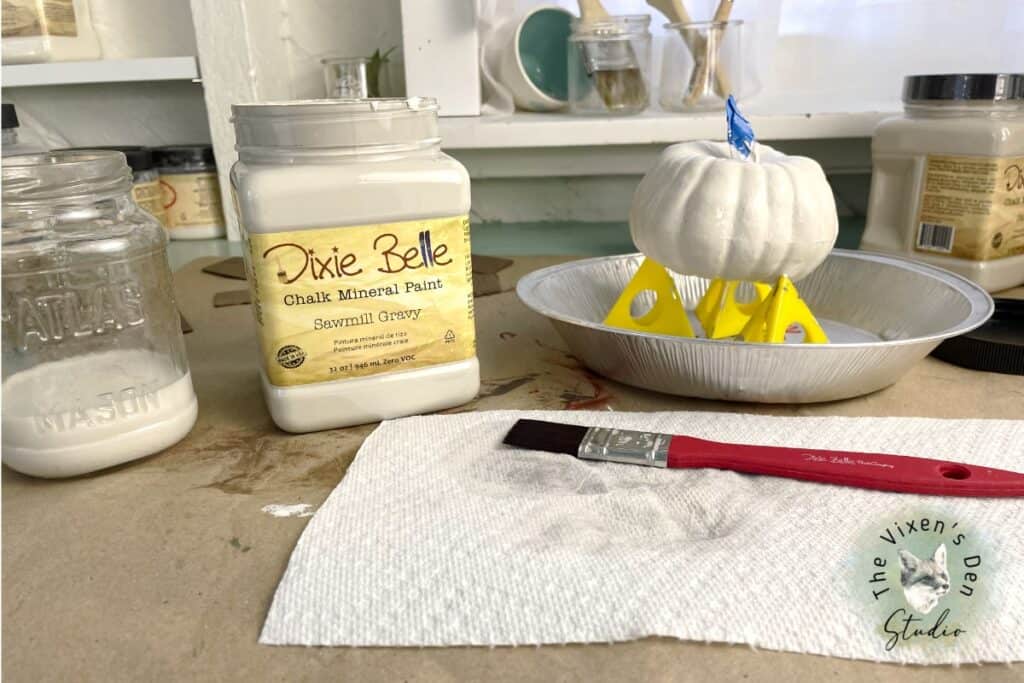
I applied two coats allowing for an hour of dry time between coats. That’s the other part that I love about Dixie Belle chalk paint, it dries so quickly!
Pro Tip: One of my favorite tools in my studio is those little paint pyramids. They’ve been working hard this year, propping up all of these cute pumpkins!
Apply Dixie Shine
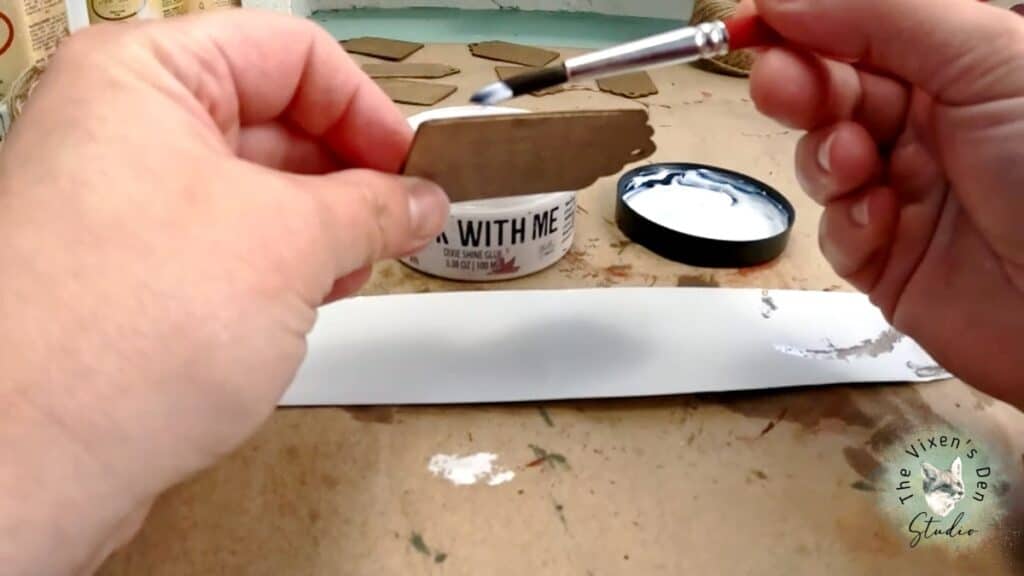
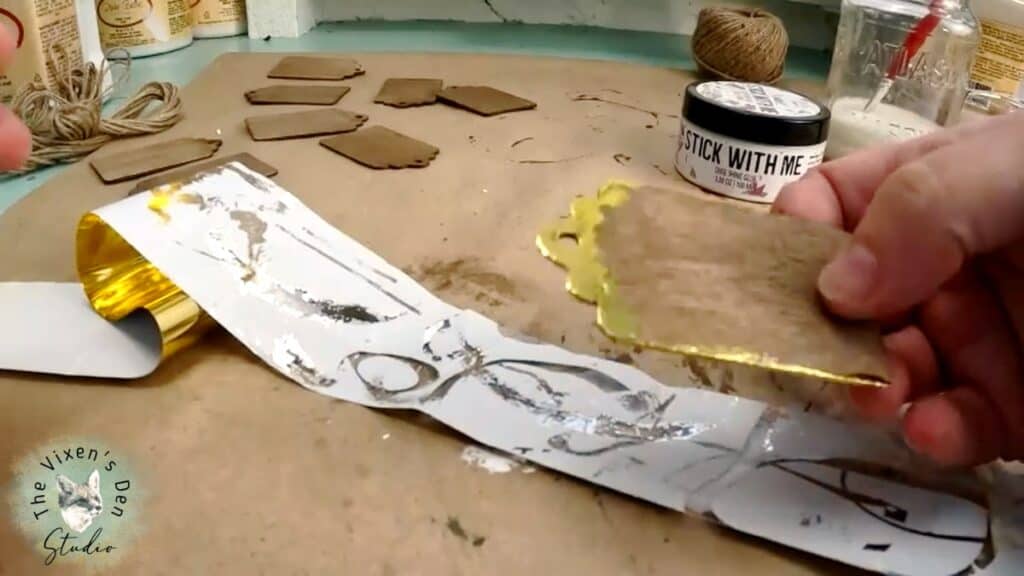
Now it’s time to have some fun with a product that makes gilding so easy! I wanted to give the wood tags a little bit of shiny to help them stand out. I started by simply painting on some Stick With Me along the tops and edges of the wood tags, then I pressed them into a length of Dixie Shine. The Dixie Shine then stuck to the Stick With Me and created a beautiful gold-gilded look.
Then it was the pumpkin’s turn! But this time I was a little more structured, using the Hello Autumn Stencil to paint leaf shapes with the Stick With Me on the pumpkin.
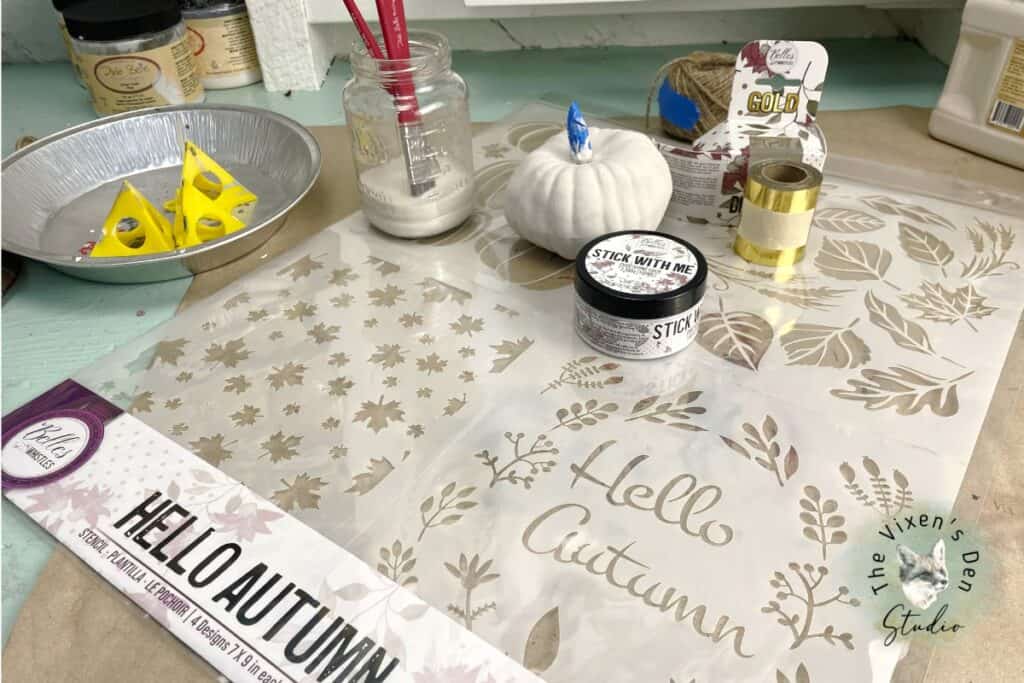
The Stick With Me adhesive doesn’t take long to dry. By the time I finished applying it to all sides of the pumpkin, the starting point was tacky and ready for some Dixie Shine! I placed the Dixie Shine “tape” against the pumpkin, rubbed it in with my finger, and peeled the “tape” off. So easy!
Seal with Clear Coat
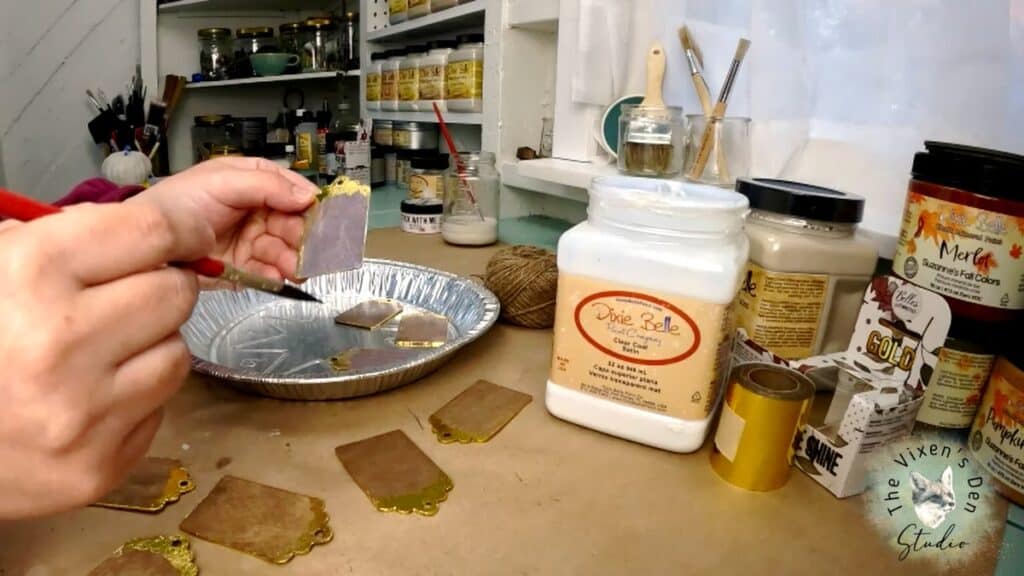
Once the Dixie Shine was applied, I painted two coats of Clear Coat in satin on both the pumpkin and the wood tags. The primary reason for sealing the tags was to prevent the marker from bleeding during the next step.
Gratitude Messages
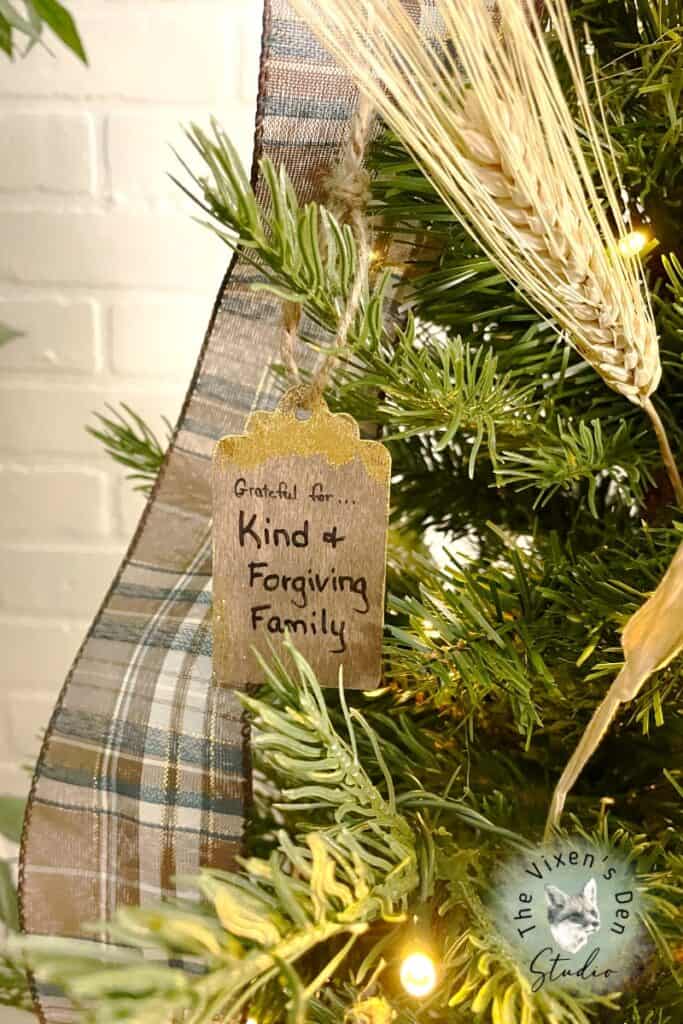
To finish off the tags, I recruited my family to send me one thing that they were feeling grateful for on that day. You could turn this into a game for your family when you gather at Thanksgiving!
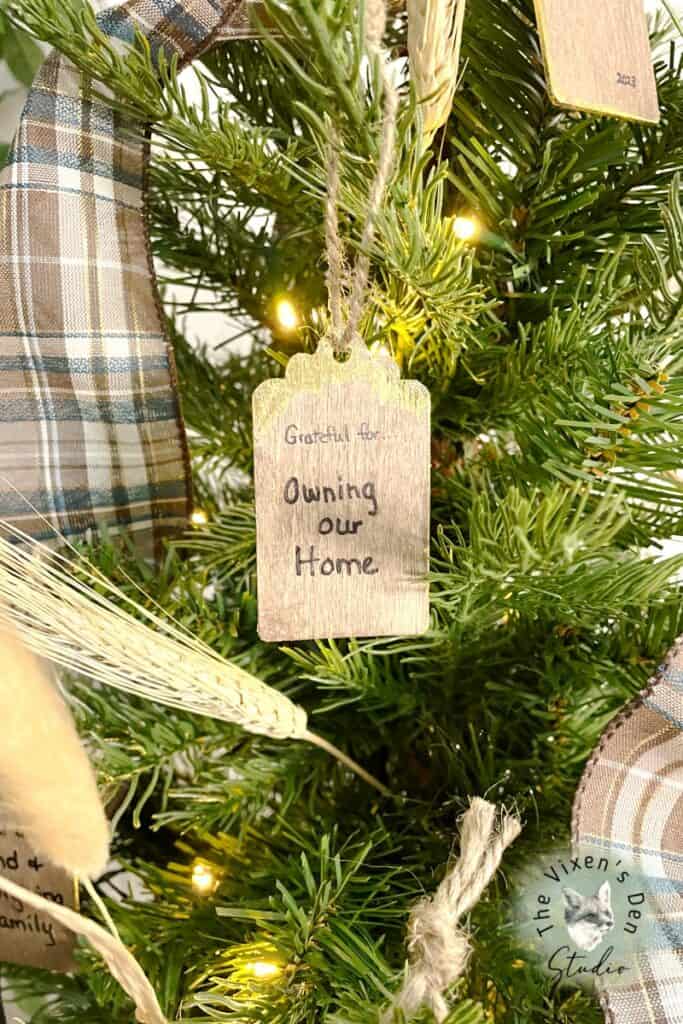
I wrote the gratitude messages on the tags. Then, to make them extra special, I wrote the name of each person on the back of their gratitude message along with the year. I think it will be fun to pull these out next year and see what is at the top of everyone’s gratitude bucket, then compare the two.
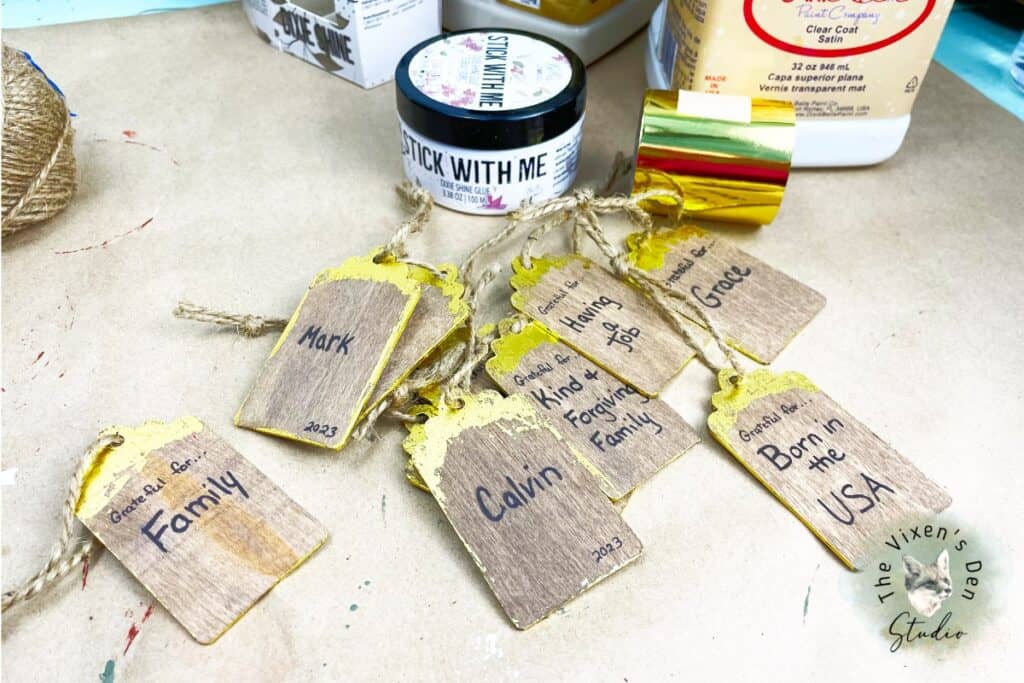
Now I just needed a way to hang the tags. A simple loop of twine was the perfect rustic touch.
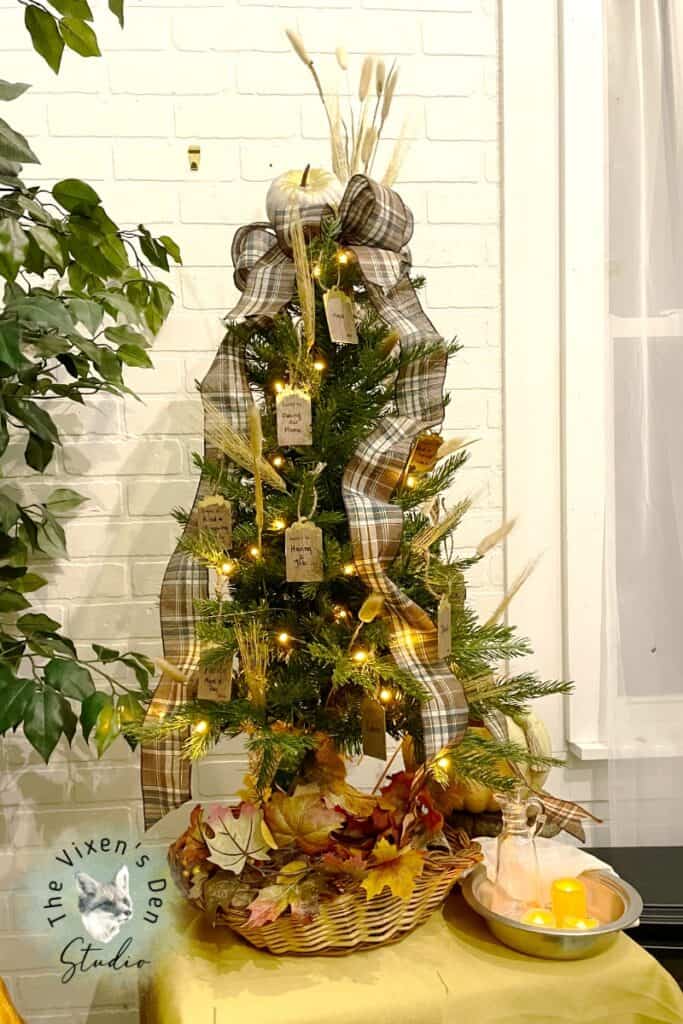
Assemble the Gratitude Tree
It’s time to assemble the tree! I pulled out the Christmas tree and fluffed its branches. I sat mine in a woven basket and tucked some fall leaves around the base.
I twisted together two long strands of ribbon to create four streamers and topped it off with a big fluffy bow. Gluing the pumpkin on top of the bow with my trusty Surebonder glue gun helps ensure it won’t topple off if the tree is bumped.
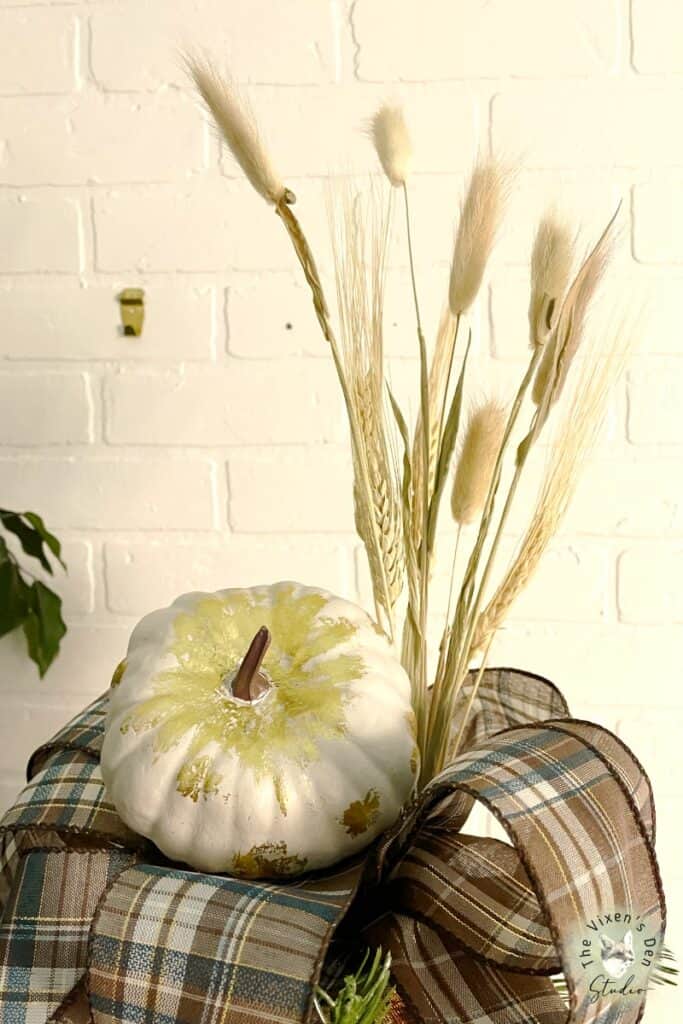
Then I hung our sweet gratitude tags and tucked in some Triticum Wheat and Natural Bunny Tails from Sola Wood Flowers.
Final Reveal
And just like that, we’ve created a new family tradition! Each year, we will add new tags to the tree as we think about how our blessings have grown.
I hope our family Gratitude Tree inspires you this Thanksgiving season. Even when there is pain and turmoil in the world, there is always something that we can be grateful for.
Thank you so much for stopping by! Check out the other amazing projects at the link parties below. I know the hostesses will appreciate your visit and comments.
Until next time, have a beautiful and blessed day!


Linked up to these lovely link party hostesses at:
Don’t forget to sign up so you hear all about the next misadventure! Until then, you may also like this Magazine Rack makeover or this Dresser upcycle.