DIY Glass Chalkboard Sign
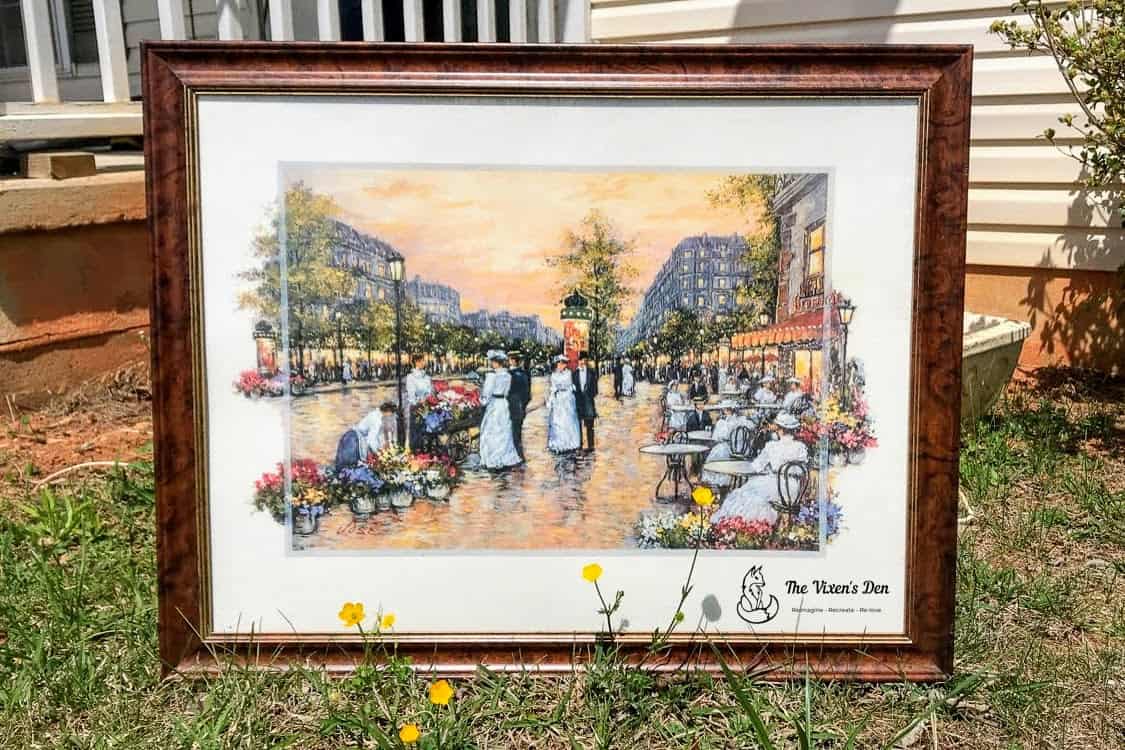
Thrift stores are one of my favorite places to find an overlooked gem. Picture frames are a great example. Even if you’re not crazy about the actual picture, the frames are absolute gold. For this project, we will transform a thrift store picture frame into a custom DIY glass chalkboard sign!
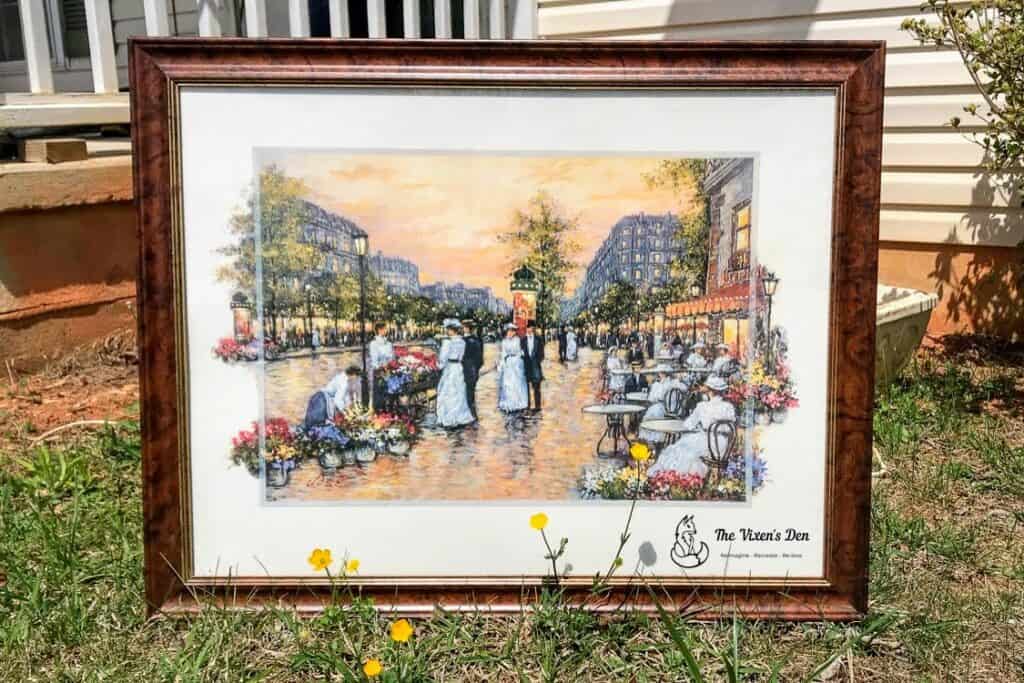
This frame could have been used in so many ways: as a corkboard, a blackboard, a whiteboard, or even strung with wire to hang small pictures. For this lovely bride’s wedding, however, she wanted a simple clear glass look with white chalk pen writing. Let’s look at the materials that we used for this transformation.
THIS POST CONTAINS AFFILIATE LINKS TO PRODUCTS THAT I HAVE OR WOULD USE.
AS AN AMAZON ASSOCIATE, I EARN FROM QUALIFYING PURCHASES AT NO COST TO YOU.
YOU CAN SEE MY FULL DISCLOSURE HERE.
Tools and Materials
Cleaning and Prepping
Remove the Backing
The first step to prepping the frame was to remove the hanging hardware, which in this case was a stranded wire twisted together through eyelets. I unscrewed the wire hanger from each side of the frame, using a pair of pliers to grasp and twist the eyelet counterclockwise.
Some pictures have a paper backing affixed to the back of the frame. This picture had one glued directly to the frame. I removed the paper backing by cutting it out with a utility knife.
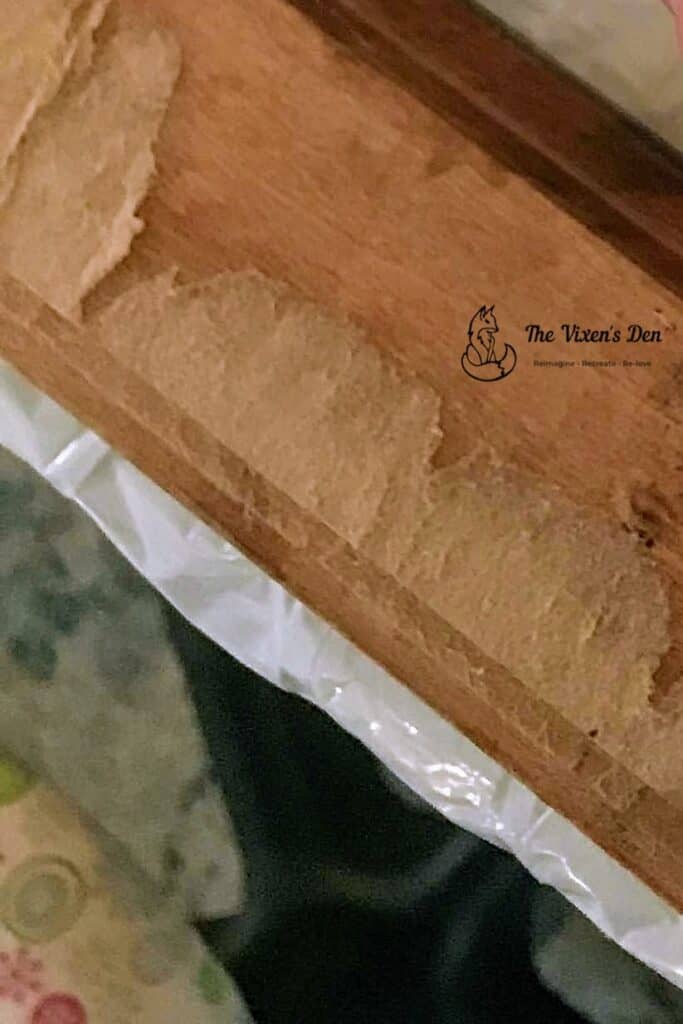
Once the back of the picture was exposed, I could see how the picture was mounted to the frame. Most modern pictures are mounted using flexible points that can be bent upwards. In this case, I would bend the points on two sides and slide the picture and glass from the frame.
This particular picture was mounted with rigid points. I used a flat head screwdriver to lightly tap the edge of the points and loosen them from the frame. Once loosened, the points completely fell out of the frame.
Remove the Picture and Glass
With the points removed, I pressed against the glass from the front of the frame and popped the picture and glass loose from the frame.
Pro tip: The glass in this frame was not polished on the edges. Be extra careful, and consider using gloves to protect your hands from the sharp edges.
Clean the Frame
The next step was cleaning the frame with White Lightning. Every piece has some form of residue, whether it’s dust or oil from fingerprints. White Lightning is an effective TSP-based cleaner that prepares the surface for painting.
After scrubbing the frame with White Lightning and a non-abrasive scrubbing pad, I rinsed it thoroughly. It’s important to remove all of the cleaner in order to ensure that the paint adheres to the surface. Once rinsed, I dried the surface with a towel.
Painting the Wedding Sign Frame
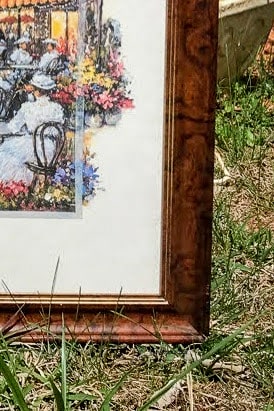
Although the wood of this frame was quite lovely, it wasn’t the look that our bride wanted for her wedding day. She selected the Silk All-In-One Mineral Chalk Paint in Bay Breeze for her frame. Although this paint includes primer and topcoat, I happened to be starting this project a little late in the game. In order to ensure that there was absolutely no possibility of bleed-through, I chose to start the project by applying two coats of Boss.
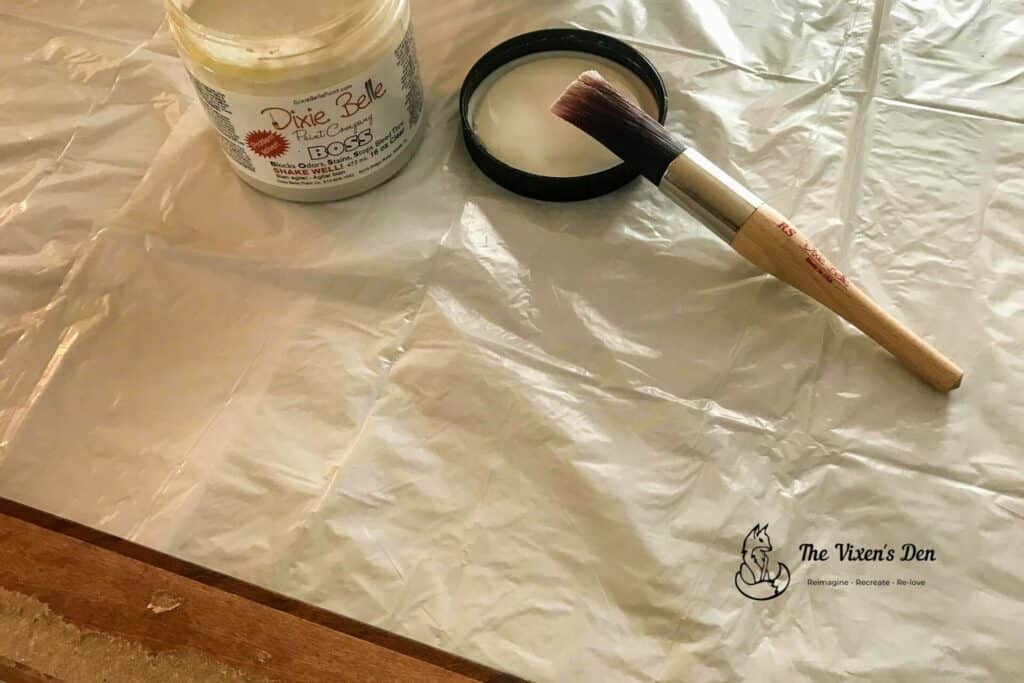
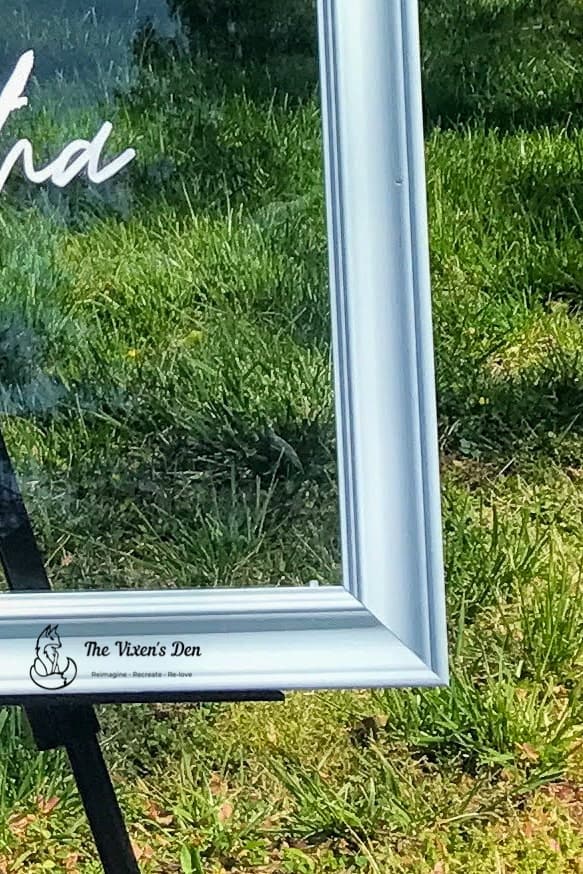
After 24 hours, I painted on two coats of Bay Breeze using the small round synthetic brush. A third touchup coat ensured that there was even coverage over the frame. Because this paint contains both a primer and a topcoat, there was no need to add a clear coat to the project. This paint contains the slightest hint of a sheen and a smooth feel to the finish.
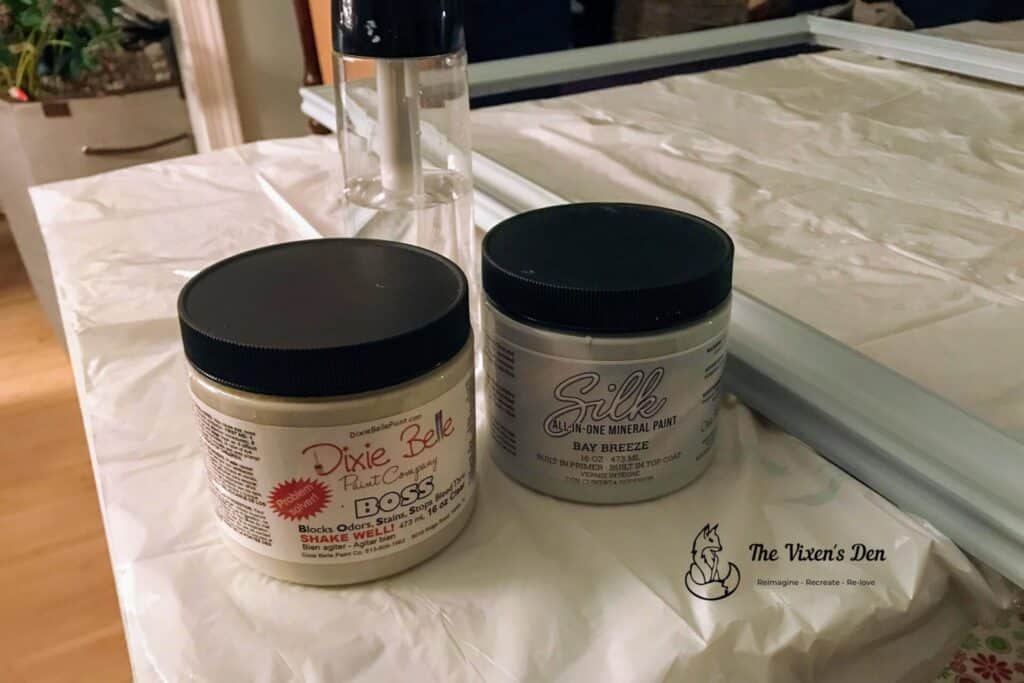
Pro tip: The paint applies most smoothly if the surface is first lightly misted with water. I like to use the Continuous Mister Bottle for this process.
Pro tip: Before starting the project, wet the paintbrush thoroughly in water. Shake out any excess and wipe the brush on a paper towel. This will help prevent the paint from drying to the bristles.
Reinstalling the Glass
After a day of drying time, it was time to place the glass back in the frame. Generally, you will want to give the project about 30 days to fully cure, but that was not an option since the wedding was only a few days away.
The plan for this project was to have a completely clear glass sign. After cleaning the glass and laying it in the frame, I installed new points using a point driver and rigid points. I chose rigid points because I felt they would hold the glass in place more firmly than flexible points.
Writing the Glass Chalkboard Sign
If you’re one of those blessed individuals who has lovely handwriting, then you skip this part. We created a sign template by selecting the fonts and phrasing for the sign in Canva. After measuring the frame, the sign was scaled to fit and then printed as an engineering print through Staples.
The engineering print was taped to the back of the glass and the words were traced onto the front of the glass using a white chalkboard marker. And just like that, the sign was ready for its debut!
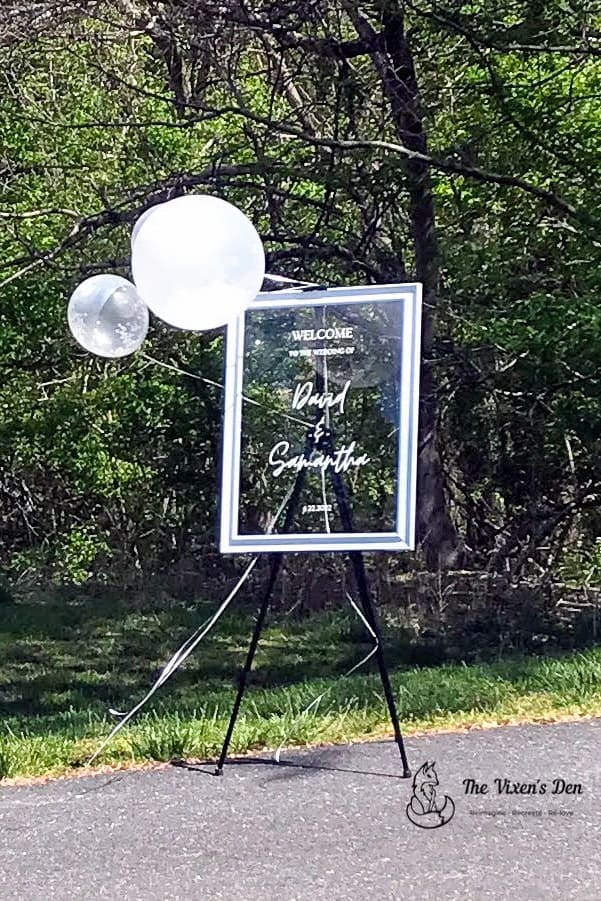
DIY Glass Chalkboard Sign Reveal and Takeaway
Here’s the final transformation!

This was an easy project thanks to the smooth Silk All-In-One Mineral Paint. Even with the additional drying time of the Boss primer, it was worth it to ensure that I wouldn’t have to start the project over at the eleventh hour due to unexpected bleedthrough. Not having to add a sealer coat saved a lot of time, and we love the soft subtle sheen of the Silk paint finish.
How would you transform a thrift store picture frame? Leave your ideas in the comments below, and sign up to receive an email when the newest misadventures are posted. Until then, you may enjoy seeing this planter project that was also created for this wedding or this picture frame upcycle.
Have a beautiful and blessed day!


Great project Becky and I love the look of this but one gust of wind……I’d prefer to see this displayed in a protected place where it can get knocked or blown over lol. So lovely to have the momento afterwards too!
Wow! That is really beautiful, Becky!! Never thought about using/redoing an old frame & using its clear glass to showcase a message or design on it! Love it!! Which is kind of crazy because now that I am thinking about it, I have one in my bedroom that I had bought a long time ago that says “LOVE lives HERE”.
And I haven’t touched it in a long time ( yes, it could use a cleaning) but I always thought it had stencils on the front. But no. The font is on the back.
Anyway, yours is GORGEOUS and I’m sure that Sam loves it! A dear wedding memento to hang in their house! And even more special because YOU crafted it- family sentiment involved.
Thank you so much! I love a good upcycle, but this one is definitely extra special!