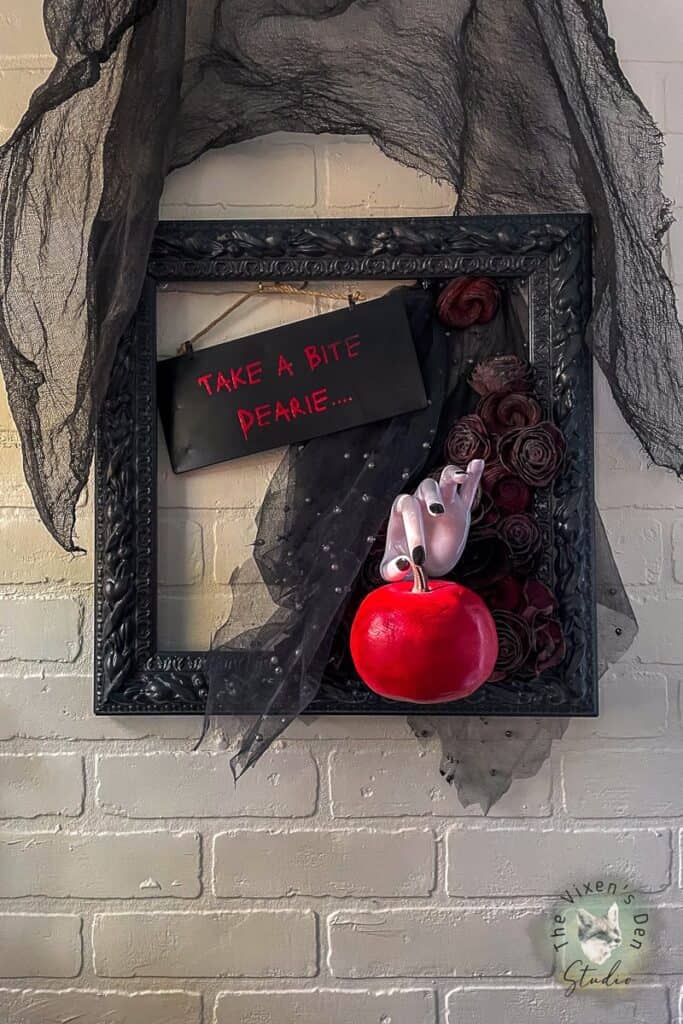
DIY Eerie Poisoned Apple and Black Roses Halloween Wreath
Bright orange pumpkins, spooky ghosts, and creepy spiders are one way to celebrate the Halloween season. But this eerie wreath brings another element to the phrase “Trick or Treat!”
A few simple ingredients and a little Dixie Belle Paint magic brewed up the spookiest Halloween wreath yet!
Before we jump into the steps for this project, here is some mandatory legalese for your reading pleasure:
This post is sponsored by Dixie Belle Paint Company. While they provided some of the products for this project, all of the opinions are my own. Follow this affiliate link to see all of their amazing products!
AS AN AMAZON ASSOCIATE I EARN FROM QUALIFYING PURCHASES AT NO COST TO YOU.
YOU CAN SEE MY FULL DISCLOSURE HERE.
Now, let’s get to gathering our ingredients!
Tools and Materials
Tools
- Glass bowl
- Measuring cup
- Spoon
- Spatula
- Rag
- Misting spray bottle
- Finishing sponge
- Hot glue gun
- Tin snips
- Pliers
Double Dip Dying Sola Wood Roses
I love Sola Wood flowers so much! We used them at my daughter’s wedding and they were absolutely perfect! In this post, I walk through the process of dying Sola Wood flowers using Dixie Belle chalk paint. I used the exact same method this time, with one exception. Instead of stopping at one color, I dyed these flowers twice!
The first dye was performed using Dixie Belle Rustic Red chalk paint. I let that dry overnight and then performed the second dye the next day using Dixie Belle Caviar chalk paint. The results were very interesting! I was hoping for something that resembled dead roses, and this process certainly delivered!
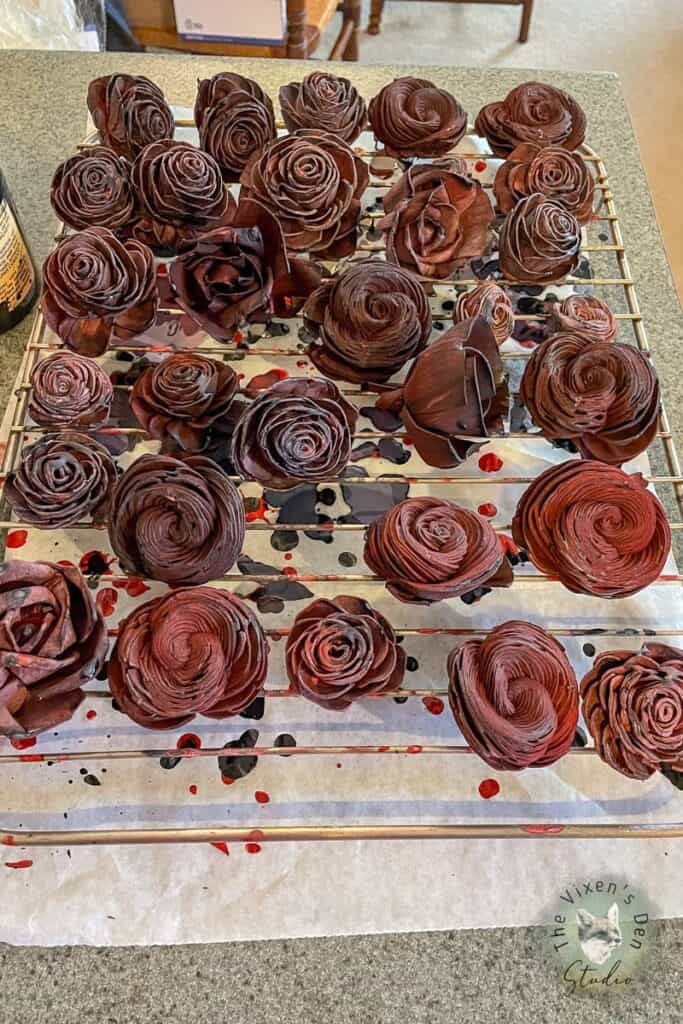
Best of all, even after two dye processes, the flowers still have that signature real feel! They did take a little longer to dry than when we only dyed them with one color, but only by a day or two.
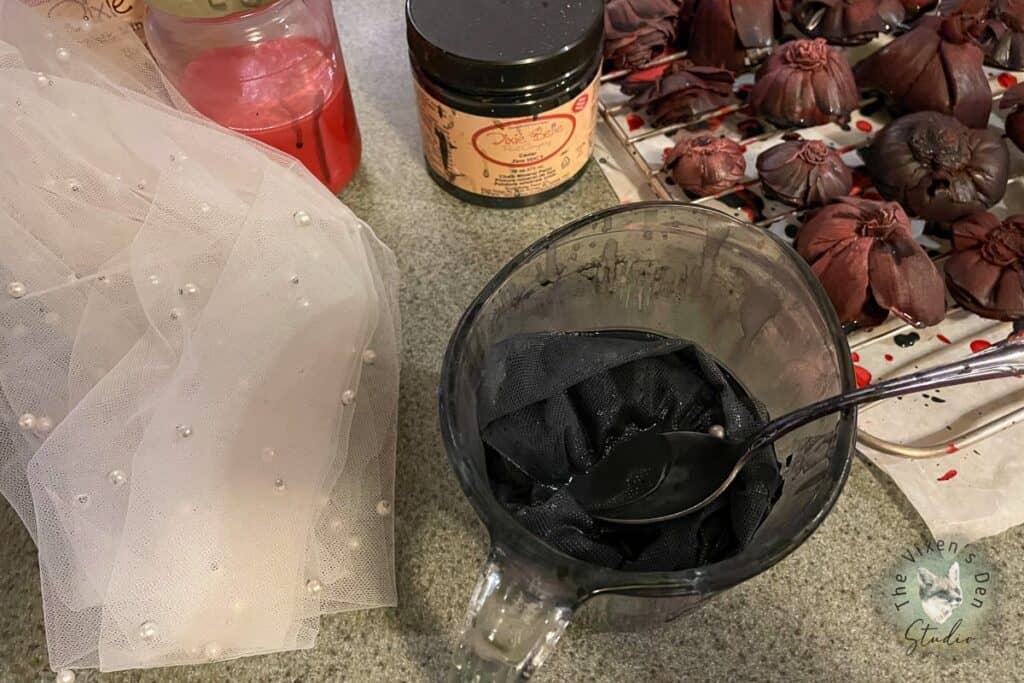
Dying the Veil with Chalk Paint
Dying with chalk paint was so much fun that I decided to try dying fabric too! My daughter gave me some of her leftover material from her wedding veil. This beautiful polyester fabric is studded with pearls and I was interested to see if the paint would dye the pearls too.
The dying process was super easy. I just dunked the material straight into the measuring cup that I was using for the flowers. I used a metal spoon to push the fabric around in the paint then pulled it out and squeezed out the excess.
In order to dry the fabric, I gently shook it out over the bathtub and then draped it over a hanger. The showerhead was the perfect spot to hook the hanger and leave the fabric to dry overnight. There were several drips that landed on the shower knobs and side of the shower. I definitely would not try this inside with latex paint!
The next day, the fabric was completely dry and was only moderately stiff. It scrunched easily with my hands. However, the pearls were only slightly dyed so that question was answered.
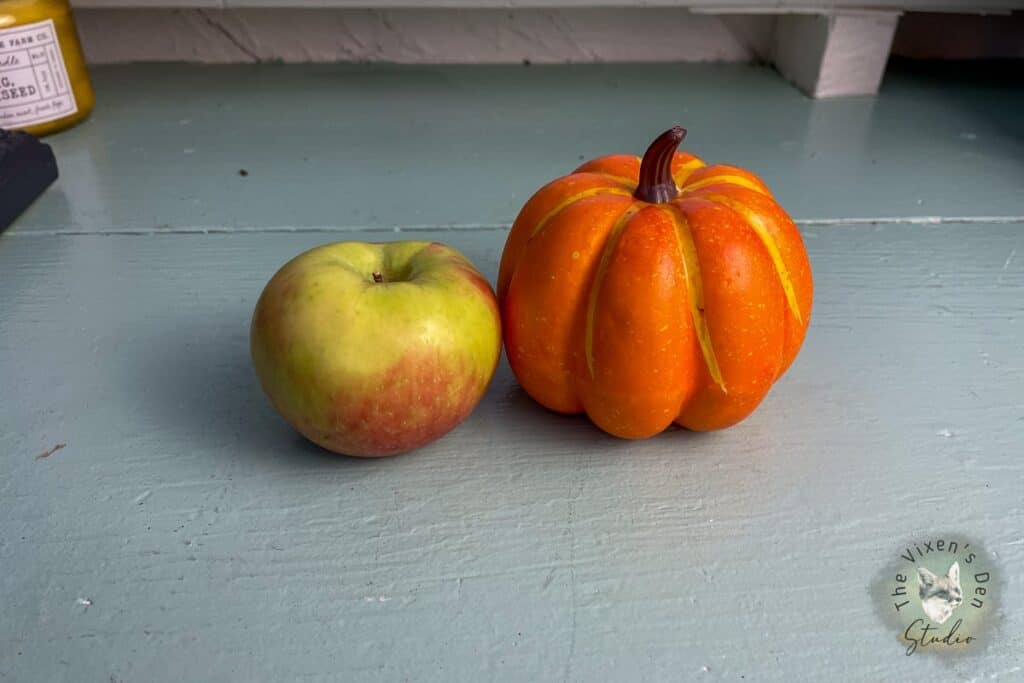
Transforming a Pumpkin into a Poisoned Apple
If you’re blessed enough to have a fake apple available at your local Dollar Store, then you can skip this step. However, I did not. So, I grabbed some Dixie Mud, filled in the indentations that make a pumpkin look like a pumpkin, and transformed it into an apple!
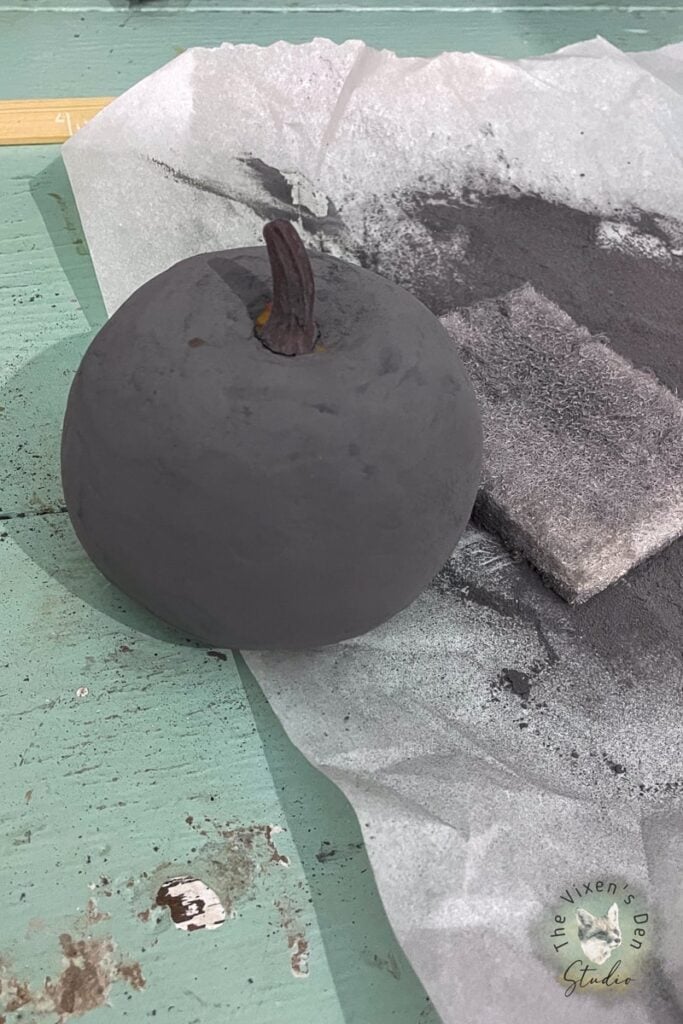
It took four applications of Dixie Mud, with a night of drying and both wet and dry sanding in between each application.
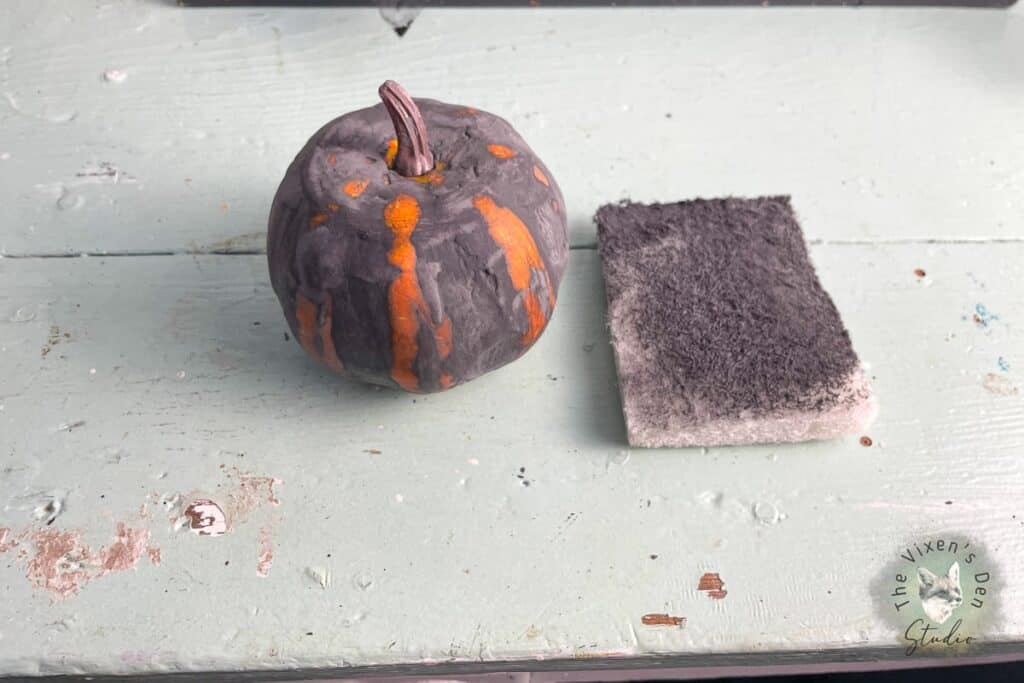
In order to wet sand the Dixie Mud, I misted a Dixie Belle finishing sponge and lightly sanded from the top of the pumpkin-apple to the bottom. The tricky part here is to maintain even pressure on the outer ridges without accidentally removing too much Dixie Mud from the valleys between them. It’s okay if the valleys are pitted and wonky because that is filled in with the second and third coats.
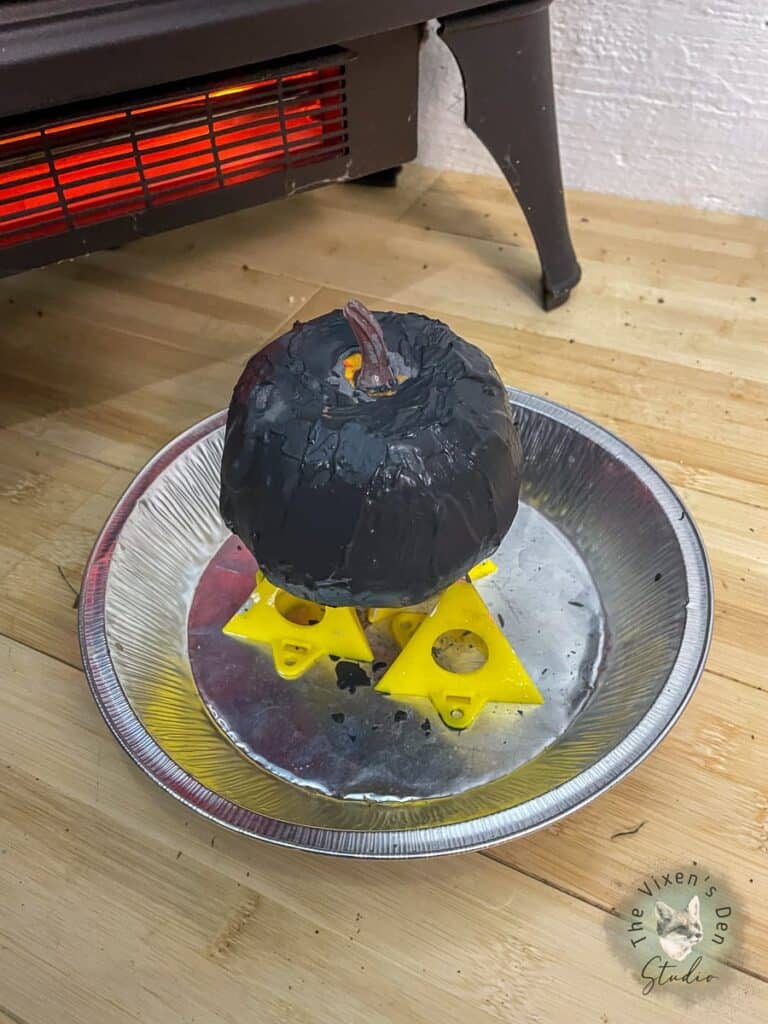
Once the Dixie Mud was dry, I painted on two coats of Dixie Belle Honky Tonk chalk mineral paint to create a beautiful bright red apple! Two coats of Clear Coat in Gloss gave it extra shine.
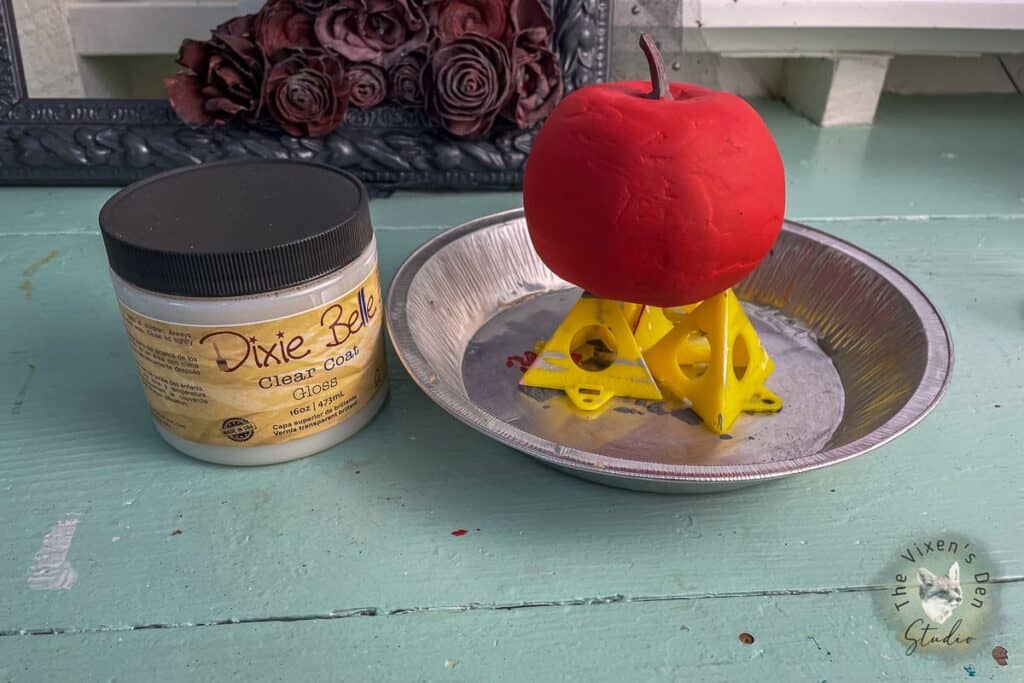
Pro Tip: Although this was an interesting project if you have the option to buy a fake apple, take it. Soooo much simpler!
Creating the Sign
Nothing makes me happier than finding at least two uses for something. That’s the case with this small metal Happy Easter sign. I flipped it over and it became the base for a custom Halloween sign!
Canva had the perfect font for this sign! I printed out the test page, made some tweaks, and then printed a master copy to create a custom stencil. Once the stencil was dry, I lined it up on the sign and painted on a layer of Stick With Me.
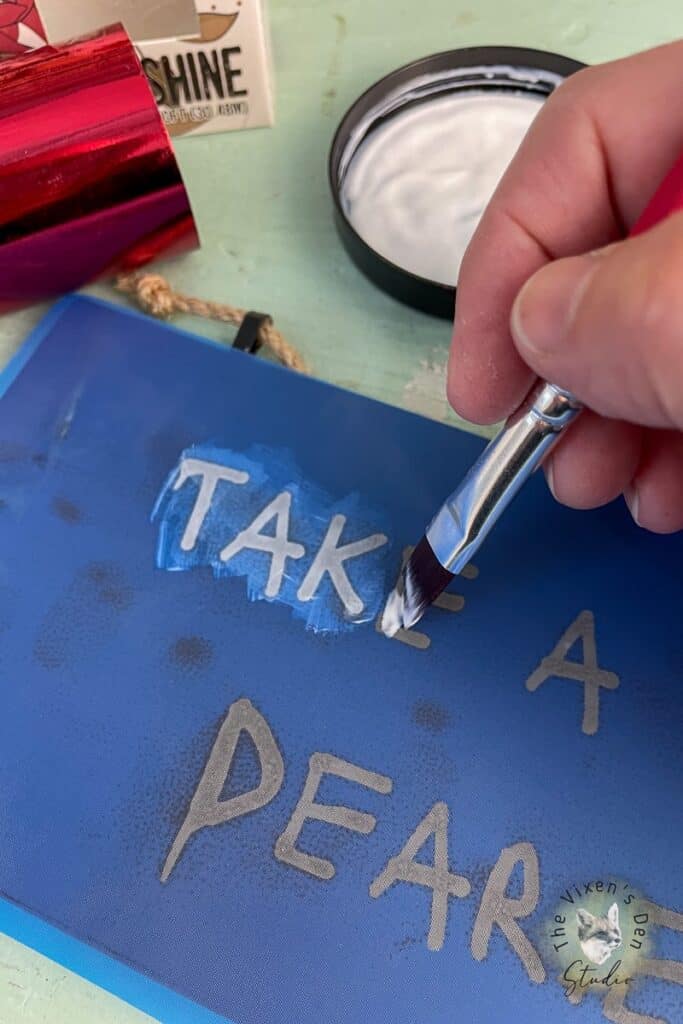
Immediately after applying the adhesive, I peeled off the stencil and took it to the sink for a good scrub while the Stick With Me dried.
Once the Stick with Me was dry, but still tacky (about 15 minutes) I cut a strip of Dixie Shine and pressed it flat against the Stick With Me. In the past, I’ve burnished the Dixie Shine into the Stick With Me using my fingers, which works, but this time I tried using an applicator pad. I found that worked even better!
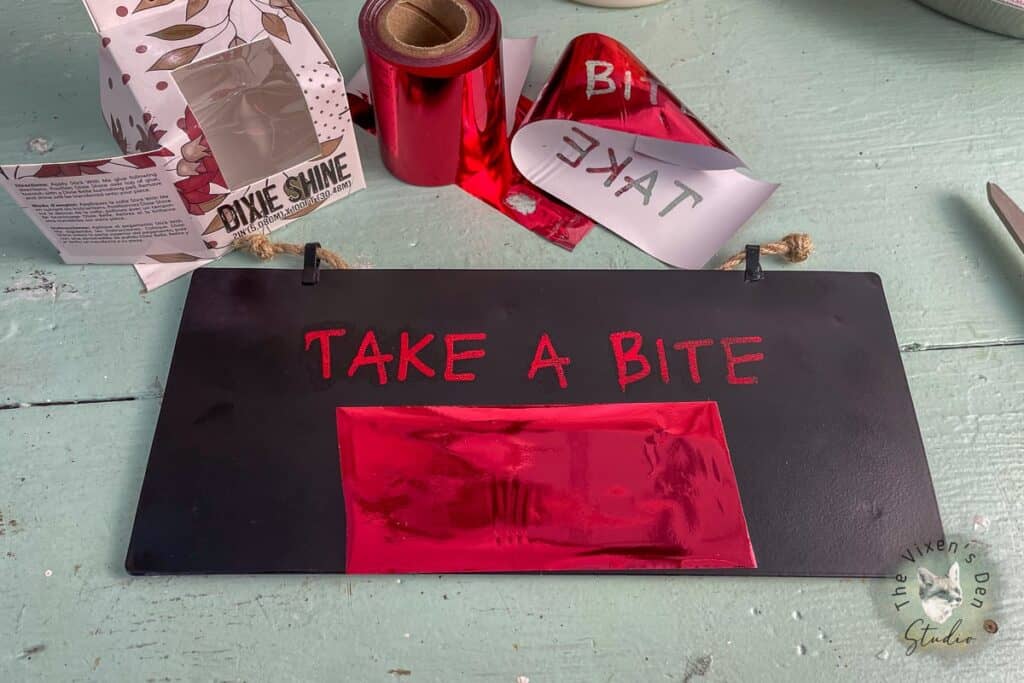
After the Dixie Shine was fully burnished, I peeled off the strip to reveal a perfectly lettered sign! I repeated for the second line and the sign was complete.
Assembling the Wreath
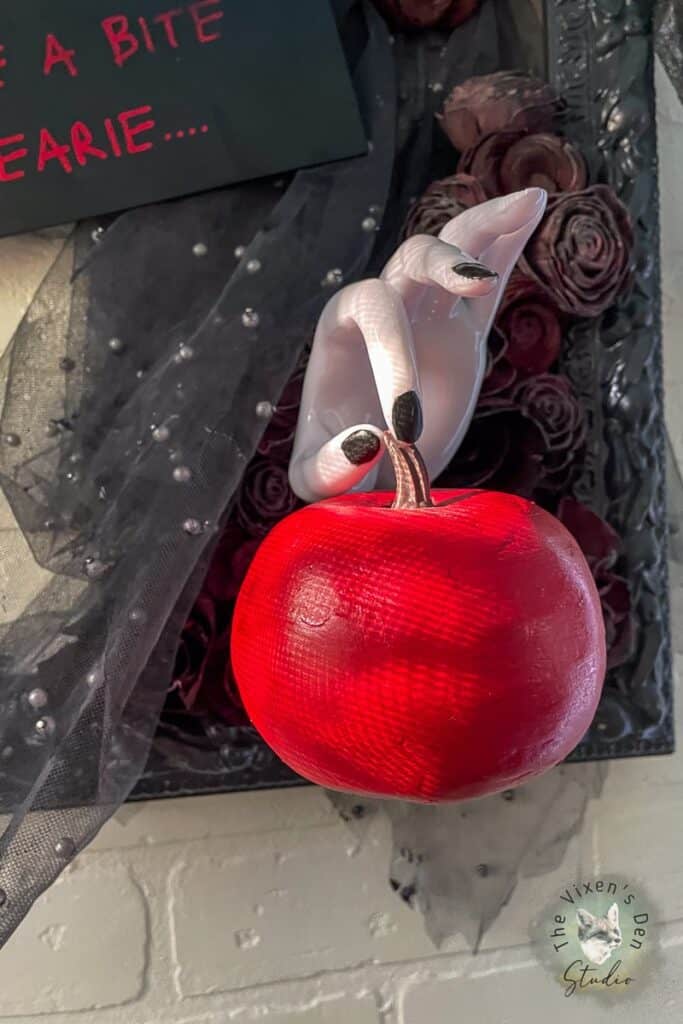
One of the most fun parts of this project is the creepy hand reaching out through a hedge of dead roses with a tempting apple. In order to have the hand “floating” among the roses, I created a triangular frame out of paint sticks.
I eyeballed and marked the cuts, trimming excess wood with tin snips. Overlapping sections were dry fit in place, marked, and then reassembled and secured with hot glue. To provide a little extra security against gravity pulling against the weight of the hand, I drilled a small pilot hole through the paint stick and hand and installed a screw.
Once finished, the frame slid perfectly into place between the wreath base and the existing fasteners. I gave the hand frame a coat of Dixie Belle Chalk Paint in Caviar to set the stage.
Then the fun part began!
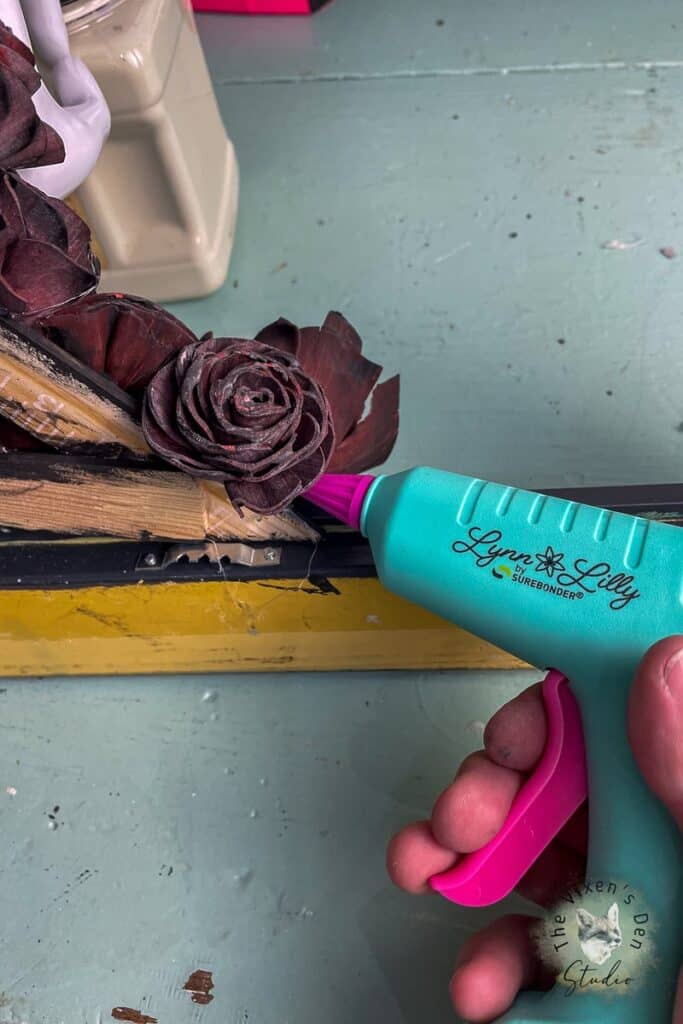
With the help of my Surebonder Lynn Lilly glue gun, I arranged and secured the dyed Sola Wood flowers around the floating hand. The tricky part was gluing the flowers to the triangular frame without gluing them to the wreath base picture frame. The precision tip and the lack of cord on this glue gun definitely helped!
Once the flowers were in place, I gathered up the black veil and glued it to a piece of paint stick.

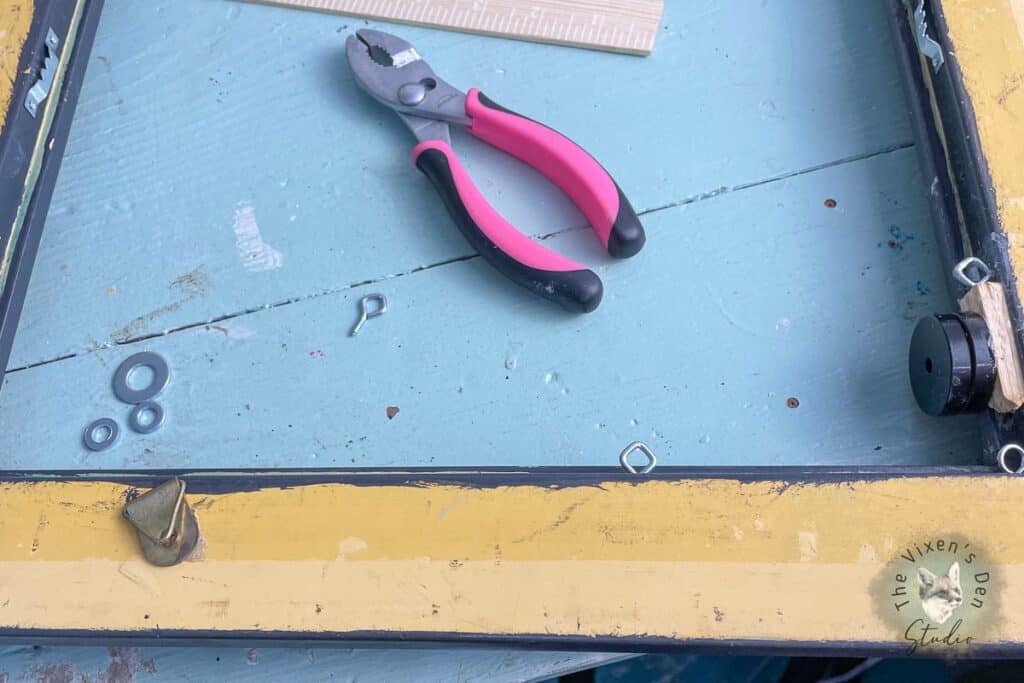
Unfortunately, there wasn’t a fastener for the veil, so I added a stack of washers with eyehooks holding them in place. The veil paint stick slid perfectly into place between the picture frame and the washers.

Pro Tip: I’ve used these pink Apollo Tools pliers for years. They were perfect for holding the eyehooks while I screwed them into the frame!
A dead rose was glued onto the veil to finish it off. The stem of the apple was then glued straight to the fingers. A cup hook was all that was needed to hang the creepy sign, and the wreath was finished!
Final Reveal
The local goblins and ghouls might think twice before begging for candy at this door!
That creepy white hand reaching through the roses is still my favorite part of this wreath. What part do you like best? Let me know in the comments below and share a time that you made things a little harder than they had to be.
Thank you so much for stopping by! Check out the other amazing projects at the link parties below. I know the hostesses will appreciate your visit and comments.
Until next time, have a beautiful and blessed day!


Linked up to these lovely link party hostesses at:
Don’t forget to sign up so you hear all about the next misadventure! Until then, you may also like this Magazine Rack makeover or this Dresser upcycle.

This turned out fabulous, Becky! So fun for Halloween!
Becky – I LOVE this take on a Halloween Wreath! Thank you for sharing, we are featuring you this week! Creatively, Beth
I’m so glad you enjoyed it! Thank you so much for featuring me!
Thanks for hosting a FABULOUS linky party every week !
Don’t forget to join us over at the Creatively Crafty Linky Party every Wednesday through Sunday
https://creativelybeth.com/creative-crafts-linky-party/
Followed and Pinned!
Creatively, Beth
Thank you so much, Beth!
Thanks for hosting a FABULOUS linky party every week Becky!
Don’t forget to join us over at the Creative Crafts Linky Party every Wednesday through Sunday
https://creativelybeth.com/creative-crafts-linky-party/
Followed and Pinned!
Creatively, Beth
Thank you so much, Beth!