Custom Baby Mobile Makeover
Do you want a cute and unique baby mobile that leaves money left over to spend on adorable onesies? How about giving a yardsale mobile a custom makeover?
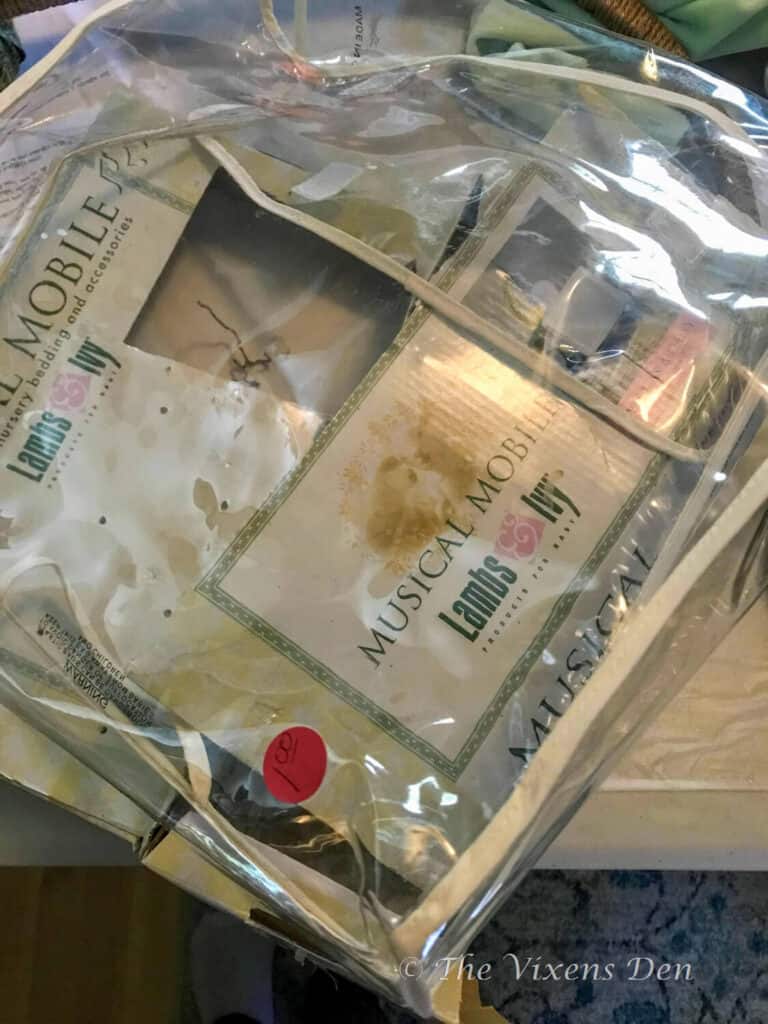
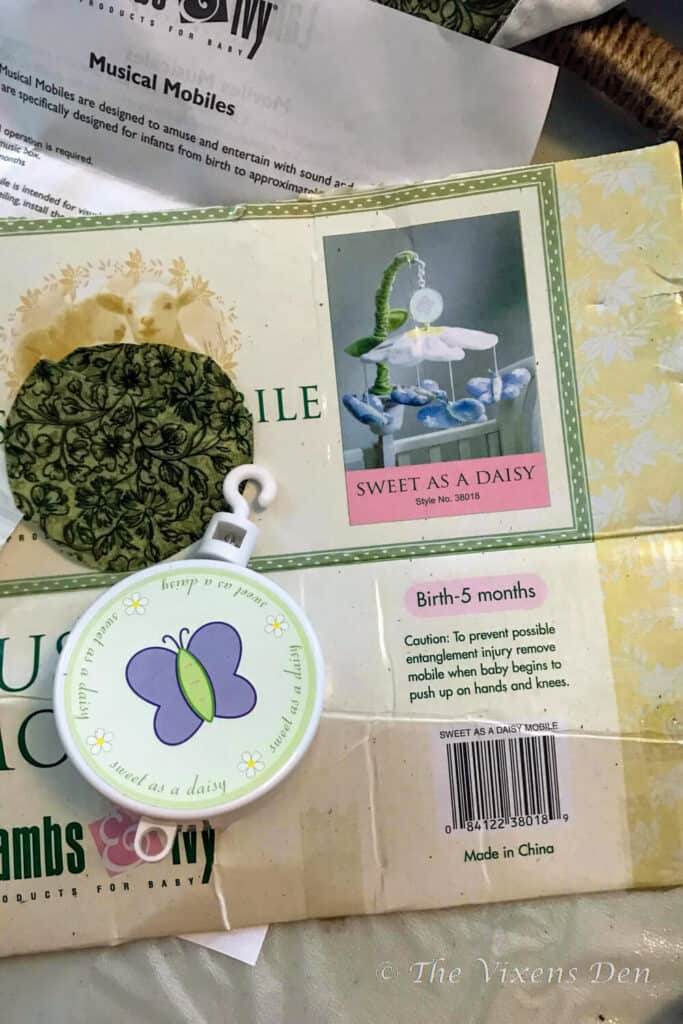
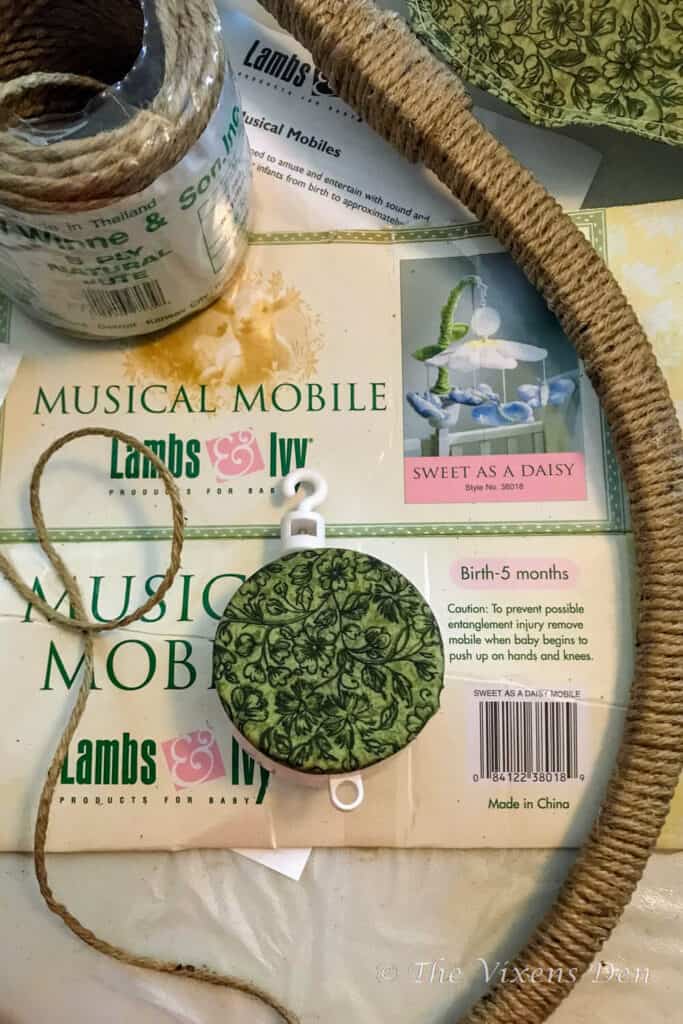
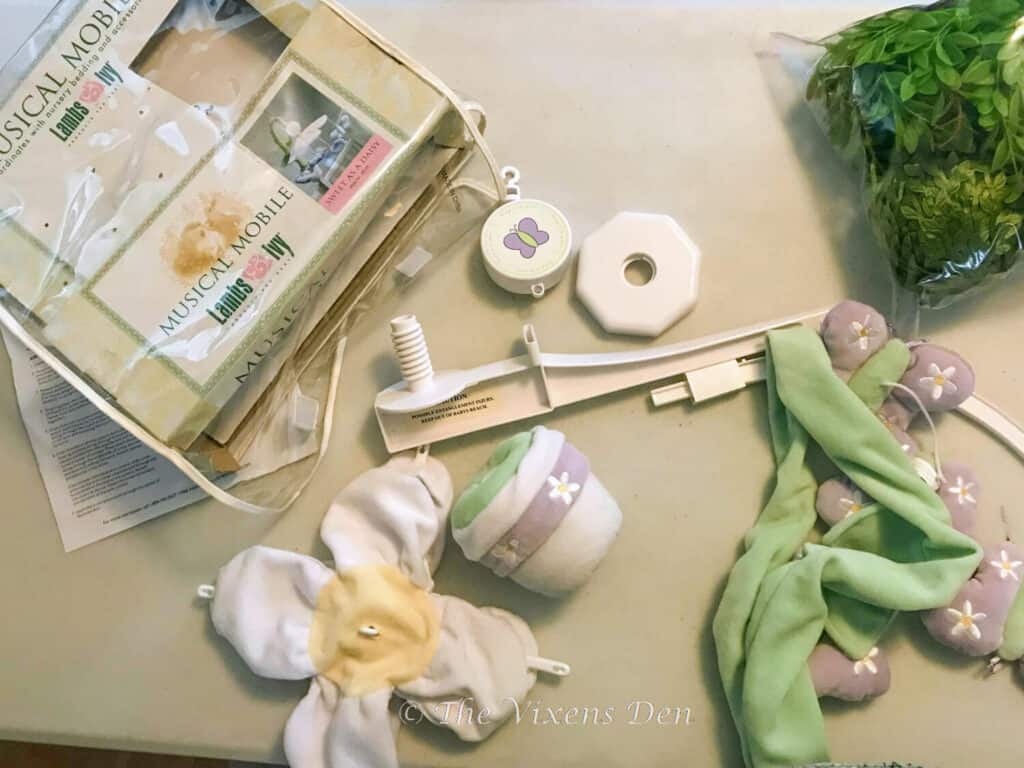
I love yard sales. They are an opportunity to find the best treasures. It’s a bonus that they also help to free someone else from something that they consider clutter. It’s a win-win for everyone! I found this sweet Lambs & Ivy baby mobile at a yard sale for $1. Yep, a whole dollar!

The Makeover Plan
Unfortunately, the theme for this nursery wasn’t butterflies, it was woodland creatures. Here’s the link to my inspiration mobile. Lambs & Ivy makes the absolute cutest mobiles, don’t they? So, my challenge was to transform this butterfly mobile into a woodland animal mobile for under $50.
Challenge accepted!
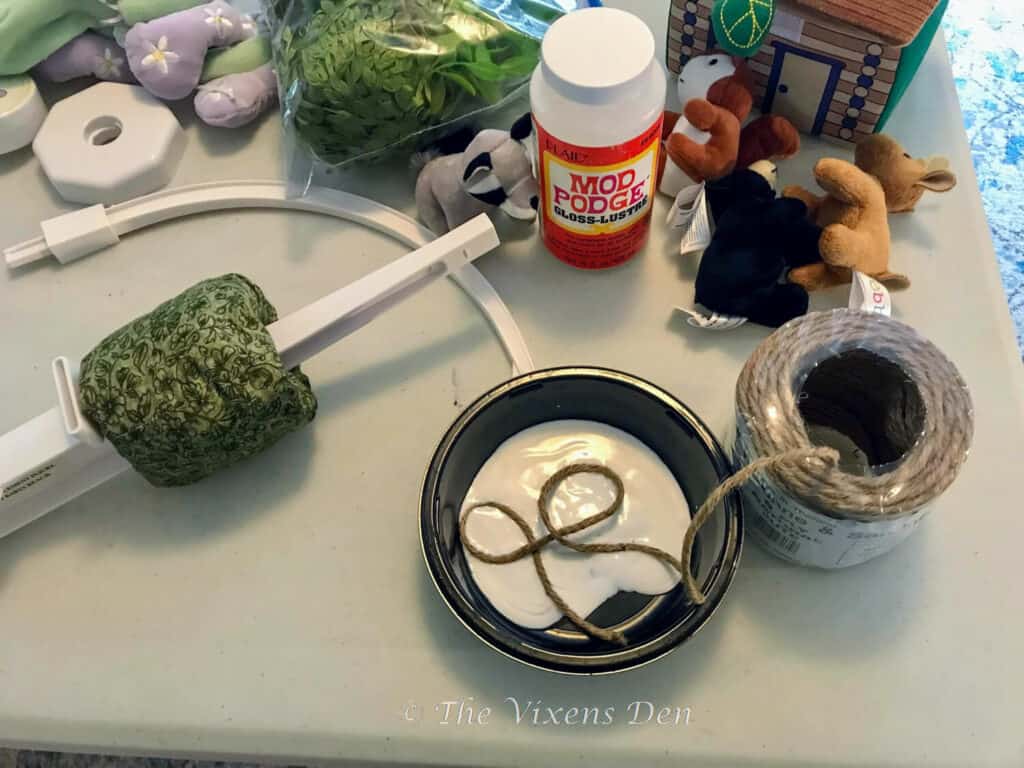
Tools
- Bowl
- Upholstery needle
- Sewing machine (see notes)
- Hot glue gun
Materials
- Preloved baby mobile
- Pack of cute animals
- Fabric
- Jute cord
- Mod Podge
- Cute image
- Thread
- Polyester cording (see notes)
- Hot glue sticks
The Makeover Process
A mobile contains a few basic parts: a main support arm that mounts to the crib rail, the music box that rotates the decorative items, and the arms that hold both the canopy and the cute little dangly items that the baby watches. This mobile also contained a canopy in the shape of a flower and a soft bumper in the shape of a flower pot.
Canopy
I wanted to reuse the white canopy to create good contrast so the baby can see the animals as they revolve overhead. Once all of the parts and fabric pieces were washed and dried, I laid the flower out on the fabric that I had selected from my stash for the top of the canopy and traced the edges. I added a quarter of an inch to the edges to give me a seam allowance, marked it with a sharpie, and then cut the fabric along that line.
I then placed the right sides together and snipped the corners to trim the fabric and help the piece lay flat when finished. The two pieces were then stitched almost all the way around, leaving a 2-inch gap. I pushed the fabric through this gap until it was right side out. I then ironed the canopy until it was flat, and stitched around the edges again, this time on the right side, to keep the material from shifting.
To make the opening for the arm, I folded the canopy in half twice and then snipped a small hole in the center. I stitched around the edges of this hole to keep the material from separating as the mobile turns.
Note** I used a sewing machine to stitch up the canopy because I have one. You could easily hand stitch or even use no-sew methods such as Liquid Stitch or iron-on hemming tape, and they would work just fine.
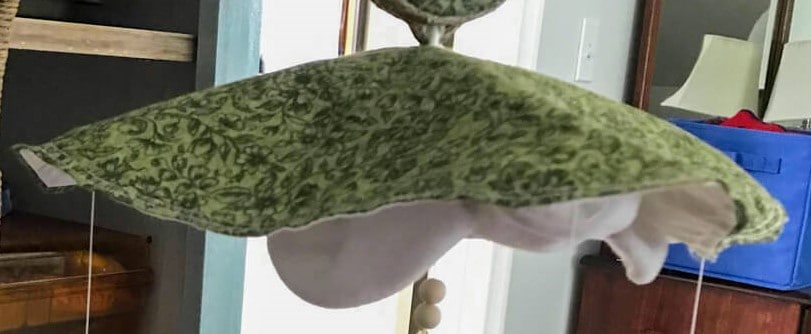
The white flower canopy worked well not only to create a contrasting “ceiling” for the baby to see but also to help support the new canopy. This helped create the “tree” effect that I was after.
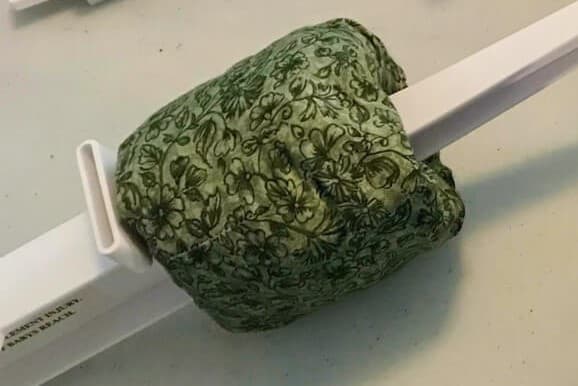
Bumper
The bumper received what is essentially a slipcover. I wrapped the bumper in fabric to measure the amount that I would need. I tested stuffing the fabric inside the bumper to see how much material it would take to achieve complete coverage, doubled that amount, marked the edges, and added a 1/2 inch for a seam allowance. I cut the fabric to the measurements, then folded the fabric in half, with the wrong side out. I stitched the fabric with the wrong side out to make a tube.
After turning the fabric right side out, I slid the fabric over the bumper. The excess fabric was stuffed inside each end of the bumper and secured with hot glue. As the glue cooled, I pressed my fingers inside the bumper to push the fabric against the interior of the bumper.
Once the glue was completely cool I threaded the bumper onto the base of the main support. Now the flower pot is the mossy base for the tree!
Mobile Base
This was the messiest part of the project, but also the most fun! I unwound a length of jute string and poured some Mod Podge into a bowl. After dropping a section of jute into the bowl, I rolled the string around to ensure it was covered. I then grasped the end of the string with the thumb and index fingers of both hands, pulling with my left hand as it pulled through the thumb and index finger of my right hand.
This not only removed the excess Mod Podge but also ensured that the cord was evenly coated.
I then began wrapping the cord around the base of the mobile arm, (against the mossy bumper) curling the end of the cord upwards against the arm, so that each wrap around the arm held the end firmly in place. This process was repeated until the entire arm was wrapped in jute string.
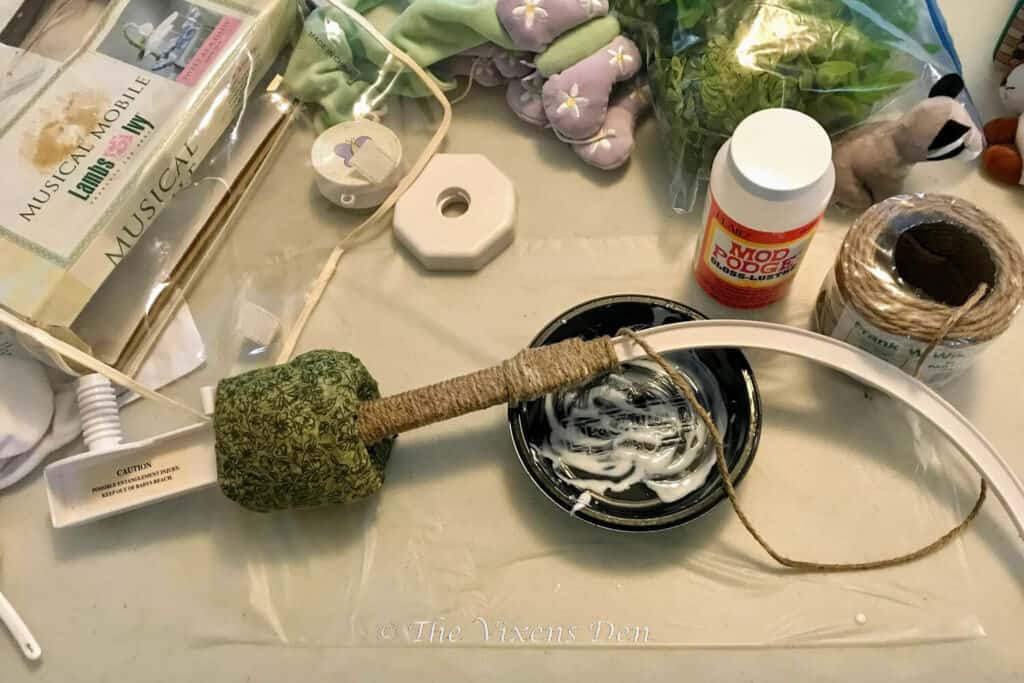
Where the string ended at the top of the mobile, I tucked the end into the loop for the music box and held it in place with the end of a paintbrush. It required a few attempts before finally staying in place.

Overall I was impressed with how well the jute string worked for this project. I did find that the string was shedding a bit, so I used my fingers to smear additional mod podge along the wrapped string, in the same direction that the cord was wrapped. The tail end in the loop also required some additional Mod Podge to hold it in place as it dried. Otherwise, I did not experience any sections pulling loose as it dried, or popping off afterward.
Stuffed Animals
To attach the animals, I first measured the cord from the original stuffed butterflies. I cut an exterior grade polyester braided cord that I already had on hand to length with a little extra to spare. I threaded an upholstery needle with the cord and pulled the needle and cord through the nape of the stuffed animal’s neck. Next, I knotted the cord against the stuffed animal.
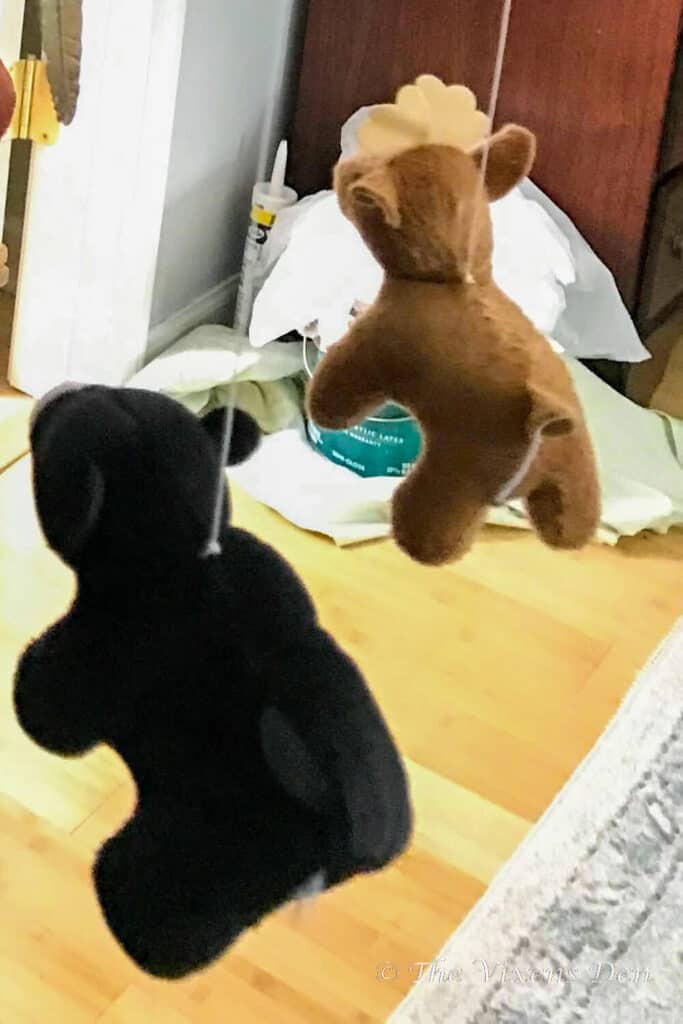
Finally, I added several knots to the other end of the cord to attach the cord through the keyed holes in the mobile arms.
Note** If I didn’t have this exterior cord already, I would have used the polyester shade cord referenced in the materials list. The process would have included tying several knots in the bottom of the cord, and then hand-stitching the animals to the knot. It would also be a good idea to singe the shade cord with a match or lighter to melt the ends and prevent fraying or untying.
Musicbox
The final touch for this custom baby mobile makeover was to Mod Podge the same fabric used for the bumper and canopy to the music box. I then wrapped the edges of the music box with jute cord, using the same method as when I wrapped the support arm.
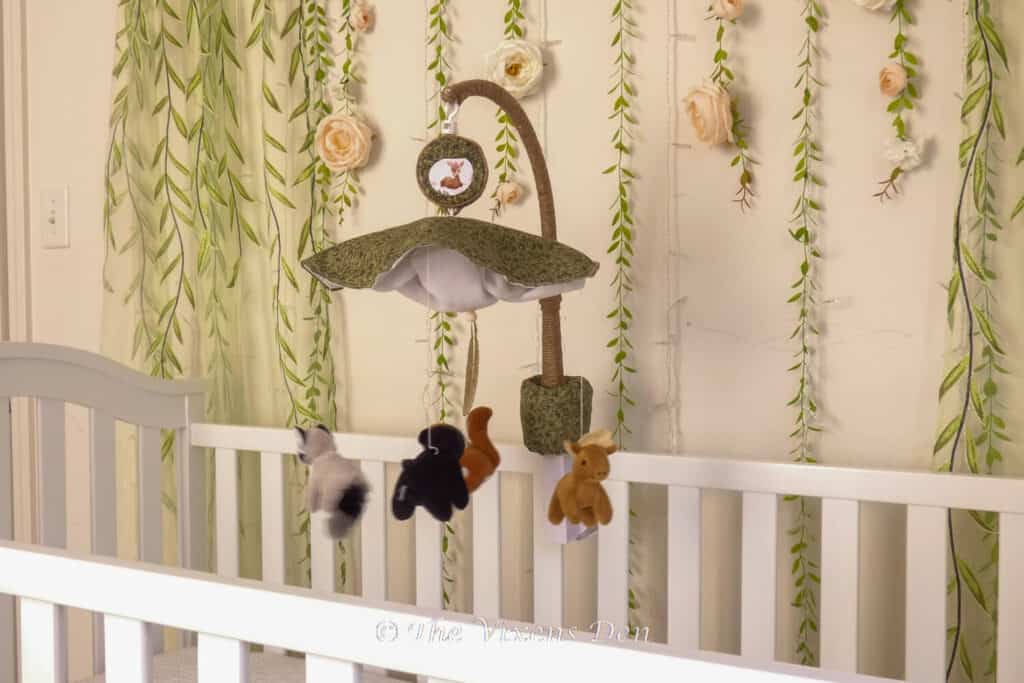
I also added a special image and attached it to the fabric-covered music box with more Mod Podge. I chose an image that was used on the baby shower invitations to make it extra special. So sweet!
Finally, I assembled the mobile and added a feather bookmark, also a token from the baby shower, and wood beads to finish off the effect.
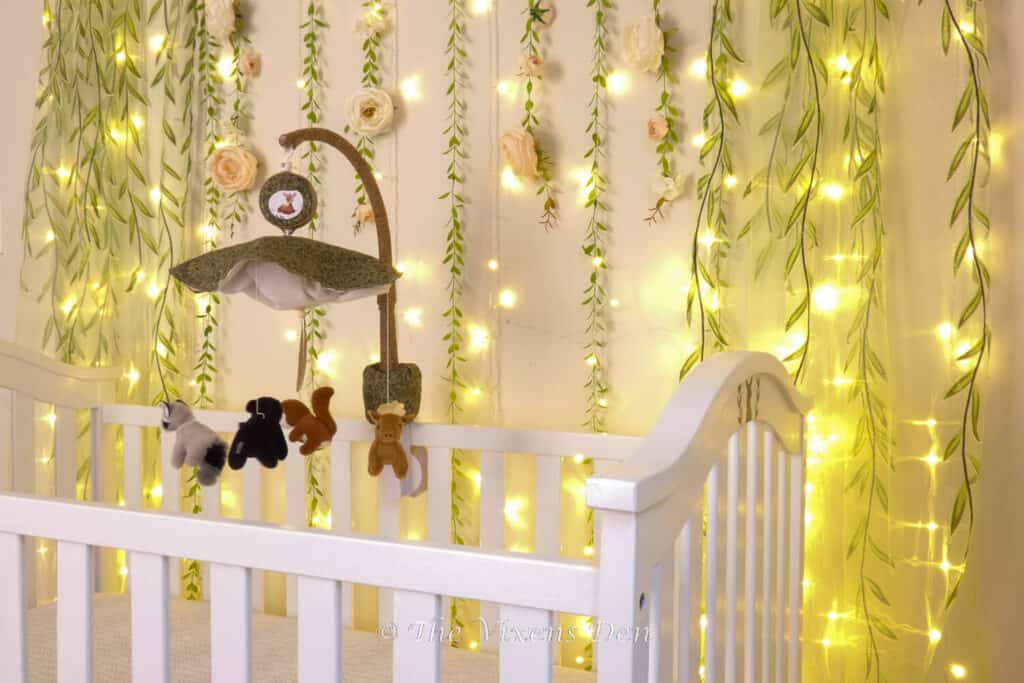
DIY Baby Mobile Makeover Reveal
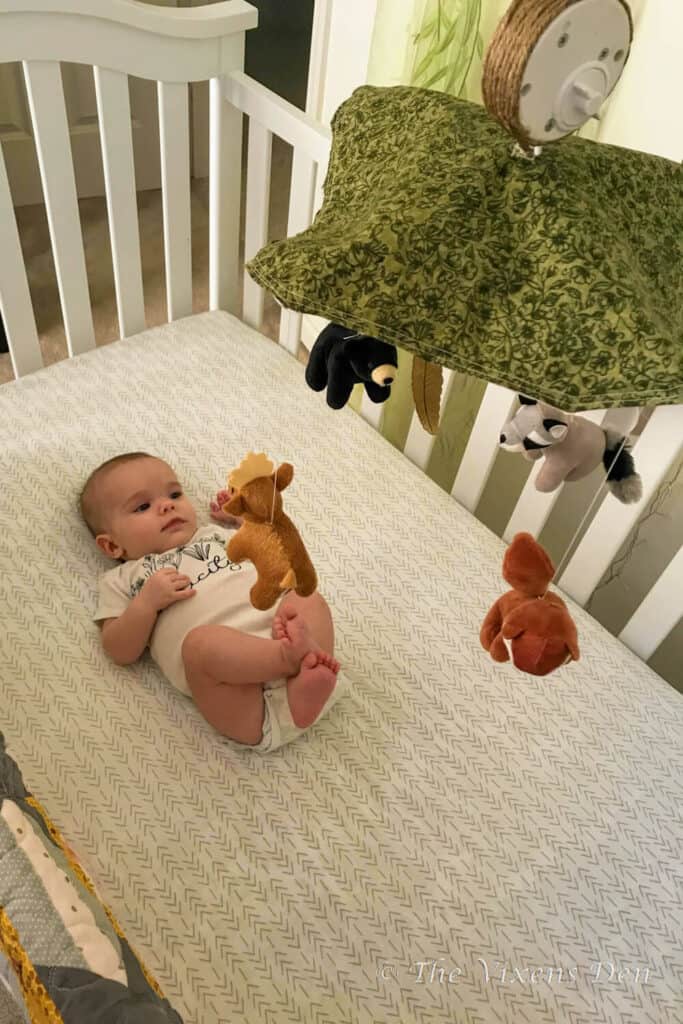
Here’s the custom baby mobile all assembled! Isn’t it precious? She certainly seems to enjoy it!
Now the answer to the challenge. How much did my custom mobile cost compared to the Lambs & Ivy mobile? I’m blessed to have quite a stash of craft tools and supplies, so the only items that I had to purchase for this project were the baby mobile and the pack of stuffed animals.
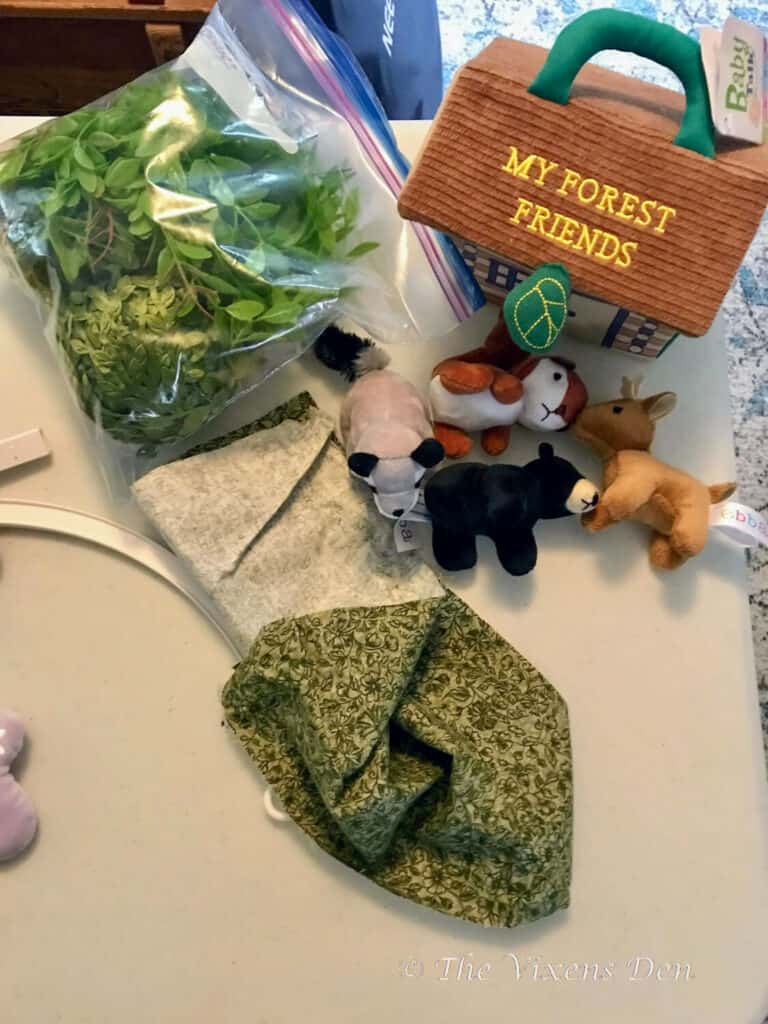
At the time of purchase, the My Forest Friends set cost $17.79. I also had a $5.00 Amazon gift card, so my total cost was only $13.39 after tax. The baby mobile was $1 at the yard sale, so my total out-of-pocket cost was $14.39.
That leaves me $36 for cute baby clothes!
Plus, as an extra bonus, the cute forest animals that I selected for this project also serve as toys for the baby. They came in a sweet little house that she can play with. All the parents have to do is snip off the cord and pull it loose from the little animal. Each creature makes a cute sound when she squeezes it. So precious!
Here’s a final before and after!
If you enjoy seeing DIY makeovers like this one, be sure to subscribe so that you receive an email when new misadventures are posted. If you like this custom baby mobile makeover, then you may also enjoy seeing this stenciled crib makeover. Enjoy!