How to Weave a Chair Seat with Faux Rattan Reed/Splint
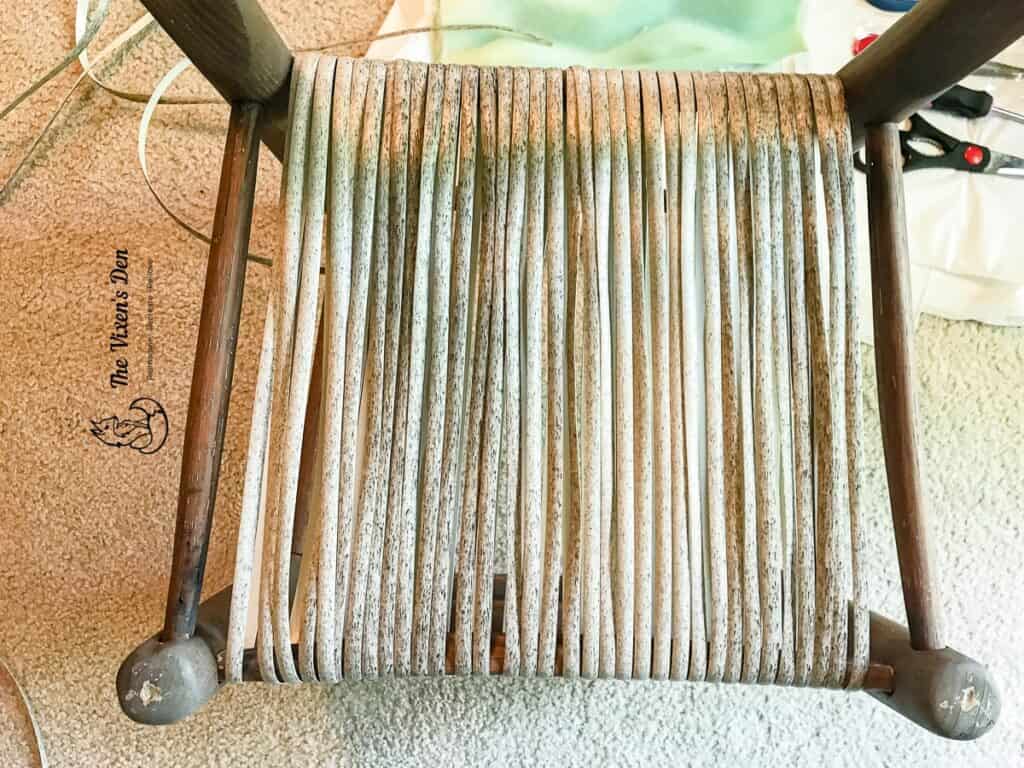
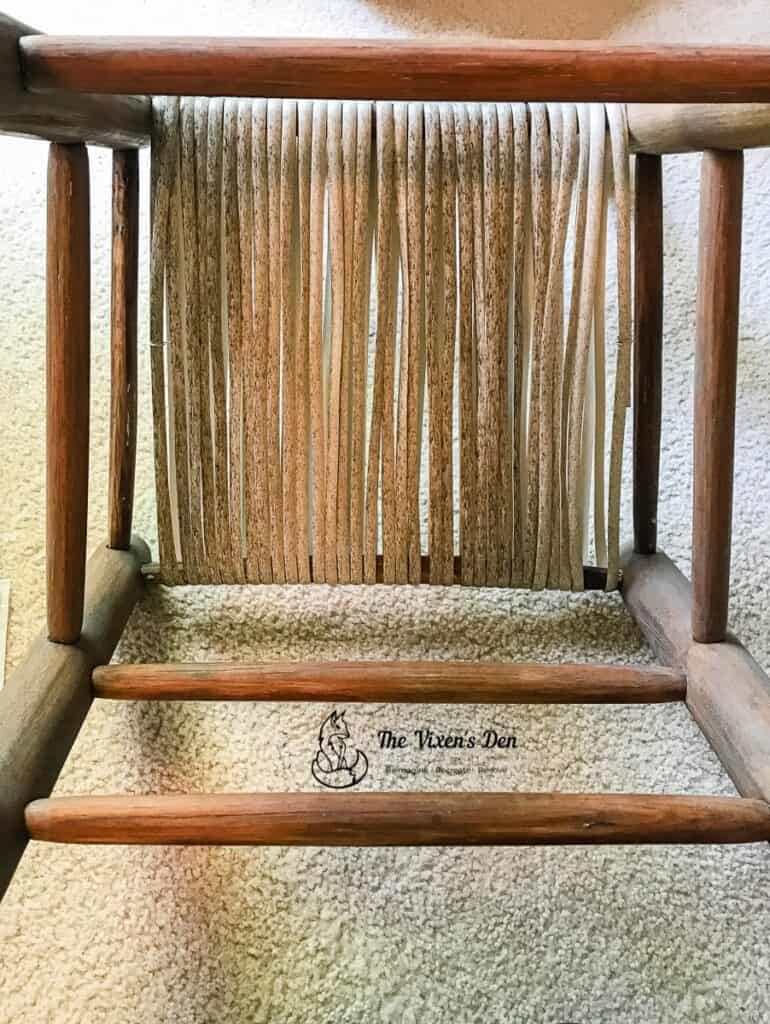
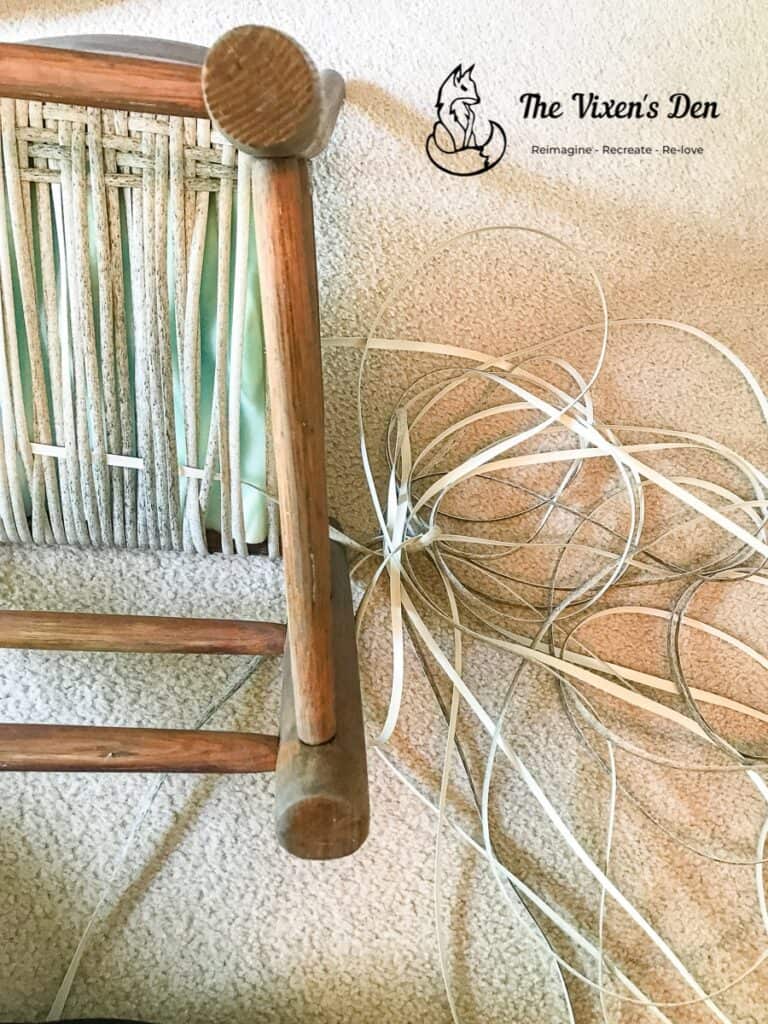
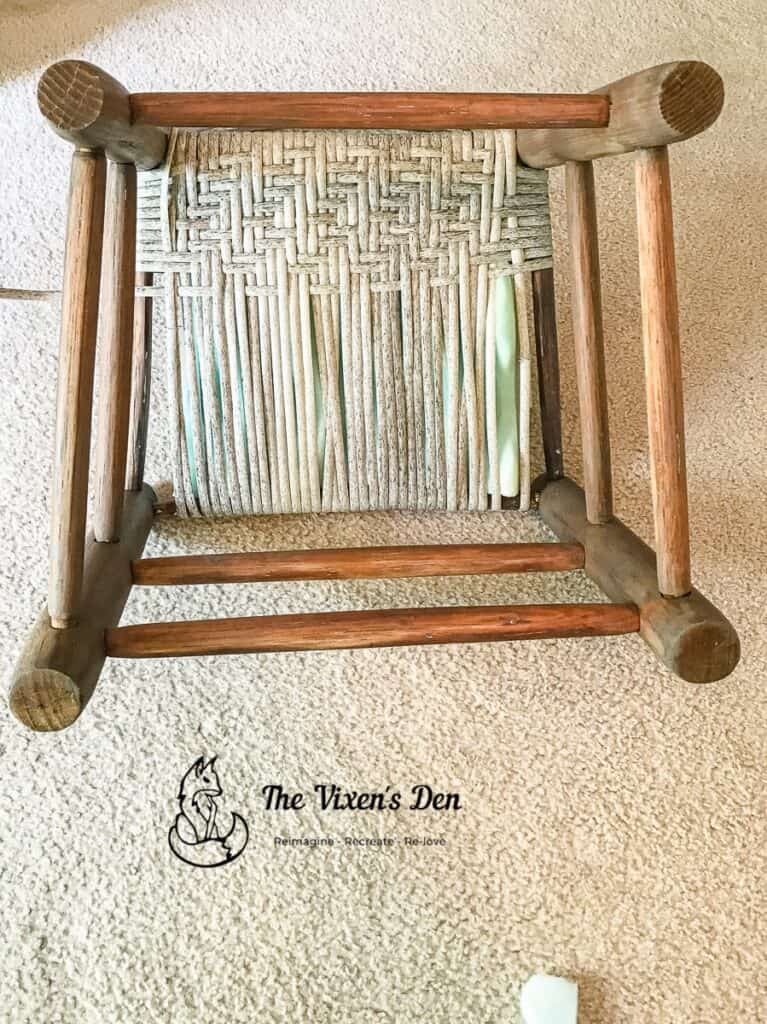
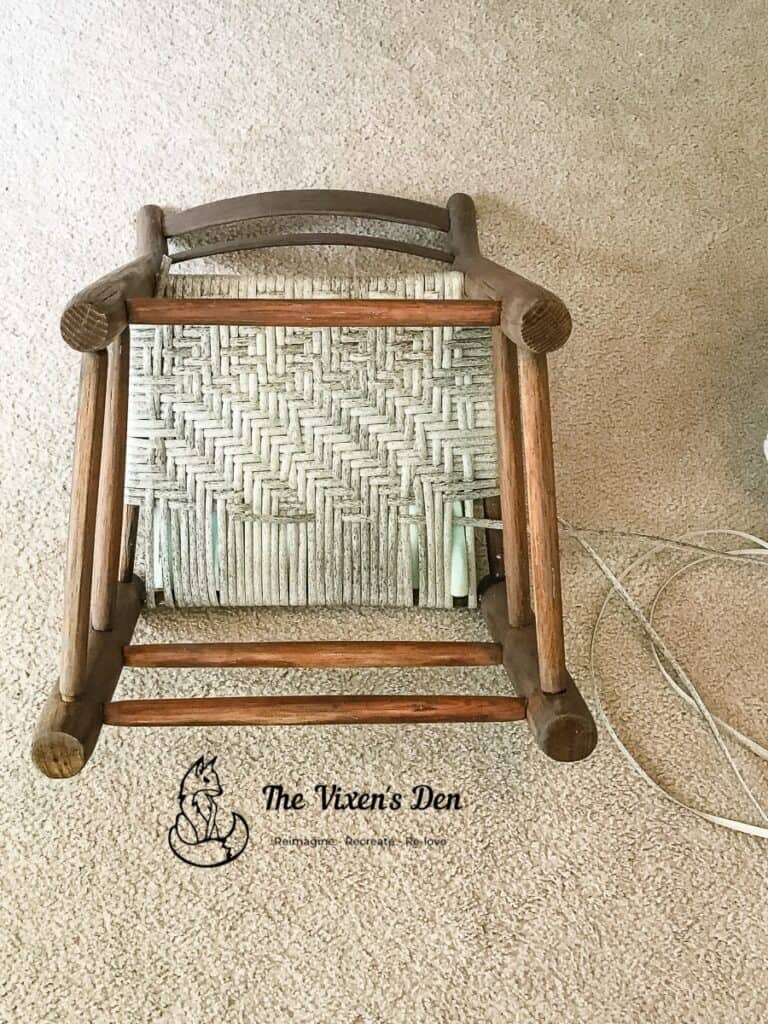
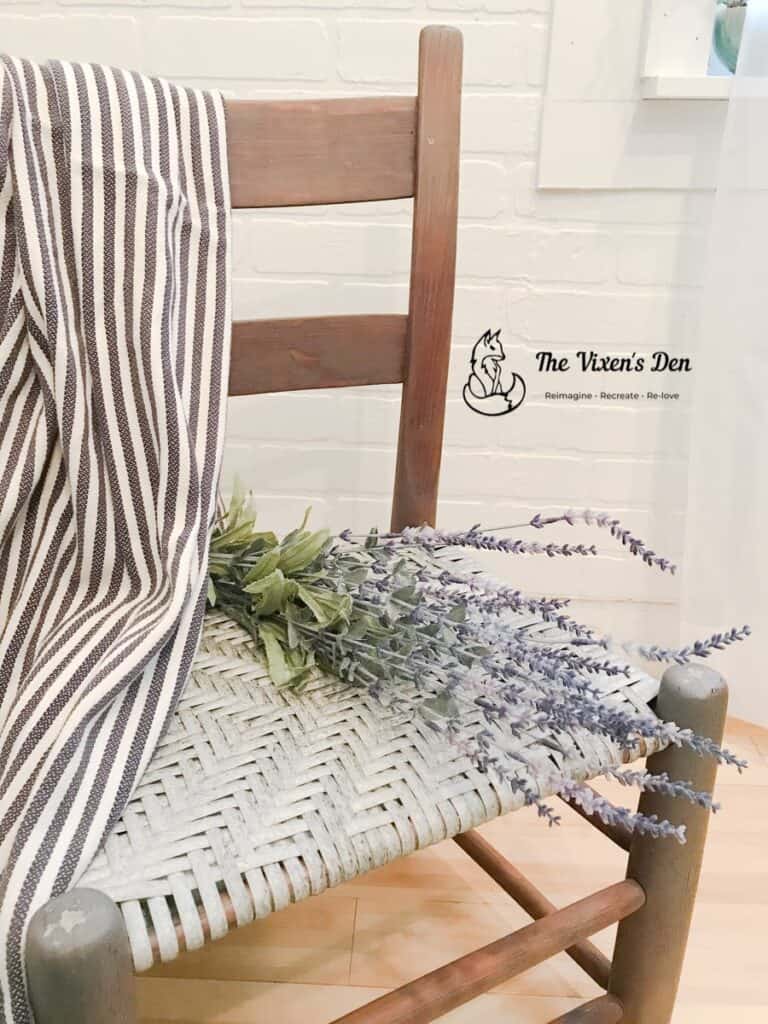
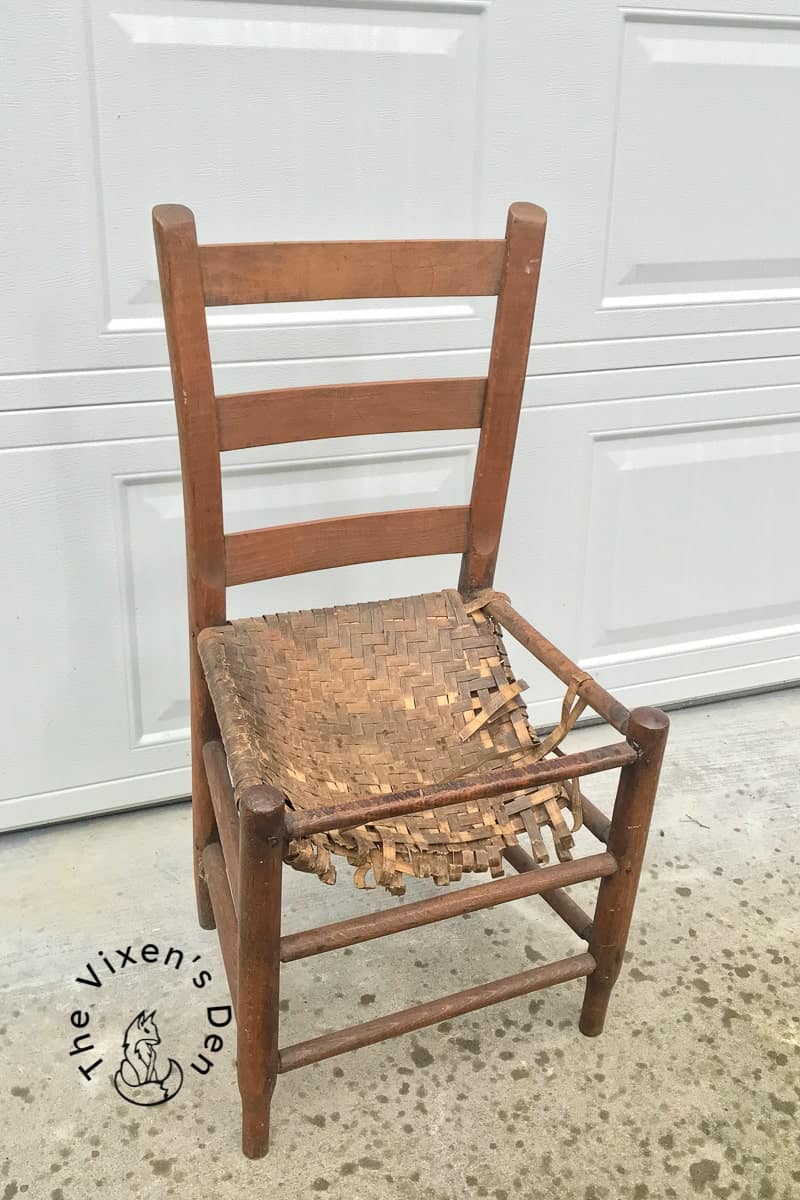
This ladderback chair was a yard sale find discounted from $5 to $1. What a great find! What wasn’t so great was the woven seat that was frayed and falling apart. There was no question that it would have to be replaced.
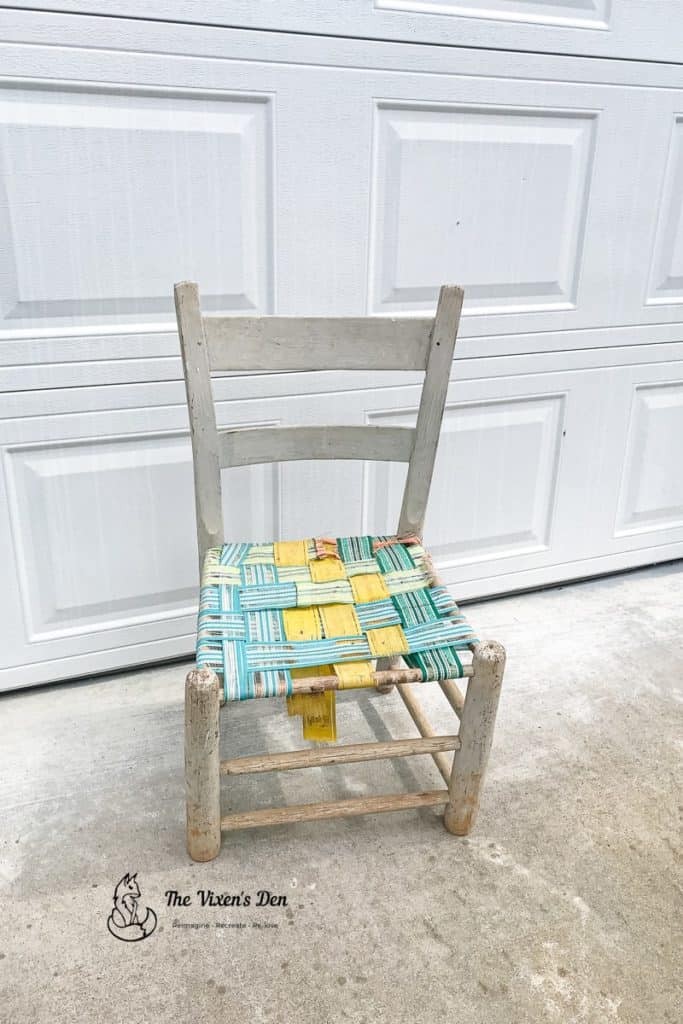
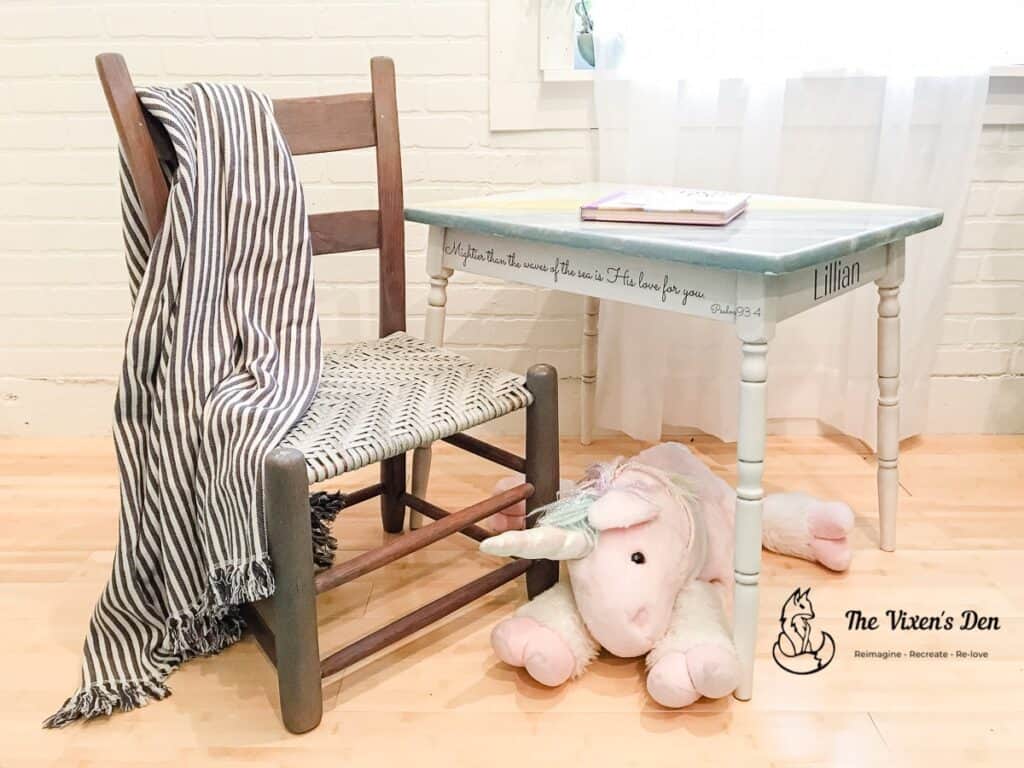
Luckily, this chair was the perfect height for the little table that my daughter had for her girls. Now, it was my job to make them a set!
NOTE: As an Amazon Associate I earn from qualifying purchases.
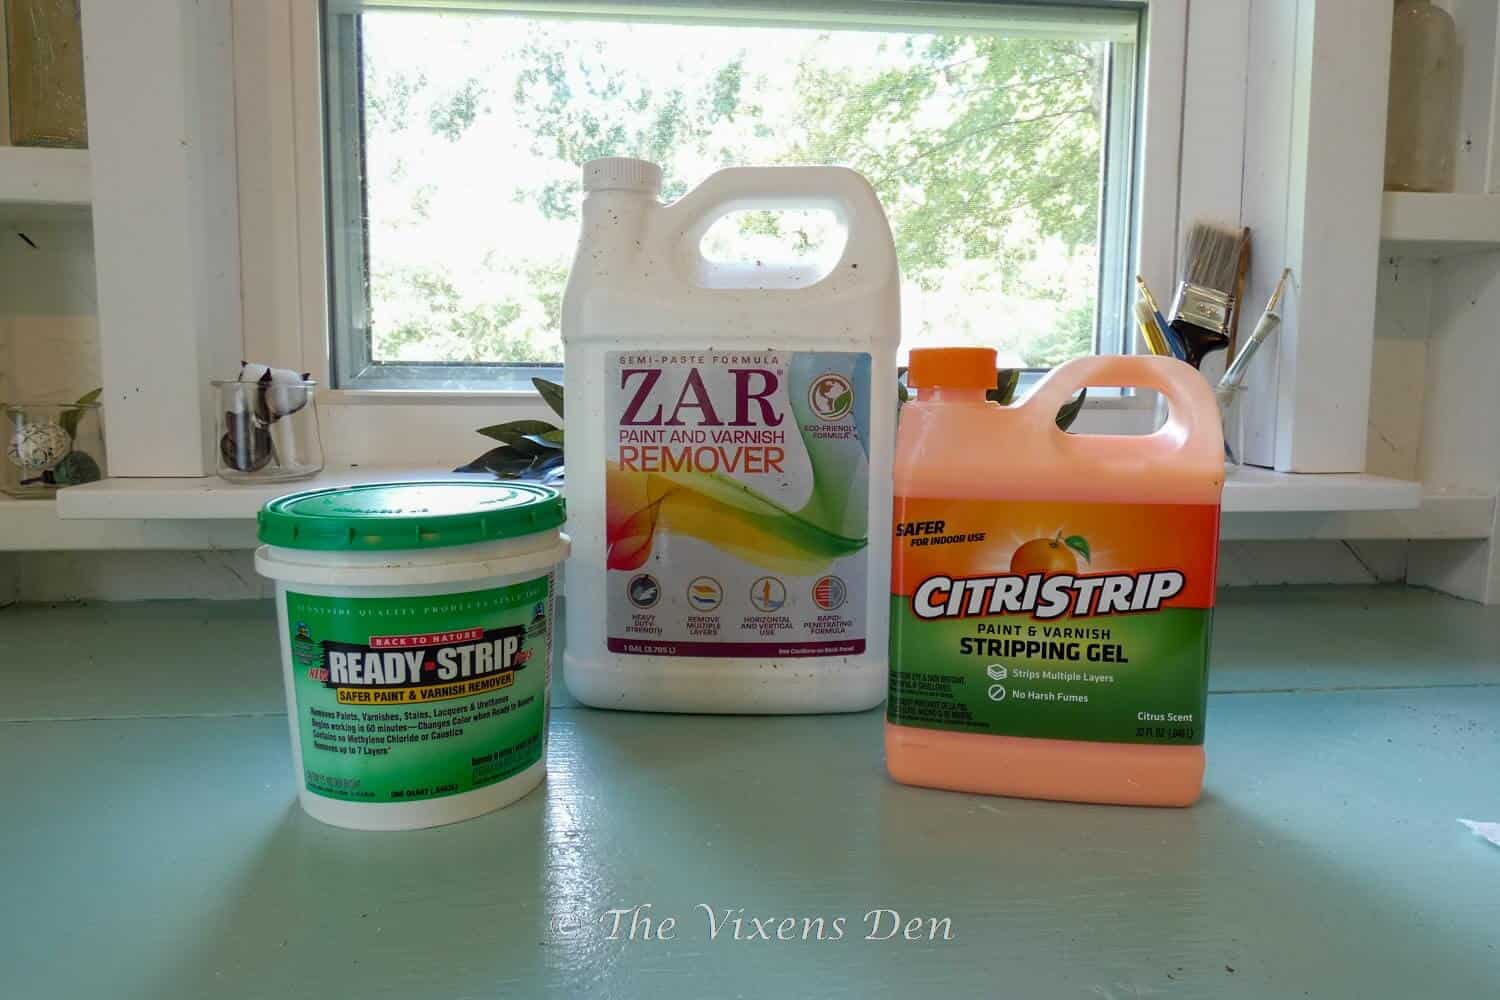
Tools and Materials
Cleaning & Prepping
Since the chair was already stained and sealed in this post, all that was left to do was prepare the materials for the seat weaving.

There are a lot of different options available for replacing these woven chair seats. The original material was most likely a flat reed or wood splint. While these materials would have worked to restore the chair closer to its original condition, I chose to use a faux rattan flat reed/wood splint.
I decided to try this material because I felt it would be easier to work with, as well as easier to maintain. Since this is a chair for children, I wanted them to be able to enjoy it without having to worry about spilling something on the seat. I also wanted it to be low maintenance for their parents.
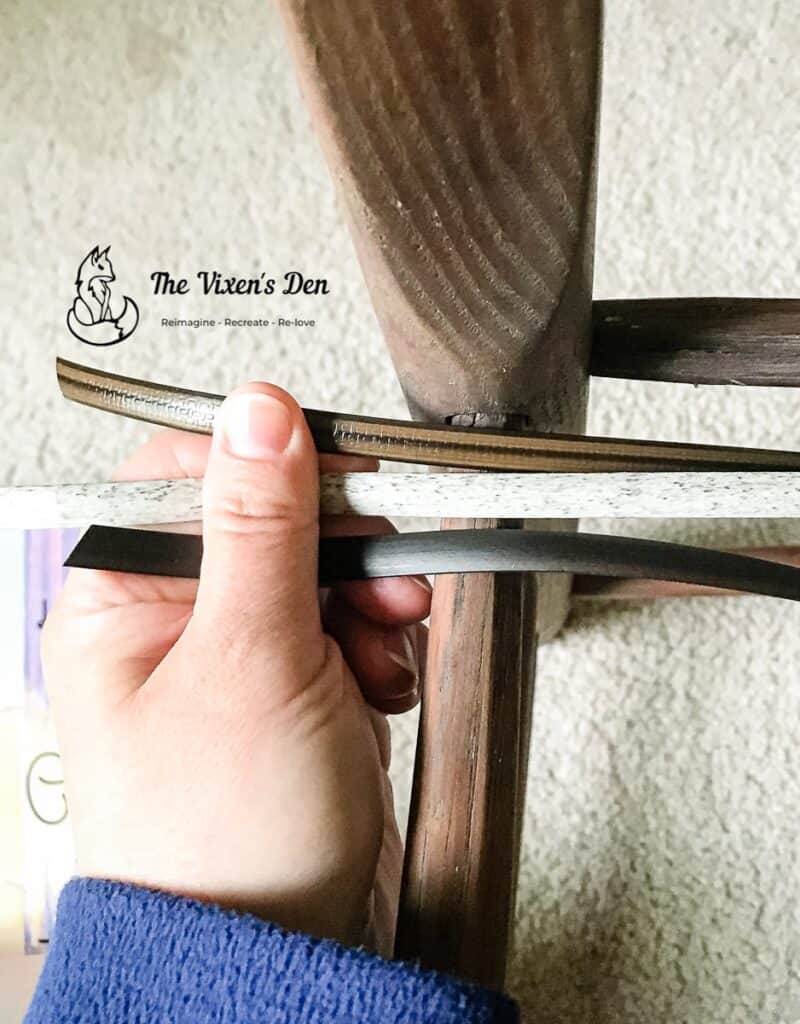
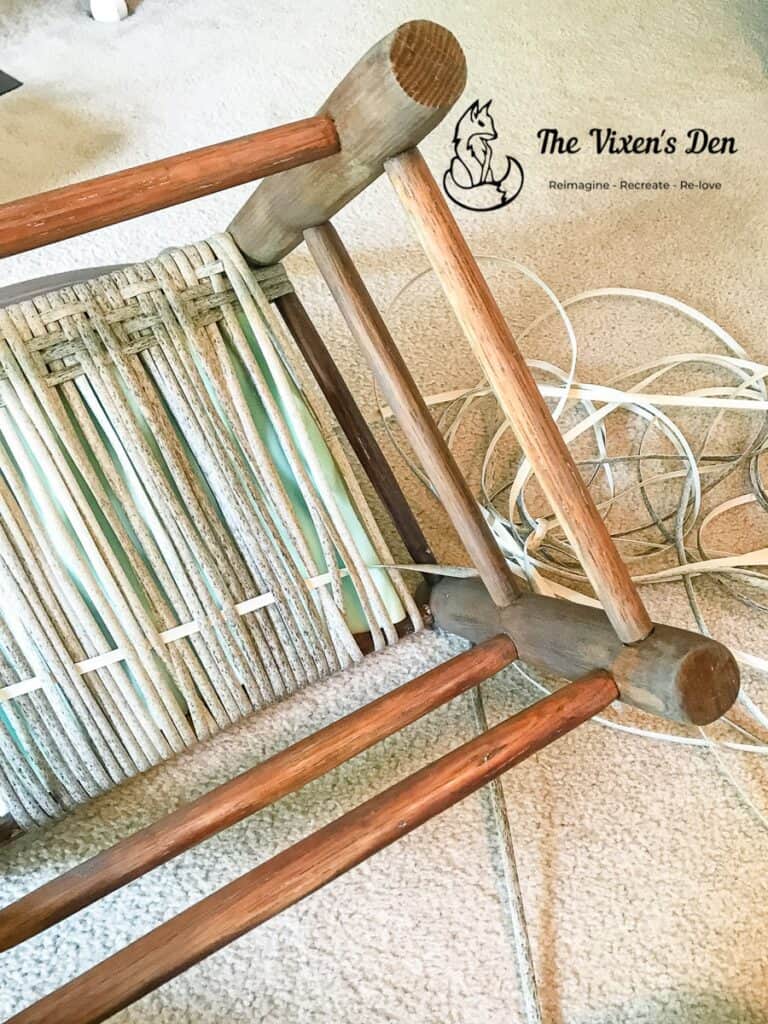
While the material won’t have the same natural sheens that flat reed has, it comes in a variety of different colors and styles. I ordered three different varieties and then let my daughter choose the one that she liked best.
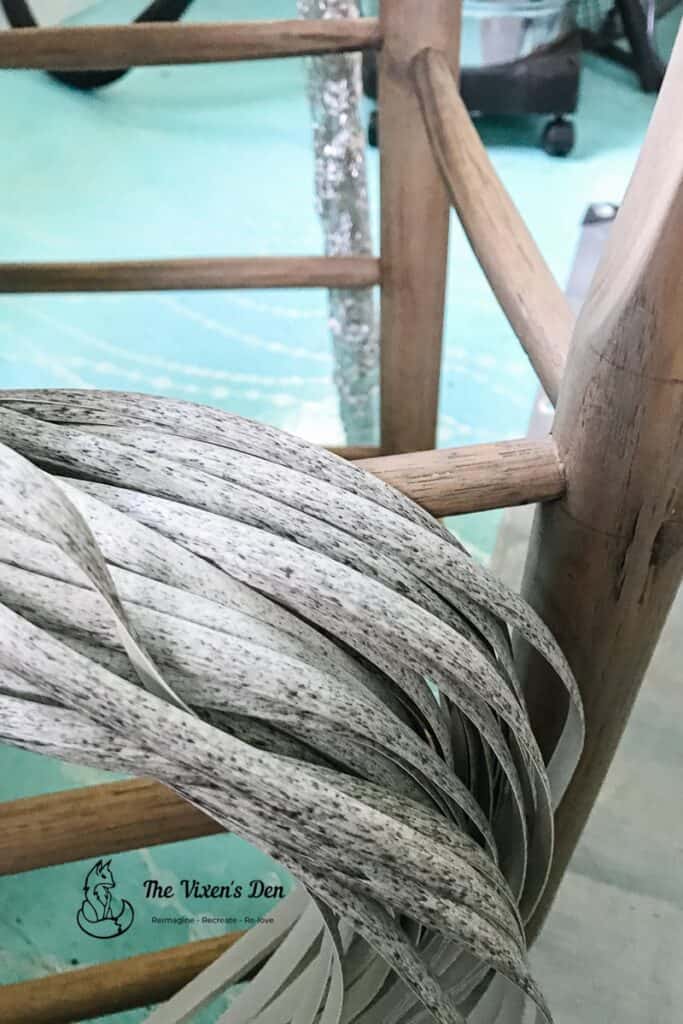
After comparing the color options to the chair and table, she chose the gray faux rattan reed. Now it’s time to jump into the weaving process!
This is one of the best parts about using a faux material. If we were using a natural reed, then we would have to soak it for a few minutes before we could use it. Since that step isn’t required, I jumped right into the first step!
What the Heck is Wrapping the Warp?
Weaving chairs is a little different from weaving potholders, which is the foundation for all of my weaving experience.
(If you guys missed out on that traditional childhood activity, I’ve got you covered. These also make great Christmas gifts for the kiddos in your life. Trust me, they’ll thank you for it in 30 years when they’re weaving their own chair seats. *wink*)

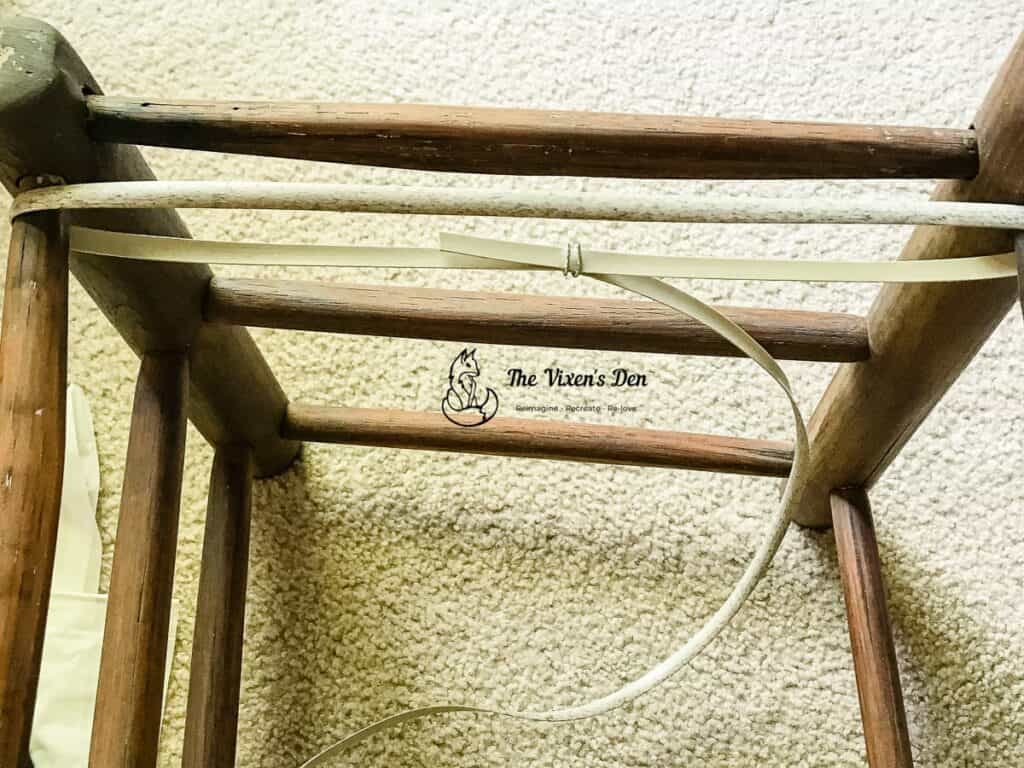
Chair seat weaving introduces you to an entirely new lingo, such as “wrapping the warp.” What it means is when you wrap the reed from the front top rail to the back top rail. The wrapped reed is your “warp.”
You’re welcome.
I began “wrapping the warp” by first securing the trailing end of the reed to itself. Some people like to use staples, but after watching a few videos I decided to use the wire wrap method. I cut off about 2 inches of 20 gauge wire and wrapped it around the trailing end, fastening it to the reed wrapped on the underside of the chair seat. I clamped the wire wrap tightly together by squeezing it tightly with a pair of needle-nosed pliers.
Once the first row is clamped, continue wrapping the warp. Make certain that the strands do not overlap. Wrap the reed until you have filled the rail from one side to the other with all of the strands laying flat against the front and back rails.
Don’t wrap too tightly, as you will need room to weave the reeds in the next step. It’s a fine balance, allowing enough weaving room while keeping the reeds flat. I think the best way to describe the tension is “loosely snug.”
(Do you see a problem with this warp? Overlapped stands, you say? Ah yes, that will come back to bite us later.)
If the chair tapers then you will have gaps between the reeds on the front rail. Don’t try to fill those in by overlapping the reeds on the back rail.
Once I reached the other end, I wrapped the trailing end with another piece of wire on the underside of the seat and then clipped the excess reed. With the warp complete, the next step was stuffing the seat.
Stuffing the Seat
Stuffing the seat keeps the reed or splint from rubbing against itself and it helps take up space between the rails to keep the seat top flat.
A long long time ago, they stuffed seats with newspaper. Nowadays, they stuff them with cardboard or foam. I was concerned about moisture from spilled drinks, so I used foam from a mattress topper that I had on hand. Much more comfortable to sit on than cardboard!
With the warp wrapped and stuffed, it was now time to start weaving!
Weaving the Design
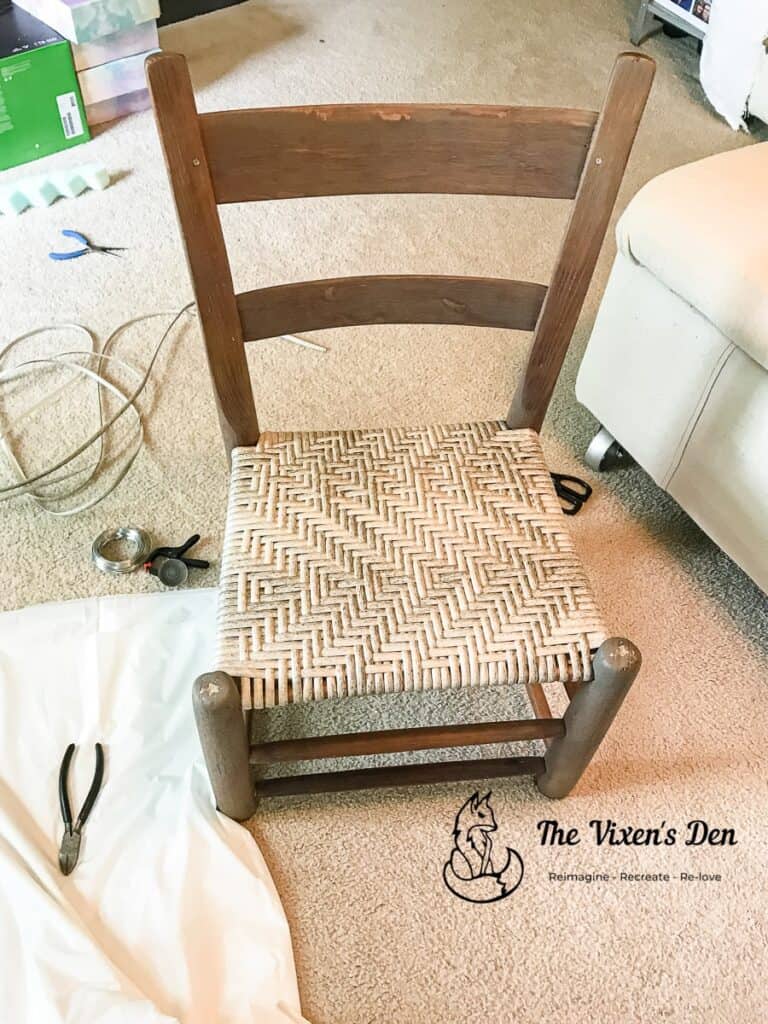
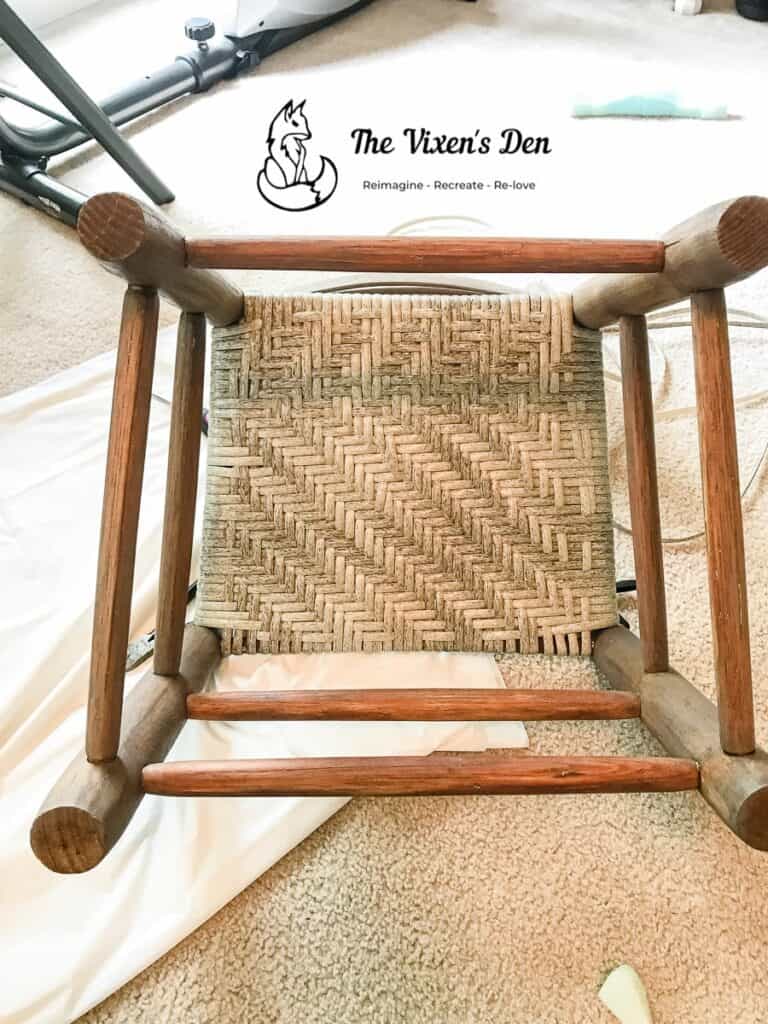
In the spirit of making things more complicated for myself than they have to be, I chose a herringbone pattern for my first weaving project. The particular pattern involves weaving over three strands, and then under three strands in a “step back” process. This means that when you weave the next row, you “step back” one strand from the previous row.
The trick is remembering where you’re at in the process. As you can see in this picture, I didn’t always remember. lol
You can also see that I had a few goof-ups in the process. At one point I pulled the entire weave out and started over. However, when I realized (several rows into the weaving process) that I had accidentally overlapped a few strands while wrapping the warp, I decided to embrace the imperfections and keep rolling.
I kept working through the design, over three, under three, and step back one on the next row. After the first 10 to 20 rows, the pattern started to come together. When I reached the halfway point and realized the problem with the overlapped strands on the warp, I began weaving to address that issue.
I couldn’t just switch the strand to the other side in one row of weaving. It took about four rows, of skipping the step-back step in that section before the strands were ready to be incorporated into the next weave. I wish I had it on video for you, but all I have is this picture.
The bottom weave wasn’t the only spot where I had to figure out how to work around issues. (Yes, even after ripping out the first attempt at weaving!)
On the top, I decided to get a little fancy and incorporate a chevron design. This was partly to hide my goof-up, and partly because I’m a masochist who likes to make things as complicated for myself as possible.
You can see that the top pattern had a lot of issues at the back of the seat, which is where I started weaving. Somehow, I started stepping up instead of back. I caught myself and started weaving with the step-back process again.
As I looked at it, I realized that the “mistake” created a chevron pattern, which is more modern and more aligned with my daughter’s style. Embracing the “design deviations” I continued weaving the step-back until the pattern reached the side rail, and then I switched to step-up to create the next side of the chevron.
I’m amazed, but it worked out really nicely!
Weaving in the Ends
The final step of the process is weaving in the trailing ends of the material. This is another area where using faux rattan is much nicer than weaving with splint. Splint tends to be stiff and can be challenging to weave when it’s sandwiched between a tight weave on one side and a chair rail on the other. Faux rattan is much more flexible.
However, the process is the same. I continued weaving the pattern until I couldn’t fit any more rows in. Then I snipped the trailing end to the length of the row. I used the weaving tool to pry under the warp and give the material something to ride up against in the tight areas. Finally, I kept weaving the pattern until I reached the next to last section of the pattern in that row.
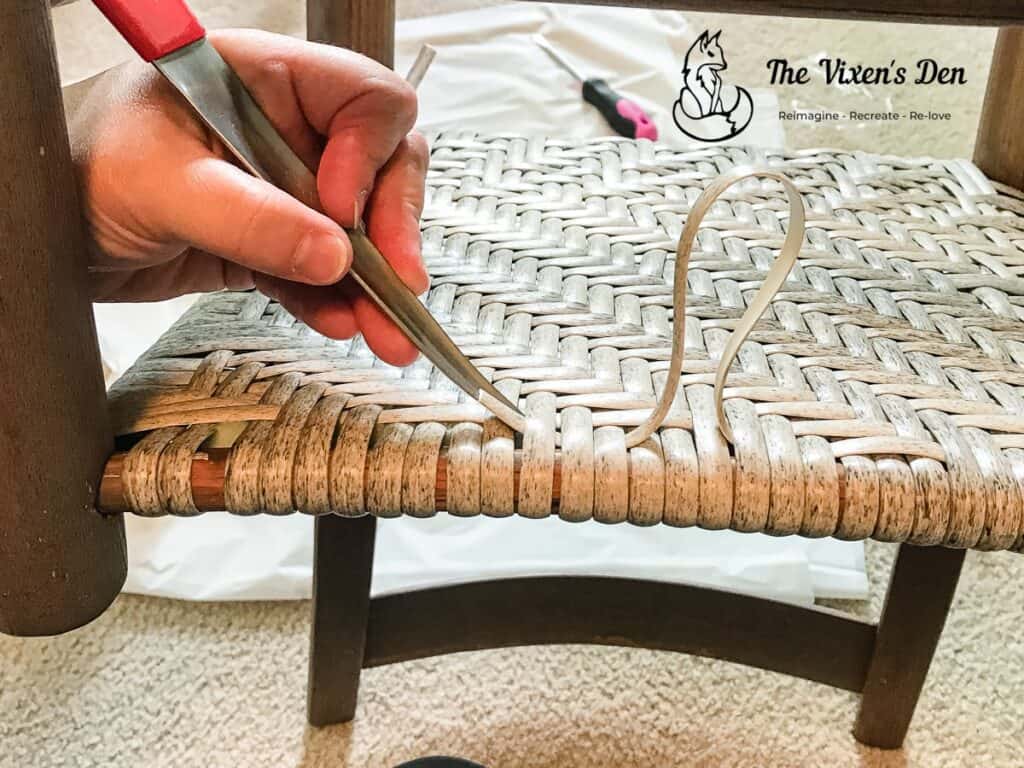
Once I reached the next to last section of the pattern, I trimmed the trailing end and then tucked it under the final section of the pattern.
Can you see the end? No? Awesome!
It’s true. You don’t fasten the end in any way. The weave itself holds the trailing end in place. In fact, if any of the wires from wrapping the warp are visible, then you remove those too!
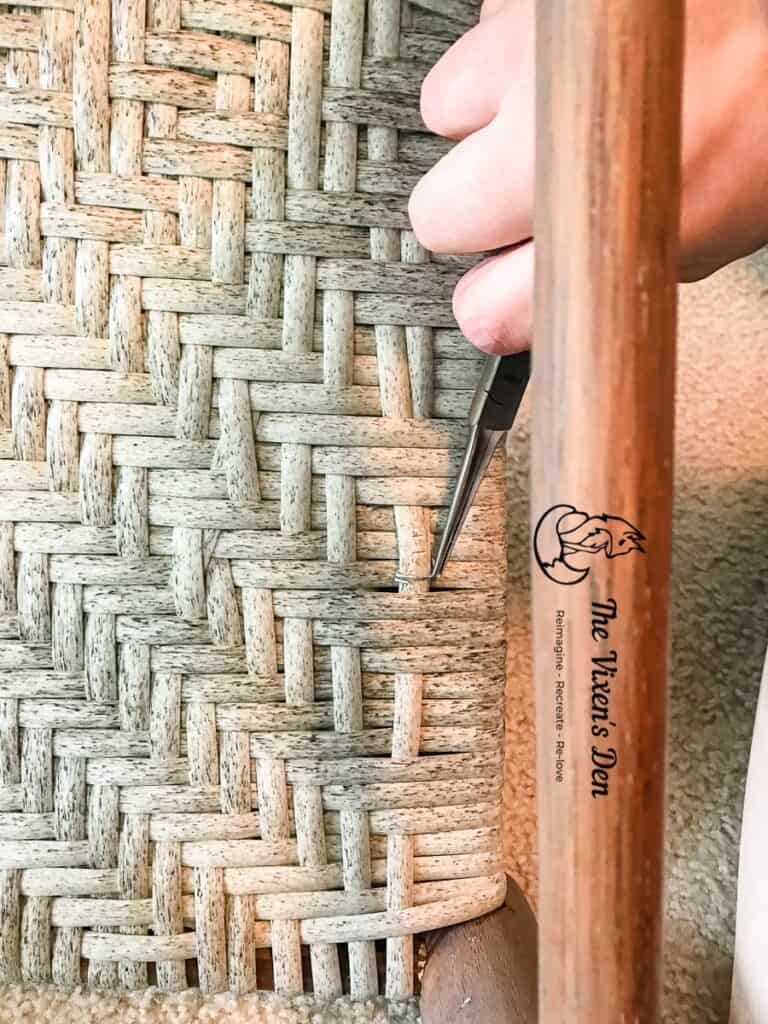
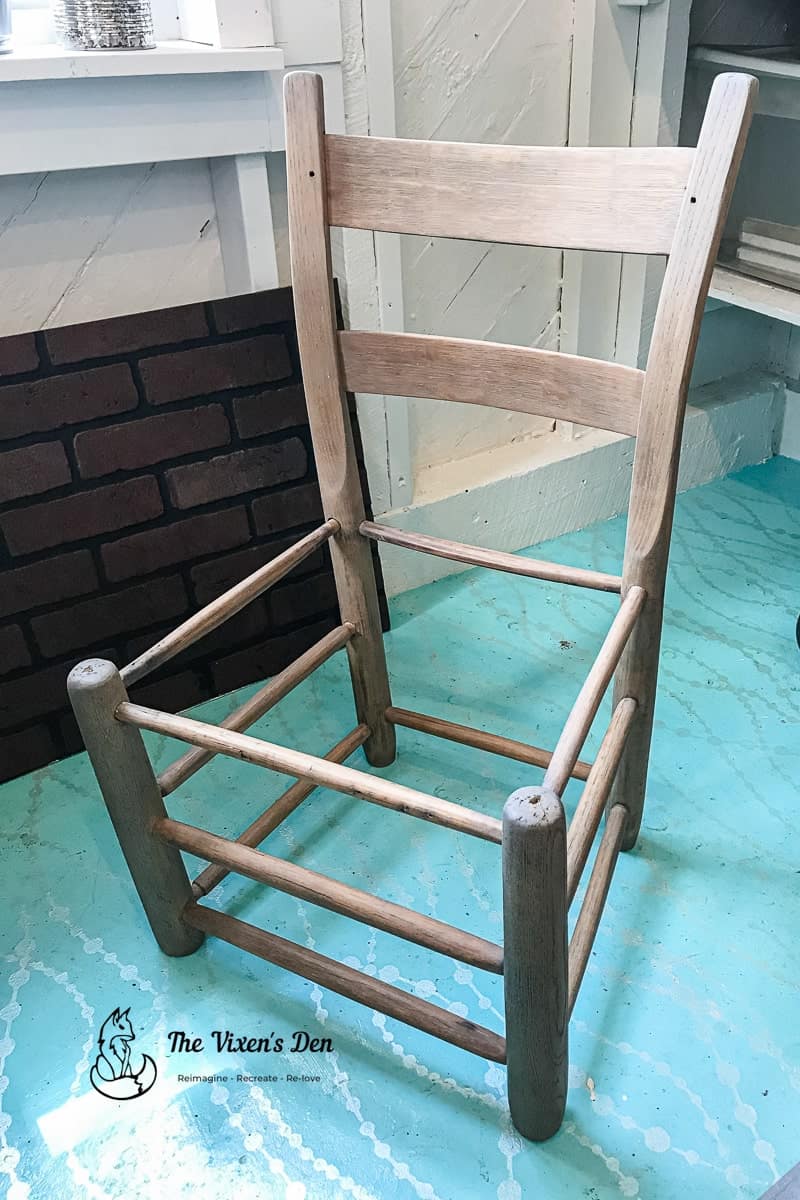
I used the needle-nosed pliers to grip the ends of the wire and pry them up, then slid the wire out from under the reed strands. And that’s it! This open seat ladderback chair had a brand new (and definitely custom *wink) woven seat.
So, are you ready to see the before and after?
Final Reveal and Hindsight is 20/20 Tips
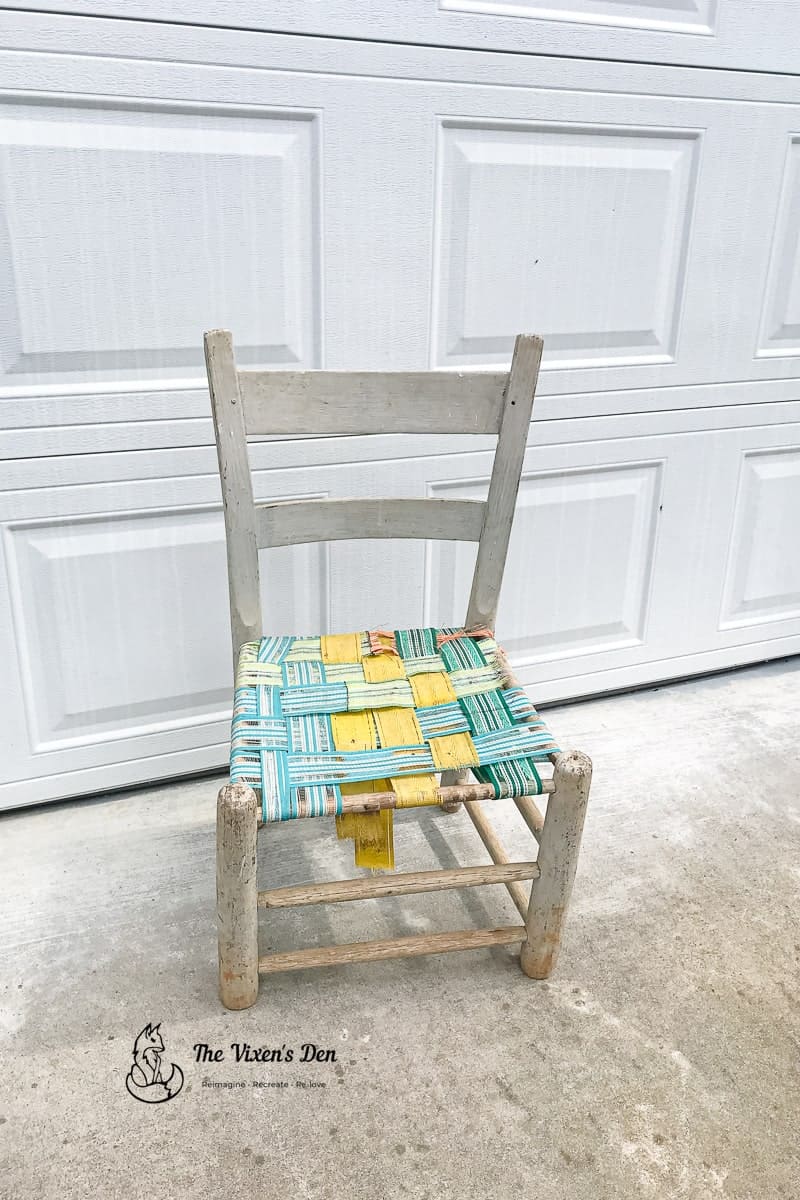
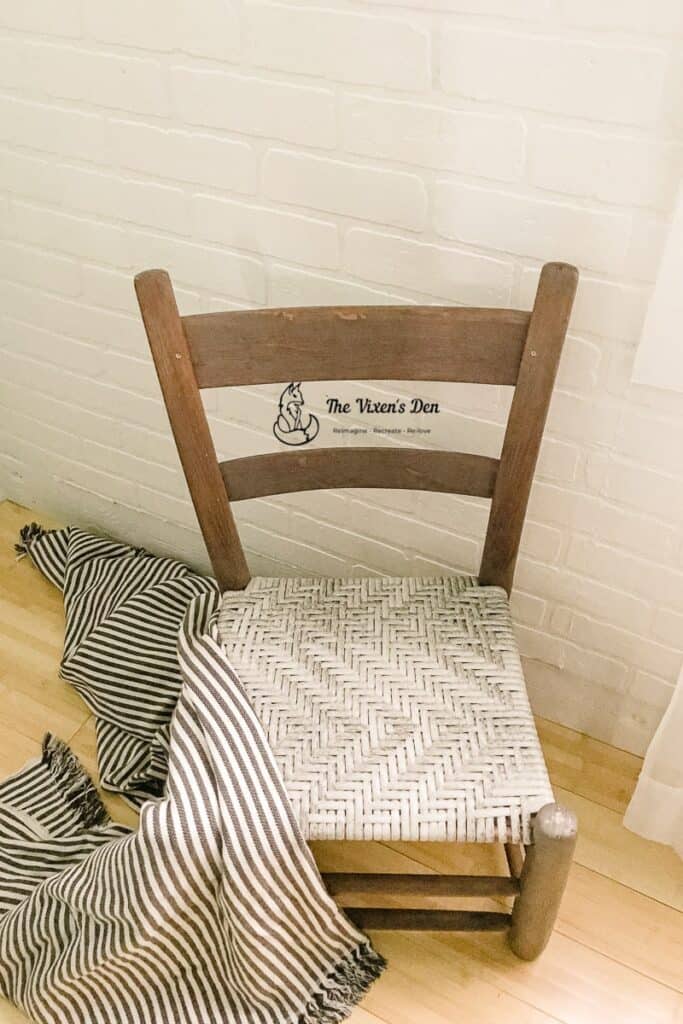
Quite a difference, wouldn’t you say? It was a lot of work, but so worth it!
In the spirit of learning from our misadventures, here are the “Hindsight is 20/20” tips:
How do you keep the warp from overlapping? In order to prevent the warp from overlapping, as it did when I was weaving, you will want to use those handy dandy clamps that I have included in the tools section. If you clamp the strands that you have already wrapped, then you not only prevent them from overlapping improperly, but you also maintain the correct amount of tension as you wrap the warp.
Did you really weave the seat in one piece? Once the warp is wrapped (which is one section of reed) then you can weave the seat with one continuous strand of faux reed/splint. Natural reed/splint comes in multiple sections that you wire together in the warp or weave together in the weaving pattern. I will admit that my shoulder was killing me for several days afterward because there’s so much pulling back and forth when weaving in one continuous strand. In the future, I might just cut it into long sections and weave them together.
How do you keep the rows straight as you’re weaving? As you weave each row, it’s important to gently push the row back against the rail or starting row. You can use the weaving tool or a flat-ended screwdriver to do this. Just start at one side rail and work your way down the row, pushing back against the previous row. If you don’t do this, then the weaving rows will begin to drift towards the center of the seat which will cause the tension to be too loose. Keep the rows aligned and the weave tension tight.
Would you ever consider using natural/traditional materials? If I’m working on a restoration project, then I will definitely use a natural flat reed or hardwood splint. The faux rattan was perfect for a beginner project because it’s so flexible and doesn’t require soaking or continued misting to maintain flexibility for weaving. I also like the fact that the project is finished once the weaving is complete. With a natural material, I would need to stain and varnish or seal it. Then that would have to cure before the seat could be used.
I hope you enjoyed learning about this process as much as I did. I’m still amazed at how beautifully it all came together!
Even better, I love that my sweet little grandbabies are enjoying it along with their chalk-painted table! Check out this post to see how I put an extra durable surface on their table using epoxy resin!

Linked up to these lovely link party hostesses at:
Thank you for stopping by! Drop any questions or tips that you have in the comments section below, and don’t forget to sign up so you hear all about the next misadventure. Until then, I know you’ll love seeing the children’s table that I painted for this set along with its shiny new epoxy resin top!
Have a wonderful day!


Girl! What a fantabulous project – thank you for sharing the process. I still don’t think I’ll try this but I will enjoy yours!
Very informative! Question: Do you weave the top side and then weave the bottom side at the same time — like once you reach the side, flip it over to do the underside and then back to the top?
Hi Sandy! Yes, that is exactly how you weave it: top, flip, bottom, flip.