She-Shed Take 8: Installing Vinyl Siding
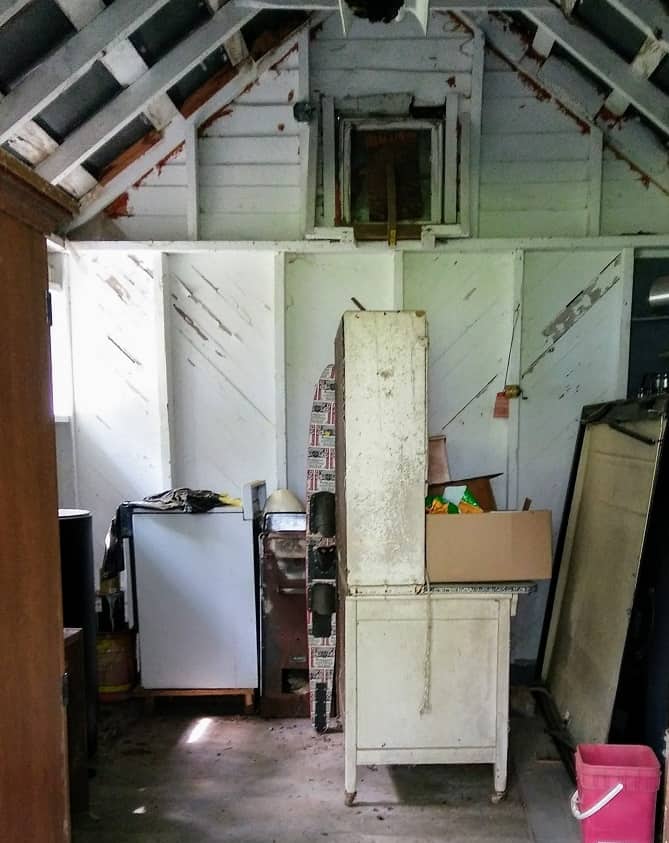
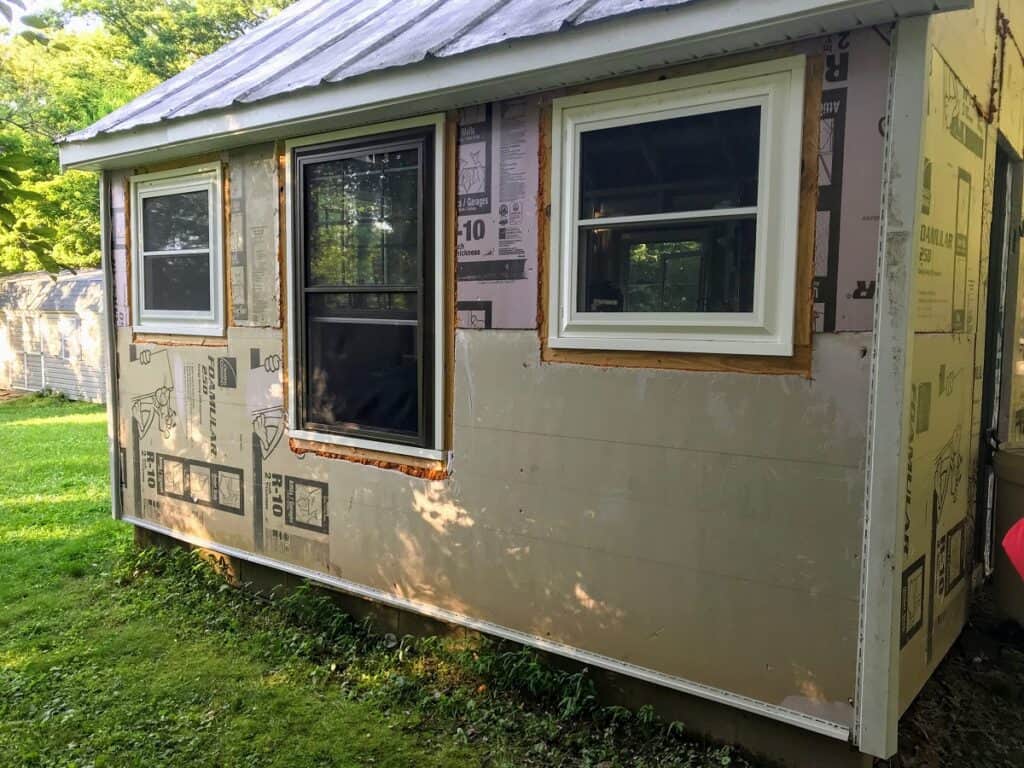
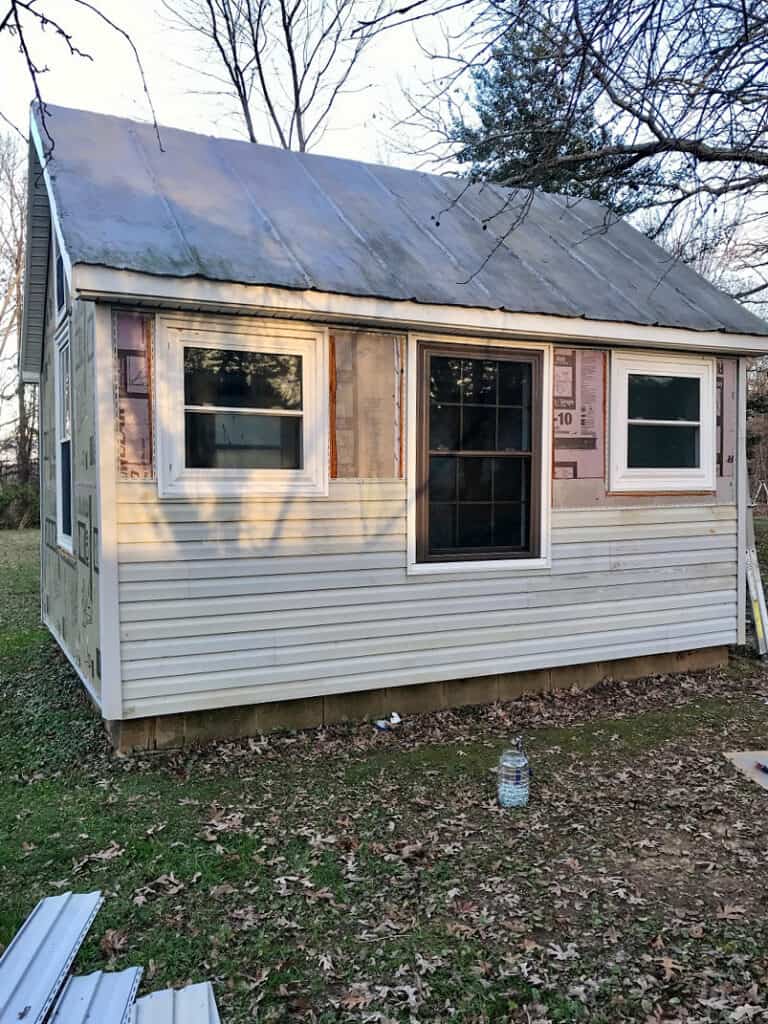
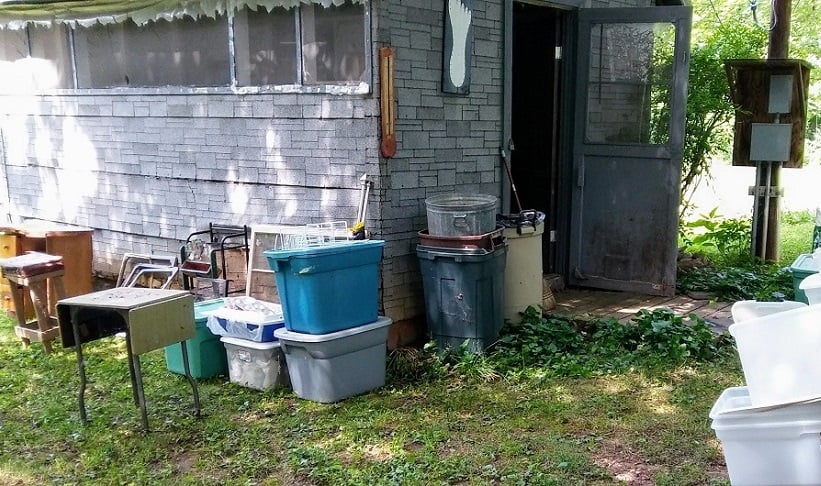
An attractive new outfit is almost guaranteed to bring a smile to this girl’s face. I imagine that’s exactly how this shed felt when she found out she was getting a makeover in the form of vinyl siding. The asphalt siding that she had been wearing since the beginning of time was showing considerable wear and tear. So, I stripped her down, gave the wood sheeting a nice coat of hardener and (hopefully) termite prevention, wrapped her in insulation, and got to work on crafting a new look for this lovely lady.
Every outfit requires some accessories, and in the vinyl siding world, it’s no different. But instead of jewelry and shoes, these accessories have names like J Channel, Corner Posts, Undersill Trim, and Starter Strips.
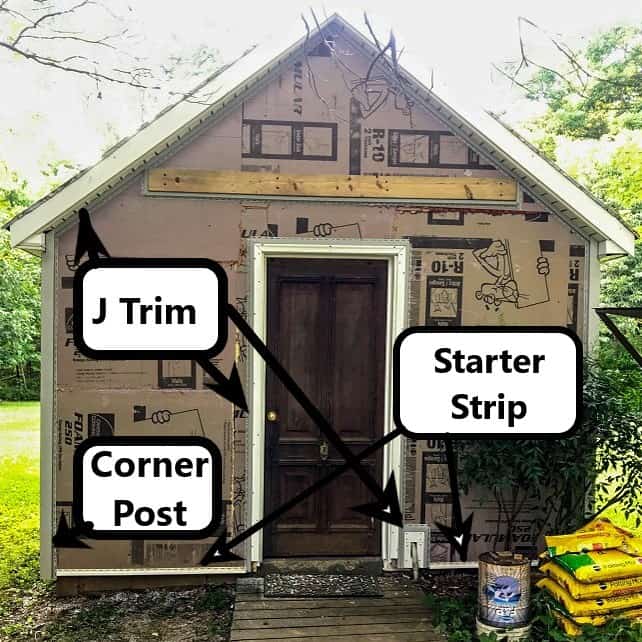
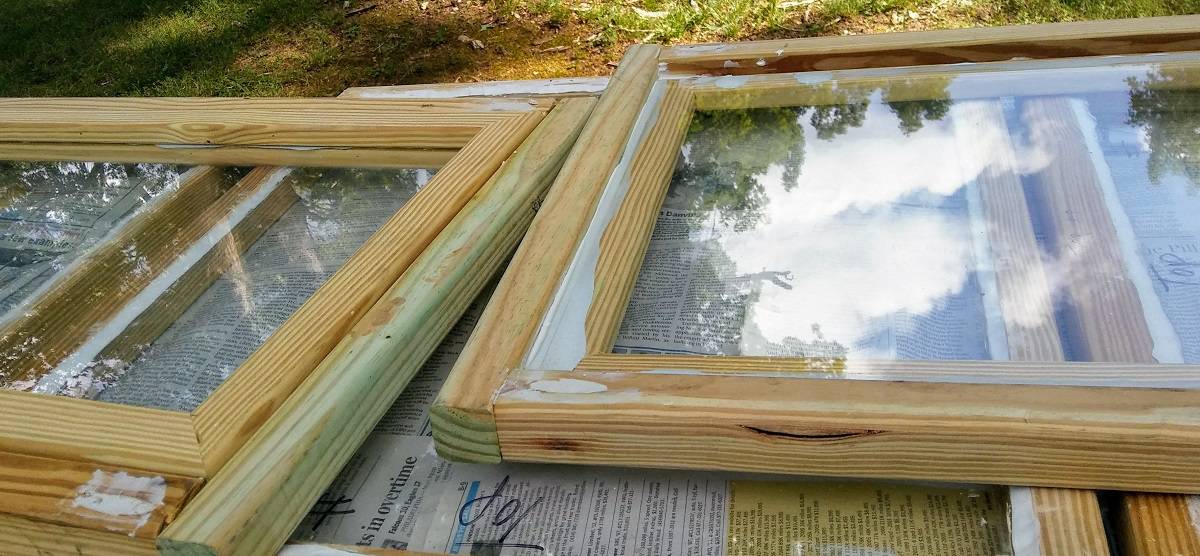
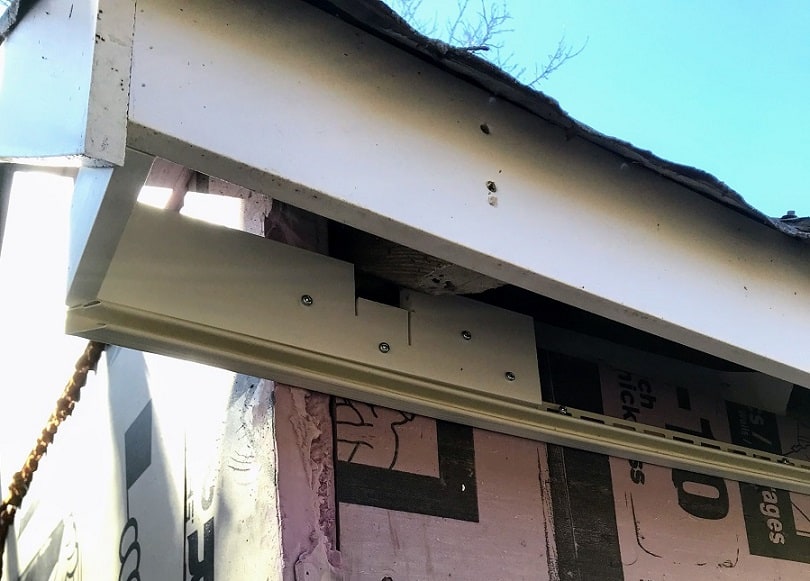
Starter strips are just what they sound like, the pieces that you fasten to the bottom and then slide your first row of siding onto, pushing upwards gently until it locks into place. Undersill trim is installed around windows to help direct water out away from the sheeting and window edges, preventing it from seeping inside and causing rot. J Channel is installed at the top of the walls, under the soffit, and against the edges of doors and window frames. It’s the finishing edge for siding. Corner posts are right-angled pieces that create lovely crisp edges on not so lovely corners. Corner posts come preinstalled with J trim to finish up the siding edges at the corners.
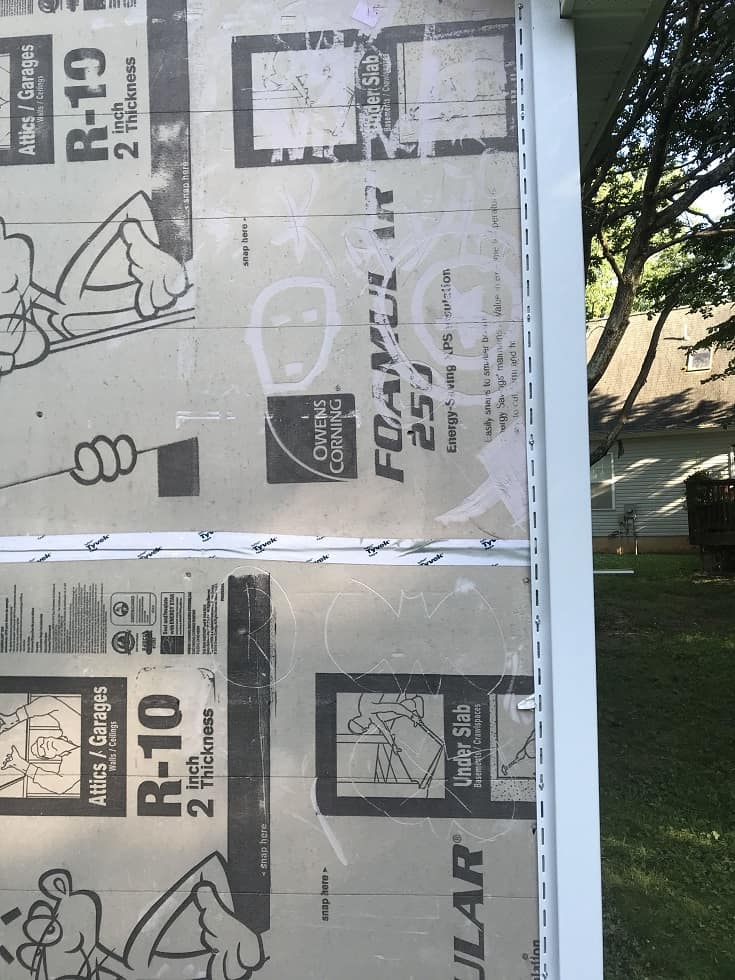
Vinyl siding is an interesting material. You don’t want to fasten it down too tightly, as it needs to move freely when temperature changes cause expansion and contraction, and you don’t want to install it too loosely, as it can easily spring free in a high wind if not securely fastened. Siding seems to be the Goldilocks of exterior finishing. Most installers use roofing nails or nails with large heads to secure vinyl siding to the sheeting. If you remember from this previous post, the sheeting is super hard sawmill lumber under two inches of foam insulation. This creates a challenge where nails tend to bounce out of the wood and damage the foam insulation in the process. Therefore, I chose to use the same exterior pan head screws that I used to install the foam insulation to install the siding.
One of the things that’s great about vinyl siding though, is that it can cover a lot of ugly. The flexibility of vinyl allows you to adjust rows to make up for uneven edges and un-square corners.
It’s also easy to repair. This is important, as vinyl siding is also easily damaged. Just ask DH who had to duct tape a hole from the gravel-launching-lawn-mower-blade (face-palm). The good news is that as long as you have a spare piece laying around, and a flat-edged screwdriver, it’s not too hard to pop out the damaged siding and slide in a new piece.
I spent a lot of time watching instructional videos on how to install vinyl siding. I found this channel, NSM Construction, the most comprehensive and easiest to follow. I learned that there were only two tools that I really needed to install siding, and I already owned a pair of tin snips. You can also cut vinyl siding with a fine-toothed blade installed backward, but the tin snips worked fine for me. I do recommend at least buying this tool. It’s called a “Snap Lock Punch” and it’s like a fancy square hole punch. When you punch the holes so that the tabs stick out of the front of the siding, it allows two pieces of vinyl to lock into one another. This is especially important when finishing off the top of the siding, where you may have to cut a piece horizontally to finish the run.
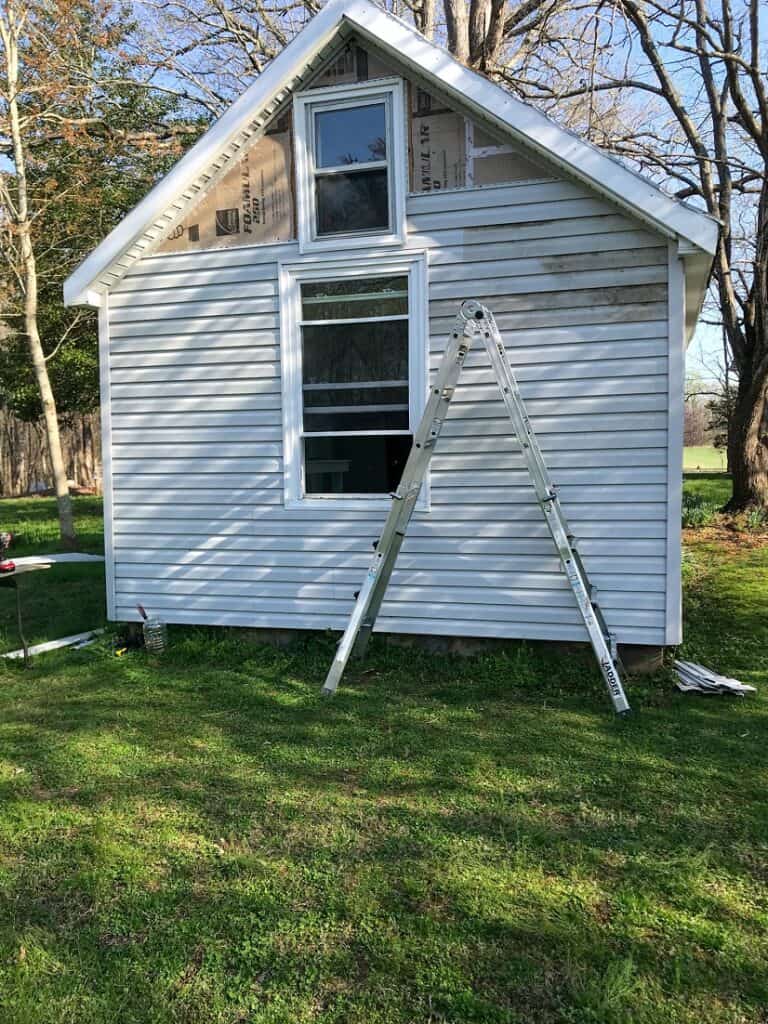
Between the bundle of trim pieces that I picked up at Restore, and the leftover dutch lap siding from our house being built, I was crossing my fingers and saying some prayers that I could eke out enough siding to finish the project without having to buy an entirely new box. We just barely made it! Seriously, we were down to the last few pieces and I started cutting the pieces wrong. It was a challenge, and while it isn’t the most attractive siding job, it did get the goal accomplished.
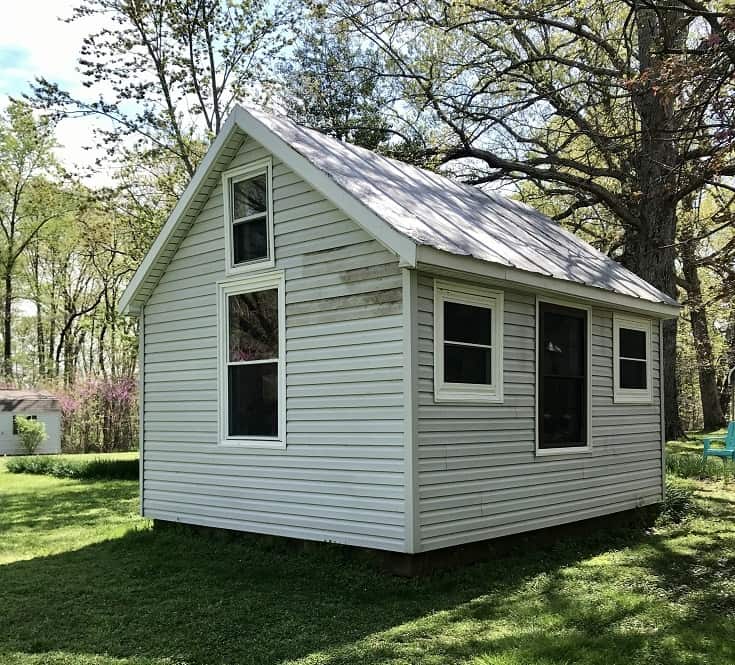
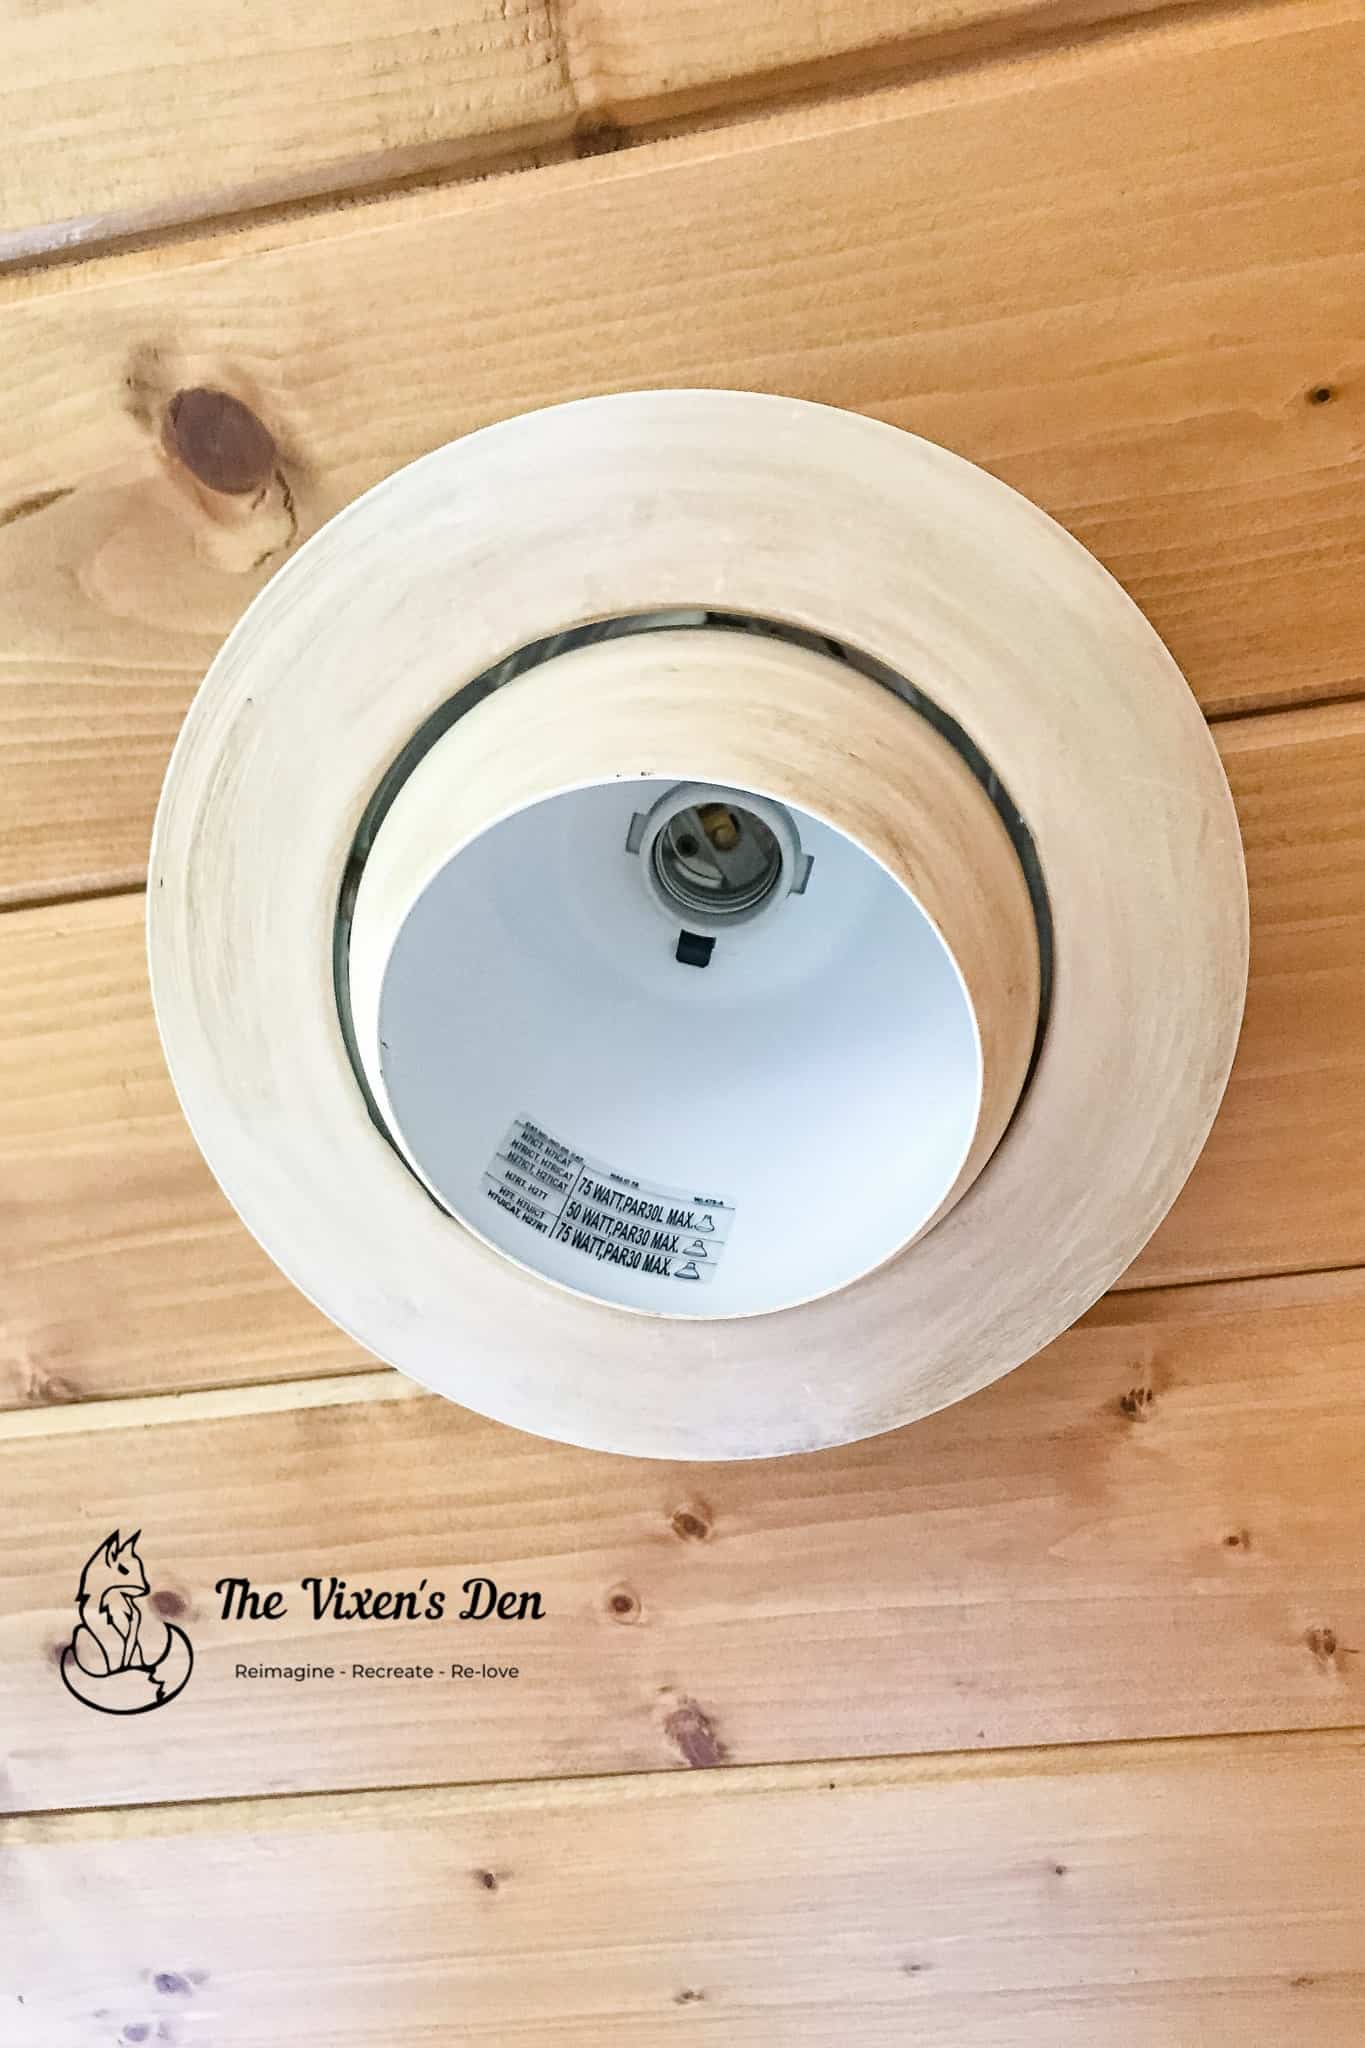
The she-shed looks so much prettier now! The siding needs a good cleaning, but that can wait until later. Because why clean vinyl siding when you can build lighting?!
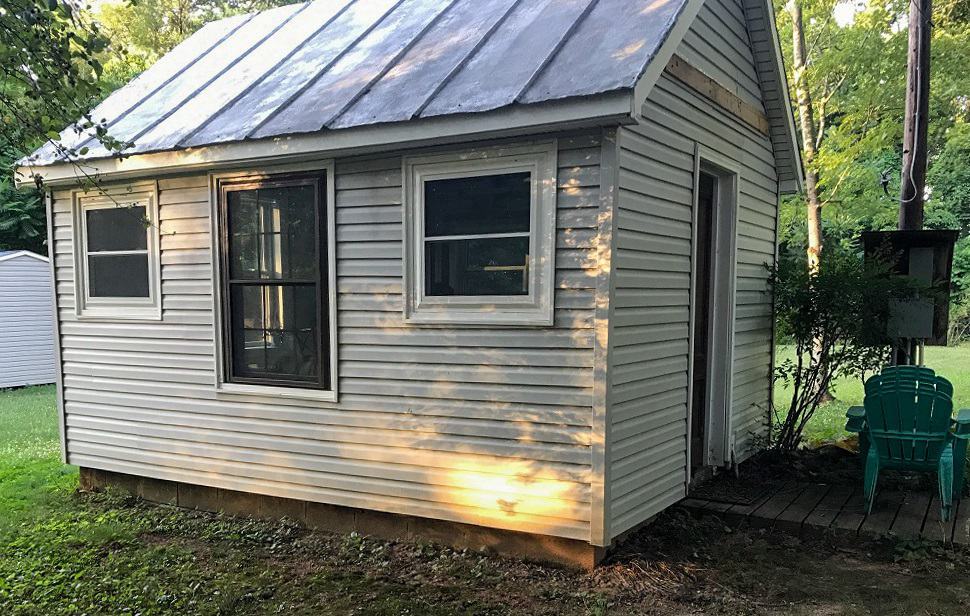
So, what do you think? It’s not perfect, but a pretty nice upgrade from the old asphalt siding. Have you worked with vinyl siding before? Do you have any tips for the rest of us weekend DIYers? Leave a comment below and sign up to hear when new fun adventures are posted!
[mailerlite_form form_id=1]