She-Shed Take 9: DIY Modern Farmhouse Lighting
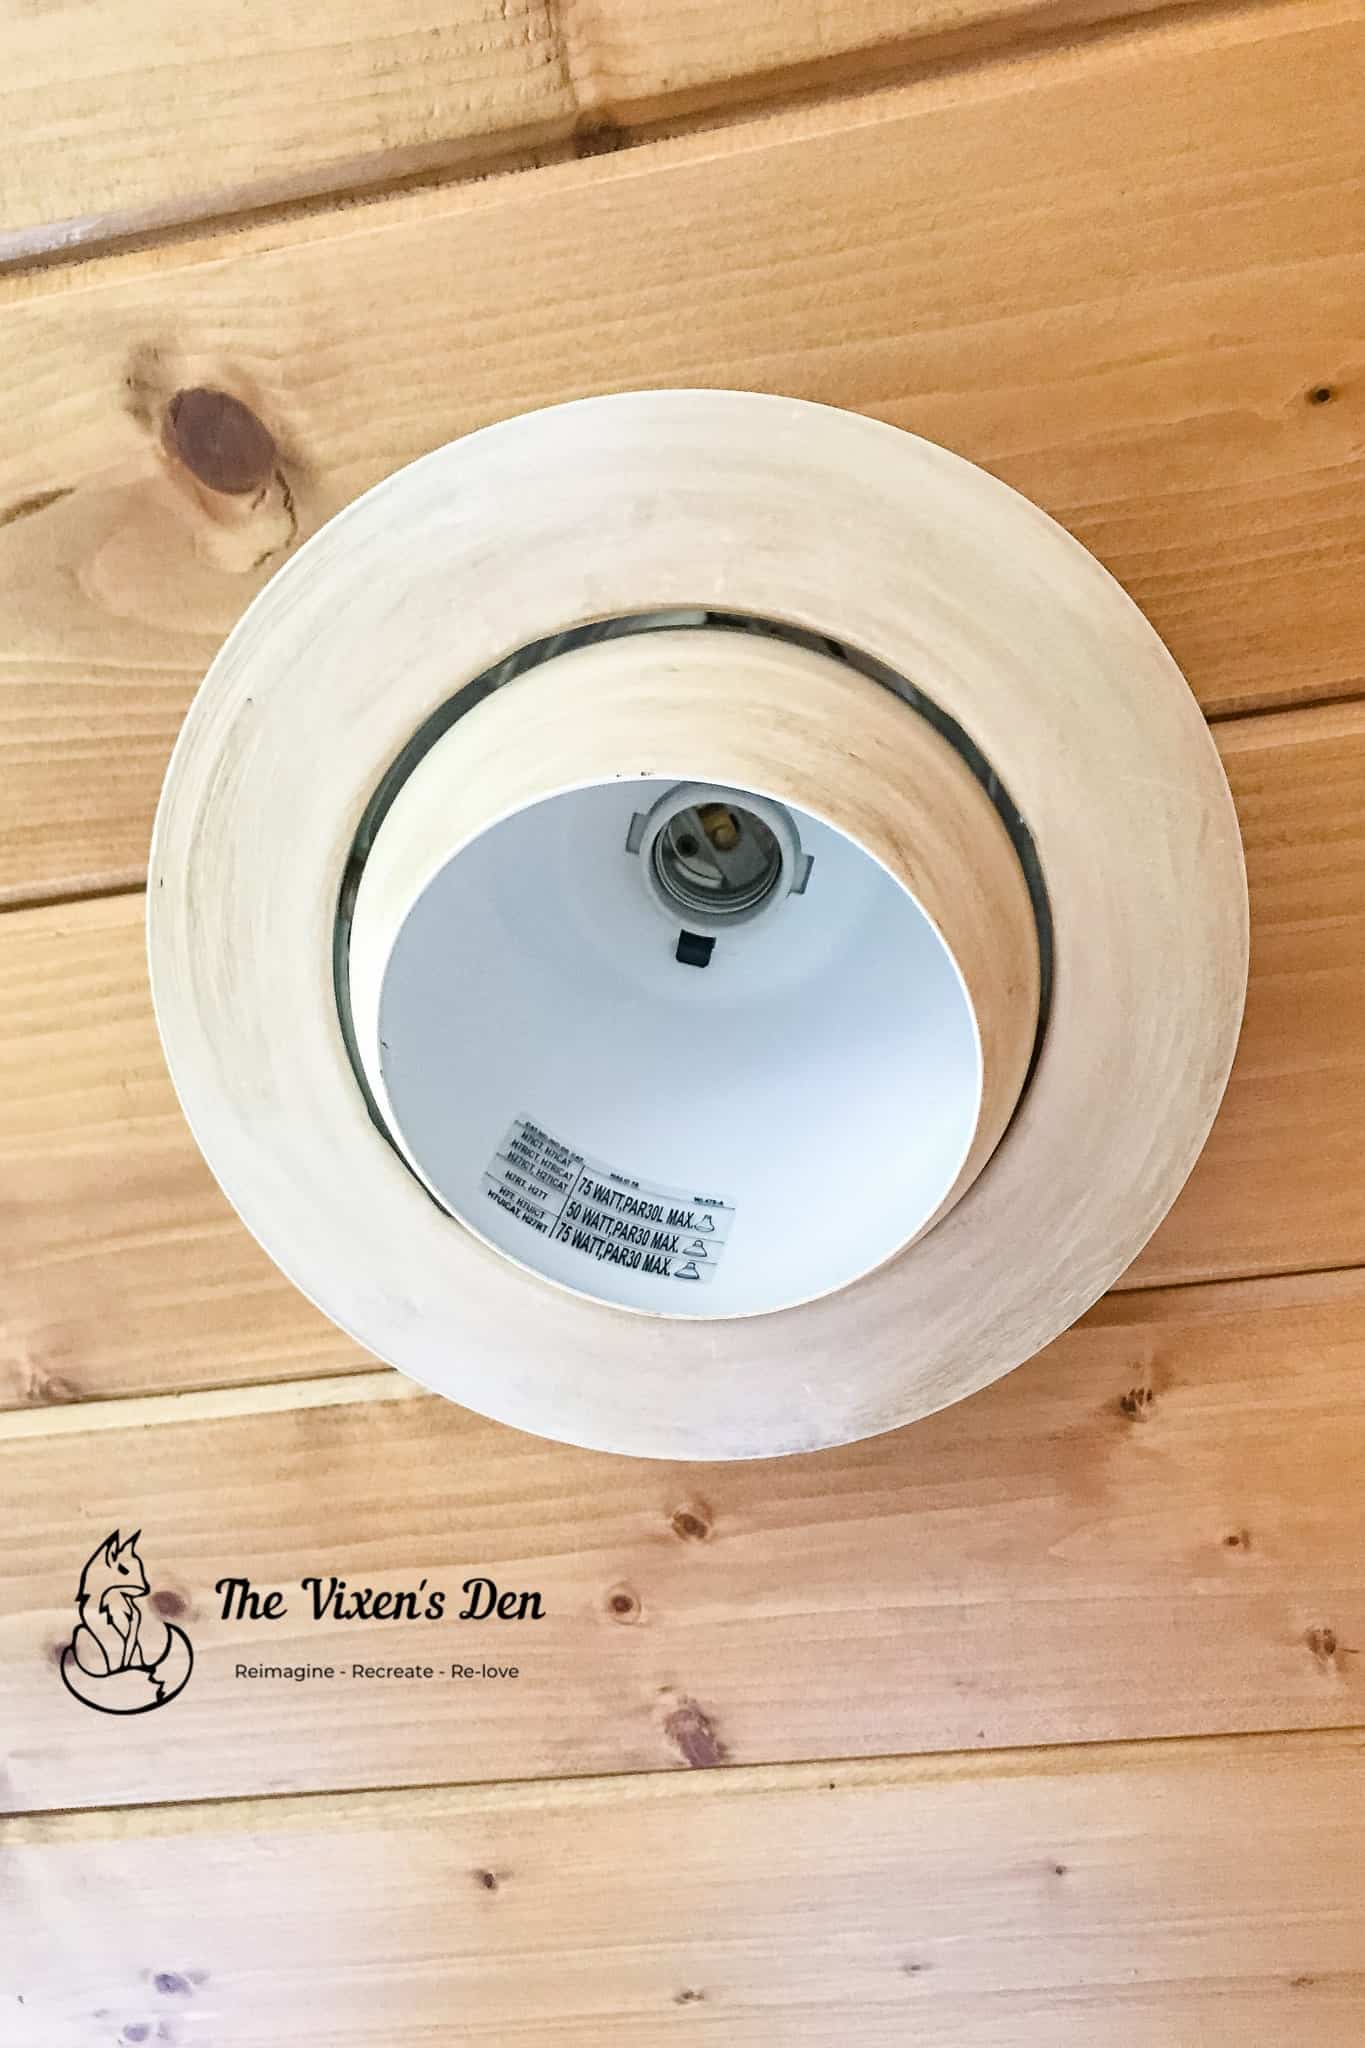
A unique she-shed demands one-of-a-kind lighting. The standard shop light that the guys had used when it was a bunkhouse was definitely not what I had in mind.
But I had a problem.
All of the special insulation and fancy vinyl windows didn’t leave me with much of a budget to afford the gorgeous lighting that I longed for.
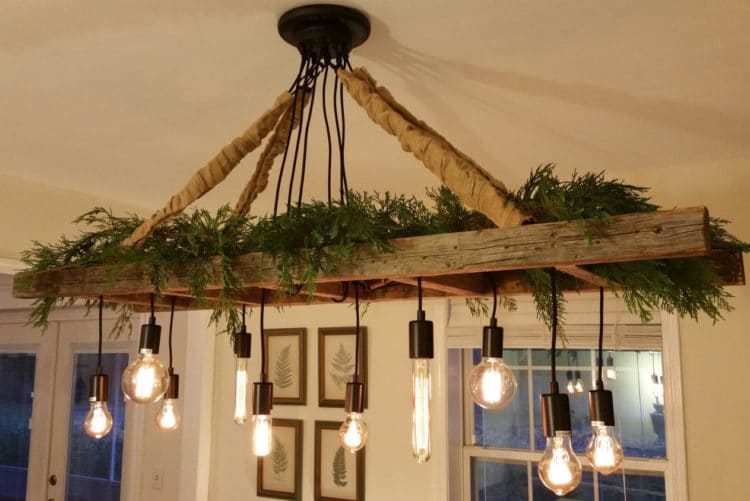
At the time, I had all the heart eyes for some fun cottage-style ladder light fixtures, like the one below from IDLights.com. I envisioned hanging it with hooks of dried lavender…which I would have to purchase from the local lavender farm since I am known best for my brown thumb. The perfect cottagey look to go with my…not-cottagey windows.
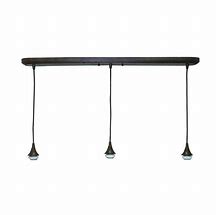
I was also eyeing the trending rustic beam lights with pendant lights wrapped around them. They were so solid and very old-world style. This fixture from homary.com was a delightful blend of rustic and industrial.
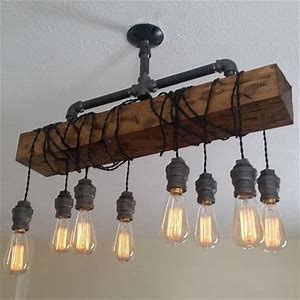
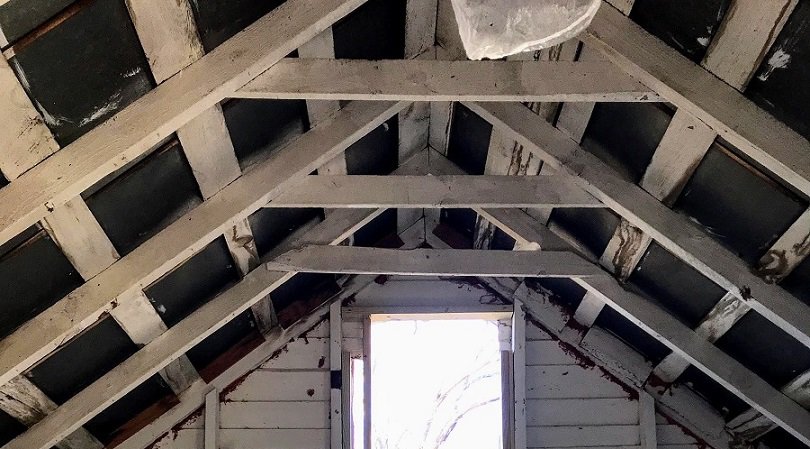
I imagined wrapping some faux iron around the ends…. and hanging it from my, rather pitiful little 1×4″ rafters.
While I was oohing and aahing over all the pretty light fixtures that I couldn’t afford, I found this set of three light pendants on sale for about $20 at Lowes.
They weren’t fancy but I felt they could work to achieve the look I wanted. I brought them home, stuck them in the corner of the shop, and let the idea marinate for a few months…or a year or two.
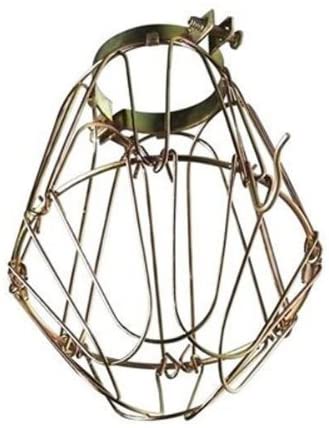
In the meantime, I picked up these adorable industrial light cages from Amazon. I knew that I was going to have to protect the light bulbs from being knocked around by things like ladders…materials…and just general everyday Becky-life. (I might be known as the bull in the china shop in our family…)
By the time that I was ready to start working on the lighting, the original design ideas just weren’t as appealing. The more I thought about the amount of dust and cobwebs that the fancy light fixtures would inevitably collect, I began to lean towards a simpler style.
(I know, you’re shocked. Especially after the complete 180 that I turned when installing the windows.)
I wanted a light fixture that was easy to maintain and that also reflected the light and airy feel that I hoped to achieve in the small space. Plus, I had recently discovered this gorgeous farmhouse-style chandelier at wayfair.com.

It was a beautiful combination of all the right elements:
- Slightly rustic
- Slightly farmhouse
- Slightly modern
- Slightly industrial
It seems that my decor style falls somewhere in the “eclectic” range.
With my new source of inspiration firmly established, I began the process of creating my own industrial-rustic-modern-farmhouse lighting.
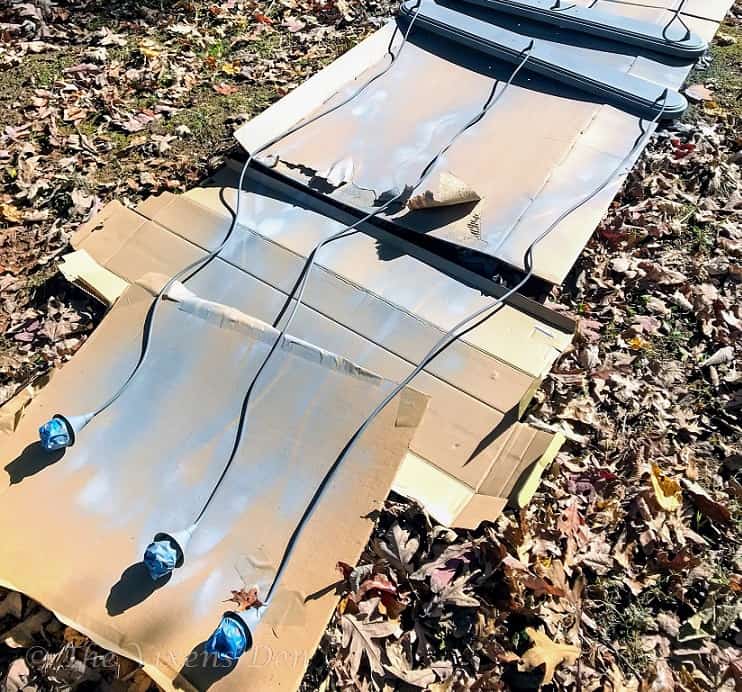
First I spray painted the base, wiring, and bulb fixtures with Metallic Satin Nickel Rustoleum. I made certain to tape off the bulb socket to ensure that no paint snuck its way inside.
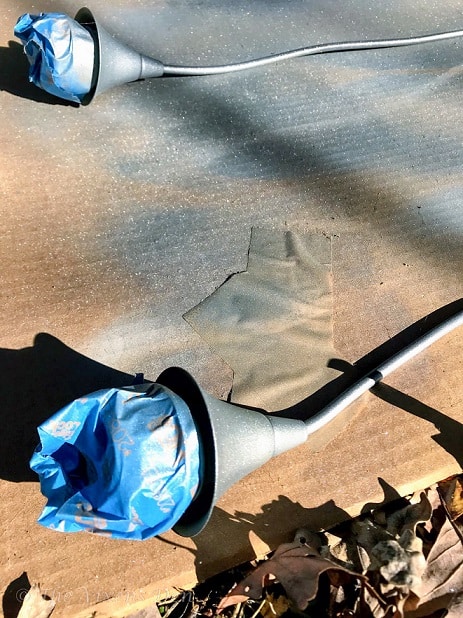
Aren’t the sparkles in the paint just gorgeous?
Right about here is where the design took another turn. Instead of attaching the base to a frame in the rafters, I decided to deconstruct the original design…and the Lowe’s light fixture…to create a scaled-down version of the inspiration piece.
Deconstructing the Lowe’s light was actually a simple process. The pendant wiring is threaded through the metal base and held in place using a set of plastic nuts. The idea is to use those nuts to adjust the length of the pendant upon installation. I simply unscrewed the nuts completely, separated the wiring that was twisted together, and pulled the wiring out of the base. Now, instead of a set of three pendants, I had three separate pendant lights.
Unfortunately, I don’t have many pictures of the build process, but it went something like this:
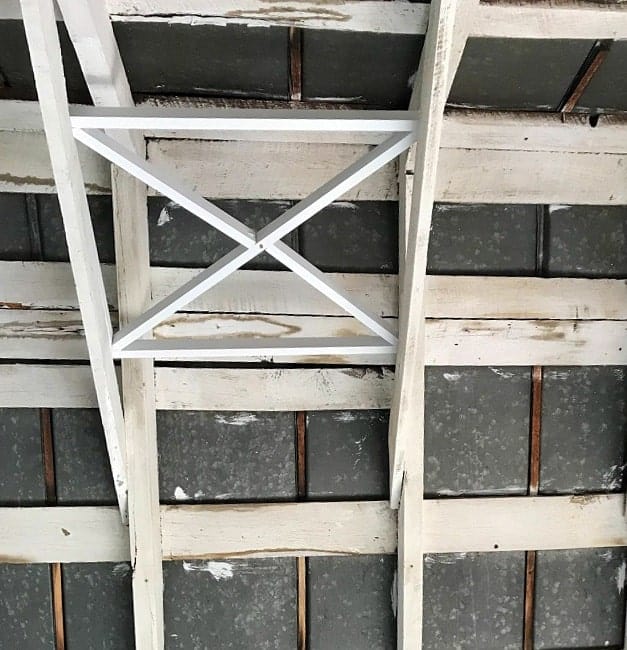
- Build a wood square out of 1×1 lumber using wood glue and brad nails
- Build and attach an X-frame into the center of the square
- Attach a round wood disc to the center of the X
- Drill a hole through the disc
- Attach the wood frame to the rafters
- Thread light fixture wiring through the hole in the disc
- Fasten wiring to the top of the wood frame
- Caulk and paint wood frames
- Attach wiring to the rafters using electrical wiring staples
- Connect light fixture wiring in a junction box that runs into the original wiring (At this point, my husband stepped in to add his expertise. It’s handy having a licensed electrician around. Please be certain that you are following your local building codes when performing any electrical work.)
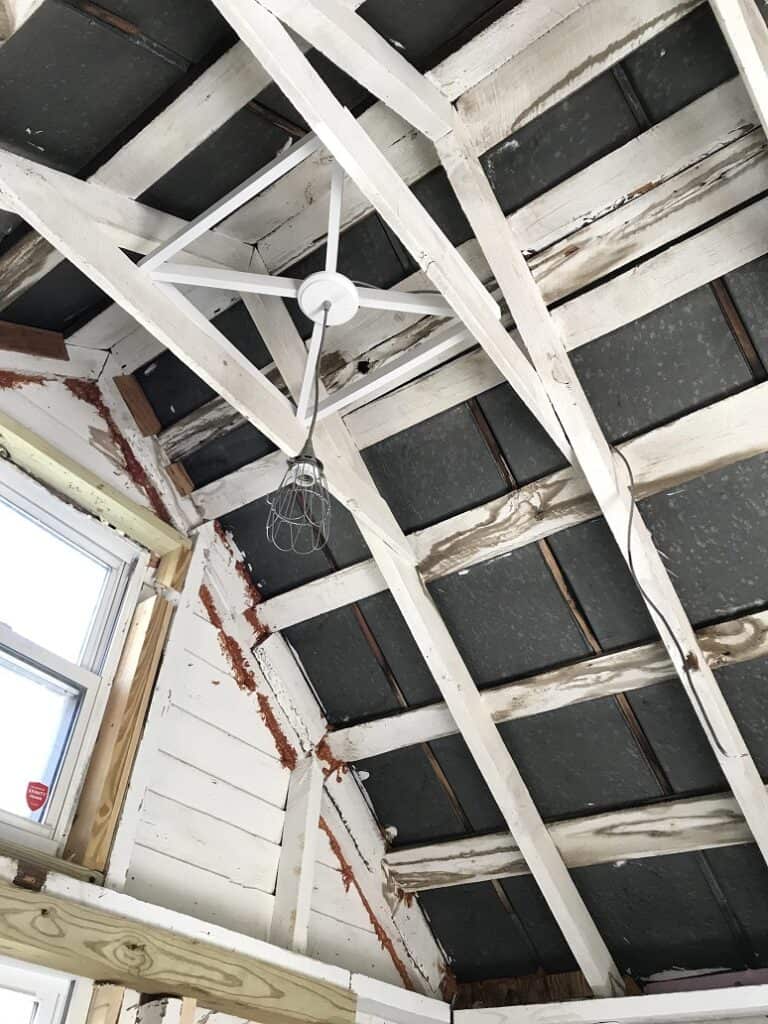
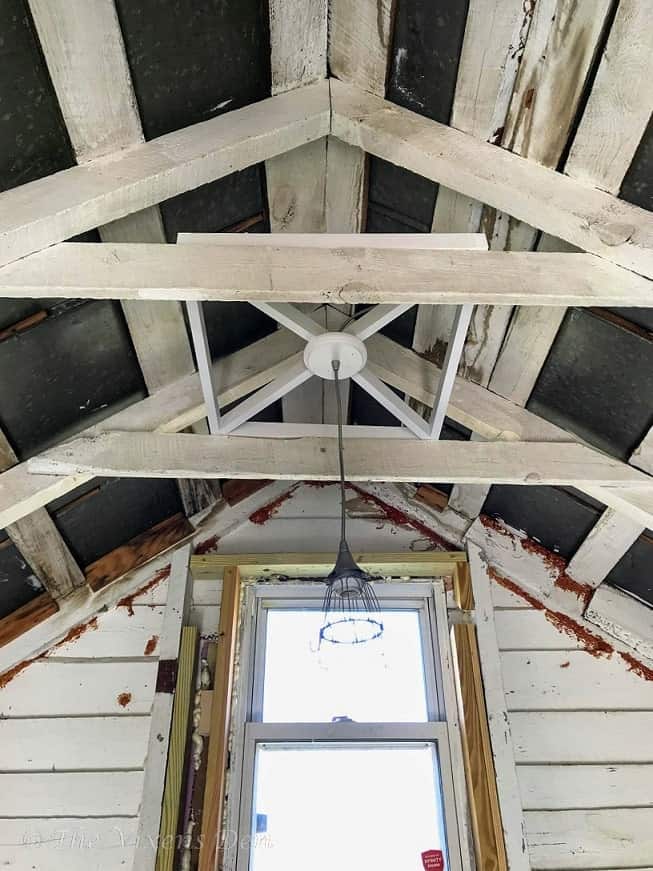
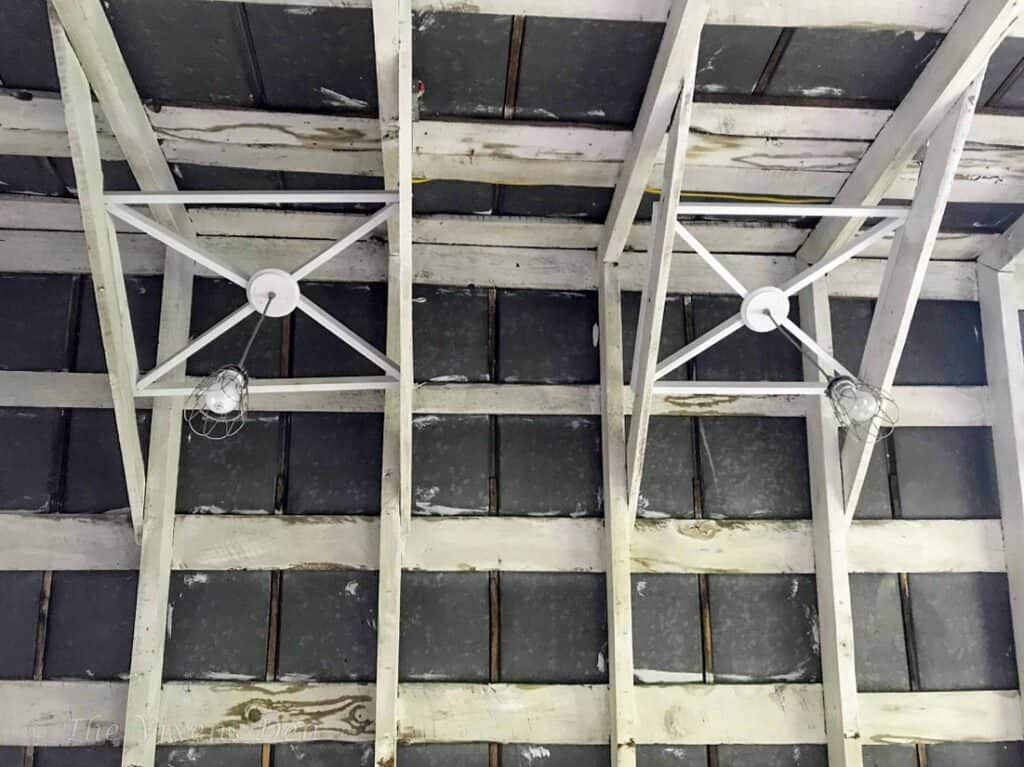
Finally, step back and be amazed that it actually worked, while ignoring the fact that every fixture is a slightly different size because that’s how this project rolls.
Whew! That was quite the process, with so many dips and turns along the way.
We’re so close! The fun part is up next, where we prep for painting and the vision starts to come together. Join us for the next edition of this exciting saga, and don’t forget to sign up to receive an email when new projects are let loose in the world!
[mailerlite_form form_id=1]