She-Shed Take 5: Exterior Insulation and Pest Prevention
When you think of relaxing in your beautiful backyard shed, what comes to mind? A gentle breeze through the open windows? Or a cup of cocoa while you watch the snowfall and curl up next to a warm heater? I’m betting what you don’t think of are icy winds slicing through the cracks in the walls during the winter and creepy multi-legged creatures slipping through in the summer. With cracks like these, that was more than a given, it was guaranteed!
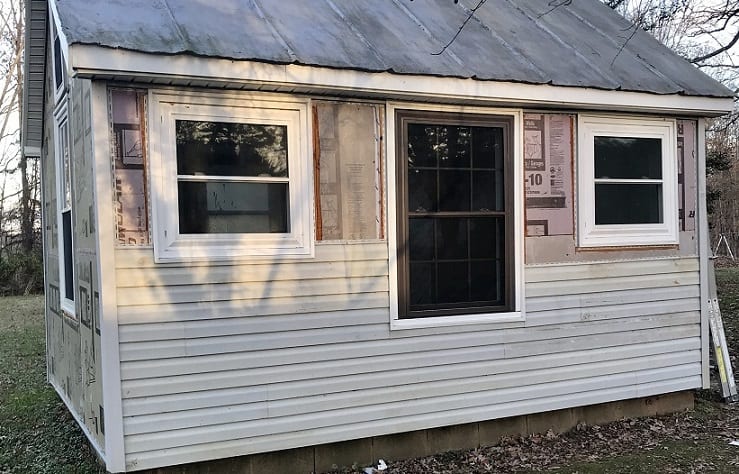
When my father-in-law spread filled the wood wall slats of the bunkhouse with drywall compound many years ago, I understand it worked quite well at keeping the winds out. Over time, however, the compound had cracked and fallen out in large chunks. I scraped the loose chunks out and vacuumed any other loose bits out, then opted to seal these large gaps with flexible spray foam. Spray foam expands deeply into cracks and will move easily as the wood expands and contracts throughout the seasons.
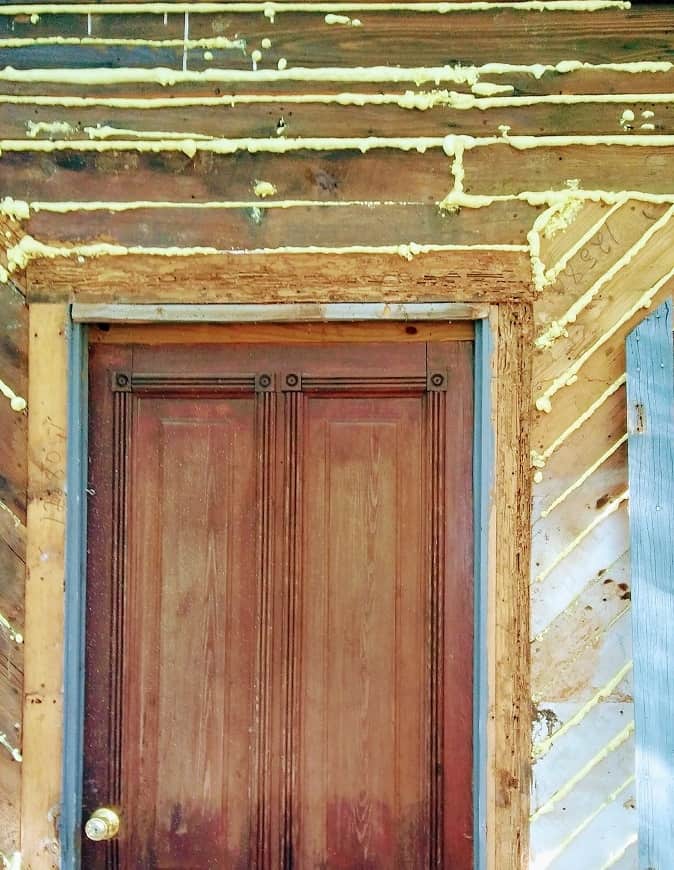
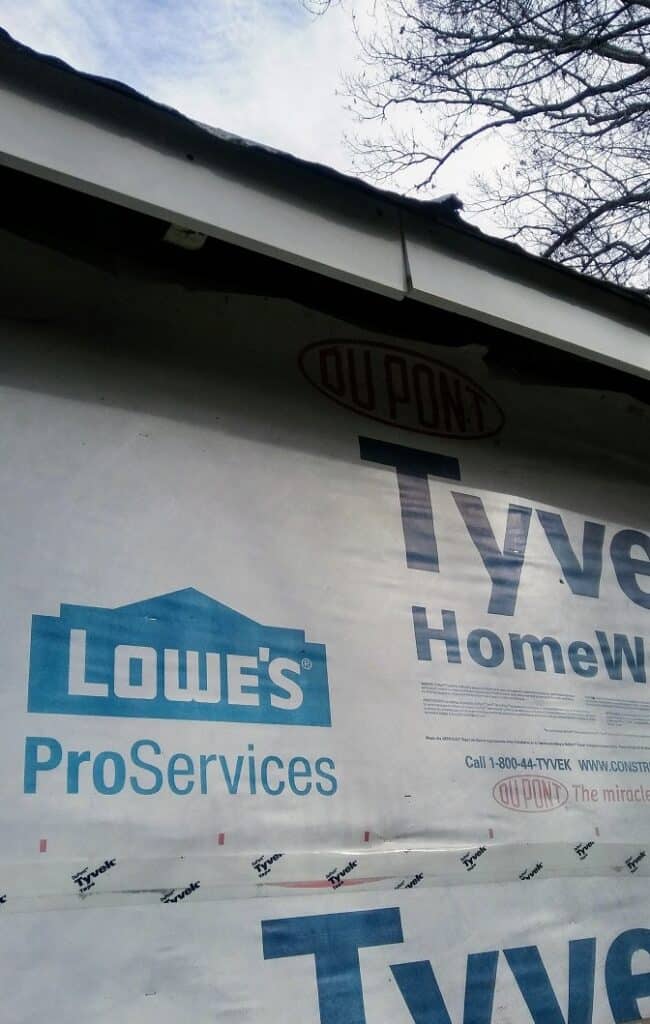
Once the foam was dry and the excess was scraped off, I wrapped the exterior with Tyvek. Now, this may have been overkill for a shed, but remember that the exterior is comprised of untreated lumber and moisture is an attractant for termites. (Remember the termites??) You can still see some termite damage to the wood around the door in the picture above, but just in case you forgot, how bad it was…
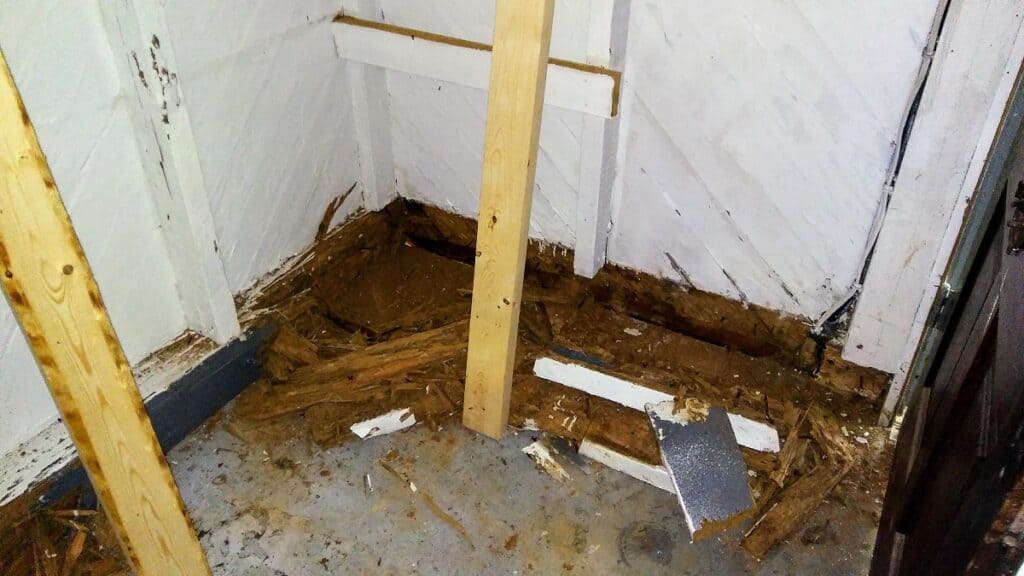
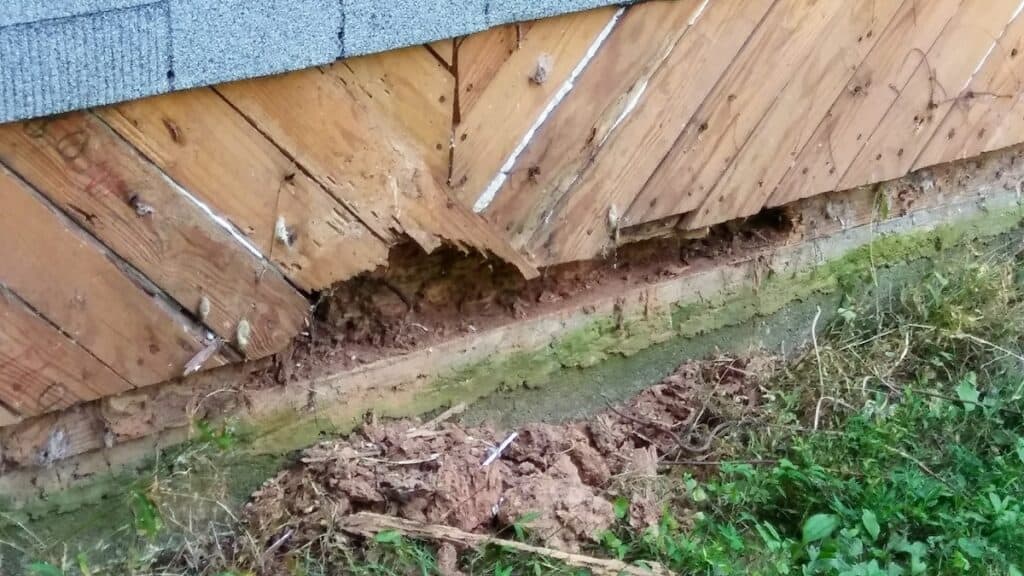
To say that I was scarred from that experience, would be putting it mildly.
There were two primary objectives to accomplish here:
- Protection against the elements and overall comfort
- Bug prevention…which falls back in line with “overall comfort”
So I guess there was really just one objective:
Comfort.
So, Tyvek. Because, yes, it could create a little hidey-hole between the wood and the insulation for some enterprising critters, but it could also protect the wood from any moisture that might sneak its way through. Moths and stink bugs beat out termites as being the lesser terrifying irritating of the bugs, so Tyvek wins.
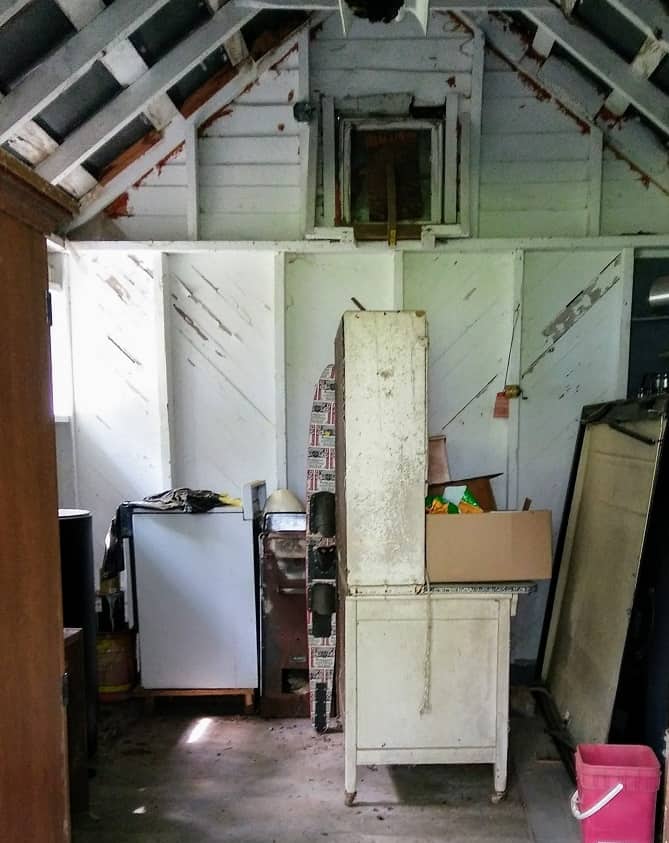
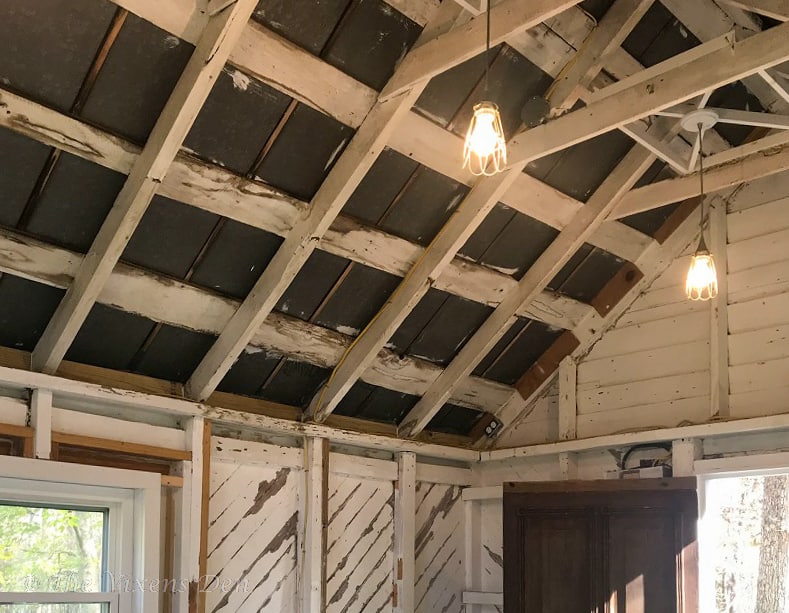
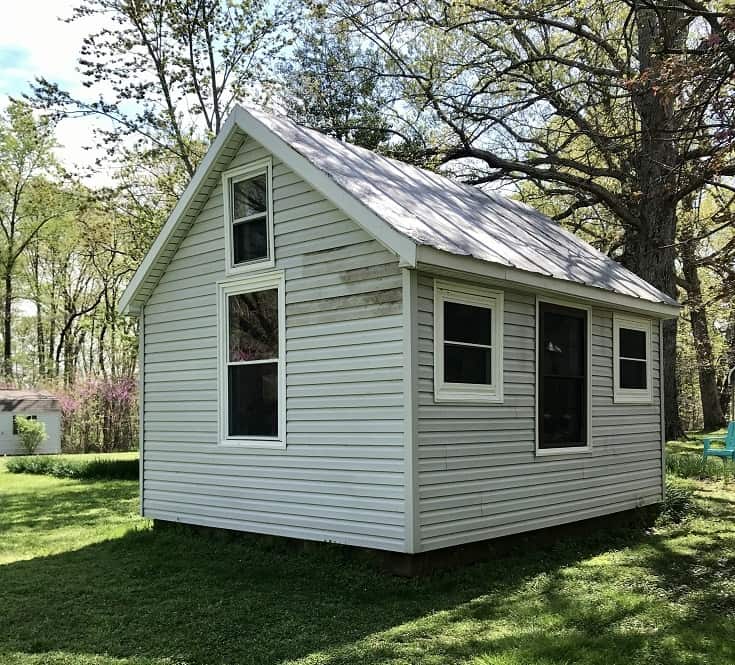
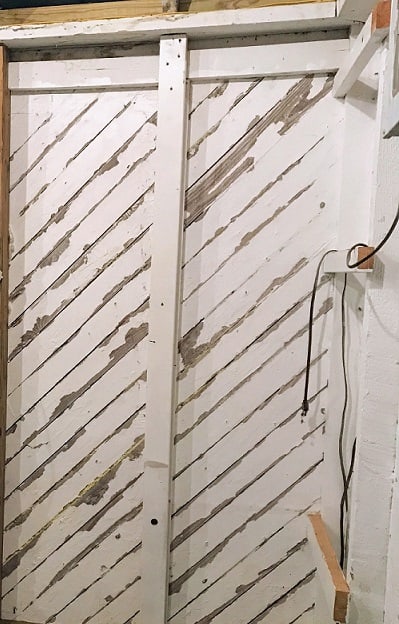
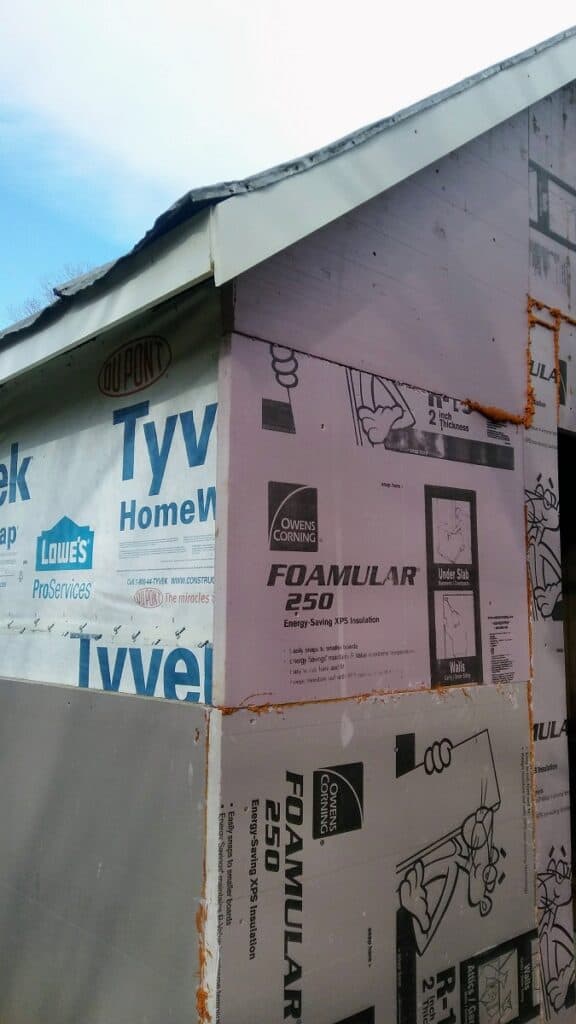
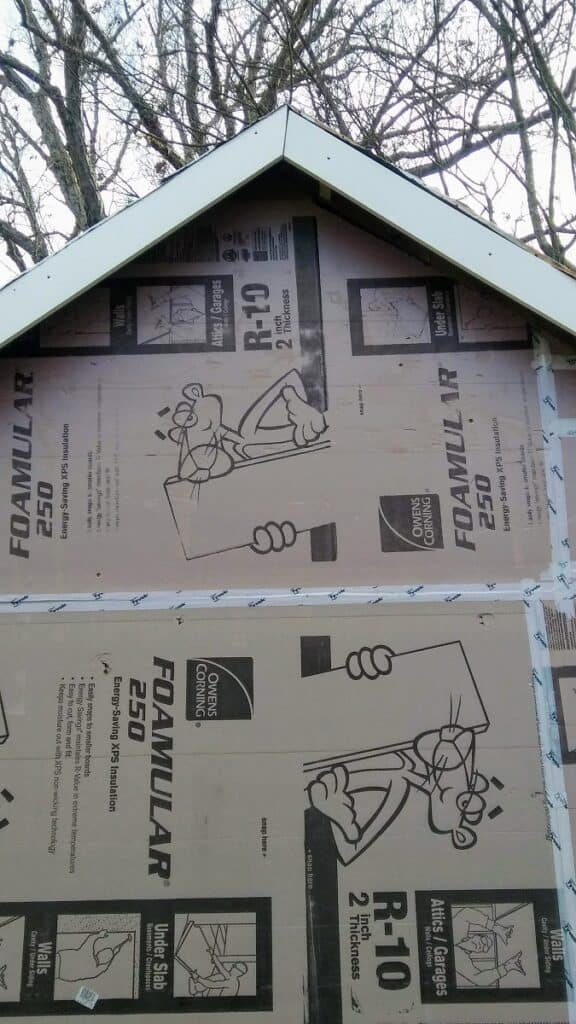
The plan is to use this building regardless of the season, so it still needed insulating. Have you ever worked with fiberglass insulation? The bats of pink itchiness designed solely to worm their way through your clothing and into every conceivable crevice? I don’t know about you, but I always end up looking like I have a case of mange by the time I’m finished installing that stuff. When it was time to decide on the product and method of insulating the she-shed, I knew that fiberglass batting was out. Thank goodness! I was determined to preserve the gorgeous slatted walls. So, the only option was exterior insulation. Isn’t it pretty in Foamular pink?
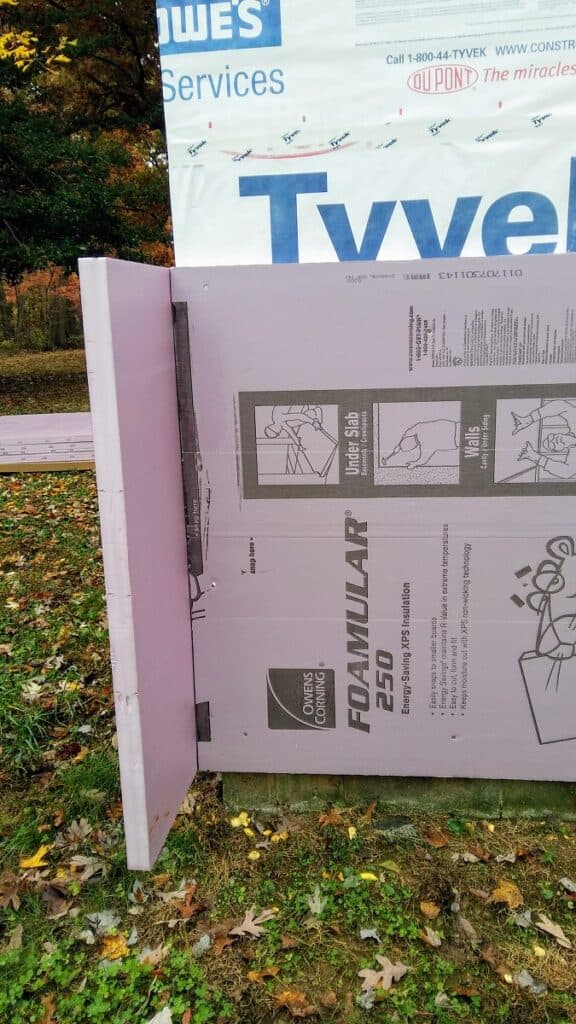
The foam is super light and installed best for me with pan-headed screws. I tried using the recommended roofing nails first but the original wood is so “hard-as-woodpecker-lips” seasoned that a lot of the nails bounced back or just refused to drive into the wood (hence all of the dents and divots). The holes that I was creating in the foam trying to install it was defeating the goal of insulation and bug prevention. Pan head screws worked much more easily with less damage to the foam. They were also considerably more expensive, but I felt the easier installation and reduced chance that I would have to start gluing foam together in one giant modern-art project, far outweighed the cost.
I alternated between using the score and snap method and a drywall saw (which resulted in pink foam glitter scattered all over the world.) The score and snap method works best, but there were times where I needed to make adjustments after the fact and a drywall saw was the only option.
After installing it, I went back over the seams with Tyvek tape and spray foam in any large gaps. I seem to either over-build or barely build, no in-between for this girl!
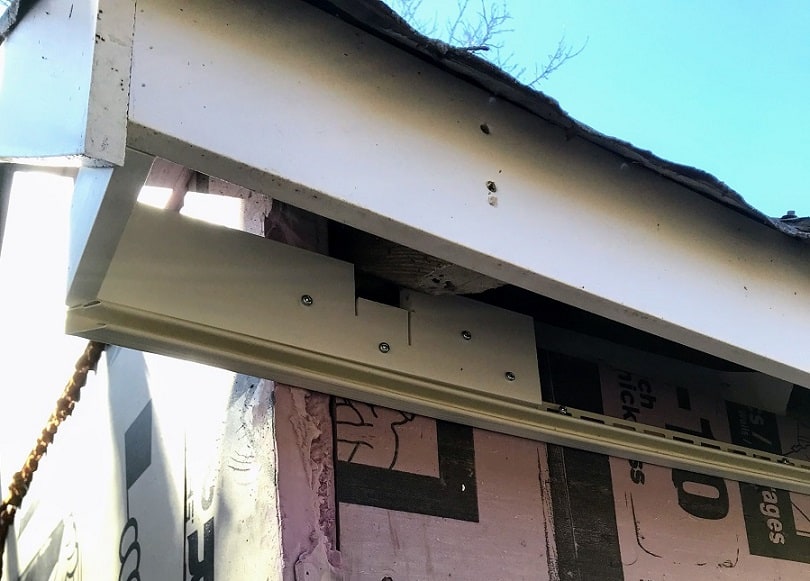
Speaking of over-building, once the insulation was installed, I began working on the next layer of critter control. I was concerned that mice would want to nibble their way up between the insulation and nest between the insulation and exterior wood walls. Research on the internet of things indicated that metal screen was pretty much the only way to keep those tiny little teeth out. However, over time, the screen will rust. And so, I ended up with this:
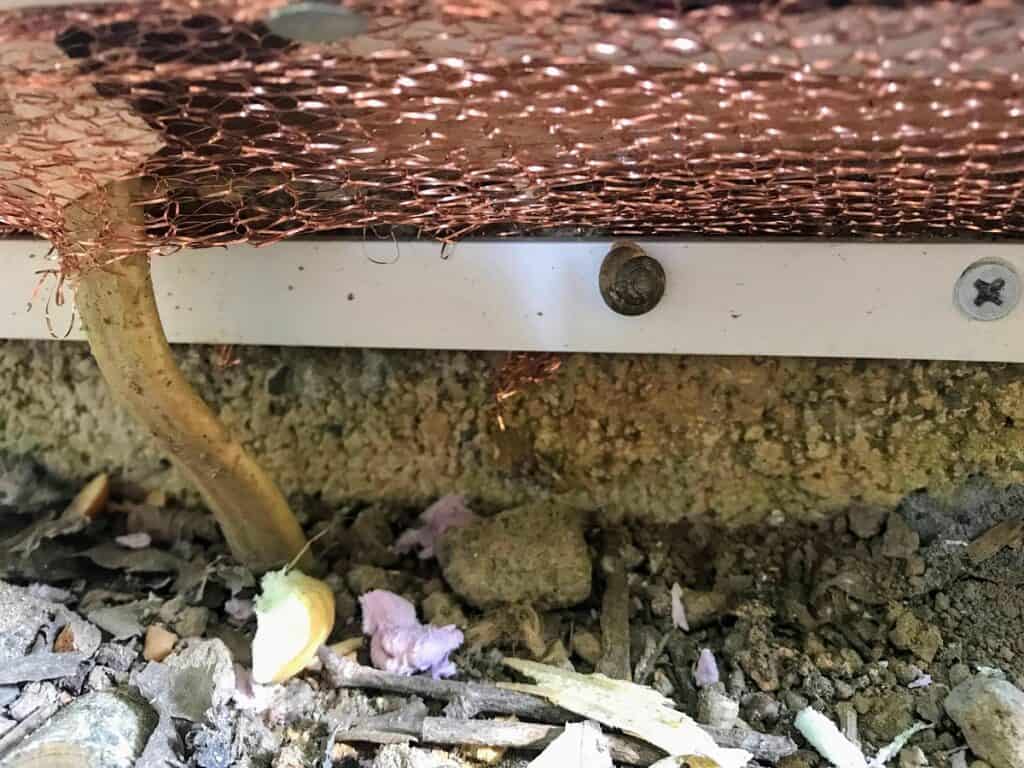
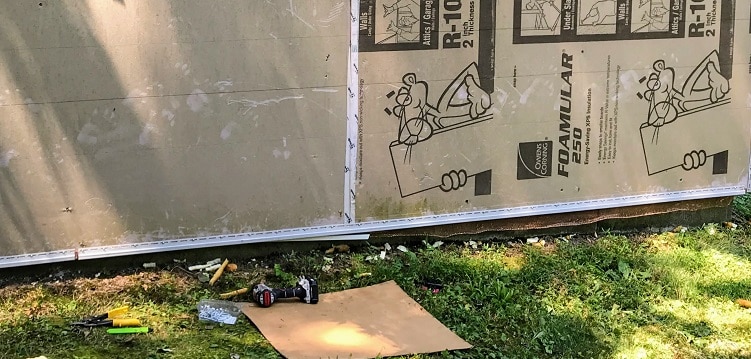
I stretched copper mesh along the underside of the foam insulation and fastened it to the concrete with plastic trim and concrete screws. While it won’t keep out the teeny tiny bugs, you can see that the poor snail in the picture above is trying to figure out what’s happening to his little world. The mesh is then attached to the bottom of the foam insulation using vinyl siding starter strips.
I am much more confident that the foam insulation and exterior wood walls are now protected from critters and the elements. Next up: seal up the spaces between the roofline and the sides of the building. But first, I think it’s time to install some windows. That should be easier….right?
I’m sure there are some gaps in my plan, though, so I would love to hear the ideas you have to help keep the bugs, mice, and cold out of my little she-shed. Leave your comments below and sign up so that we can stay in touch.