She-Shed Take 12: The Big Makeover Reveal
A long, long time ago, (four years, to be precise) when this project first started, I had a vision. It wasn’t of sugarplums. It was a vision of a bright and airy, happy place where I could create without restrictions. I could soak in the sunshine and watch the birds flitter and tweet their way through the trees outside my window. I could start furniture makeover projects and leave them in their various stages without being in the way. I could sit and dream while being surrounded by all of the tools of my creative process. And so, The Vixens Den was born.
Welcome to her grand reveal!
The inspiration for this project lay in desperate need:
- I needed my own space.
- I needed room to create without interrupting someone else or being interrupted.
- I needed room to work on projects that require multiple stages, which can’t just be tucked away while they are drying or in mid-process.
- I needed lots of natural light and airflow.
- I needed it to be pretty.
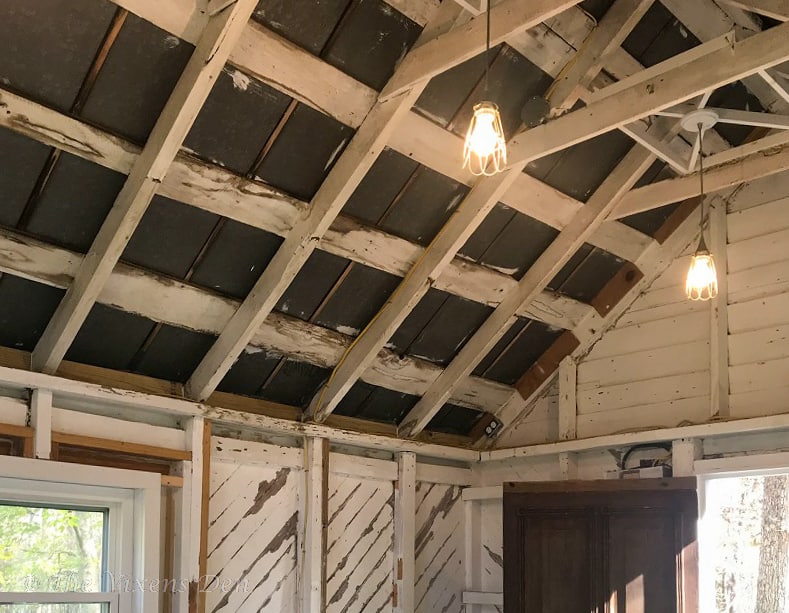
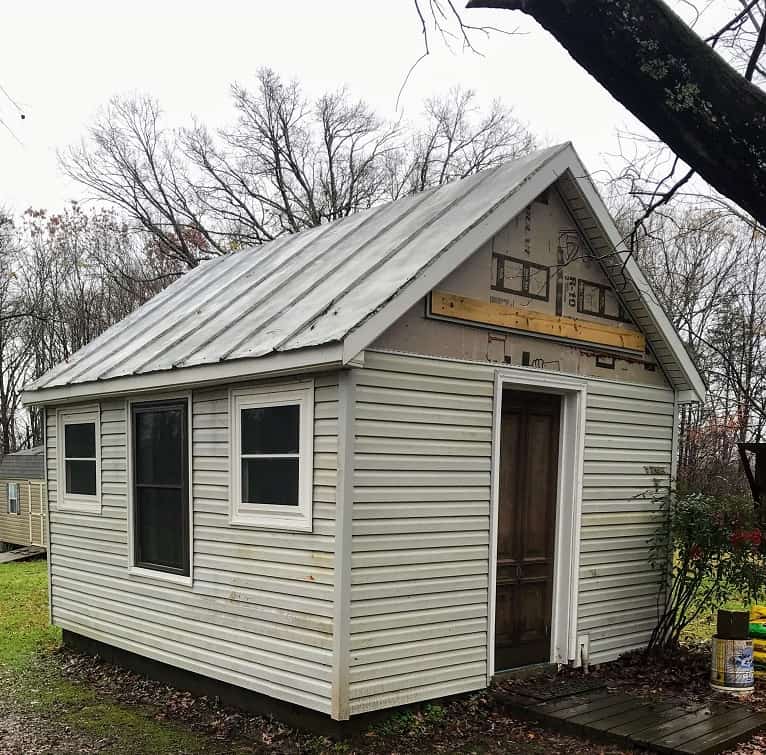
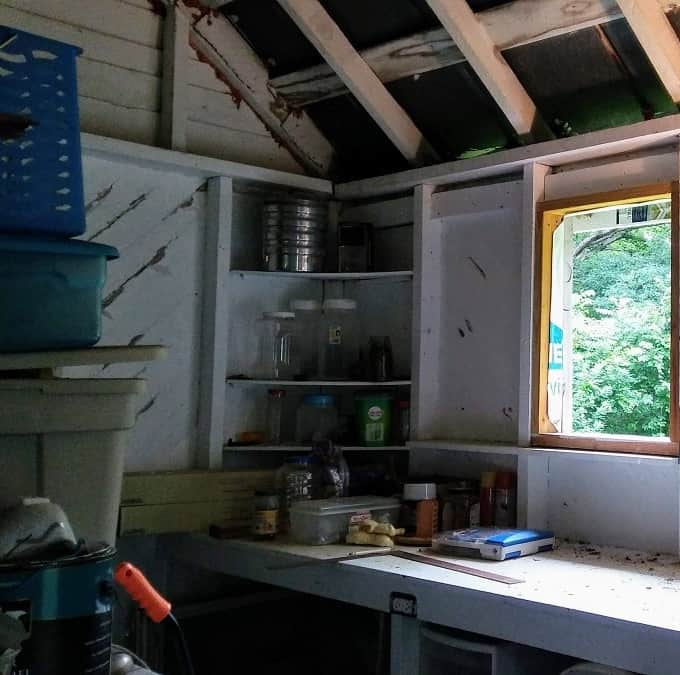
Okay, maybe that last part isn’t really a need, but I definitely wanted it to be pretty! In case you’re new here or just forgot, this is where it all started.
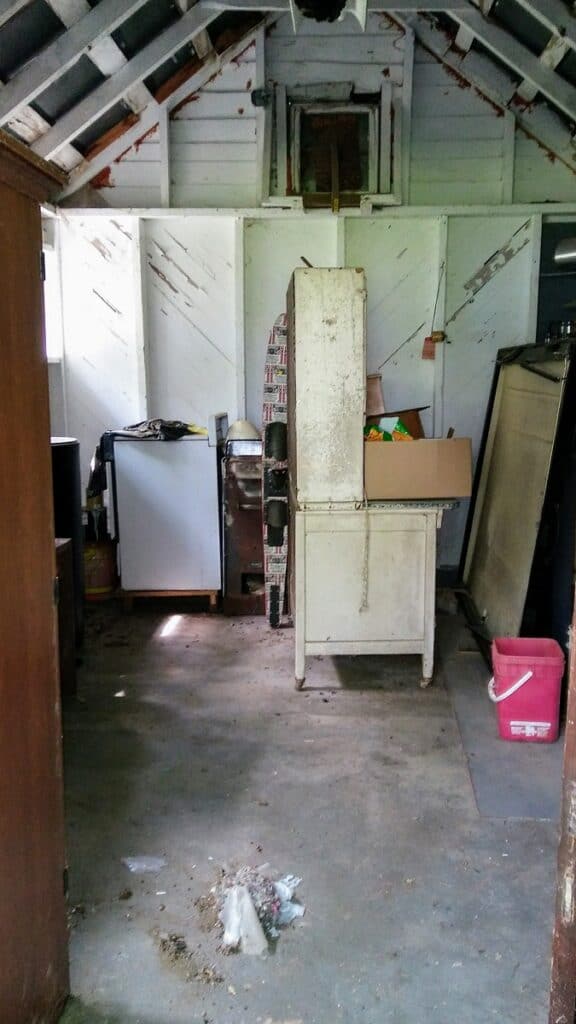
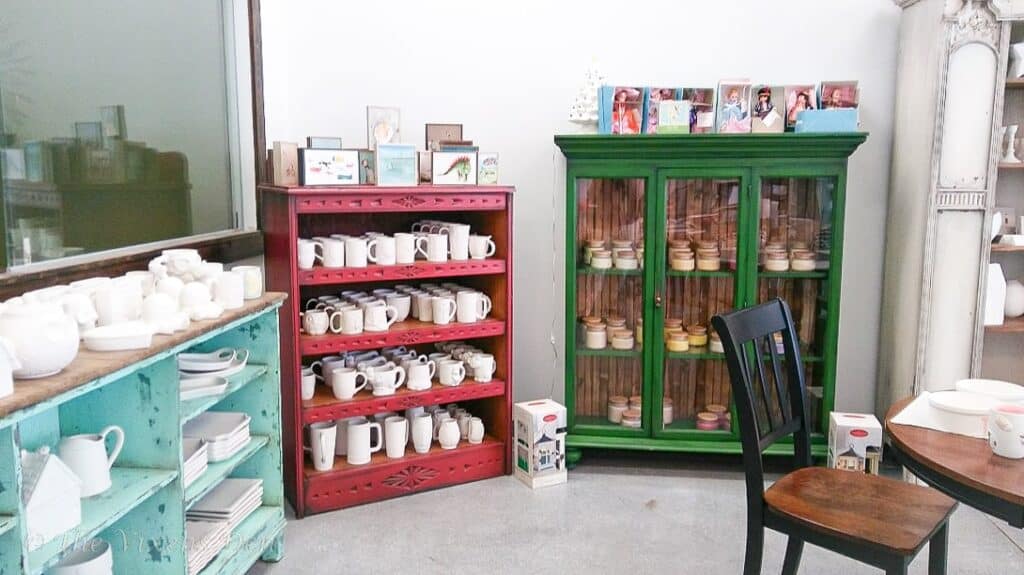
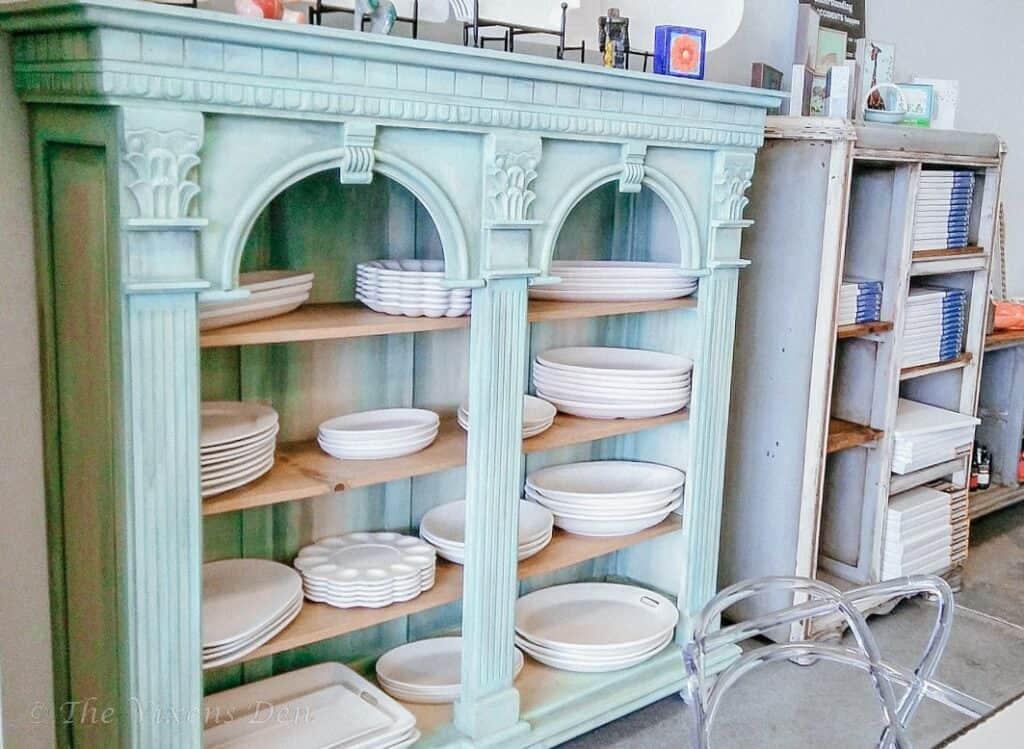
Definitely not very pretty, but with what seemed like good bones. Besides, there were so many sources of pretty creative inspiration all around me, such as this adorable paint-your-own-ceramics shop:
The floor sparkles with glitter! (swoon)
And this incredible studio at the Evergreen Lavender farm:

With these beautiful inspirational spaces, plus my Pinterest board, to guide me along the way, I knew it could be amazing!
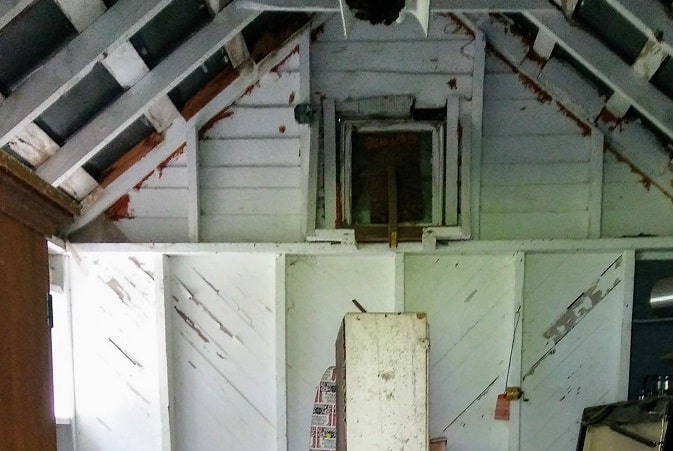
And then reality kept stepping in.
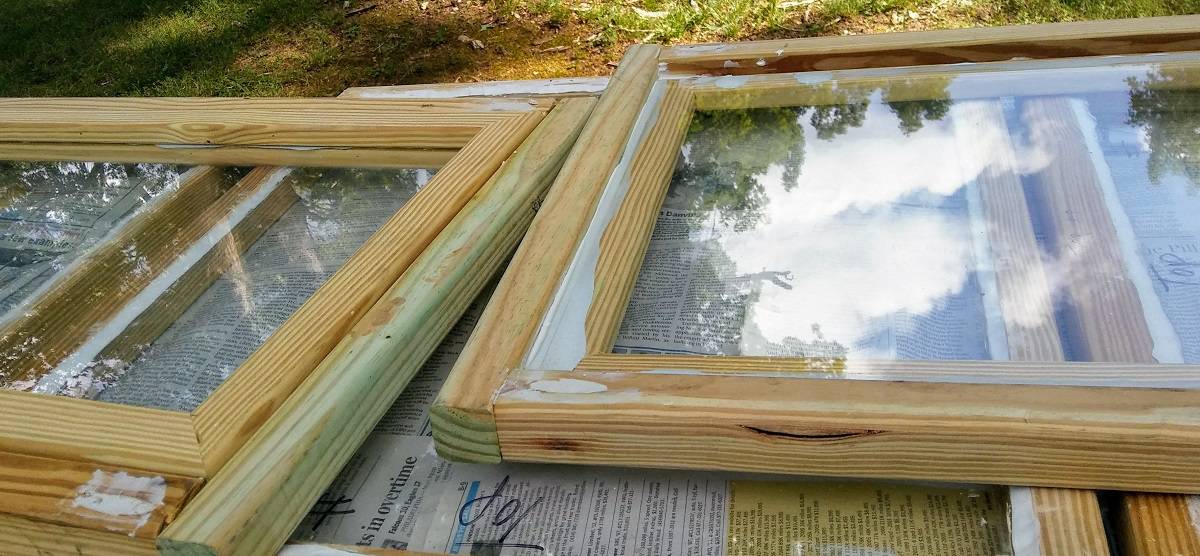
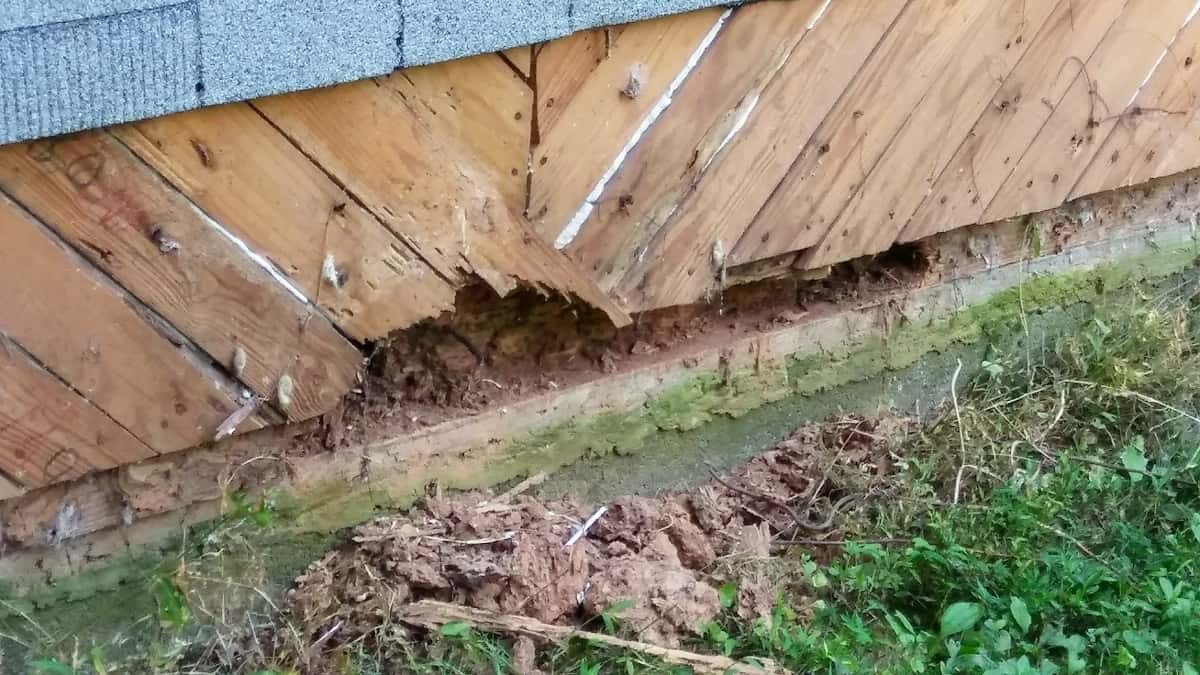
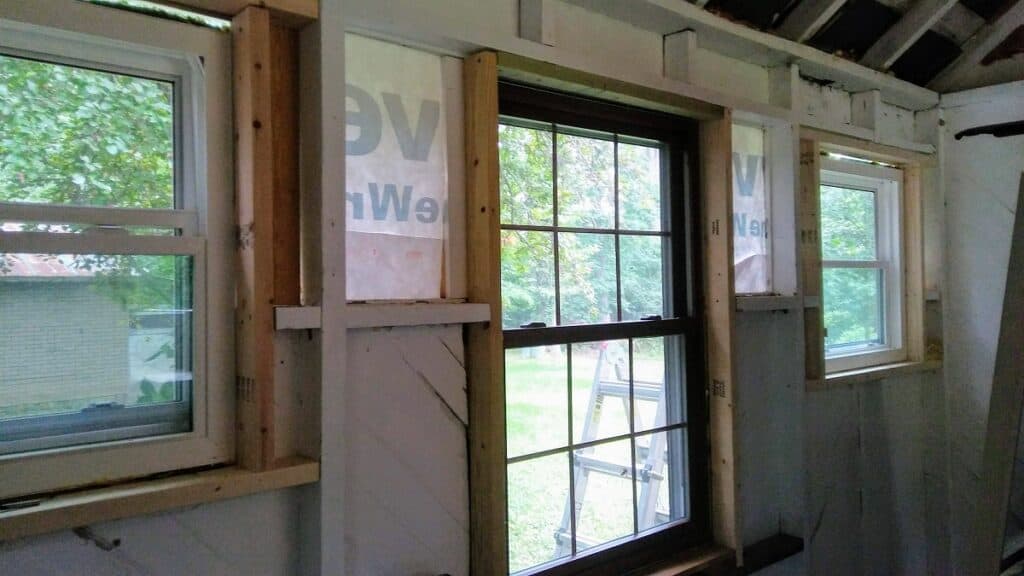
First, with the realization that there was termite damage to the structure and this was going to take MUCH longer than expected. And then with the windows, where I flipped a complete 180 in midstream of the process.
There were times when it felt like the project would never end.
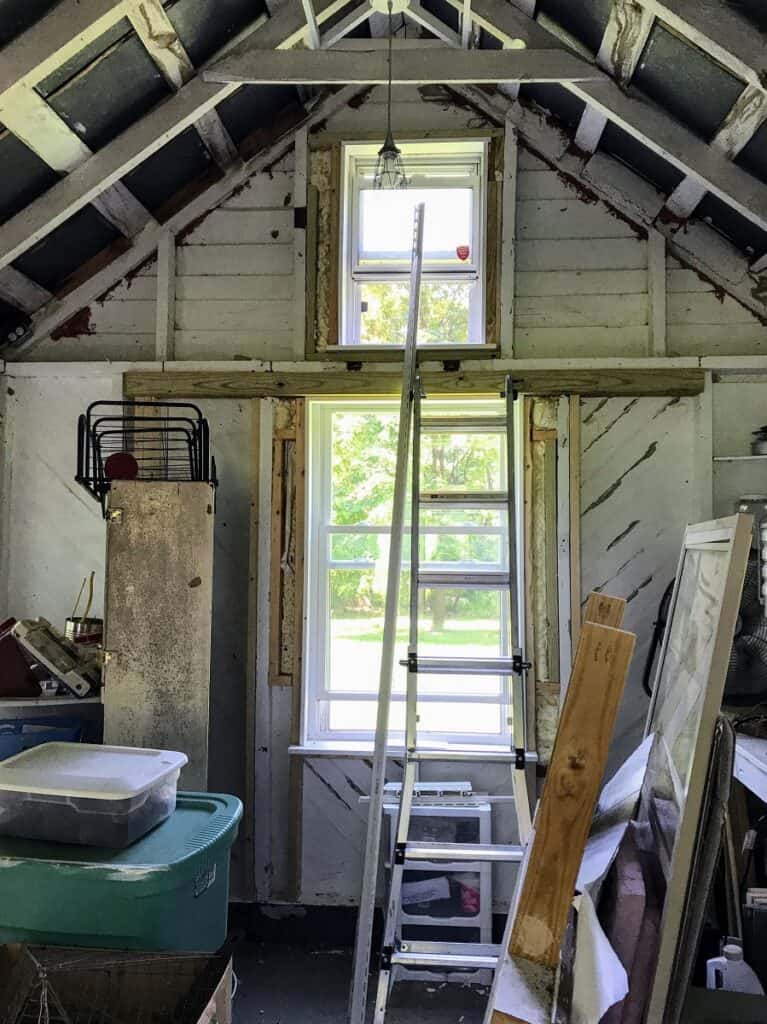
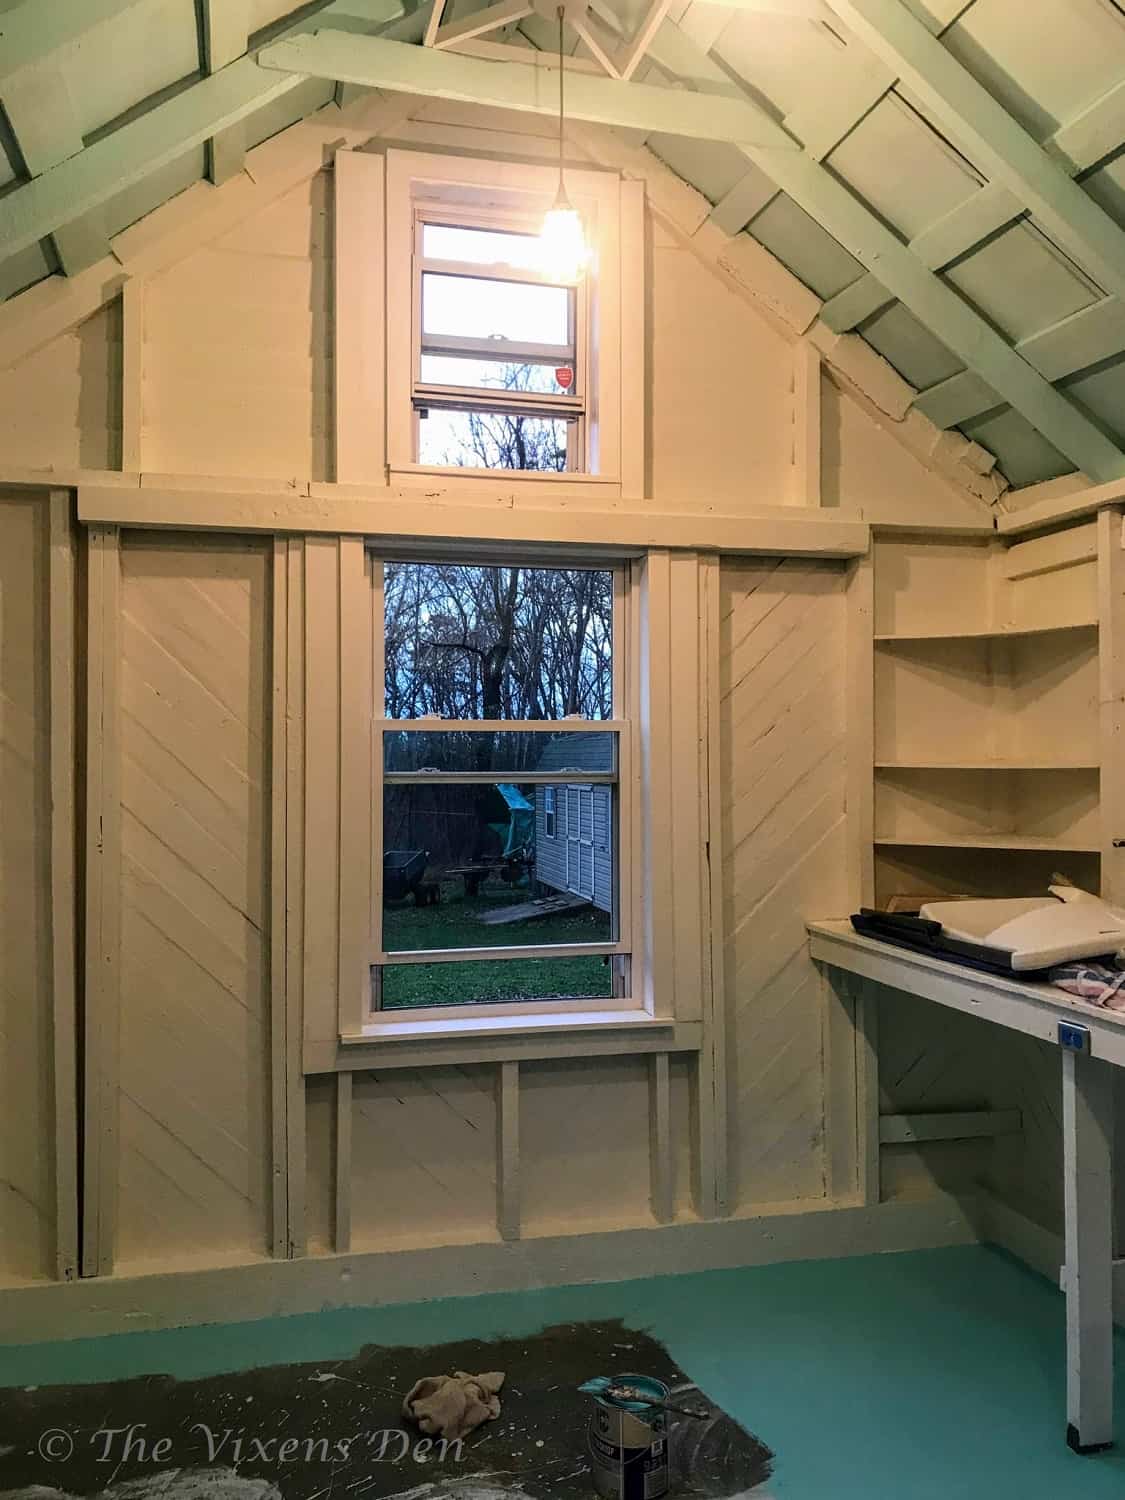
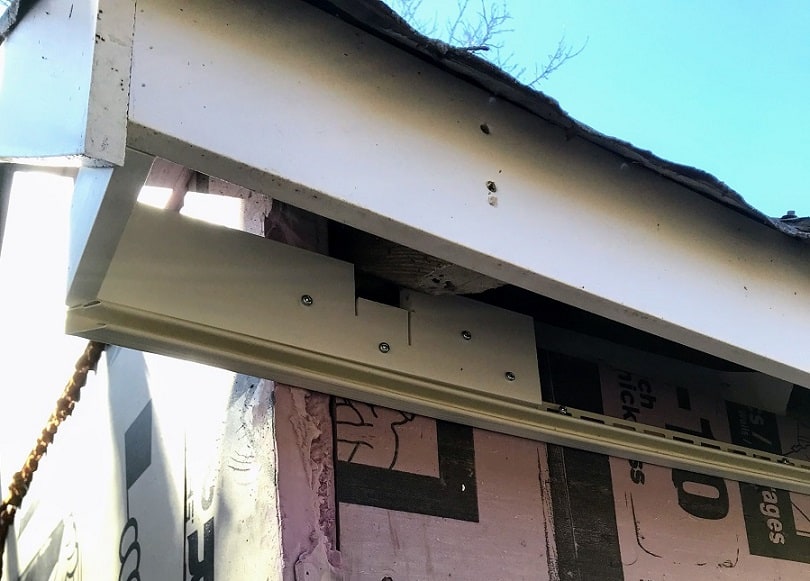
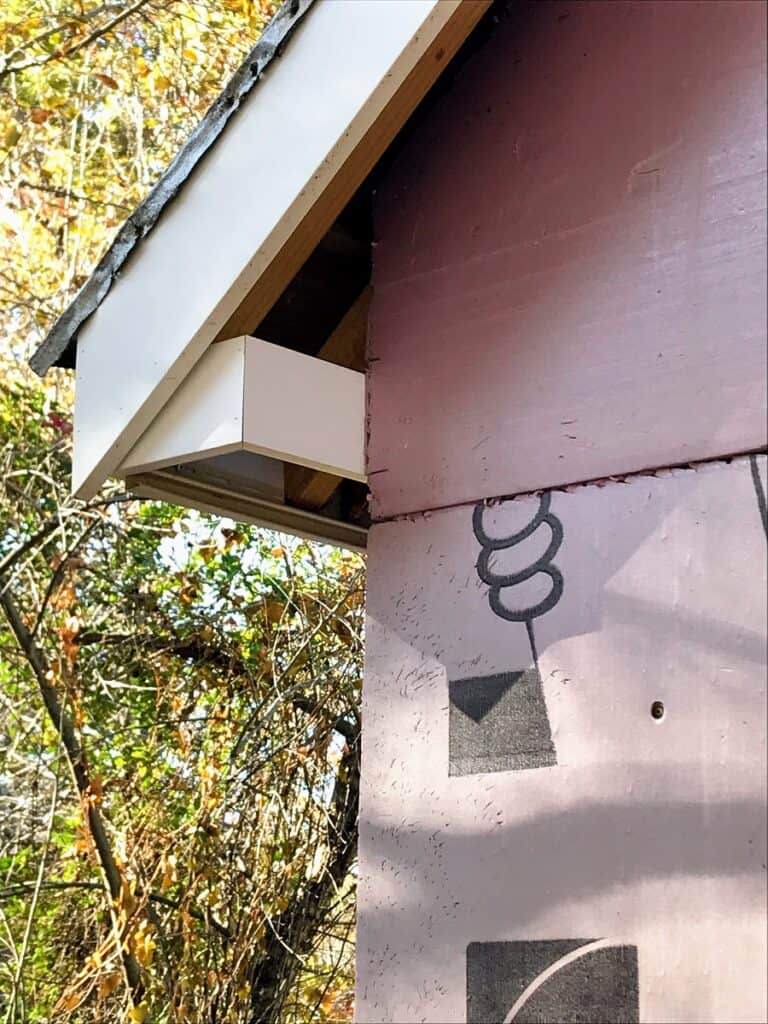
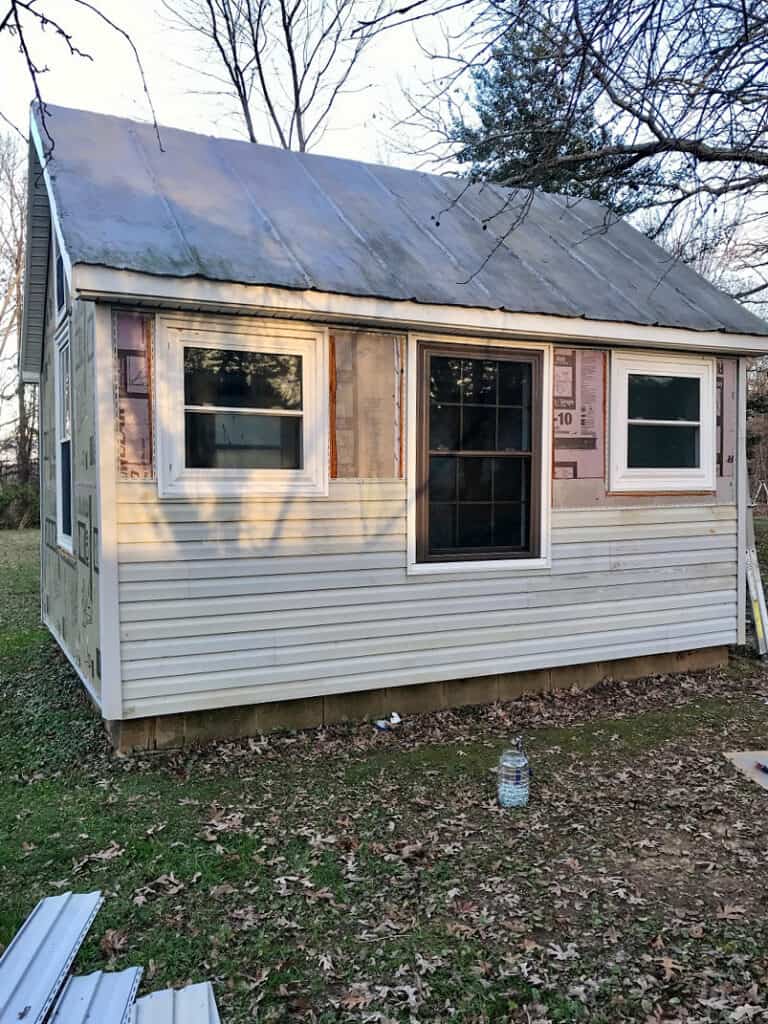
But I kept plugging along, until one day there were birdboxes on the overhangs, vinyl on the side, brand new DIY farmhouse lighting, and we were finally, FINALLY, ready to start painting.
But even the paint selections were a journey all their own.
I knew I wanted a blue-green color palette, reminiscent of the ocean. And I knew I wanted it to be bright.
I spent so many hours on the Sherwin Williams website and in the store, picking out color chips, and comparing and contrasting tones and undertones. There were so many options that it was a little overwhelming.
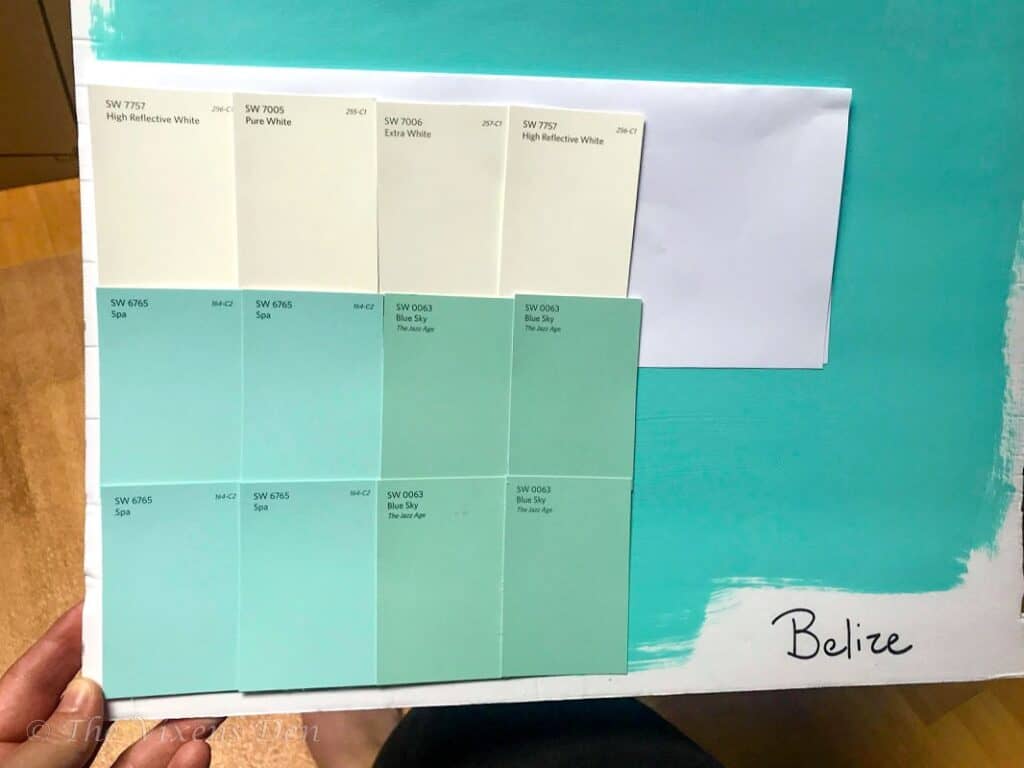
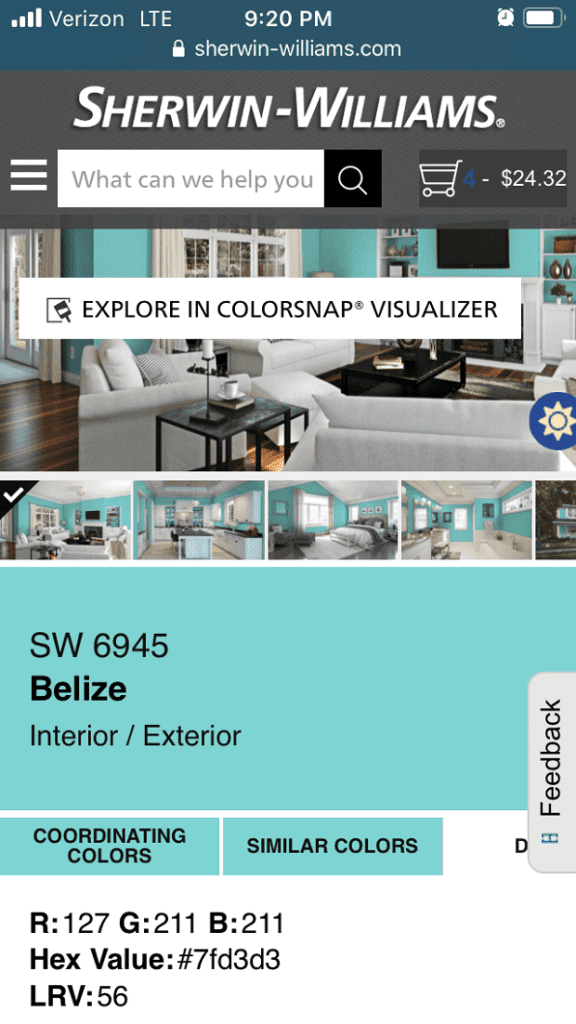
I had pretty much settled on Sherwin Williams Belize for the floor, but I just wasn’t sure of what other colors I wanted.
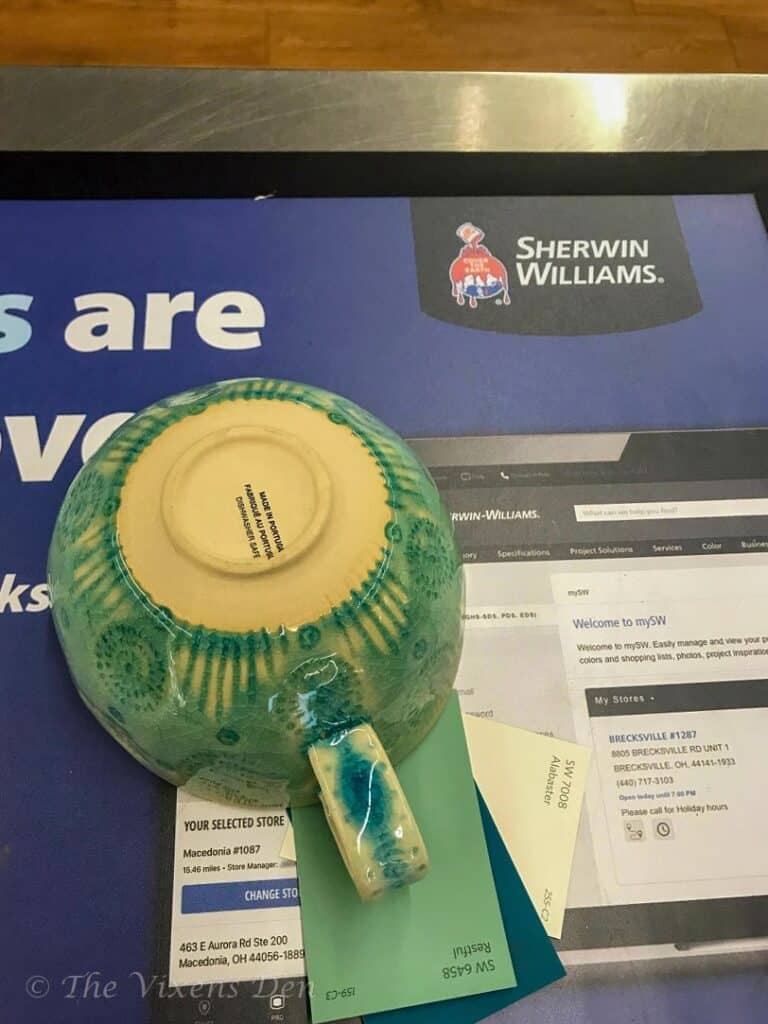
And then, everything fell into place when I stumbled across this guy in the local Goodwill store (minus the cute little succulent.)
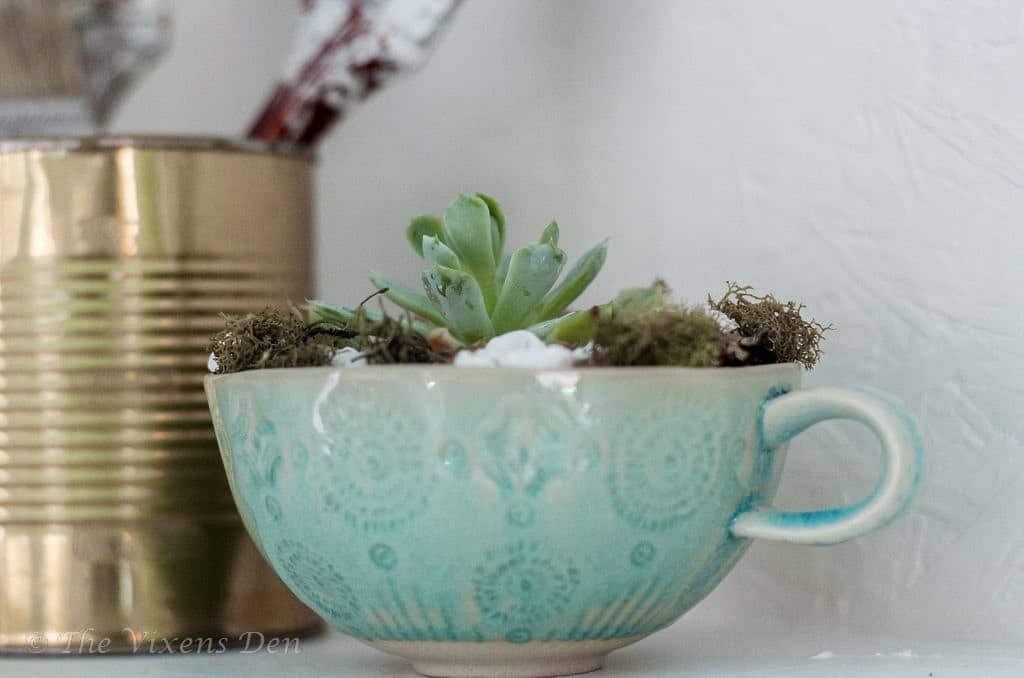
This was it! This was the color scheme that I had been trying to create! I grabbed the cup off the shelf and carried it straight to Sherwin Williams. The store associate helped me use their color match tool to find the closest Sherwin Williams paint color. There are some variations as the tool couldn’t match the glazed look, but I think it did a great job.
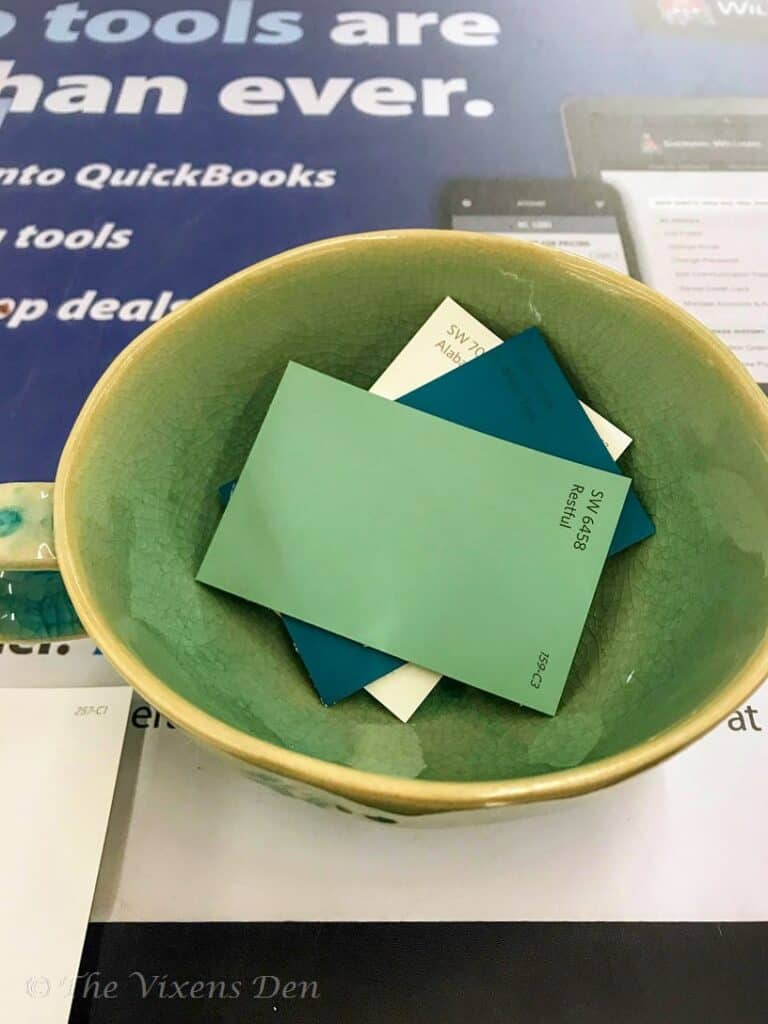
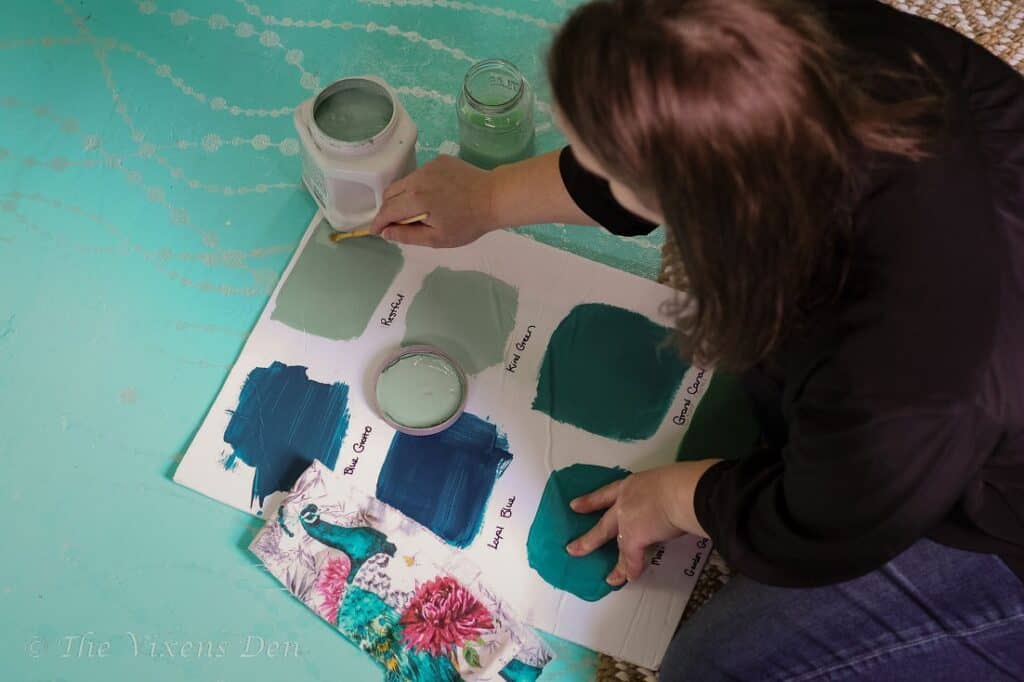
With the new color chips in hand, I was ready for the next step in my color journey. I pulled the chips on either side of the color match suggestions and picked up some paint samples. It was time to refine the color board.
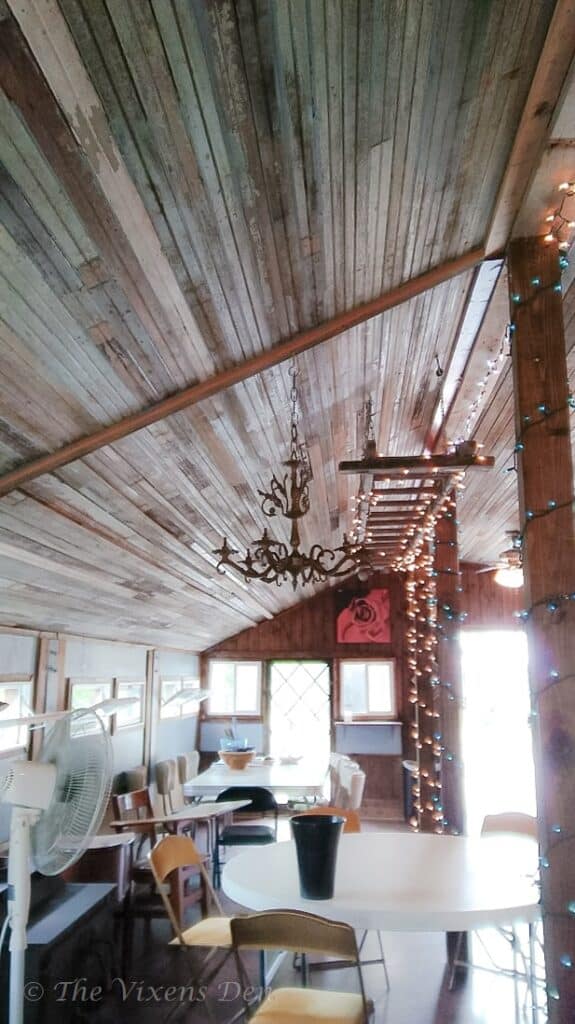
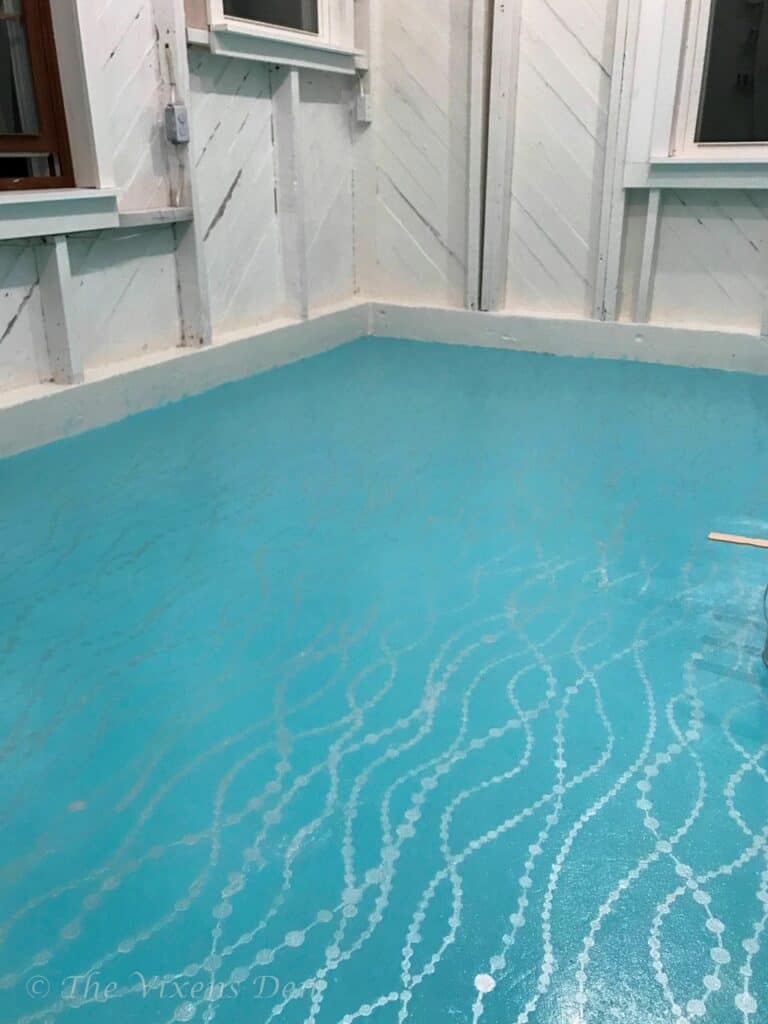
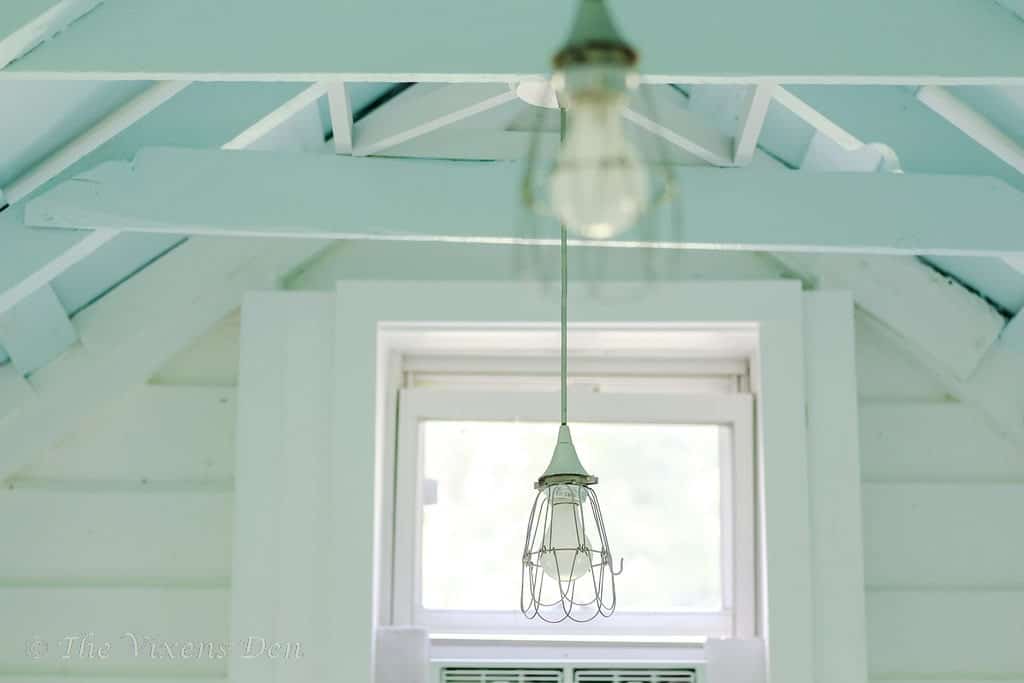
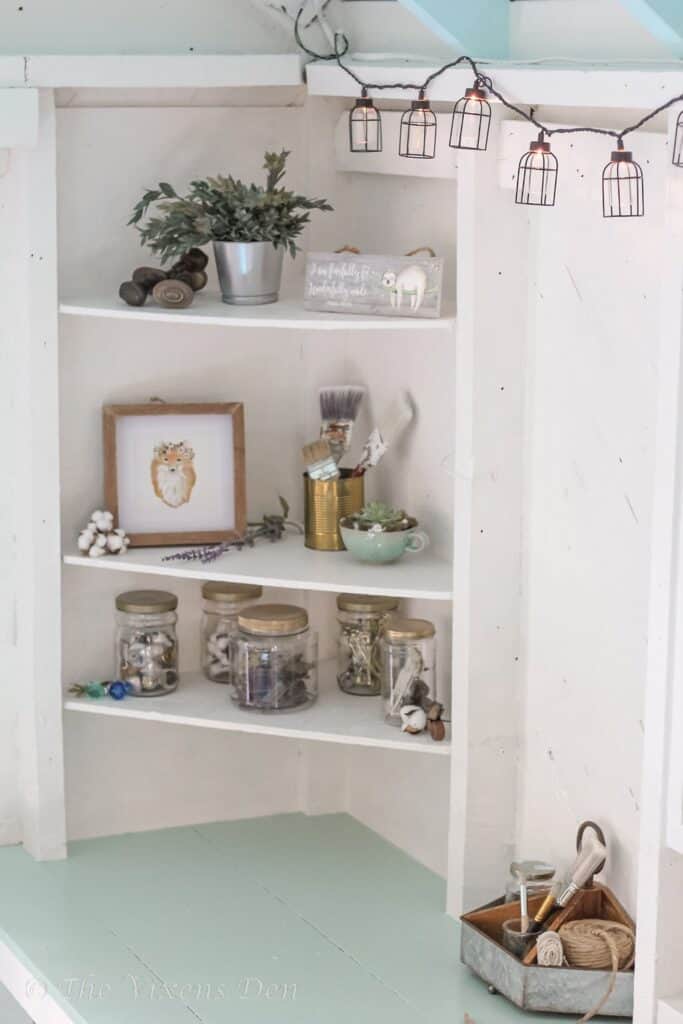
Once the painting was finished and the floor stenciled, the vision was complete.
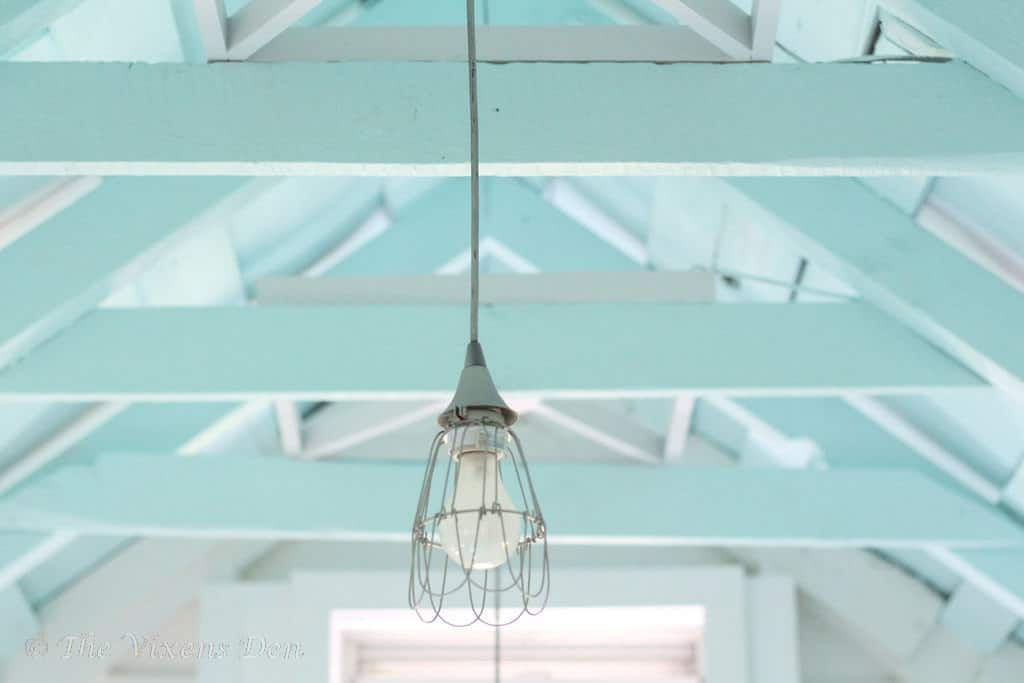
The DIY farmhouse lighting sparkled against a Swimming blue sky.
The shimmering Belize blue floor with stenciled Pearl White strings of pearls begged to be danced on.
The soothing Kind Green workbench against warm, bright Alabaster walls was just waiting for its first makeover project.
It’s definitely been a labor of love, this little she-shed of mine. The vision and the goal never wavered, but they did adjust a little over time. I think every twist and turn along the way was just another reminder that life’s path is rarely straight or easy. But it was worth it.
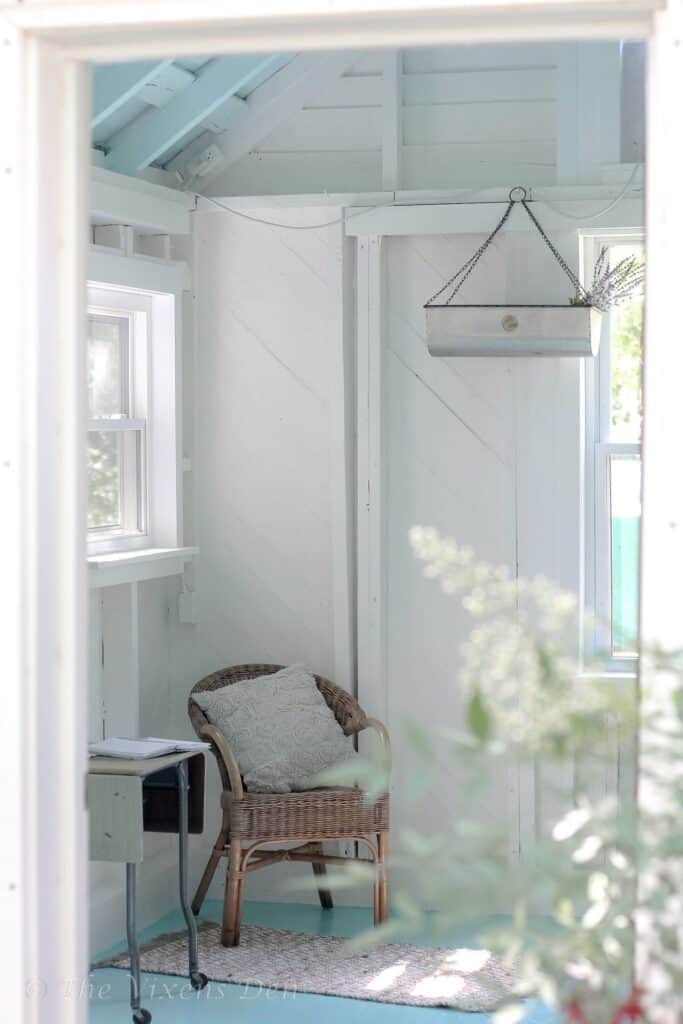
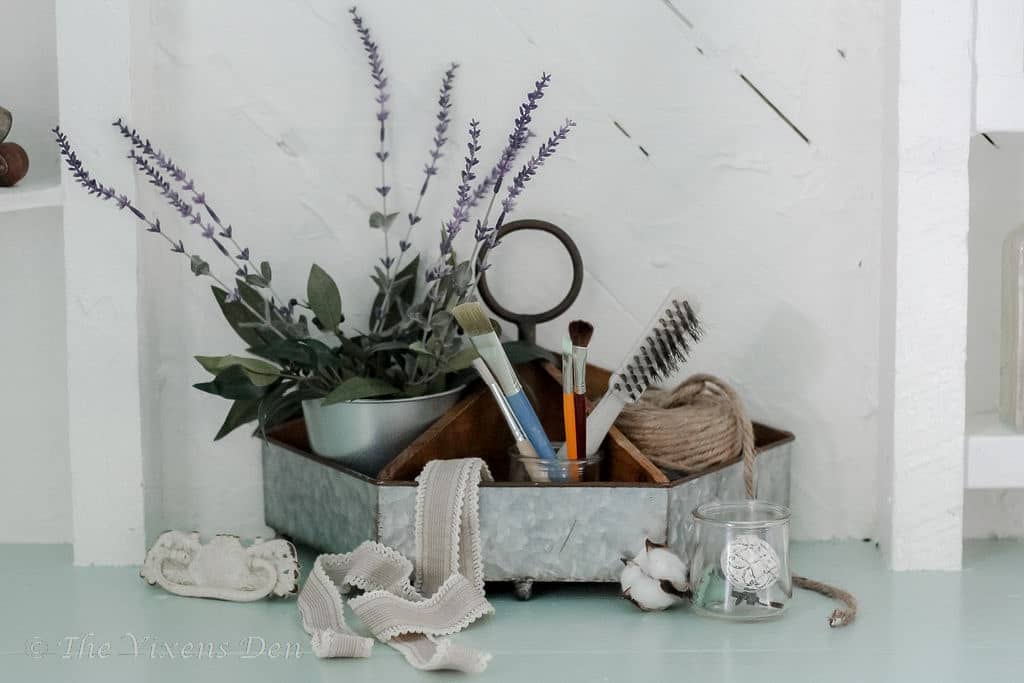
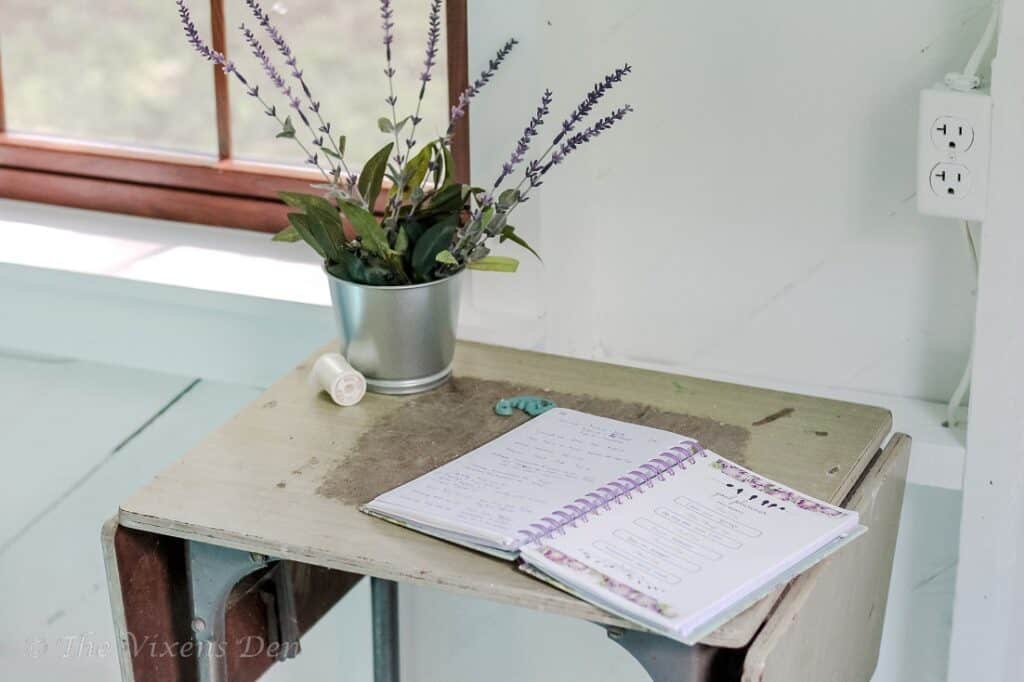
Now, what started as a dark and dreary little storage shed is my favorite spot in the whole world. The corner shelves are lined with little reminders of my favorite people, as well as the promises of projects to come.

It’s an inspiring place. Where creativity is free to run wild.
There are still more things that need finishing of course. I need to caulk the screw heads on the trim, tidy up those bird box joints and finish trimming them out, and I have plans for a little front porch! The exposed ledger board that you see across the front is in place to support the roof of that porch. It will probably be a year or two from now before I can get started on that, but I’ll update you once we get to that final part of the makeover.
In the meantime, here are a few more before and afters of my adorable little she-shed.
What do you think? Would you have believed that the dark and gloomy shop that we started with could have transformed into such a happy little she-shed?
Huge thanks go out to my sweet photographer, Samantha at Samantha Woodford Photography! She’s so much fun to work with and has a natural ability to reveal the beautiful side of everything. Check out her website and follow her on Instagram!
If you enjoy these kinds of transformations then subscribe to my email list so you can be notified when I post new fun makeovers. Until then, if you need me you can find me in my she-shed…
P.S. Check out that gorgeous fabric! Isn’t it just stunning? It takes center stage in an upcoming makeover project. So keep an eye out in your inbox!