She-Shed Take 7: Fascia, Soffit and Bird Boxes, oh my!
Have you ever listened to a seasoned professional discussing their job and wondered what in the heck they were talking about? Every field has its own special slang or jargon that only those who are in the know understand. Take “fascia, soffit, and bird boxes” for example; I’m sure every home builder and carpenter knows exactly what those mean. Well, you’re in luck, because today I’m going to share my experience with building bird boxes, fastening fascia, and sliding soffit. In spite of a severe aversion to geometry.
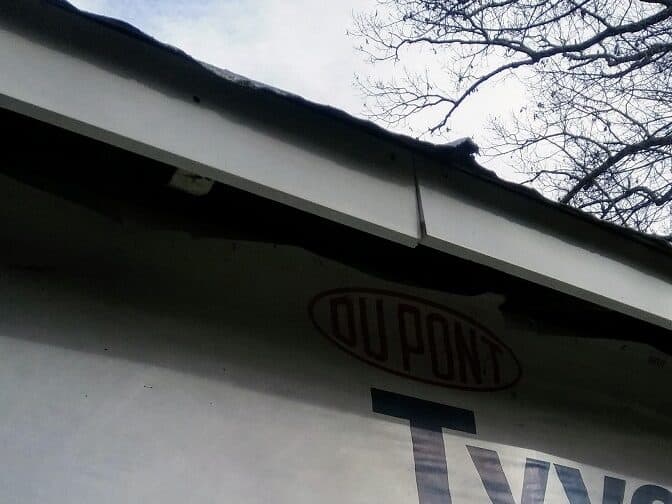
Fascia is the trim that runs along the underside of the roofline. It’s what creates the pretty angles and gives the roof something to rest against, as the fascia connects the ends of the roof supports. Most buildings have fascia made from wood and either painted or wrapped in vinyl to protect them from the elements.
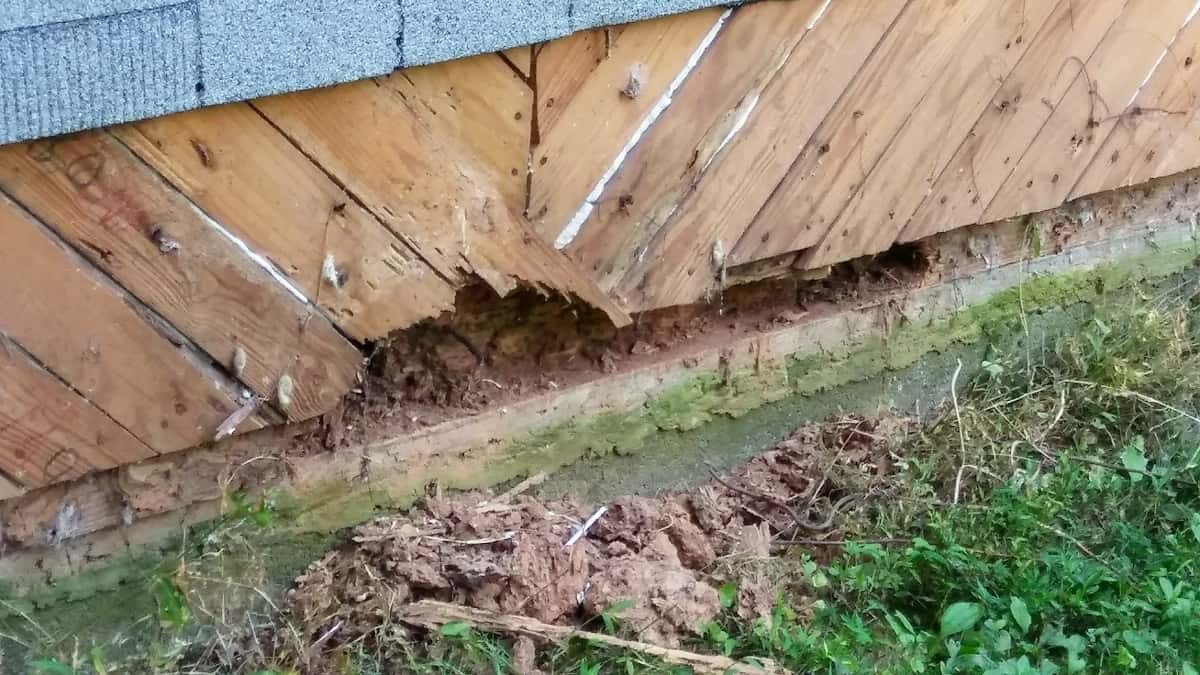
The fascia of my beloved little shop was badly damaged due to not being regularly repainted. The wear and tear of time and the elements, and the fact that it was made from untreated sawmill lumber left it with no special treatments or coatings to protect it. Throw in the termite trauma from the beginning of this little adventure, and there was no way on the face of this planet that I was putting untreated lumber back up for the fascia. But I was also not looking forward to having to paint the fascia every few years. Ugh!

Then I learned about plastic wood. It cuts like wood, it sands like wood, you can paint it, but it doesn’t split, warp or tempt termites. A lightbulb went off. Why install wood that I would have to paint if I could just install plastic wood and NEVER have to touch it again!?! I’m a low-maintenance kind of girl. I plant perennials and shrubs. It’s between God and them as to what happens next. I wanted that same kind of low maintenance for the trim work of the shop. Throw in the fact that I never have to worry about seeing termite damage again, and I was SOLD!
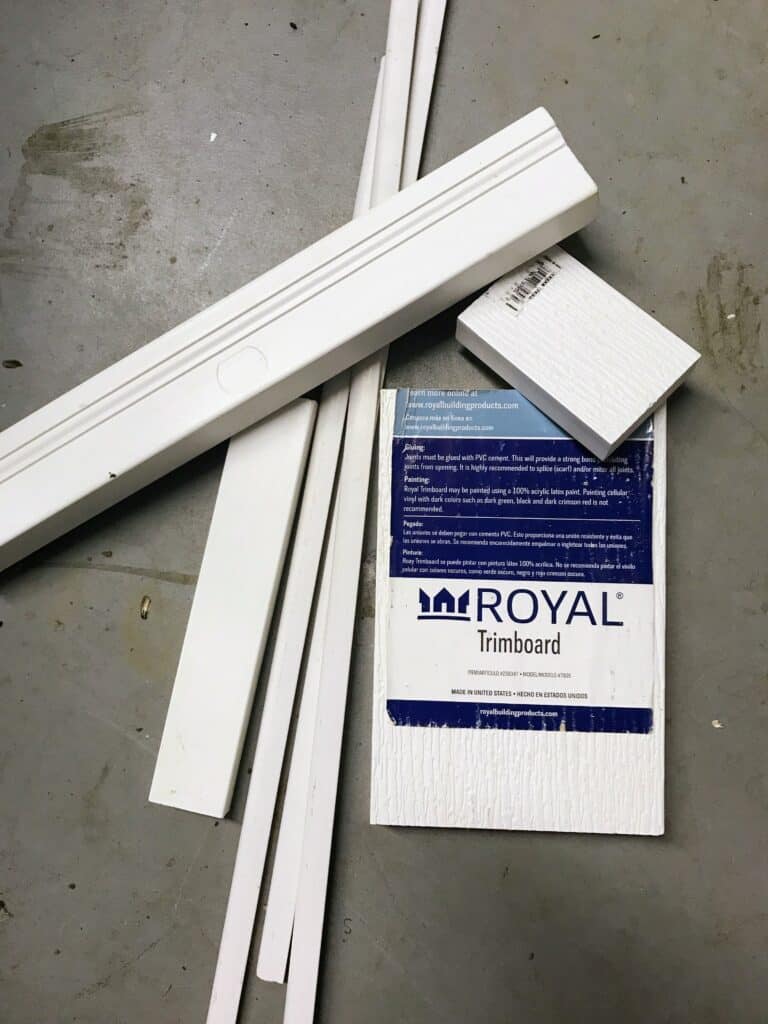
The Royal composite material that I chose is easy to use. It lives up to all the hype and truly does cut and shape just like wood. It is more expensive, but I expect the lack of regular maintenance and worry about termite damage to more than make up for the price. I do recommend that you wear a dust mask when cutting it. The tiny plastic sawdust is a little more difficult to clean up and tends to cling to things even more than wood sawdust. Kind of like polyester clothing that has been dried a little too long in the dryer, or Styrofoam shavings. It clings to everything!
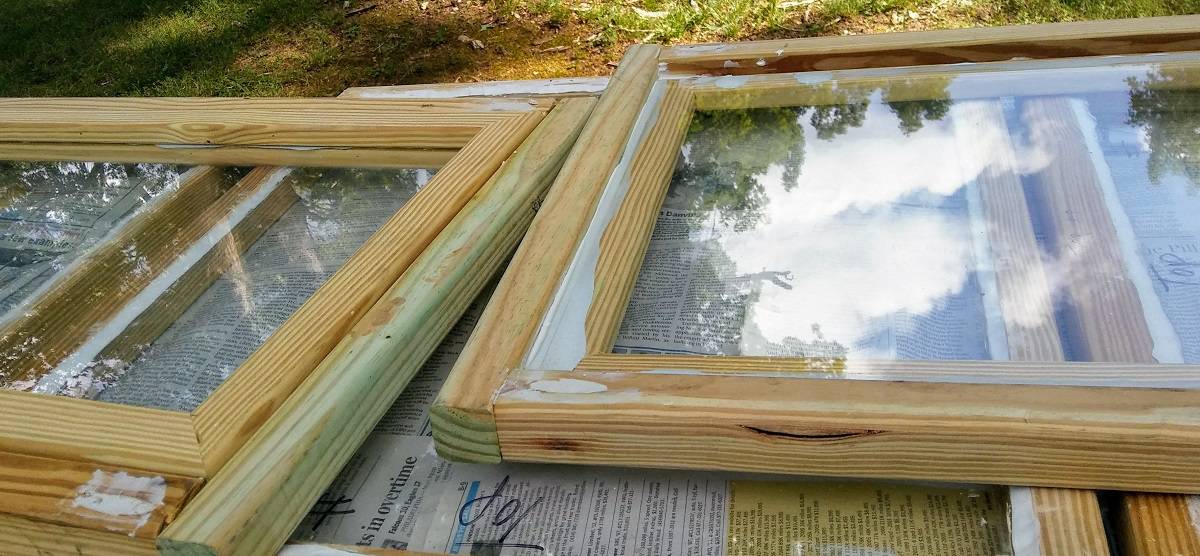
One aspect that I really liked about the Royal composite wood, is that it countersinks easily, so there’s no need to predrill. In fact, be careful because if your drill is set too high, you can push the screw head right through this stuff. And here’s another tip: when you’re joining the ends, use a scarf joint (or angle joint), not a butt joint (flat end to flat end.) Because this is what can happen:
Now we move into bird boxes. (Does the term “bird boxes” sound as funny to you as it did to me when I first heard it? It sounds like something we’re creating for the birds, not to keep them out.)
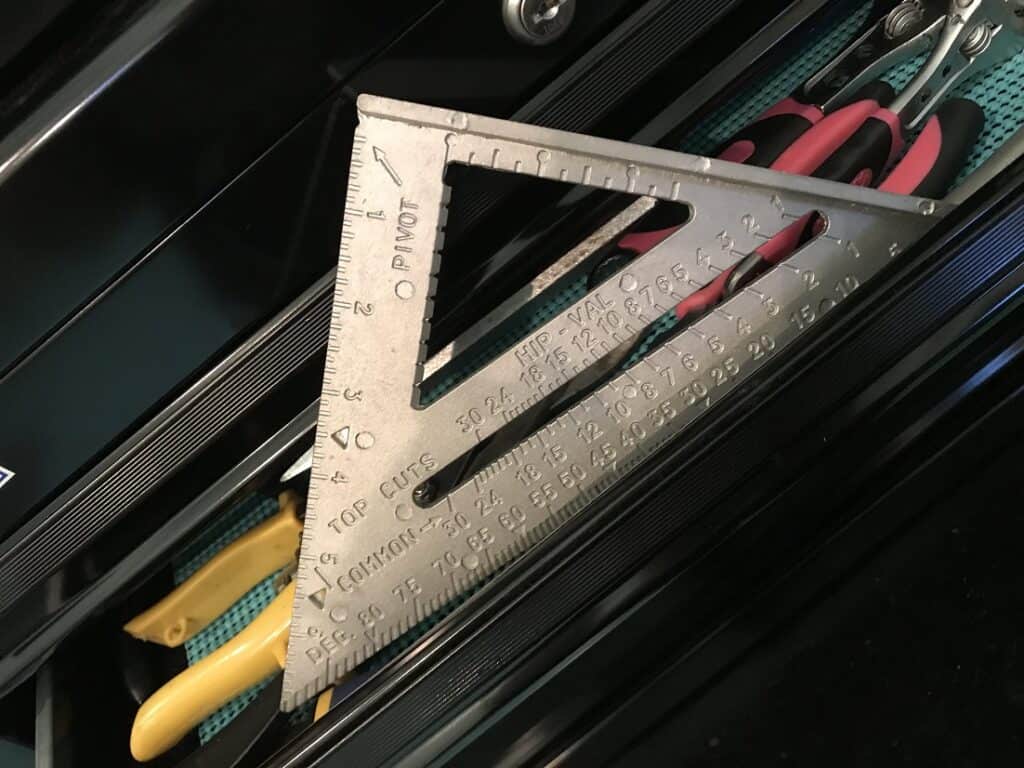
If you’re installing soffit (the sheets of perforated plastic that hang on the underside of the roof to allow air to vent from the inside of the house while keeping out those pesky multi-legged critters) then you have to join the corners where the roof and the sides of a building meet. This is where bird boxes come into play; hanging out in the open so that you can join the ends of the two runs of soffit from the overhangs. Did I mention my hate love for geometry? There was quite a bit of trial and error and remeasuring and recutting, and climbing up and down the ladder, before I finally got these (sort of) right.
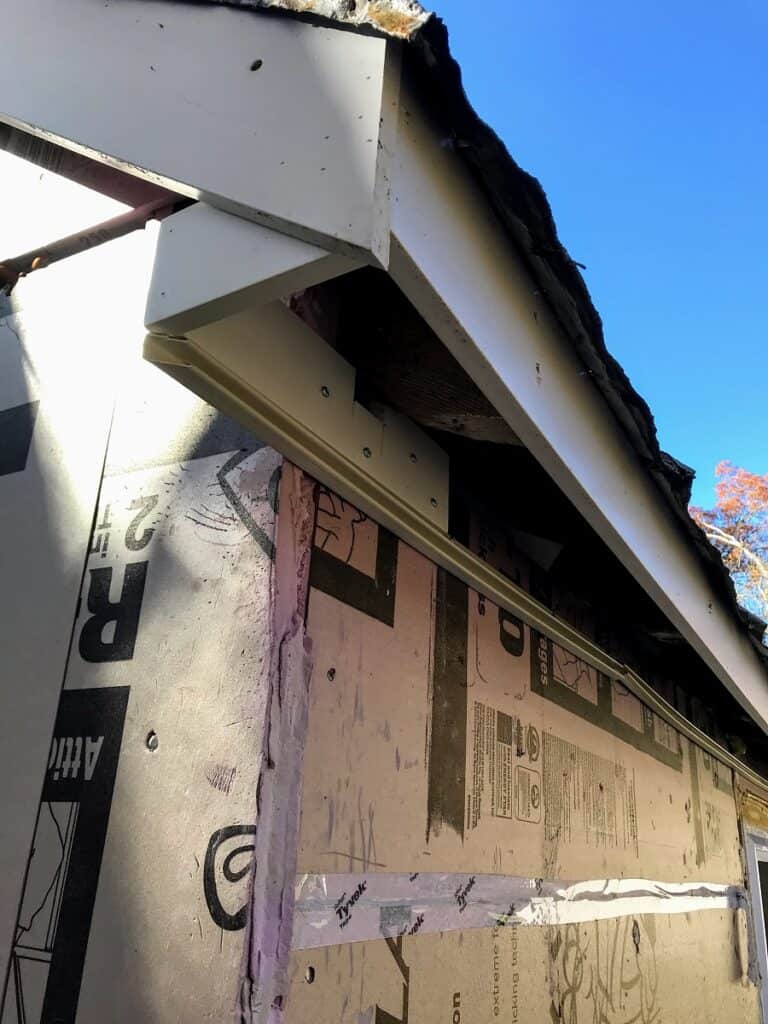
They’re not perfect, and this shed has some quirky little angles that have been an absolute delight to work around (insert sarcasm here.) Once the angles were in place, the bird boxes were easy to mount using the composite wood trim and a combination of screws and my trusty nail gun. The bird boxes and fascia allowed me to install the vinyl F trim. This created a trough that allowed me to slide the soffit into place.
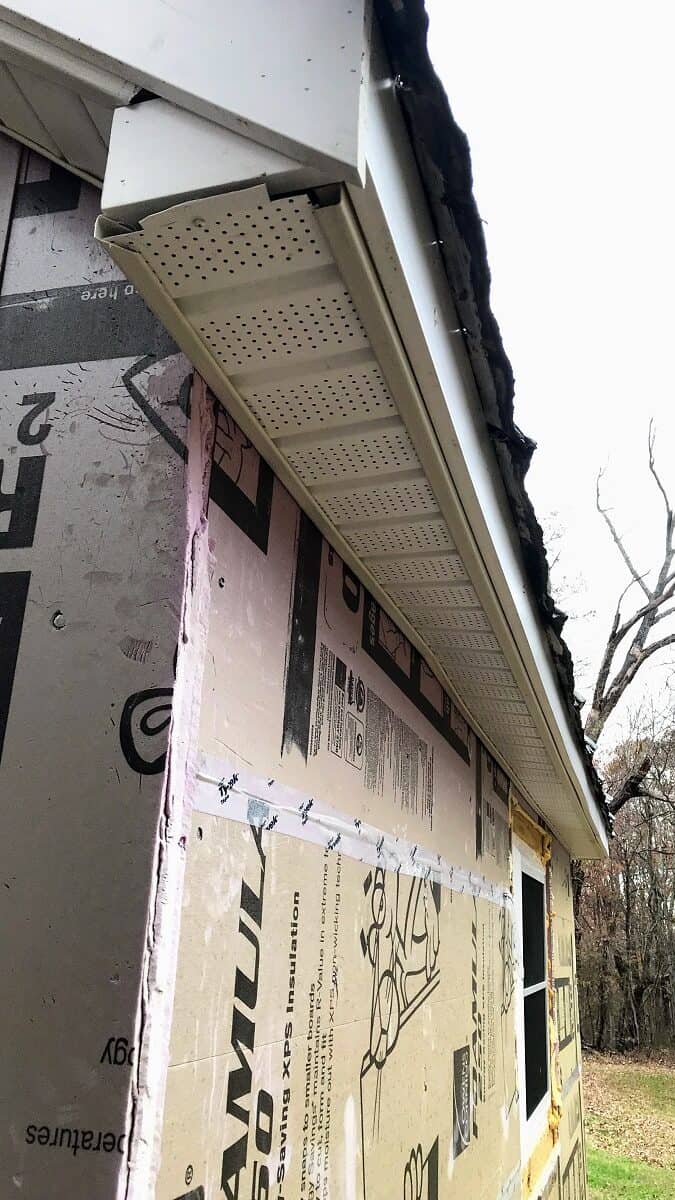
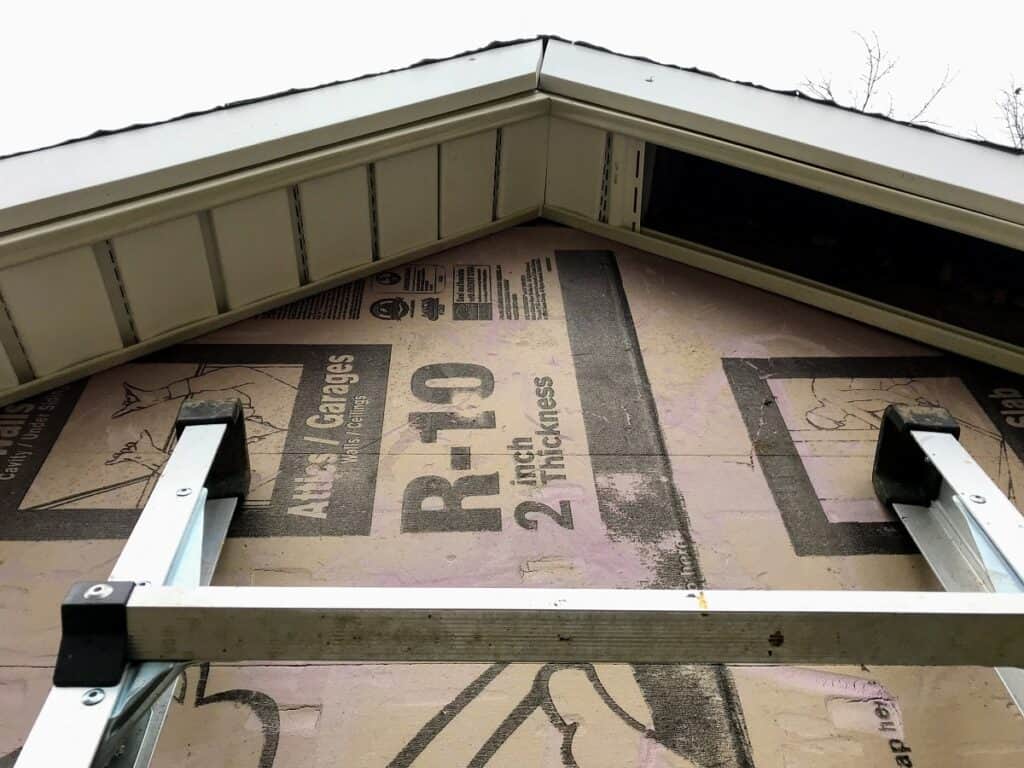
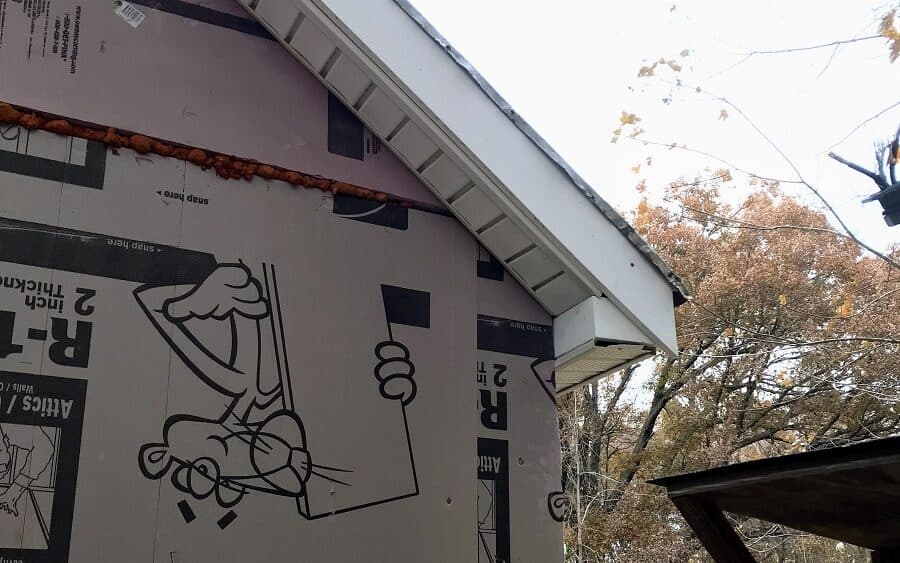
Now, I know what you’re thinking, and you’re right: there are some massive gaps at the end. But you see, I have a plan for those, I just need to finish wrapping up the rest of the vinyl siding first before I clean up all of the rough edges. But before that, here’s another look at the soffit sliding into place.
And here, it all comes together. You only install a screw into the very end of the soffit. It slides along the F trim and hooks together to create one long line of soffit. This allows the building to breathe and heat to escape through the eaves while keeping the creepy crawlies out. Well, after I seal up the edges and corners.
One step closer to vinyl siding!
So, there you have it. You have now added fascia, bird boxes, and soffit to your DIY vocabulary toolbox. By any chance, do you have some good tips for tidying up those rough-looking ends? I’m imagining some creative vinyl and composite woodwork in my future. Sign up below so that you don’t miss out on any of the fun!
[mailerlite_form form_id=1]