Chalk Painted Wood End Table with Rice Decoupage Paper and Scripture Quotes
Are you looking for an easy way to add some pizzazz to a piece of furniture? Look no futher than beautiful rice decoupage paper! It adds texture, color, and a pop of “wow” that is super easy to apply.
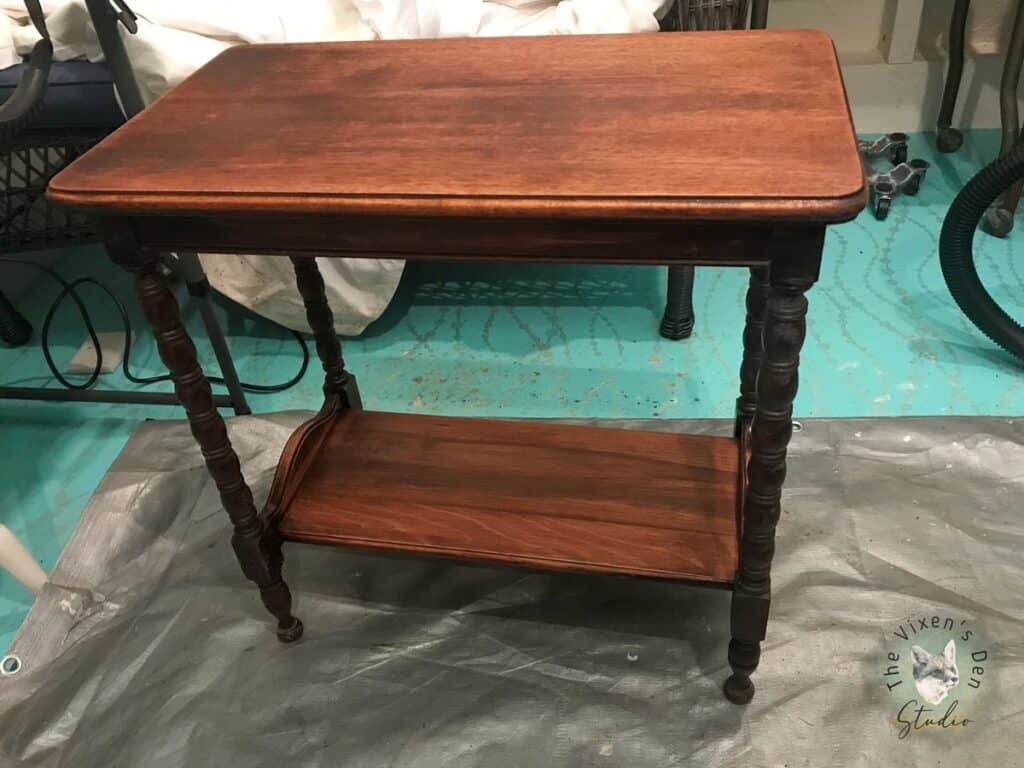
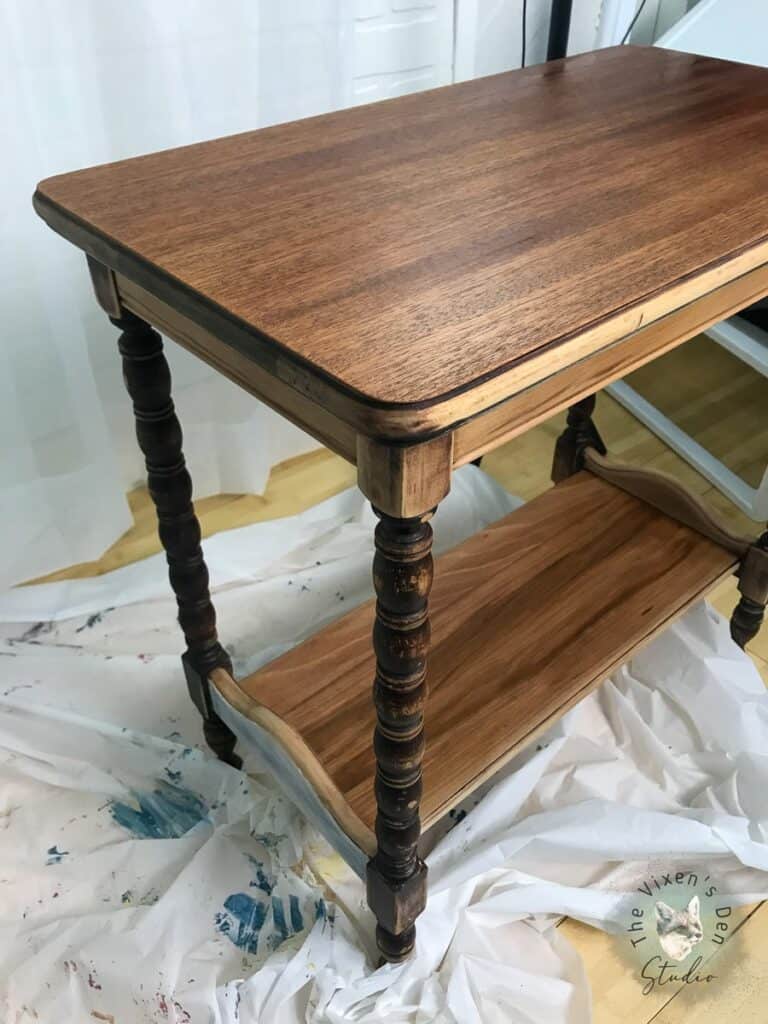
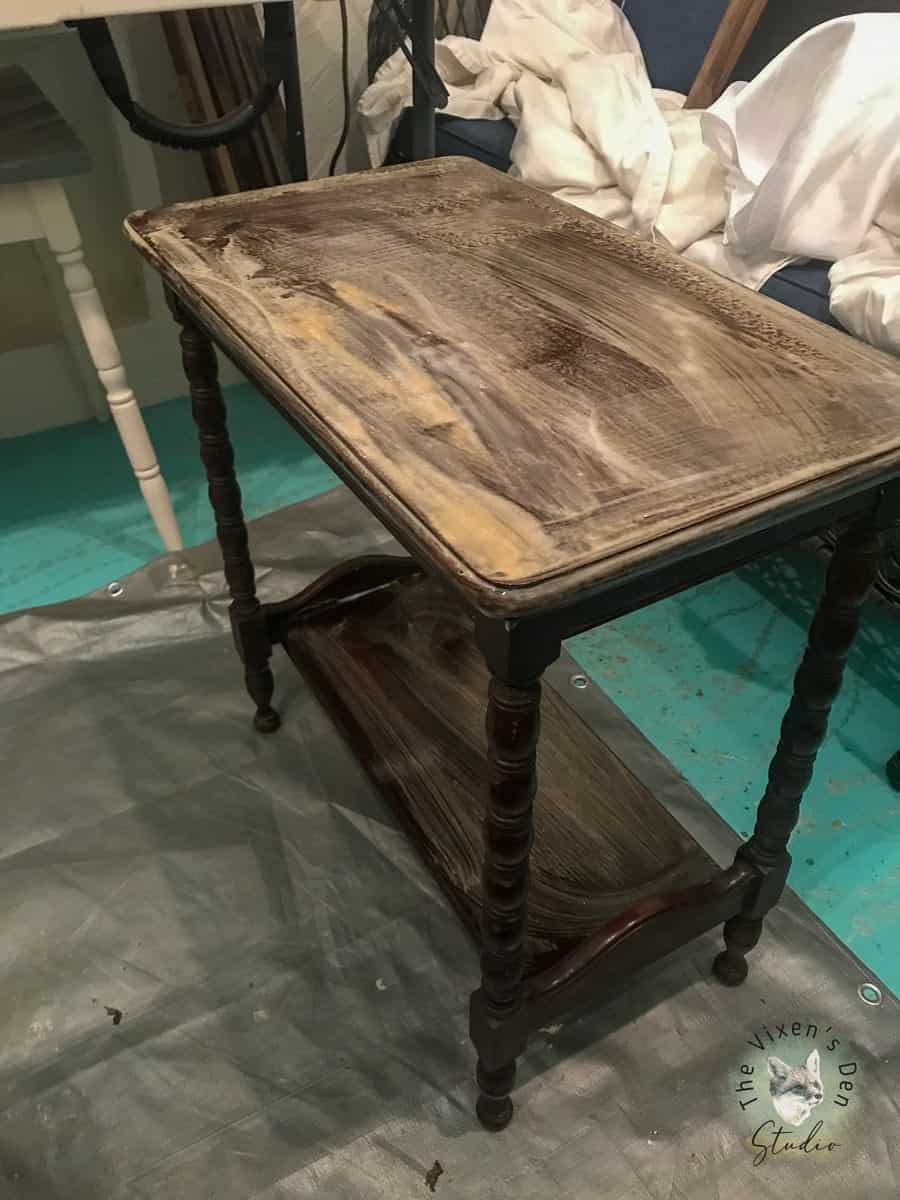
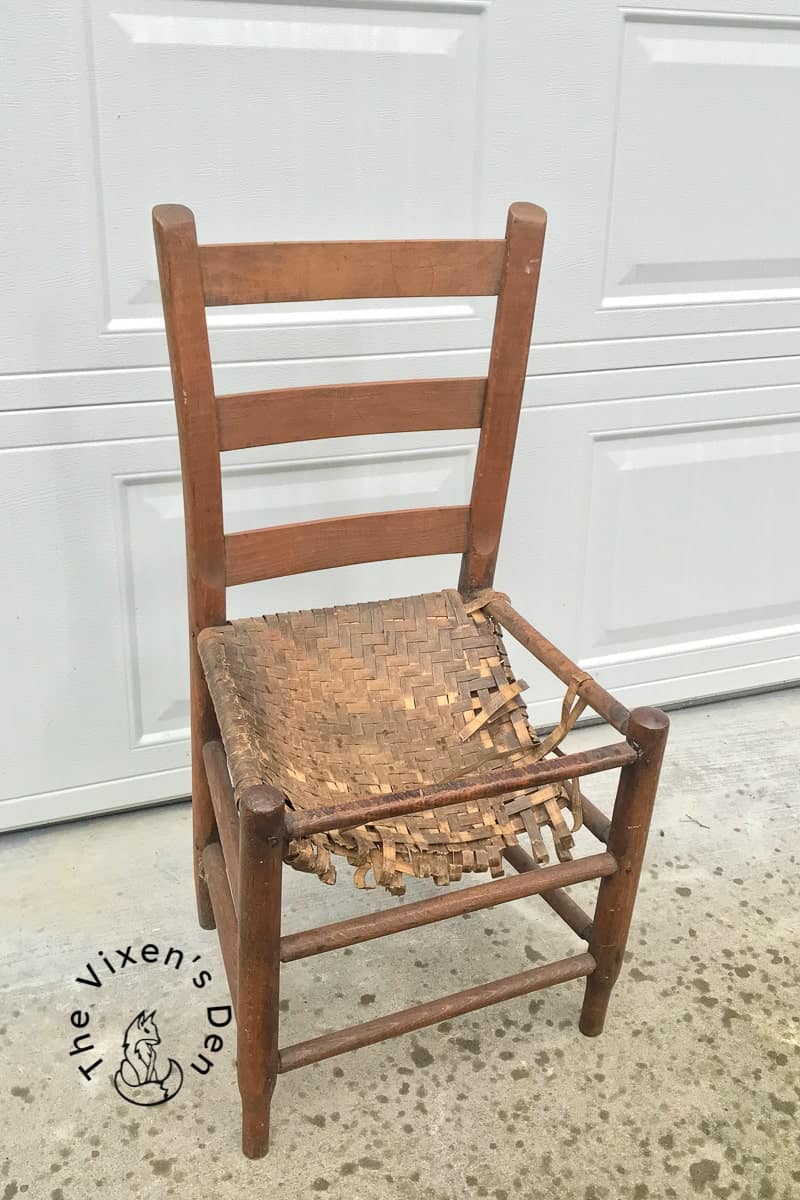
This classic end table was hiding in the basement with a smattering of spiderwebs and mildew. It had so much potential with its sturdy solid wood frame, intact veneer, and timeless style.

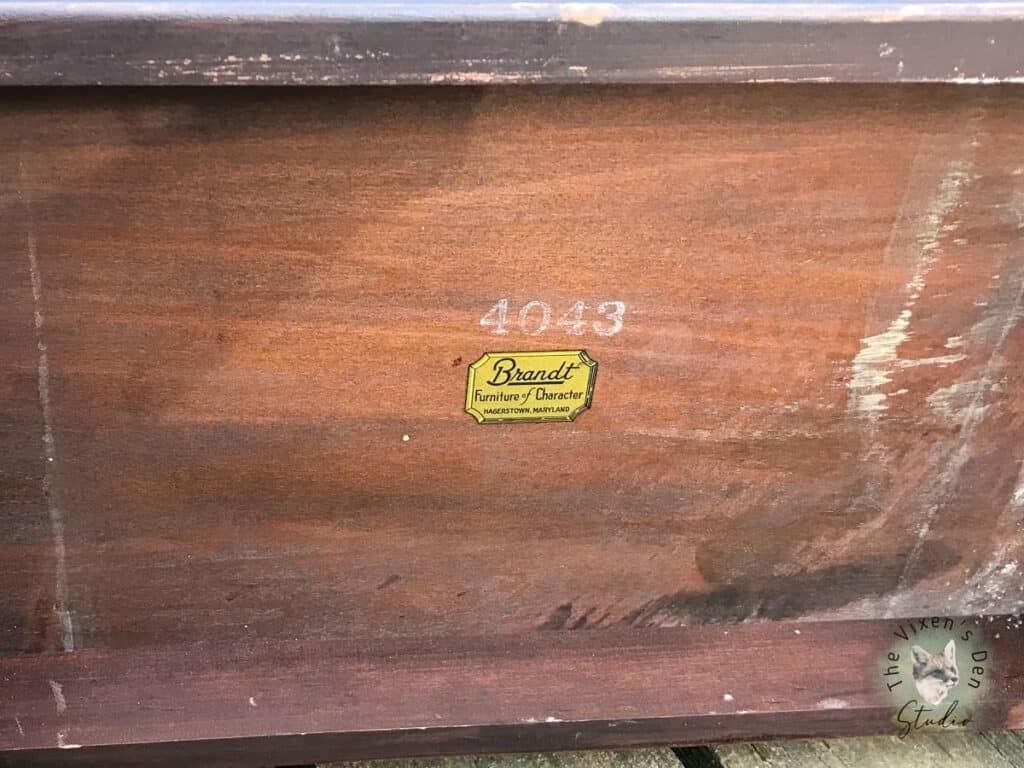
The maker’s mark on this piece is from Brandt’s Furniture Company of Hagerstown Maryland.
Here is what I found on the company:
The Brandt Furniture Company was founded in 1901 by Harry Brandt. Throughout the 20th Century, the company became a major producer of high-end custom furniture that shipped all over the United States and Canada. In its prime, the company employed close to 200 people and had many high-profile customers such as Room and Board, Macy’s, and the White House. In 1985, the company closed. It was reopened by company employees in 1986.
Today, Brandt is owned and operated by Patrick Carpegna, whose father Paul began working at Brandt after serving in the Pacific theater during World War II. The Carpegnas came to Hagerstown from Italy after finding work with the railroad initially. Today, Brandt’s operations focus on: • Custom Cabinetry • Custom Furniture • Furniture Restoration The company is still located at the first building it moved to in 1907 at 682 Pennsylvania Avenue in Hagerstown, MD.
According to appraisal sites, the table could be valued anywhere from $50 to $180. The maker’s mark doesn’t include any information about the type of wood used to build the table and it had endured some wear and tear over the years.
In this case, the table has more value to my aunt to have it refinished and looking nice again, which is how it ended up with me. I couldn’t wait to find out what kind of wood was hiding under that factory finish!
Before we get started on that, however, here’s some mandatory legalese for you:
This post is sponsored by Dixie Belle Paint Company. While they provided some of the products for this project, all of the opinions are my own. Follow this affiliate link to see all of their amazing products!
THIS POST CONTAINS AFFILIATE LINKS TO PRODUCTS. IF YOU PURCHASE PRODUCTS THROUGH THESE LINKS, THEN I MAY RECEIVE A SMALL COMMISSION AT NO COST TO YOU.
I ONLY RECOMMEND PRODUCTS THAT I USE AND/OR HAVE RESEARCHED AND WOULD USE.
Now, let’s get started on this makeover!
This post is sponsored by Dixie Belle Paint Company. While they provided some of the products for this project, all of the opinions are my own. Follow this affiliate link to see all of their amazing products!
THIS POST CONTAINS AFFILIATE LINKS TO PRODUCTS. IF YOU PURCHASE PRODUCTS THROUGH THESE LINKS, THEN I MAY RECEIVE A SMALL COMMISSION AT NO COST TO YOU.
I ONLY RECOMMEND PRODUCTS THAT I USE AND/OR HAVE RESEARCHED AND WOULD USE.
This post is sponsored by Dixie Belle Paint Company. While they provided some of the products for this project, all of the opinions are my own. Follow this affiliate link to see all of their amazing products!
AS AN AMAZON ASSOCIATE I EARN FROM QUALIFYING PURCHASES AT NO COST TO YOU.
YOU CAN SEE MY FULL DISCLOSURE HERE.
Tools and Materials
Tools
- Vacuum
- Scraper
- Sander
- Small Synthetic Round Brush
- Mini Angle Brush
- Artist Brush
- Xacto knife
Materials
- Var Paint and Varnish Remover
- Stripping pads
- Steel wool
- Sandpaper
- Tack Cloth
- Boss
- Gator Hide
- Chalk Mineral Paint: Caviar
Cleaning & Prepping
A thorough cleaning is always the first step. I vacuumed off the spiderwebs, dusted off the surface, cleaned the mildew with White Lightnine, and evaluated the surface damage. There were several chips and dings on the legs that called for a deeper sanding than I’d originally planned.
The design plan for this piece evolved a few times, but I finally settled on painting the legs and edges and staining the shelves and sides as well as adding a rice paper decoupage and stenciled quotes. Whew! So many details!
This meant that I had to remove all of the original finish from the parts that I wanted to stain. I applied a heavey coat of my trusty Var Paint and Varnish Remover, let it sit, and then scrubbed off the old factory finish with a stripping pad.

Once all of the surface finish was removed, I used fine steel wool 0000 with mineral spirits to neutralize the finish remover and remove any remaining stripped finish. There was still a bit of stain left in the grain, but I could already see that beautiful natural wood shining through!
Once the mineral spirits dried completely, I sanded the entire surface gently with 120-grit sandpaper using my mouse sander.
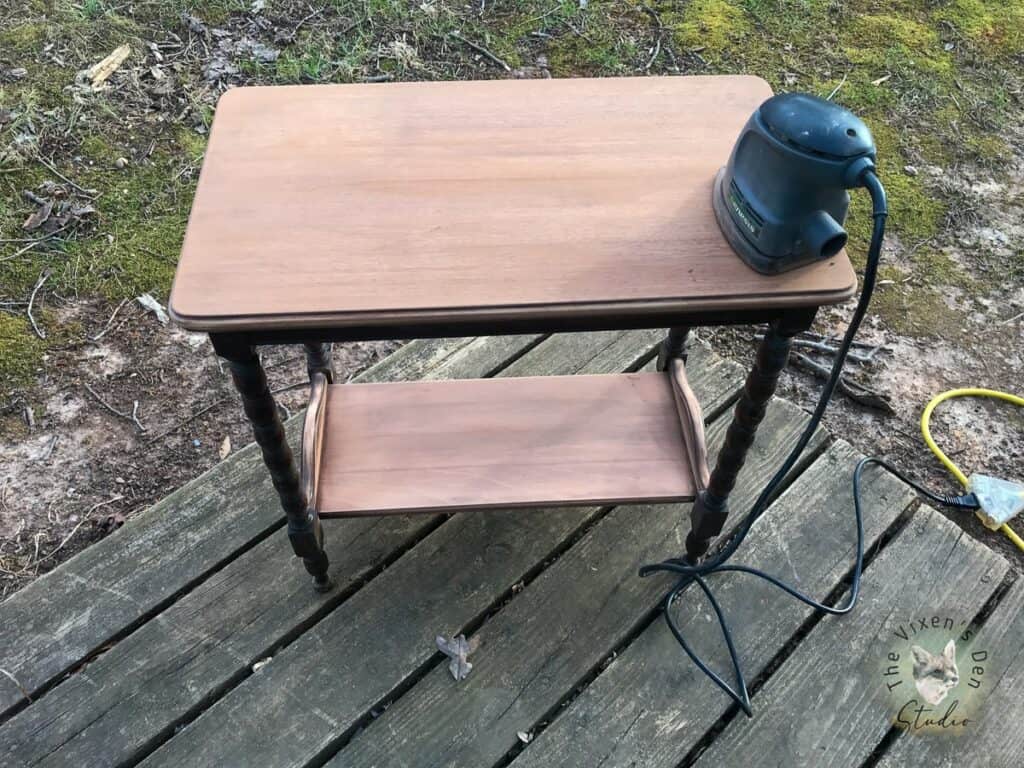
I also sanded down the legs to make them nice and even from years of dings and scuffs. Strips of sandpaper held on either end and seesawed back and forth did a wonderful job of retaining the shape of the round legs while removing the flaky finish in the indentations.
After wiping down the surface of the table to remove any lingering dust, I used Boss to prime the braces on either side of the shelf and the legs. This is where the design evolved a little bit. I ended up deciding to paint the tabletop edge and inside braces also, which means they also received a coat of Boss. With all the wonderful tannins sealed in, it was time to move on to painting!
Painting the Legs
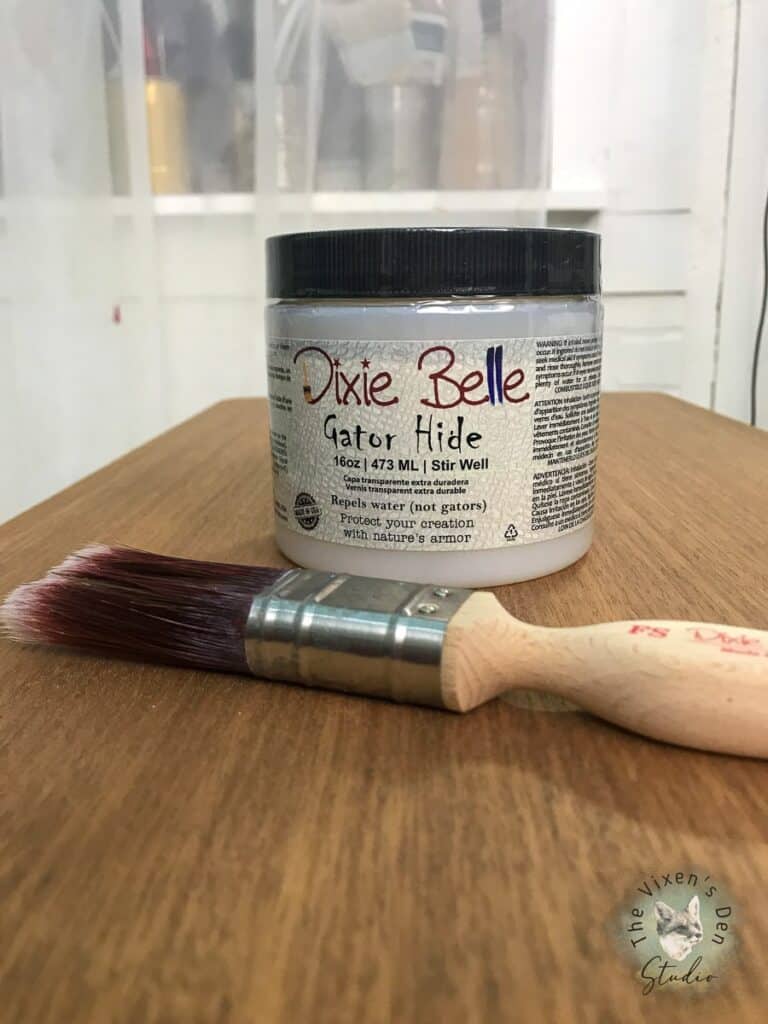
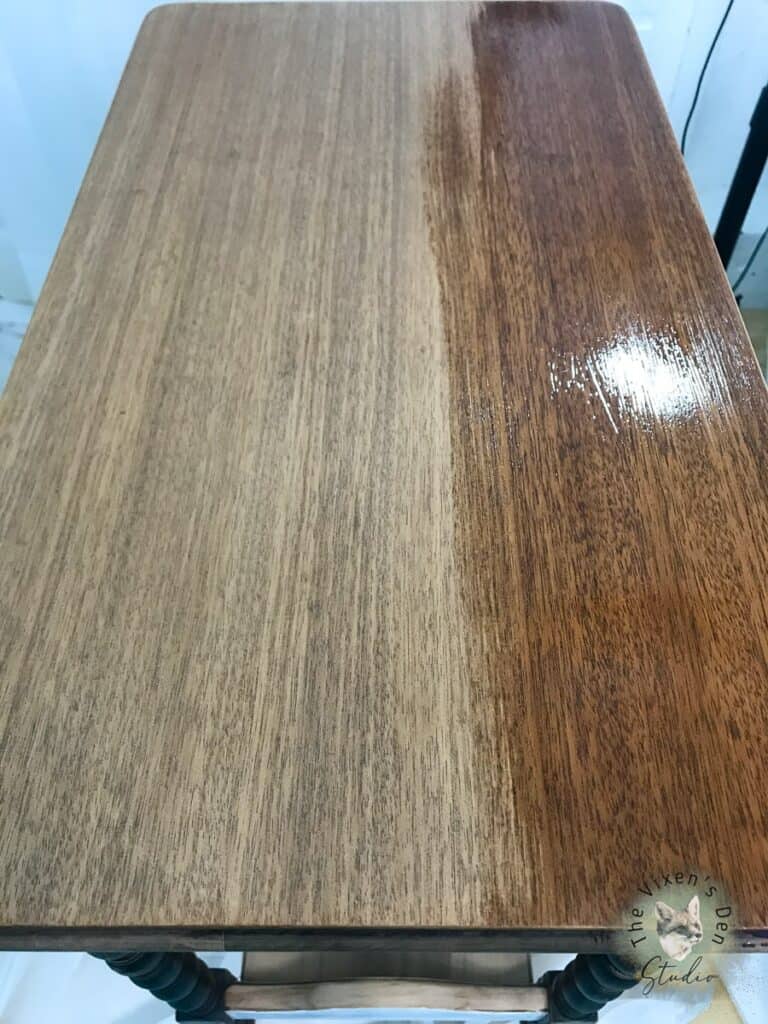
Prior to painting the legs, I sealed the top and the shelf. This prevents the paint from seeping into the wood, and protects against “oopsies.” This table will live in a sunroom once it’s finished, which means there’s a good chance it will have plants sitting on it, so I gave it some heavy duty protection from water with Gator Hide!
The best way that I’ve found for painting legs is to just barely brush the tips of the bristles against the round legs. It takes a few coats, but it’s so much easier to control drips and runs! I also find that a rounded brush works a little better for me than my usual angle brush.
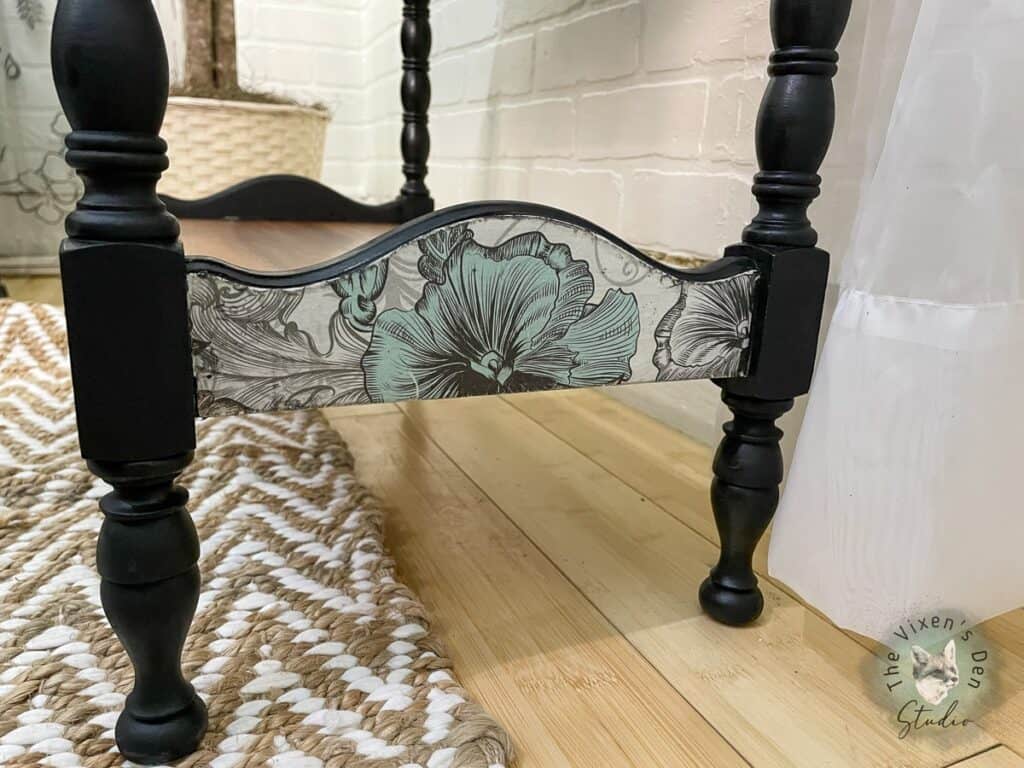
Adding Decoupage
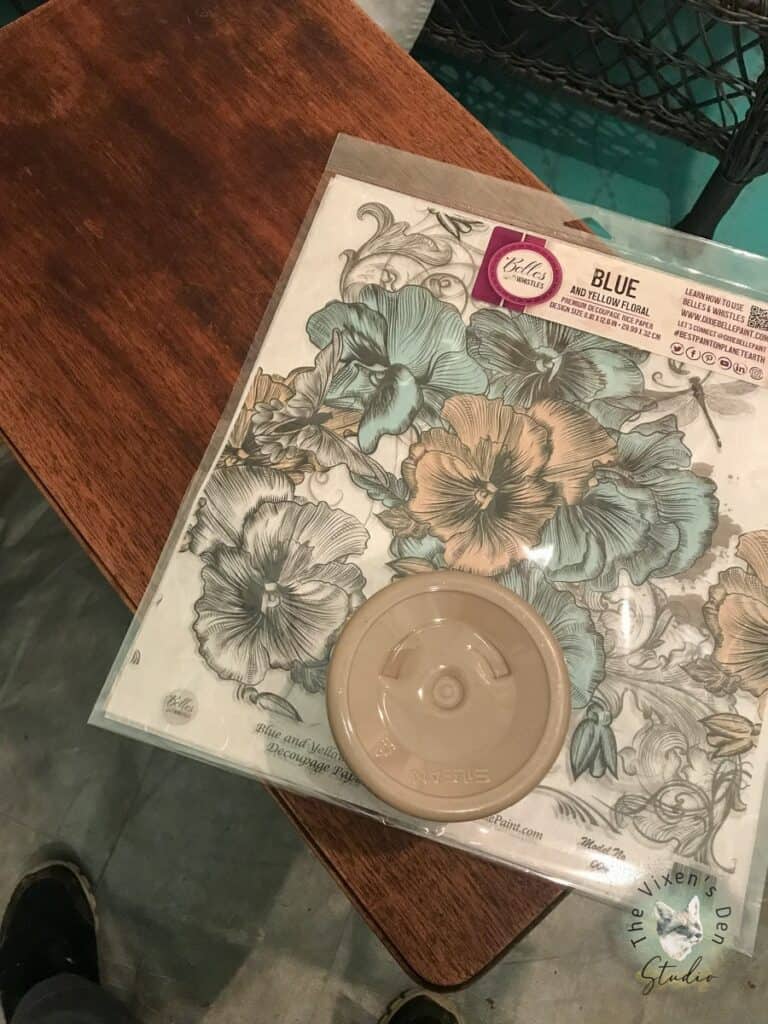
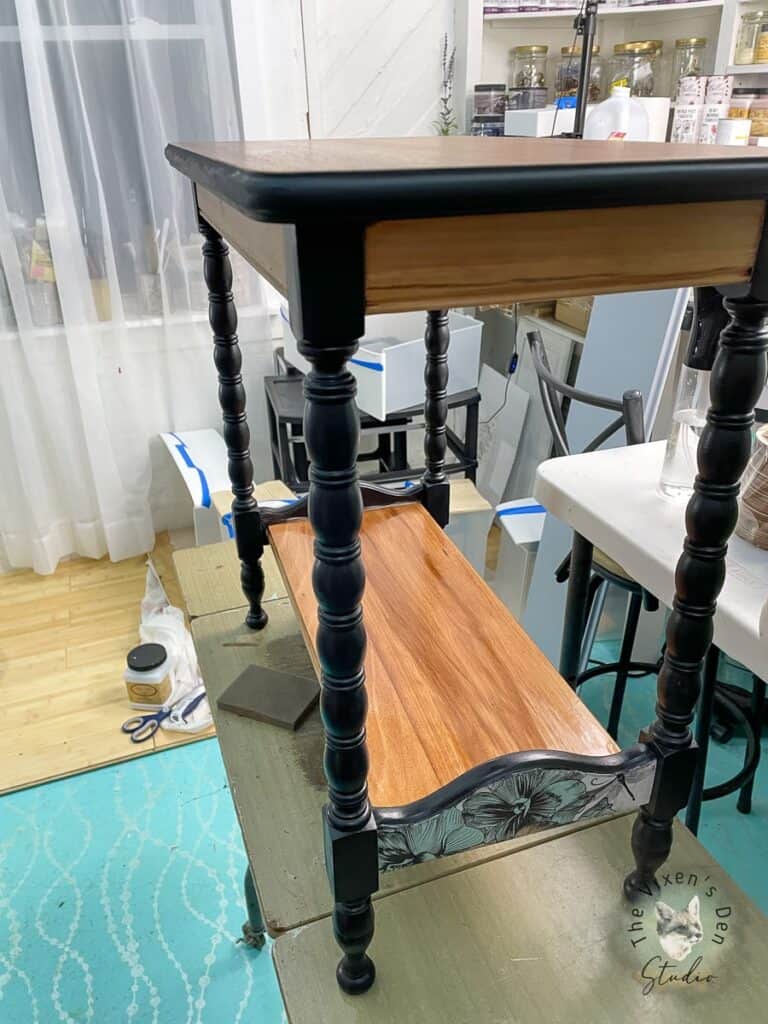
Now it was time for the decoupage! This beautiful Blue and Yellow Floral paper from the Belles and Whistles line is a classic with a touch of bohemian whimsy. It was the perfect paper for this table its owner.
Applying decoupage paper is super easy!
- Decide which part of the paper you want to showcase on your piece.
- Apply a thin layer of Clear Coat to the wood with a brush.
- Press the decoupage paper firmly into place and gently press evenly to smooth out any bubbles, wrinkles, or lumps. If you rub too much, the paper will begin to pill.
- Once the Clear Coat is dry, sand the edges with a 220-grit sanding sponge to form the paper to the edges.
- Use a craft knife to trim the internal corners.
- Brush on a top layer of Clear Coat.
And that’s all there is to it! You don’t have to cut the paper before you start applying it, but you can if it makes it easier to work with.
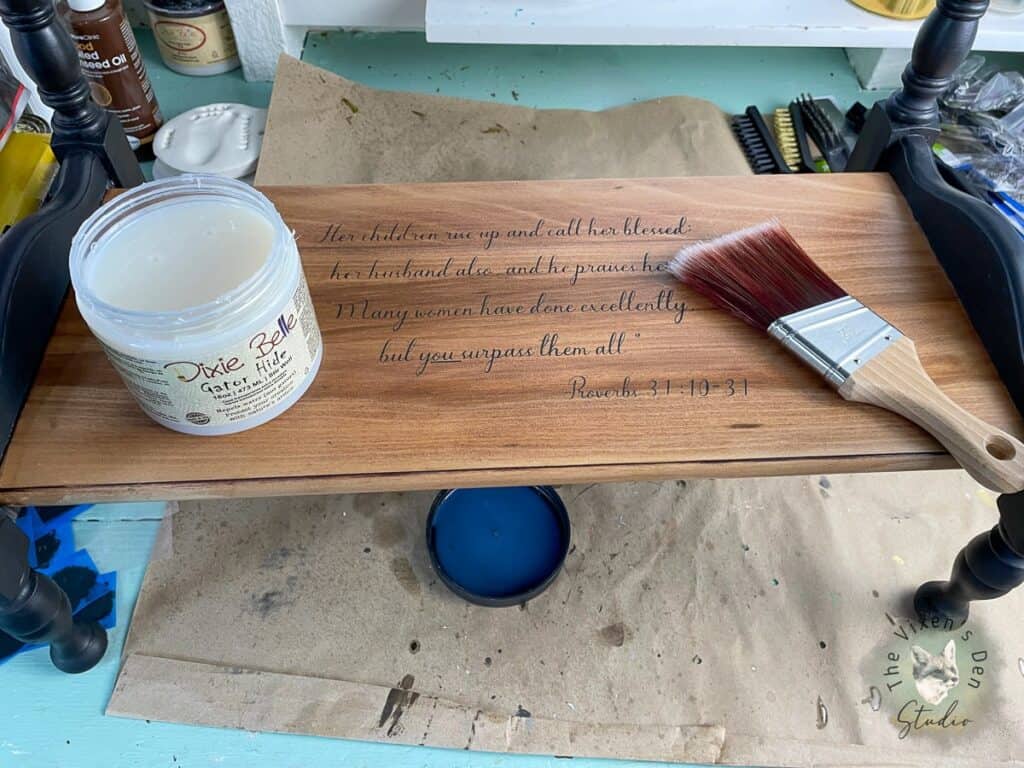
Adding Scripture Stencils
To plan the placement and size of the quotes that I wanted to stencil onto the piece, I used Canva to lay out the fonts. Then I printed out test pages and laid them out to make sure that the size and spacing would work.
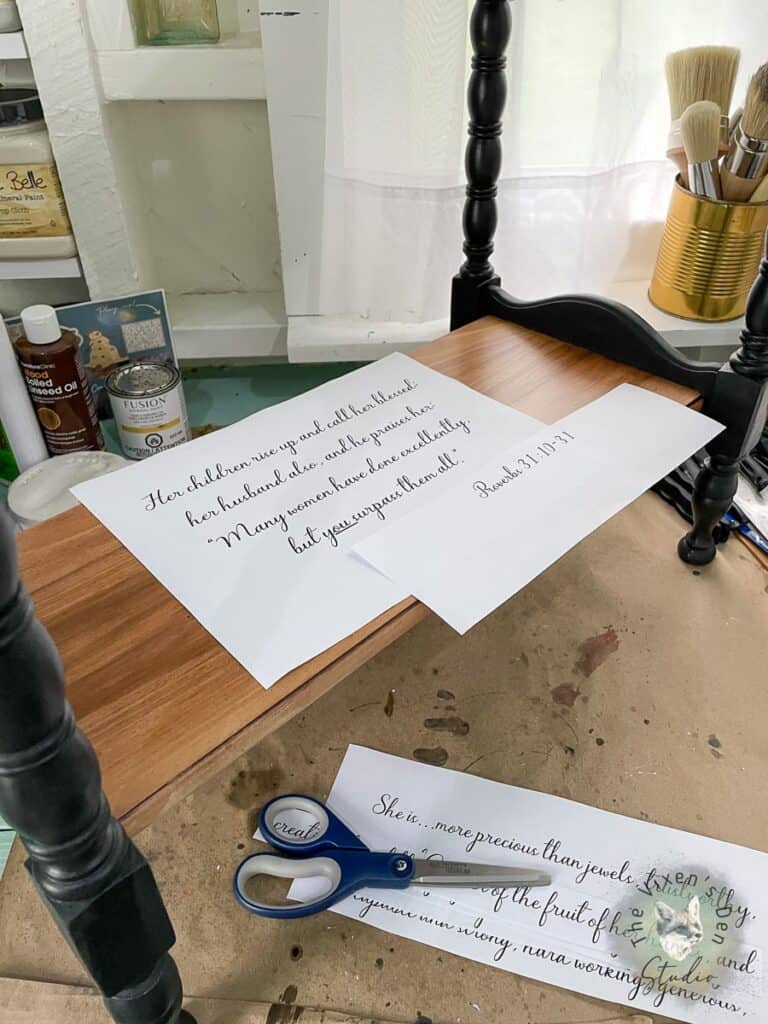
I then used my handy IkonArt kit to create custom stencils! That part deserves an entire post of its own!
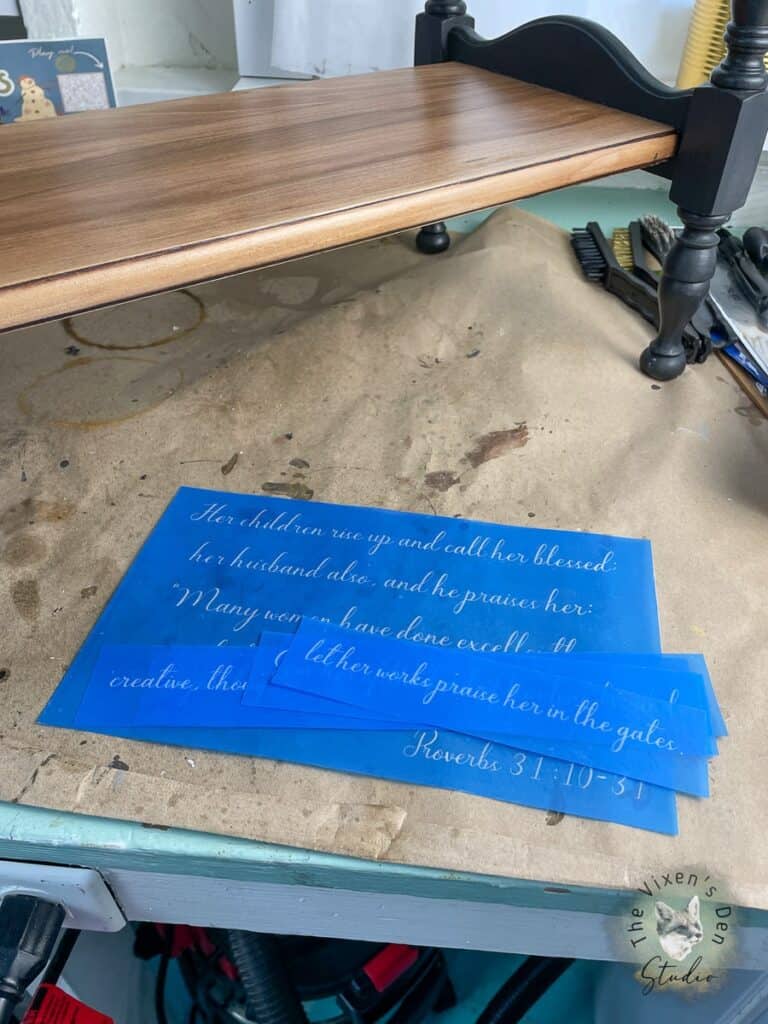
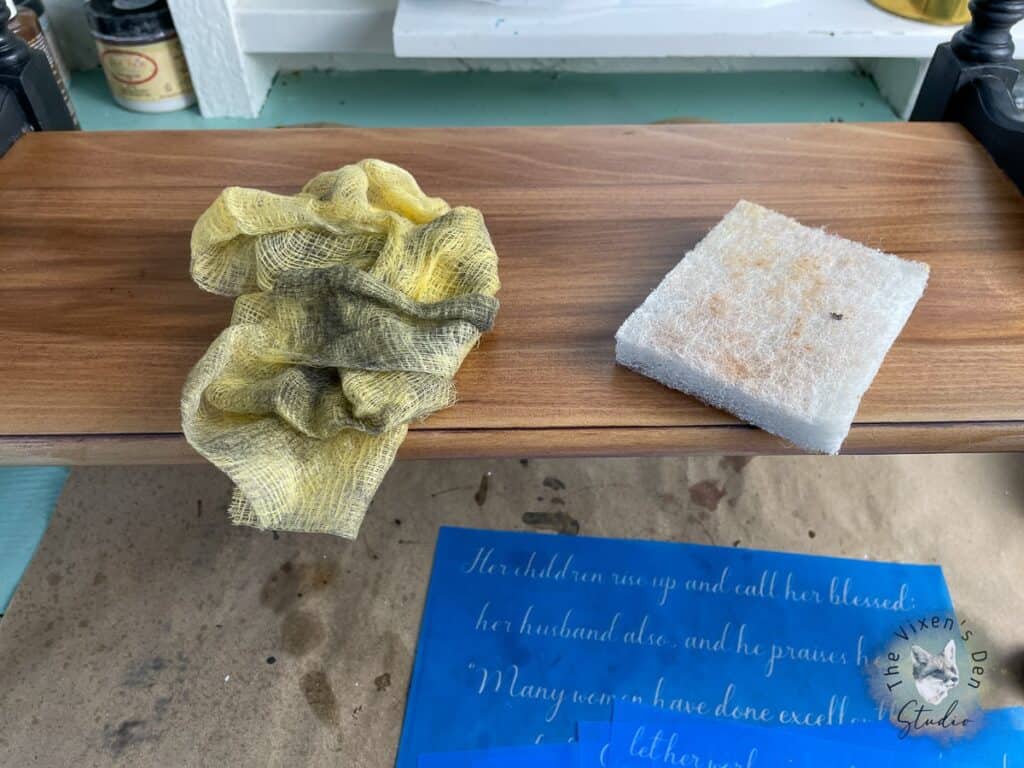
Before applying the stencil, I rubbed the surfaces with a buffing pad to make sure there wasn’t anything stuck to the surface that would prevent a good seal. Then I wiped the surfaces with a tack cloth to remove any invisible debris.
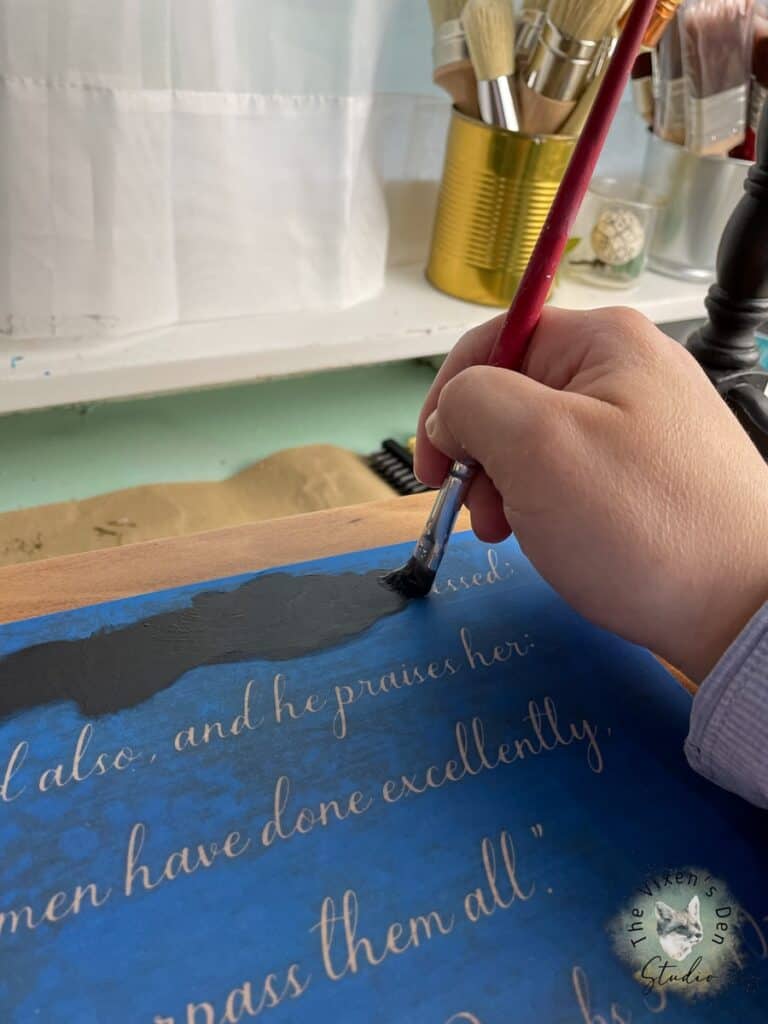
I pressed the stencil firmly against the surface of the wood.
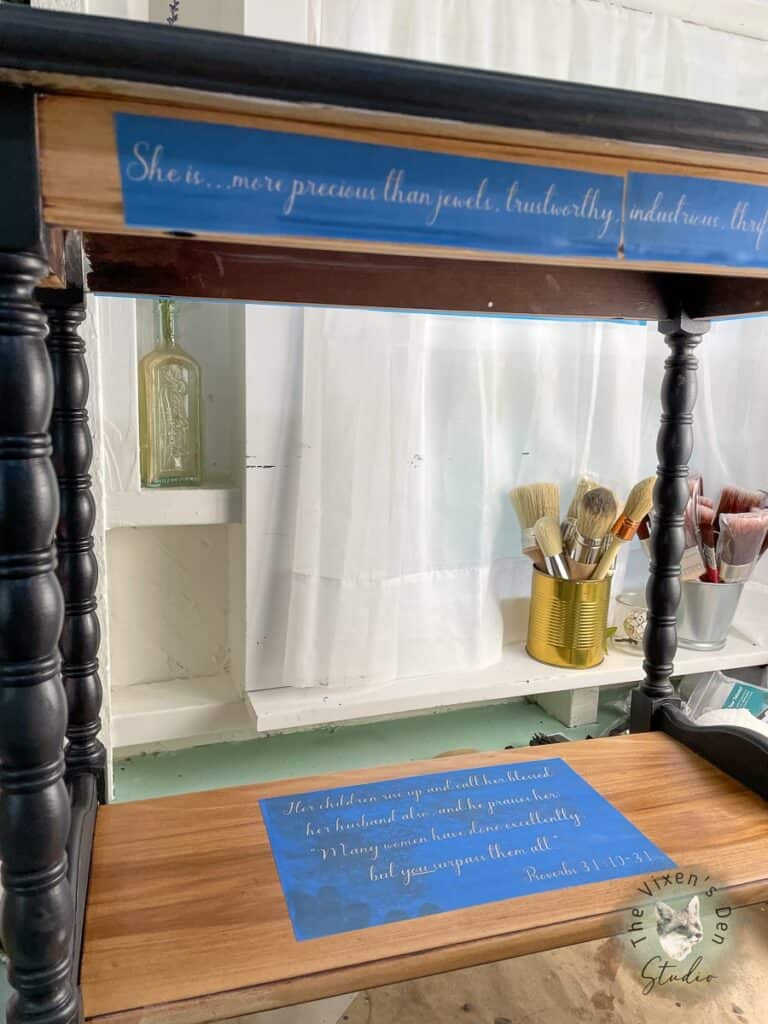
Once the stencils were in place, I painted the stencils with Dixie Belle Mineral Paint in Caviar. Technically, when using a silkscreen stencil you’re supposed to scrape the paint on with a card, but I’ve found that sometimes painting it in with a paintbrush and then scraping it offers a better result.
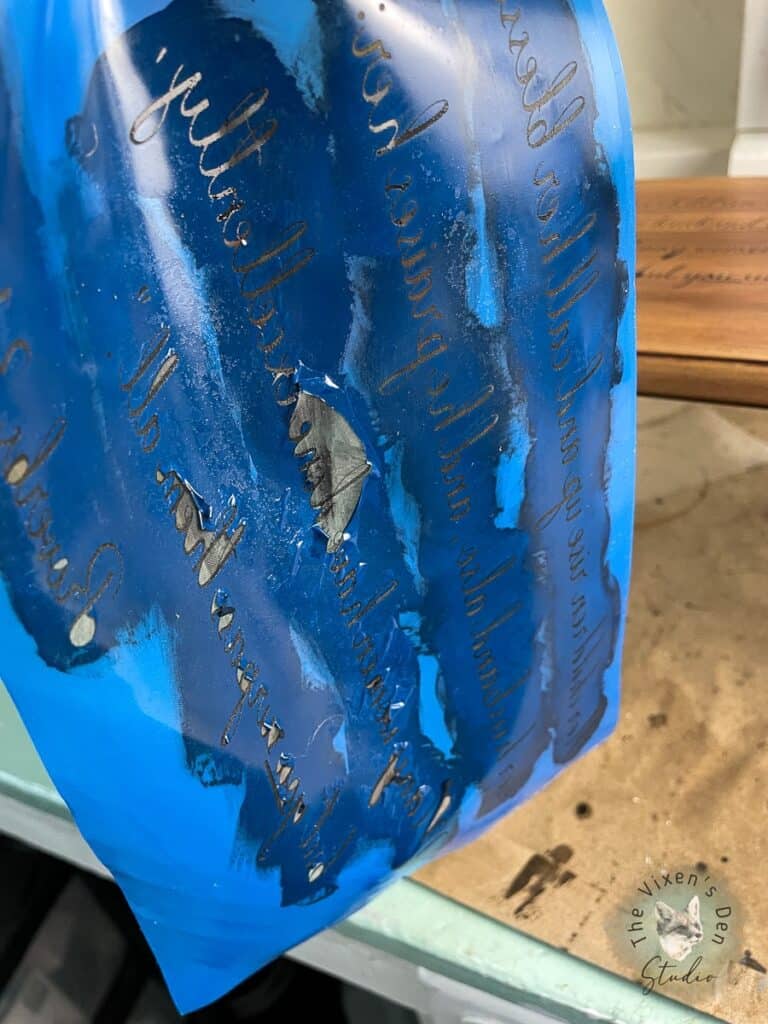
In this case, however, there were some extra issues that had to be addressed. We’ll address what I think I did wrong when creating this stencil in another post, but suffice it to say that there bits of stencil peeling off and left behind on the surface of the wood.
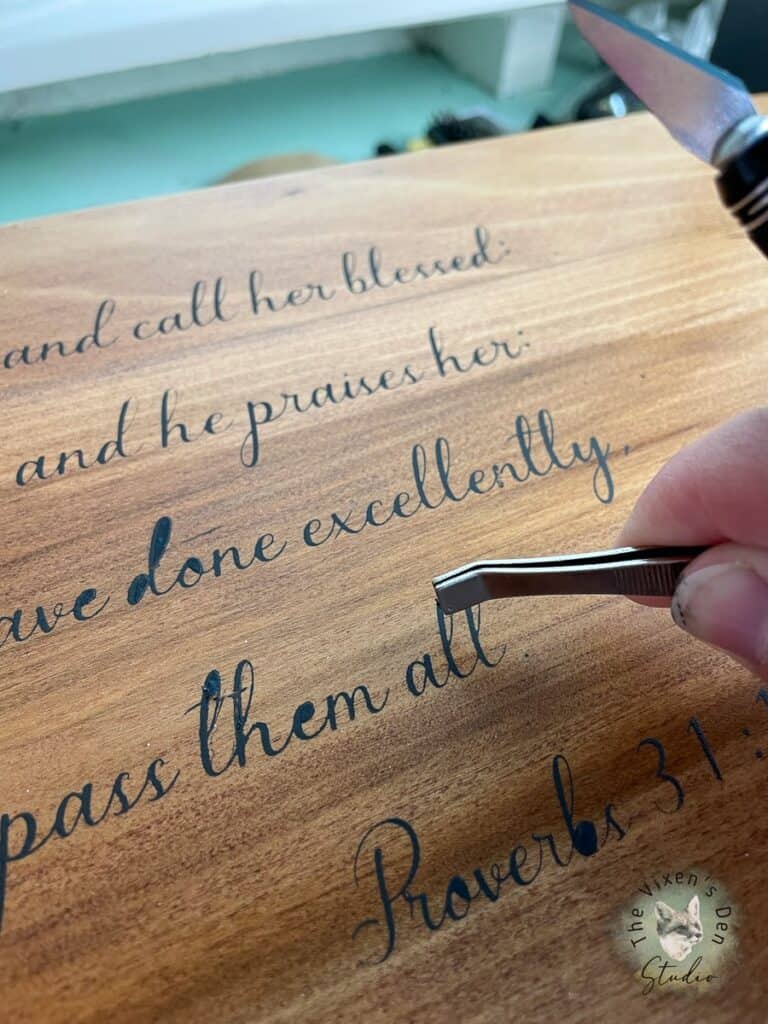
With some careful scraping with a craft knife, and lifting with tweezers, I managed to remove all of the stencil bits.
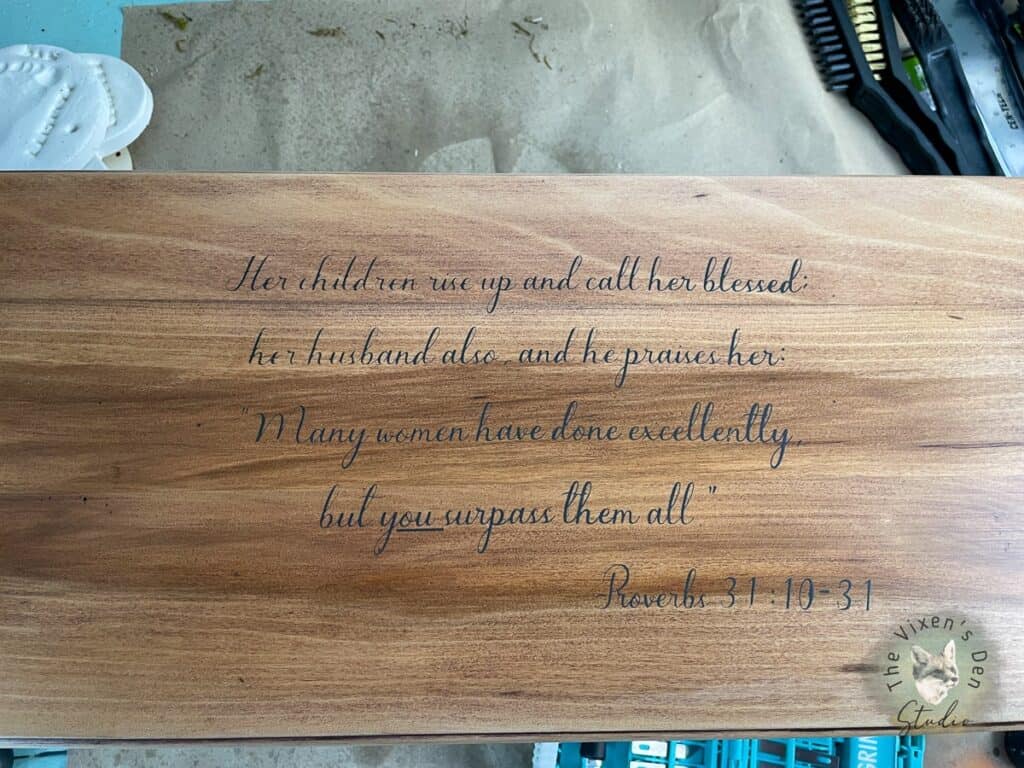
Other than that little moment, I think the final result came out beautifully!
To seal the stencil work in, I brushed on another coat of Gator Hide.
And that’s it! Are you ready to see the transformation?
Final Reveal
This sweet end table has a whole new look!
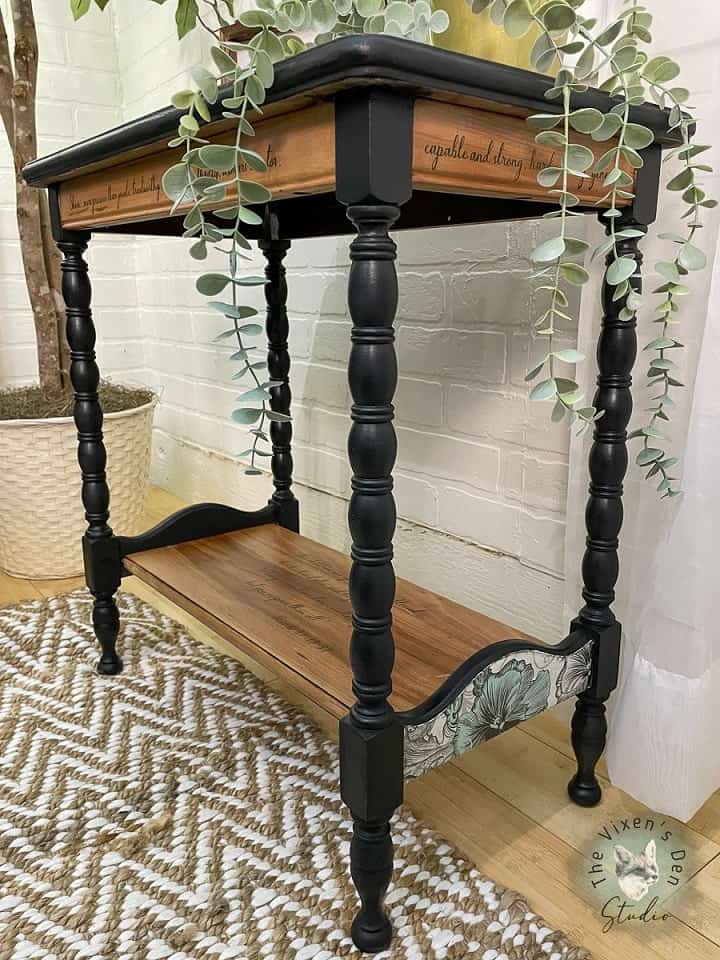
The decoupage paper adds a beautiful pop of “wow!”
Natural wood and black paint are just meant to be together! But what I really love, is the stenciled quote which wraps around the entire skirt of the tabletop. It’s a very special series of verses for a very special lady.

I hope you enjoyed this rice decoupage end table makeover. Thank you so much for stopping by! Check out the other amazing projects at the link parties below. I know the hostesses will appreciate your visit and comments.
Until next time, have a beautiful and blessed day!


Don’t forget to sign up so you hear all about the next misadventure! Until then, you may also like this Magazine Rack makeover or this Dresser upcycle.
What a beautiful makeover! I like the extra details of stencil and rice paper.
Thank you so much, Allyson!