DIY Natural Food Safe Wood Slice Centerpieces
Weddings are the perfect opportunity to pull out our Pinterest boards and start planning our dream celebrations. That is exactly what my daughter did when planning her rustic elegance-style wedding. One of the top items on her dream board was wood slice centerpieces.
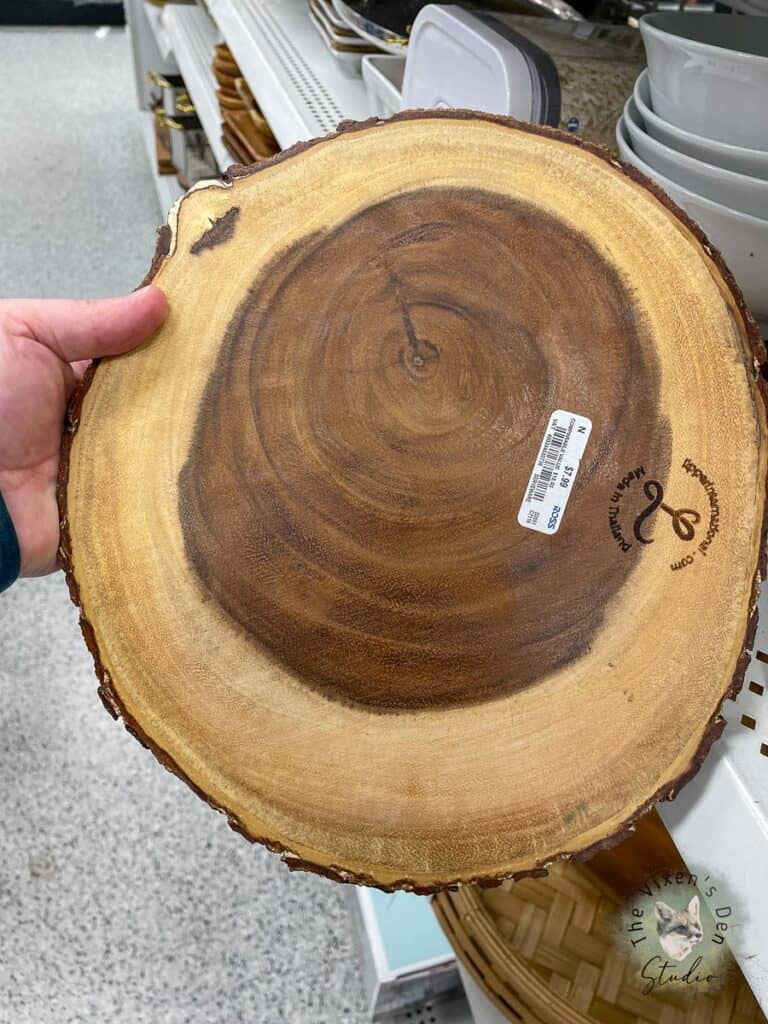
Since she wanted 13 to 20 of these wood slices, $8 each was a little more than her budget for one piece of her centerpieces.
Luckily for her, we have a plentiful supply of trees and a man with years of chainsaw experience. Around February, my husband cut up a limb of a large oak tree that fell in our yard. He selected a section that was fairly uniform and sliced up a pile of wood discs, which we affectionately termed “cookies.”
These wood discs sat outside “seasoning” or drying in the open air, sun, and rain for months before I finally began working on them in preparation for my daughter’s September wedding. Needless to say, they were quite dirty and not appealing when thinking of serving food from them.
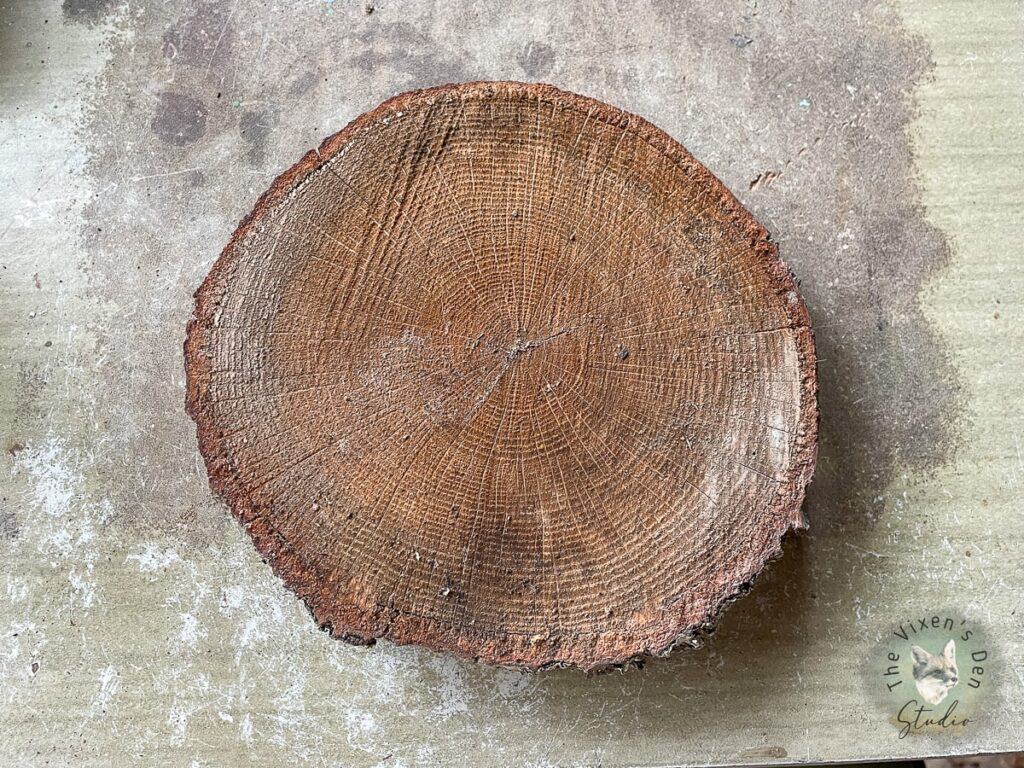
But I knew they had potential. So, let’s see what we did with a little elbow grease and some simple wood discs! But first, some legalese…
THIS POST CONTAINS AFFILIATE LINKS TO PRODUCTS. IF YOU PURCHASE PRODUCTS THROUGH THESE LINKS, THEN I MAY RECEIVE A SMALL COMMISSION AT NO COST TO YOU.
I ONLY RECOMMEND PRODUCTS THAT I USE AND/OR HAVE RESEARCHED AND WOULD USE.
Tools and Materials
Tools
- Chainsaw
- Orbital Sander
- Chip Brush
Materials
- Sanding Discs
- Hemp Seed Oil
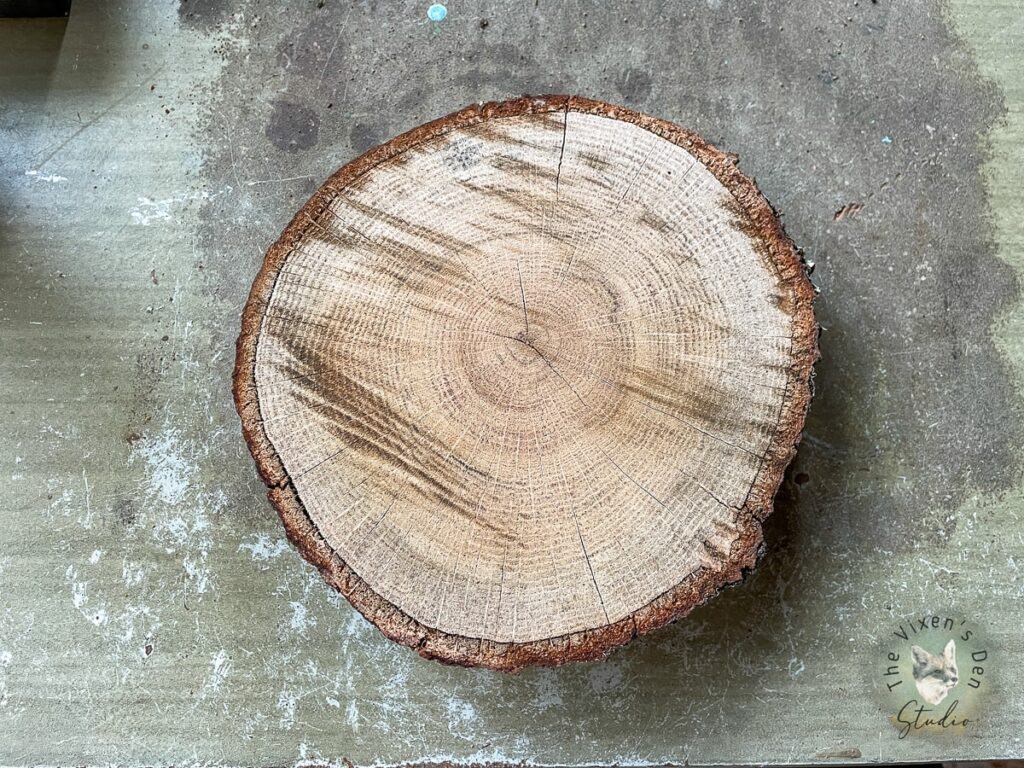
Cleaning and Prepping
The cleaning process will depend entirely on which style of wood disc you prefer, how long you leave it outside before you finish it, and what type of wood you are using.
If you use the cookies right away, then the only cleaning needed is brushing off loose sawdust and debris. If you want to take it a step further and ensure that there are no bugs in your beautiful new wood decor, then you could heat them in a 300-degree oven for an hour.
However, if you allow the wood discs to season, as we did, then you’ll want to:
- scrape off the surface debris
- either rinse and scrub off dirt or
- sand off the outer surface
Also, if you are using a hardwood like oak, then you’ll find less sap seeping out of the wood than with a softwood such as pine.
Choosing a Wood Disc Style
Freshly sawn wood has a rough texture from the chainsaw blades cutting through the log. It can also be a bit challenging to get a perfectly even cut, so the wood disc may be a bit wobbly or just uneven. There are a few options for addressing this.
- Some people may prefer this extra rustic touch and just leave it the way it is.
- Others may want to even it out a bit but leave some of the natural texture.
- And others may want a perfectly smooth finish that is also even and level.
Let’s review each option in turn.
Option 1: Simple and Rustic
This is the easiest option, as all you need to do is brush off the surface, seal it on both sides, and let it dry! Seriously, it’s as easy as that. The only downfall is that things will be a bit tippy and wobbly as the wood disc will have a naturally uneven surface.
You also could be inviting some unexpected (and unwelcome) guests in the form of bugs who were making their home in the tree. However, if you have access to trees and just want a quick
Option 2: Even and Natural
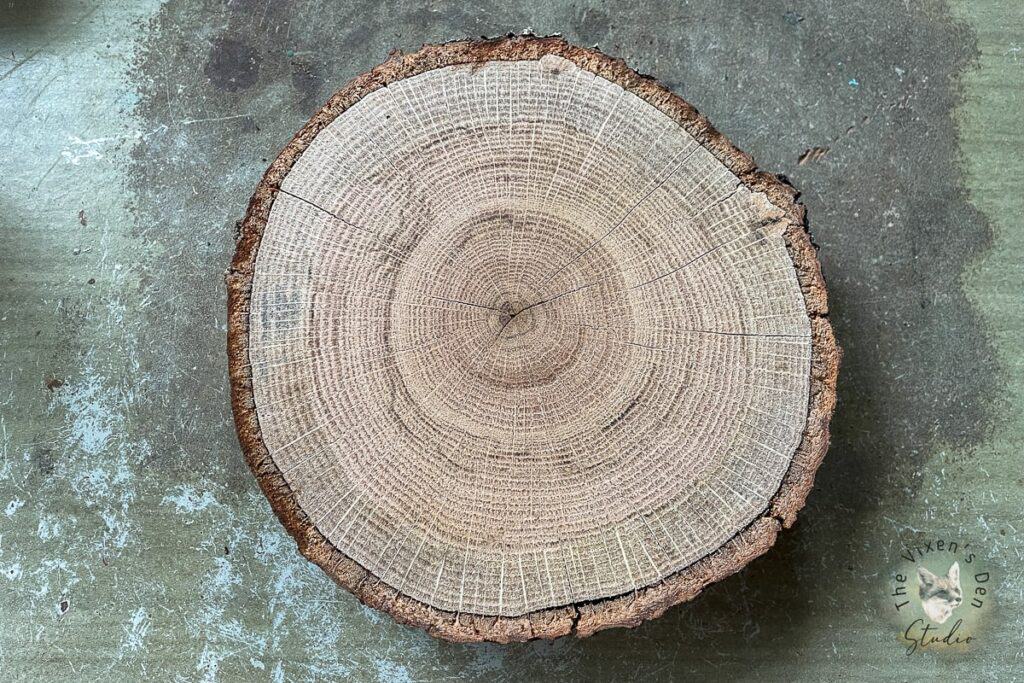
This process requires a bit more elbow grease but is easily achieved with the help of an electric orbital sander. I really put my Makita sander through the paces on this one and ran through many a sanding disc. By keeping the sander constantly moving over the surface, I was able to both even out and smooth the surface of the discs.
My daughter wanted to keep as much character as possible, so I didn’t sand them so smooth that they looked as if they came off of the shelves of a store. There were dips, crevices, and interesting tiger stripes from weathering.
Because she wanted to retain the character of the wood, I didn’t go any higher than an 80-grit sanding disc. I was actually impressed with how well the 80 grit smoothed out the surface. Usually, this is my go-to grit for removing paint and roughing up the surface to remove imperfections before I smooth it out with 100 or 120 grit. In this case, the 40-grit, for really rough pieces, and 80-grit sanding discs were all that I needed.
Option 3: (Almost) Perfectly Smooth and Even
This option requires access to more advanced tools, such as a planer or belt sander. These tools will help to even out the wood disc so that it is perfectly flat, and then smooth it out completely. Of course, if the cuts are relatively smooth already, then it’s possible to keep increasing the grit of the sandpaper until you achieve that almost factory finish. Starting with 80 grit, you can increase to 100, 120, 140, 160, 180, and 220 until the surface is completely smooth to the touch.
Applying a Food Safe Sealer
Regardless of which style you choose for the wood discs, the sealing process will remain the same. Apply a liberal coat of Howdy Do Hemp Seed Oil with a chip brush. Allow the oil to soak in. After an hour or so, apply a second coat. Continue this process until the oil pools on the surface of the wood. After an hour or two, wipe away any excess and allow the disc to dry overnight. Repeat the process for the other side so that the disc is evenly sealed.
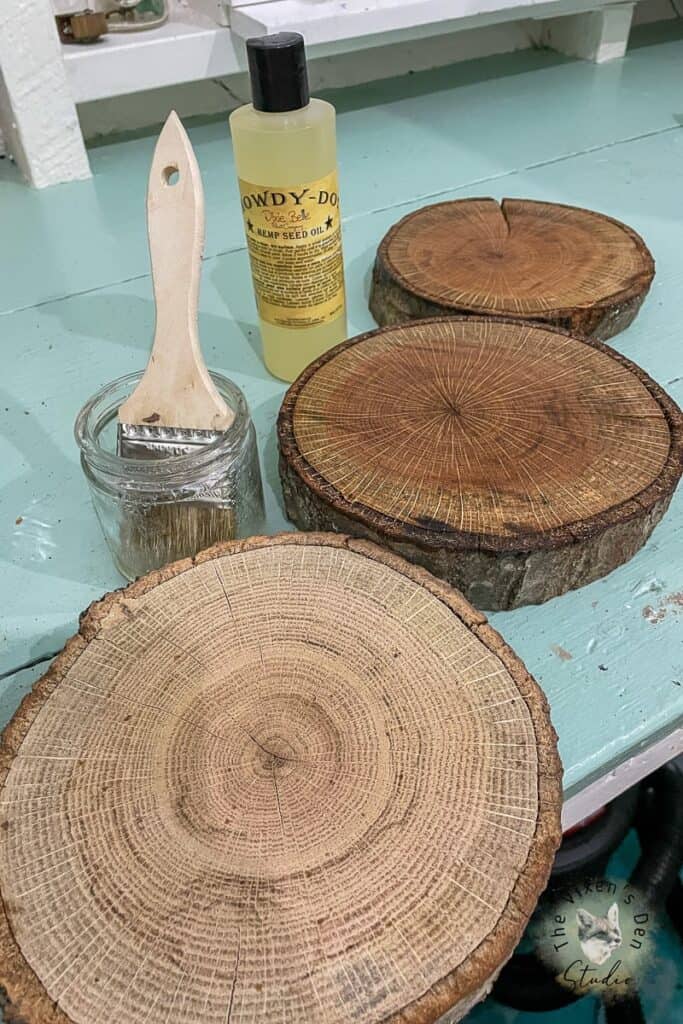
Why use Hemp Seed Oil?
Because it’s a completely food-safe, natural, no-VOC oil that will protect the surface of the wood slice from moisture while allowing the natural wood characteristics to show through.
Does Hemp Seed Oil Change the Color of the Wood?
Hemp seed oil shows the natural tones and variations of the wood grain. This shows up as a darker color, which can be previewed by running a damp cloth over the wood before you decide to seal it.
How many coats do I apply?
As many as the wood needs. The wood will let you know when it can’t accept any more oil when the oil pools on the surface of the wood and isn’t absorbing after an hour.
Can I just leave the oil to dry overnight?
It’s recommended to reapply or wipe off excess oil after about two hours. If the oil is left to dry overnight or for several days without removing the excess, then that excess oil will pool on the surface of the wood and become sticky.
Won’t the oil leave oil marks on my furniture and fabrics?
Believe it or not, it won’t! As long as there are a couple of days of drying time between when you apply the Hemp Seed Oil and when you begin using the wood discs, I have found that the oil will be completely cured and will not leave a residue on fabric.
How long does the Howdy Do Hemp Seed Oil take to cure and become food-safe?
One week. While other products may take a month or even several months to fully cure, this product is ready to grace your buffet table in one week.
Final Reveal
This project turned out exactly how my daughter envisioned and starred not only in her table centerpieces but also on the cake table!

I’m sure that these lovely food-safe wood slice centerpieces will be used for years to come! Do you use wood slices in your decor? Let me know in the comments below!
Thank you so much for stopping by! Check out the other amazing projects at the link parties below. I know the hostesses will appreciate your visit and comments.
Until next time, have a beautiful and blessed day!


Linked up to these lovely link party hostesses at:
Don’t forget to sign up so you hear all about the next misadventure! Until then, you may also like this Magazine Rack makeover or this Dresser upcycle.


Thank you for this information. I do have a question. I’m planning on using red cedar (assuming the same process), will basic hand-washing with dish soap the plates suffice? Will I need to reapply the Hemp seed oil?
I bet those will turn out beautifully! Over time, you will need to reapply the hemp seed oil. Depending on how often you wash the plates will determine how often you will need to reapply. Generally, once a year or every few years should be sufficient.