DIY Custom Acrylic Plant Tags/Charms Using xTool P2
Plants don’t stand a chance with me. I don’t just have a brown thumb. I am the Grim Reaper of all things vegetation. Plant leaves tremble when I walk down the aisles of the gardening section. The clearance plants, barely holding on to their last root? They give up the ghost as soon as I pluck them off the shelf.
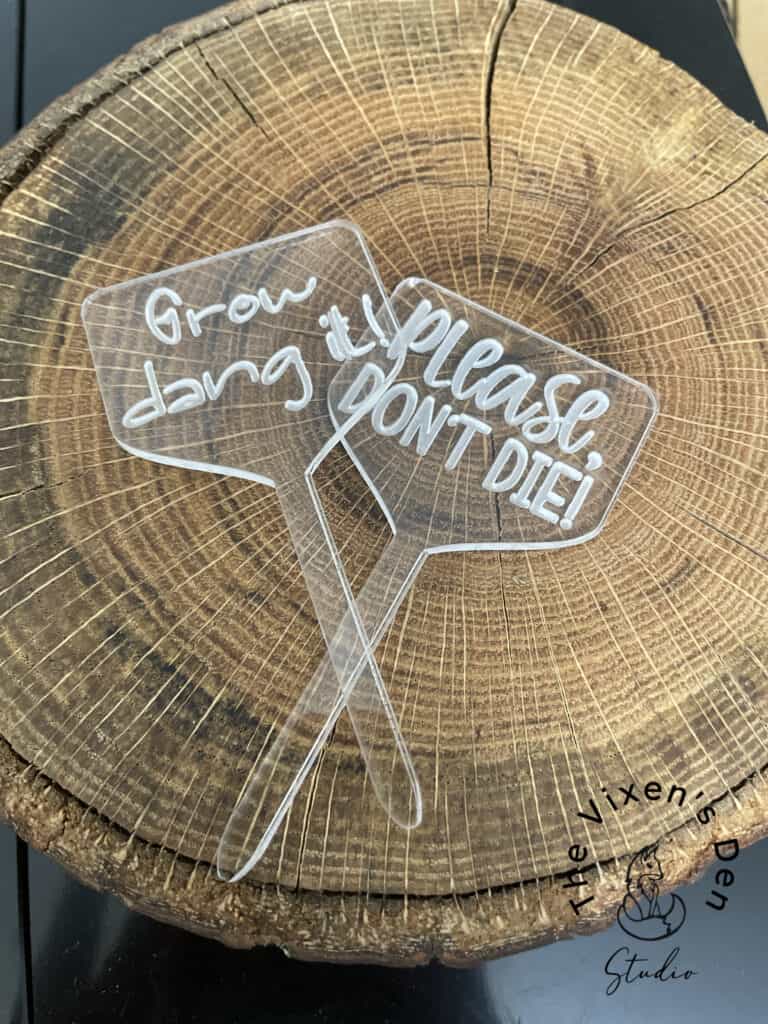
So it’s ironic that this latest project with the xTool is creating custom acrylic plant tags.
These plant tags seemed appropriate
Luckily for me, plants aren’t the only potential use for these creations. Grab a drink and let’s dig into all the hows of making, gifting, and decorating with these cute little tags/charms.
But first, some legalese for your reading pleasure:
This post is sponsored by xTool. While they provided the machine for this project, all opinions are my own.
Follow this affiliate link to see all of their amazing laser engraving and cutting machines and materials!
AS AN AMAZON ASSOCIATE I EARN FROM QUALIFYING PURCHASES AT NO COST TO YOU.
YOU CAN SEE MY FULL DISCLOSURE HERE.
Tools and Materials
Tools
- xTool P2 Laser
Materials
- 3mm Clear Acrylic
- 3mm Blue Iridescent Acrylic
- Acrylic Paint
- Clear Sealer
Cleaning & Prepping
The projects in this post are made with acrylic because basswood and plywood don’t hold up well to moisture. To get started, we need to remove the film from the top layer of acrylic. Unless of course you’ve already tested and have the perfect settings that will engrave through the cover material. I didn’t, and this is what happened.
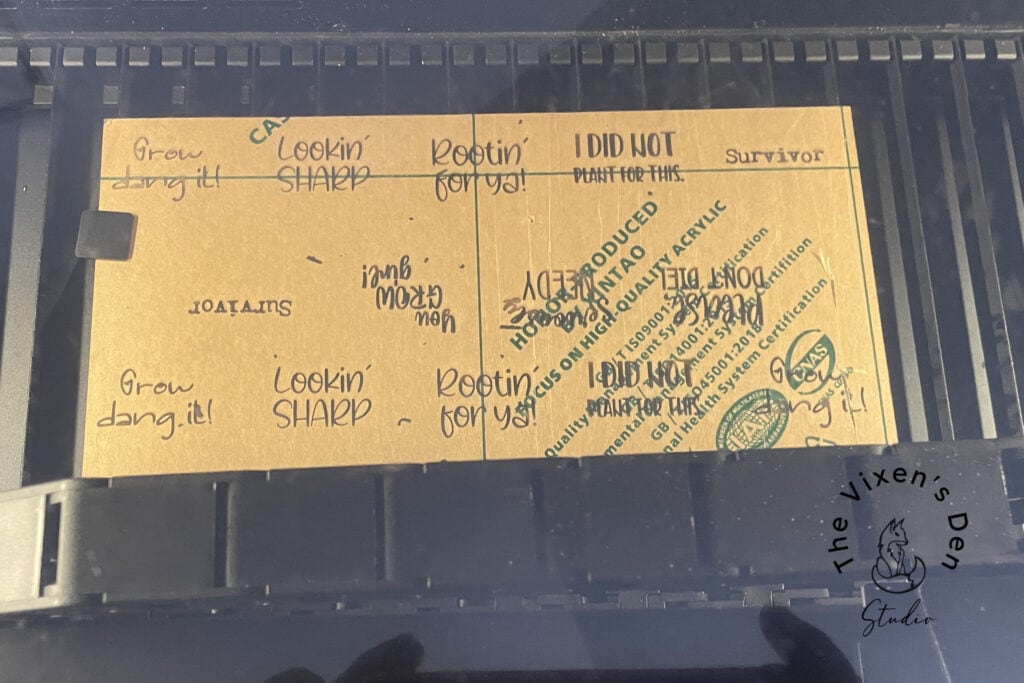
Pro Tip: In case you missed this post, don’t skip the materials test grid when working with a new material or process.
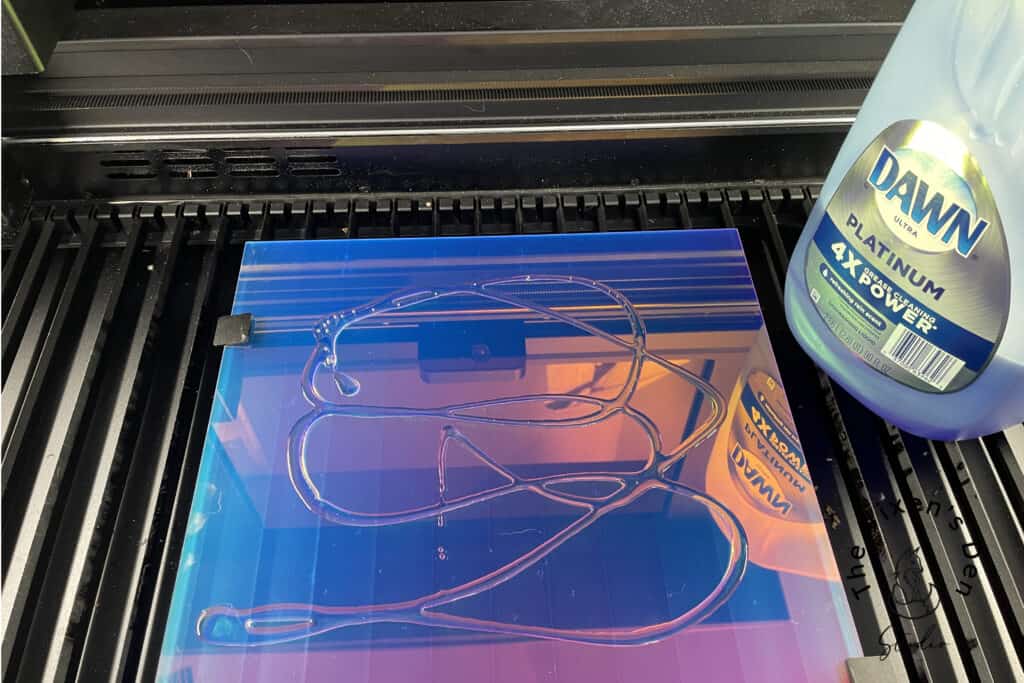
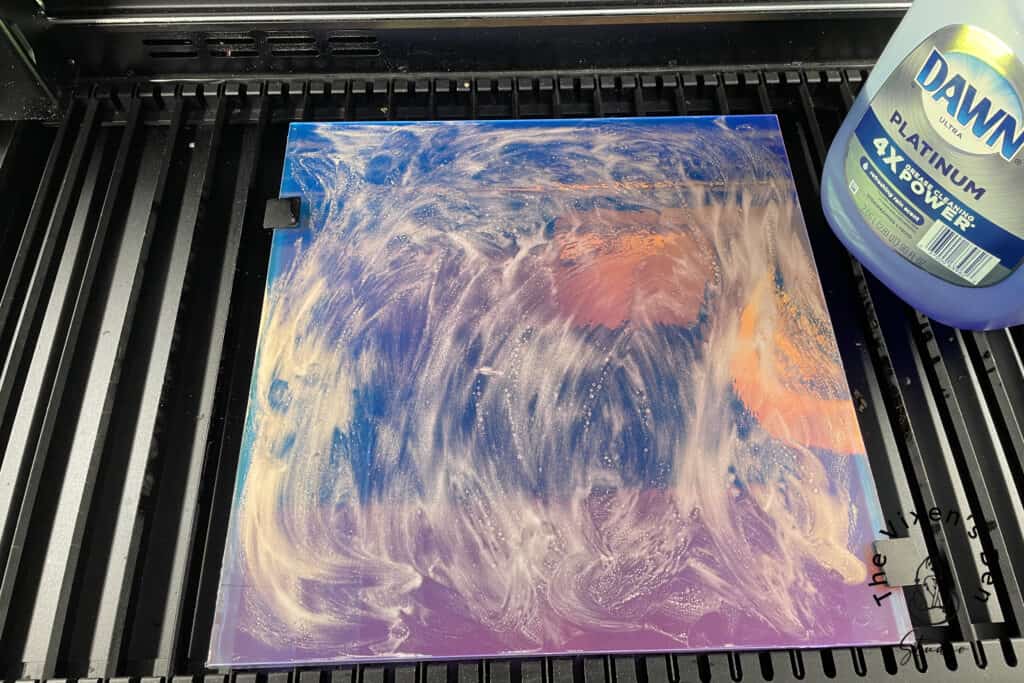
Since then, I’ve been using dish soap to “mask” the acrylic and protect it from flashing. It’s inexpensive, and it works like a charm! Dish soap is also super easy to use and you don’t have to worry about heat getting trapped under bubbles and burning, which can happen with transfer tape if it isn’t pressed down firmly enough.
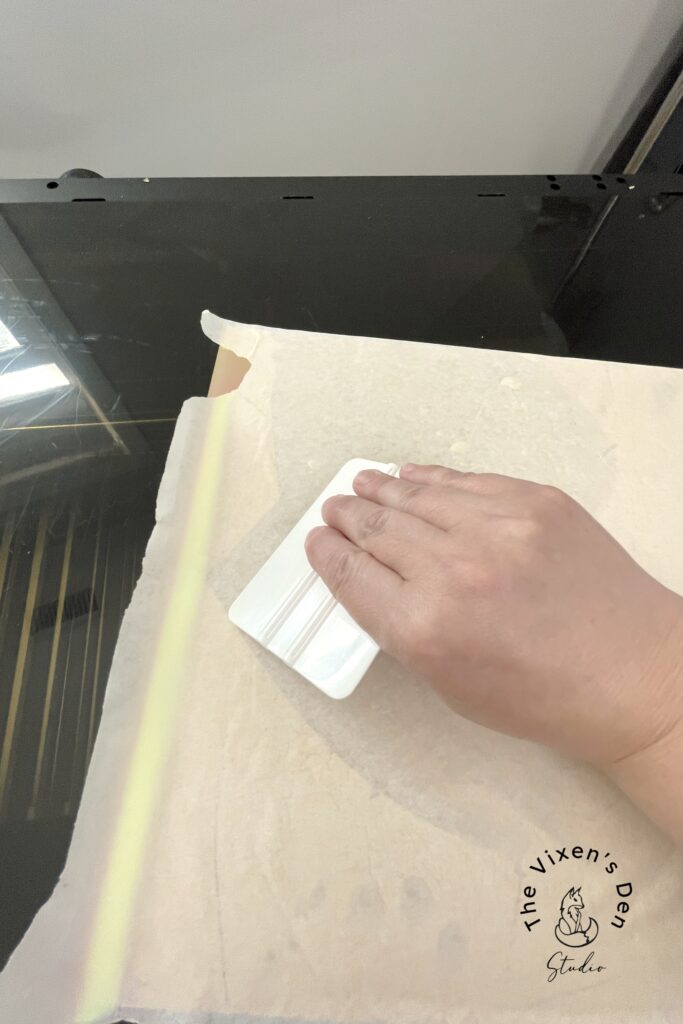
Once the protective film is removed from the top of the acrylic sheet, just spread a thin layer of liquid dish soap on with a brush (or your hands) and let it dry.
While the soap is drying, pick out your design!
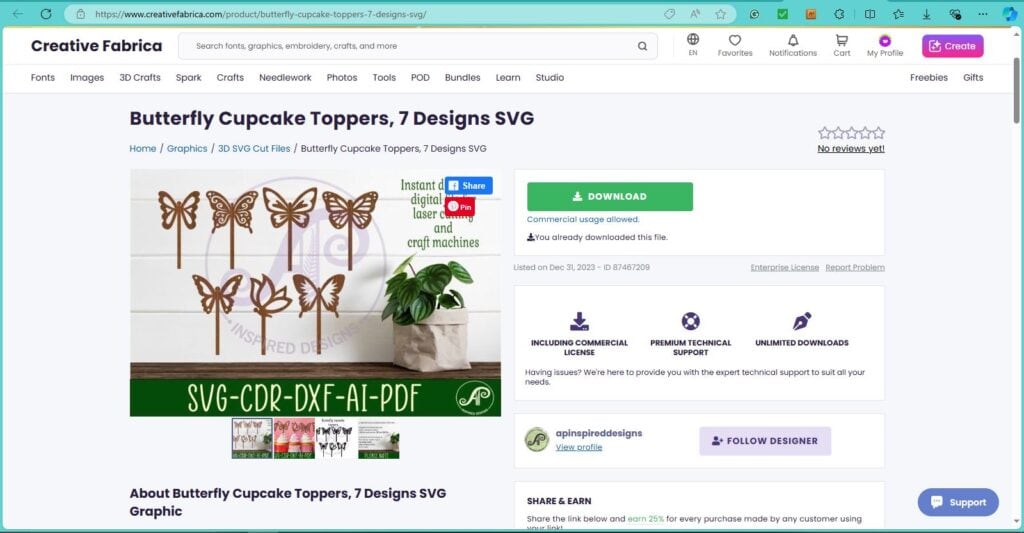
Finding Fun Designs in Creative Fabrica
There is always the option of creating a unique custom design from scratch. But I’m still learning this machine and the design process as it relates to cutting, so I like to start with one of the many beautiful designs available at Creative Fabrica.
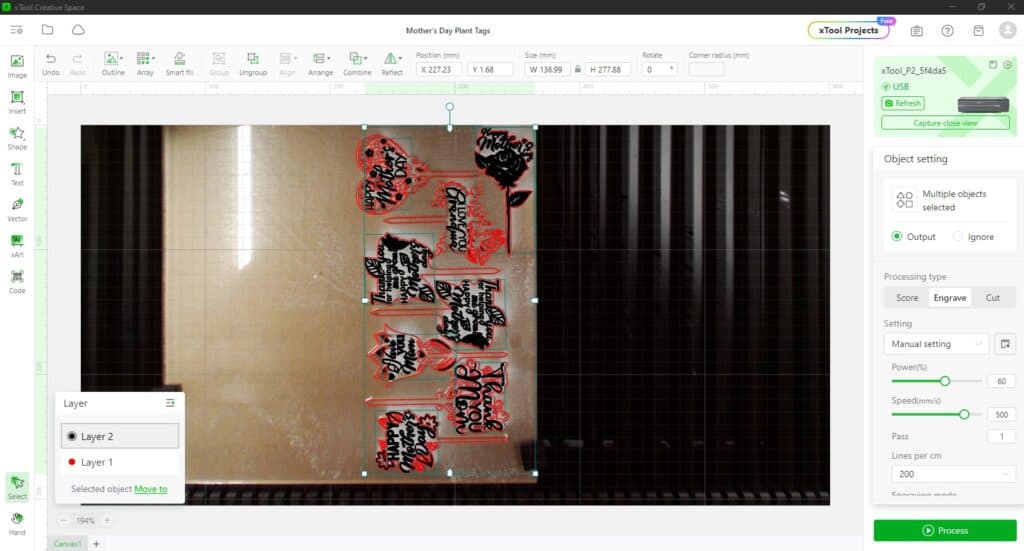
After I download the design, all that I have to do is unzip the file. Then I open XCS and import the SVG file. I can easily resize, rotate, and add to the design within XCS.
If you are looking for a lot of special fonts, however, then you may want to use Affinity or Canva to tweak the design. Then you can download the final version as an SVG and open it in XCS for processing.
Setting up Each Design for Minimal Waste
One of the extra steps that I like to take is to line up the designs so that I don’t have as much material waste. This does take a little bit of time at first, but then once I save it the design is ready to reuse quickly the next time.
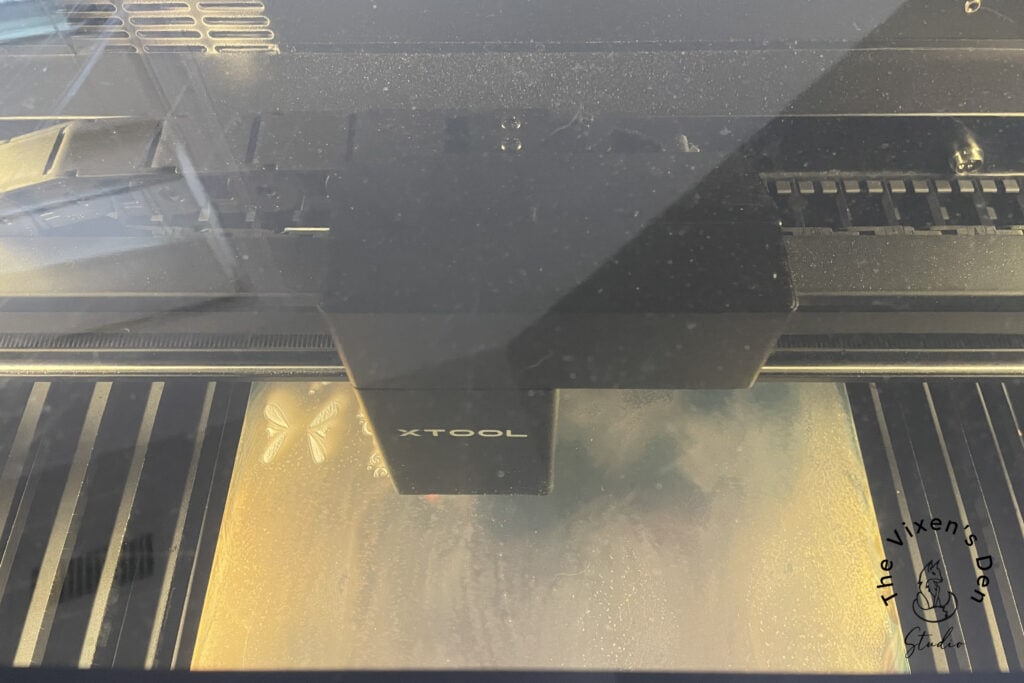
The P2 laser is so precise that the designs can be within millimeters of one another and cut cleanly!
Once the design is ready, press start in XCS and the start button on the P2. Then watch the magic happen!
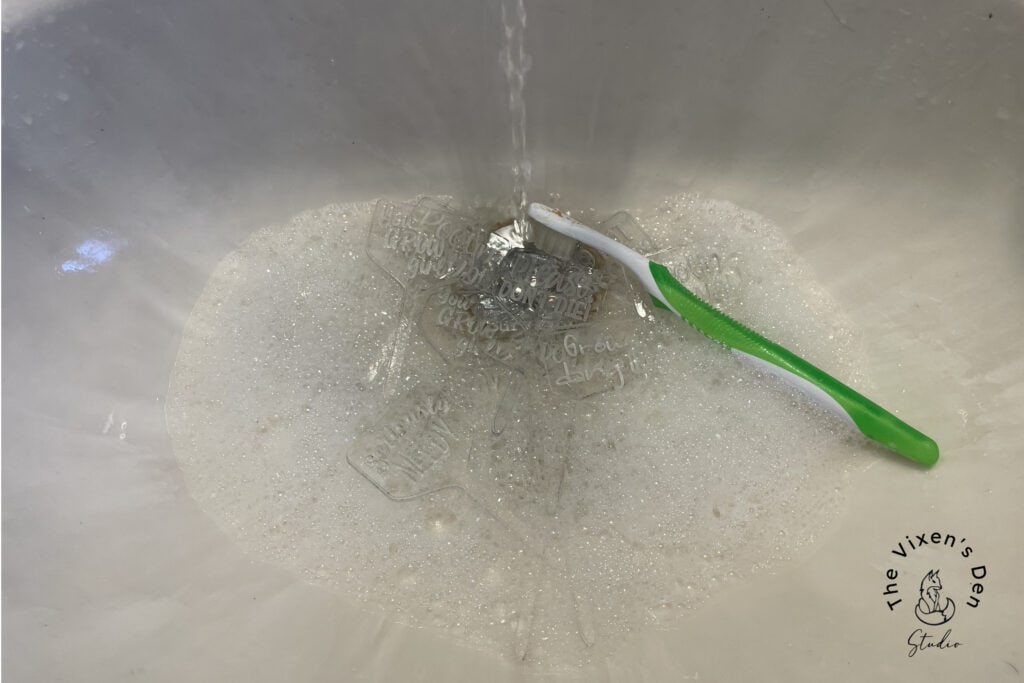
Post-Processing Cleaning
Once the engraving and cutting process is complete, the dish soap also makes it super easy to clean all of the dust out of those tiny crevices. Just rinse it off in the sink and give it a gentle scrub with a soft brush.
Adding Definition with Paint
If you’re looking for something more than the etched glass look, then you can easily add definition and fancy colors with acrylic paint. Before you wash off the soap, just paint into the engravings and let it dry. You can then decide if you want to take the extra step to seal it with a spray of clear coat.
Once the paint and/or clear coat dry, then wash off the dish soap or peel off the protective paper or masking paper.
Pro Tip: This is one of those situations where it may be easier to achieve the desired result by masking with transfer paper.
Acrylic Plant Tags for Special Occasions
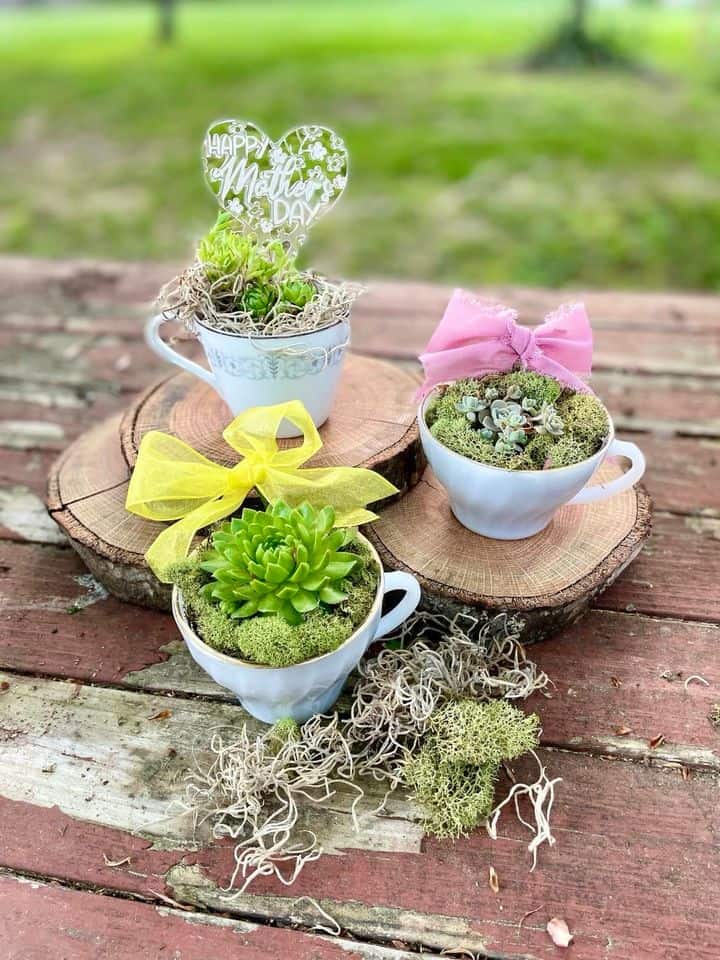
These plant ornaments were a hit at our make-your-own-teacup-succulent-garden event!
But they can be so much more!
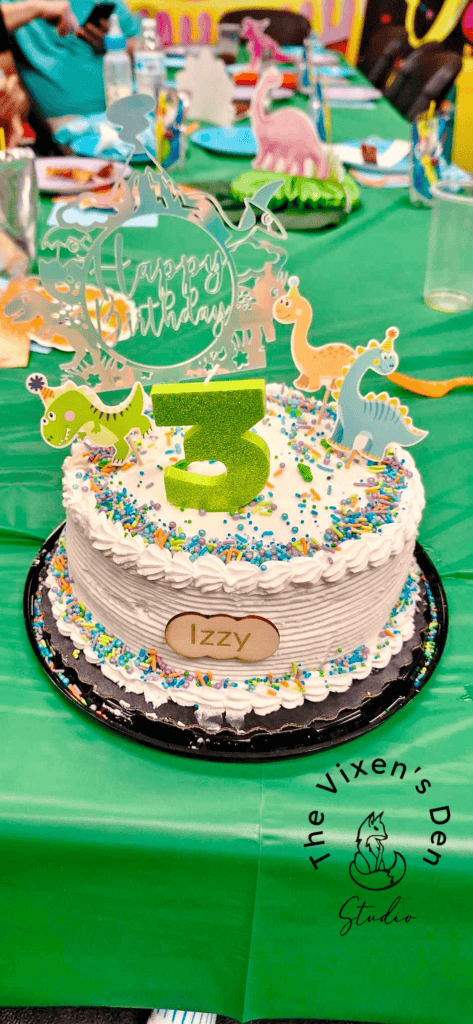
Remember when I turned a dresser into a buffet? A plant tag has the same magical ability to become a cupcake topper. Multiply its size by 3 or 4 and you have a full-size cake topper!
But it doesn’t stop there! Not only are these little tags adorable plant ornaments and cupcake toppers but they could be used as favors, gift embellishments, or decorations. It’s all a matter of scale and the possibilities are endless!
Here are a few examples to help jumpstart your creativity:
Mother’s Day – gift charm/embellishment
Wedding – favor
Birthday – tabletop decor
Dinner Party – charcuterie board
Every Day – plant tag/ornament
Final Thoughts
I hope this post has your brain buzzing with all the possibilities! The xTool P2 made it so easy to create these beautiful plant tags/cupcake toppers/decorations/favors/gift embellishments! The level of detail is incredible!
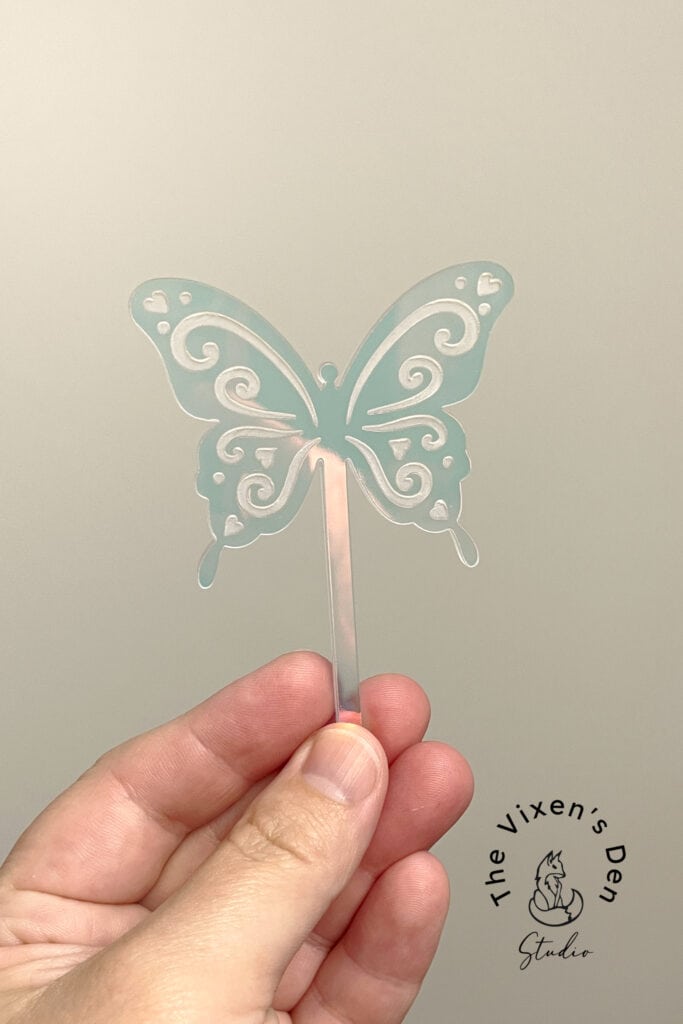
I can’t wait to get started on some more complex layered designs next! Let me know in the comments below, what will you make with your P2?
Ready to dive into the creative world of xTool laser engraving and cutting? Click below to start your xTool journey. At checkout, enter code AFFMTRS15 to receive 15% off select materials!


Thank you so much for stopping by! Until next time, have a beautiful and blessed day!

Don’t forget to sign up so you hear all about the next misadventure! Until then, you may also like this Beginner’s Guide to Setting up the P2 or this post about Finding the Right Power and Speed Settings.

Such a fun gift for that plant Mom or Dad!
Don’t forget to join us over at the Creatively Crafty Linky Party every Wednesday through Sunday
https://creativelybeth.com/creative-crafts-linky-party-2/
Pinned!
Creatively, Beth