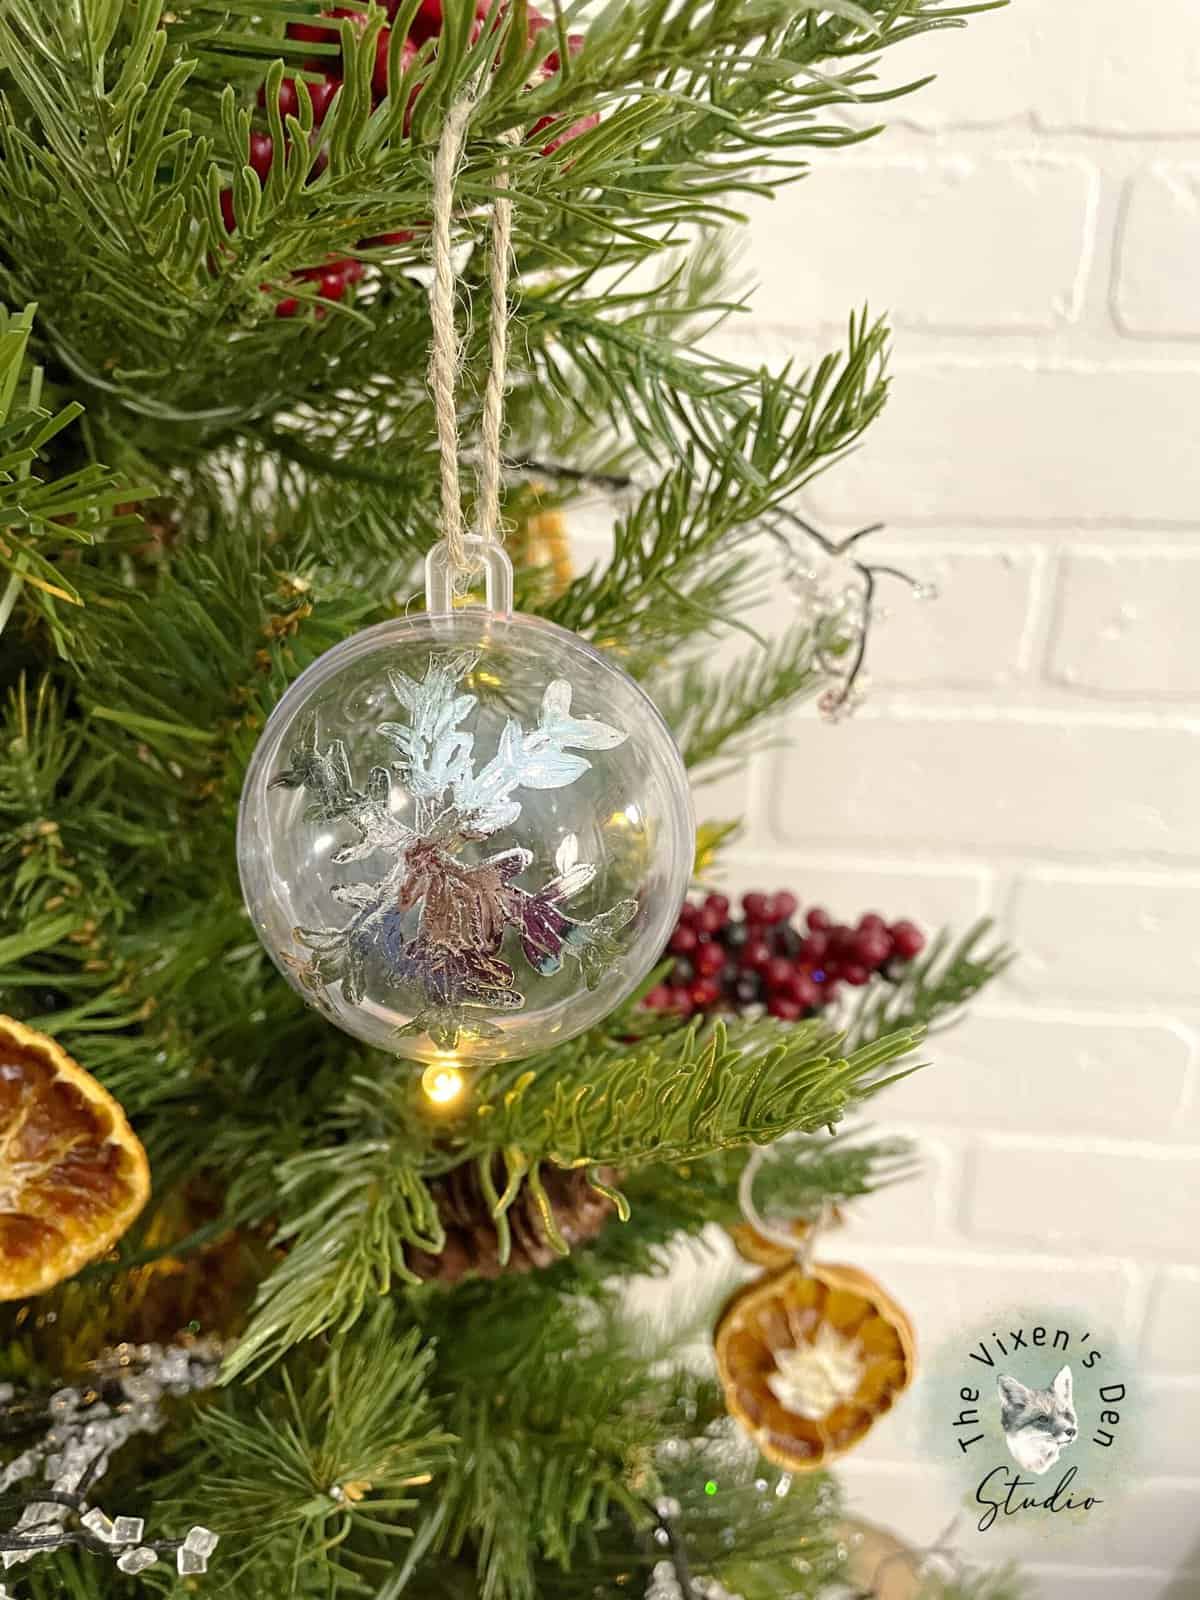
DIY Dried Orange Slices
Have you seen dried orange slices popping up all over the internet? I just love the rustic feel that they have. They seemed like the perfect addition to my little Christmas tree. So, I decided to try my hand at them.
Since my Christmas tree is a mini tabletop tree this year, I decided to try using clementines instead of full-sized oranges for this project. And since I’d never tried this before, there were a few misadventures along the way. But, it wouldn’t be a Becky project without a few “lessons learned.”

Total side trip: did you know that clementines are actually a version of a mandarin orange? It’s true. I learned quite a bit about citrus when I was researching the fruit I used for this post. There are several different sizes and varieties in the mandarin orange family. Who knew!?
THIS POST CONTAINS AFFILIATE LINKS TO PRODUCTS THAT I HAVE OR WOULD USE.
AS AN AMAZON ASSOCIATE, I EARN FROM QUALIFYING PURCHASES AT NO COST TO YOU.
YOU CAN SEE MY FULL DISCLOSURE HERE.
How to Make Dried Clementine Slices
Tools
- Dehydrator or oven
- Knife
- Cutting board
- Heavy Duty Needle
- Scissors
Materials
- Citrus fruit of your choice
- Hemp cord
Drying Orange Slices
I first sliced the clementines in 1/4 to 1/8 inch slices (with a lot of variation in between lol). I used about 9 clementines in total.
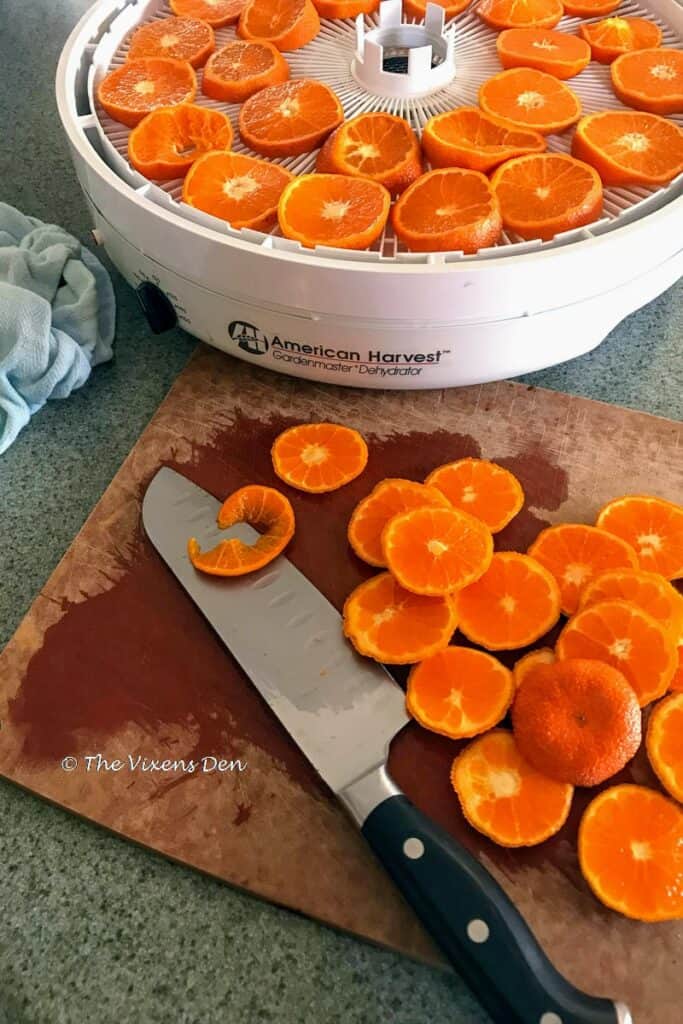
I started off drying the clementine slices using this dehydrator that we inherited from my father-in-law. It was working great! Then, all of a sudden the fan was whirring, but the heating element wasn’t on!
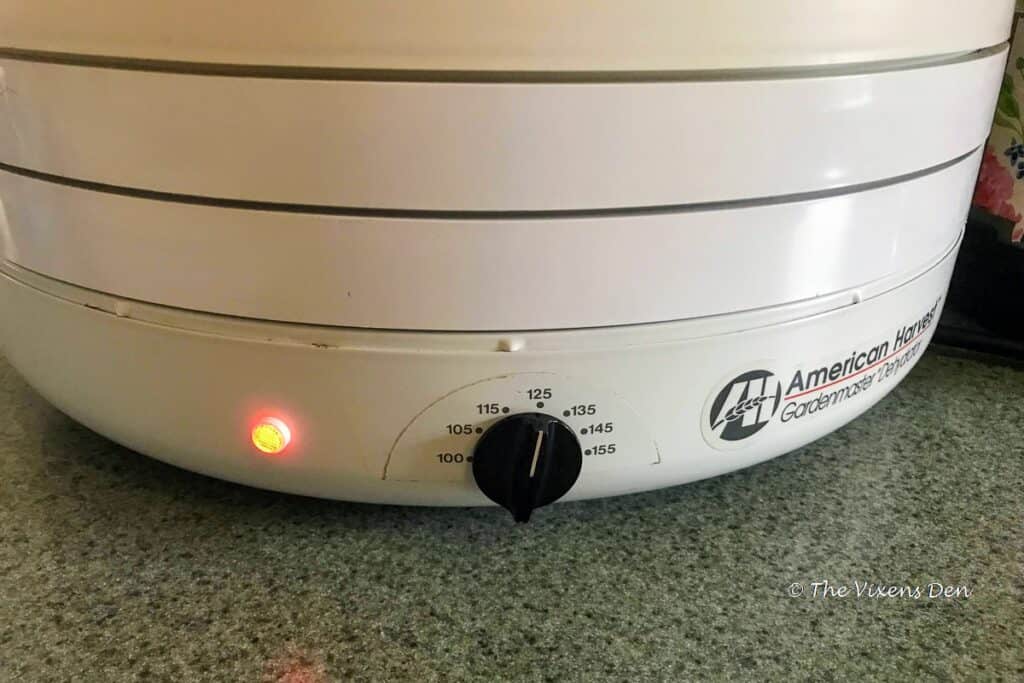
I jumped online to troubleshoot and make sure that, yes, the heating element should in fact be running. I also learned that this particular model was sold out on the company website.
Amazon to the rescue! But, wait…it’s not available for Amazon Prime?! How is a girl supposed to get a post out about dried orange slices in time if she can’t get the dehydrator for two whole weeks?? (Seriously, it’s crazy how spoiled I’ve become by two-day deliveries.)
So, what did I do, you ask? Well, I immediately began searching for instructions on how to dry oranges without a dehydrator. There were lots of tutorials out there, but a lot of them felt incomplete. One of my favorite bloggers, Marian at Miss Mustard Seed came to the rescue!
Following her instructions, I popped my partially dehydrated oranges into the oven at the lowest temperature possible (which for my oven is still 170 degrees). I baked them for about 2 hours and then let them sit in the oven overnight.
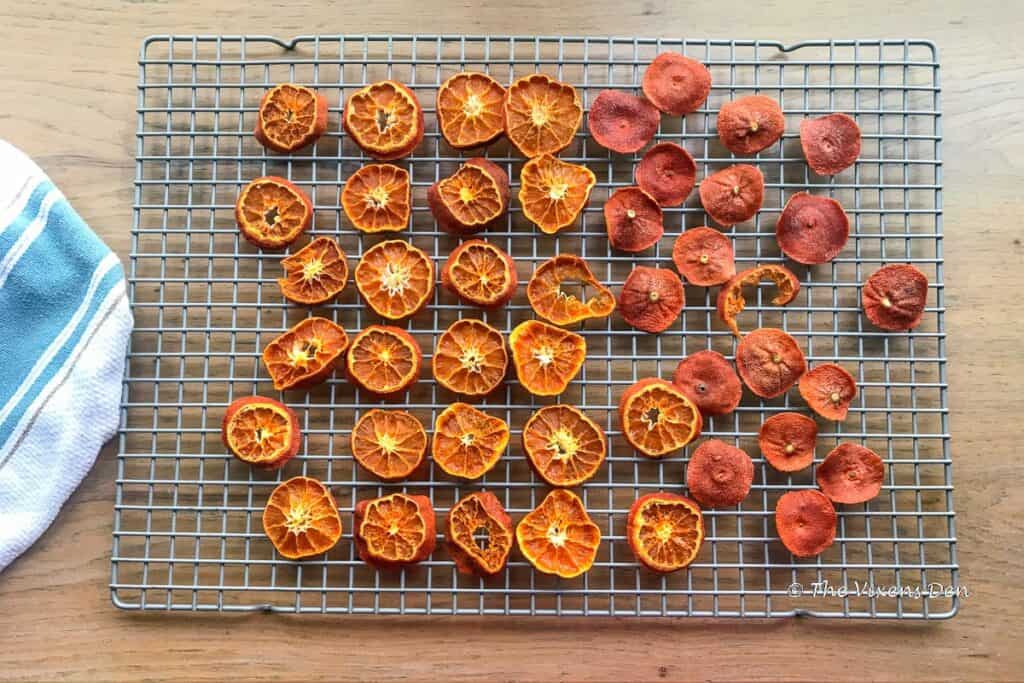
The next day, I took them out and set them on the table to dry even longer. At that point, most of the gumminess was gone, but I still wasn’t 100% certain that they were truly “dried”. Being that this post was on a time crunch, I decided to roll with it.
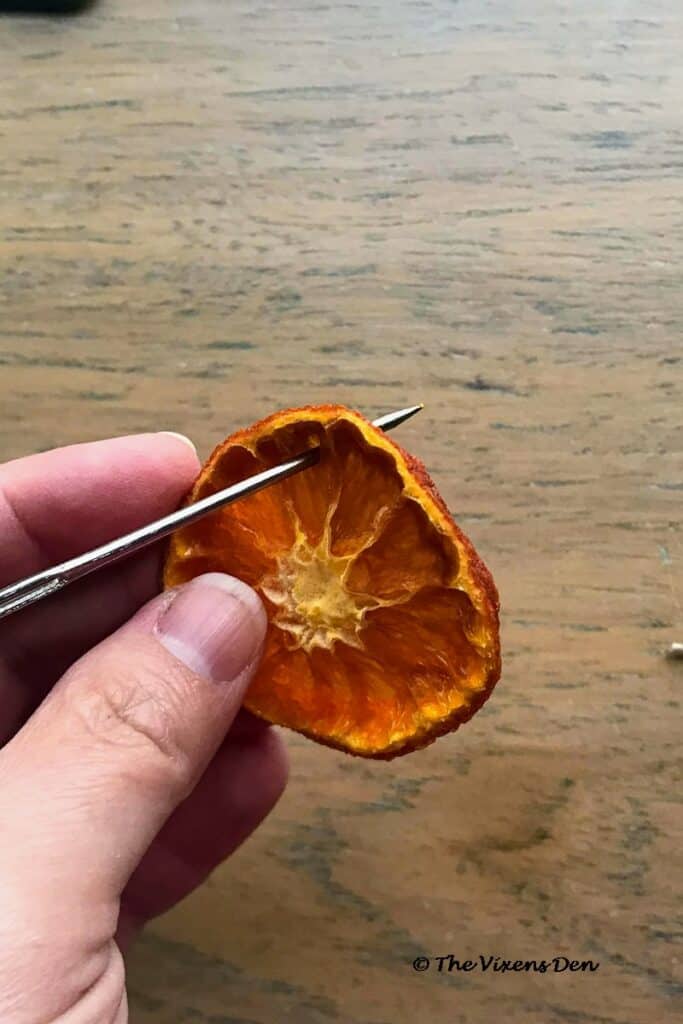
Stringing Dried Orange Slices
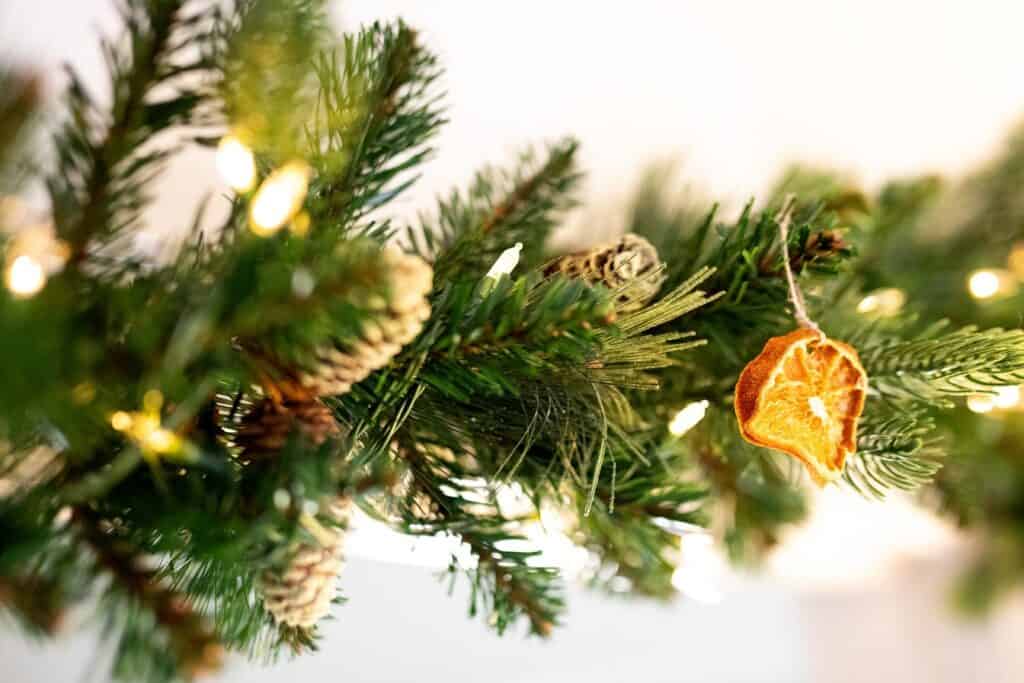
The next step was to turn these cute little clementines into beautiful Christmas decorations!
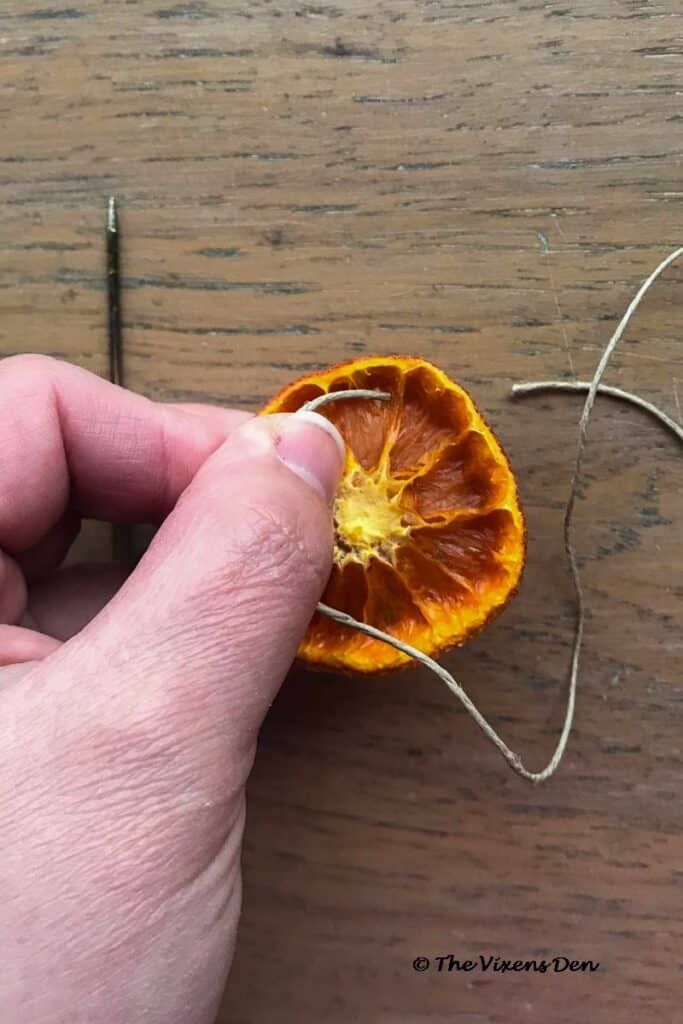
Using a heavy duty needle, I poked a hole through the orange sections next to the rind. The needle made a large enough hole that I could poke the hemp cord through.
I pulled about 5 to 6 inches of cord through the orange slice. Then I cut the cord so that I had about 5 to 6 inches on either side. I tied a knot against the rind and then a second knot at the very end. This created a 4-inch loop to use to hang the orange slice.
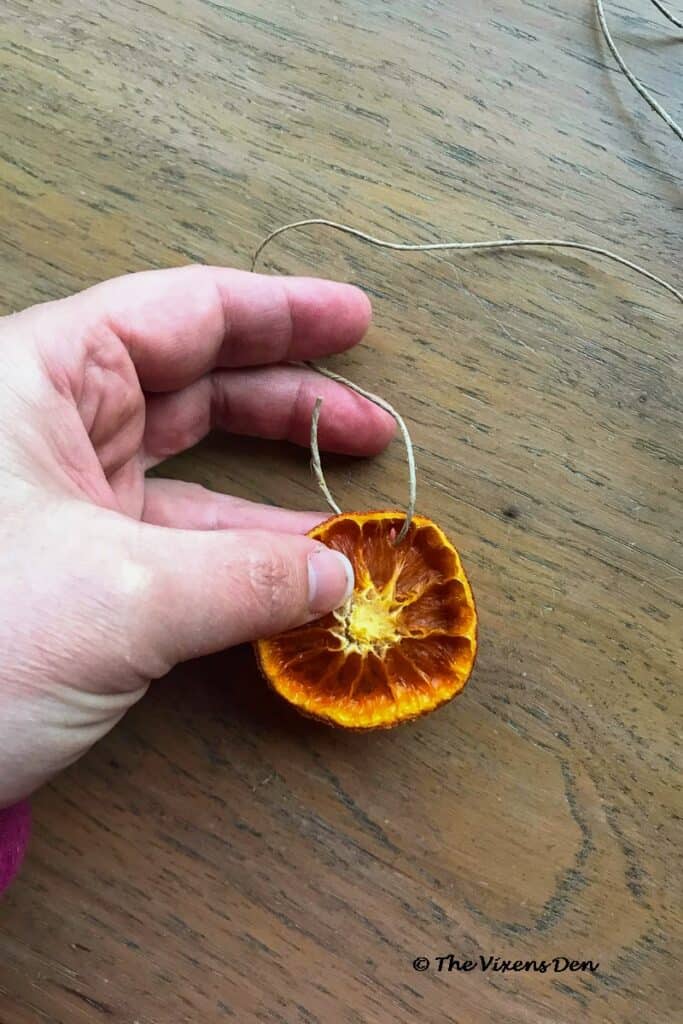
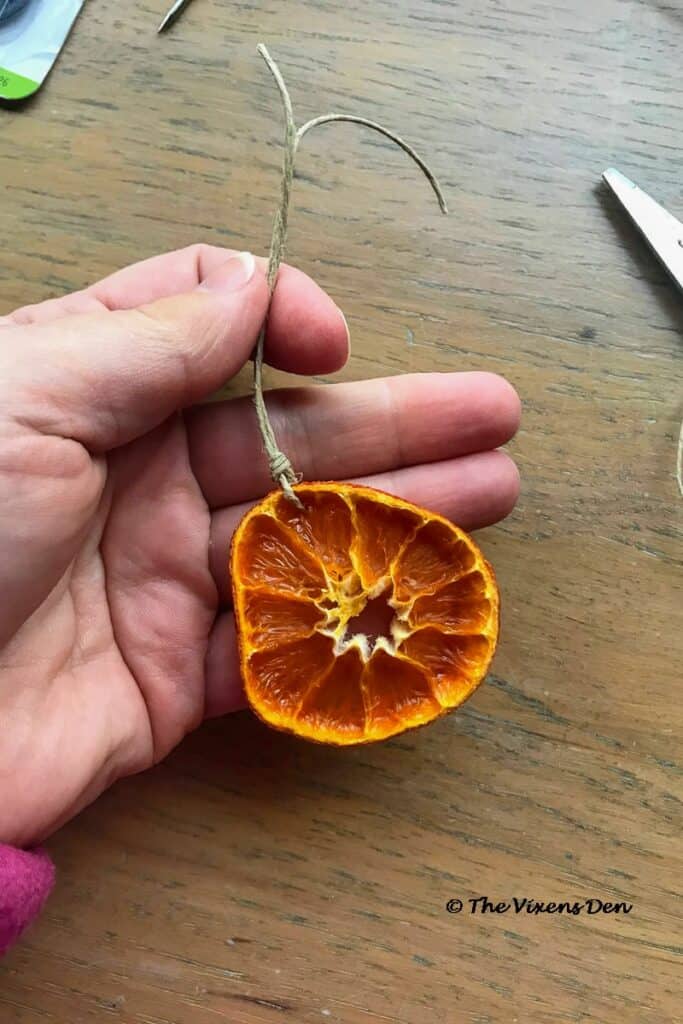
I rinsed and repeated this process until all of the pretty slices were strung and ready for hanging.

Decorating with Dried Orange Slices
The next part is super easy. Just select a branch and slide the cord loop over it.

The 9 clementines that I sliced were enough to decorate the mini Christmas tree and the garland over our french doors, with a few left over.
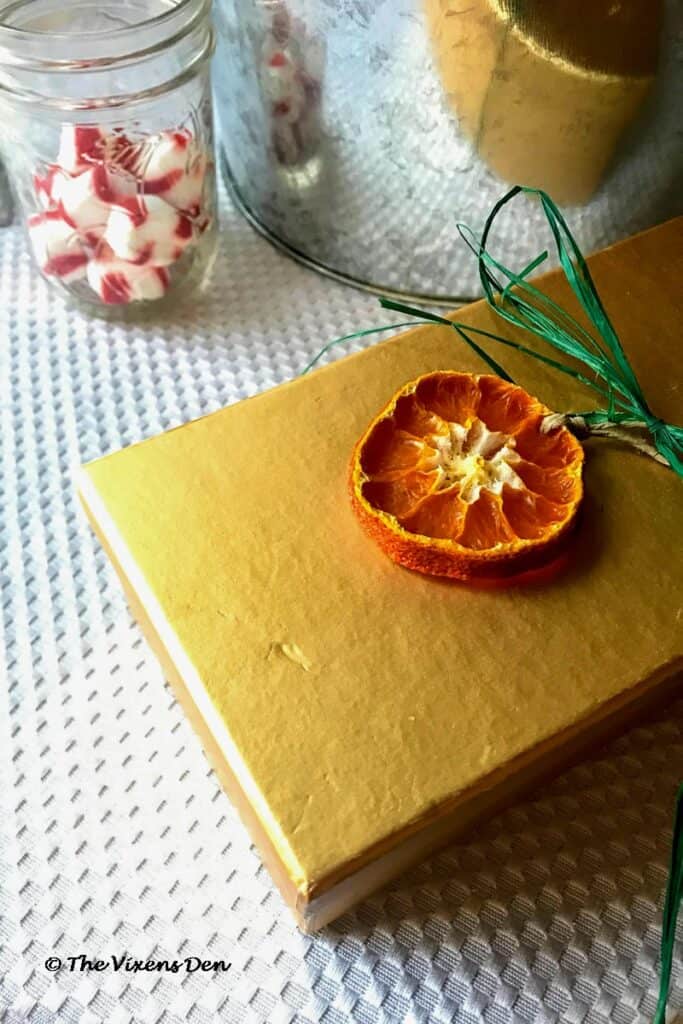
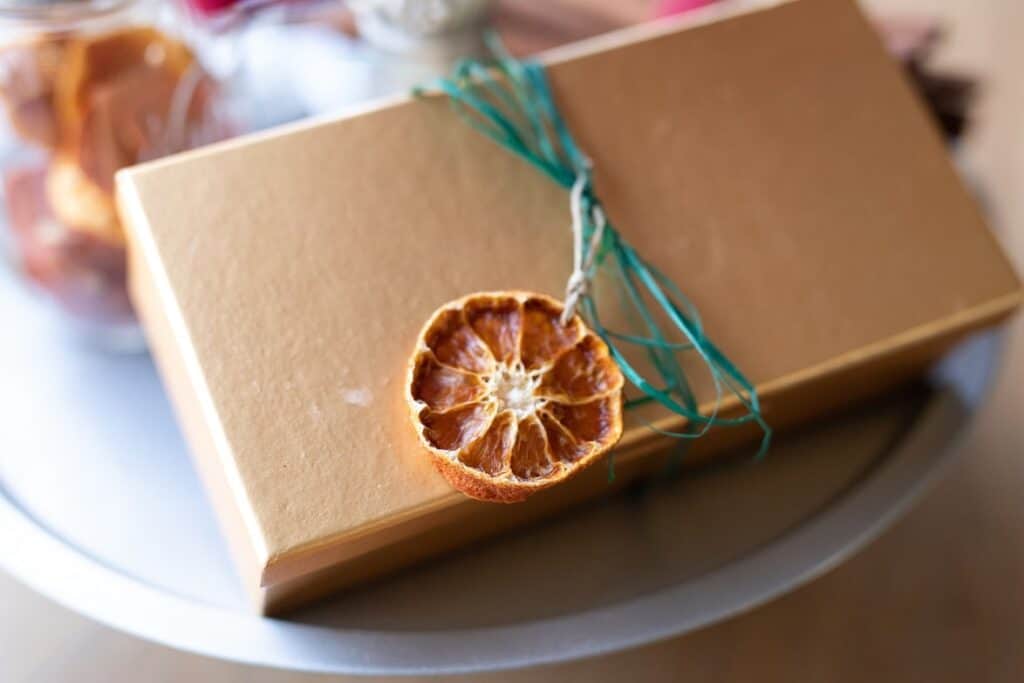
I love how this dried orange slice looks tied to this beautiful gift!
DIY Dried Orange Slices Lessons Learned
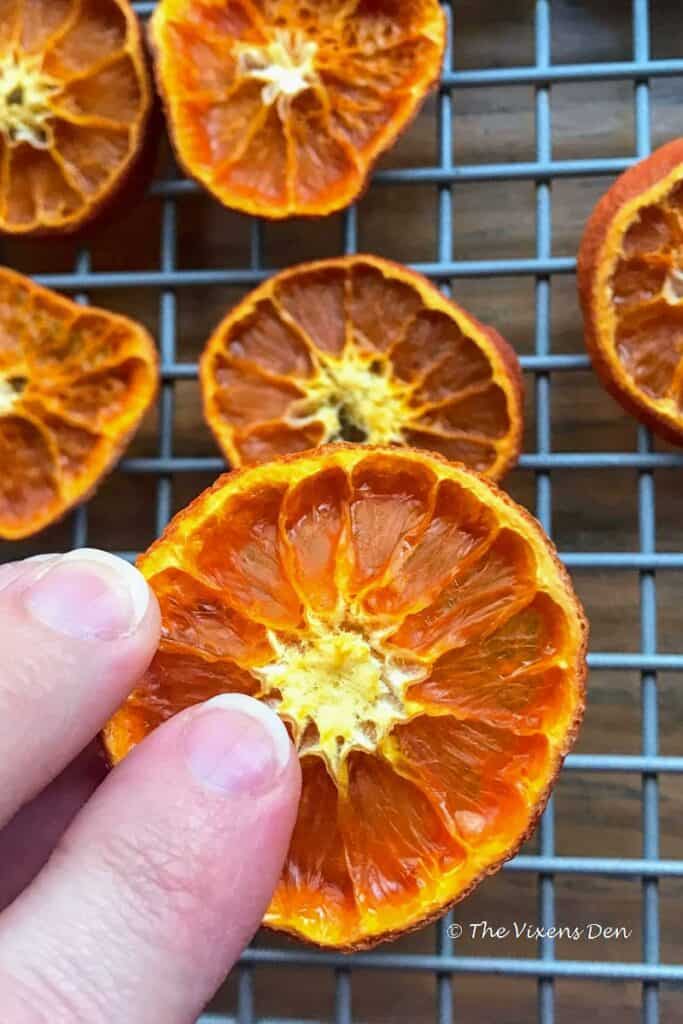
I love the rustic look of these dried orange slices on our little Christmas tree. They glow so beautifully when the lights are behind the ornaments.

Another thing that I love about these ornaments, is that they can be used to decorate an outdoor tree and provide food for the birds, squirrels, and other wildlife in your yard. These would be so cute on a tree with some homemade birdseed suet ornaments.
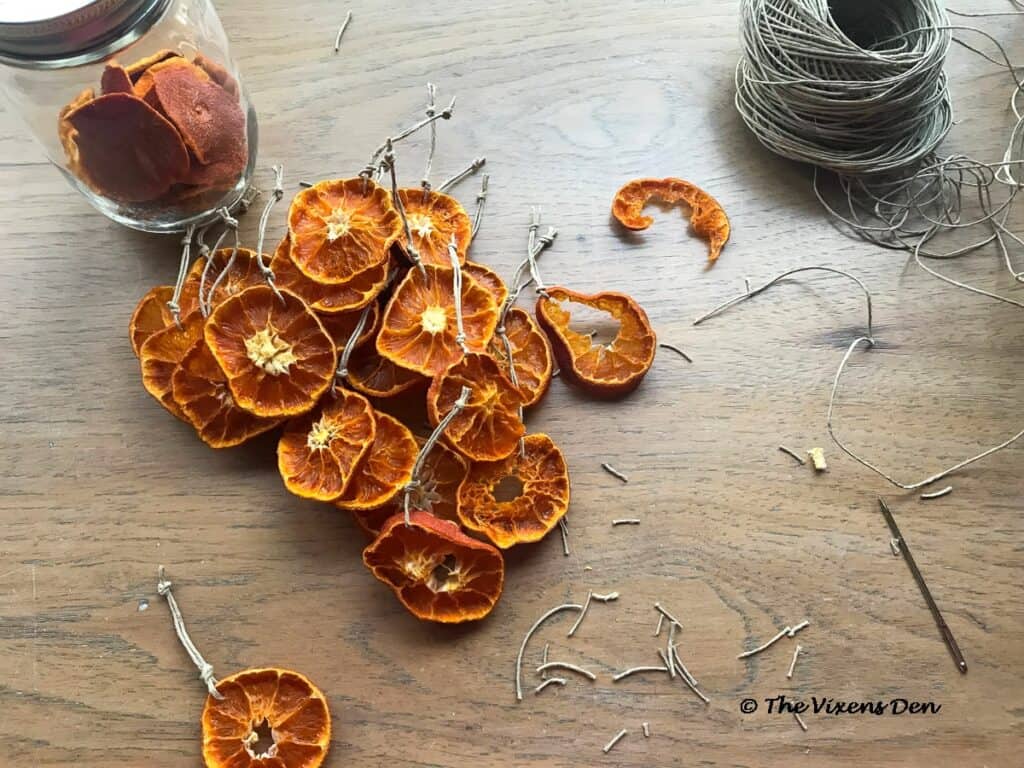
While these ornaments were not hard to create, I wasn’t sure how well they would hold up after my little fiasco with the dehydrator. Since this was my very first time dehydrating or drying out any type of food, I wasn’t sure that they were completely dry. Marian mentioned that she was able to store hers in a glass jar and reuse them the next season. I’m delighted to report that this worked beautifully for me too!
I do recommend storing them in a sealed jar, as some of the oranges that weren’t stored that way darkened a bit.
Even though they’re a little dark, they’re still absolutely beautiful!
What do you think about these dried orange slice ornaments? How would you use them to decorate your home for Christmas? Let me know in the comments below, then sign up so that you can hear all about my next misadventure! Until then, you might also enjoy this post about creating rustic mini-Christmas tree ornaments.
Thank you so much for stopping by! Check out the other amazing projects at the link parties below. I know the hostesses will appreciate your visit and comments.
Until next time, have a beautiful and blessed day!


Linked up to these lovely link party hostesses at:
Don’t forget to sign up so you hear all about the next misadventure! Until then, you may also like this Vintage Sled makeover.


I have seen this cute idea popping up around the inter webs and I think yours is my favorite, Becky! Thanks for the inspiration. These turned out cute!