Vintage Metal File Box Makeover with Clay Paint and Transfers
Transform a dated metal file box into functional vintage decor with Terra Clay Paint and a beautiful Vintage Post transfer!
This metal file box was a gift from a friend who felt it had potential but didn’t have time to work on it. The box was in good shape and the metal latch still worked, but the faux wood look just wasn’t very inspiring.
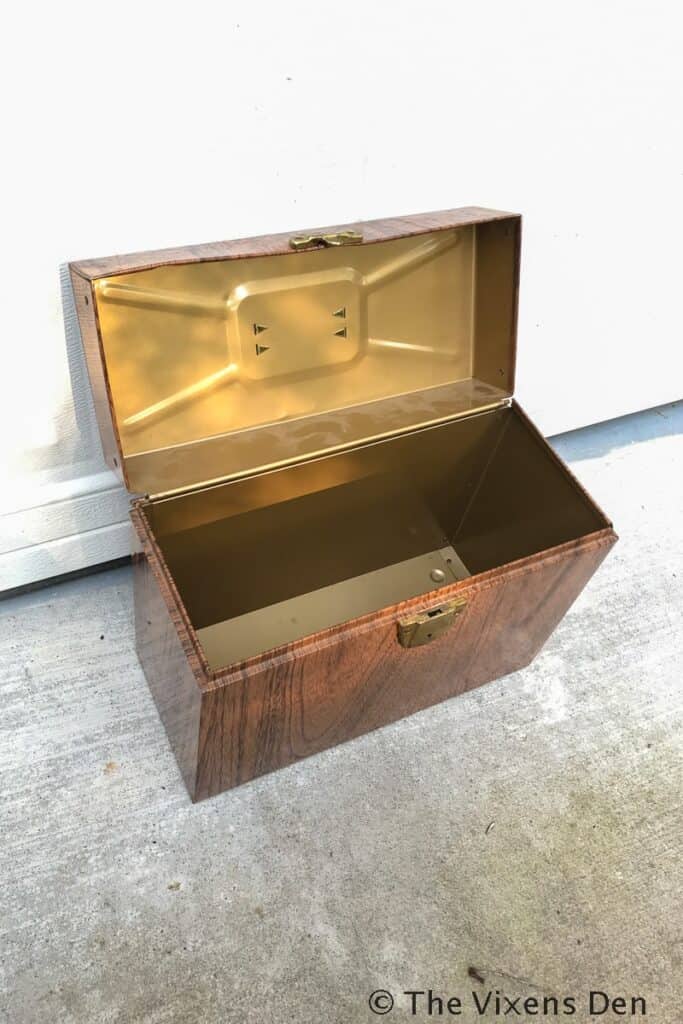
With a good cleaning and some amazing Dixie Belle products, it received a total makeover!
This post is sponsored by Dixie Belle Paint Company. While they provided some of the products for this project, all of the opinions are my own. Follow this affiliate link to see all of their amazing products!
AS AN AMAZON ASSOCIATE I EARN FROM QUALIFYING PURCHASES AT NO COST TO YOU.
YOU CAN SEE MY FULL DISCLOSURE HERE.
Tools and Materials
Tools
2″ mini angle brush
Materials
White Lightning - Blue scrubby
Slick Stick Terra Clay Paint: Moonbeam Vintage Post transfer Terra Seal
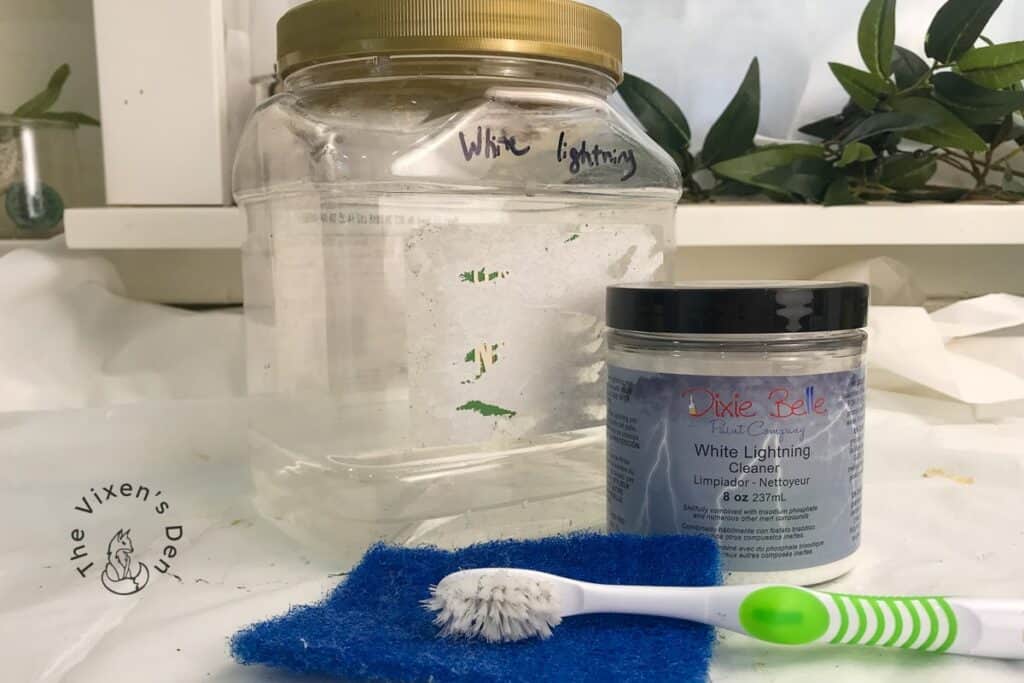
Cleaning & Prepping
This box had spent some time in a basement and who knows where before that. To ensure a good bond between the primer and the metal, I scrubbed the surface all over with white lightning and rinsed thoroughly with warm water.
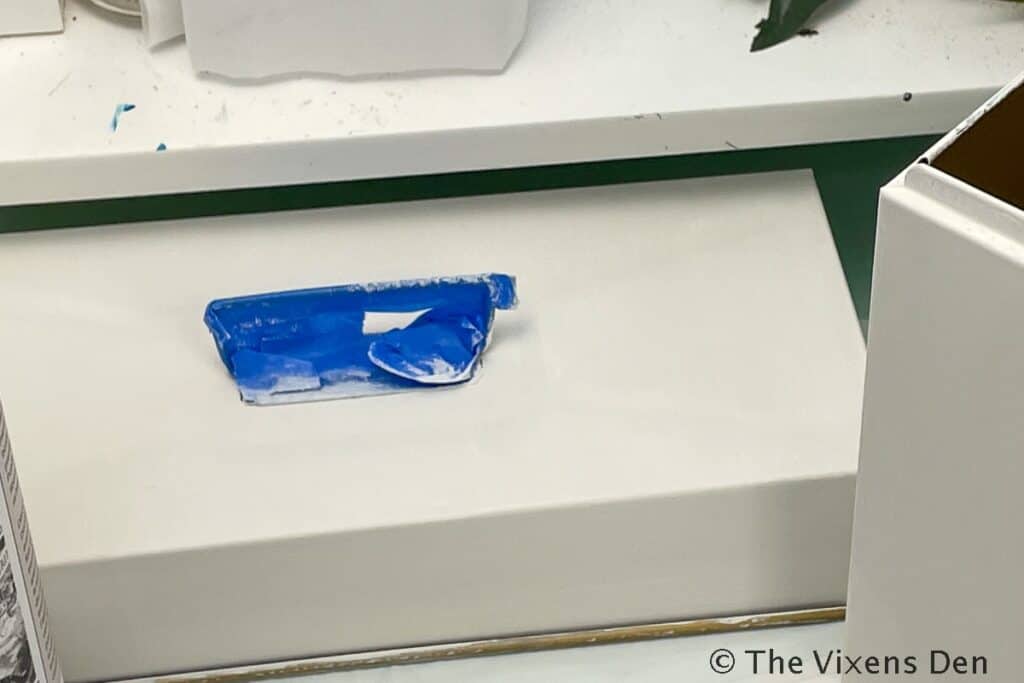
Priming the Metal File Box
I always like to prime a piece to ensure the best adhesion possible, but it is especially important for a slick surface like this metal box. I taped off the brass handle and locking mechanism with painter’s tape. After giving the rest of the surface a light sanding with 220 grit sandpaper and wiping it clean with a tack cloth, I applied two coats of Slick Stick.
Slick Stick is the perfect base coat before applying Dixie Belle paints to a slick surface. It gives that extra grip to keep the paint bonded to the surface of the project. After applying the second coat, I let the Slick Stick dry overnight.
Painting the Metal File Box with Terra Clay Paint
For this project, I chose this creamy white from the Terra Clay Paint line as the base color. It’s a warm white that reflects the name Moonbeam.
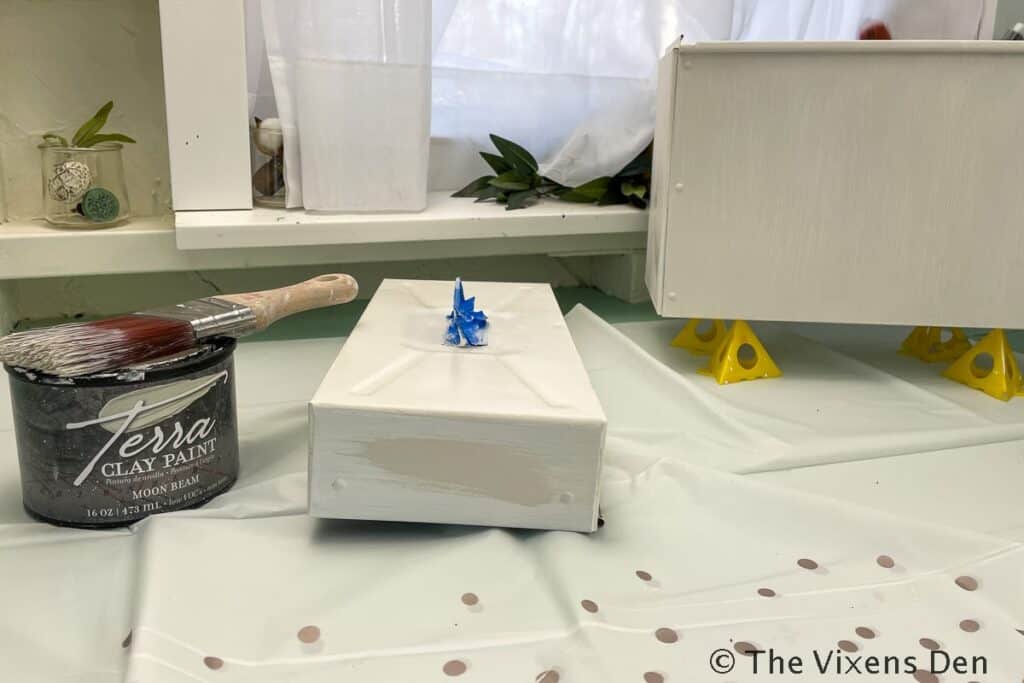
Terra Clay Paint is a “drier” paint than Dixie Belle’s Chalk Mineral Paint or Silk Paint lines. This means that you will need to add more water to achieve a smooth finish. I like to use this continuous spray mister. Before or after you apply the paint, lightly spritz the surface of the piece. The paint will then move much more easily.
With Terra Clay Paint, I wouldn’t expect a smooth “factory finish.” That isn’t what this paint is intended to create. This line is a very thick artistic paint that is intended for hand painting and creative expression. It boasts richly pigmented colors and a beautiful blendability that is so much fun to work with! Just remember that it blends best when it’s blended wet.
Because the surface was primed with white Slick Stick primer and the Terra Clay Paint is such a thick and richly pigmented paint, only one coat of Terra Clay Paint was used to achieve full coverage. I used quite a bit of water to smooth out the finish of the paint, so I allowed the clay paint to dry overnight before adding the transfer.
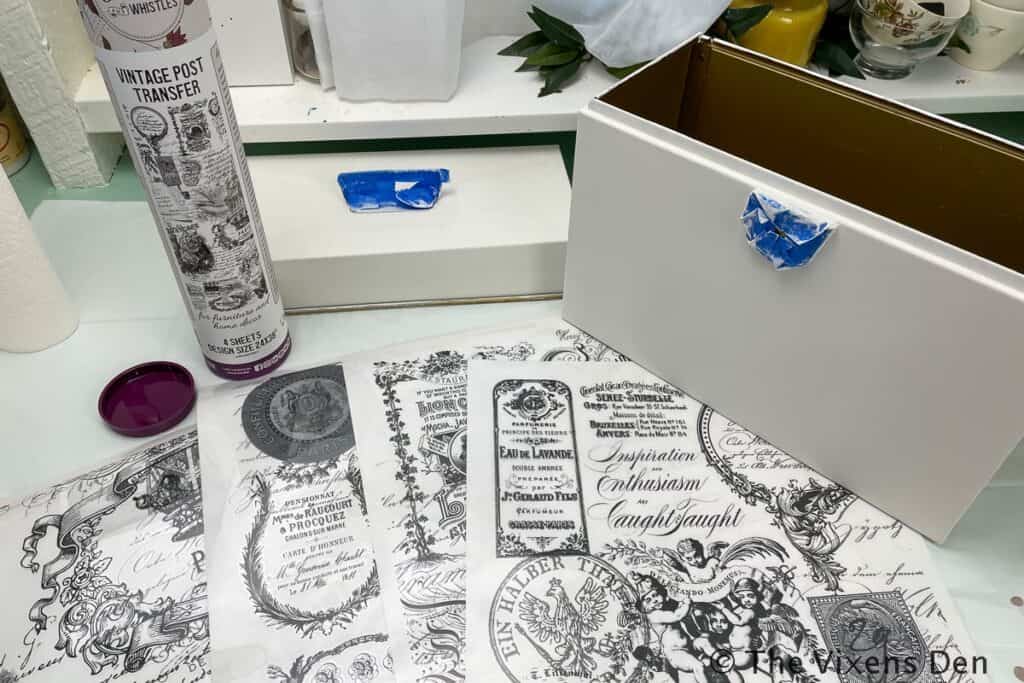
Applying the Vintage Post Transfer
The Vintage Post Transfer from Dixie Belle seemed perfect for this metal file box. I love all of the different designs! They remind me of vintage newspaper ads that you would find lining an antique trunk in the attic of an old Victorian-style house. Soooo beautiful!
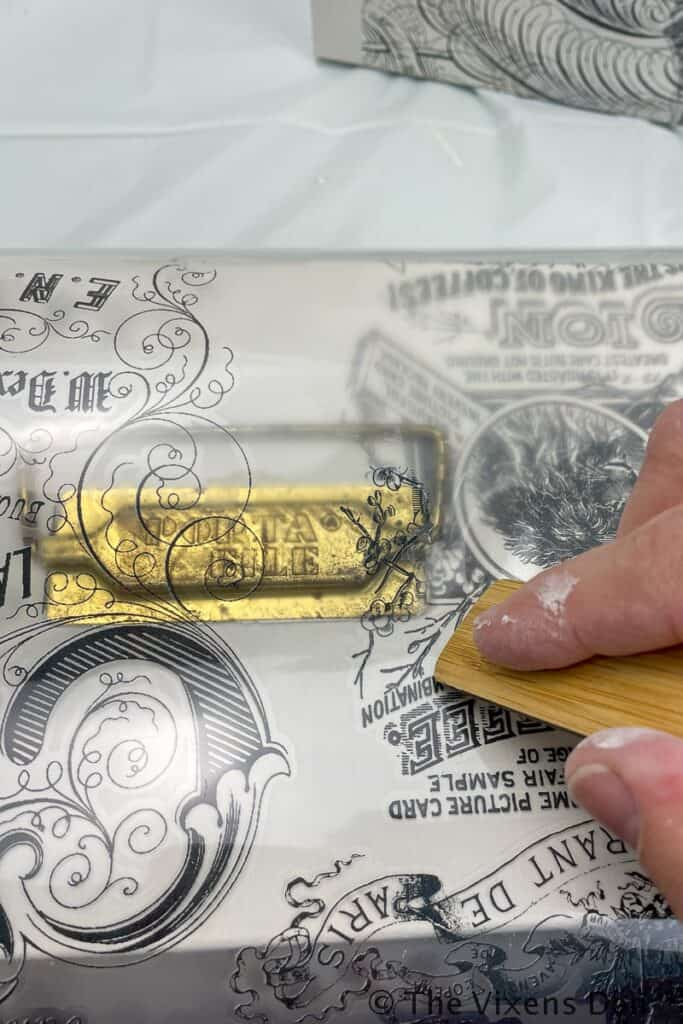
All Dixie Belle transfers come with a stick that you can use to rub or burnish the transfer from the plastic film onto the project. It takes a little bit of pressure, but these transfers release beautifully and provide a quality image with minimal effort.
Pro Tip: I found it helpful to work the design off of the film completely from one side to the next, rather than jumping around from spot to spot. This helps prevent wrinkles and minimizes tearing. It also allows adjustments to the design in case there are dips or bumps on the project surface.
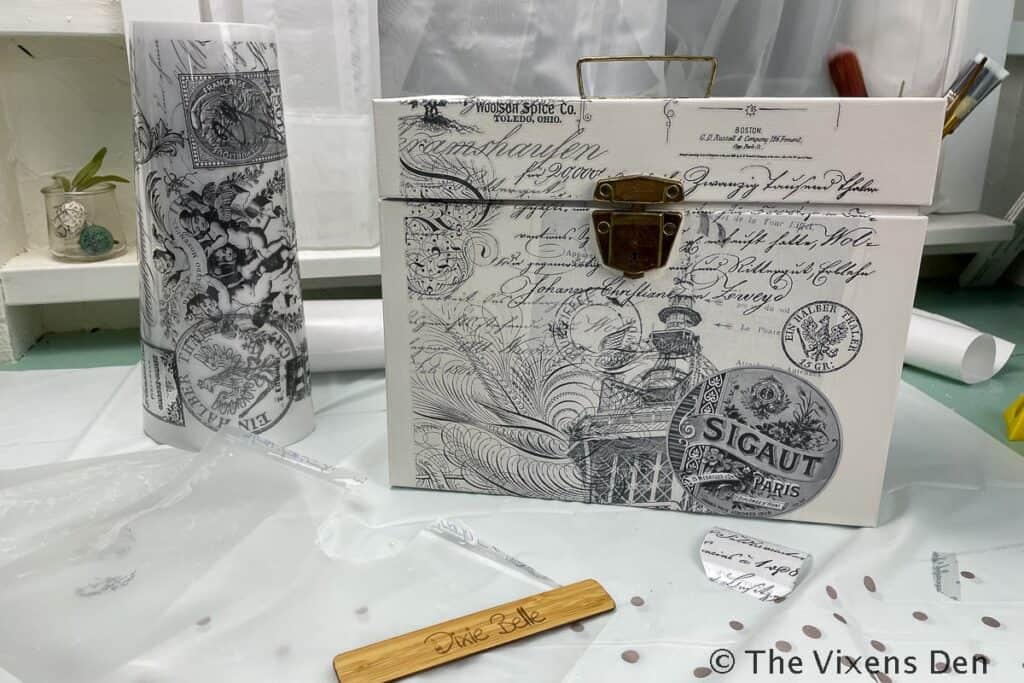
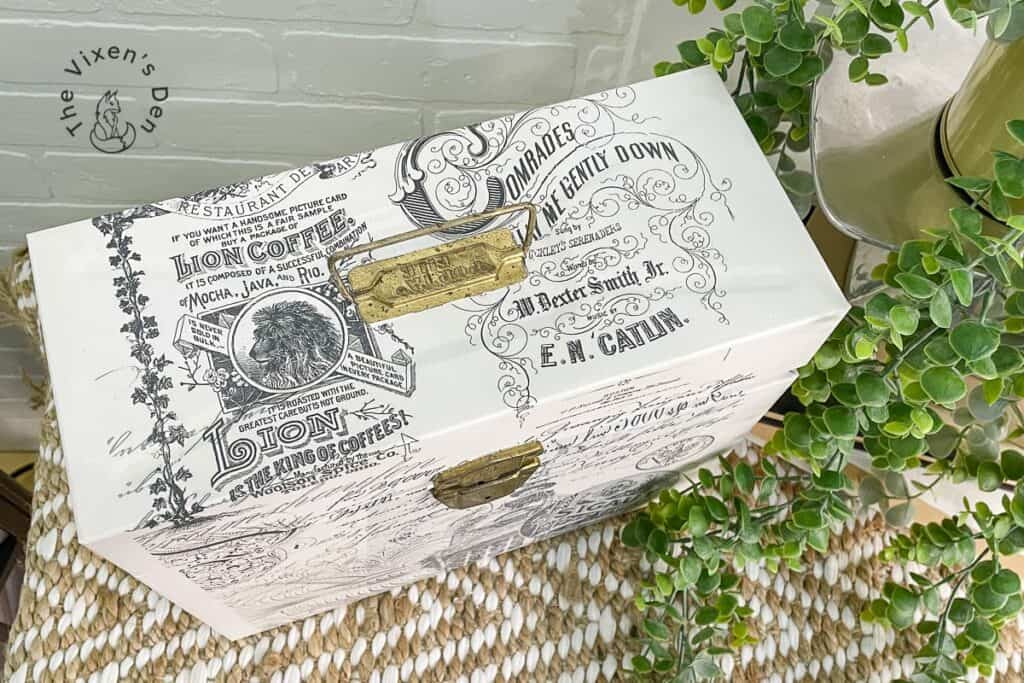
Hindsight is 20/20: When I applied the first section, I cut out the transfer around the lock on the front of the file box. However, I tried something a little different when I applied the transfer to the top of the box. I left the transfer intact and burnished the image right up to the handle.
This created a cleaner image than having to go back and add in bits that were missing. This will definitely be my go-to technique from now on!
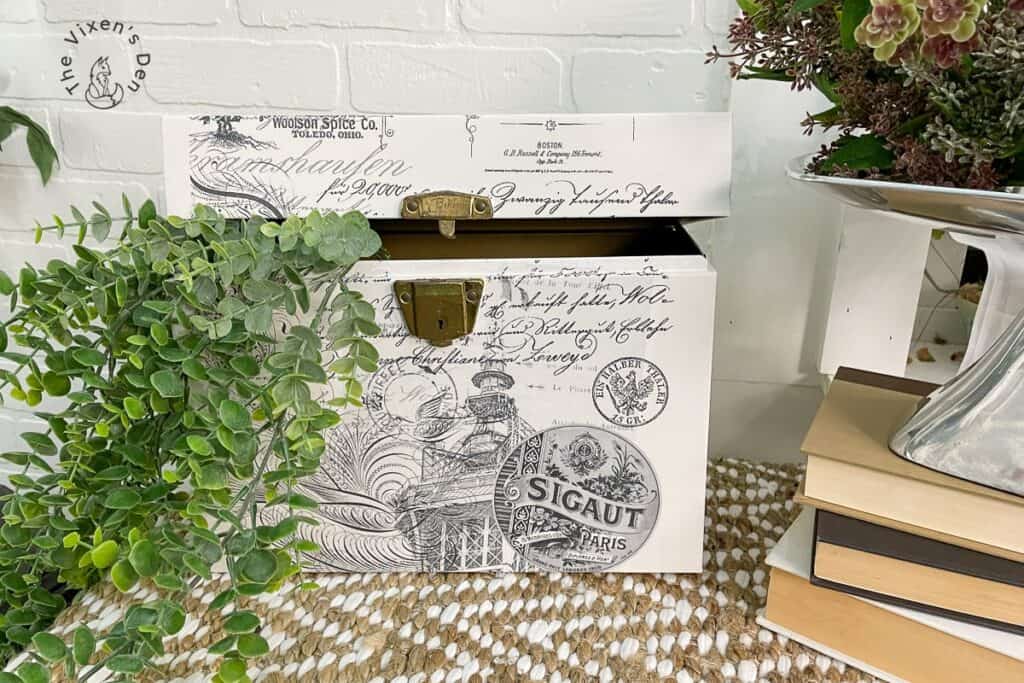
Vintage Post Metal File Box Final Reveal
Here she is all prettied up and ready to shine!

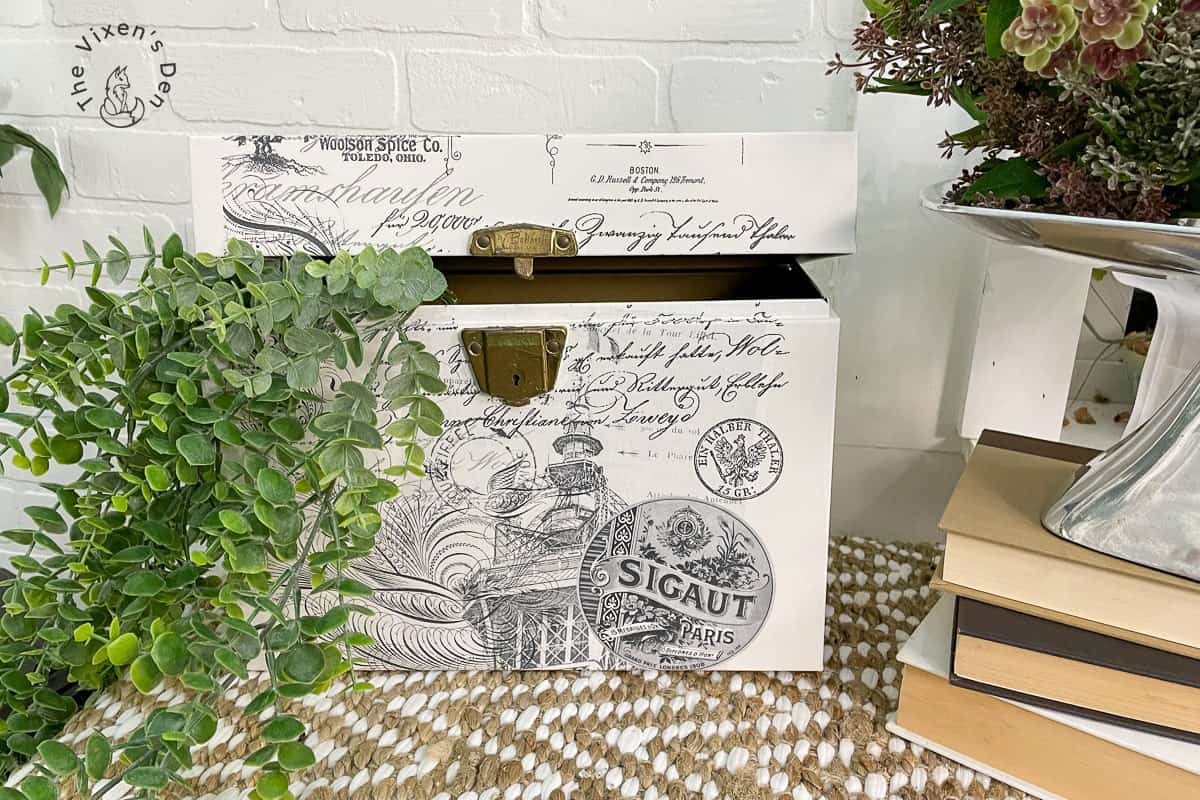
What a difference from that dull, fake wood look from before! This box would make a lovely file box for sorting mail, action item paperwork, cards to send throughout the year, or even just as part of a vignette. How would you use this beautiful file box? Let me know in the comments below. I love hearing your ideas!
Thank you so much for stopping by! Check out the other amazing projects at the link parties below. I know the hostesses will appreciate your visit and comments.
Until next time, have a beautiful and blessed day!


Linked up to these lovely link party hostesses at:
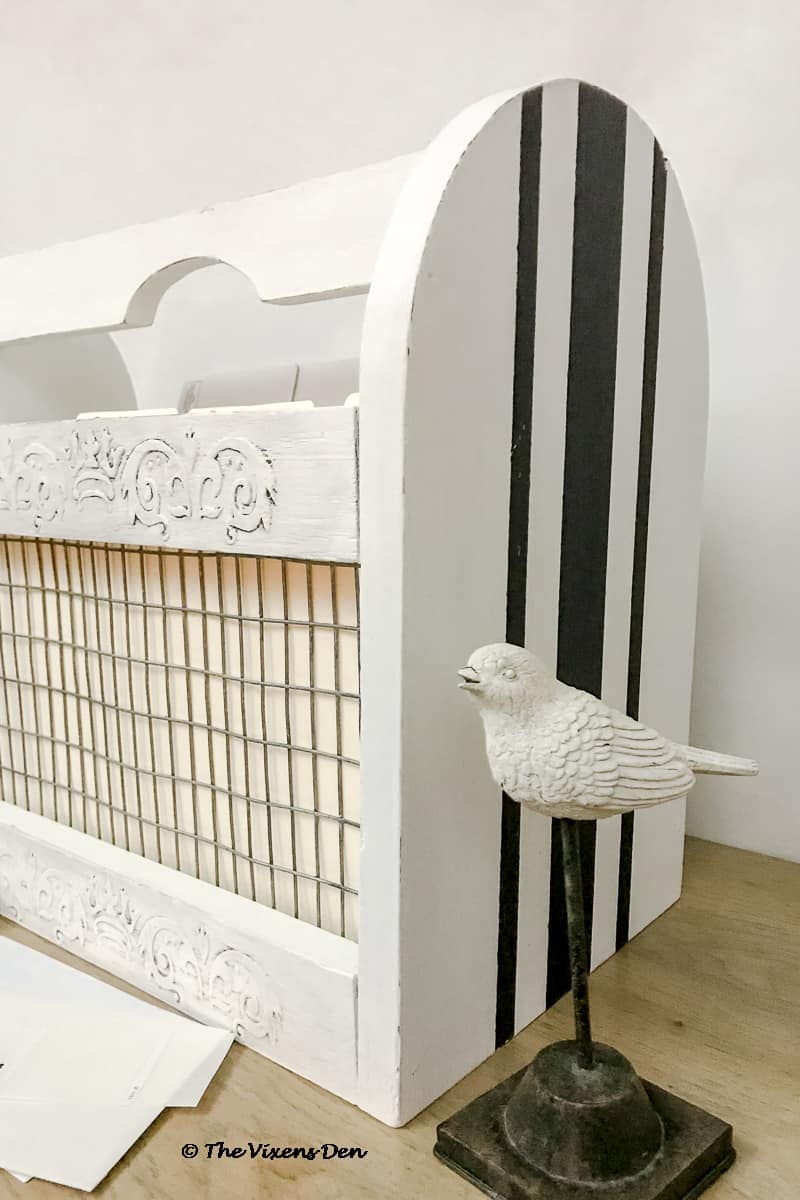
Don’t forget to sign up so you hear all about the next misadventure! Until then, you may also like this Magazine Rack makeover or this Dresser upcycle.
Beck!
I love the white paint & the transfer print you chose!! Vintage classy. Maybe keep cards/stamps/address labels inside?
Lovely job!!
Oh this is lovely – the update is beautiful!!