DIY Transfers
Are you someone like me, who can’t draw a straight line without a ruler, or who has no interest in sitting down and sketching out intricate details by hand? Then you’re in the right place, my friend. This post is all about the process that I like to use to DIY transfer pictures and typography to furniture and other decor items. Let’s get started!
THIS POST CONTAINS AFFILIATE LINKS TO PRODUCTS THAT I HAVE OR WOULD USE.
AS AN AMAZON ASSOCIATE, I EARN FROM QUALIFYING PURCHASES AT NO COST TO YOU.
YOU CAN SEE MY FULL DISCLOSURE HERE.
Gather Your Supplies
Tools
- Project piece
- Computer
- Laser printer (or use Staples print services!)
DBP Synthetic Brushes - Container for water
- Rag
- Plastic scraper (or an old shopper’s card)
Materials
- Printer paper
- Mod Podge
- Water
Paint or stain (if painting or staining the project)Clear top coat
Process
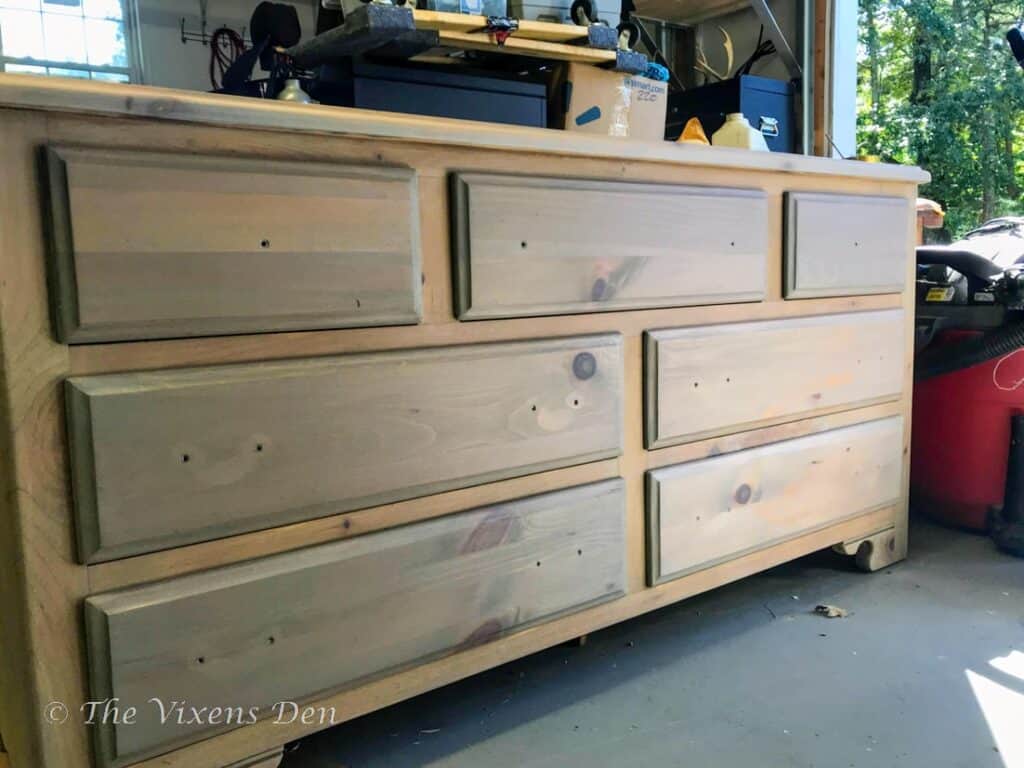
Select the Project
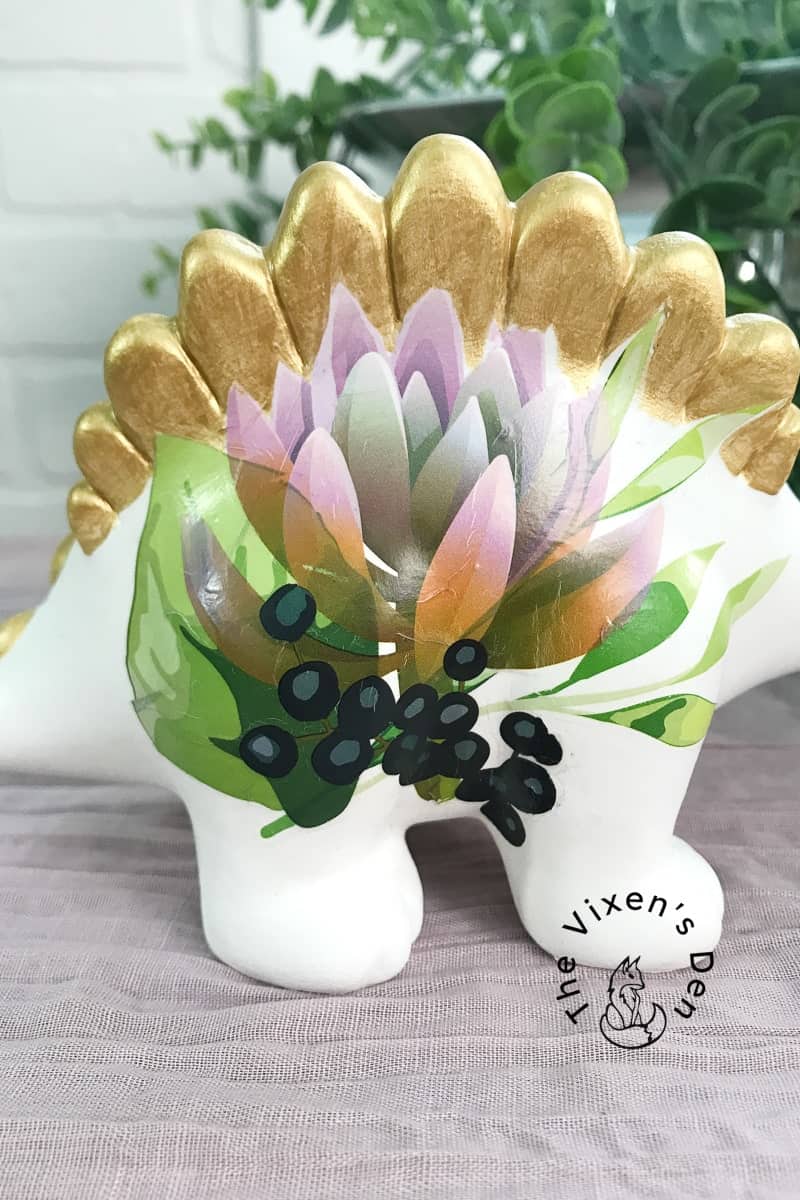
I genuinely believe that you can apply a transfer to pretty much anything. I’ve made transfers to ornaments, table legs, tabletops, and dresser fronts. If this is your first transfer project, I’d stay start with something small. It hurts less if you end up having to sand it off and start over. (Ask me how I know.) Most of my transfers have been applied to wood, so I recommend a wood slice or an ornament to start out.
Choose the Transfer Image
Once you have your project picked out, then you need to select your transfer. It could be a personal photo, a great quote with some pretty typography, or a fabulous picture that you found online.

*Important Tip: Copyright infringement is a huge deal. So, if you select a photo from the internet of things, just make sure one of the following is true:
- The photo is free to use (public domain/royalty free)
- You are willing to purchase the image
There are plenty of free to use images available. Check out sites like pexels.com or unsplash.com for public domain photos. Both sites offer free to use images and paid memberships.
Some fantastic resources for DIY graphic image transfers are The Graphics Fairy and Design Bundles. Both sites offer free graphics. Graphics Fairy also has a membership program that you can join to access premium images. Design Bundles also has great fonts and bundles of images available for purchase.
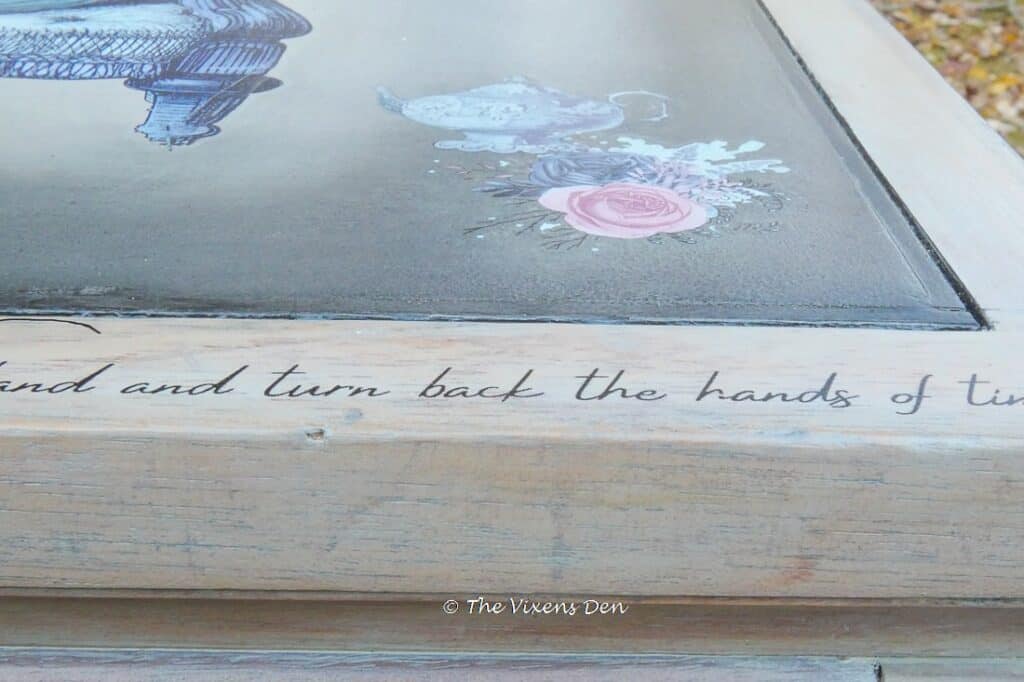
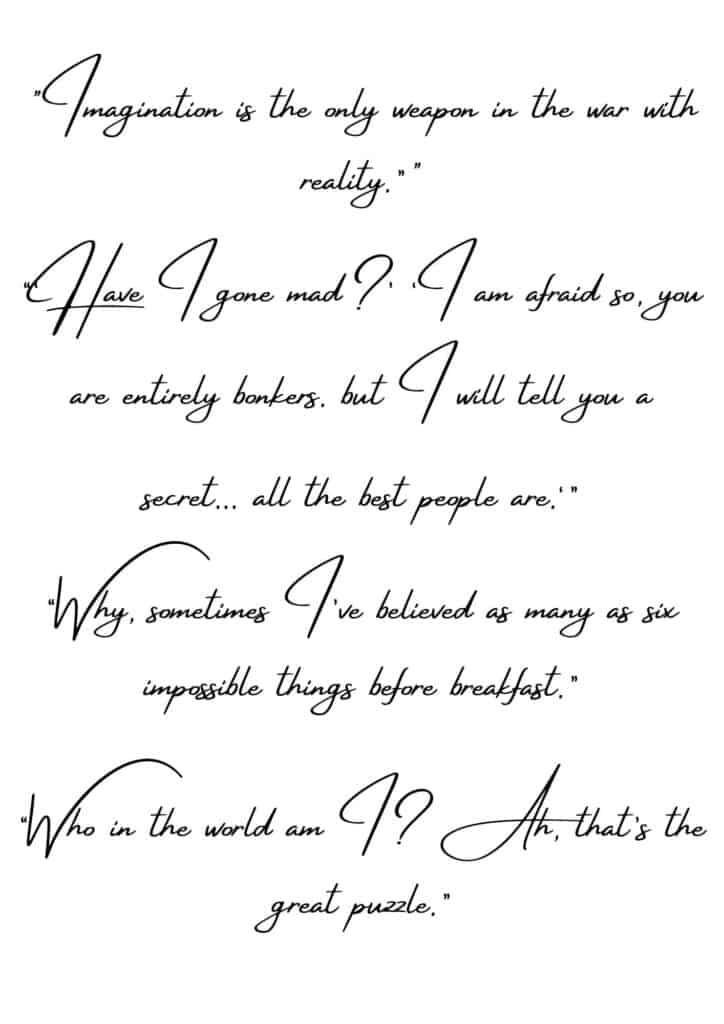
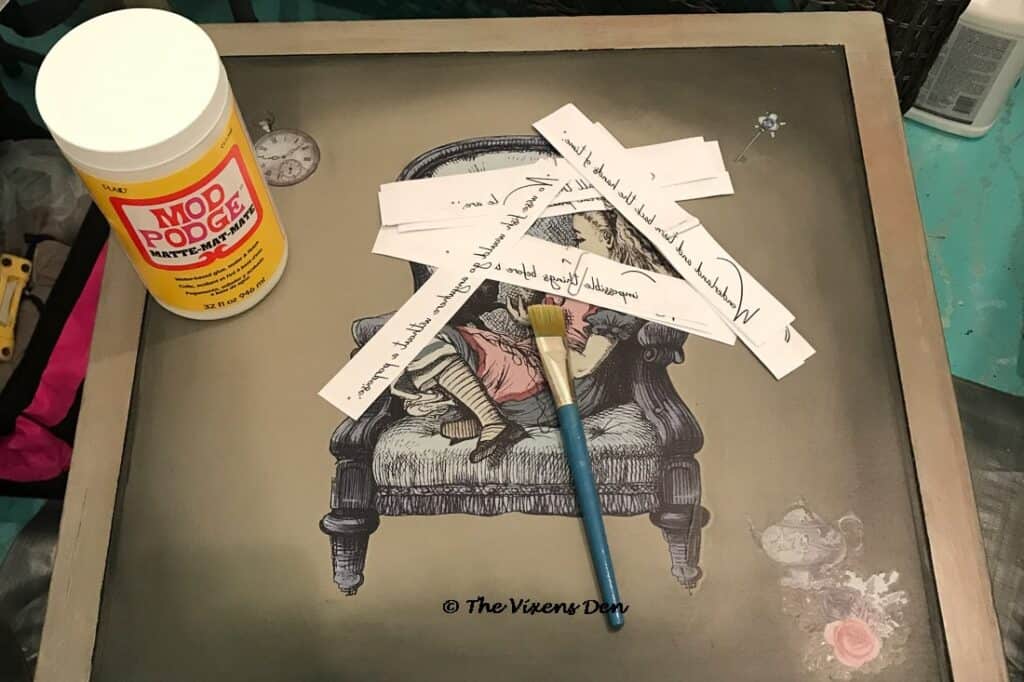
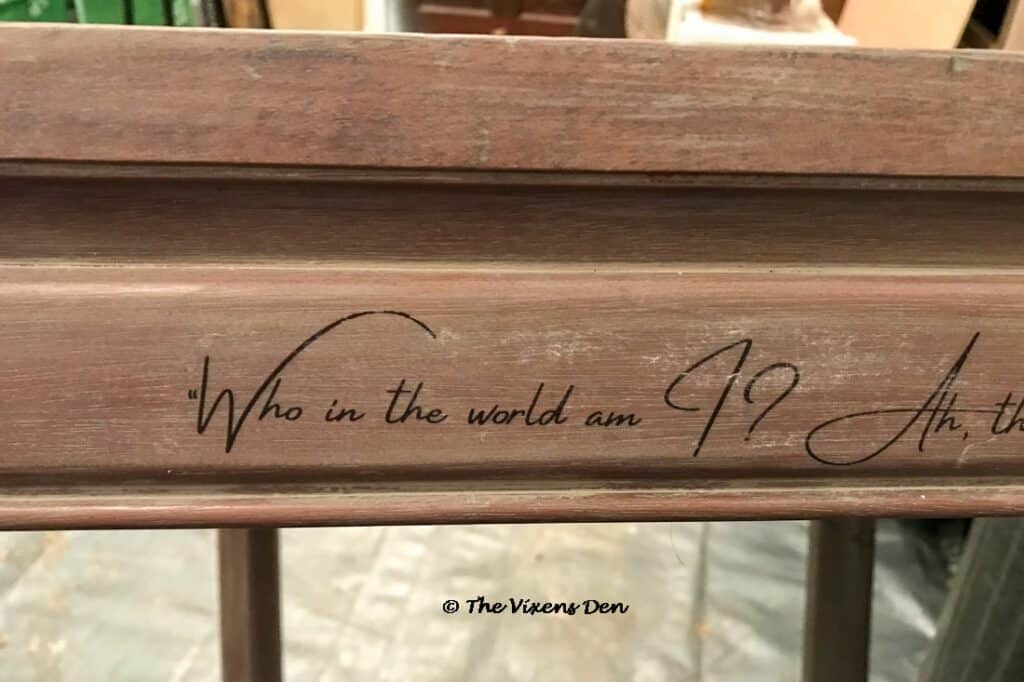
In addition to the fonts that you can find on Design Bundles, you can use tools like Canva and Pic Monkey to create fun graphic and typography designs. I used Canva’s “Amsterdam Four” font to create the quote text for the Alice in Wonderland table.
Print the Transfer
Okay, so you’ve picked out the perfect image and you’re all ready to go. Now what?
First, you need to get the image to the computer. So, either upload it from a drive, download it from online or your cloud drive, and let’s get it ready for printing.
This is where I find that things can get a bit tricky.
Once the image is downloaded, look at the file extension at the end of the file name. If it is an image file (png, jpeg, jpg, gif, tiff, bmp, etc.) then you’re all set. You can skip down to the instructions titled “How to Mirror the Image.”
If, however, you pasted your image into Word or downloaded a pdf file, then there are a few more steps to take to create an image file that Paint can read. There are lots of programs out there that will convert the files for you, but you also have the ability to convert them yourself. You can do this for free and without having to give away your email or share your images with a spammy site.
Here are the steps for each:
(Windows) Take a Snip or Print Screen of the image. (The Snipping Tool is in your Start/programs menu. The Print Screen button is on the keyboard.)
(Mac) Take a screenshot of the image.
Open Word and hold down Control while pressing V to paste the image that you just snipped or screen printed into the document.
Follow the steps below.
Word
Open the Word document.
Right-click on the document and save it as a picture.
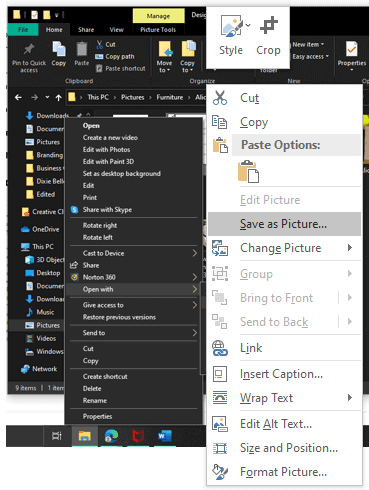
Name the new png file.
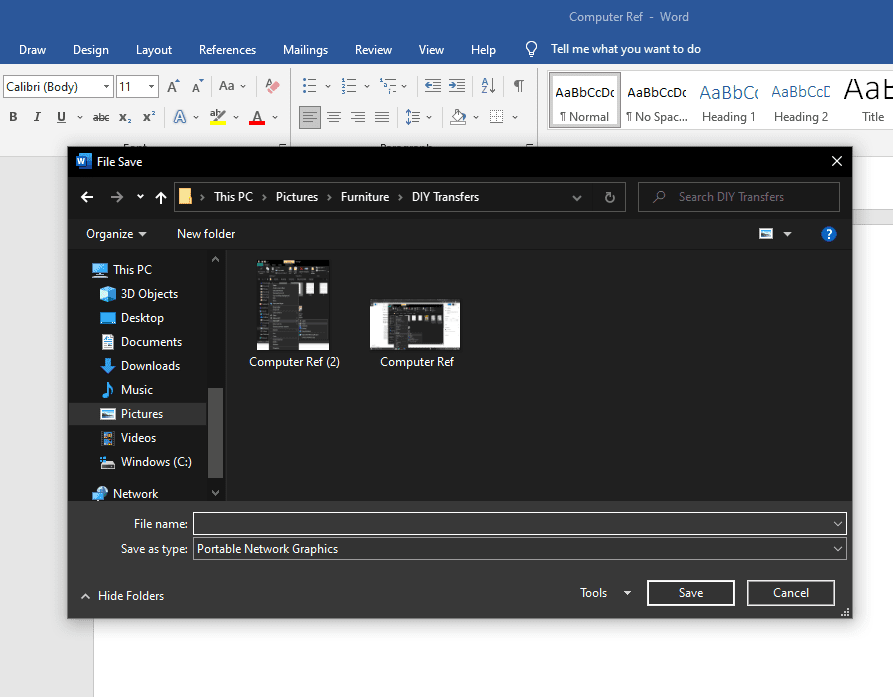
Double click the picture to open it and crop (if needed).
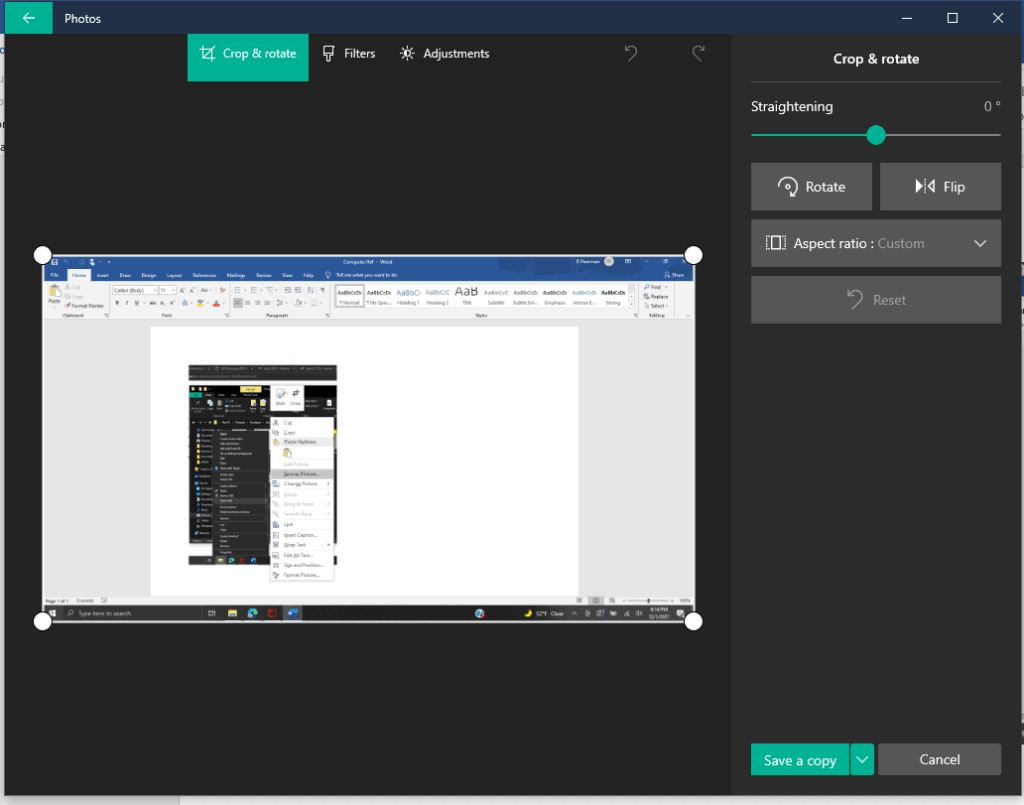
Save a copy of the file and close it. You are now all set to use the copied file as your image.
How to Mirror the Image
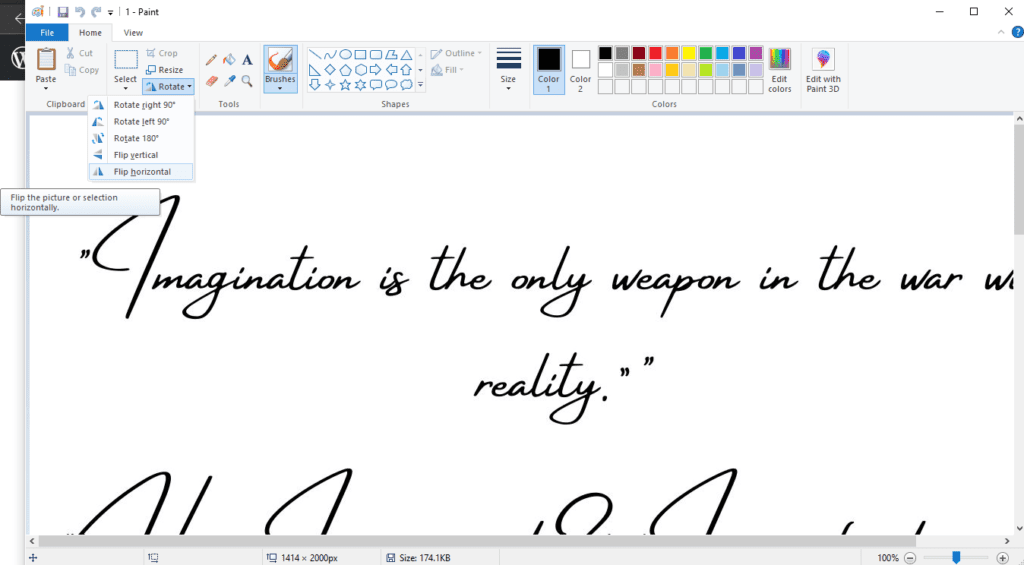
Right-click on the image file and open it with Paint.
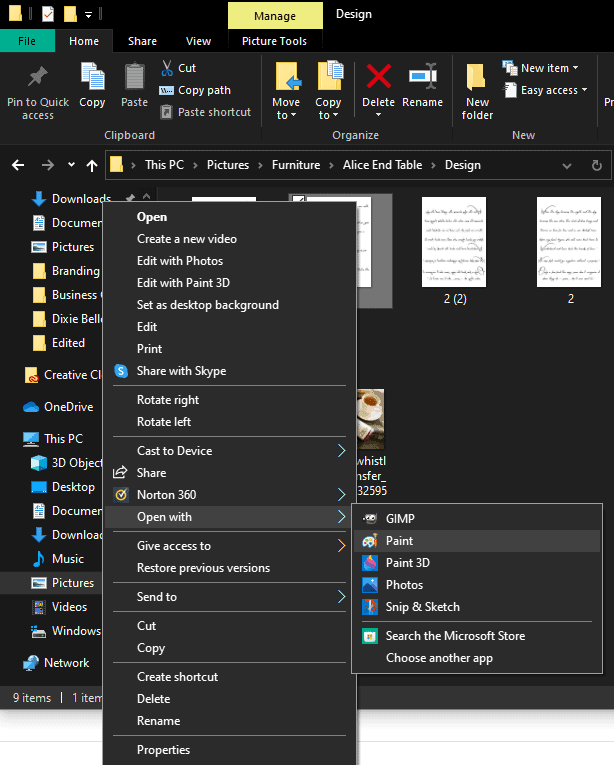
Click on Rotate in the ribbon and select “Flip Horizontal” from the Rotate menu. Save a copy and you’re all set to print.
Printing Options
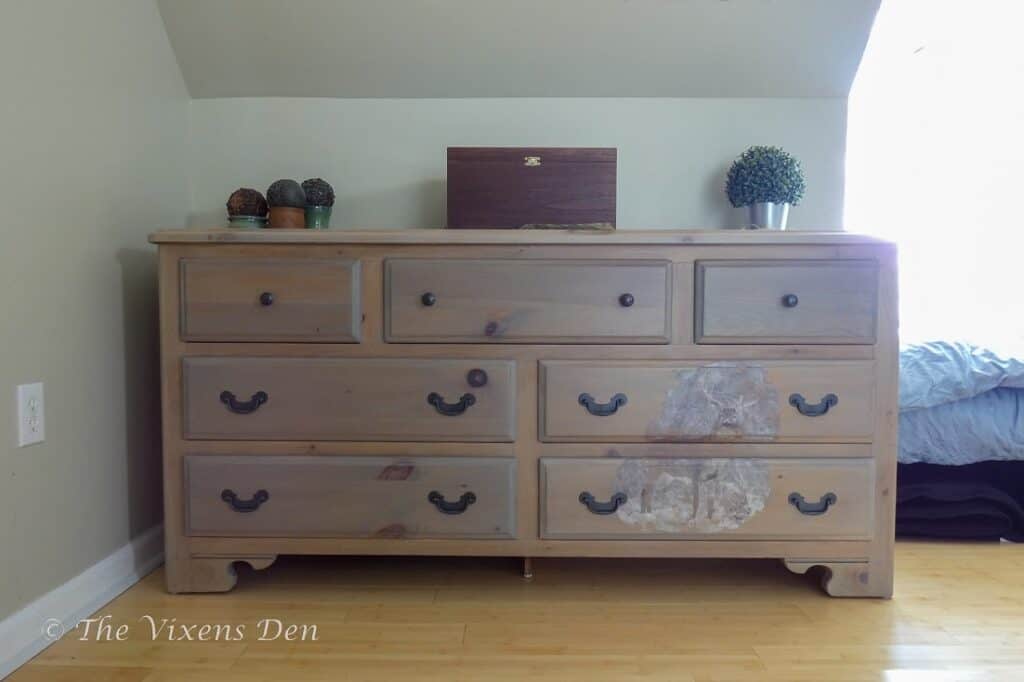
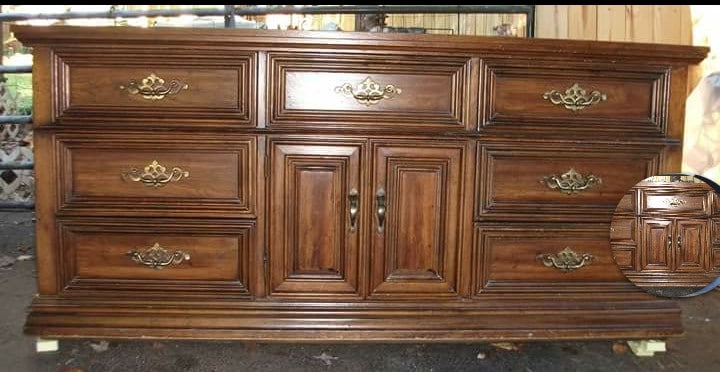
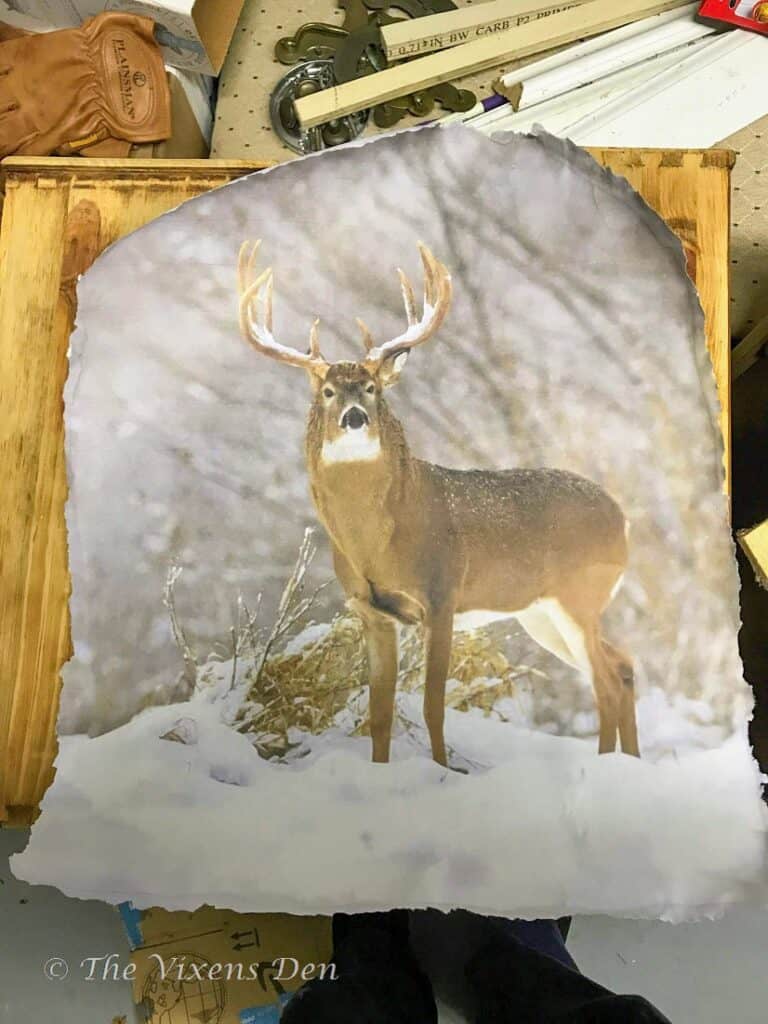
I personally have found that a laser printer works best for me. If you don’t own a laserjet printer, you can print your image at the library or send it to Staples and have them print it for you. I’ve done this for larger images, such as the engineer size print for the Deer Dresser.
Prepare the Project
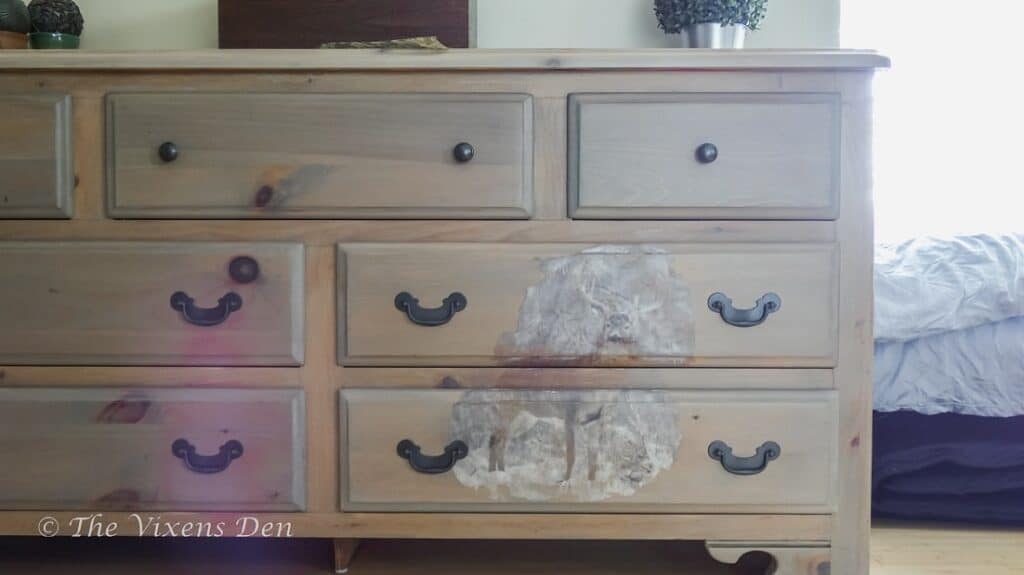
Before you whip out the Mod Podge and paintbrush, take a moment to evaluate your project design. Will you be painting or staining the piece? While it might seem obvious to paint the piece before applying the DIY transfer, I can assure you that you definitely want to stain it first if you’re going that route. (Trust me on this one.)
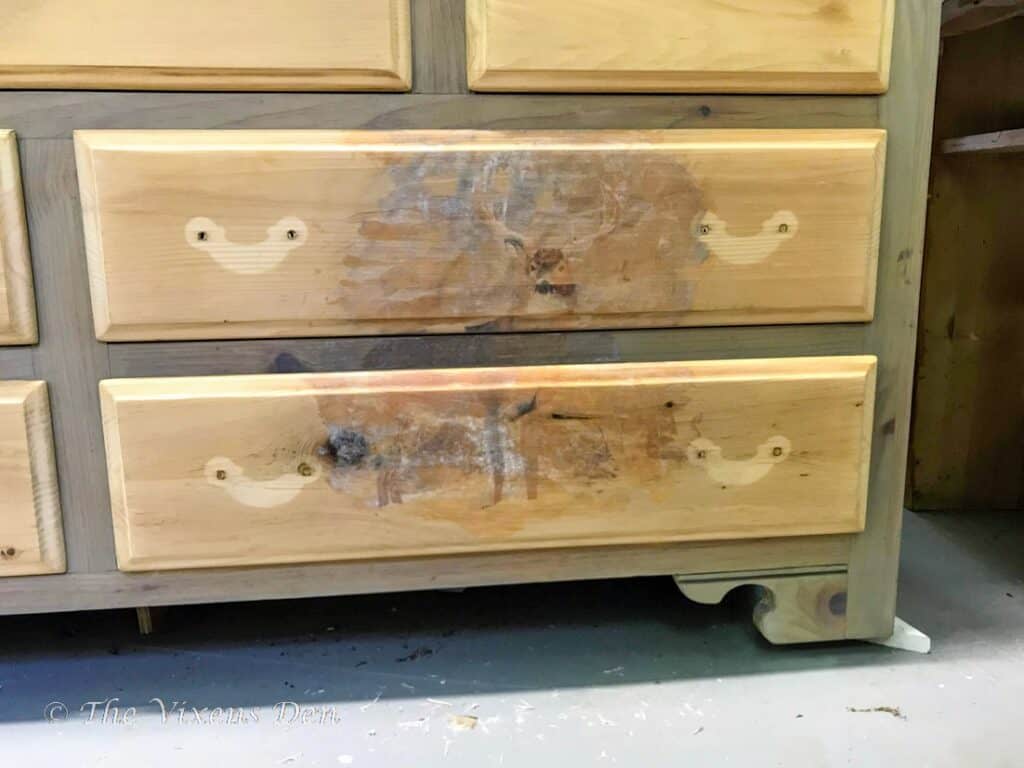
If you are using oil-based products, allow them to dry thoroughly ( a minimum of overnight, and generally a few days) before applying the transfer.
Trust me. It’s worth the wait and it will prevent you from having to start all over fresh when your beautiful transfer rubs off with the paper.
Apply the DIY Transfer
Finally! You made it through all the prep and now you get to make something beautiful!!
Clean Up the Edges
First off, decide if you want clean edges or a more rustic look.
If you want clean edges, then just trim off all the excess paper around the image using scissors.
If, however, you want a more rustic edge, then grab an artist’s paintbrush and some water. Paint the white areas around the outside of the image. Be careful not to get the image itself wet. After the water has soaked in for several seconds, begin gently tugging the excess paper away from the image. If it doesn’t pull away easily, let the water soak for another minute or brush a little more on.
It’s hard to overdo this part, as long as you don’t get the image wet.
Finalize the Design
Now that your image is ready. Decide how you want to position it on the surface of your project. I recommend marking the back of the paper with the top and bottom of the image so that you don’t accidentally apply it upside down.
Now it’s time for the Mod Podge!
Apply Mod Podge
Dip the tip of your paintbrush into the Mod Podge and quickly brush an even coat onto the surface of the project. Once you have an even coat in place, gently lay the transfer onto the project.
Smooth the paper with your fingers, gently pressing from the center and rubbing outwards towards the edges.
Now take a scraper or an old credit card and gently rub, or “burnish”, the image onto the surface. This is just to remove any excess Mod Podge and ensure that the image is as flat as possible against the surface. Be careful not to rub too hard or the paper will start to tear.
If the paper does begin tearing, just press it flat and make sure it is smooth. Now is probably a good time to walk away and let it dry anyway.
Allow the project to dry overnight.
Remove the Paper
Now it’s time to reveal your beautiful work!
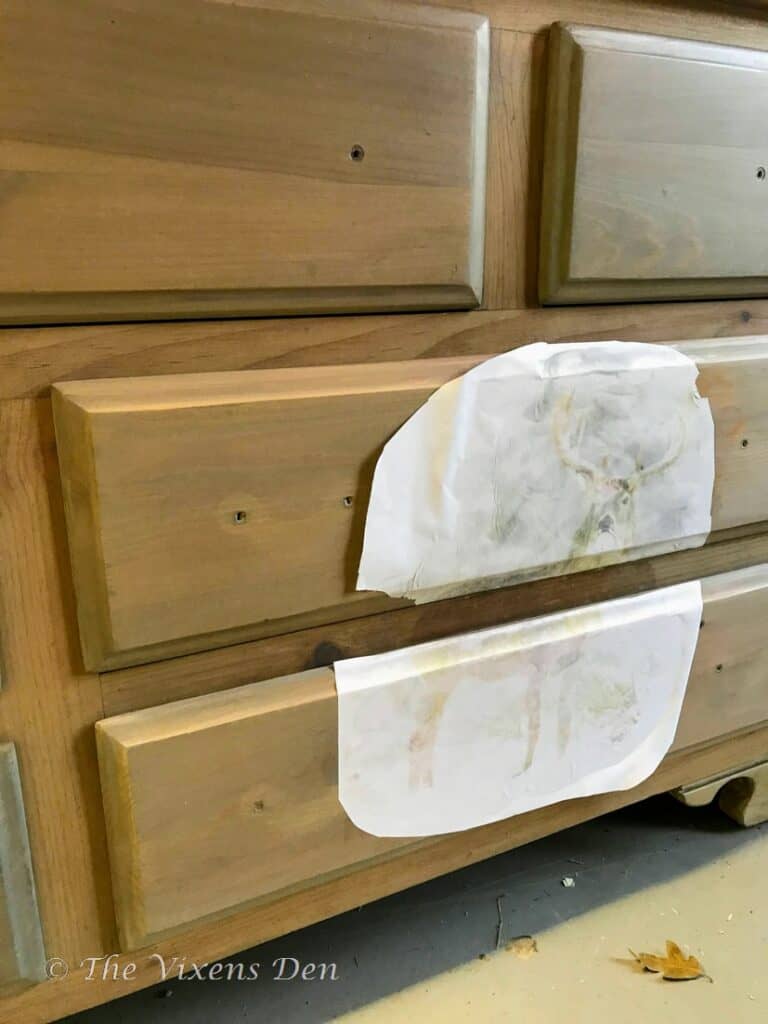
Dip a rag in some water, squeeze most of the water out and then press the rag against the paper. The goal is to saturate the paper but not have water running all over the place.
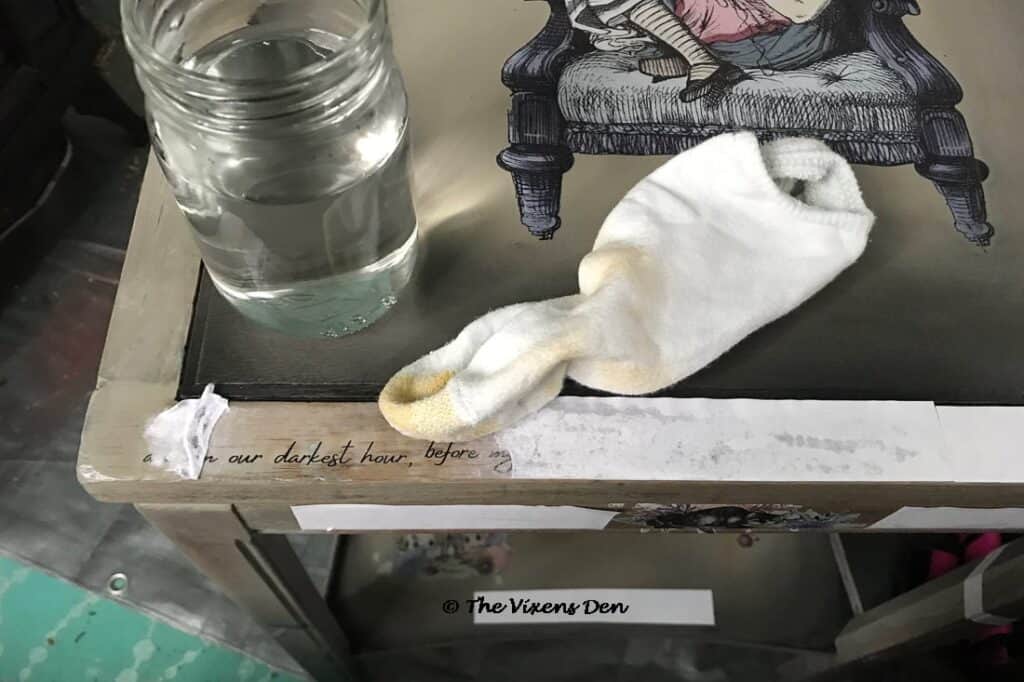
Once the paper is saturated, begin gently rubbing with the rag. You can use your fingers too but be forewarned that this could lead to blisters depending on the size of your transfer.
Continue rubbing until most of the paper rubs off. Be careful not to rub off the transfer as well, which can happen if the transfer is rubbed too hard at this stage. This is sometimes a good stopping point to let the project dry again for several hours.
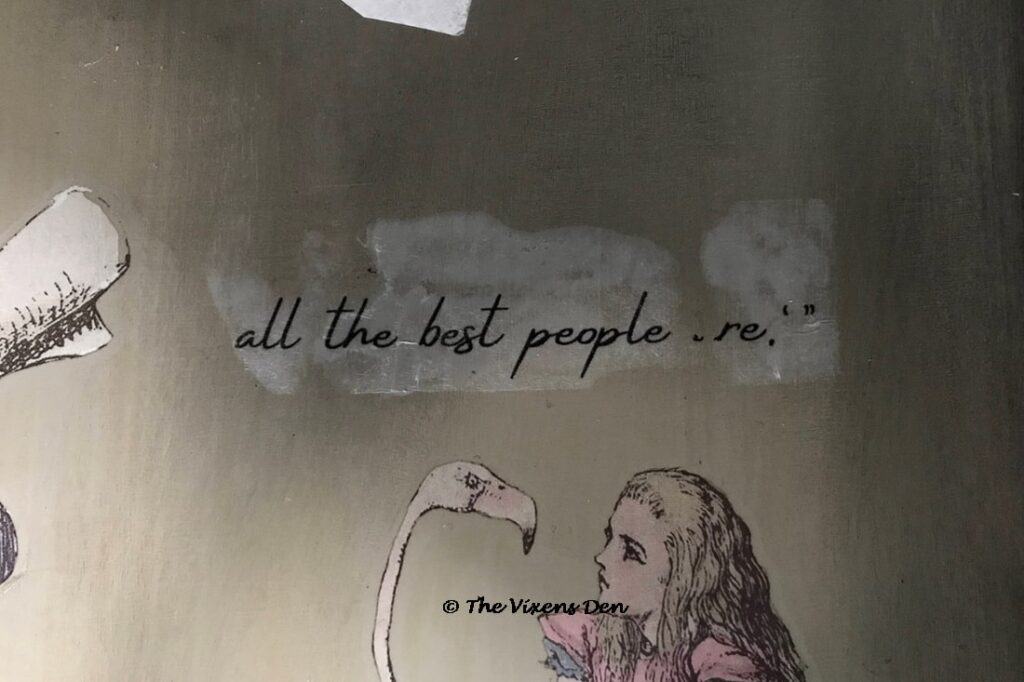
When you return to the project, you will see where you still have bits of paper on the surface. Repeat the process of saturating the surface and gently rubbing. A good bit of the paper “ghosting” will disappear when you add the top coat to seal your project.
Seal the DIY Transfer
Congratulations!! You’ve created your very first masterpiece! Now let’s protect it for future generations.
Select a topcoat like Dixie Belle Flat, Satin, or Gloss. Brush or roll on your topcoat of choice and prepare to share your gorgeous creation with the world!
Final Thoughts on DIY Transfers
I love the convenience and flexibility of creating my own DIY transfers. They allow a level of creativity that really brings a special flair to my projects. If this does seem like a lot of steps, however, there are lots of beautiful transfers available on the Dixie Belle website. With brilliant colors and beautiful designs, I’m sure you’ll find something that will inspire you.
If you would like to see an inspiration piece, then check out the Alice in Wonderland end table. It is a lovely piece that turned out exactly how I envisioned it. Also, sign up below to receive an email when the next misadventure hits the presses.
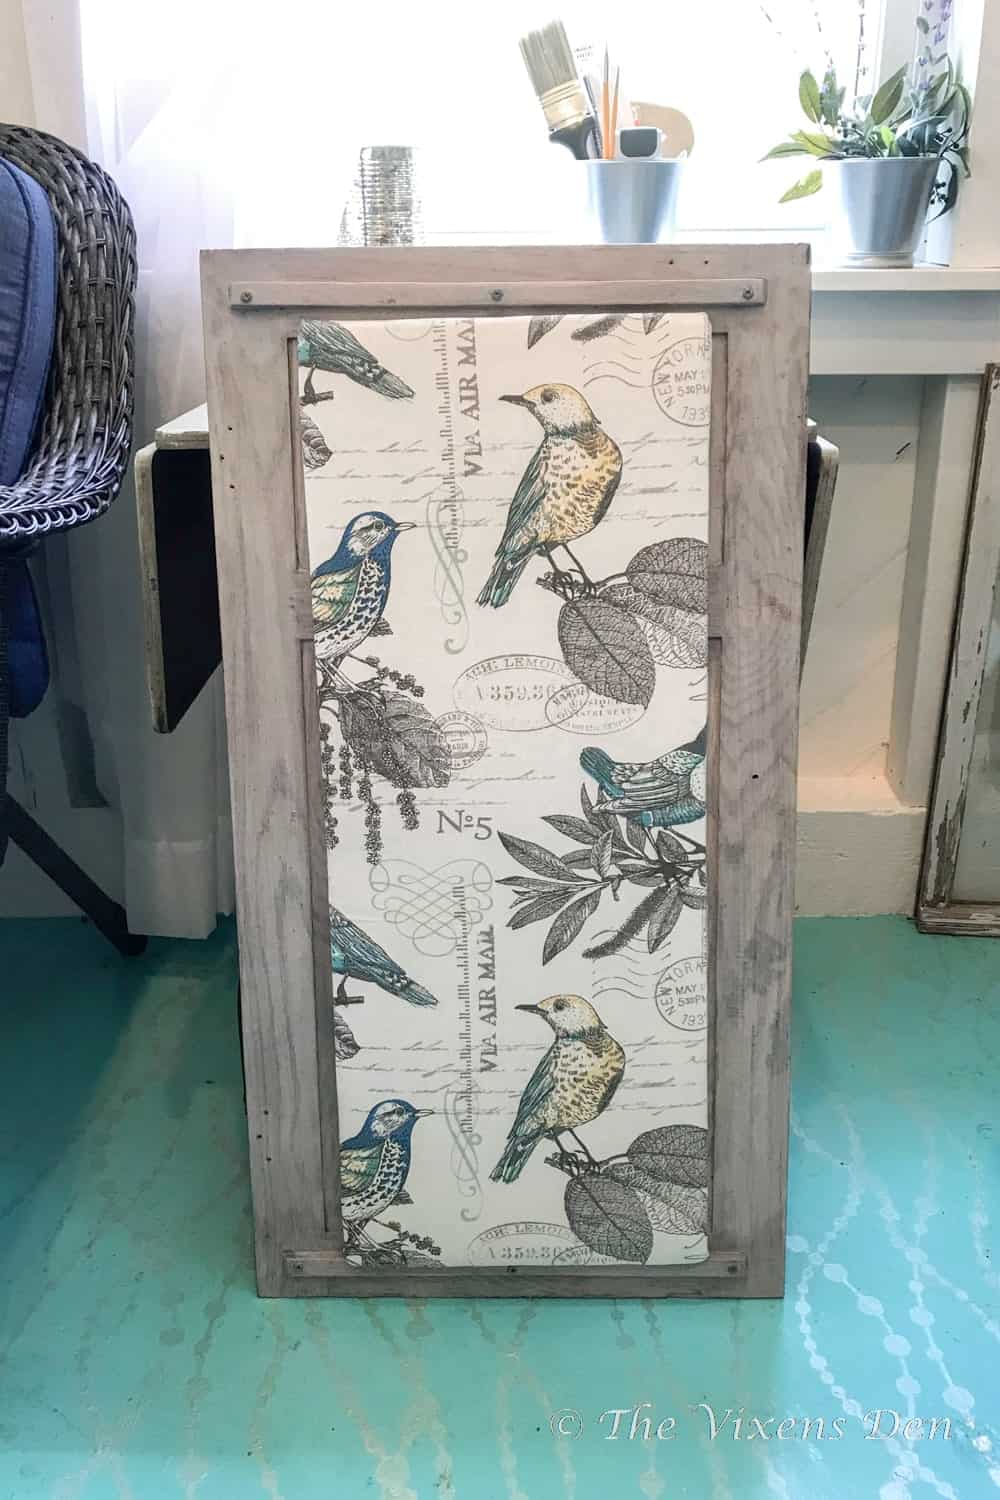
In the meantime, enjoy these DIY transfers!