How to Dye Sola Wood Flowers with Chalk Mineral Paint
Are you looking for a unique floral decor that you can easily customize? Then look no further than the beautiful Sola Wood Flower collections!
My daughter was looking for a unique and inexpensive alternative to fresh flowers for her upcoming wedding. That’s when she discovered Sola Wood Flowers.
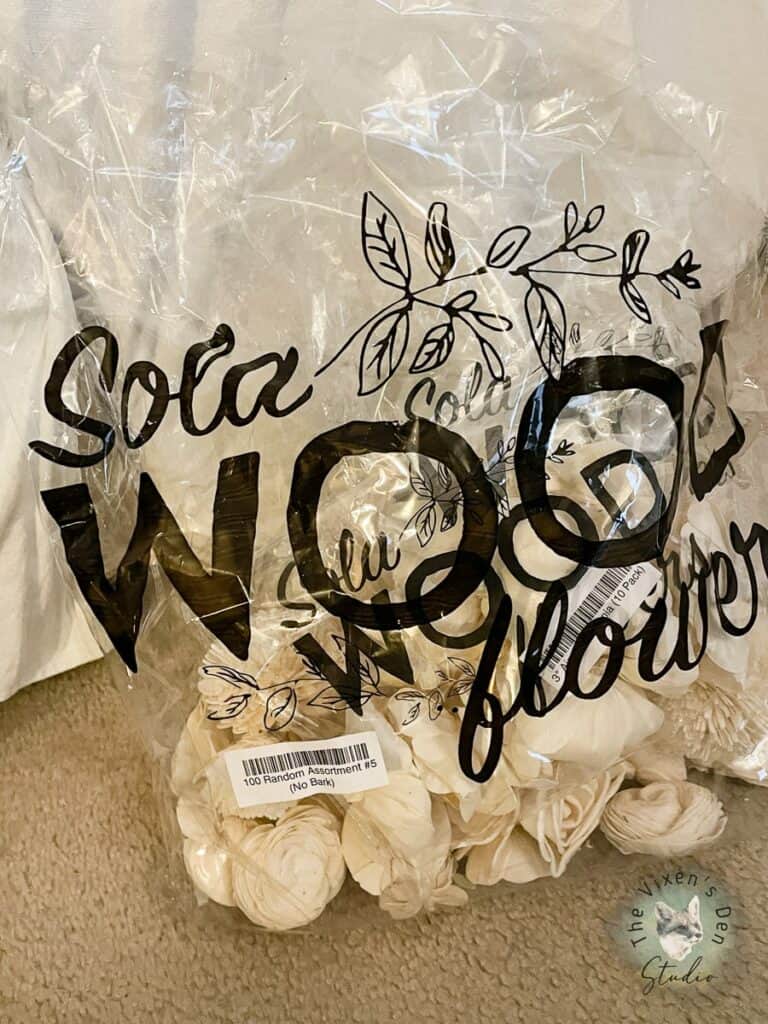
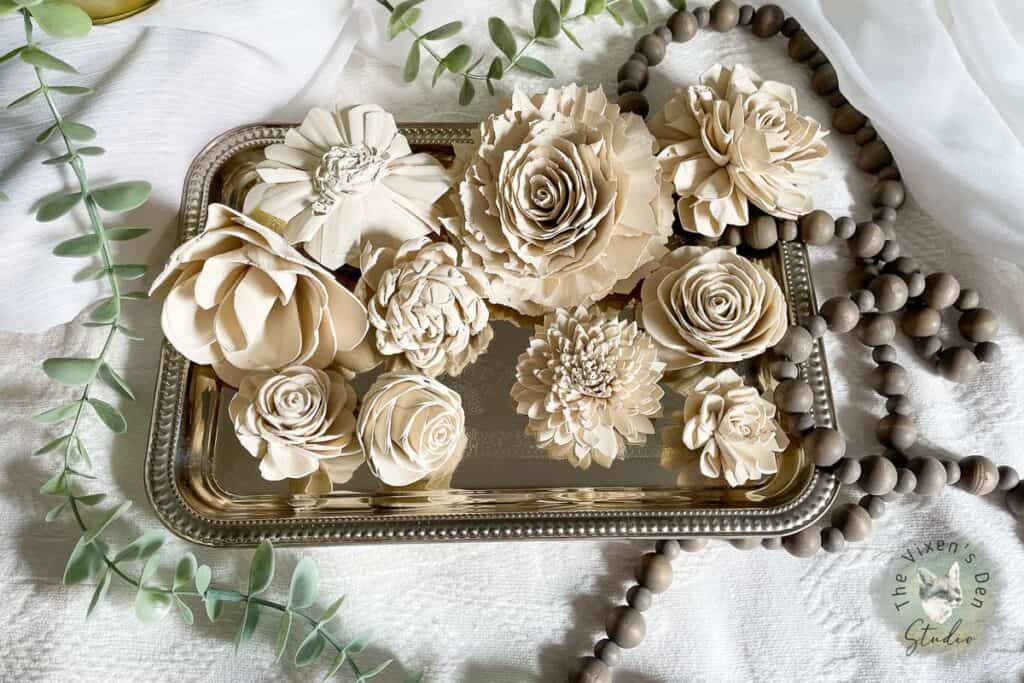
These beautiful handmade flowers are created by hand-folding sheets of pressed shola pith into a variety of shapes. The flowers can be purchased with or without bark and then left natural or custom dyed. We chose to order the flowers with the bark off and dye them ourselves.
Cause we’re extra like that!
Before we hop into the dying process, here is some important legalese for you:
This post is sponsored by Dixie Belle Paint Company. While they provided some of the products for this project, all of the opinions are my own. Follow this affiliate link to see all of their amazing products!
AS AN AMAZON ASSOCIATE I EARN FROM QUALIFYING PURCHASES AT NO COST TO YOU.
YOU CAN SEE MY FULL DISCLOSURE HERE.
And now, let’s get to the good stuff!
Tools and Materials
Tools
- Glass bowl
- Glass measuring cup
- Whisk or fork
- Cooling rack
- Cookie sheets (optional)
Materials
- Sola Wood flowers
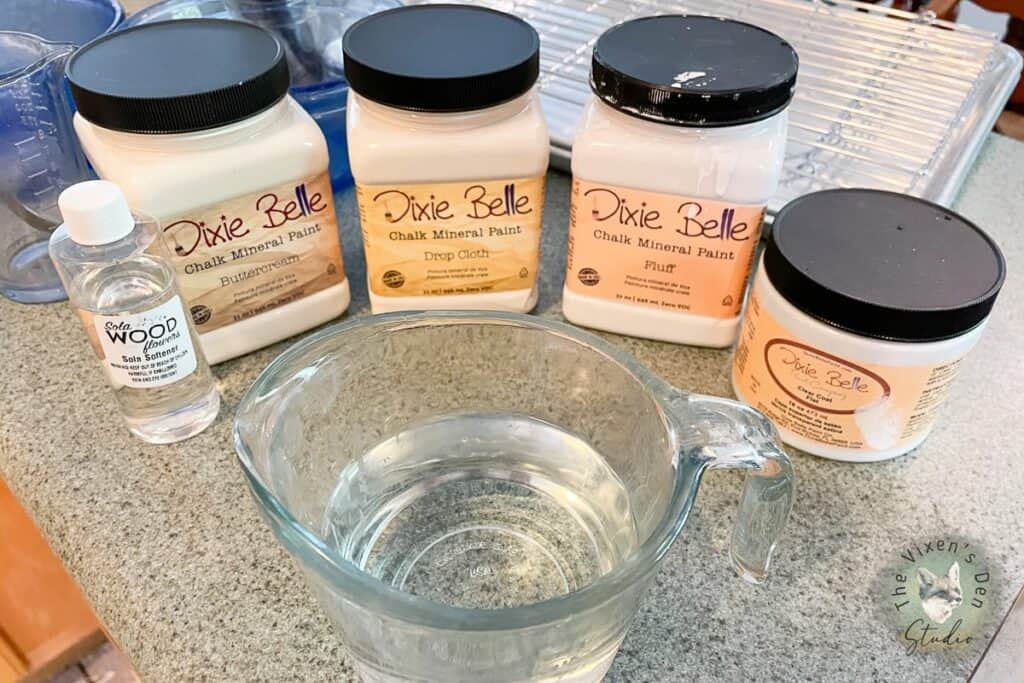
- Sola Softener
- Dixie Belle Chalk Mineral Paint (we used Dixie Belle Drop Cloth and Dixie Belle Fluff)
- Water
- Aluminum foil
Cleaning & Prepping
Sola Wood flowers are made from pressed shola pith, which is a natural product. While there is no real cleaning process to prepare the wood for dying, the flowers may shed a little or have some edges break off during shipping. I brushed any loose bits from the flower and shook them into the trash can.
My daughter grabbed a couple of the super affordable random assortment packs as well as some specific flowers, so we were dying A LOT of flowers at one time. To prepare for the dying process, I lined cookie sheets with aluminum foil and then placed the cooling racks on top. This way I could move the cookie sheets to other areas while the flowers were still drying.
Mixing the Dixie Belle Chalk Paint Dye
I’ve seen tutorials showing how Sola Wood flowers can be dyed using their dye or acrylic paint. I wanted to take it up a notch to see if dying the flowers with chalk paint would still provide that same spongy “real feel” result.
With the nature (and beauty) of Dixie Belle paint being that you can easily reactivate it with water, I also wanted to add a little protection to the final paint product.
Here is the recipe that we ended up creating:
Dixie Belle Chalk Paint Sola Wood Flower Dye
Materials
- 1 ounce Sola Softener
- 10 ounces water
- 4 ounces Dixie Belle Chalk Mineral Paint
- 2 ounces Dixie Belle Clear Coat Flat
Instructions
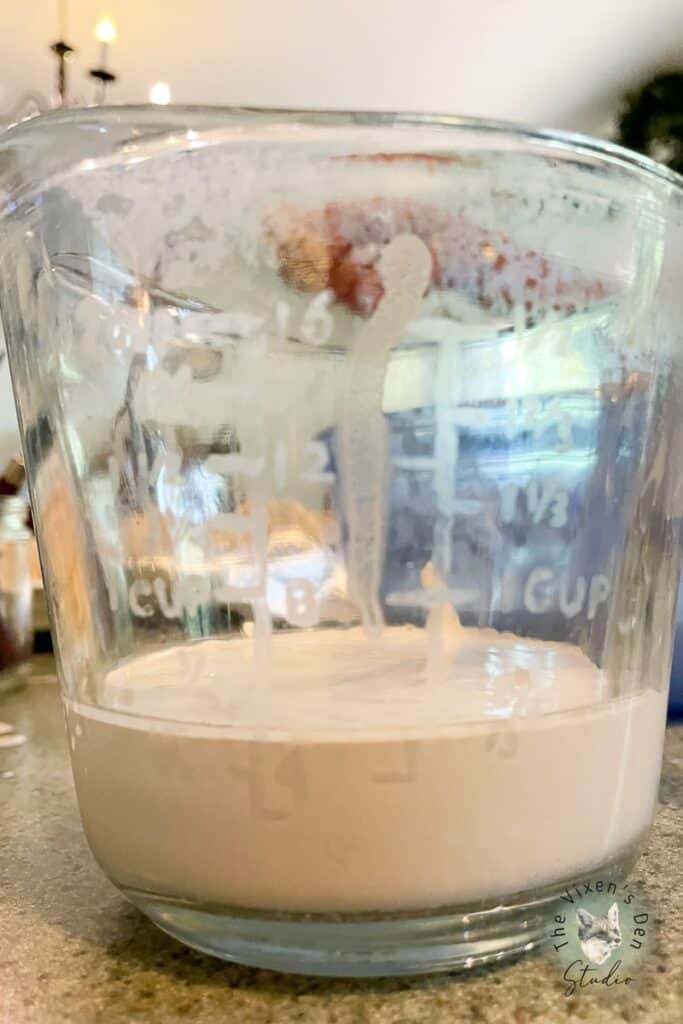
- Measure out the water and Sola Softener. Pour them into the glass bowl and mix well with the whisk. Microwave for 3 minutes until boiling.
- Allow the mixture to cool to room temperature.
- Once the Sola Softener mixture is cool enough to touch, measure out and add the Dixie Belle Chalk Paint and Flat Clear Coat. Add them to the Sola Softener mixture and whisk well to incorporate.

With our dye created, we jumped into the fun part: dying the flowers!
Dying the Sola Wood Flowers
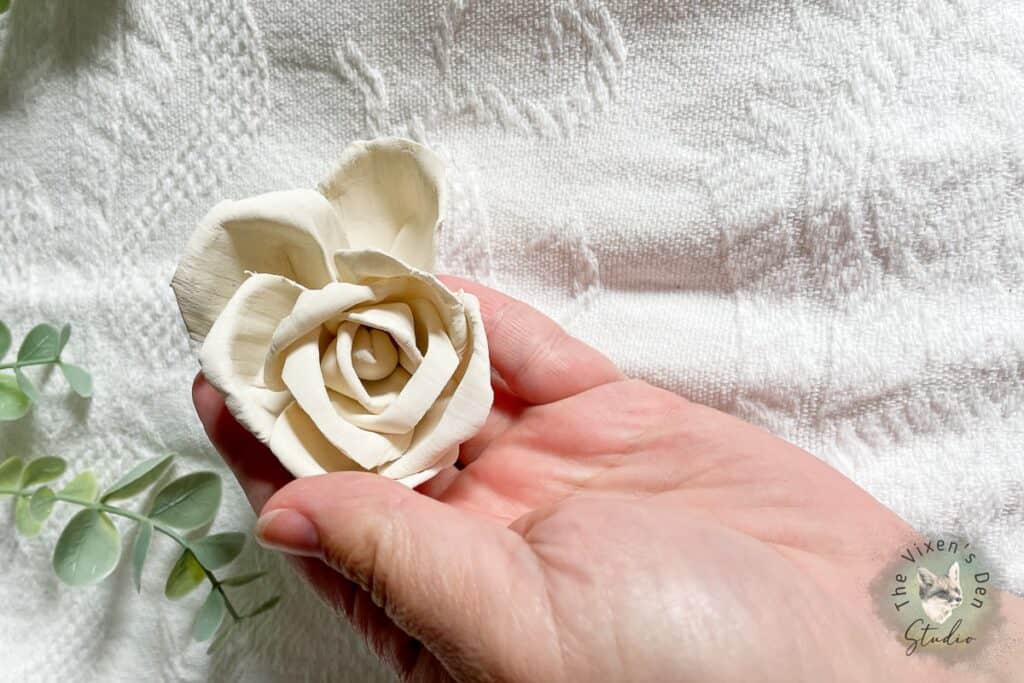
My daughter found a tutorial that involved inserting a toothpick into the base of the flower. The flower was then twirled through the dye in a lovely and elegant manner.
My method was a little more messy.
I’m a hands-on kind of girl. So, I grabbed a Sola Wood rose and dunked it in the dye like I was waterboarding that poor thing for the passcode to the Godiva factory’s secret chocolate vault.
There was NO crevice that went undyed. Which was the plan, after all.
My daughter tried the toothpick method, but we found that the waterboarding process worked best.
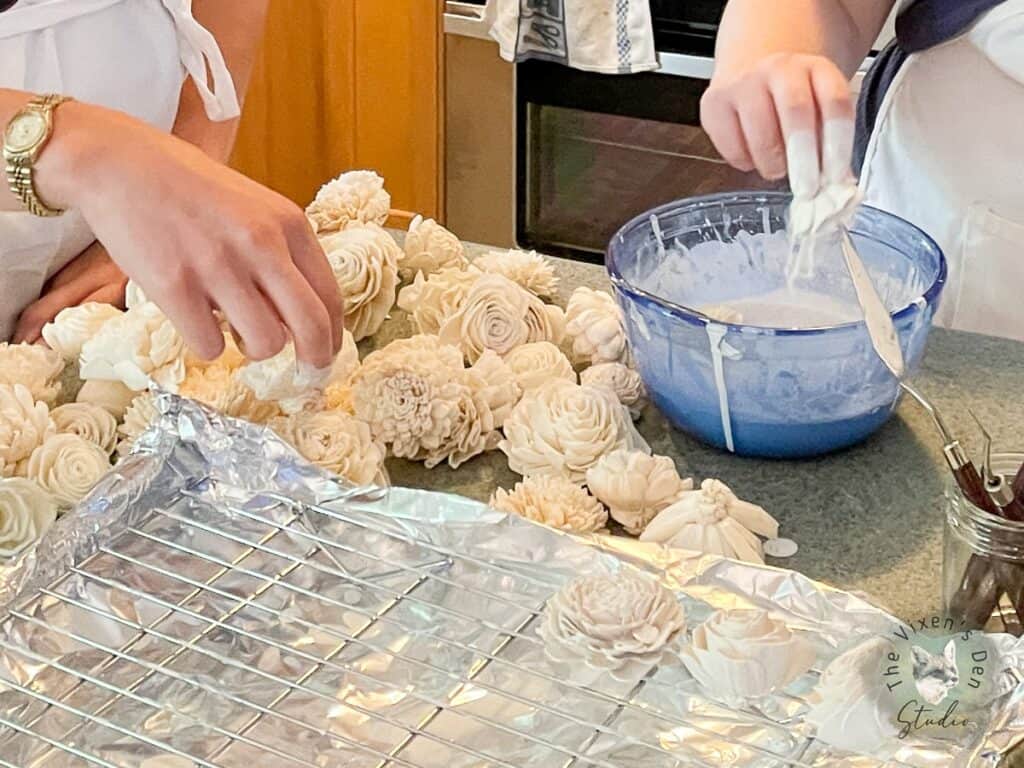
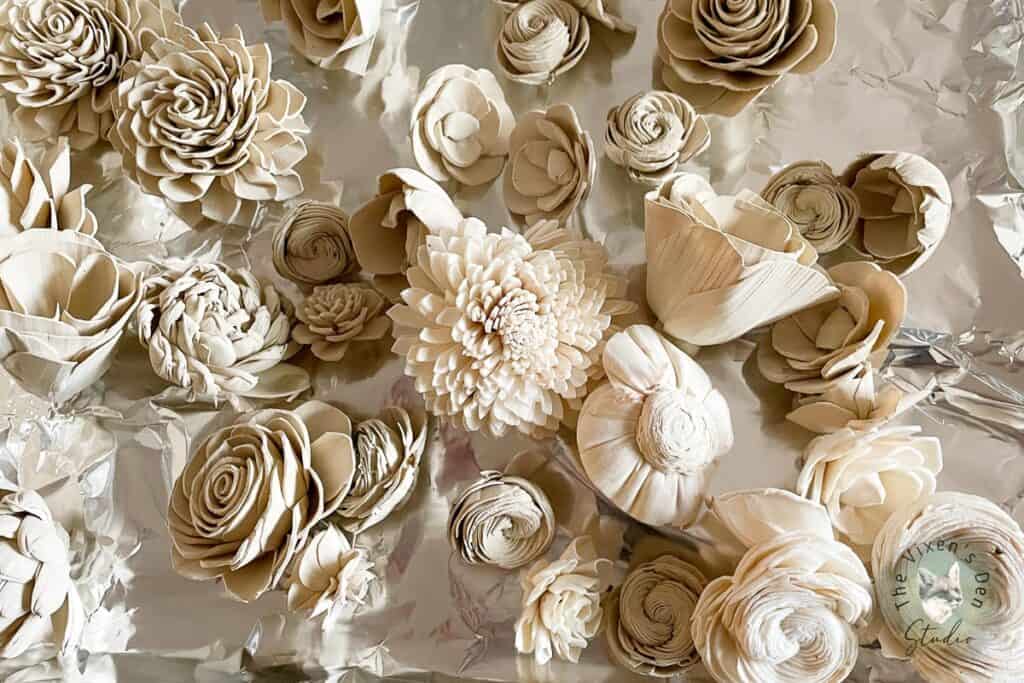
Once the flowers were properly drenched and begging for their lives, we carefully placed them on the cooling (now drying) racks, flower side up. We were going to place them flower-side down so that the extra dye could run out, but I was concerned that the wire rack might leave marks on the petals.
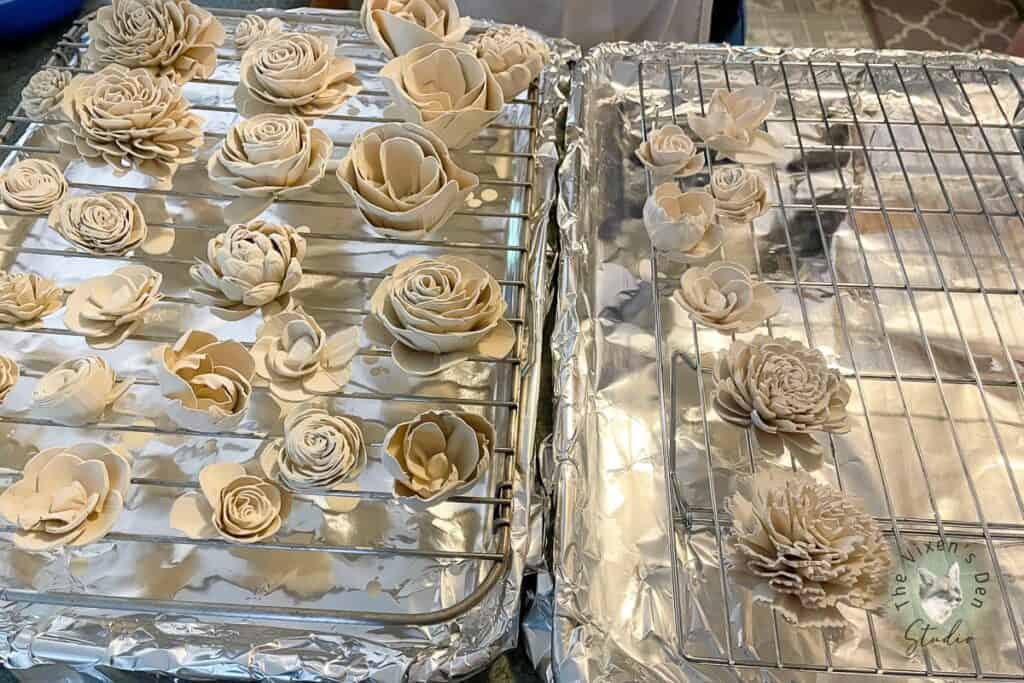
We tried two different colors, Drop Cloth and Fluff. We found that Fluff was the color that she liked best for her “natural elegance” wedding scheme. She wanted a simple “not quite white” color. Fluff has just a hint of cream and grey to it, so it was the perfect off-white for what she wanted.
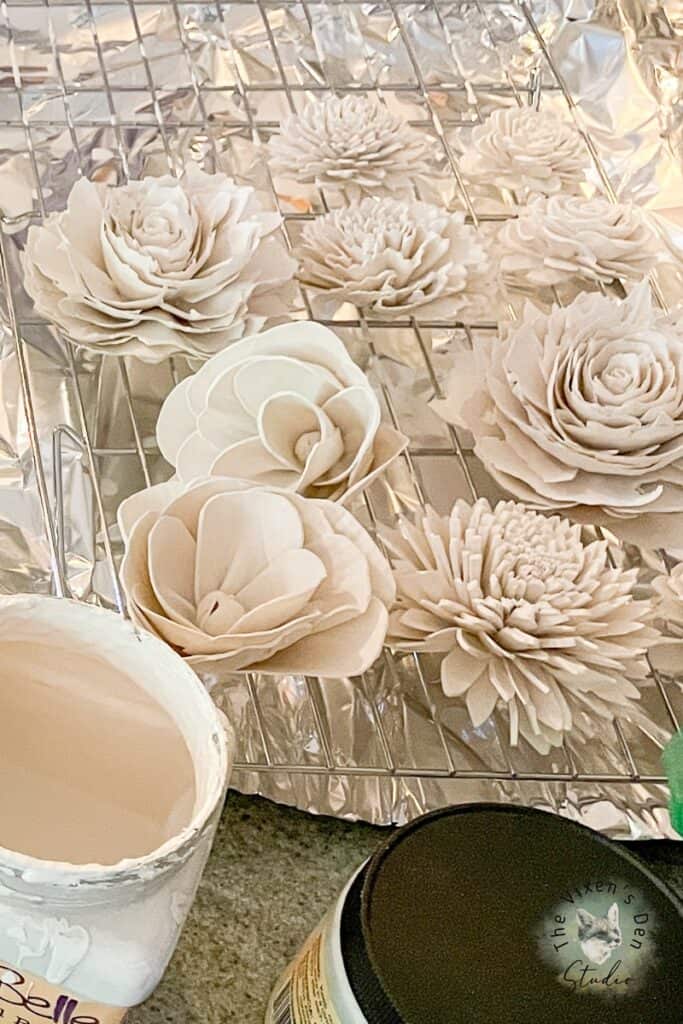
I made a total of three batches of Fluff dye for the flowers. This almost used up one bottle of Sola Softener, required 12 ounces of Fluff, 6 ounces of Flat Clear Coat, and dyed about 250 flowers.
Final Reveal and Tips
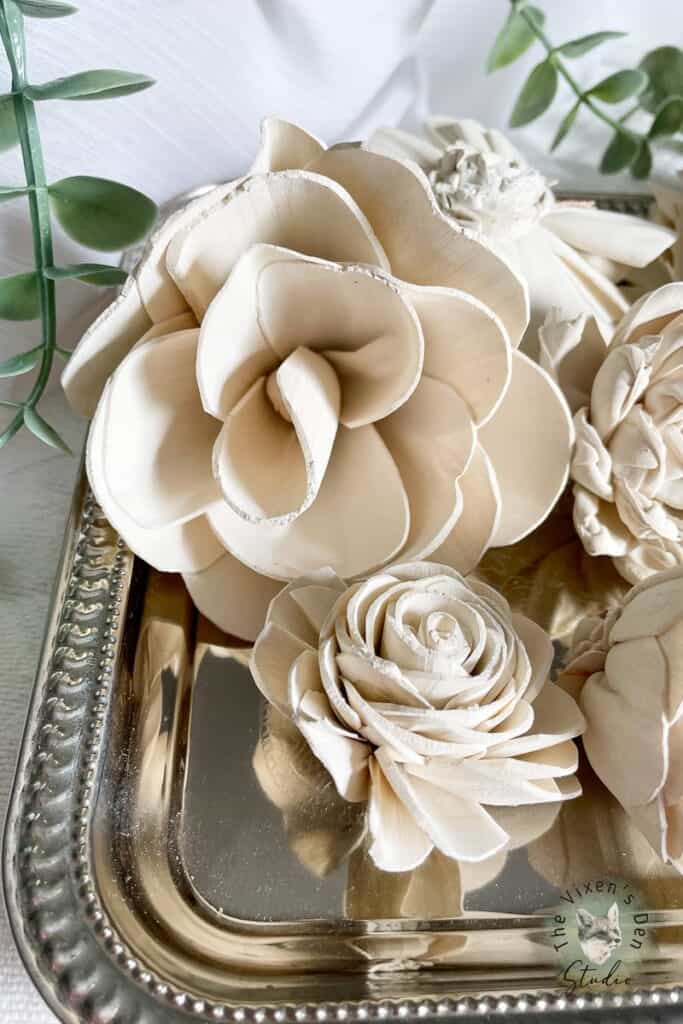
Dying the Sola Wood flowers with Dixie Belle Chalk Paint was such an easy and fun wedding prep project! My daughters and I had so much fun getting messy together while making these absolutely gorgeous flowers. I love that the flowers are completely special for her and won’t wilt on her in the middle of the ceremony.
Now for what you REALLY want to know…
Yes, even using Chalk Mineral Paint with the added Flat Clear Coat to give them a little protection from water, these flowers still retain that lovely spongy texture that makes Sola Wood flowers so desirable! Once they are completely dry, the chalk paint does not rub off onto my fingers and they feel beautiful and touchable.
Now that I have the basics down, I’m looking forward to trying out some different dying and hand-painting techniques. Dixie Belle has so many gorgeous colors to choose from that there is no end to the variety of flowers that we can create!
If you can’t find the color that you’re looking for, Dixie Belle’s Color Lab will help you match or mix your custom color! Just upload the image with the color that you love and let the Color Lab work its magic!
Are you ready to start dying Sola Wood flowers? I’ve pulled together some tips to help you dye your own Sola Wood flowers with Dixie Belle Chalk Mineral Paint:
Tips for Dying Sola Wood Flowers with Chalk Paint
- Although none of these products are listed as “food safe” they are derived from natural materials. I felt comfortable using my kitchenware to mix up the dye. If that process seems a little icky to you, then I recommend grabbing a set from the thrift store instead.
- Whisk the mixture periodically during the dying process. Chalk paint is a thick paint, so it tends to settle.
- Start off dying the larger flowers first, as they tend to require more dye and are more challenging to properly saturate (waterboard) as the dye runs out.
- The larger and more tightly folded flowers will take longer to dry. Some of ours took about two days before I felt that they were dry enough to store.
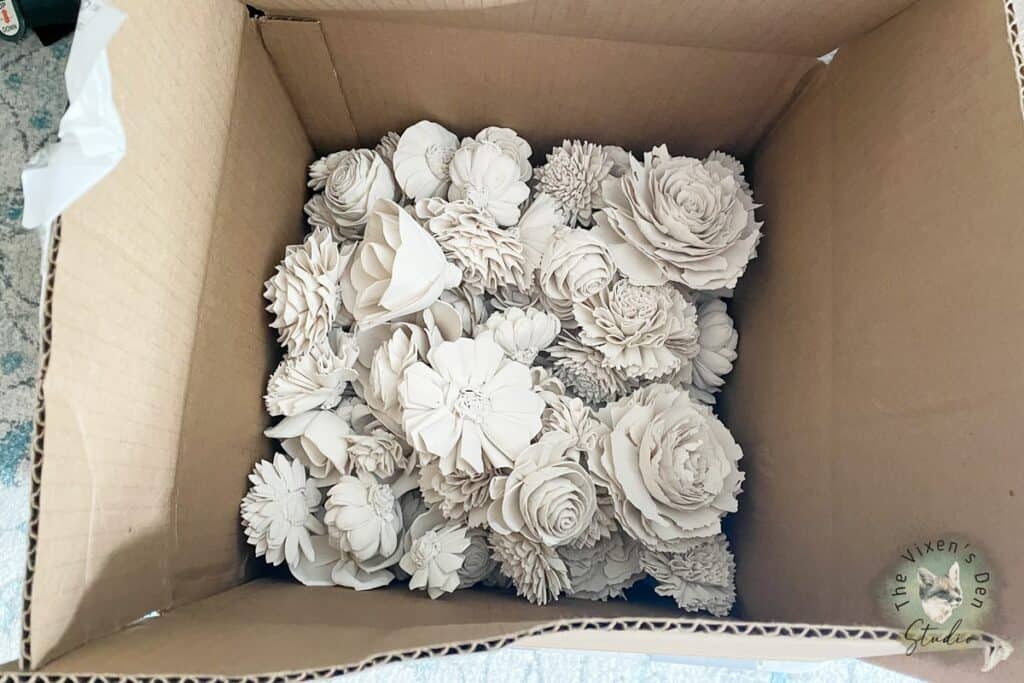
- Once dry to the touch, store the dyed flowers in an unsealed cardboard box to allow airflow and prevent the chance of mold developing. It’s also not recommended to store them outside or in direct sunlight. (I haven’t tried either of those myself.)
I hope you find these tips helpful! Let me know in the comments below if you have used Sola Wood flowers before and what method you used for dying them. I love hearing your tips and stories!
Until next time, have a beautiful and blessed day!

Don’t forget to sign up so you hear all about the next misadventure!

Wow, I never knew this was possible. Can you do the same thing with natural wood with no color?